KV 62
Tutankhamen
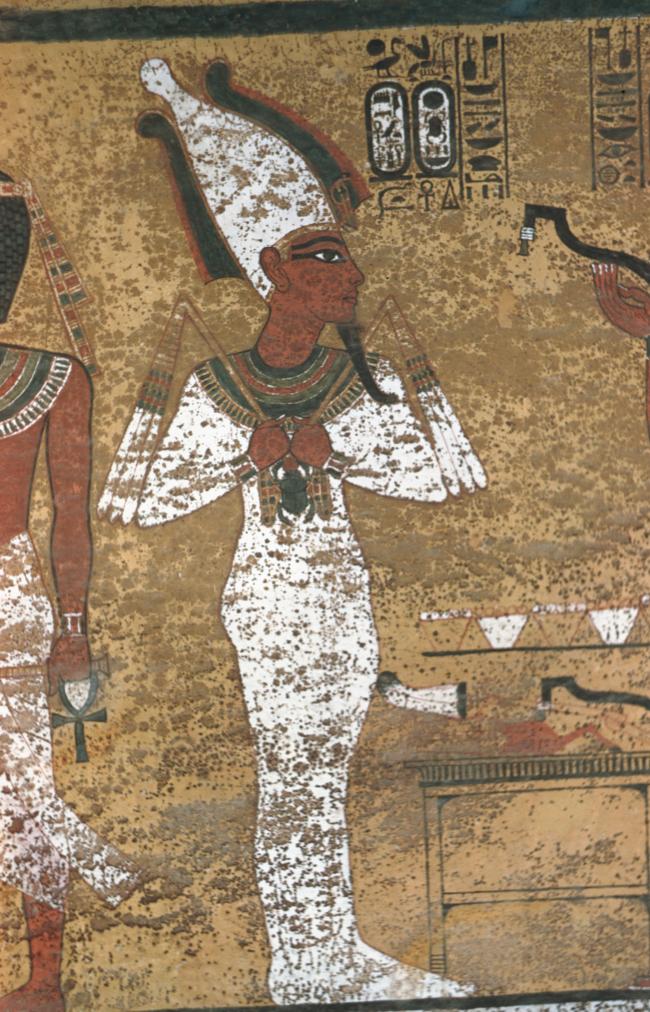
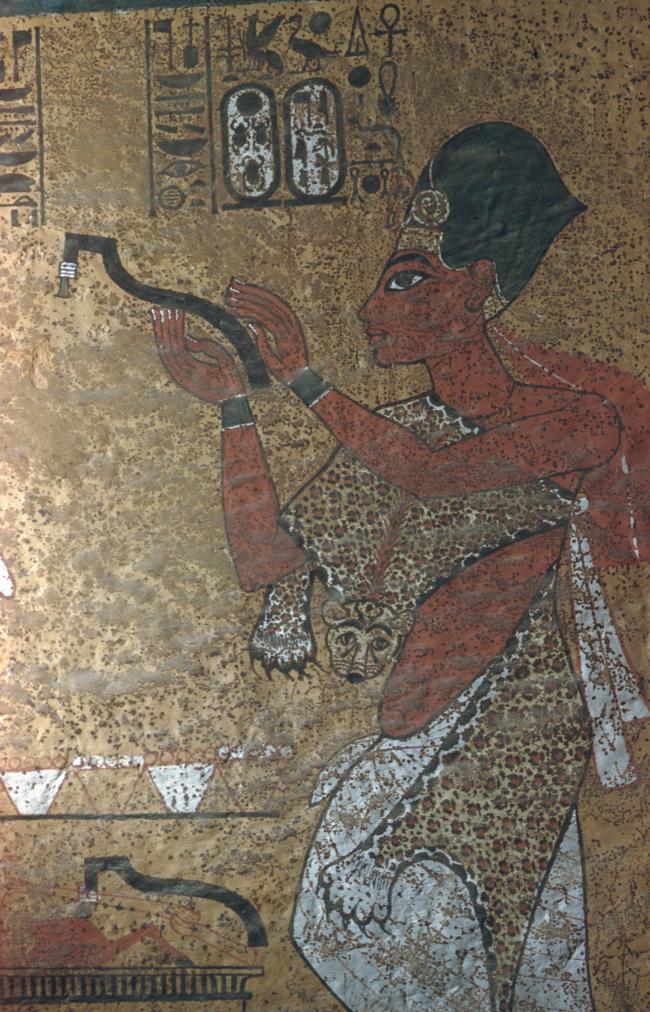
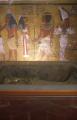
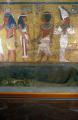
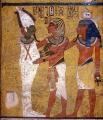
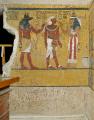
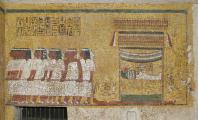
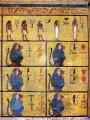
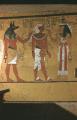
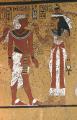
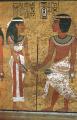
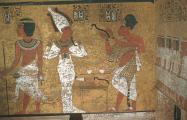
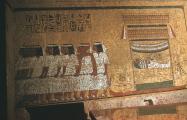
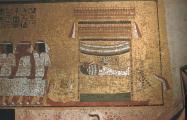
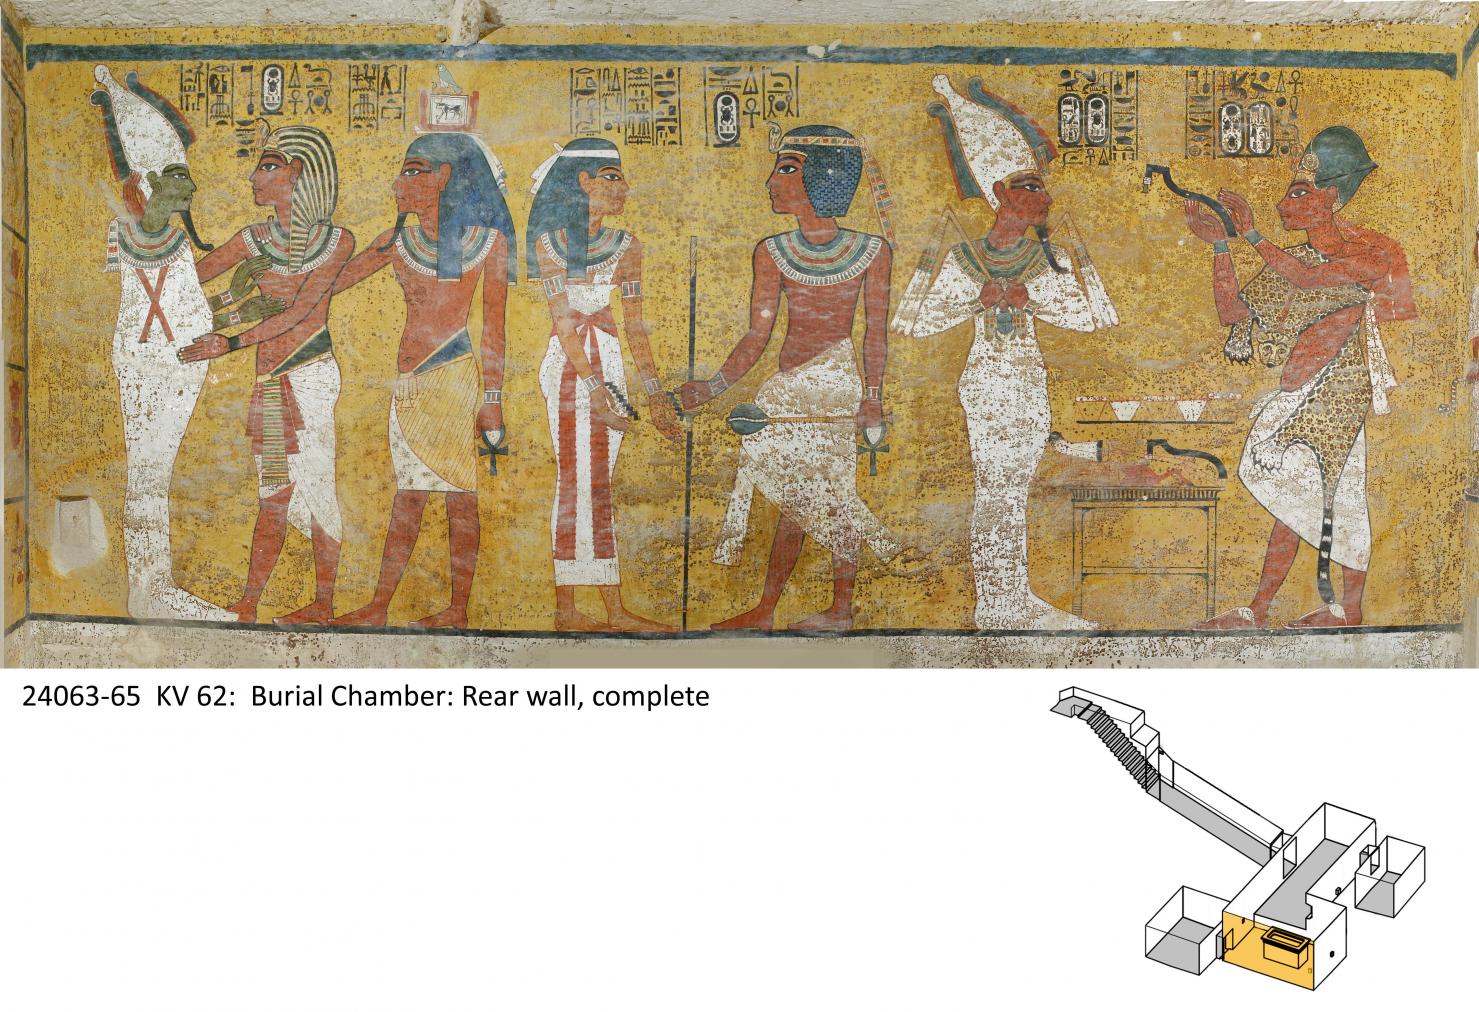
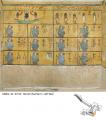
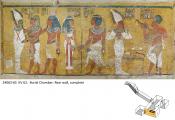
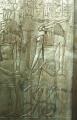
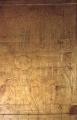
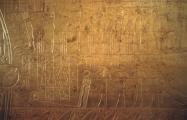
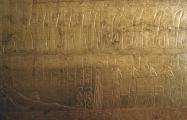
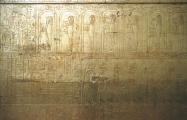
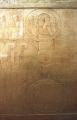
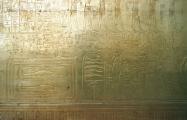
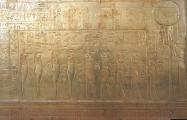
Imydwat, first hour: detail; Osiris, Tutankhamen and his ka; Nut greeting Tutankhamen; Tutankhamen as Osiris from Opening of the Mouth ritual; outer coffin in quartzite sarcophagus.

Entryway A
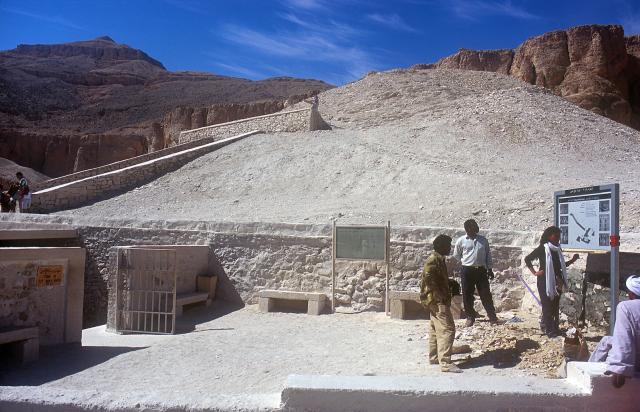
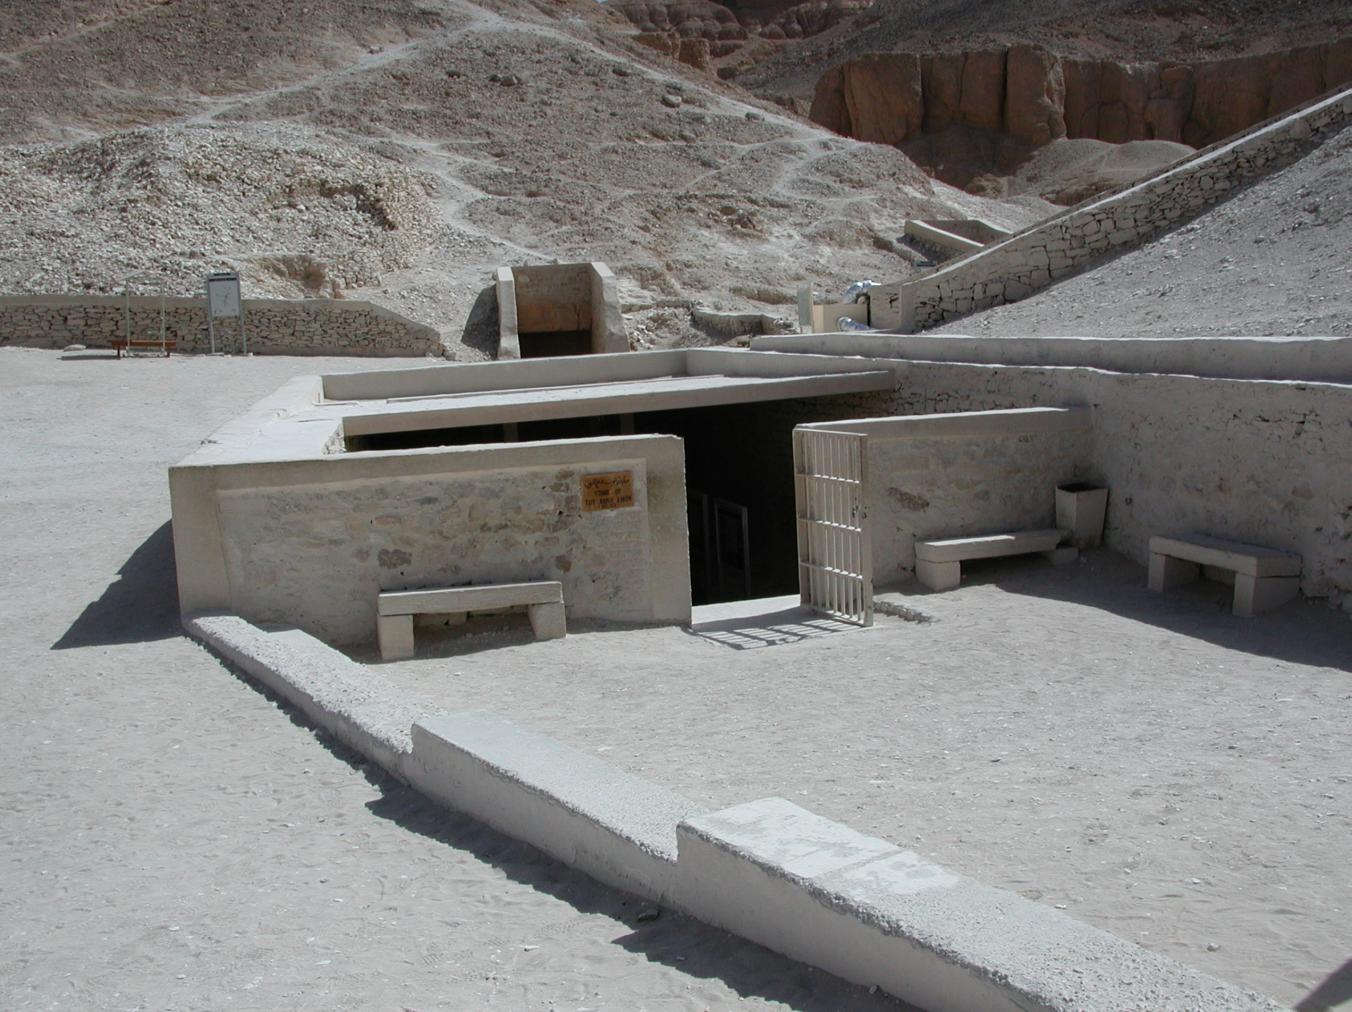
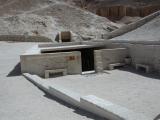
See entire tombSixteen steps descend through the bedrock toward gate B. The westernmost end of the stairway is roofed in by the rock of the valley floor. The last six steps of the entrance were cut back in ancient times, together with the lintel and jambs of gate B, in order to allow passage of larger pieces of funerary furniture. These features were all subsequently reconstructed in stone and plaster. Recently, a shelter was built over the entrance.
Gate B
See entire tombThe lintel and jambs of the doorway were cut away in antiquity to allow for the passage of large pieces of funerary furniture. The lintel was subsequently replaced with a heavy, limewashed beam. Carter removed the original blocking when he discovered the tomb, and again had to widen the gate when he removed the shrine panels.
Porter and Moss designation:
Corridor B
See entire tombThe corridor originally contained material left over from the funeral feast, as well as material associated with the embalming of the king, according to Reeves. After the first robbery, the bulk of this material was removed to KV 54 and the corridor was filled with limestone chips and rubble to impede access to the tomb chambers. This was unsuccessful, as shown by the tunnel made by the second group of robbers through the upper left of the blocking debris. This tunnel was filled with rubble before the third sealing of the tomb.
Porter and Moss designation:
Gate I
See entire tombThe jambs in gate I, like those in gate B, were cut back in antiquity. Carter removed the original blocking of the gate when he discovered the tomb.
Porter and Moss designation:
Chamber I
See entire tombThis chamber (called the Antechamber by Carter) is long and rectangular, similar to the pillared section of the burial chambers in other tomb, but without pillars. The walls are rough and undecorated, as are all other chamber walls except burial chamber J. This chamber held over six hundred objects. Near the left (south) end of the rear (west) wall a low doorway leads to side chamber Ia. At the right (north) end of the rear (west) wall are remains of the abandoned cutting of a gate. Chisel marks on the ceiling of burial chamber J indicate that chamber I originally extended about two meters farther to the right (north). Near the floor in the center of the west wall of chamber I is a small recess.
Porter and Moss designation:
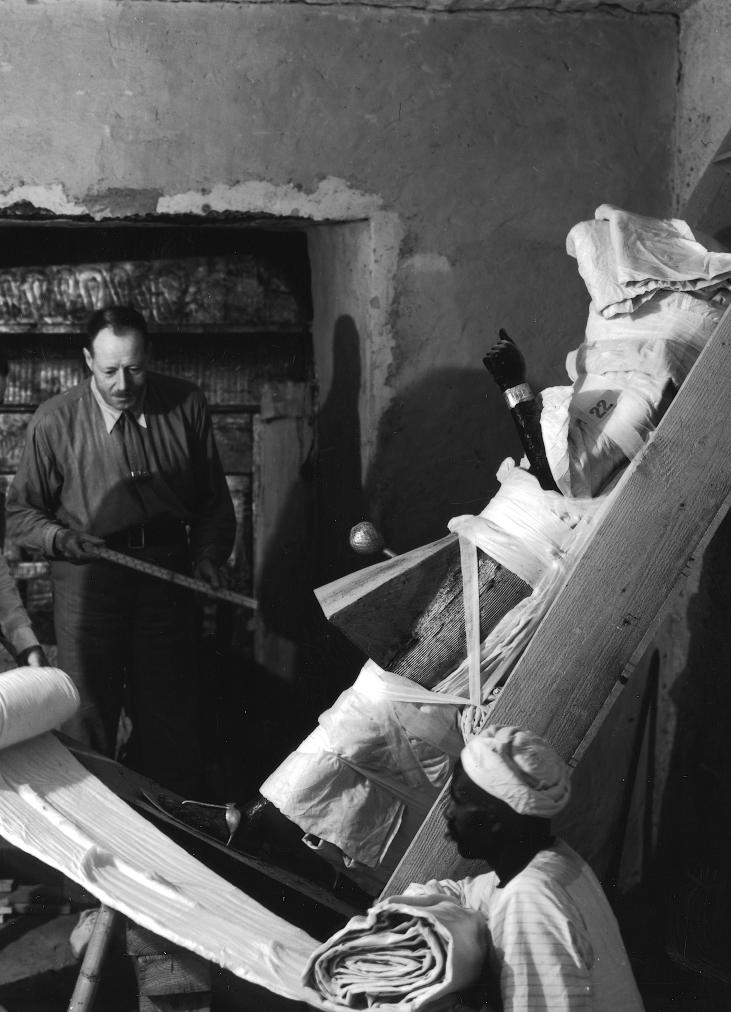
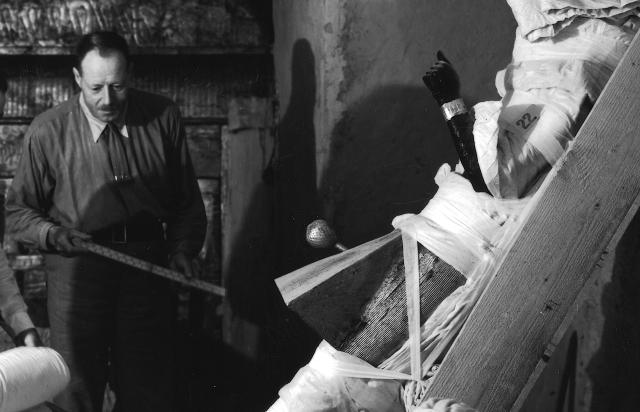
Arthur Callender and Howard Carter working in the Antechamber of Tutankhamen's tomb
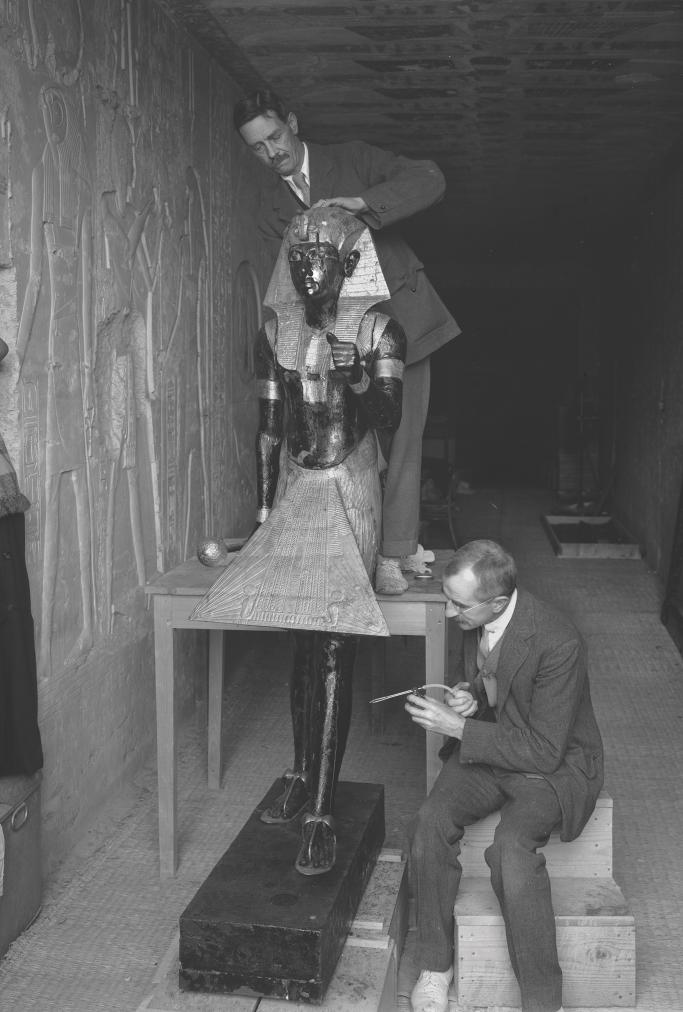
Alfred Lucas and Arthur Mace conserving the Guardian statue of Tutankhamen in the makeshift 'laboratory' set up in the tomb of Sety II.
Gate Ia
See entire tombAlthough this is a low gate, black paint lines above the opening indicate that it was intended to be higher. Carter removed the original blocking when clearing the tomb.
Porter and Moss designation:
Side chamber Ia
See entire tombThis rectangular side chamber (called the Annexe by Carter), is the equivalent to the side chambers used for storage located off chamber F in traditional tombs. Carter noted that masons' control marks in red were visible upon the walls. The floor of this chamber is 0.9 m lower than the floor of chamber I. The chamber contained a disordered array of furniture, baskets, wine jars, calcite vessels, model boats, and shabtis.
Porter and Moss designation:
Gate Ib
See entire tombAt the right (north) end of the rear (west) wall of chamber I is an abandoned cutting for a gate to a second side chamber intended here before the construction of the burial chamber J. Black lines from the top and left side of the cutting indicate the planned dimensions of the gate.
Burial chamber J
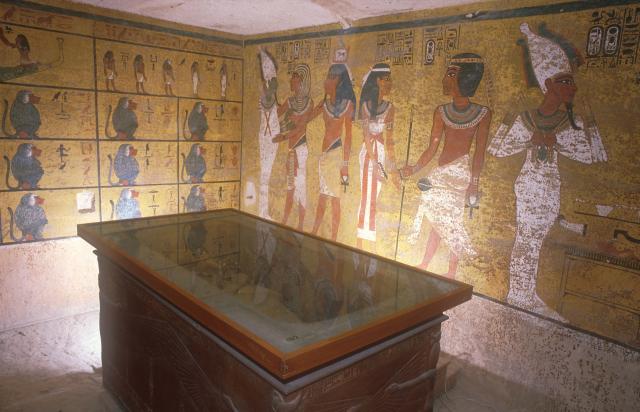
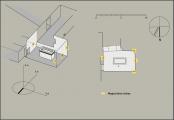
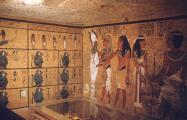
See entire tombThe burial chamber is situated right (north) of chamber I on an east-west axis, and the floor is almost a meter (3 feet) lower than that of the previous chamber. Magical brick niches were cut into each of the four walls of the chamber. The niches were covered by limestone flakes which were then plastered and painted. The chamber held three hundred objects in addition to four shrines inside of which were the sarcophagus, three coffins, burial mask and mummy of the king. Only this chamber was decorated. The background for the scenes was a golden yellow; the figures are in a non-traditional style. The human figures on every wall except the front (south) are laid out using the twenty-square grid during the Amarna Period. The south wall more closely fits the eighteen-square grid pattern of traditional art.
Chamber plan:
RectangularRelationship to main tomb axis:
ParallelChamber layout:
Flat floor, no pillarsFloor:
One levelCeiling:
Flat
Porter and Moss designation:
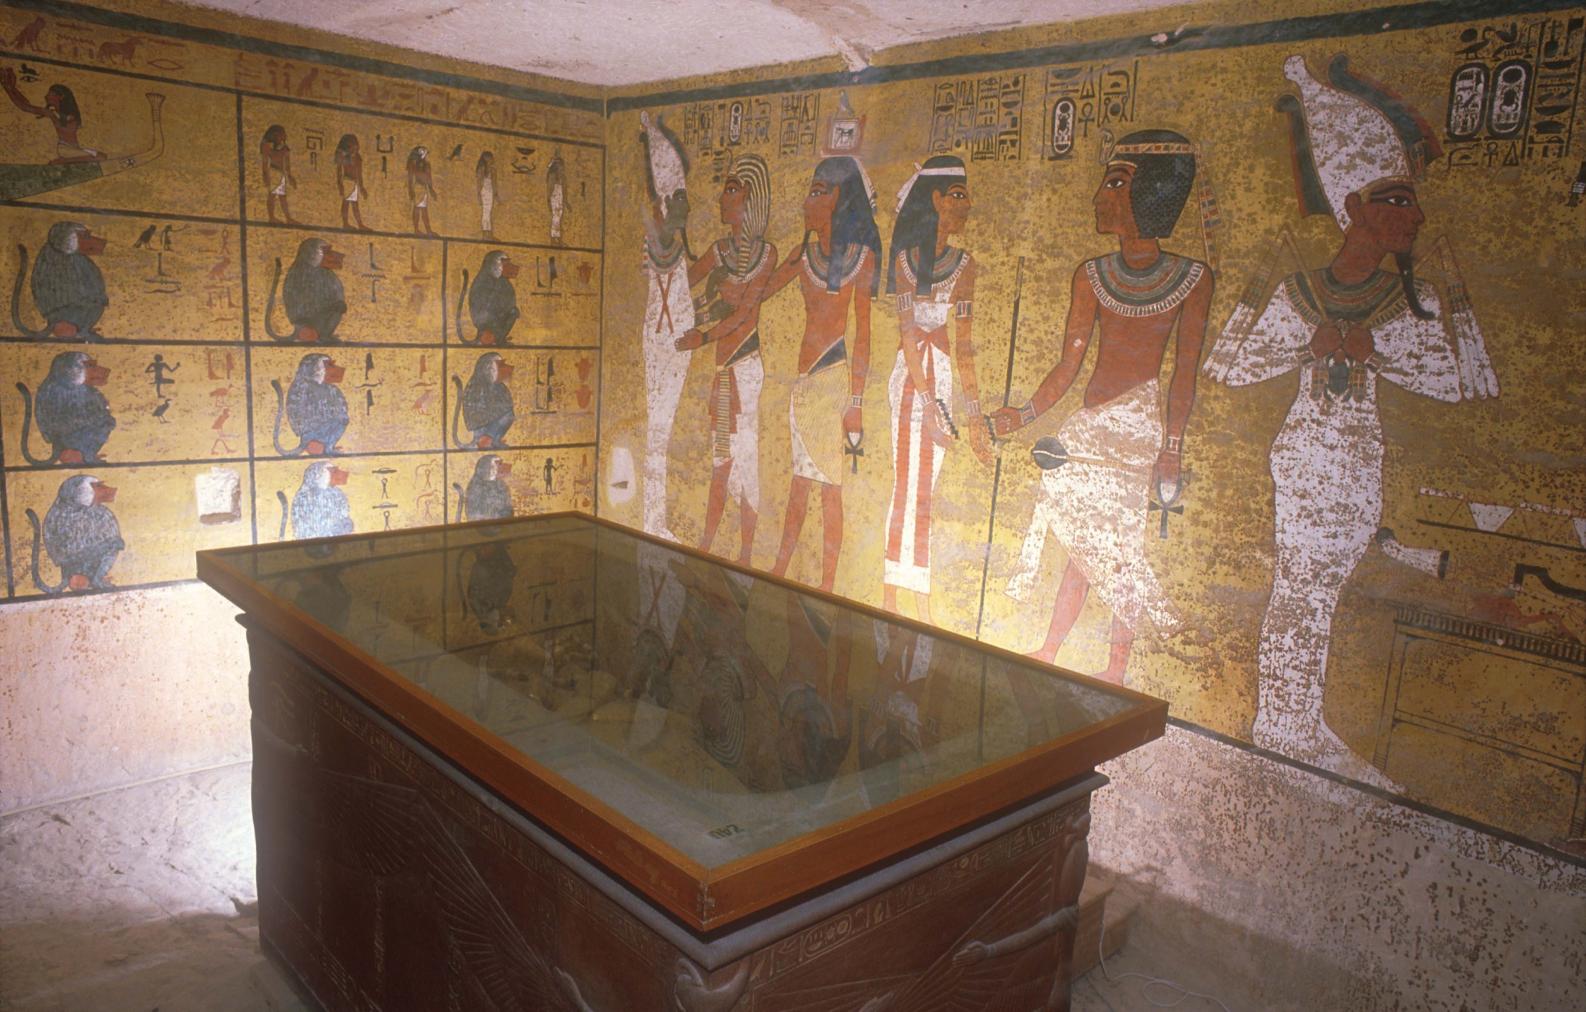
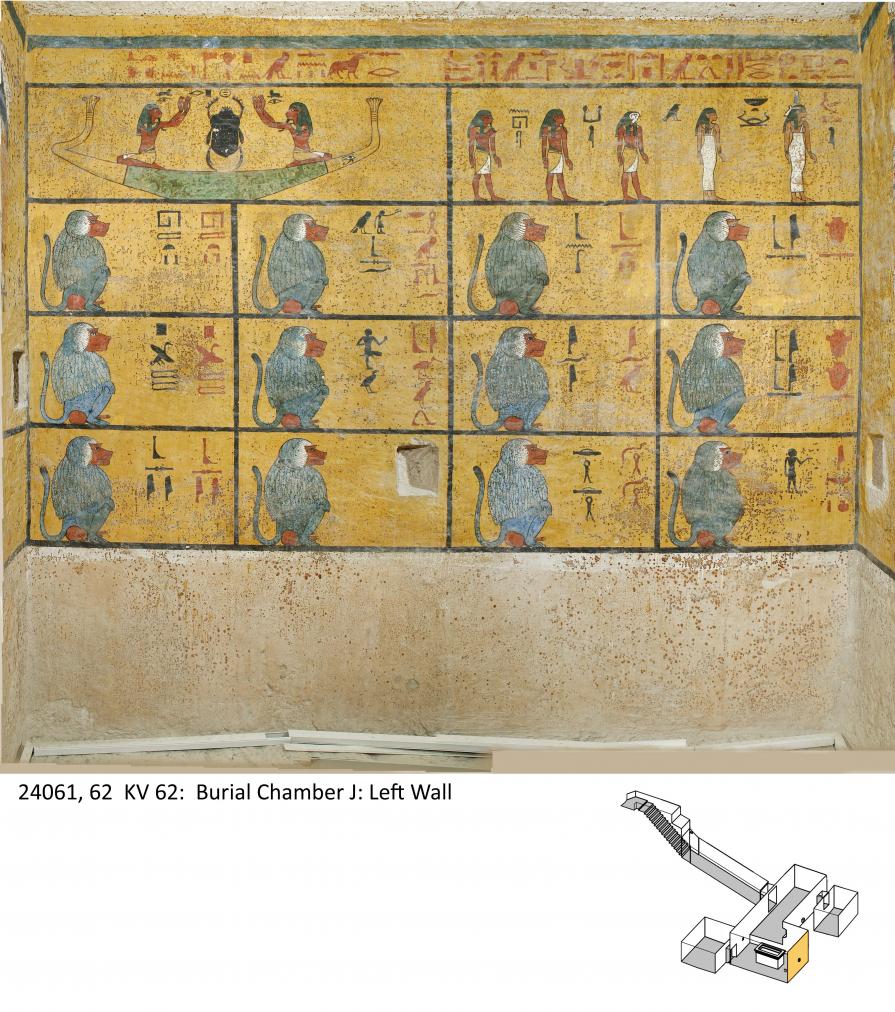
Imydwat, first hour: detail; Osiris, Tutankhamen and his ka, Nut greeting Tutankhamen, and Tutankhamen as Osiris; outer coffin in quartzite sarcophagus.
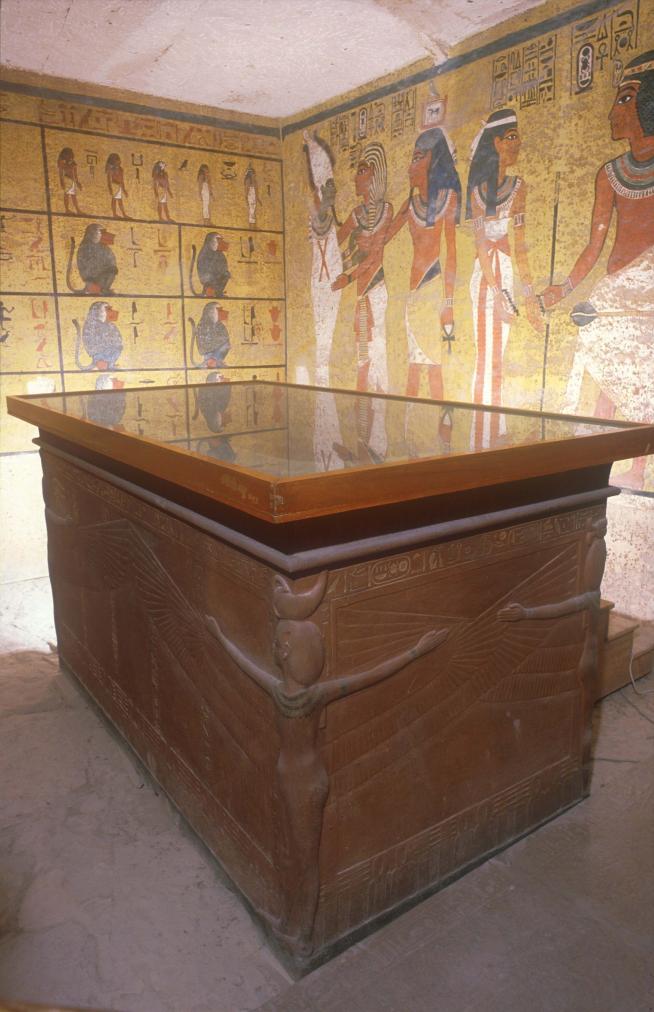
Imydwat, first hour: detail; Osiris, Tutankhamen and his ka, Nut greeting Tutankhame); outer coffin in quartzite sarcophagus.
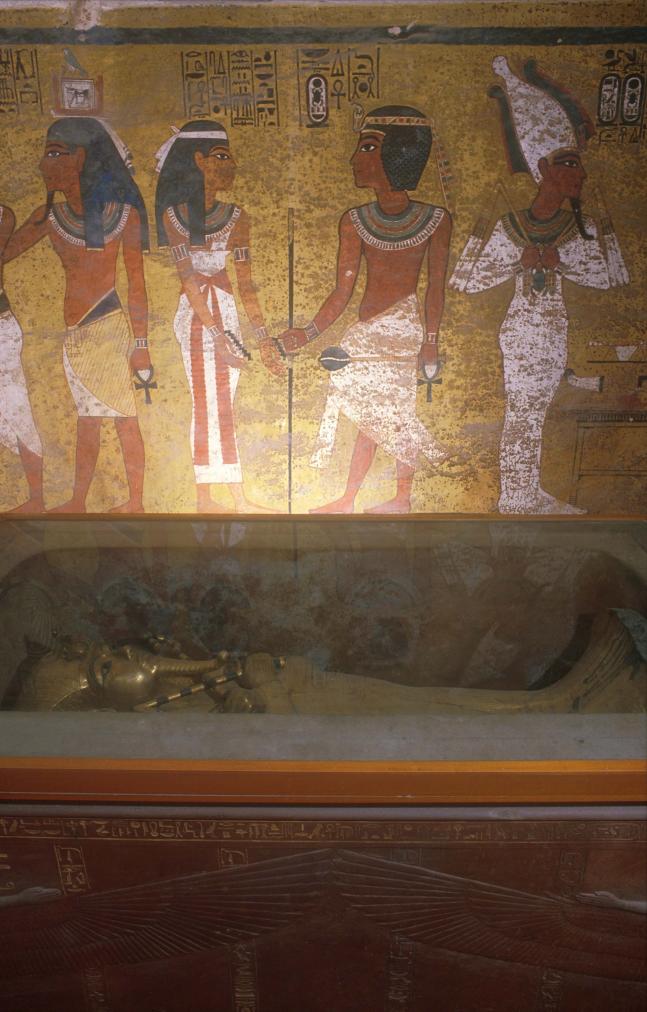
[Tutankhamen and] his ka, Nut greeting Tutankhamen, Tutankhamen as Osiris; outer coffin in sarcophagus.
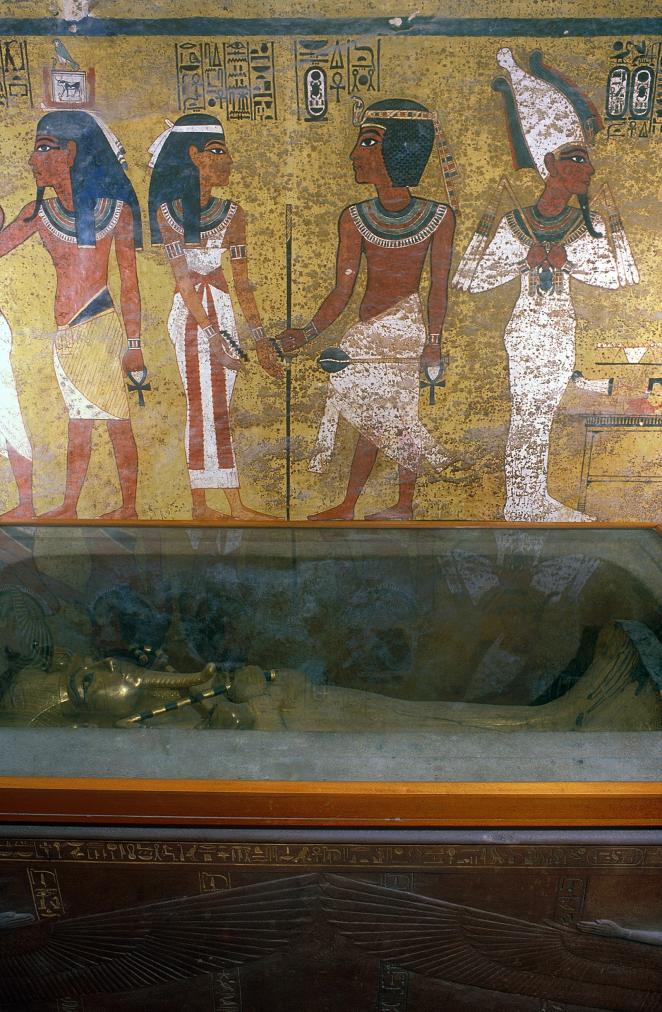
[Tutankhamen and his] ka; Nut greeting Tutankhamen; Tutankhamen as Osiris; outer coffin in sarcophagus.
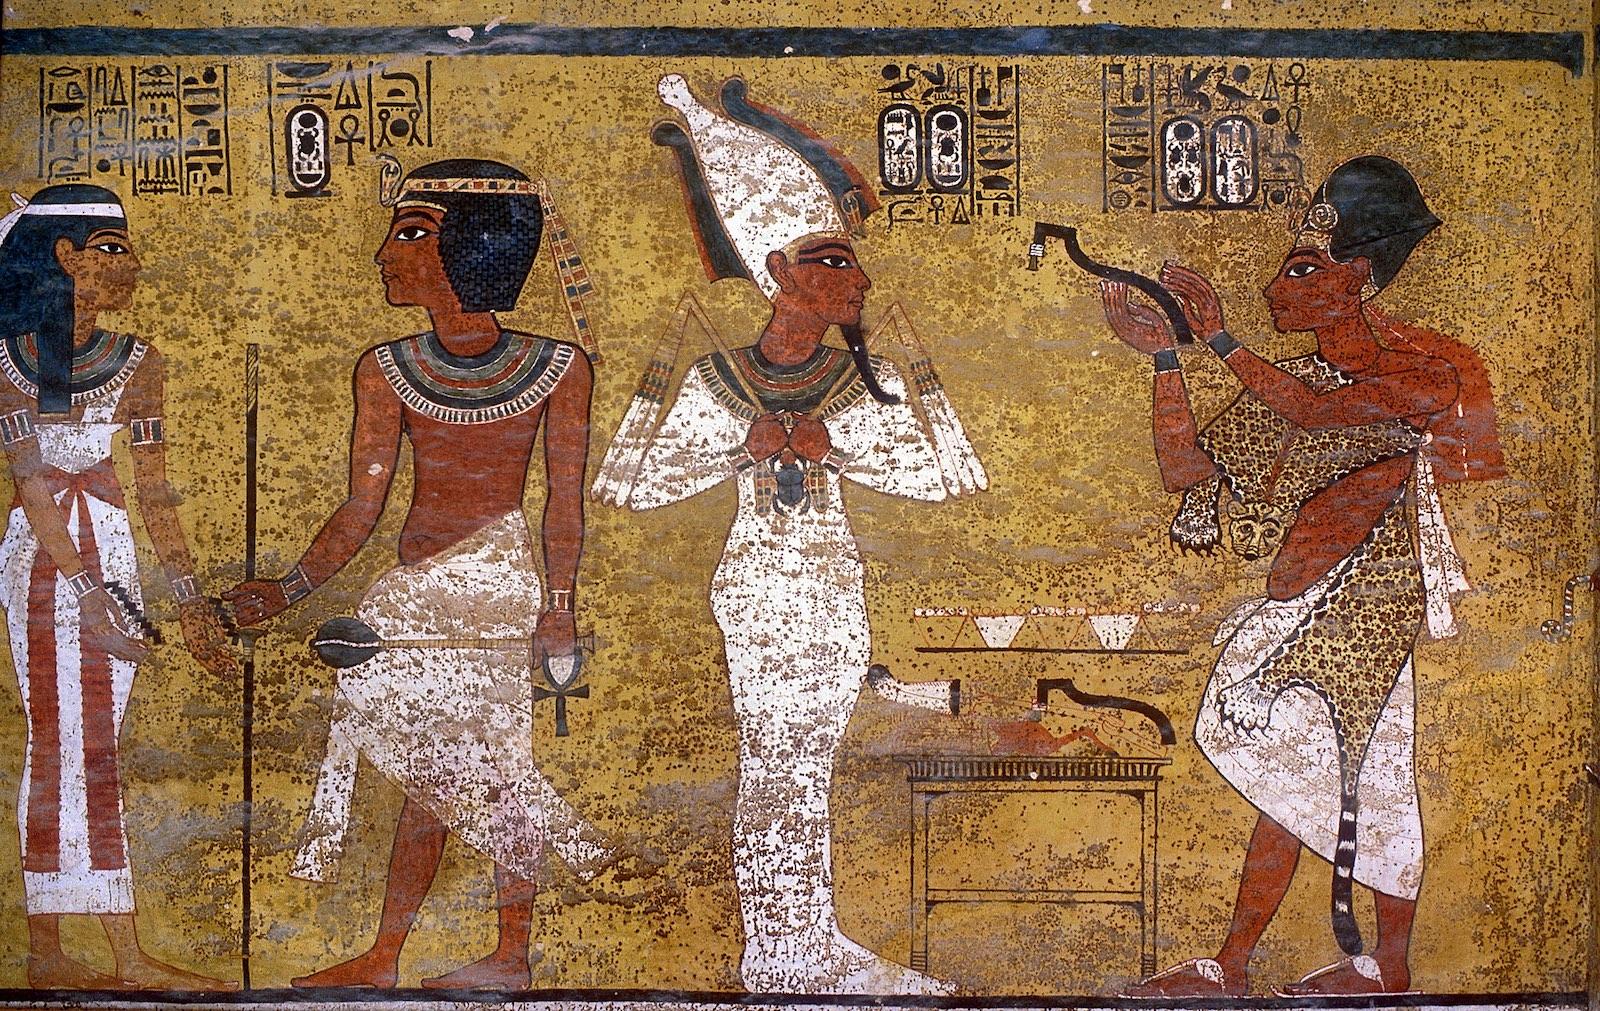
Nut greeting Tutankhamen; Opening of the Mouth ritual, performed on Tutankhamen as Osiris by Ay.
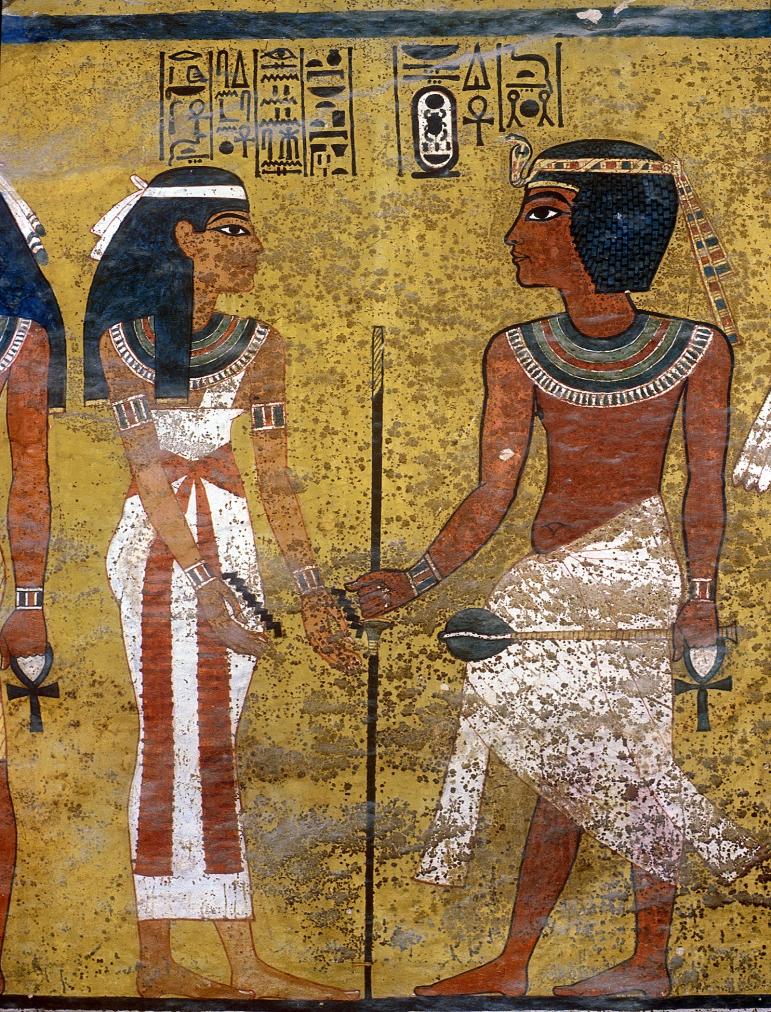
Nut greeting Tutankhamen.
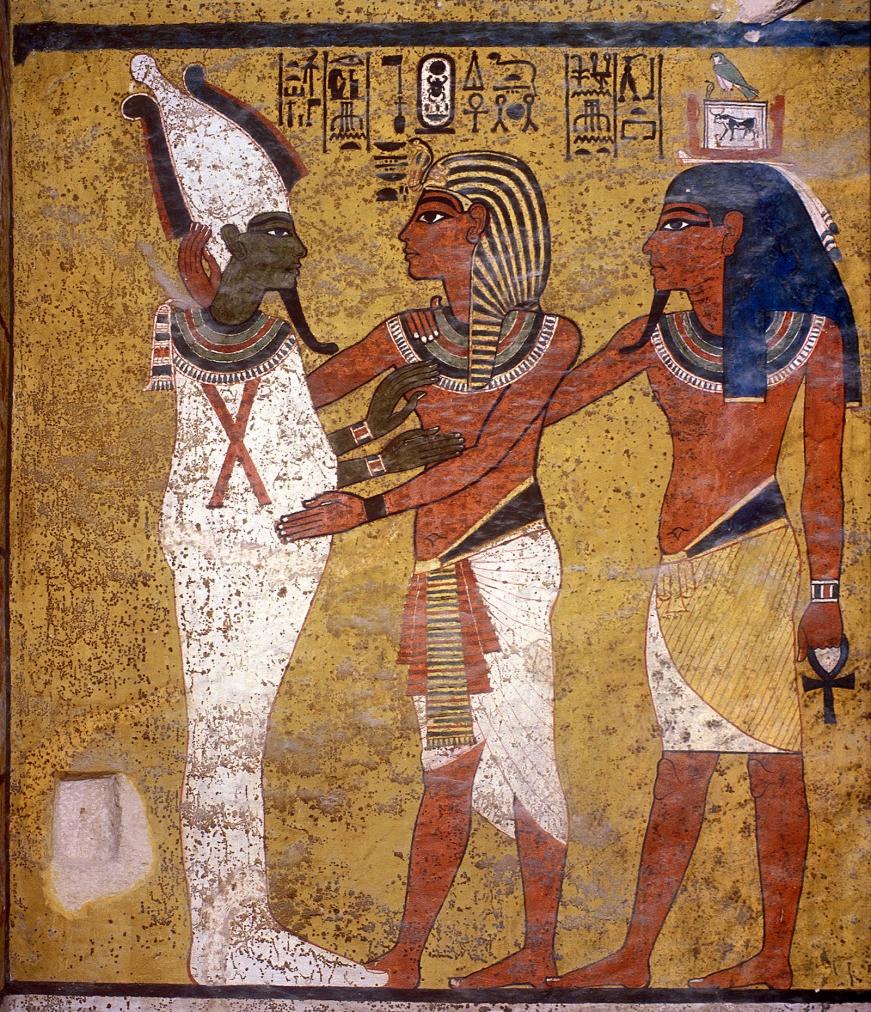
Magical brick niche; Osiris, Tutankhamen and his ka.
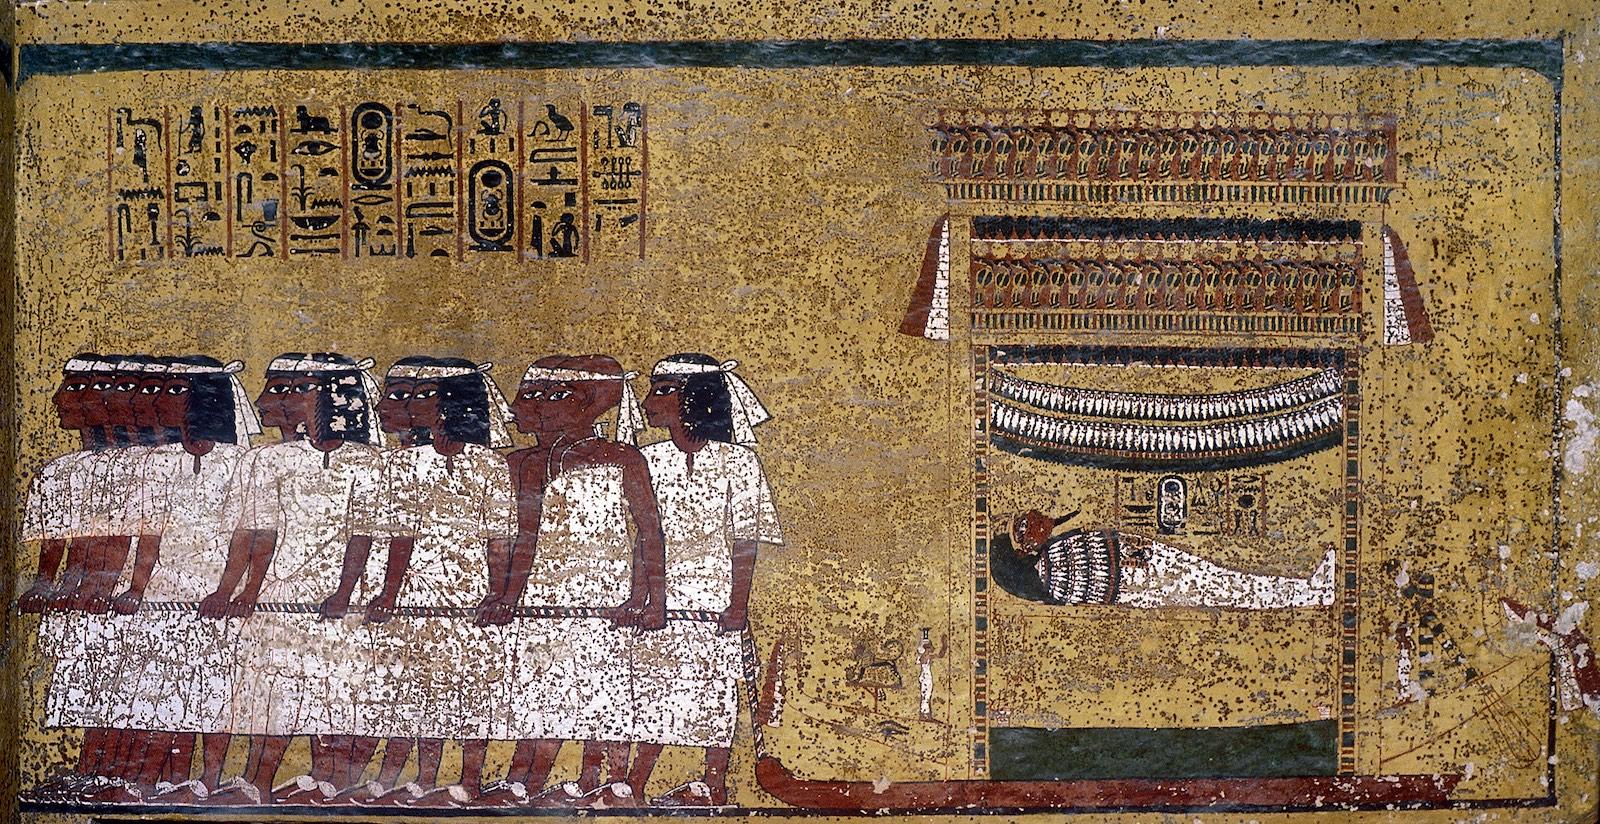
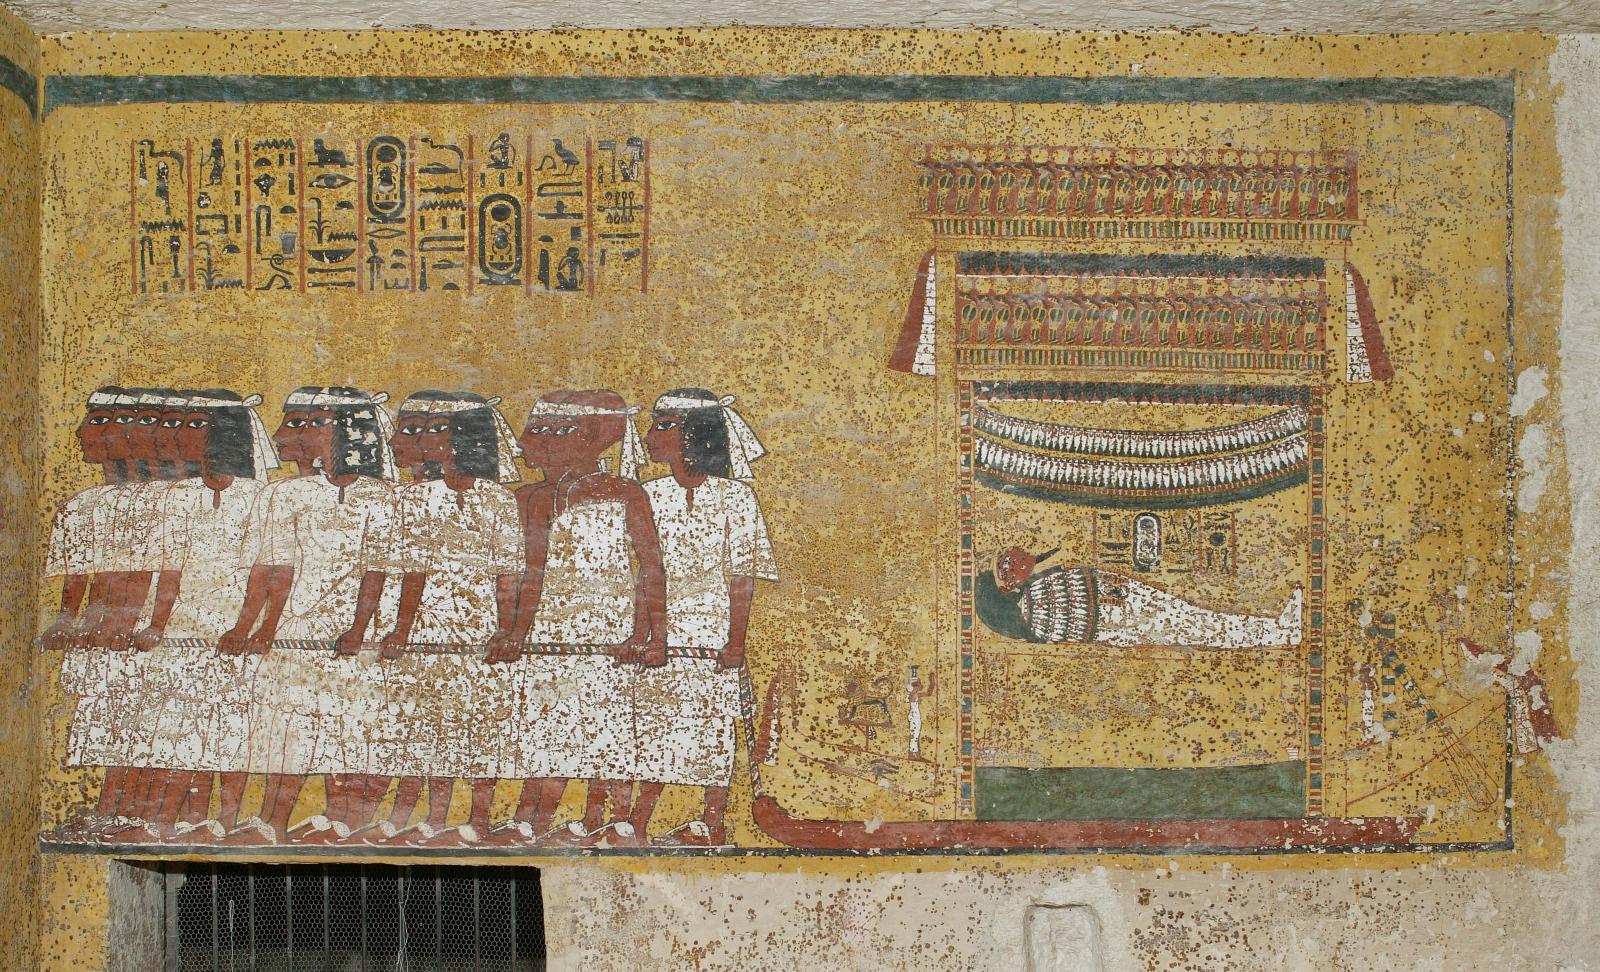
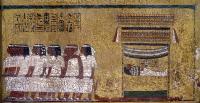
Book of the Dead, spell 1: funeral procession.
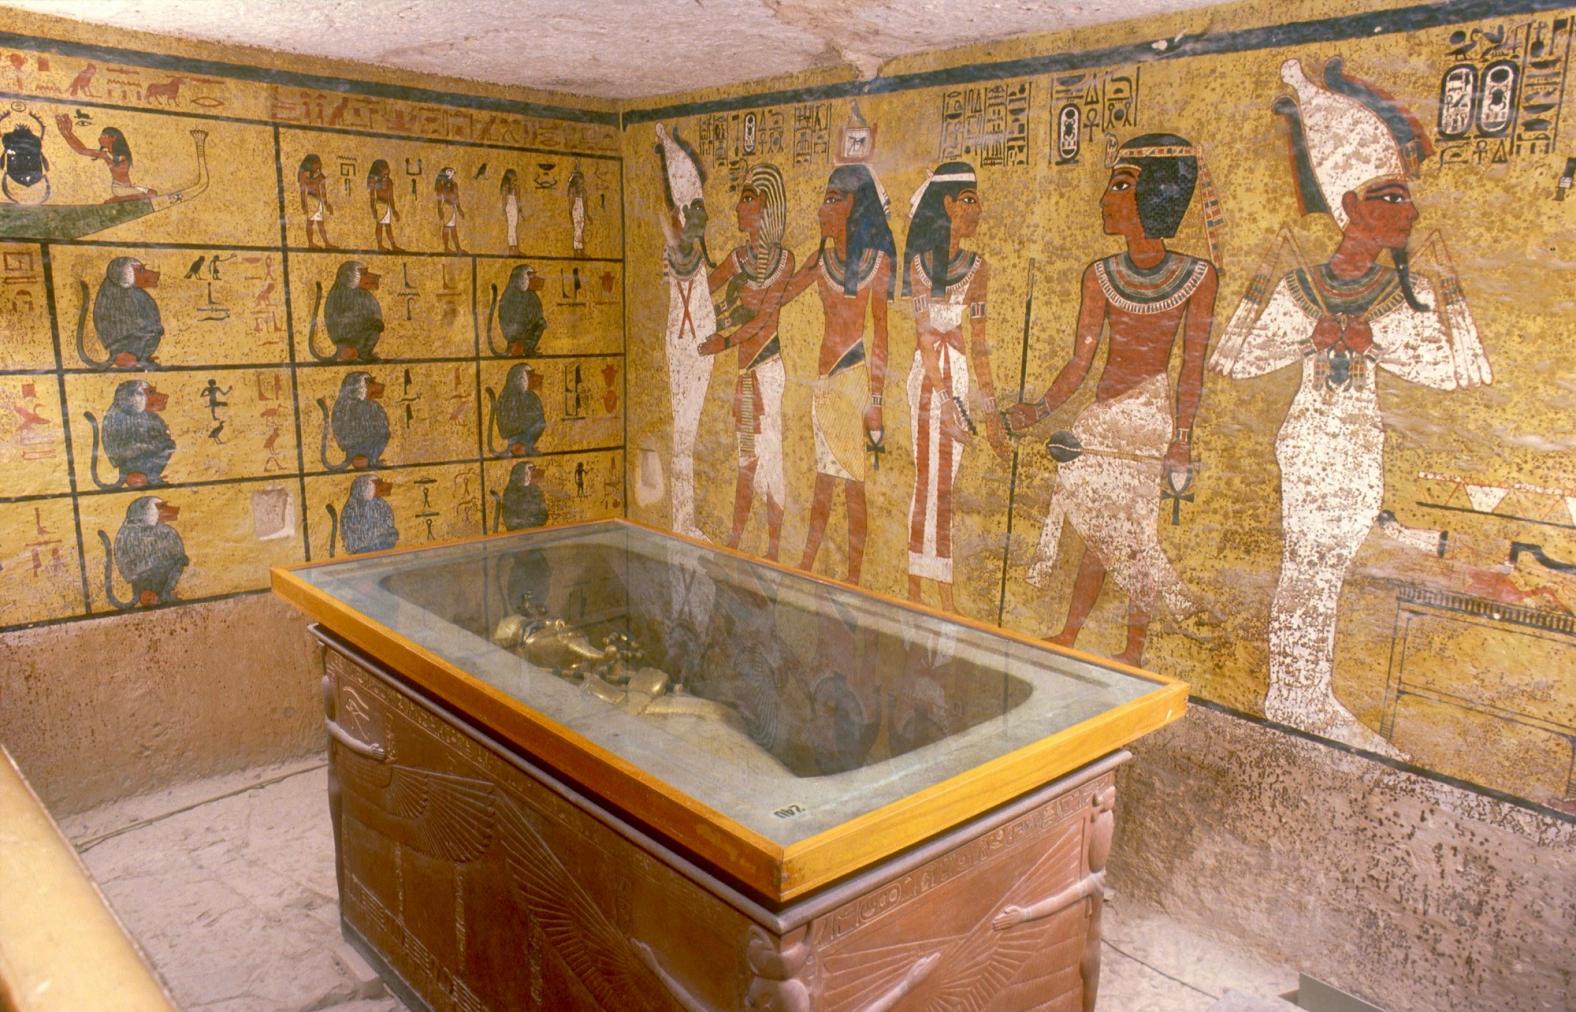
Imydwat, first hour: detail; Osiris, Tutankhamen and his ka; Nut greeting Tutankhamen; Tutankhamen as Osiris from Opening of the Mouth ritual; outer coffin in quartzite sarcophagus.
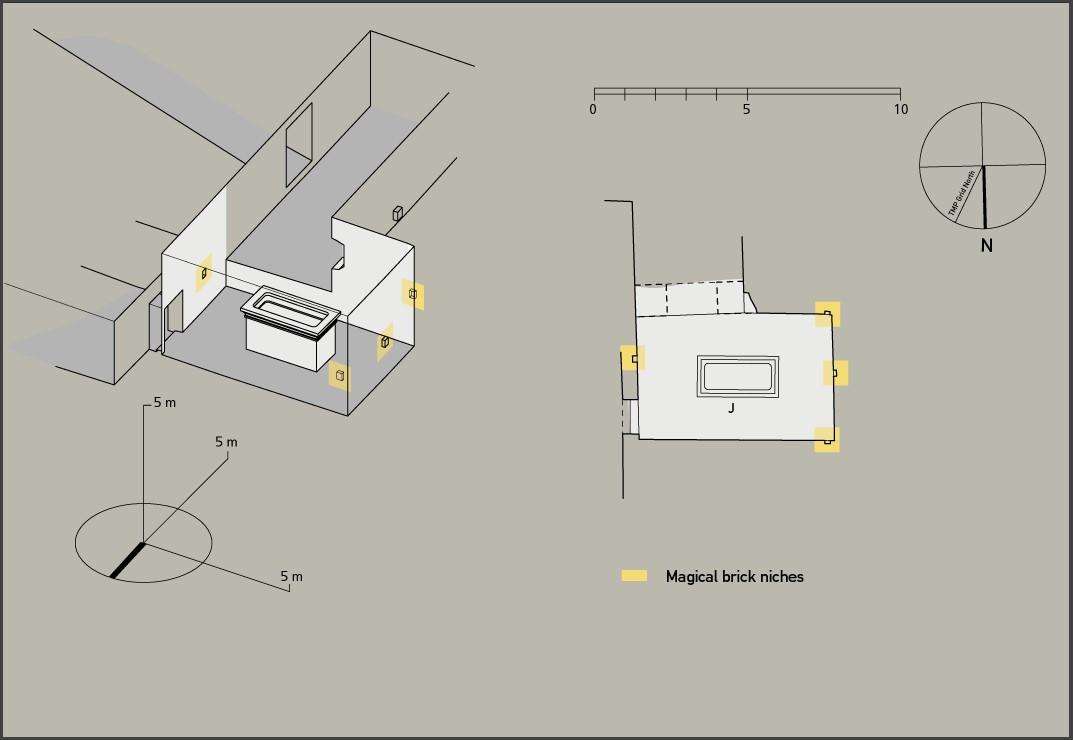
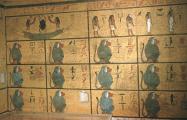
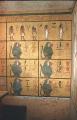
Magical brick niches.
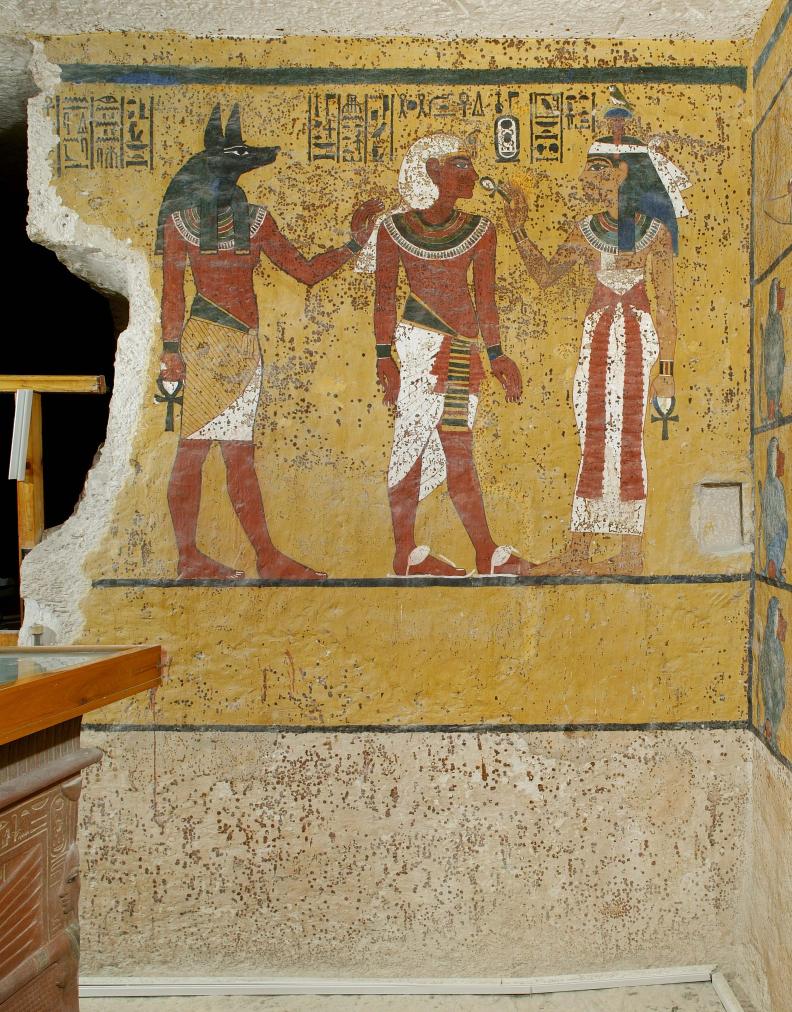
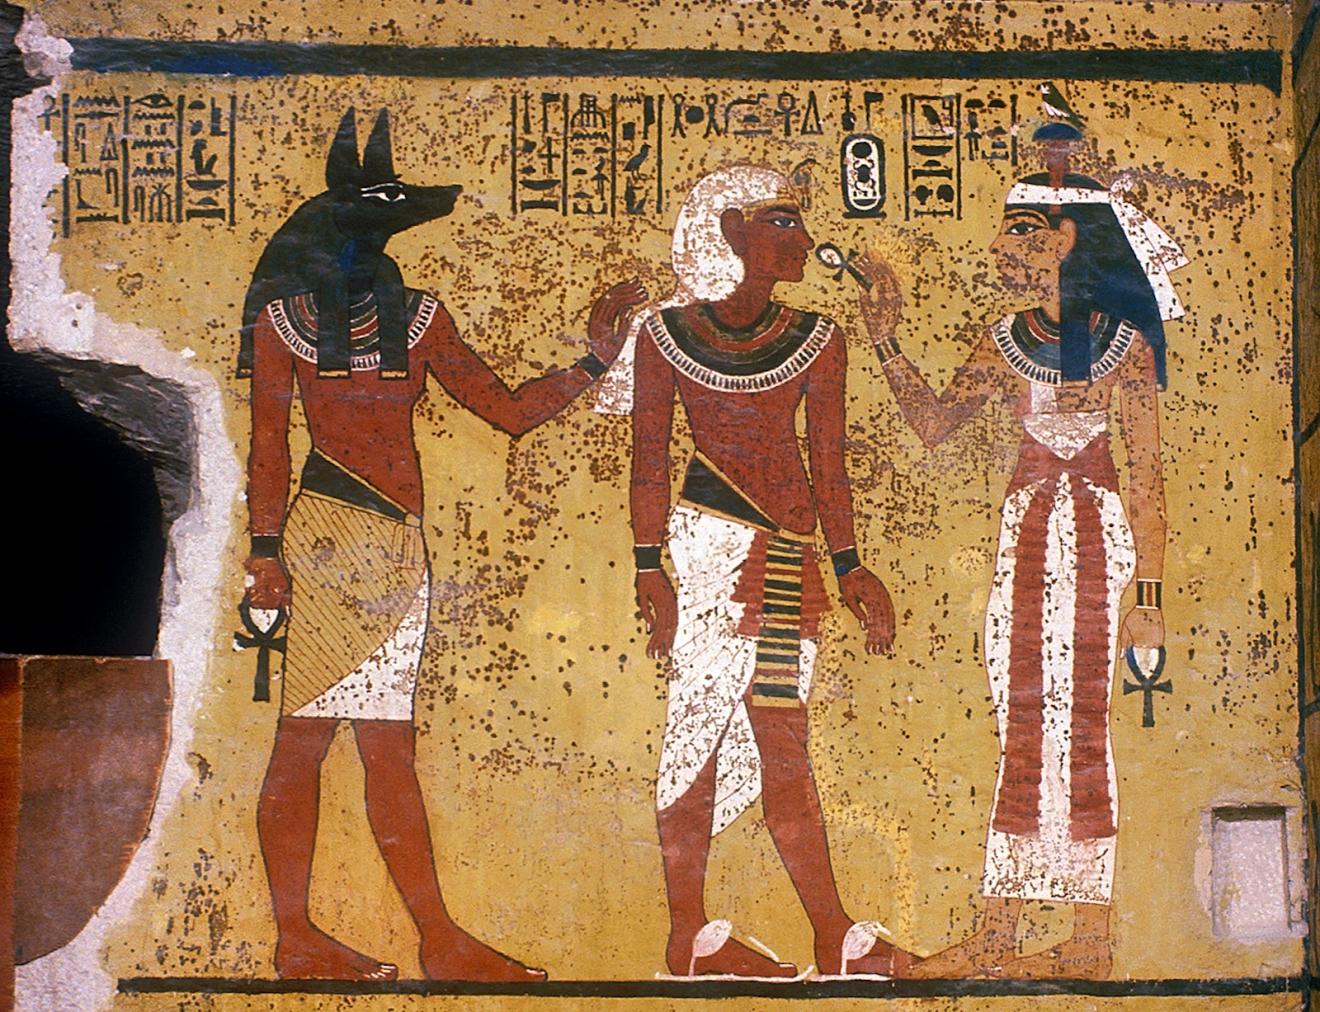
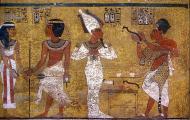
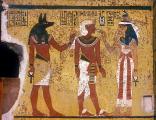
Tutankhamen flanked by Anubis and Hathor.
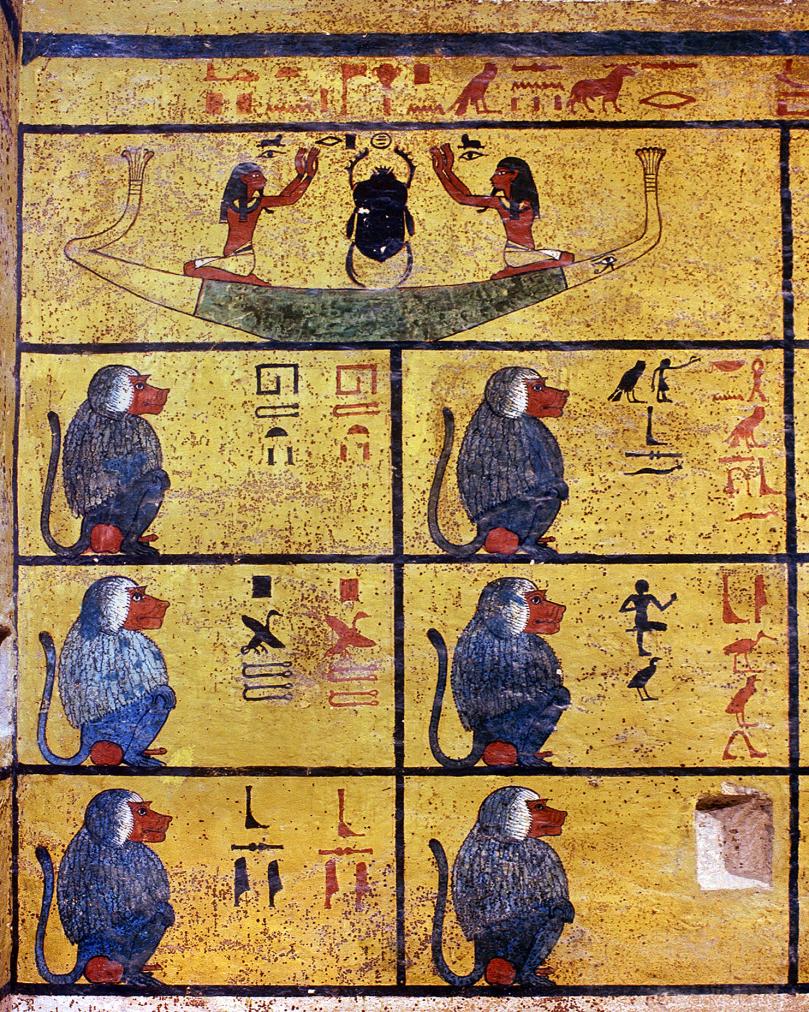
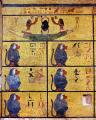
Imydwat, first hour (detail).
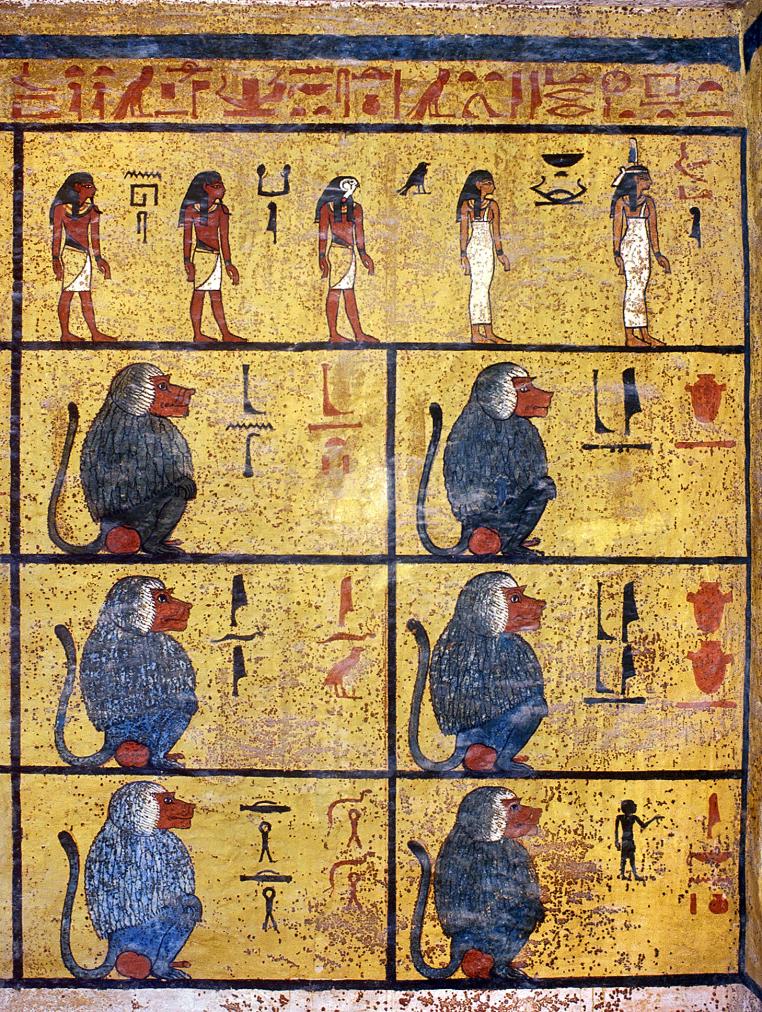
Imydwat, first hour (detail).
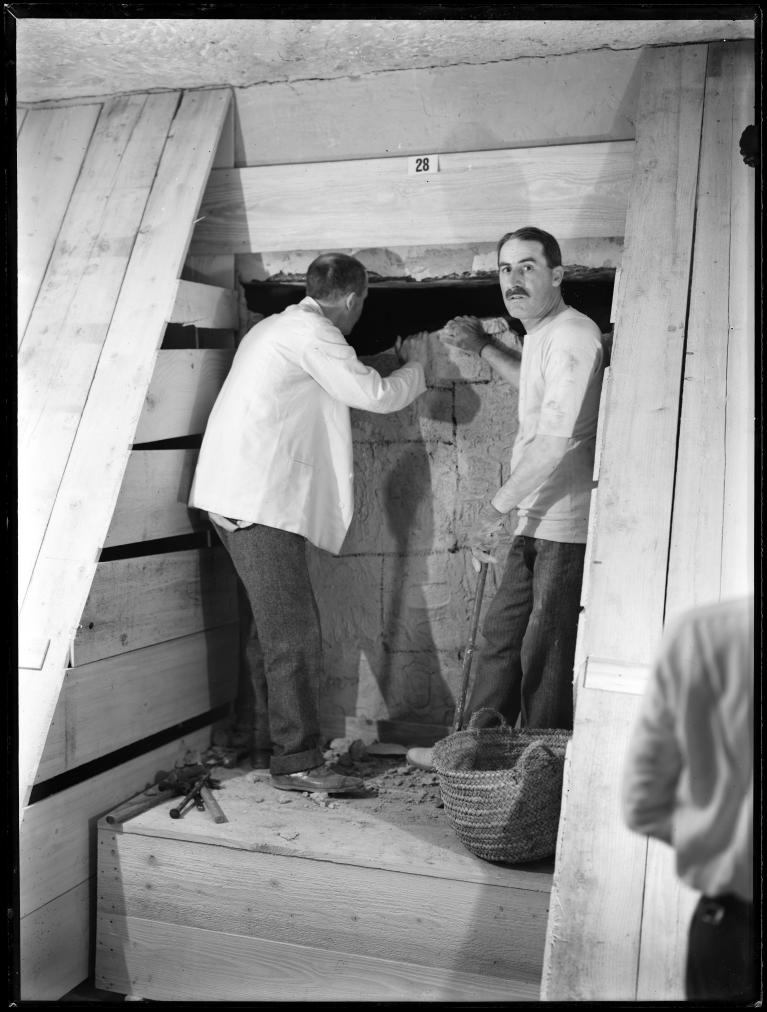
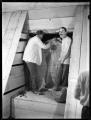
Howard Carter and Lord Carnarvon removing the sealed doorway leading to Tutankhamen's Burial Chamber.
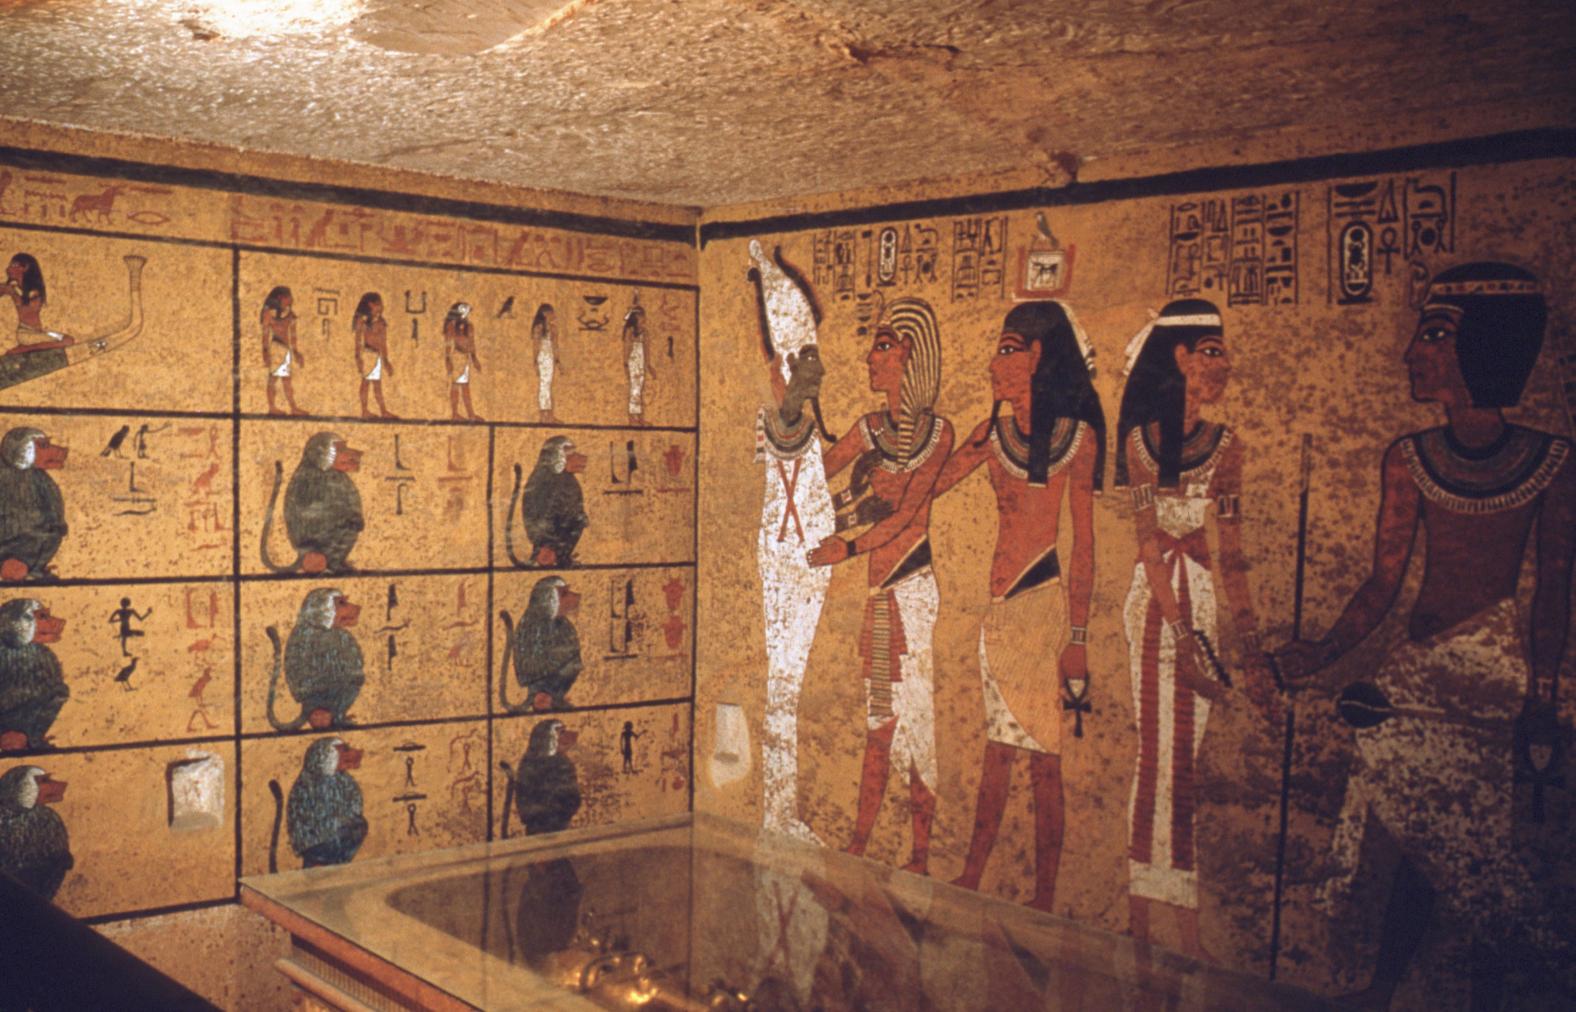
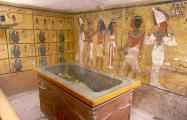
View of the Burial Chamber with the sarcophagus in situ. Courtesy of Uni Dia Verlag; Uni Dia Image Nr. 35402.
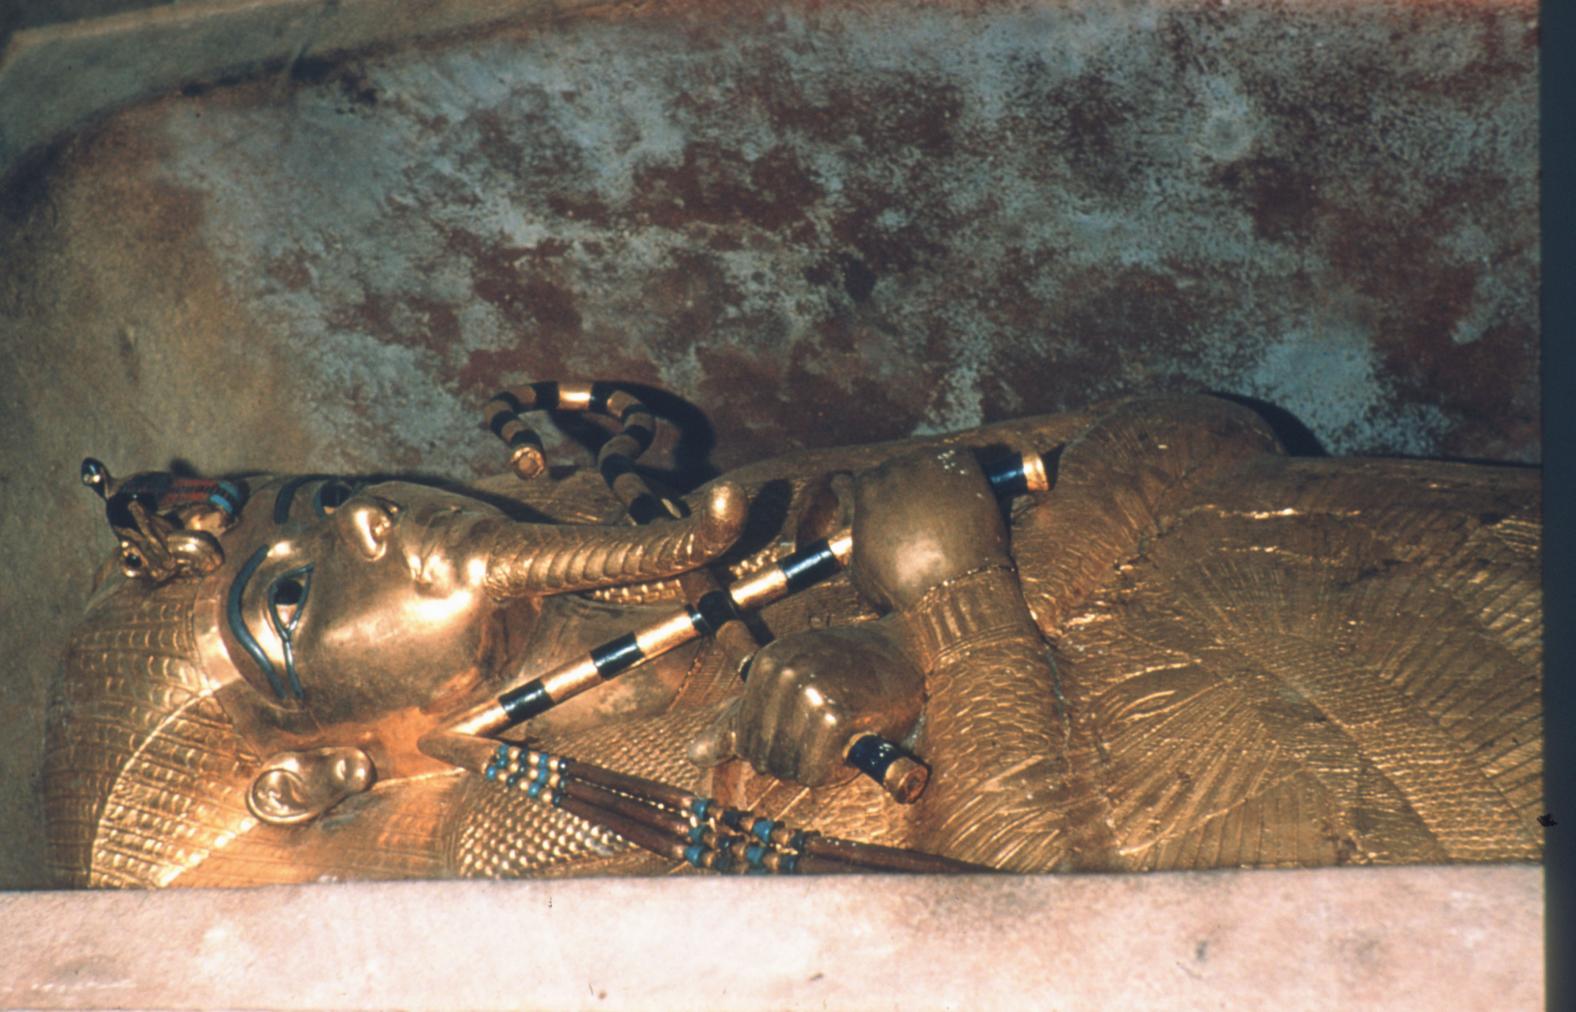
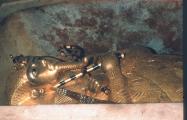
The stone sarcophagus with the gold coffin in situ. Courtesy of Uni Dia Verlag; Uni Dia Image Nr. 35403.
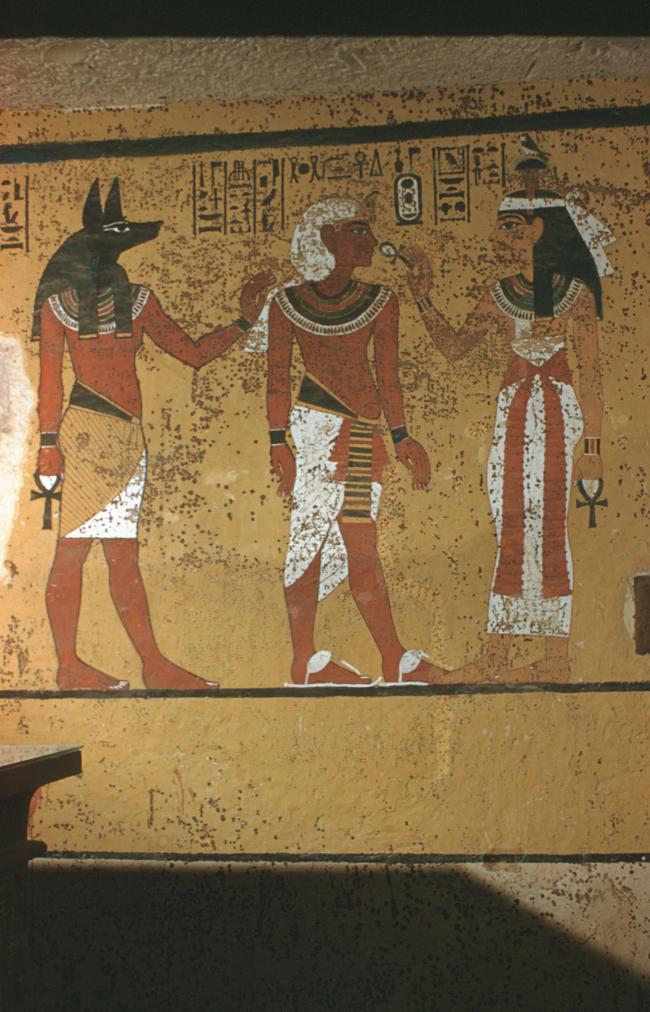
The deceased between Anubis and Hathor. Courtesy of Uni Dia Verlag; Uni Dia Image Nr. 35404.
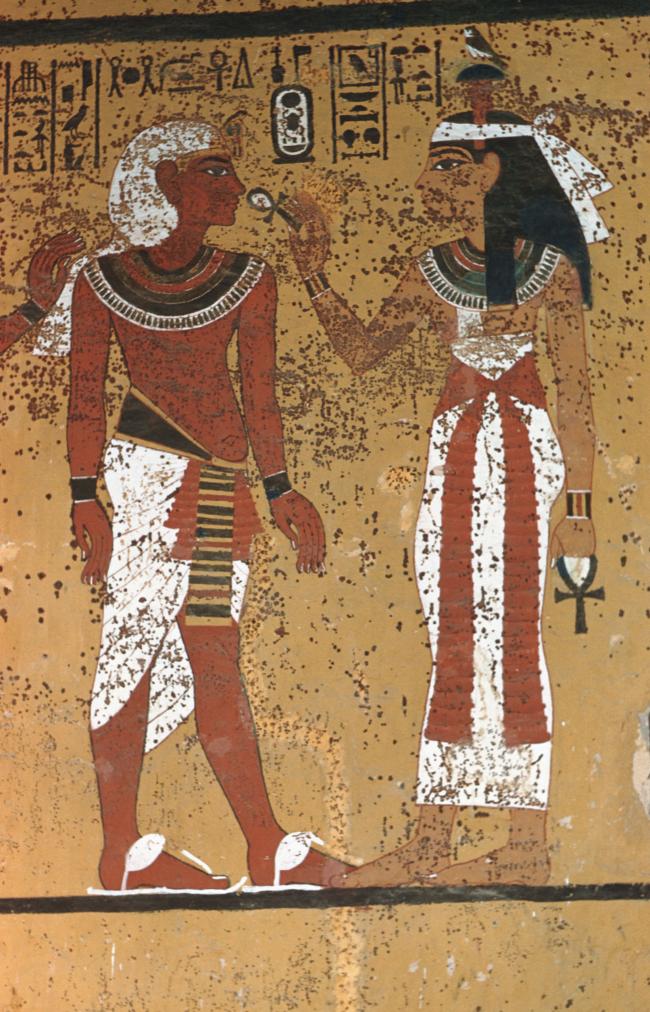
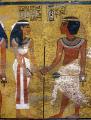
The deceased before Hathor. Courtesy of Uni Dia Verlag; Uni Dia Image Nr. 35405.
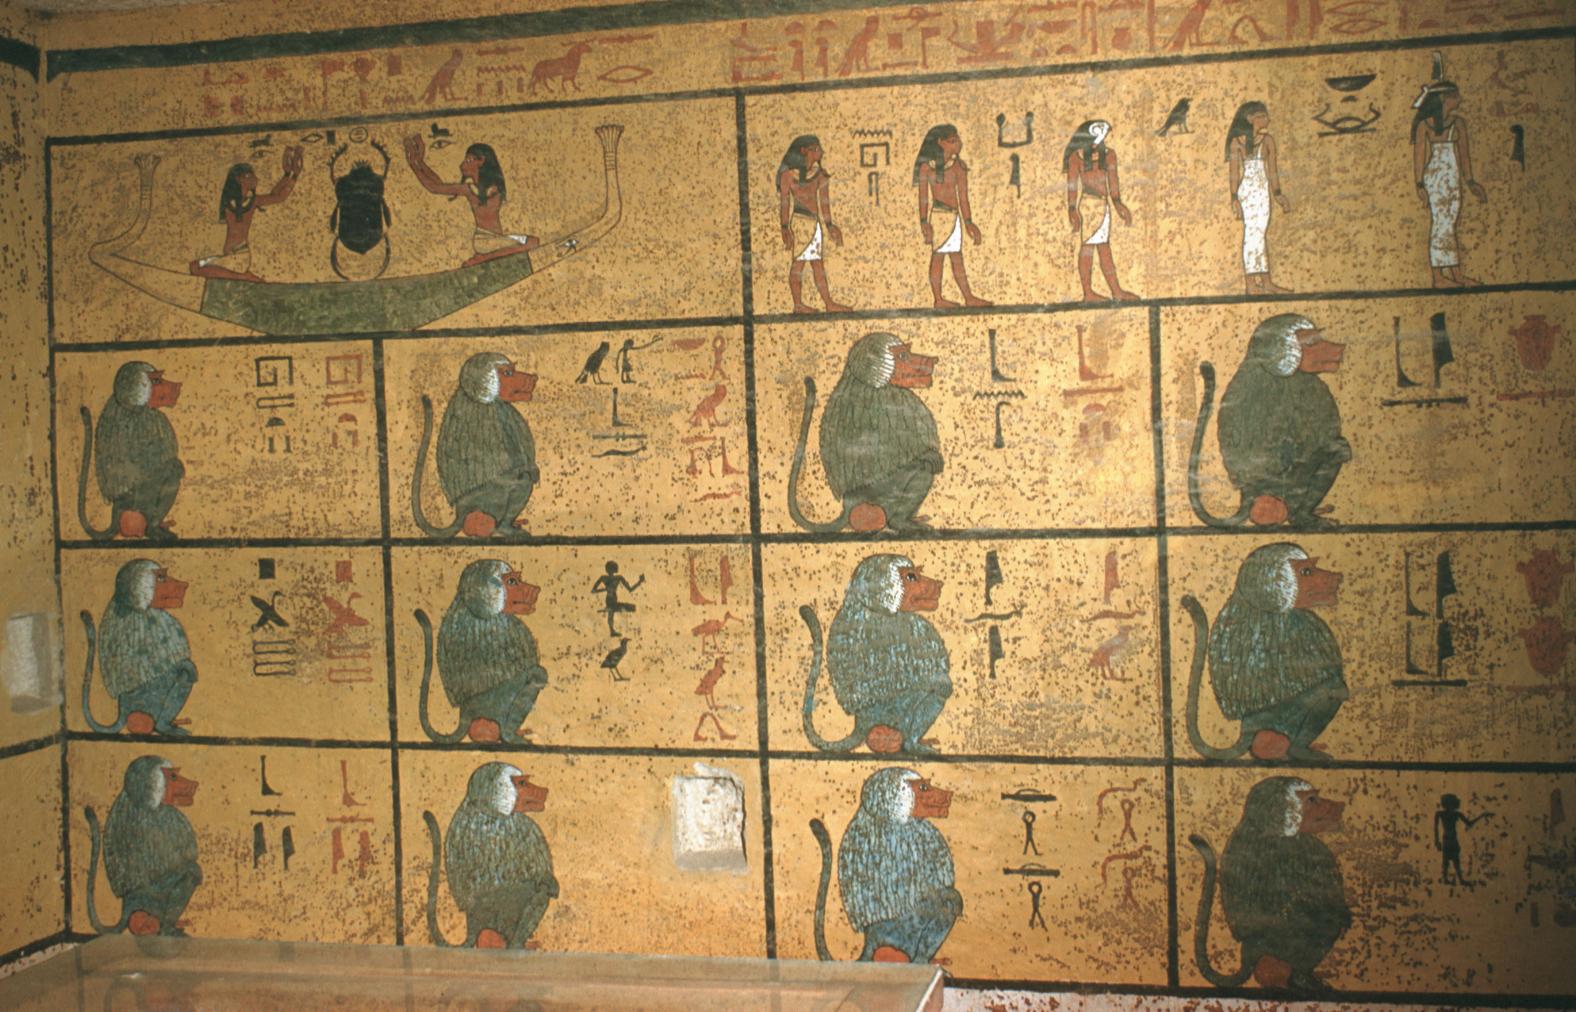
The first hour of the Imydwat. Courtesy of Uni Dia Verlag; Uni Dia Image Nr. 35406.
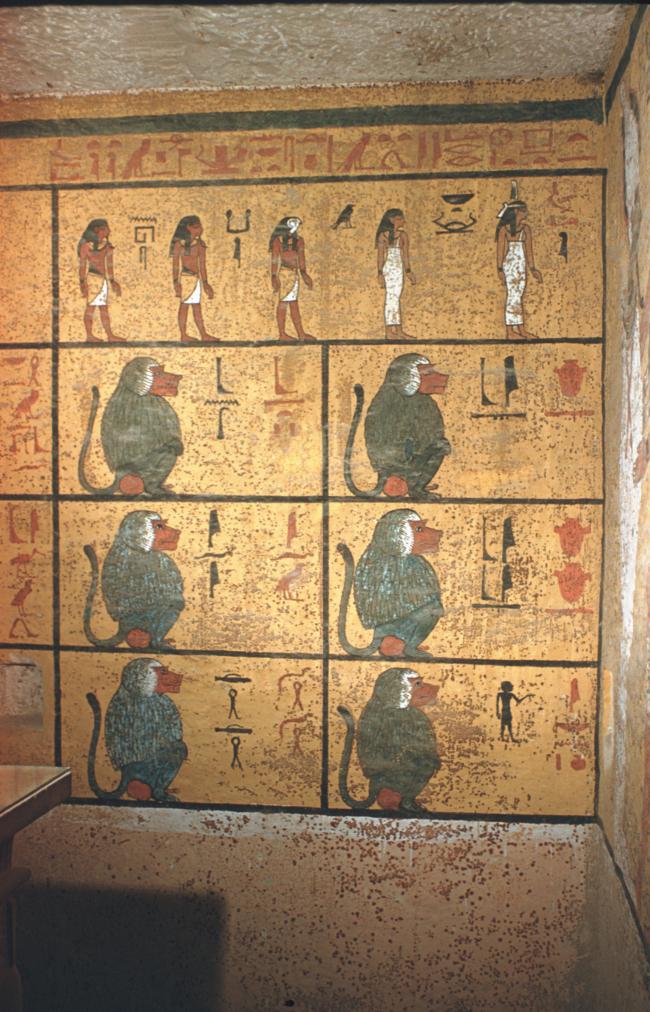
The first hour of the Imydwat. Courtesy of Uni Dia Verlag; Uni Dia Image Nr. 35407.
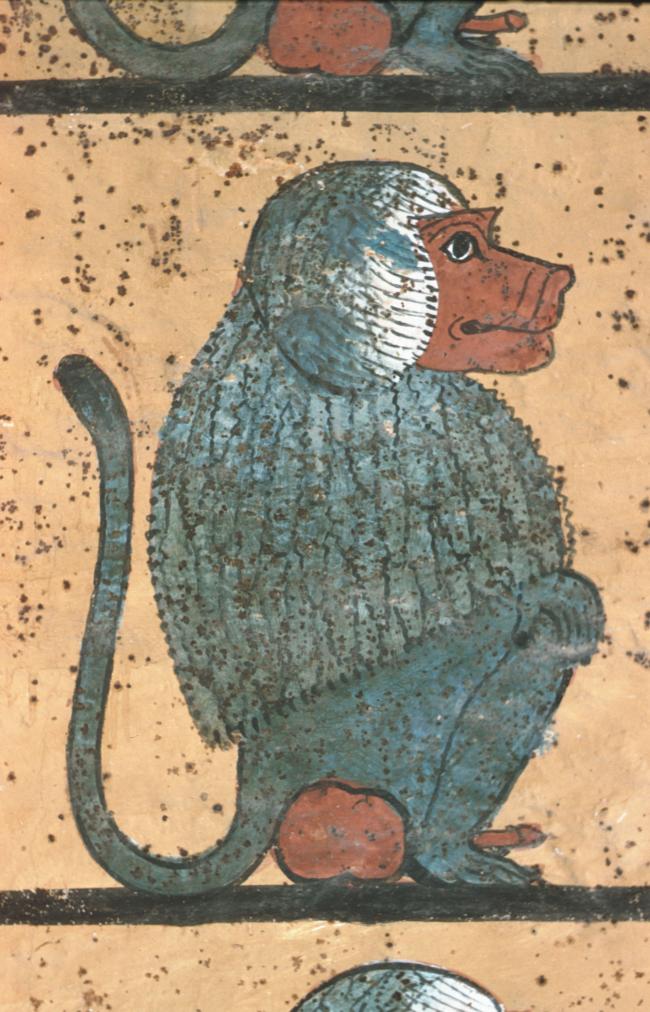
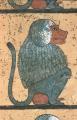
Detail of baboon from the first hour of the Imydwat. Courtesy of Uni Dia Verlag; Uni Dia Image Nr. 35408.
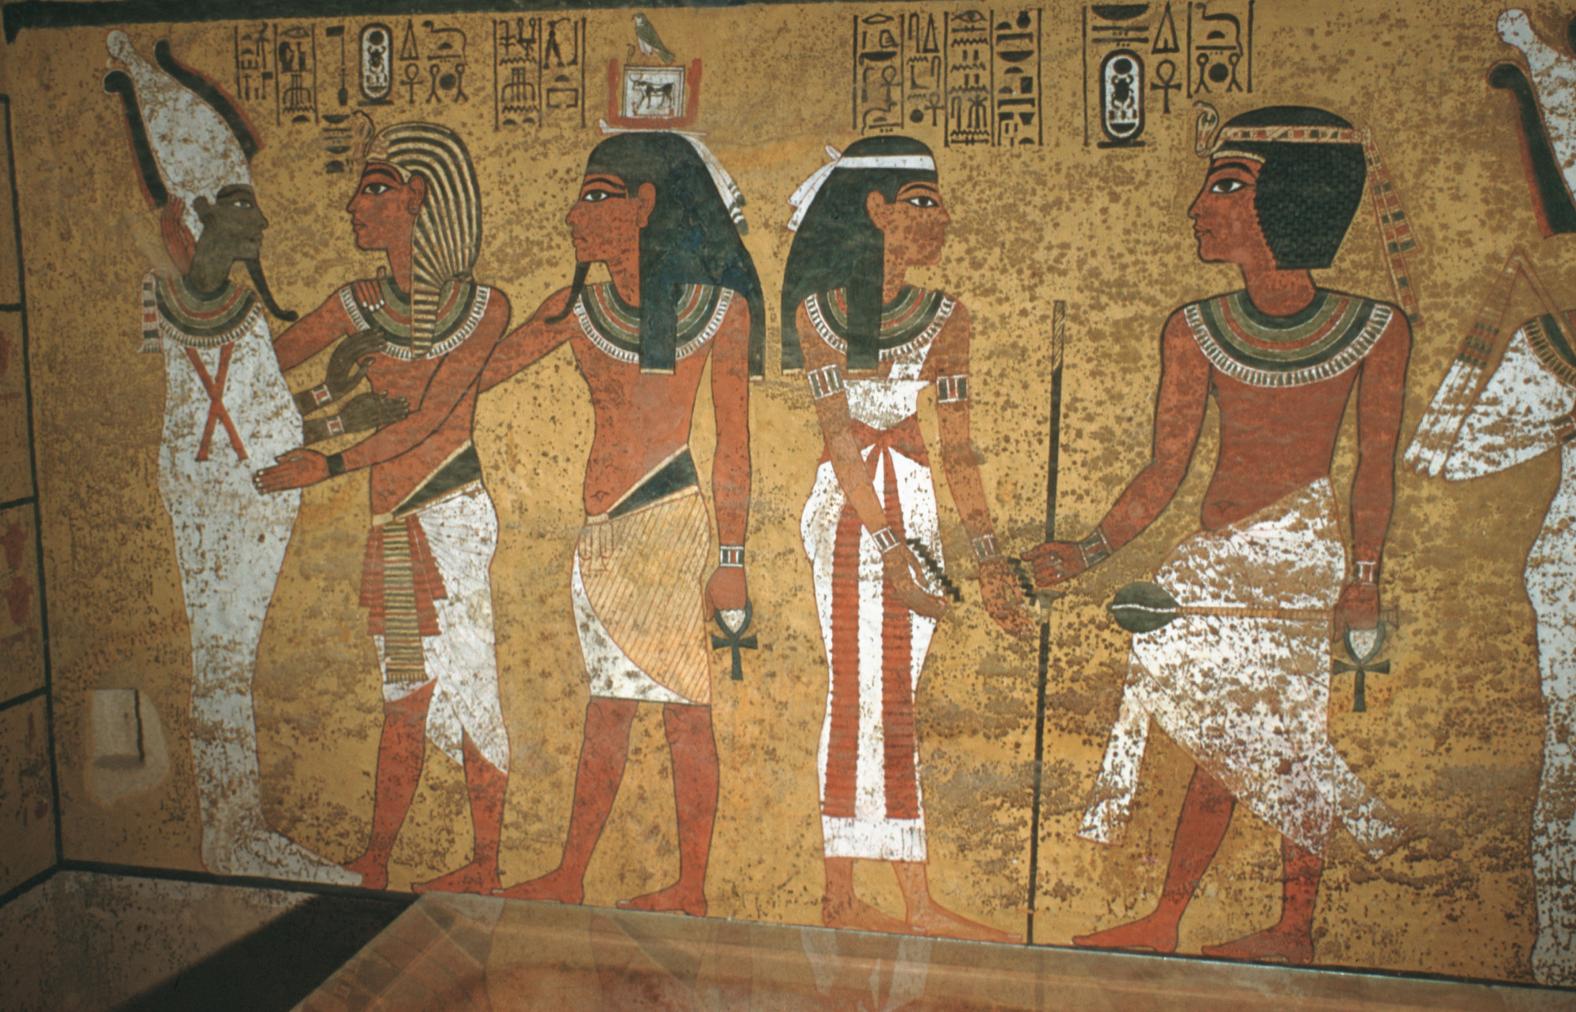
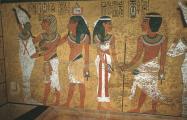
Tutankhamen, followed by his ka, welcomed into the netherworld by Osiris. Nut performing the nini ritual before the King. Courtesy of Uni Dia Verlag; Uni Dia Image Nr. 35409.
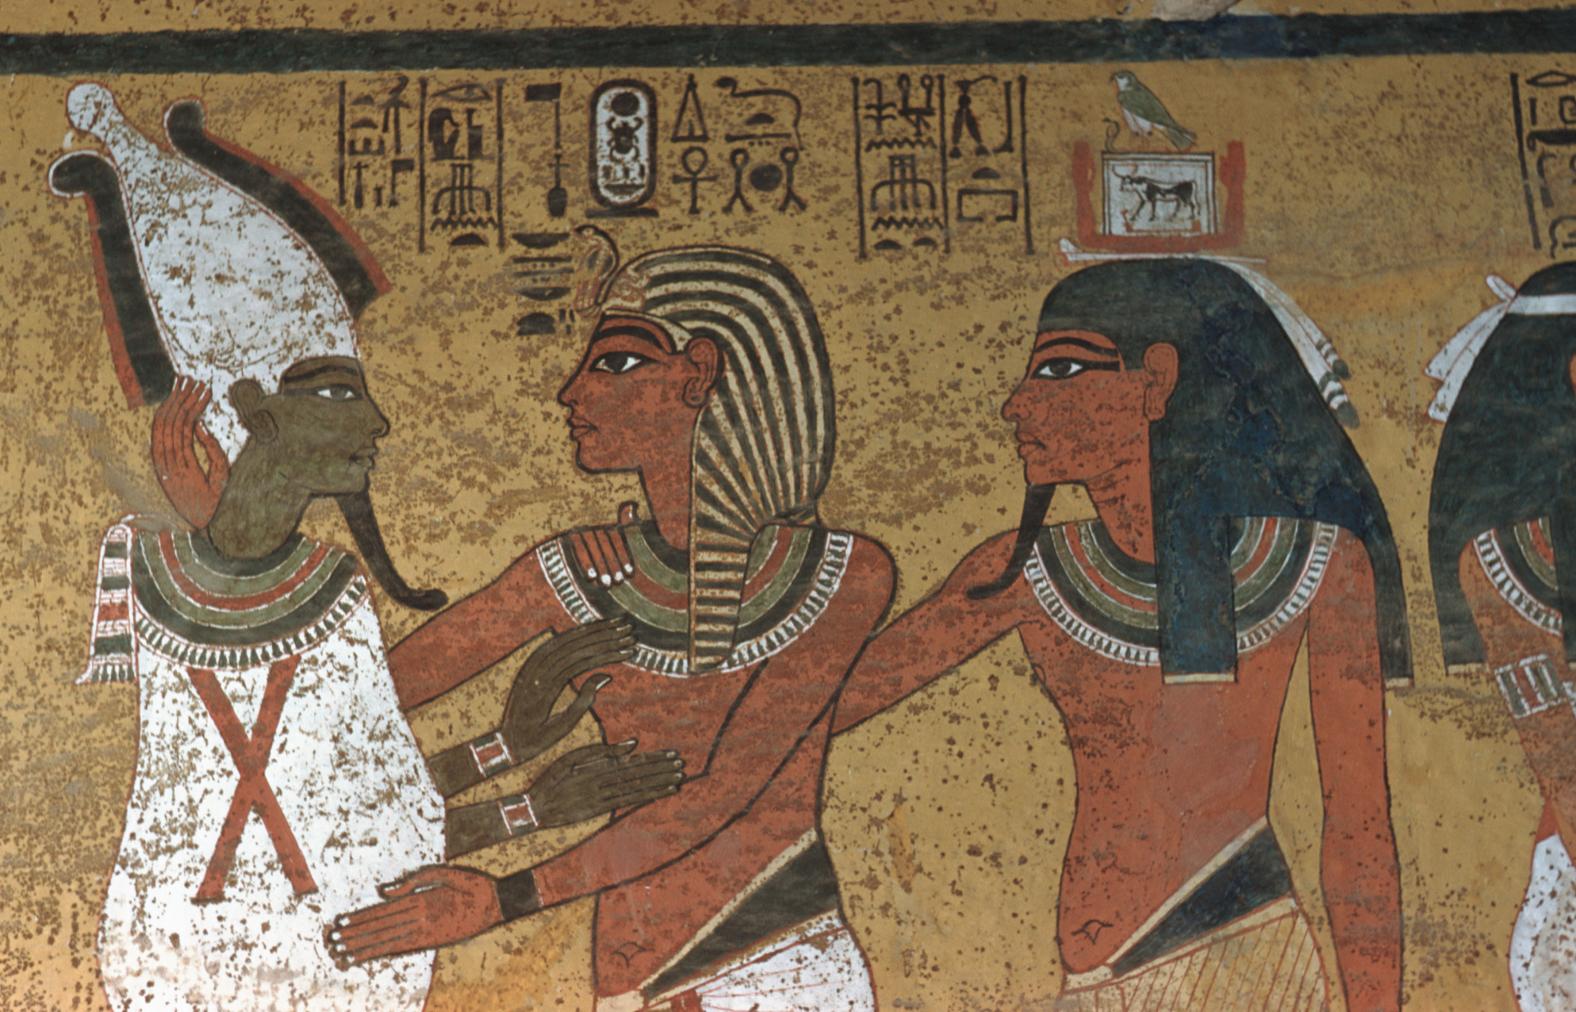
Tutankhamen, followed by his ka, welcomed into the netherworld by Osiris. Courtesy of Uni Dia Verlag; Uni Dia Image Nr. 35410.
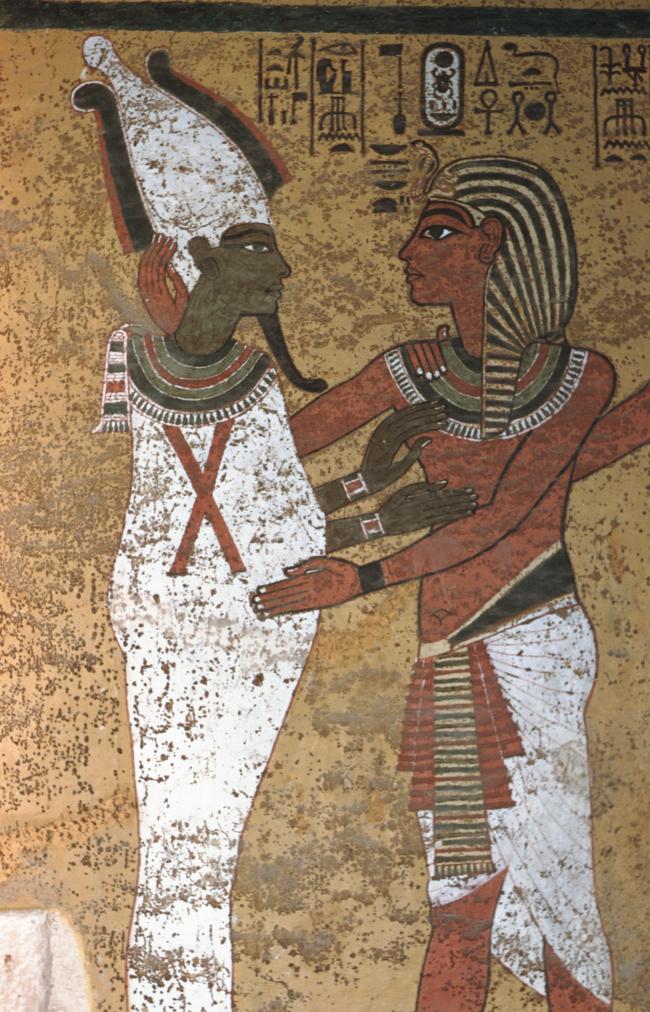
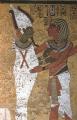
Tutankhamen welcomed into the netherworld by Osiris. Courtesy of Uni Dia Verlag; Uni Dia Image Nr. 35411.
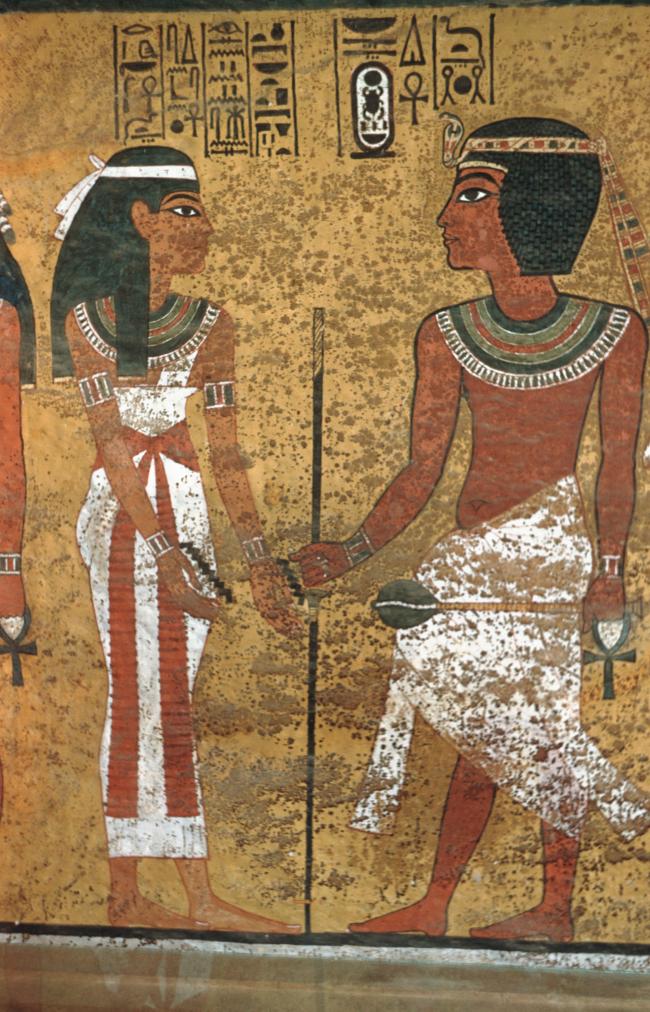
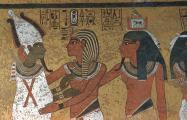
Nut performing the Nini ritual before Tutankhamen. Courtesy of Uni Dia Verlag; Uni Dia Image Nr. 35412.
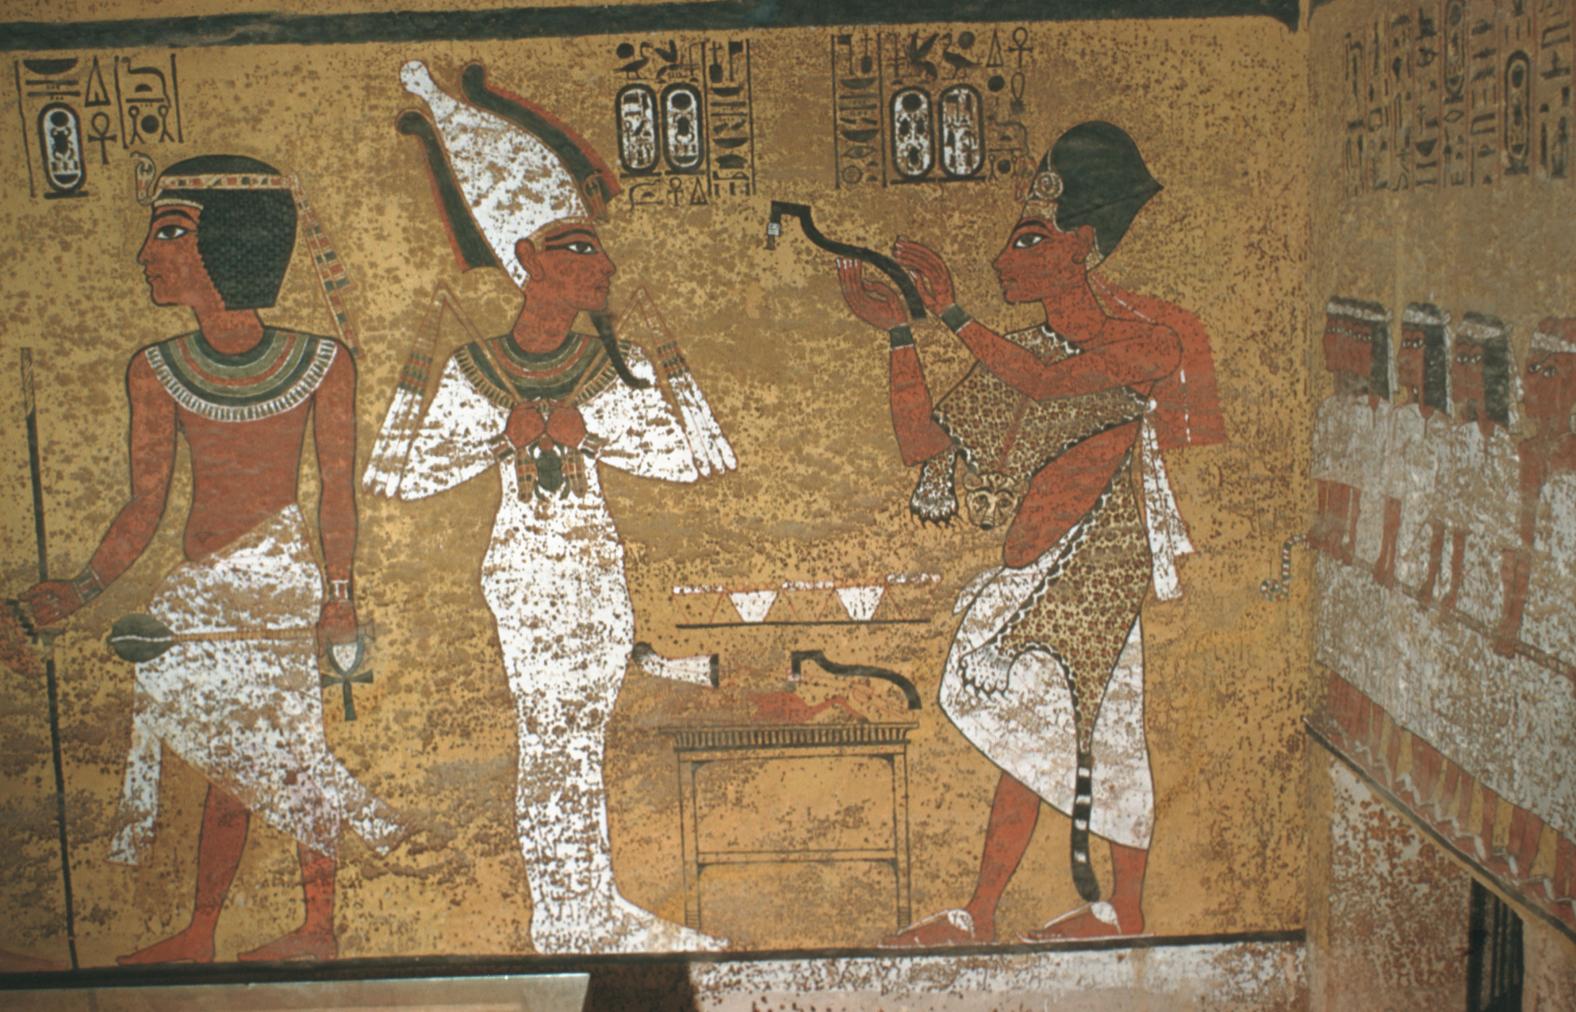
Ay, as a priest, performing the opening of the mouth ritual on Tutankhamen. Courtesy of Uni Dia Verlag; Uni Dia Image Nr. 35413.
Ay, as a priest, performing the opening of the mouth ritual on Tutankhamen. Courtesy of Uni Dia Verlag; Uni Dia Image Nr. 35414.
Ay, as a priest, performing the opening of the mouth ritual on Tutankhamen. Courtesy of Uni Dia Verlag; Uni Dia Image Nr. 35415.
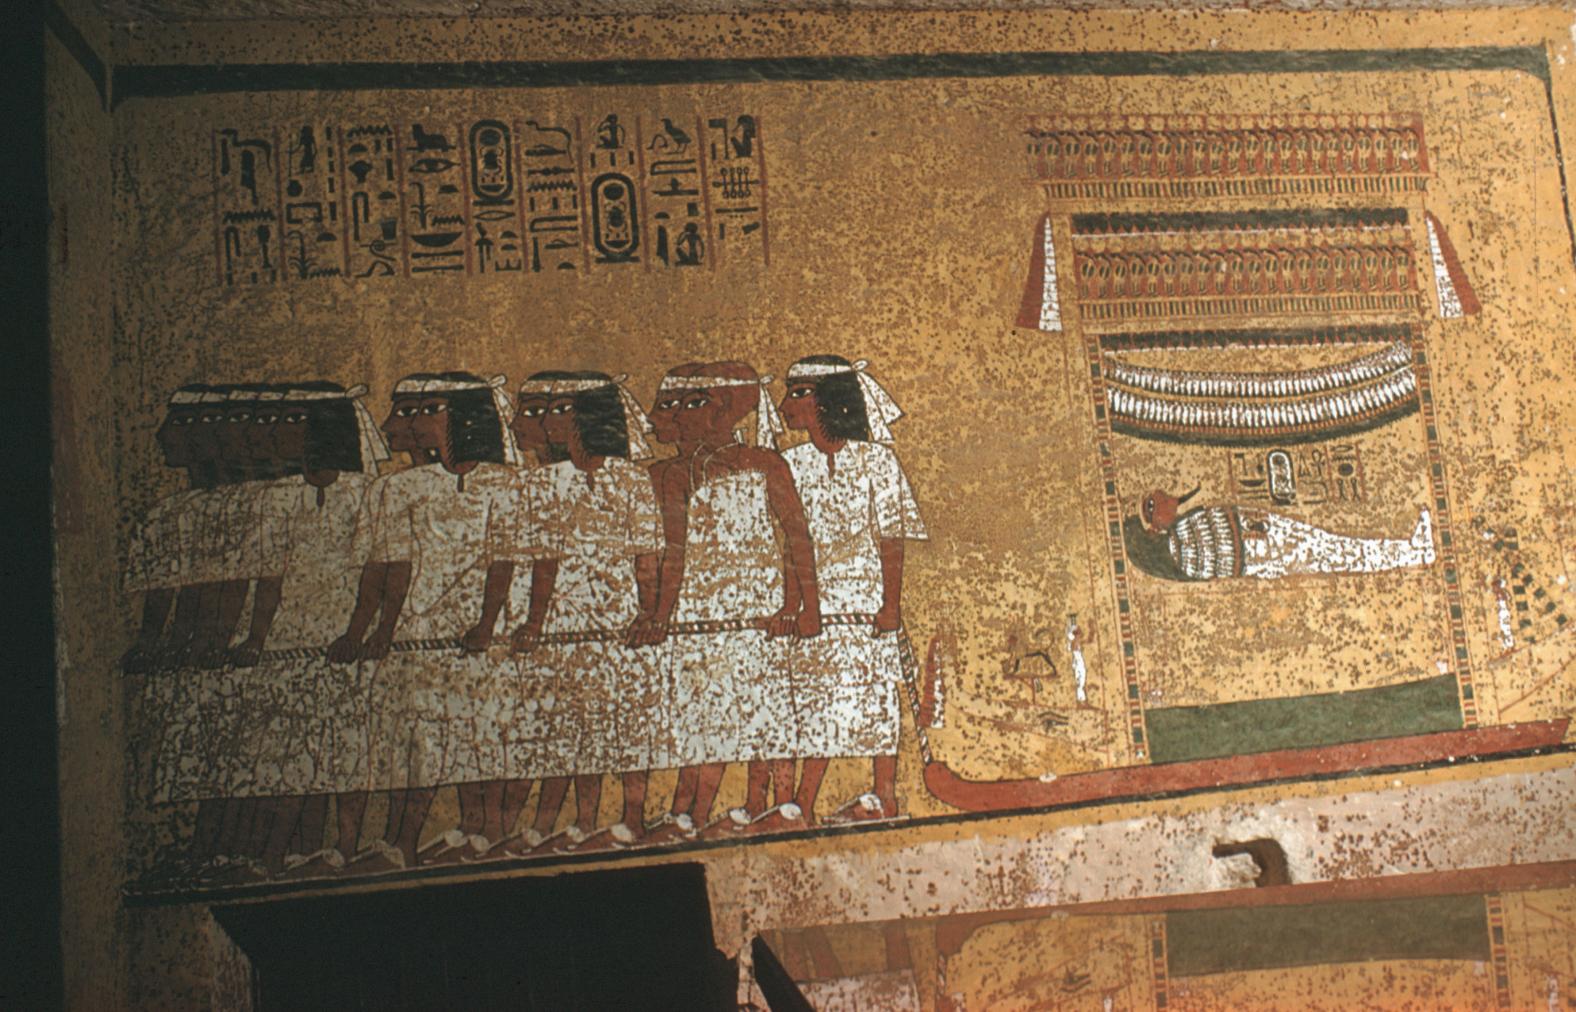
Book of the Dead spell 1. Courtesy of Uni Dia Verlag; Uni Dia Image Nr. 35416.
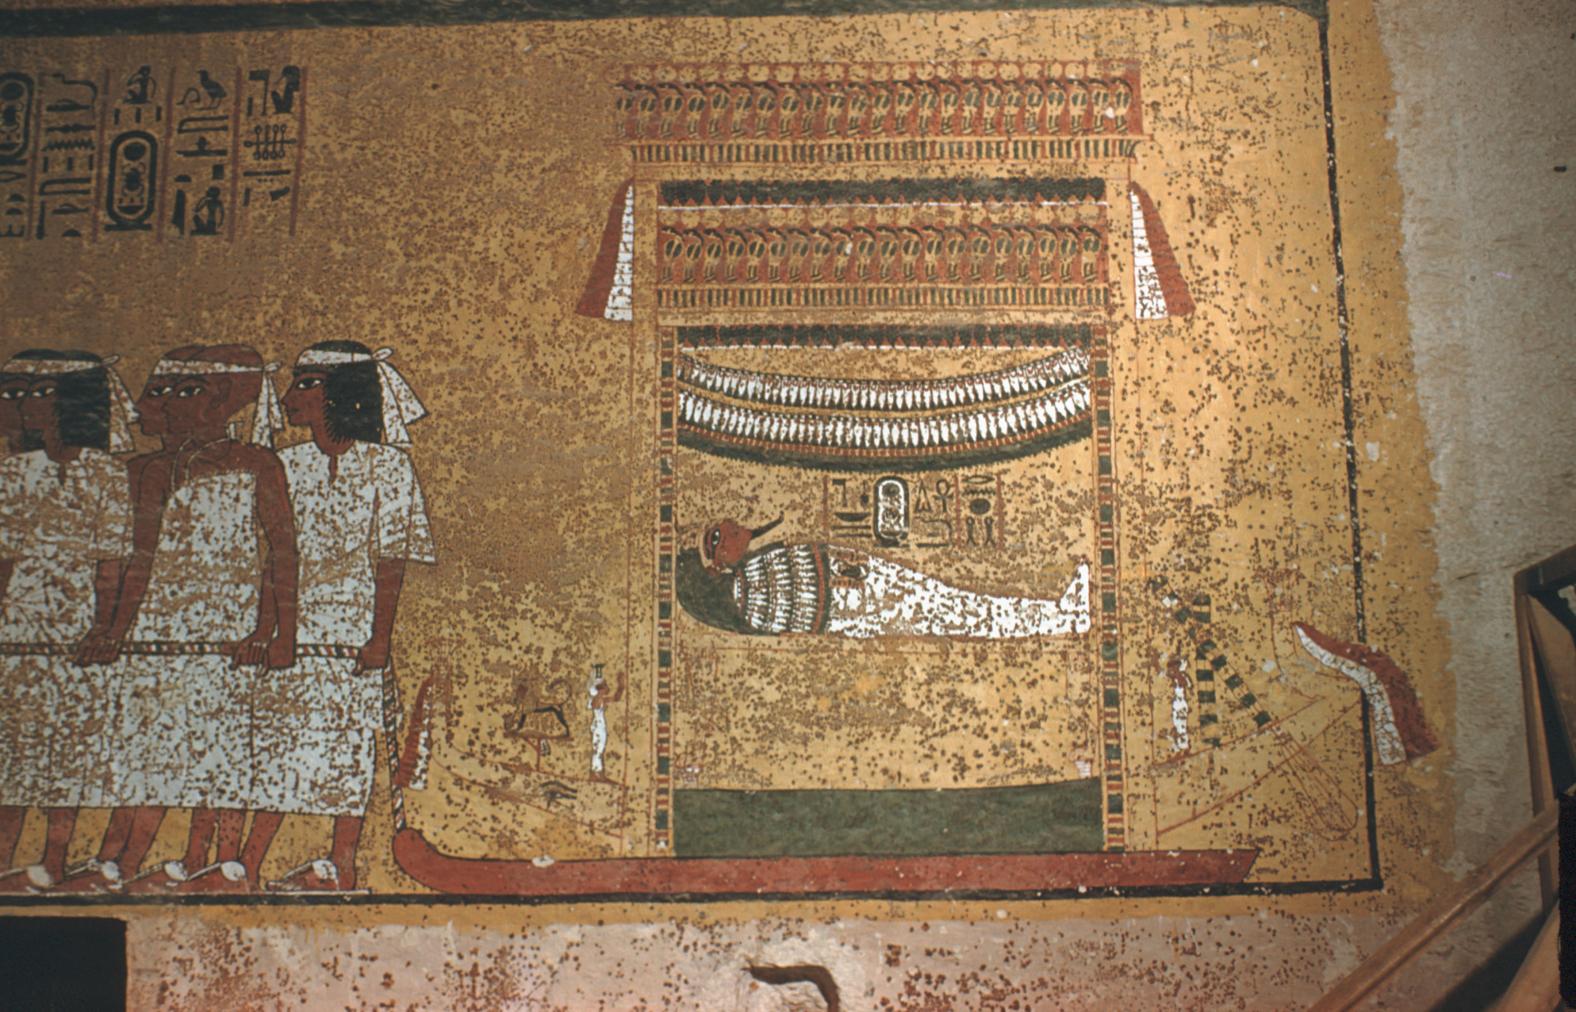
Book of the Dead spell 1. Courtesy of Uni Dia Verlag; Uni Dia Image Nr. 35417.
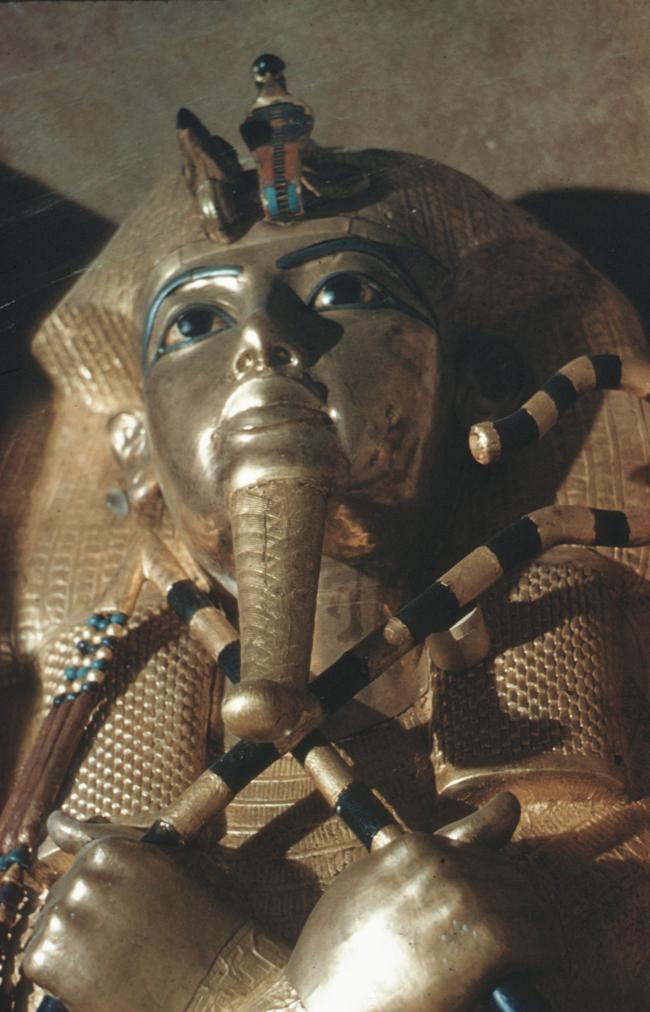
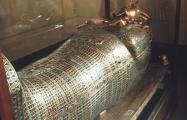
The third coffin of Tutankhamen in the tomb. Courtesy of Uni Dia Verlag; Uni Dia Image Nr. 35425.
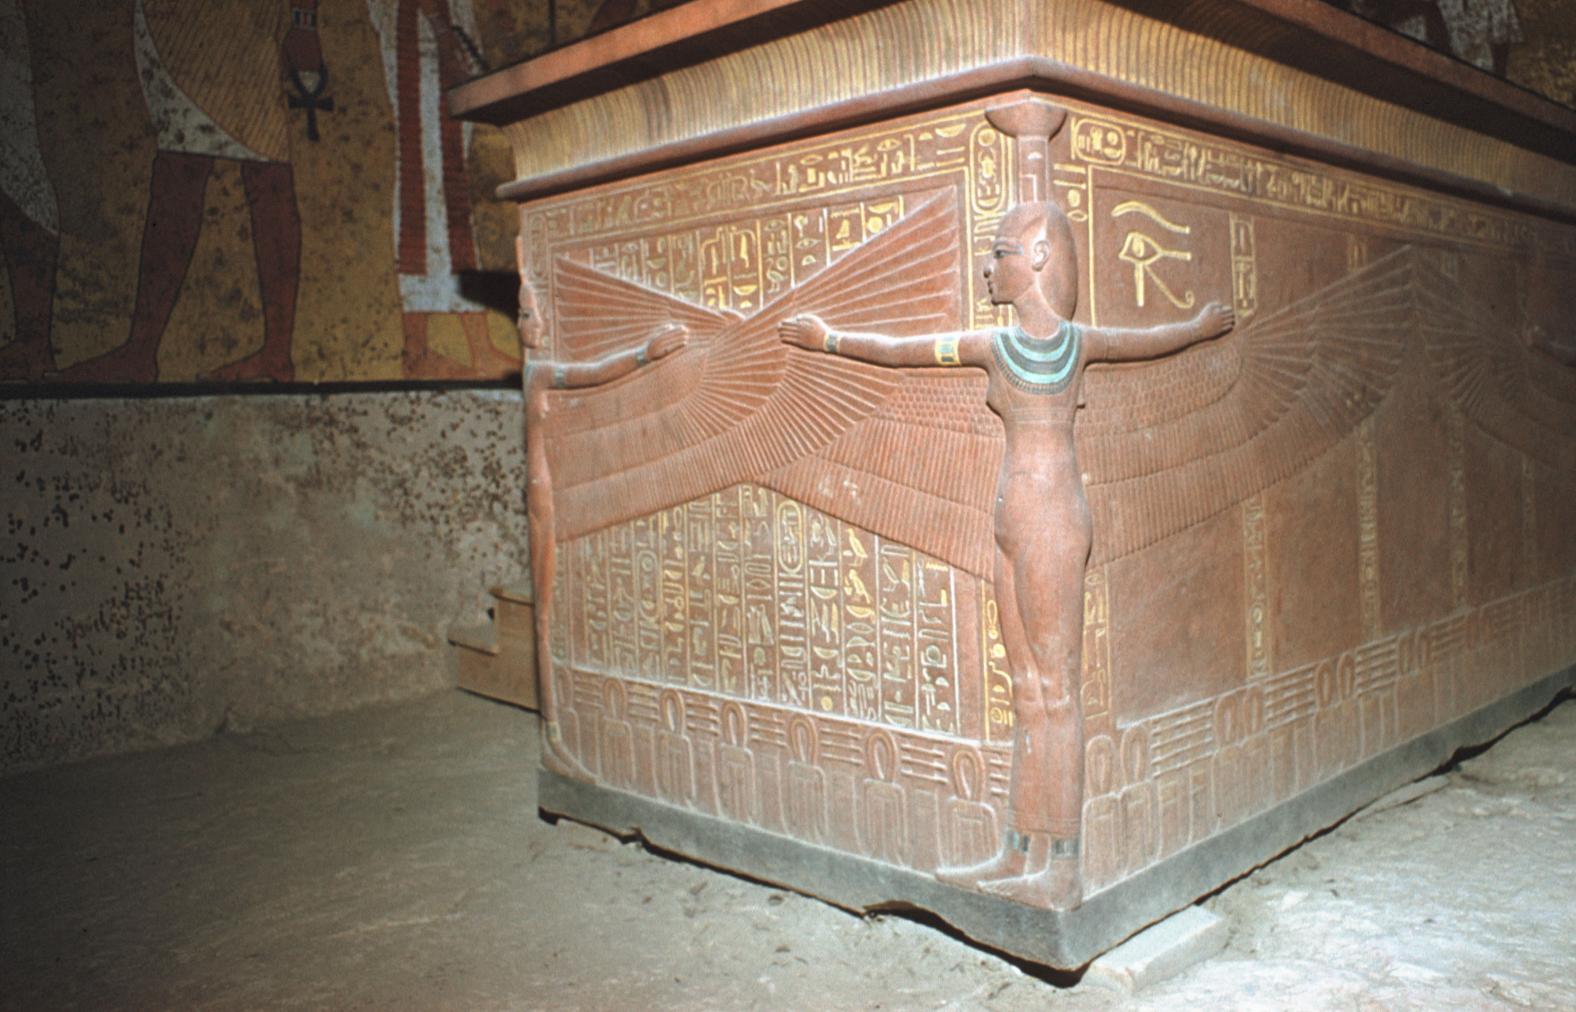
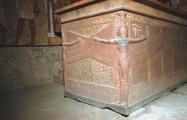
The sarcophagus of Tutankhamen in the tomb. Courtesy of Uni Dia Verlag; Uni Dia Image Nr. 35426.
Gate J
See entire tombA partition wall of rubble covered with plaster was constructed at the right (north) end of chamber I to close off the large opening into the burial chamber J. A gate, with wood beams laid on top as the lintel, was made in the center of this wall, and after the burial, it was blocked with rubble and covered with plaster bearing impressions of the necropolis seal. The excavators first entered the burial chamber through a resealed hole made by tomb robbers in the lower right of the gate. Eventually it was necessary for Carter to remove the blocking and dismantle the partition wall in order to remove the larger burial equipment. For this reason, it was impossible for the Theban Mapping Project to obtain measurements of this gate.
Porter and Moss designation:
Gate Ja
See entire tombThis low doorway was never blocked. There is a step down from burial chamber J to side chamber Ja in the gate.
Porter and Moss designation:
Side chamber Ja
See entire tombSituated east of the burial chamber, chamber Ja (called the Treasury by Carter), is oriented north-south. This storeroom for Tutankhamen's canopic shrine held over five hundred objects. It is similar to the storerooms of other burial chambers in the Valley, and had the only doorway in KV 62 not sealed with plaster and rubble. Iin addition to the canopic chest in its shrine, the objects included a large figure of an Anubis jackal, shrines containing divine figures, a model granary and model boats, two fetuses in coffins, chests and a chariot.
Porter and Moss designation:
About
About
KV 62, located in the main Wadi, is the most famous tomb in the world because of the treasures it held intact for over three thousand years. The entryway A is cut into the floor of the valley below the beginning of the entry Ramp of KV 9, the tomb of Rameses VI. Even before the construction of KV 9, debris had already been dumped on top of the KV 62 entrance. The tomb was forgotten and a group of Rameside workmen's huts were built over it later in antiquity.
A descending corridor (B) leads to a rectangular chamber (I) with a side chamber (Ia). The burial chamber J opens off the right (north) end of chamber I with its floor level one meter lower. Another side chamber (Ja), is located off the right (east) wall of the burial chamber J. Howard Carter believed that the four chambers of KV 62, although small, relate directly to lower parts of more traditional royal tomb plans. The walls of the tomb were smoother but, except for burial chamber J, were left undecorated. The burial chamber J is decorated with scenes from the Opening of the Mouth ritual, Imydwat, Book of the Dead, and representations of the king with various deities.
Some have theorized that when Tutankhamen died suddenly at an early age, a tomb that was originally planned for him in the West Valley (KV 23 or KV 25) was not ready. It may have been decided to bury Tutankhamen in the main Valley in a tomb originally intended for Ay when he was still a God's Father, near the Amarna cache (KV 55). According to this theory, Ay later took the West Valley tomb (KV 23) after succeeding Tutankhamen to the throne.
Recently, Nicholas Reeves has suggested that Nefertiti is buried in a still-unopened chamber behind the burial chamber of KV 62. This idea has generated considerable international interest, but no definite answer has been forthcoming since its proposed entrance has not yet been opened. The most recent discussion of the idea may be found in Reeves (2020).
Noteworthy features:
This tomb originally designed for a non-royal personage nevertheless was used for royal burial, and possessed a nearly intact set of burial equipment.
Site History
KV 62 may have been constructed for an important official or member of the royal family, probably in the latter half of Dynasty 18. When it was taken over for the burial of Tutankhamen, still unfinished, a burial chamber with side chamber was cut into the right (north) end of the first chamber. KV 62 was robbed at least twice in antiquity, judging from three different sets of seals on the doorways signifying three different closures of the tomb. Other evidence of theft, besides the disturbed appearance of the objects in chamber I and side chamber Ia, includes inventory dockets on various containers that list artifacts not found when the tomb was discovered. The looters appear to have penetrated past chamber I into side chamber Ia, chamber J and side chamber Ja, but did not breach the sealed doors of the shrines surrounding the Sarcophagus. After the final restoration of the burial, perhaps under Horemheb, the location of the tomb was lost as the debris from subsequent tomb construction filled the floor of the center of the Valley.
Dating
This site was used during the following period(s):
Exploration
Conservation
Conservation History
Following the 1994 floods, a new shelter was constructed over and around the entrance to protect it from water. Metal doors at the top and bottom of corridor B and a metal stairway have been installed.
A 10 year-long conservation of the tomb by The Getty Research Institute was completed in 2019. Conservators installed a new air filtration and ventilation system, investigated the tomb's microclimatic conditions, conserved and stabilized the wall paintings, and introduced new measures for visitor management.
Site Condition
Since KV 62 was sealed throughout its history, flood debris did not fill the tomb. A fault line runs through the tomb, but it has remained stable and there has been no structural damage to the chambers. Carter and his team broke through the partition wall between chamber I and burial chamber J to remove Tutankhamen's funeral shrine and other large objects, partially destroying the scenes on the south (front) wall.
Soot on the burial chamber ceiling reminds us that ancient people painted by torchlight and oil lamps. A pink stain and black fungus spots have spread over decorated walls due to moisture. Small amounts of moisture came from the ancient offerings placed in the tomb such as vegetation, and also from the gypsum plaster on which the decoration was painted, which may not have been fully dry when the tomb was sealed.
Hieroglyphs
Tutankhamen
 King of Upper and Lower Egypt, Lord of Manifestations is Ra, Son of Ra, Living Image of Amen, Ruler of Southern Heliopolis (Thebes)
niswt-bity nb-xprw-Raw sA-Raw twt-anx-Imn HqA-Iwnw-Sma
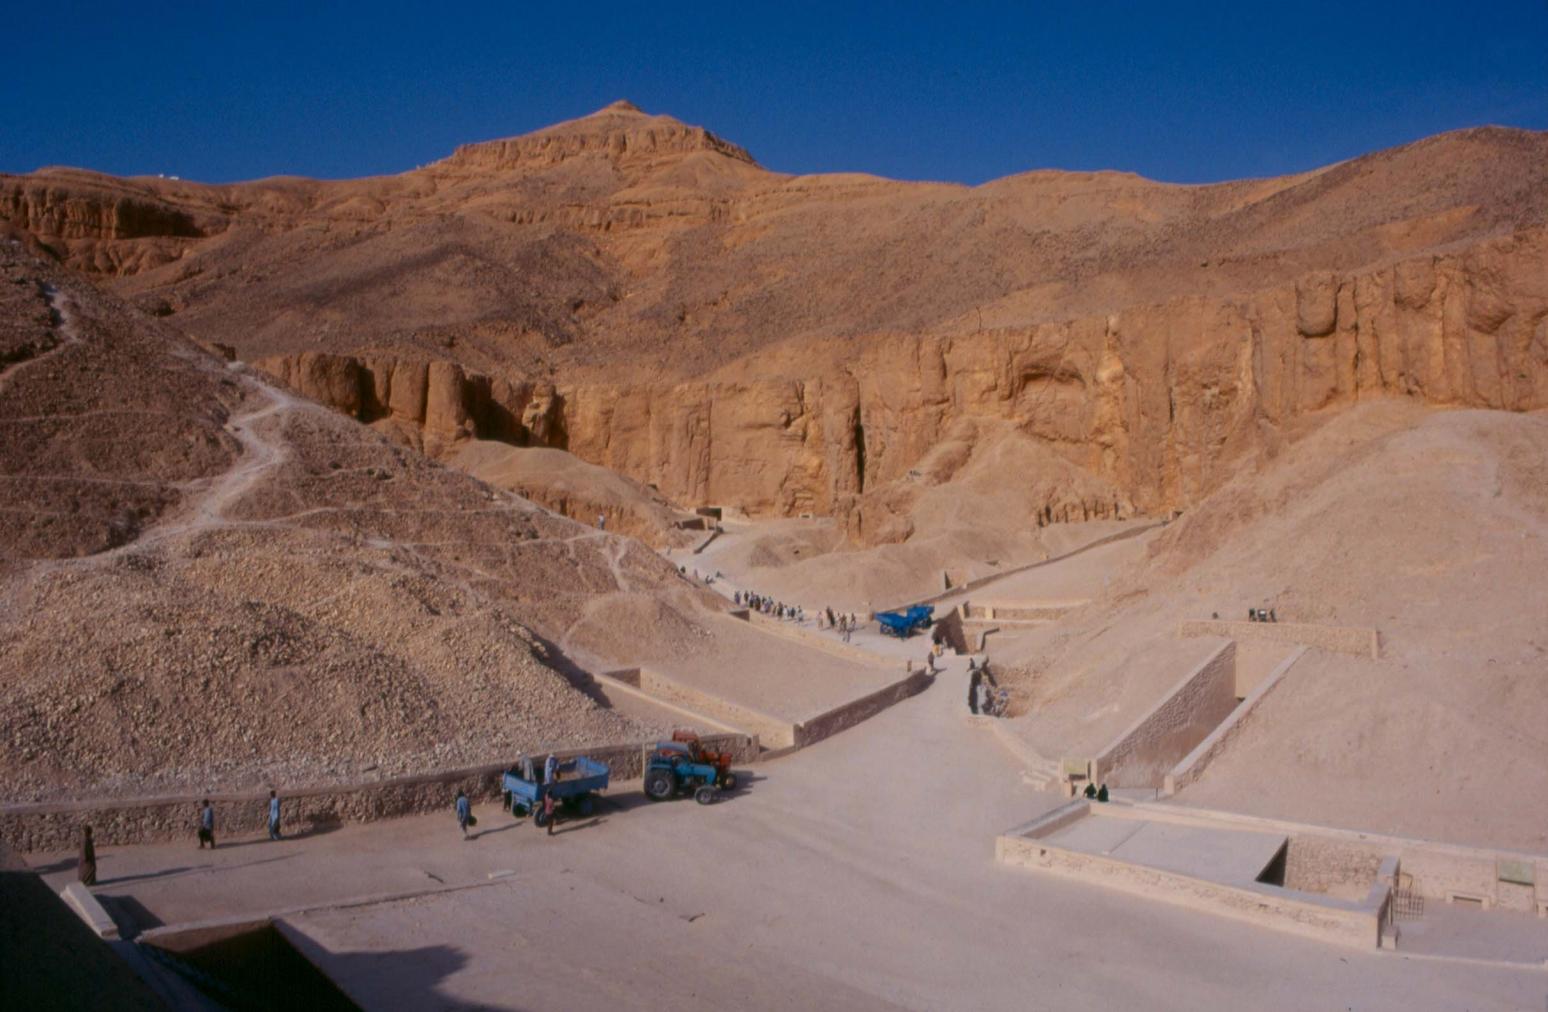
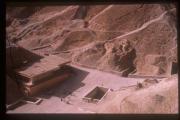
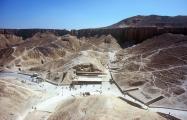
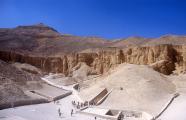
Central area from above KV 6, with entrances to KV 10, KV 11, KV 57, KV 09, KV 62
Imydwat, first hour: detail; Osiris, Tutankhamen and his ka, Nut greeting Tutankhamen, and Tutankhamen as Osiris; outer coffin in quartzite sarcophagus.
Imydwat, first hour: detail; Osiris, Tutankhamen and his ka, Nut greeting Tutankhame); outer coffin in quartzite sarcophagus.
[Tutankhamen and] his ka, Nut greeting Tutankhamen, Tutankhamen as Osiris; outer coffin in sarcophagus.
[Tutankhamen and his] ka; Nut greeting Tutankhamen; Tutankhamen as Osiris; outer coffin in sarcophagus.
Nut greeting Tutankhamen; Opening of the Mouth ritual, performed on Tutankhamen as Osiris by Ay.
Nut greeting Tutankhamen.
Magical brick niche; Osiris, Tutankhamen and his ka.
Book of the Dead, spell 1: funeral procession.
Imydwat, first hour: detail; Osiris, Tutankhamen and his ka; Nut greeting Tutankhamen; Tutankhamen as Osiris from Opening of the Mouth ritual; outer coffin in quartzite sarcophagus.
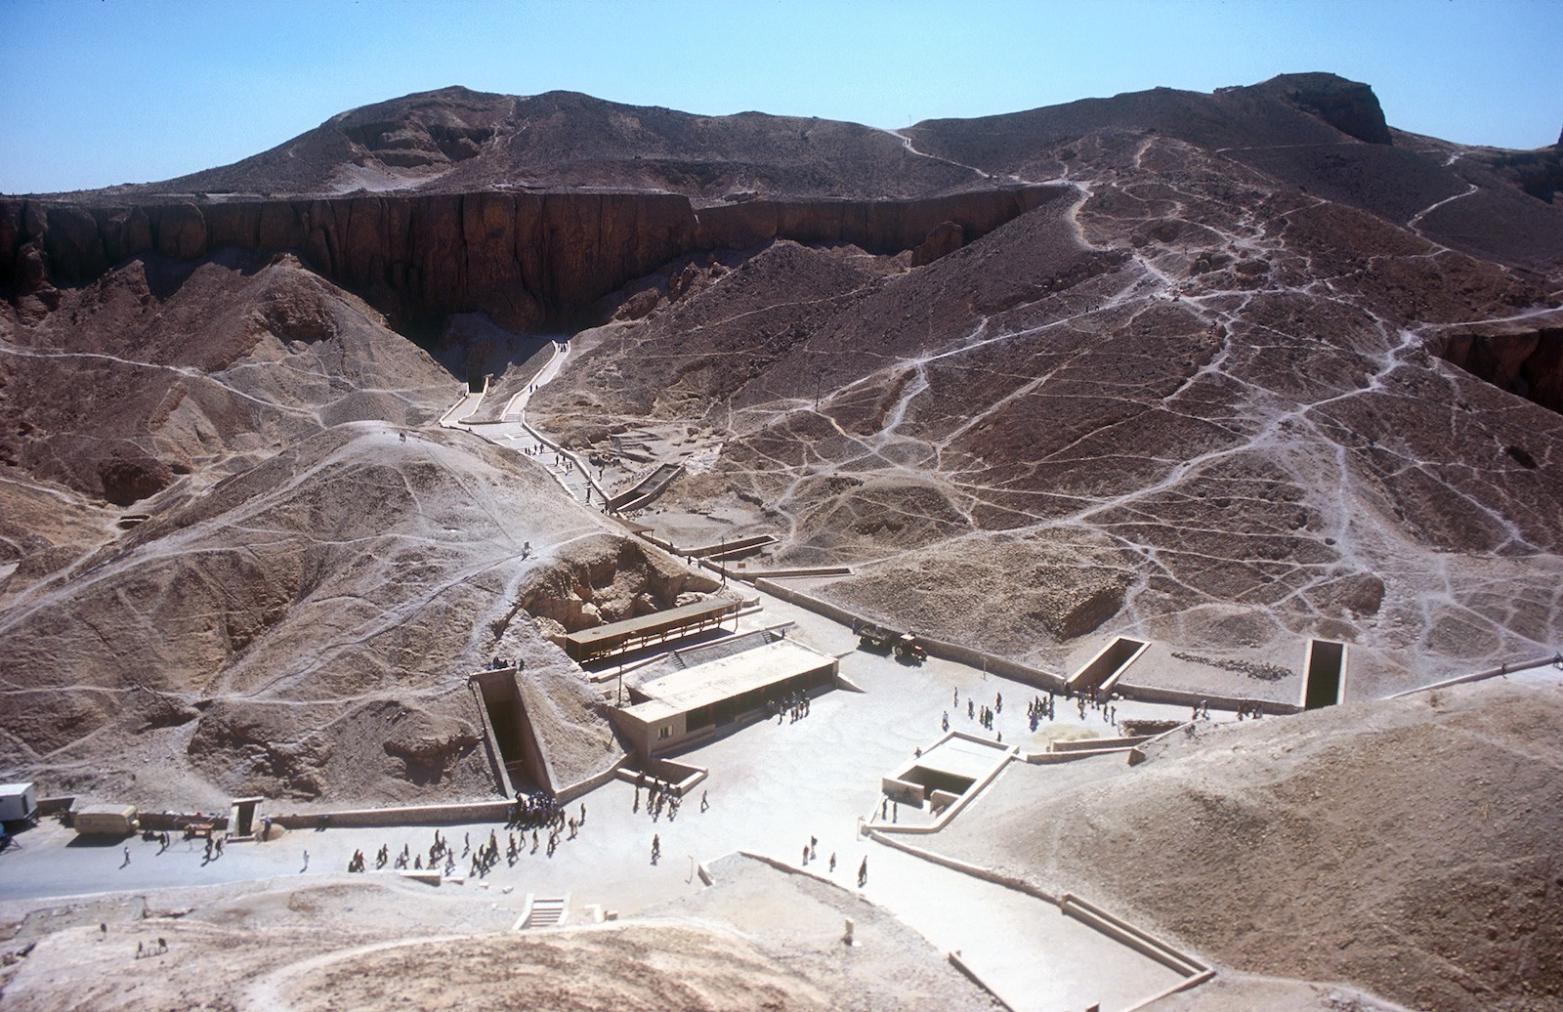
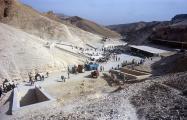
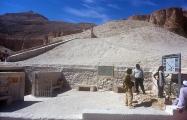
Tomb entrances and tourist shelter.
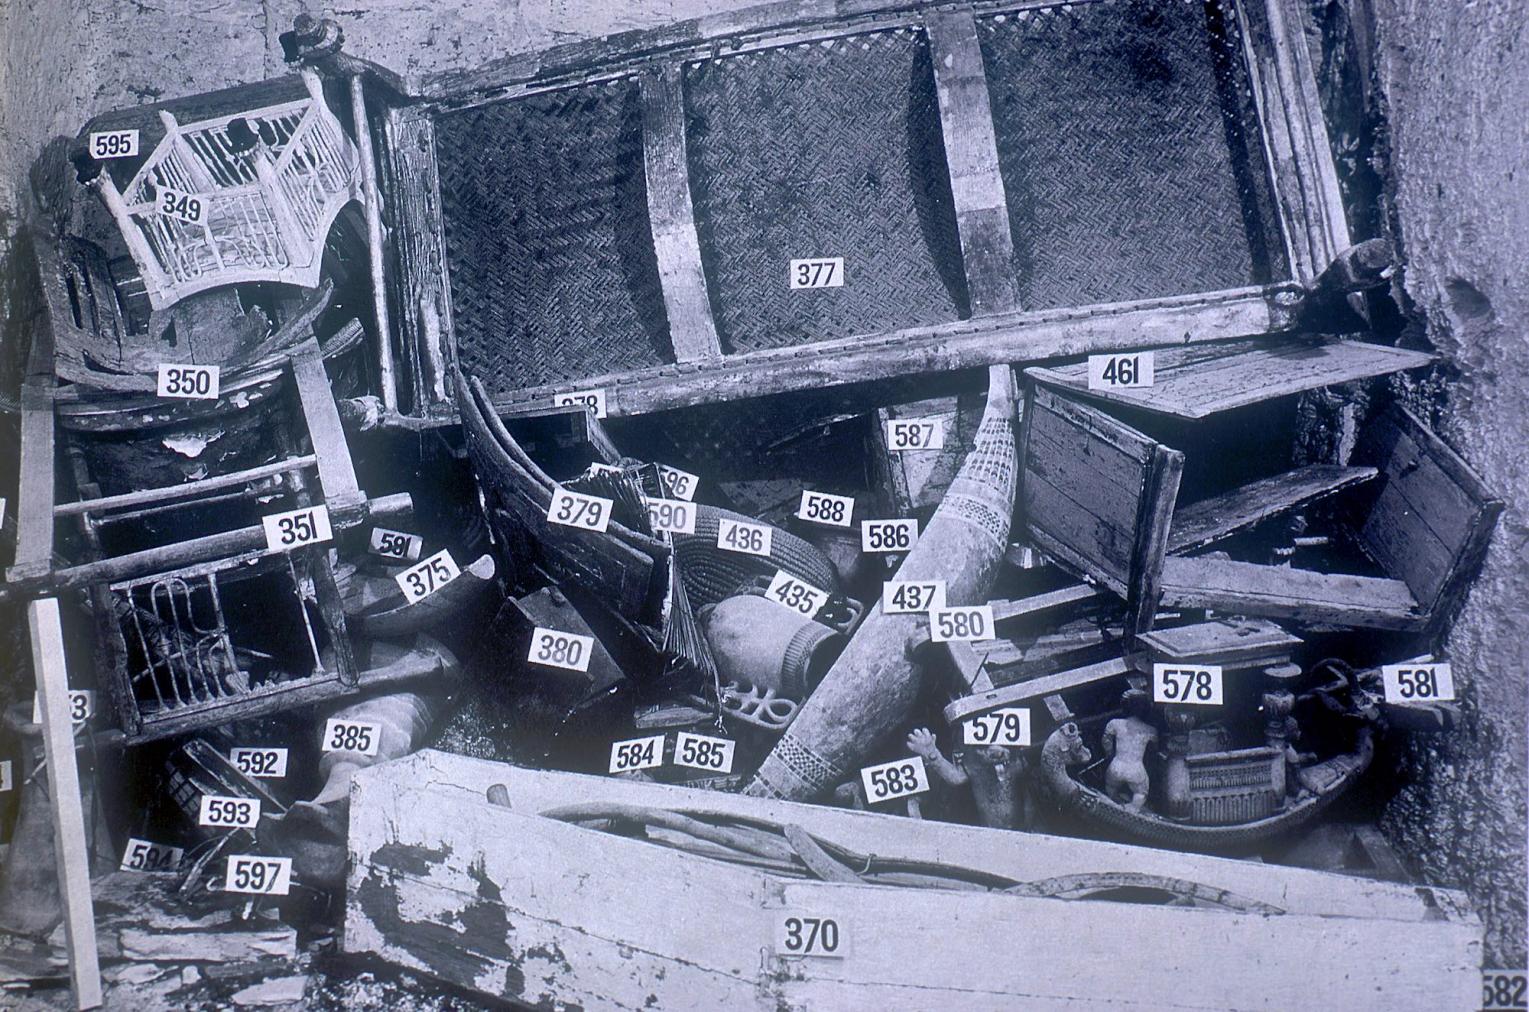
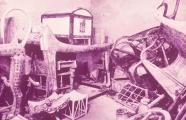
King Tutankhamen's funerary equipment surmounted by the wooden day-bed, no.377.
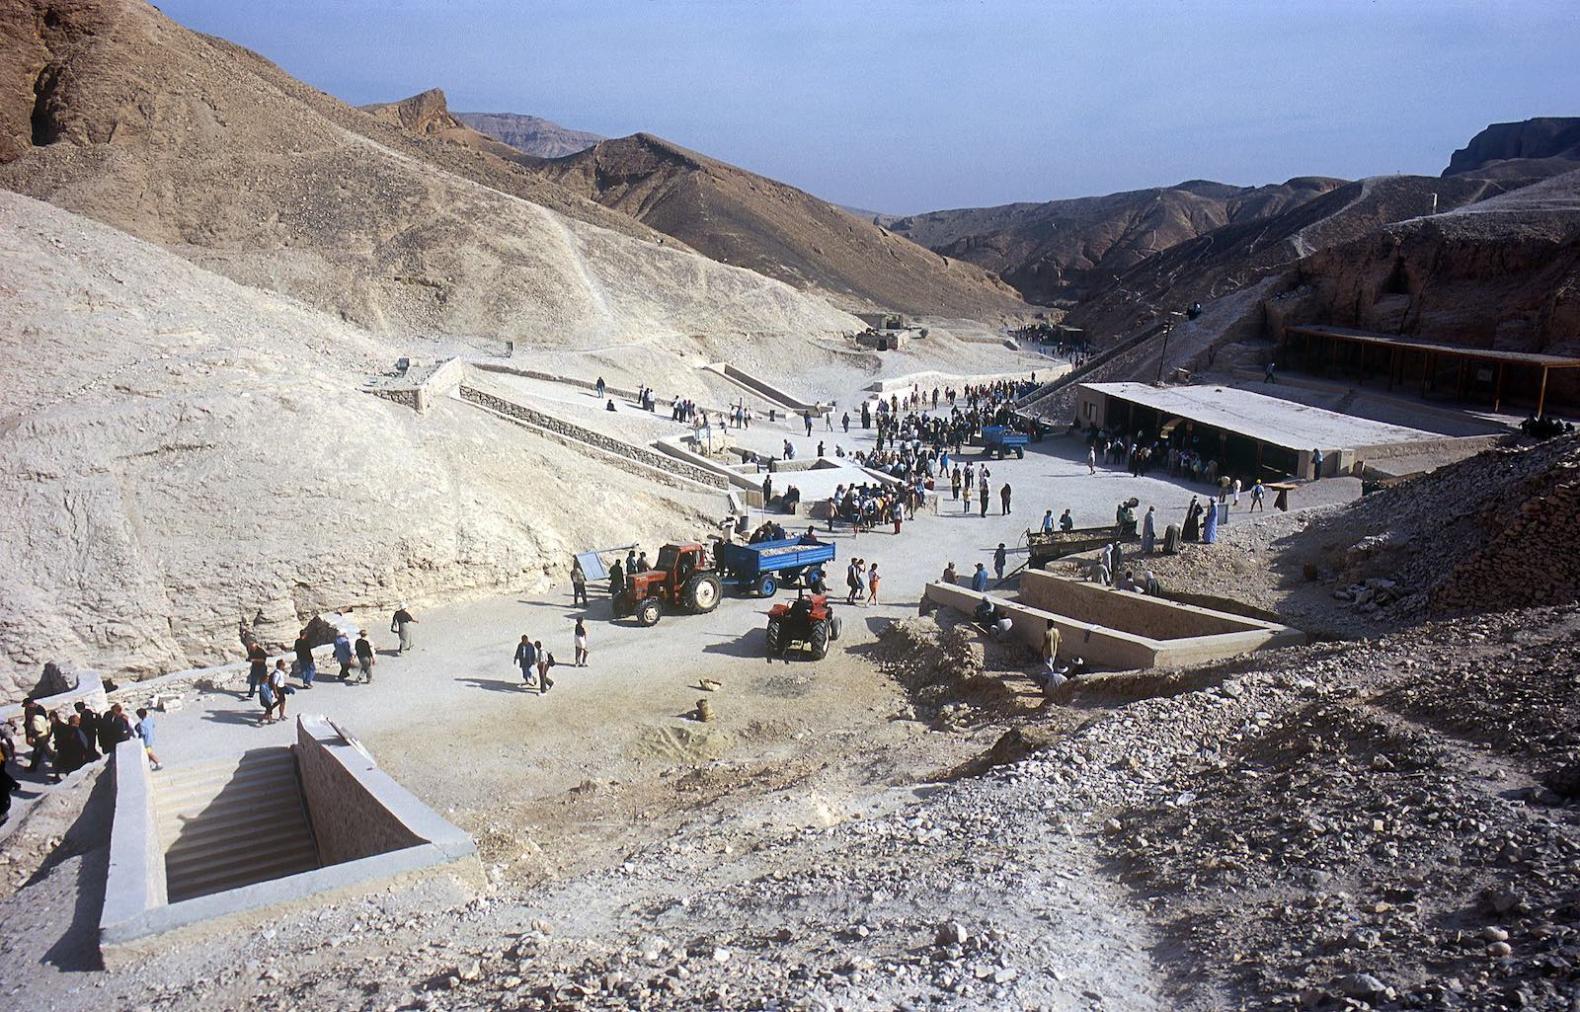
Tomb entrances and a modern tourist shelter.
Magical brick niches.
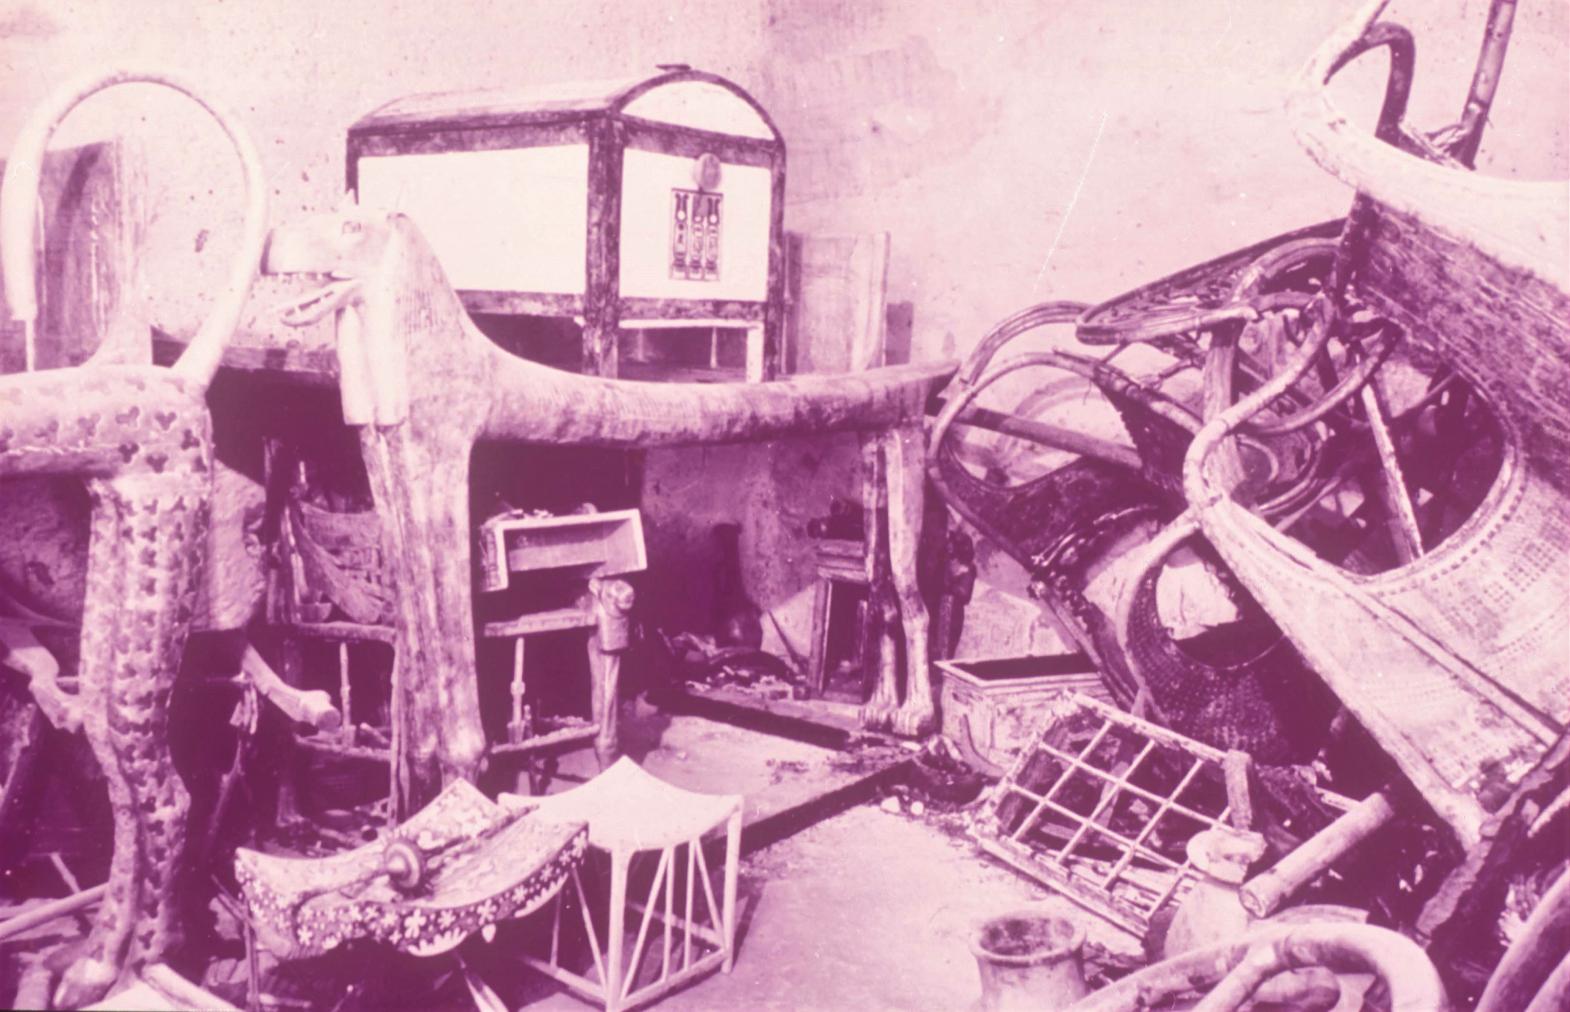
Tutankhamen tomb during excavation by Carter
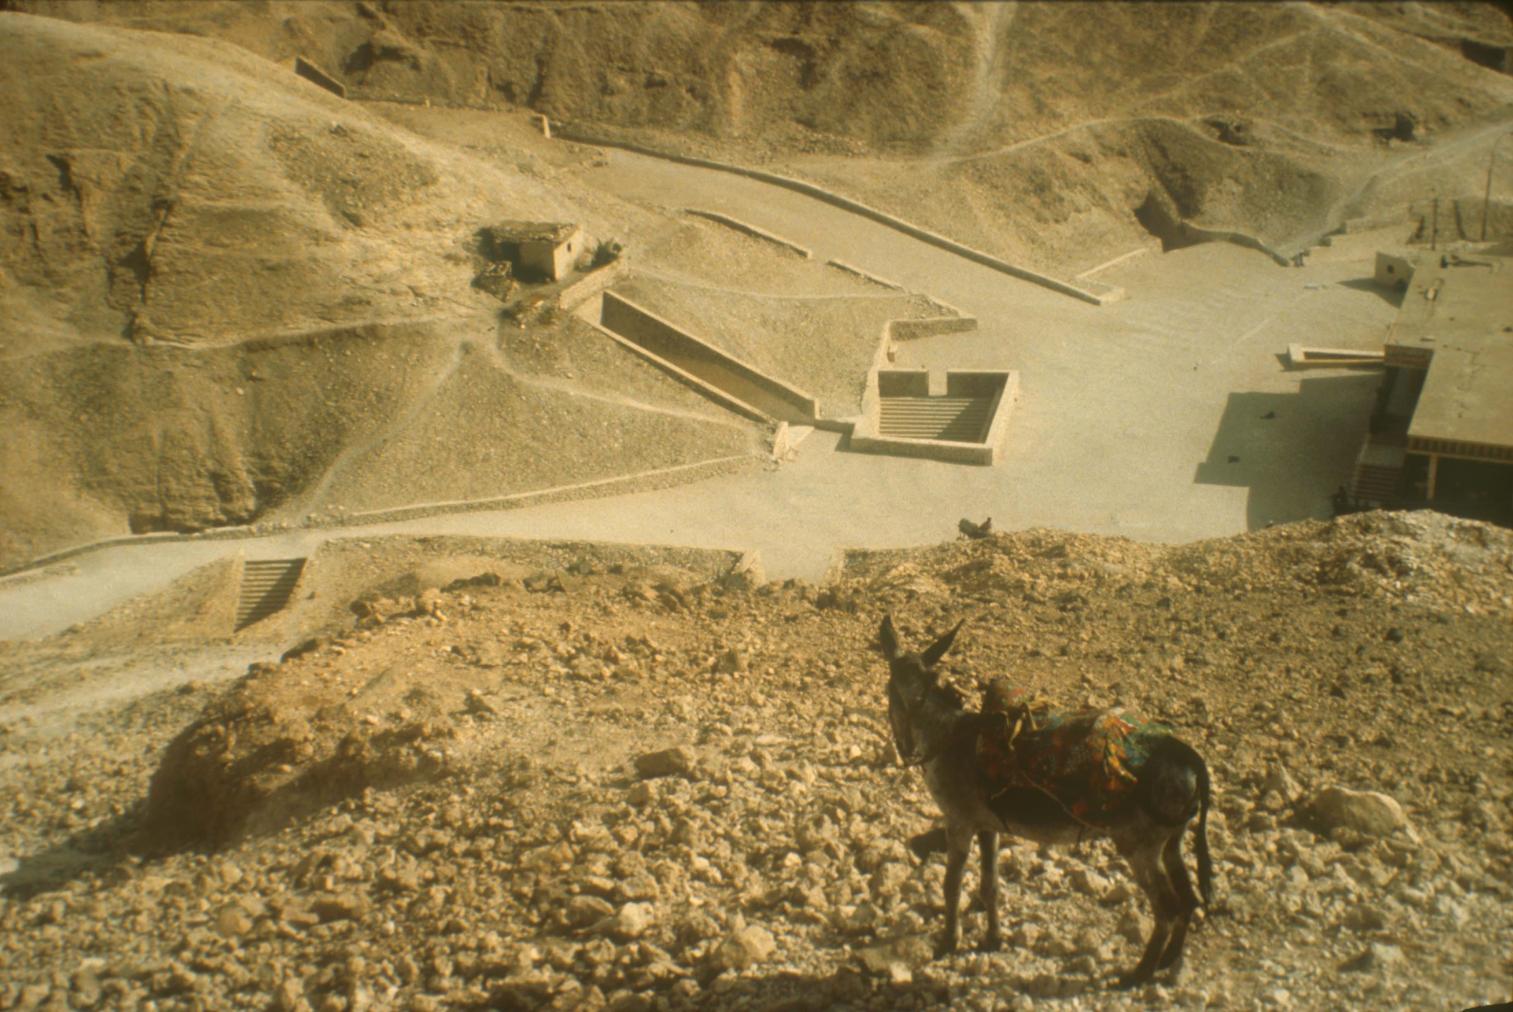
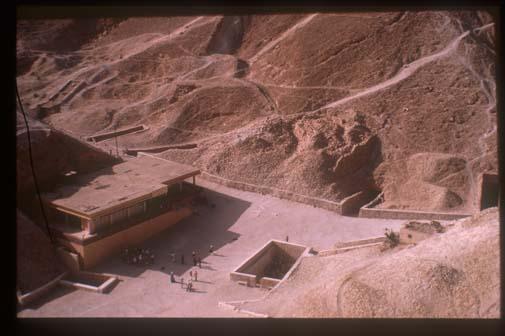
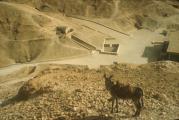
Old rest house, KV 18, KV 17, KV 16, KV 55, KV 62, KV 9, KV 10 and KV 11.
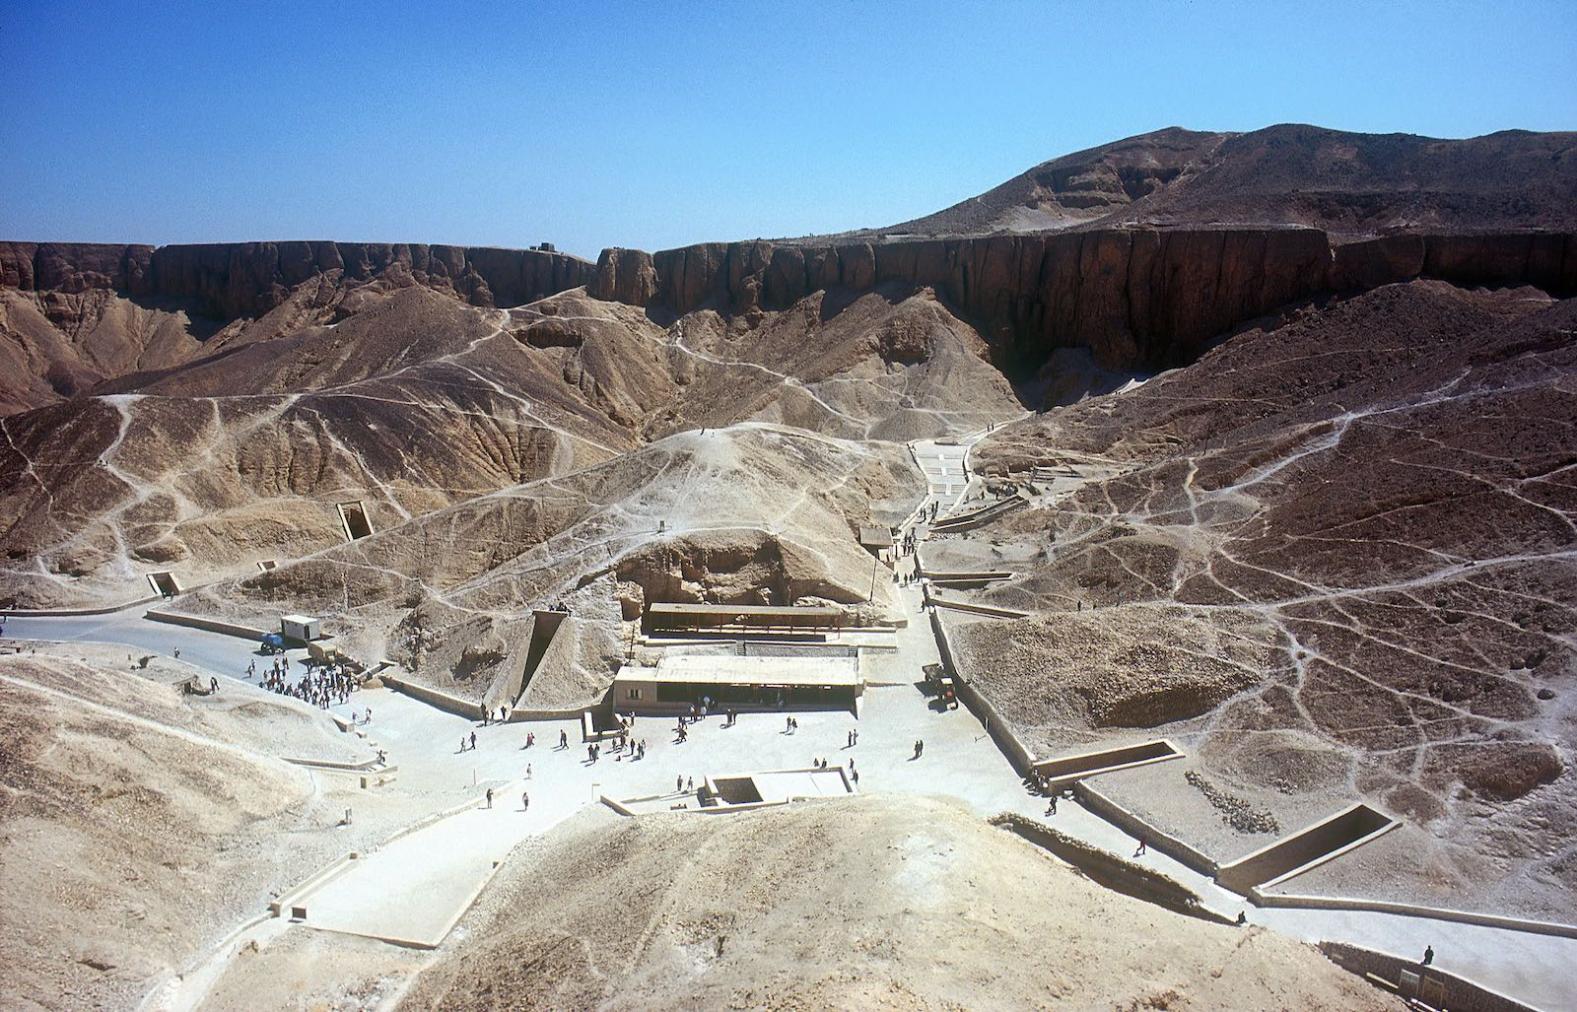
Valley of the Kings, panoramic view from cliffs above KV 09, looking southeast. Visible are entrances to KV 03, KV 07, KV 04, KV 05, KV 06, KV 55, KV 62, KV 18, KV 17, KV 16, KV 10, KV 11, KV 57, and toursit shelter.
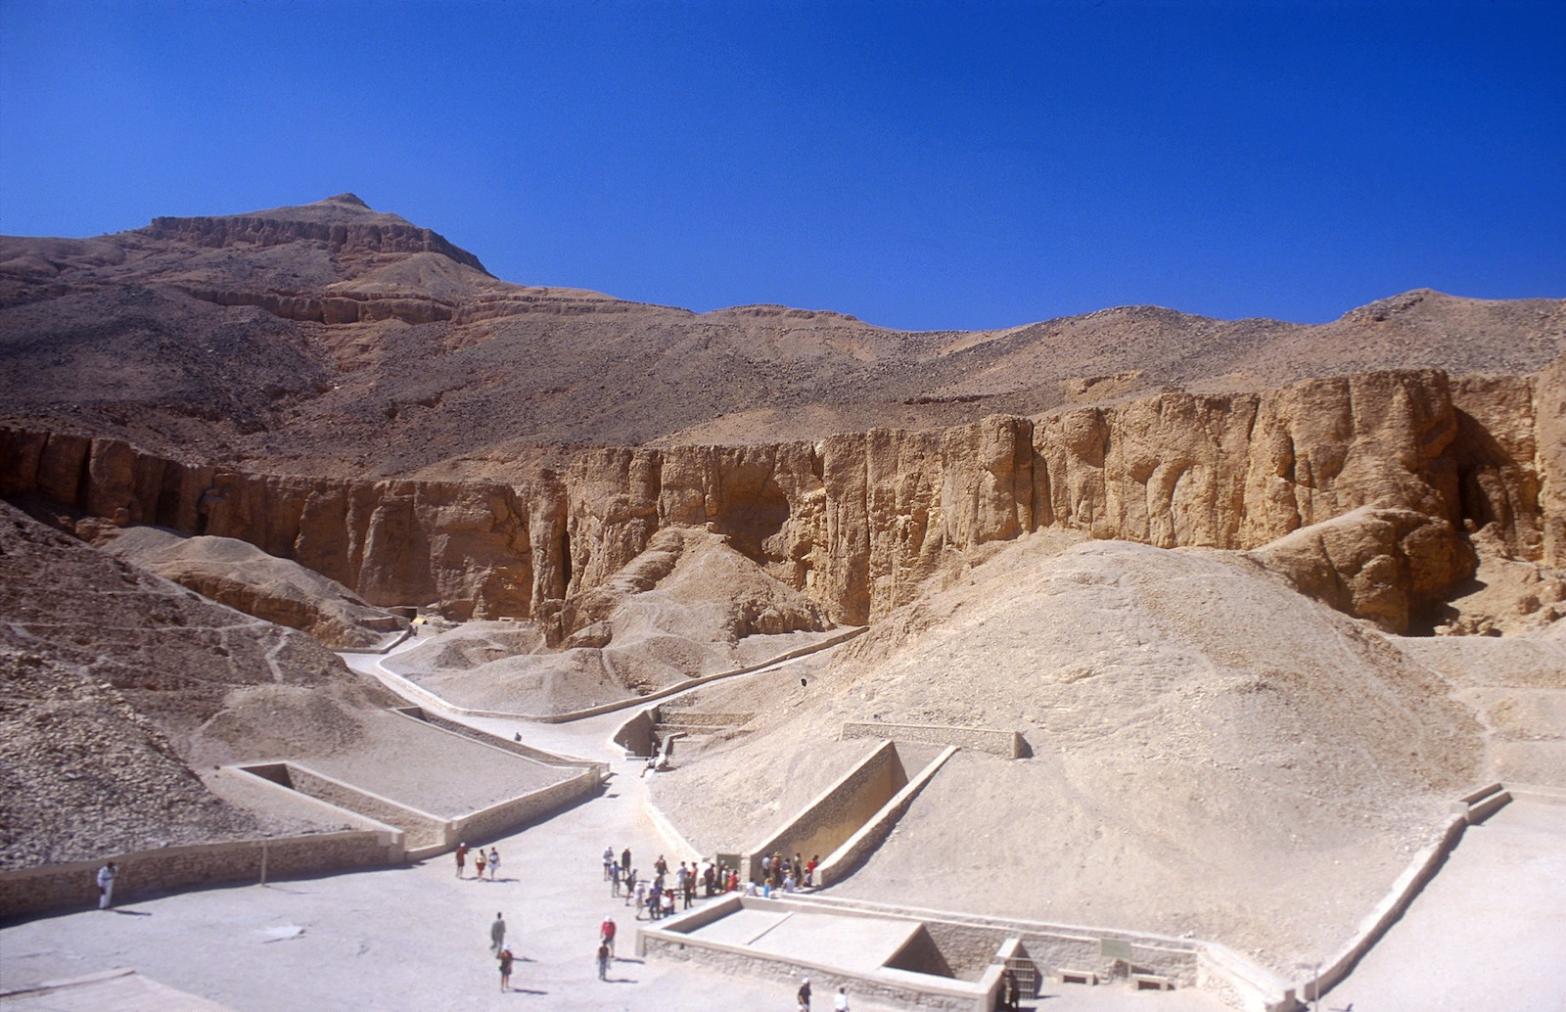
Central Valley of the Kings
Tutankhamen flanked by Anubis and Hathor.
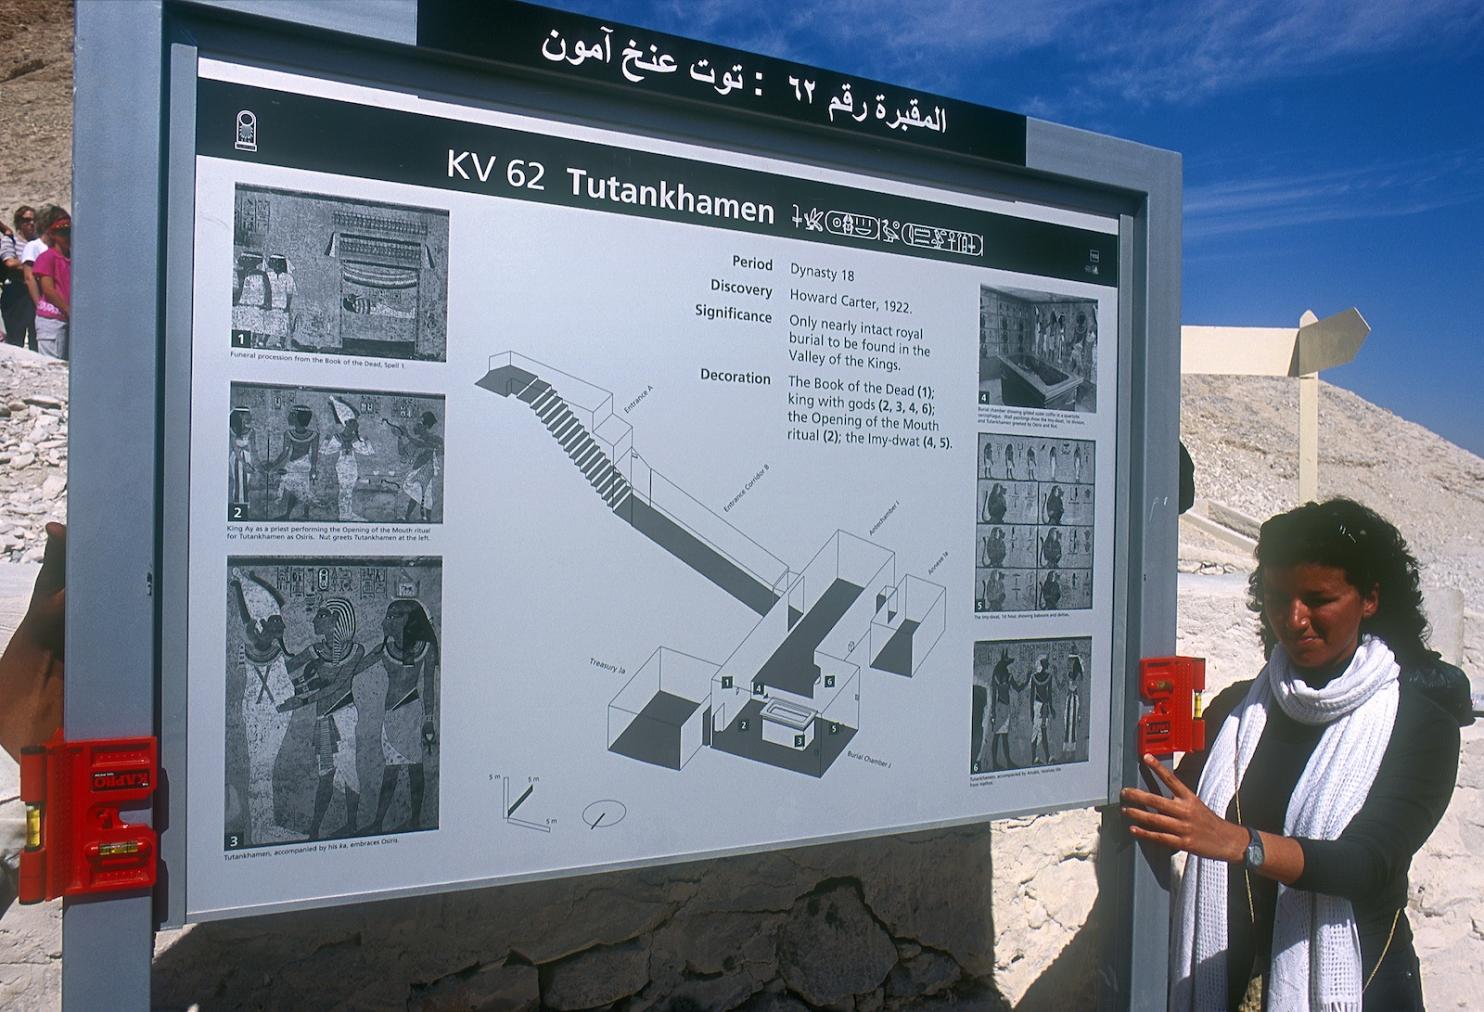
Theban Mapping Project architect Lamice Gabr supervising the erection of new information sign outside tomb.
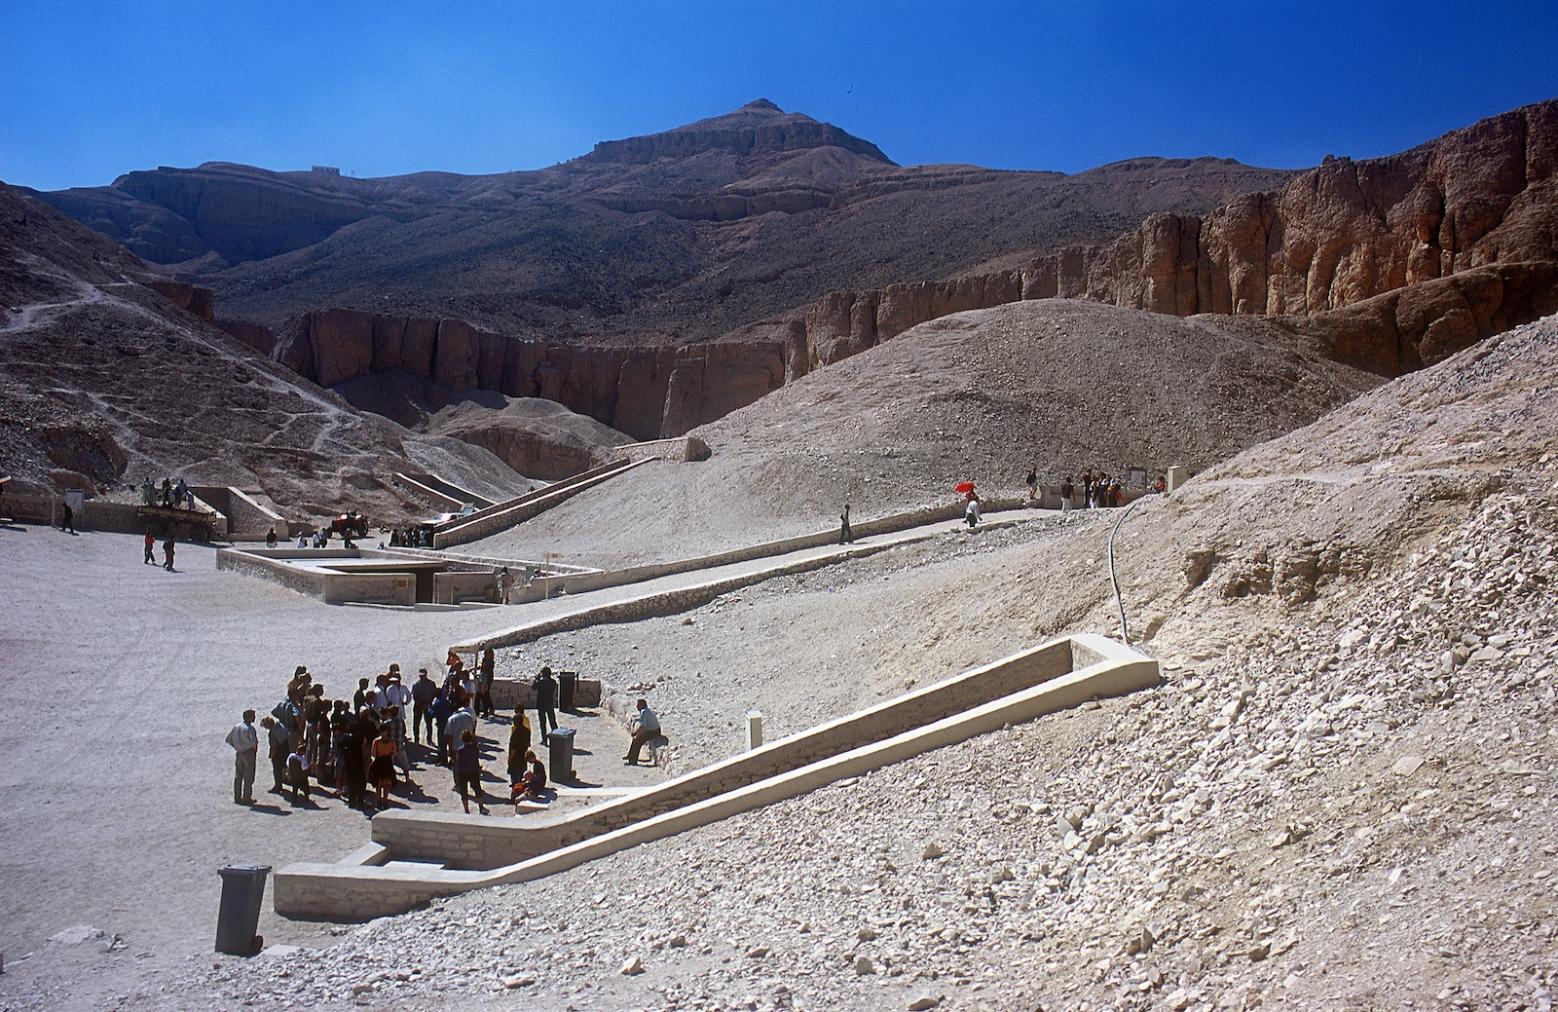
Tomb entrances with tourists.
Imydwat, first hour (detail).
Imydwat, first hour (detail).
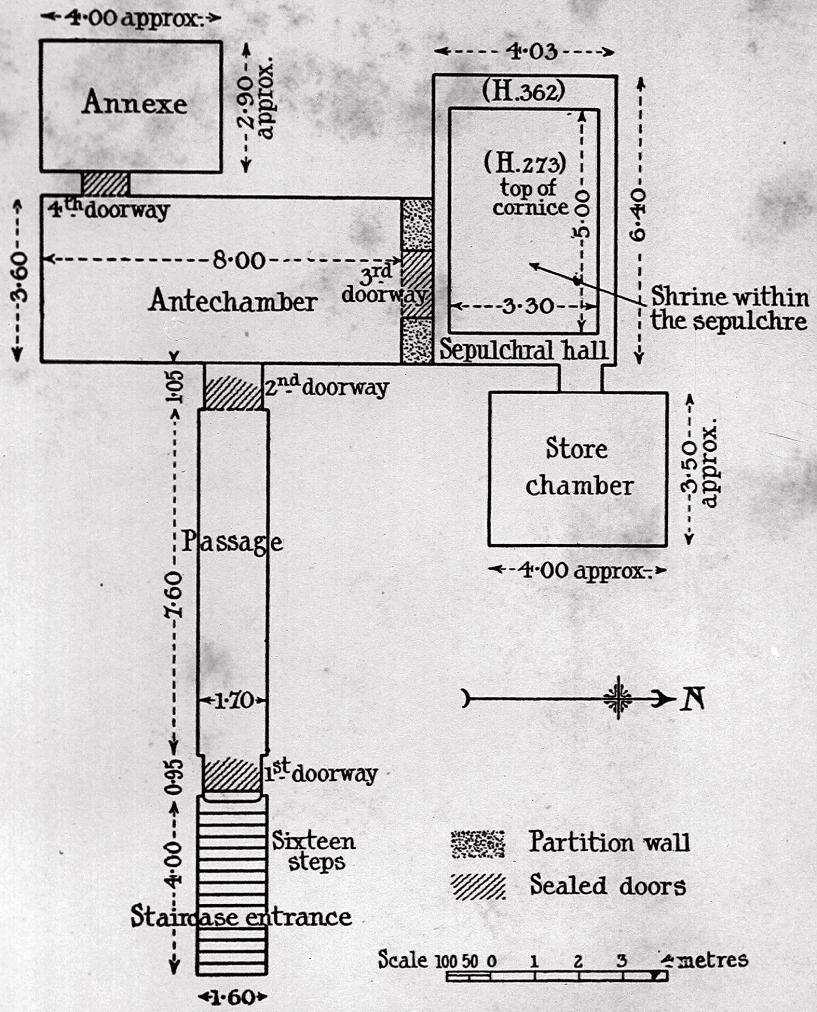
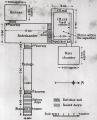
Early tomb plan.
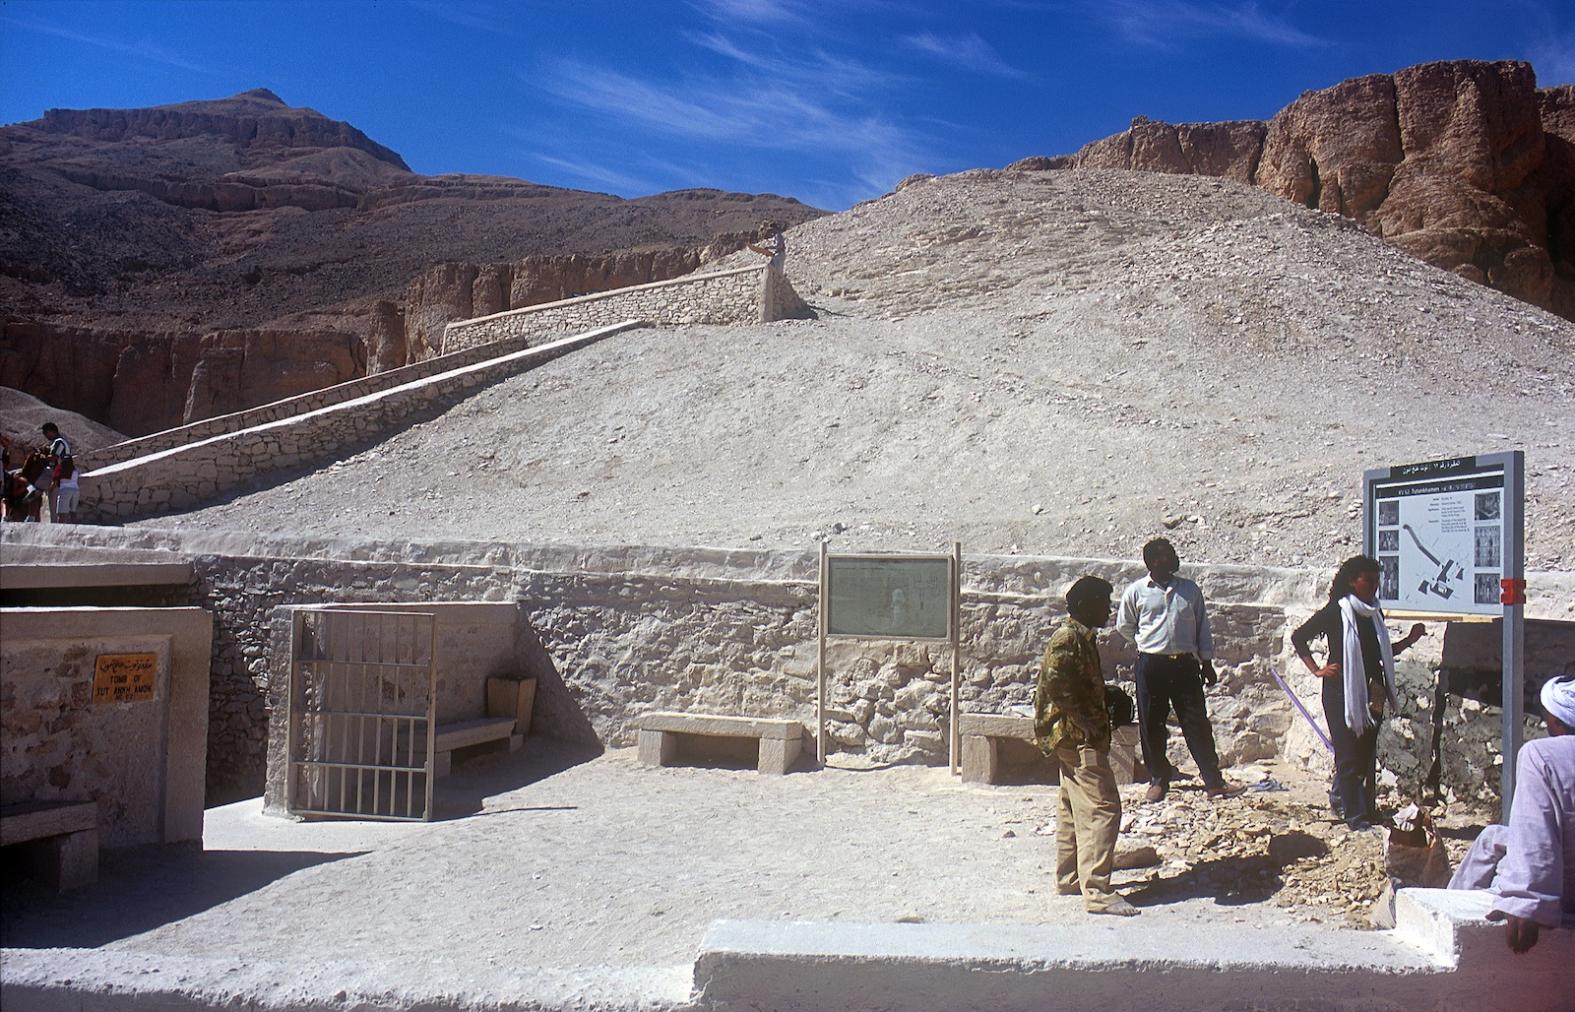
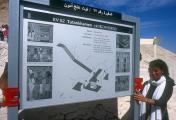
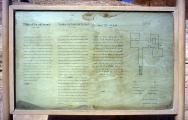
Tomb entrance with old and new information signs in place.
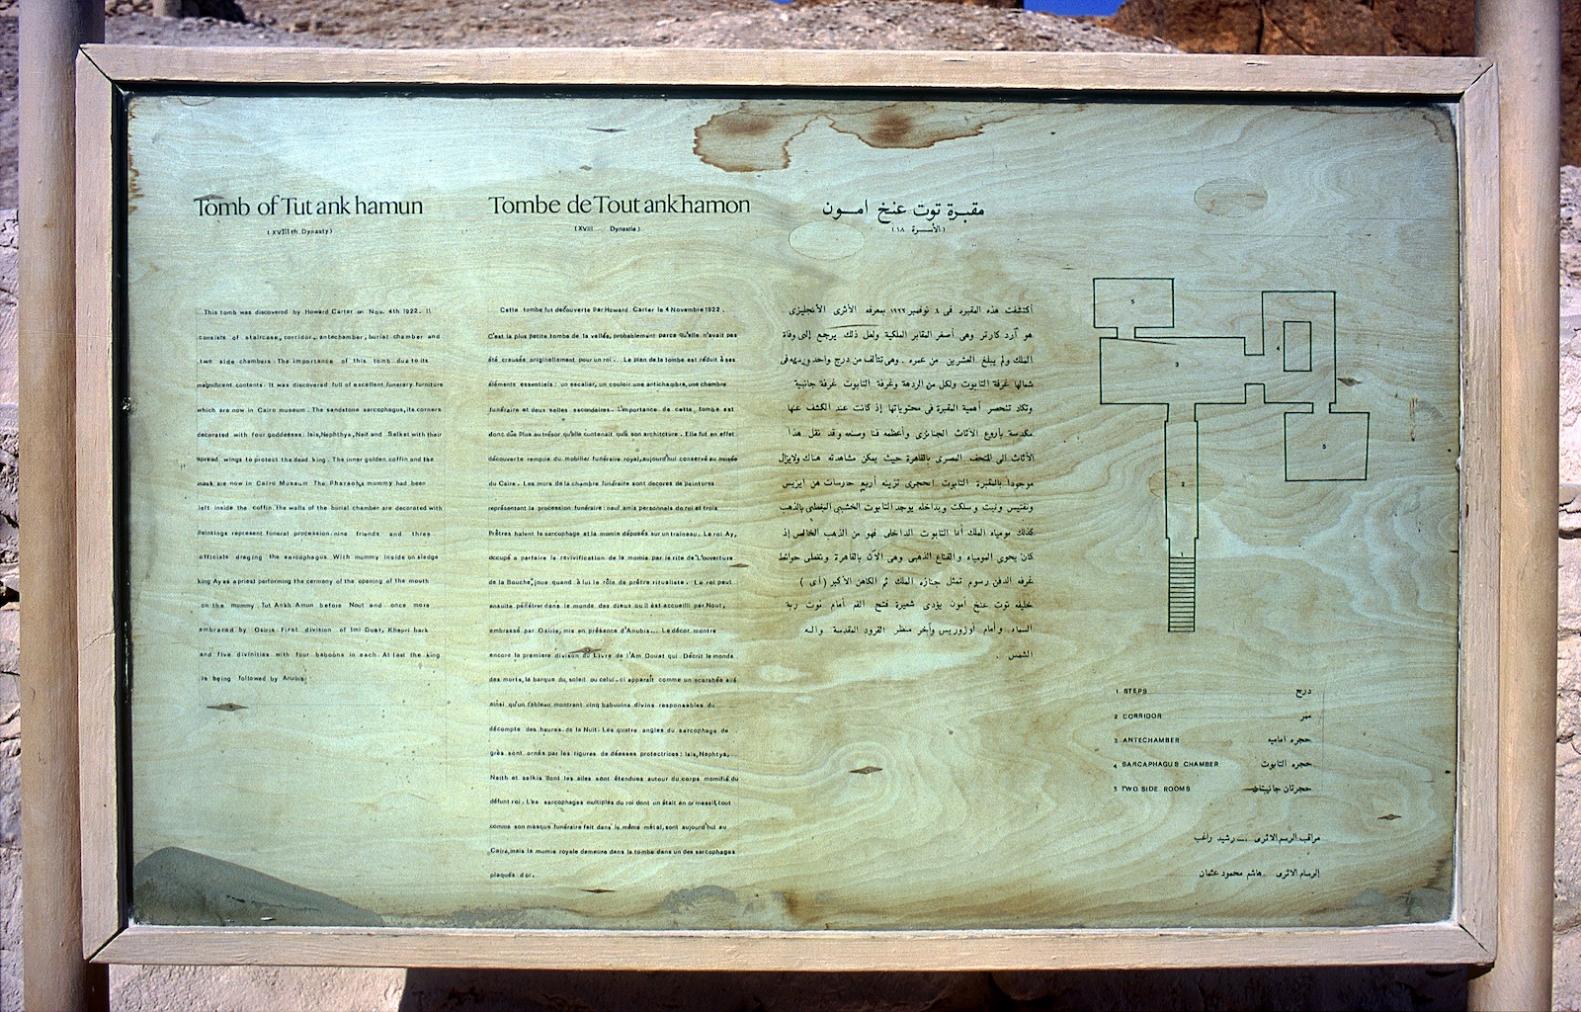
Old information sign.
Arthur Callender and Howard Carter working in the Antechamber of Tutankhamen's tomb
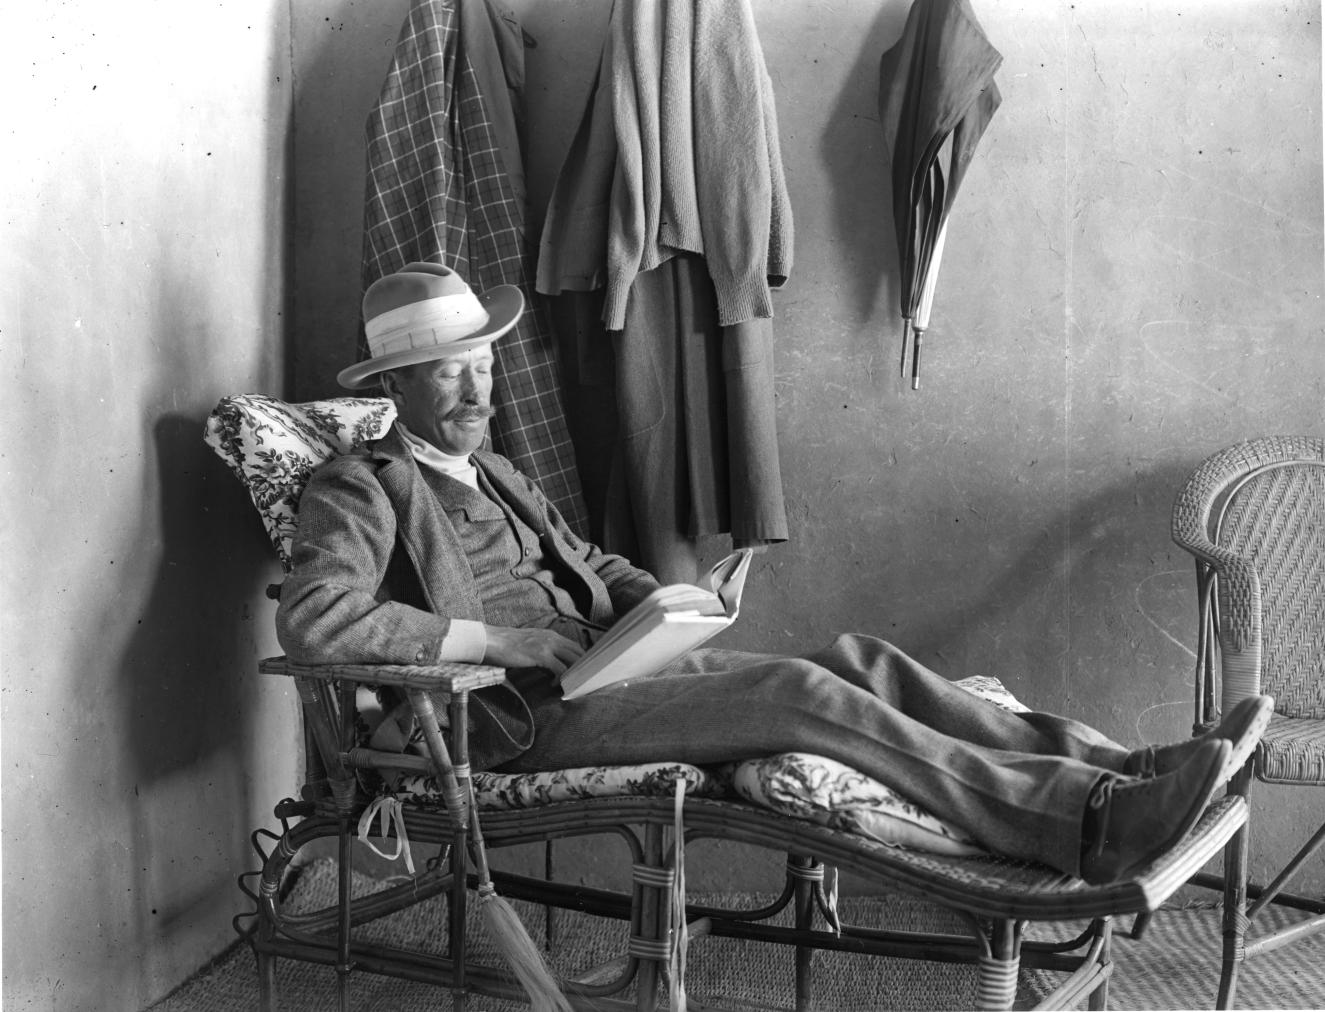
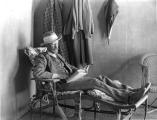
George Edward Stanhope Molyneux Herbert, 5th Earl of Carnarvon.
Howard Carter and Lord Carnarvon removing the sealed doorway leading to Tutankhamen's Burial Chamber.
Alfred Lucas and Arthur Mace conserving the Guardian statue of Tutankhamen in the makeshift 'laboratory' set up in the tomb of Sety II.
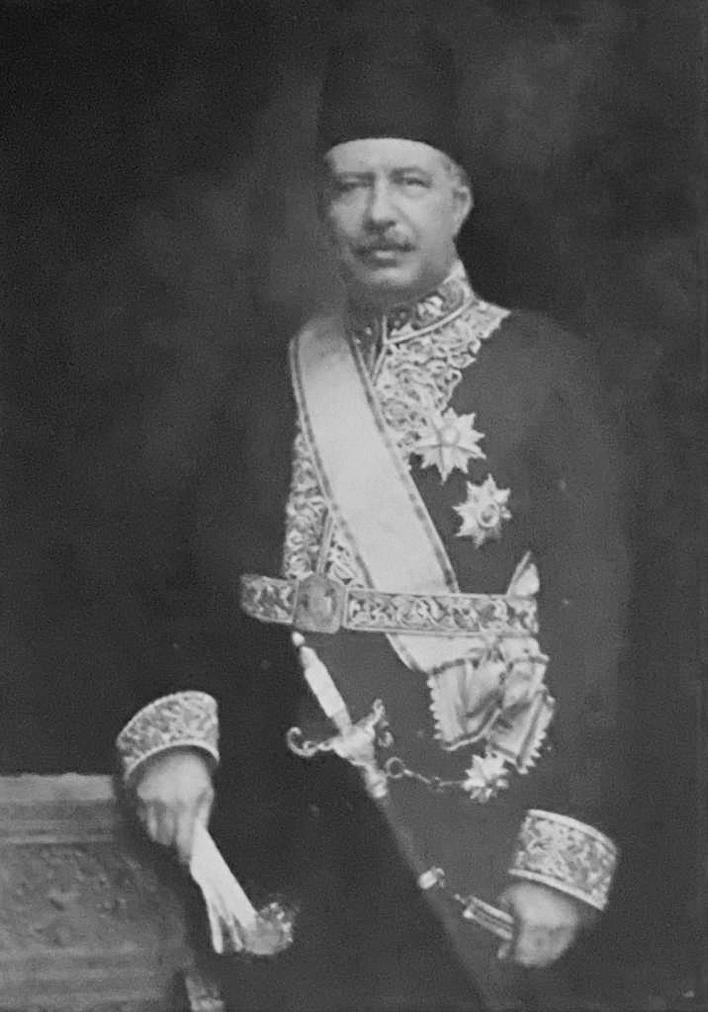
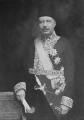
Portrait of Morcos Hanna Pasha. In his role as Minister of Public Works, Hanna oversaw the Service des Antiquités and Carter’s work in the tomb of Tutankhamen.
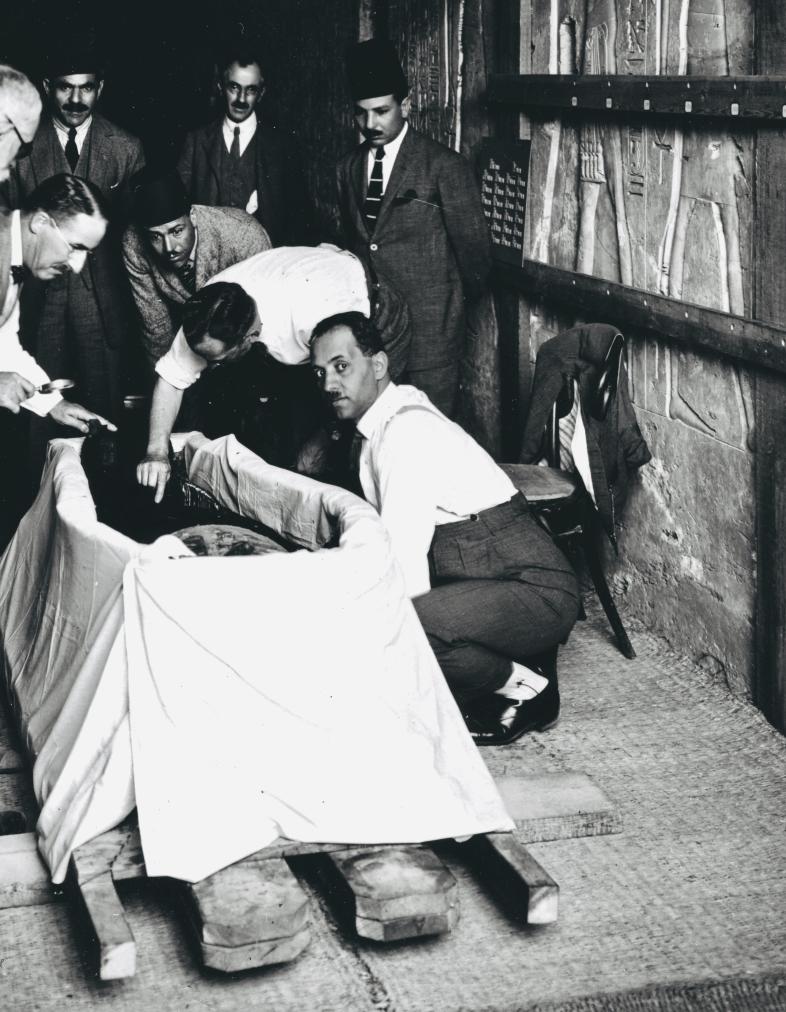
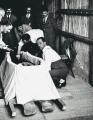
Saleh Bey Hamdi and others examining the mummy of Tutankhamen in the tomb of Sety II
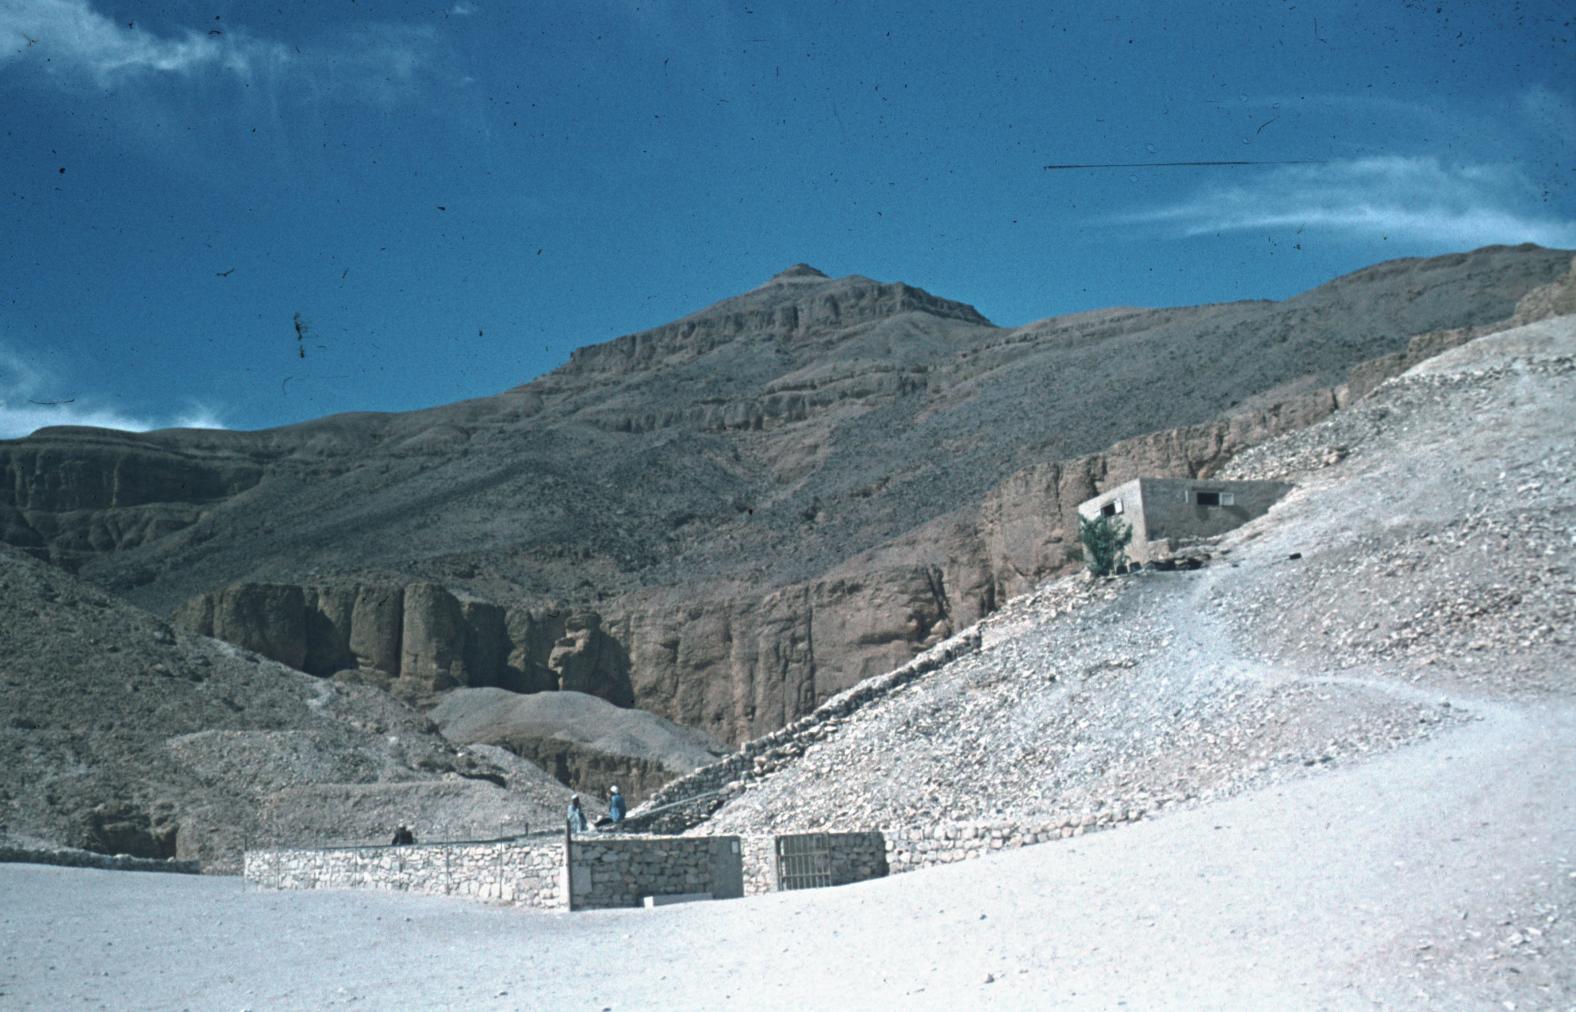
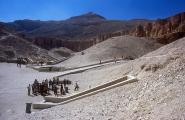
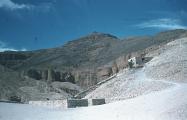
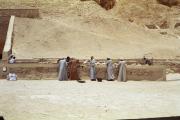
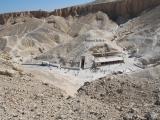
View into the Valley of the Kings with the tomb entrance in the foreground. Courtesy of Uni Dia Verlag; Uni Dia Image Nr. 35401.
View of the Burial Chamber with the sarcophagus in situ. Courtesy of Uni Dia Verlag; Uni Dia Image Nr. 35402.
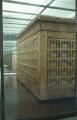
The stone sarcophagus with the gold coffin in situ. Courtesy of Uni Dia Verlag; Uni Dia Image Nr. 35403.
The deceased between Anubis and Hathor. Courtesy of Uni Dia Verlag; Uni Dia Image Nr. 35404.
The deceased before Hathor. Courtesy of Uni Dia Verlag; Uni Dia Image Nr. 35405.
The first hour of the Imydwat. Courtesy of Uni Dia Verlag; Uni Dia Image Nr. 35406.
The first hour of the Imydwat. Courtesy of Uni Dia Verlag; Uni Dia Image Nr. 35407.
Detail of baboon from the first hour of the Imydwat. Courtesy of Uni Dia Verlag; Uni Dia Image Nr. 35408.
Tutankhamen, followed by his ka, welcomed into the netherworld by Osiris. Nut performing the nini ritual before the King. Courtesy of Uni Dia Verlag; Uni Dia Image Nr. 35409.
Tutankhamen, followed by his ka, welcomed into the netherworld by Osiris. Courtesy of Uni Dia Verlag; Uni Dia Image Nr. 35410.
Tutankhamen welcomed into the netherworld by Osiris. Courtesy of Uni Dia Verlag; Uni Dia Image Nr. 35411.
Nut performing the Nini ritual before Tutankhamen. Courtesy of Uni Dia Verlag; Uni Dia Image Nr. 35412.
Ay, as a priest, performing the opening of the mouth ritual on Tutankhamen. Courtesy of Uni Dia Verlag; Uni Dia Image Nr. 35413.
Ay, as a priest, performing the opening of the mouth ritual on Tutankhamen. Courtesy of Uni Dia Verlag; Uni Dia Image Nr. 35414.
Ay, as a priest, performing the opening of the mouth ritual on Tutankhamen. Courtesy of Uni Dia Verlag; Uni Dia Image Nr. 35415.
Book of the Dead spell 1. Courtesy of Uni Dia Verlag; Uni Dia Image Nr. 35416.
Book of the Dead spell 1. Courtesy of Uni Dia Verlag; Uni Dia Image Nr. 35417.
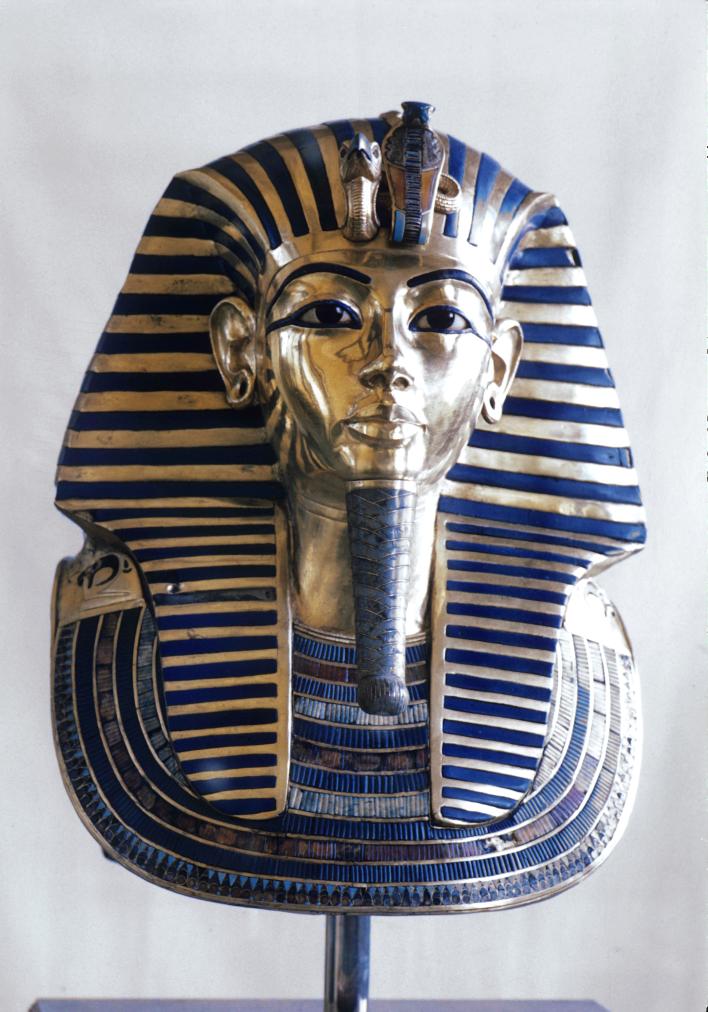
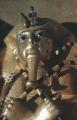
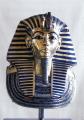
Gold death mask of Tutankhamen (Cairo Museum). Courtesy of Uni Dia Verlag; Uni Dia Image Nr. 35418.
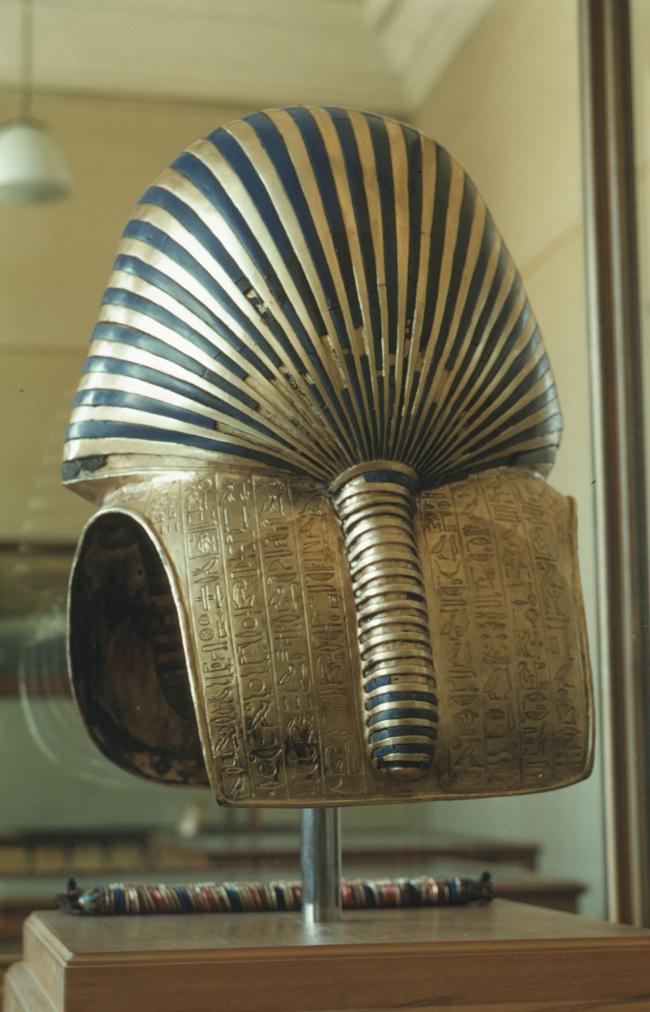
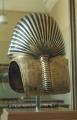
Back of Gold death mask of Tutankhamen (Cairo Museum). Courtesy of Uni Dia Verlag; Uni Dia Image Nr. 35419.
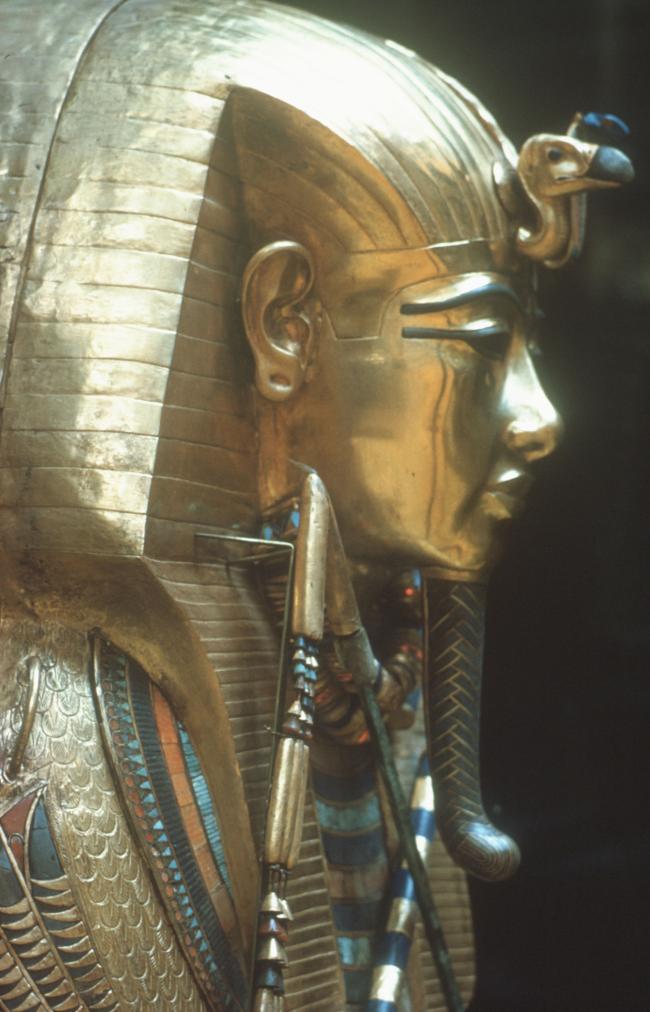
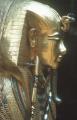
The innermost coffin of Tutankhamen (Cairo museum). Courtesy of Uni Dia Verlag; Uni Dia Image Nr. 35420.
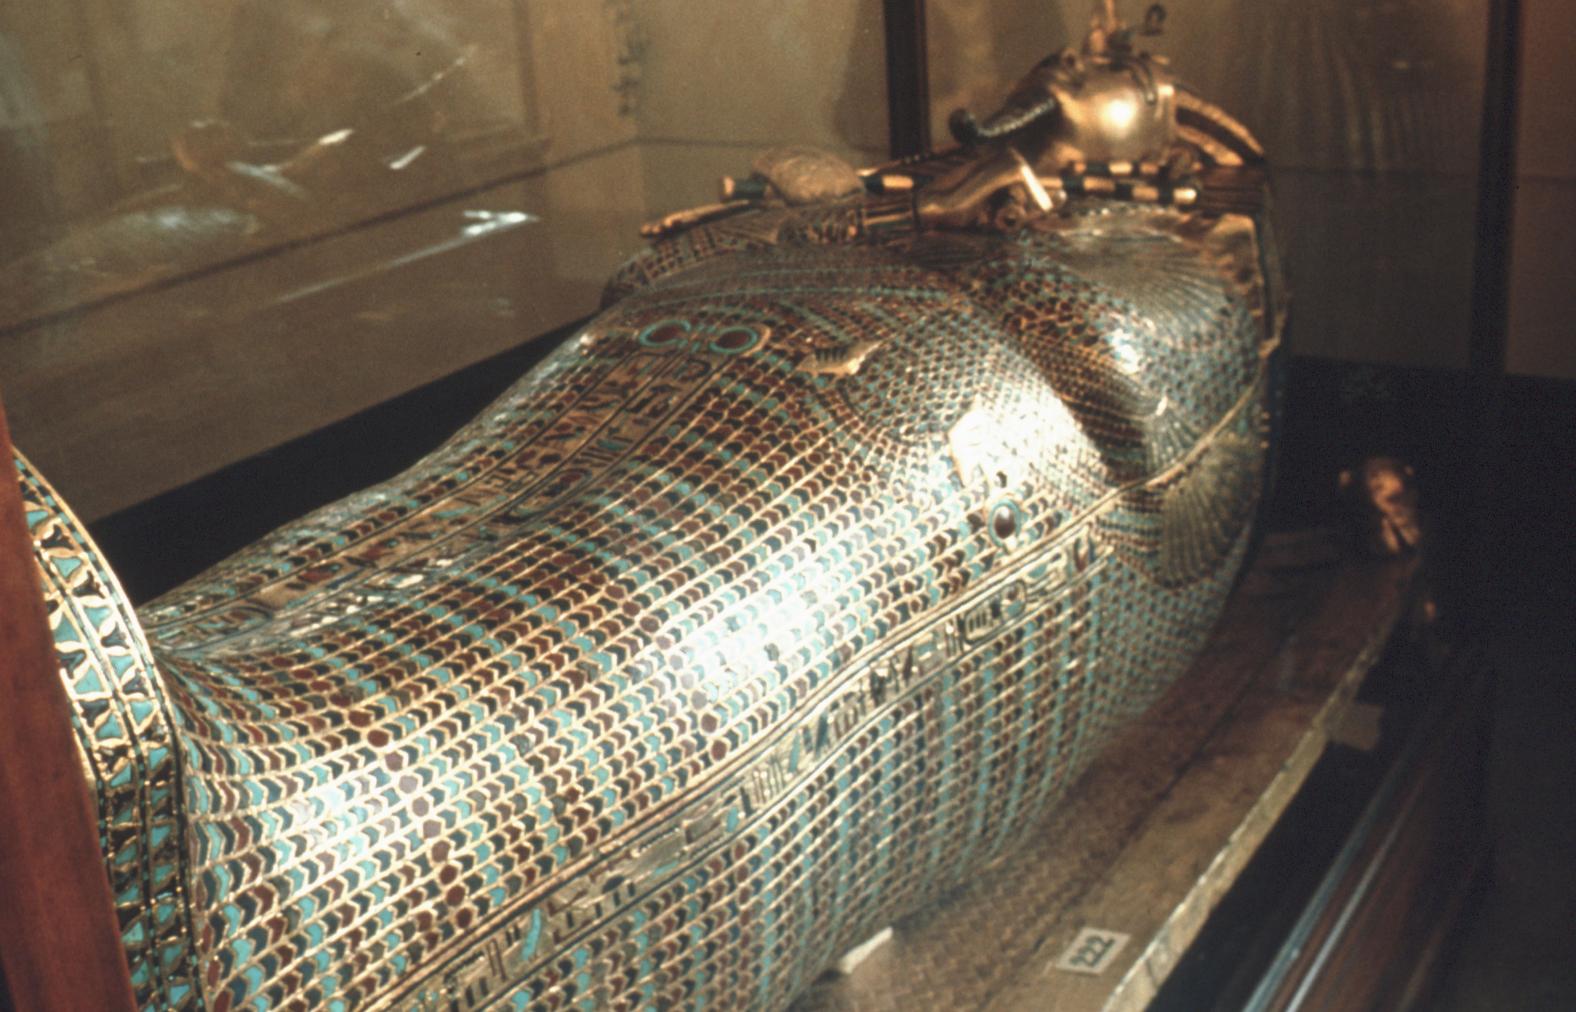
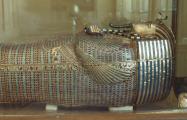
The second coffin of Tutankhamen (Cairo museum). Courtesy of Uni Dia Verlag; Uni Dia Image Nr. 35421.
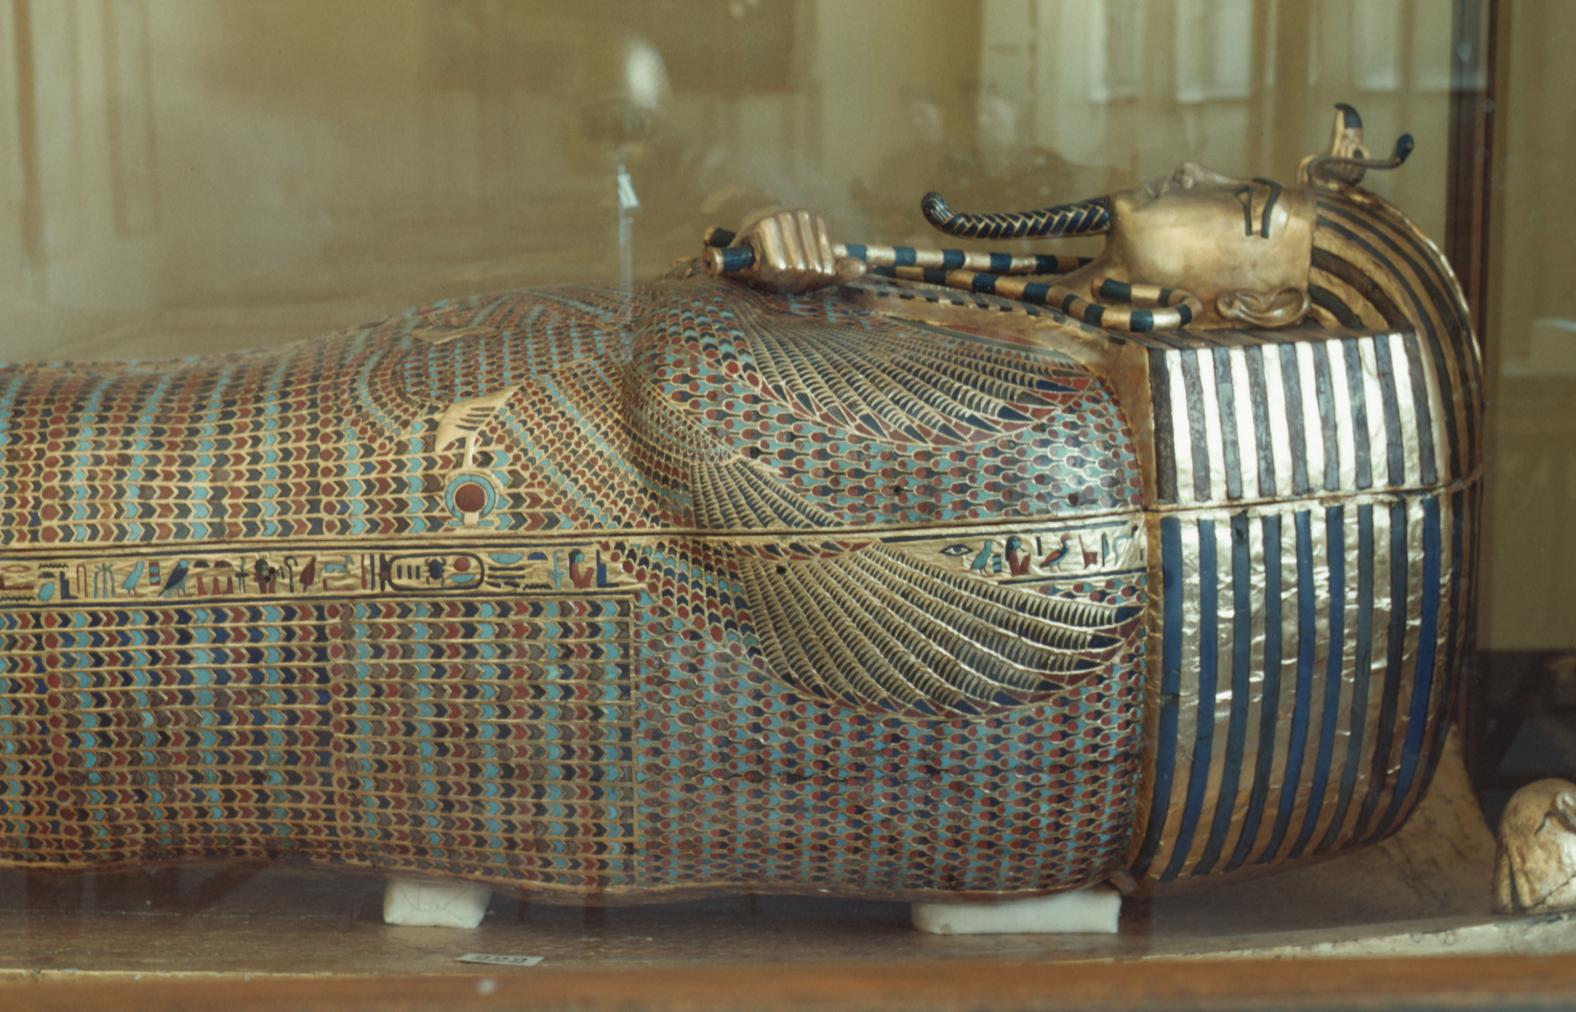
The second coffin of Tutankhamen (Cairo museum). Courtesy of Uni Dia Verlag; Uni Dia Image Nr. 35422.
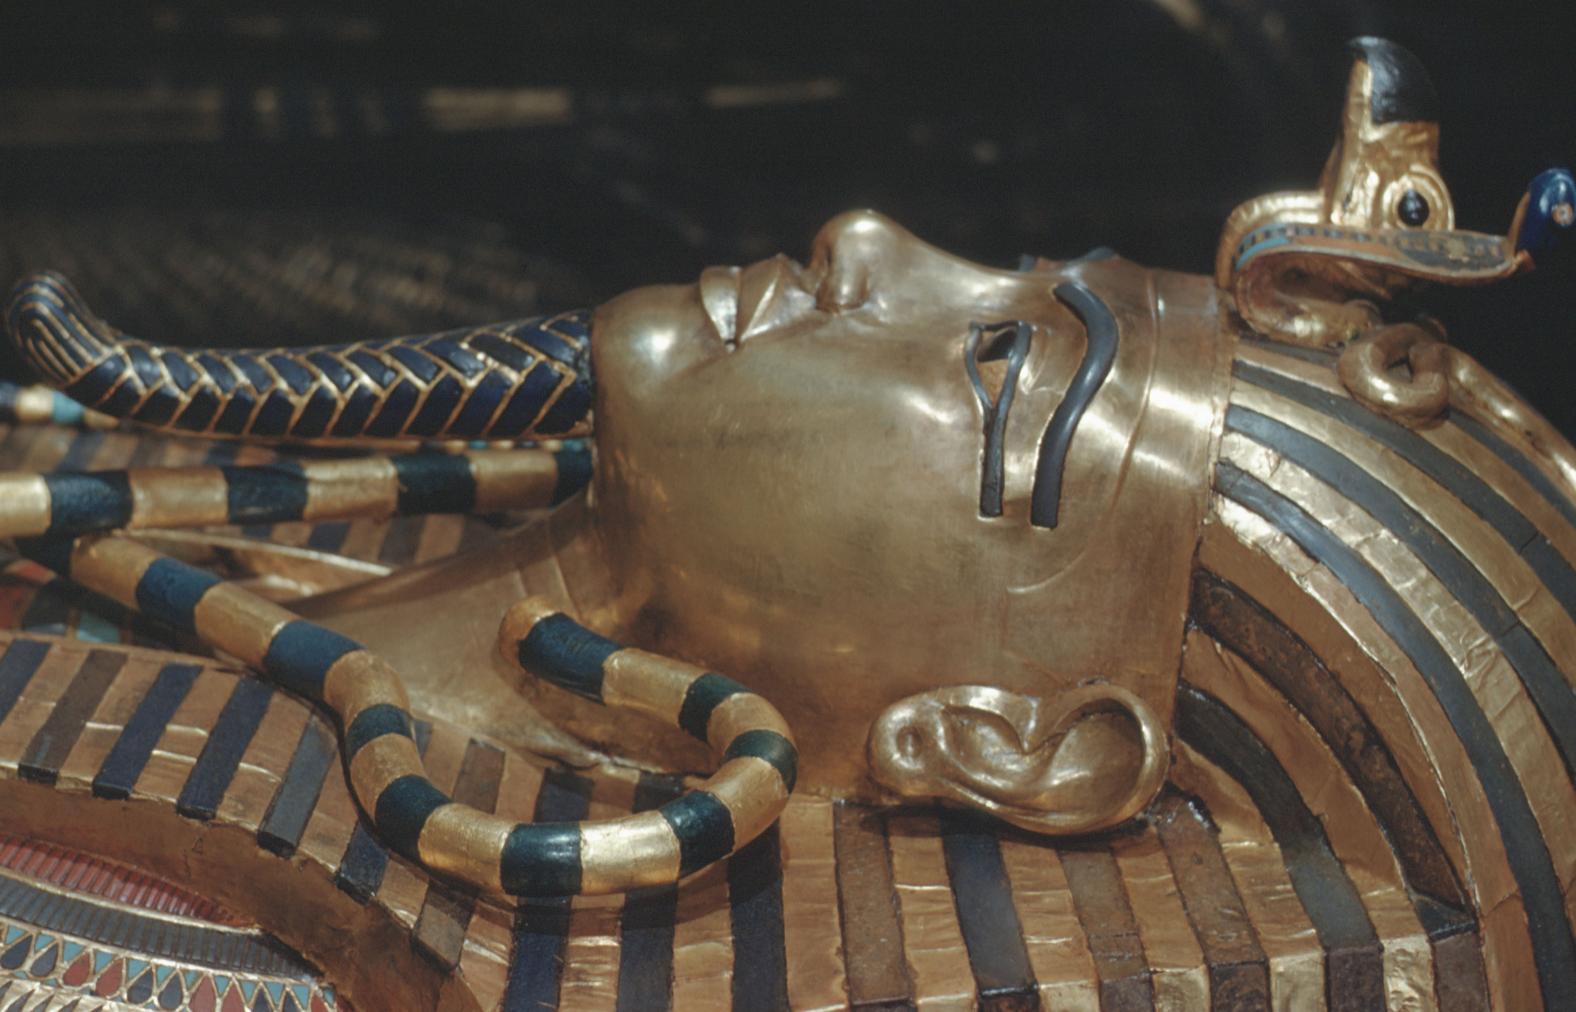
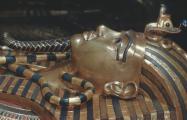
Face of the second coffin of Tutankhamen (Cairo Museum). Courtesy of Uni Dia Verlag; Uni Dia Image Nr. 35423.
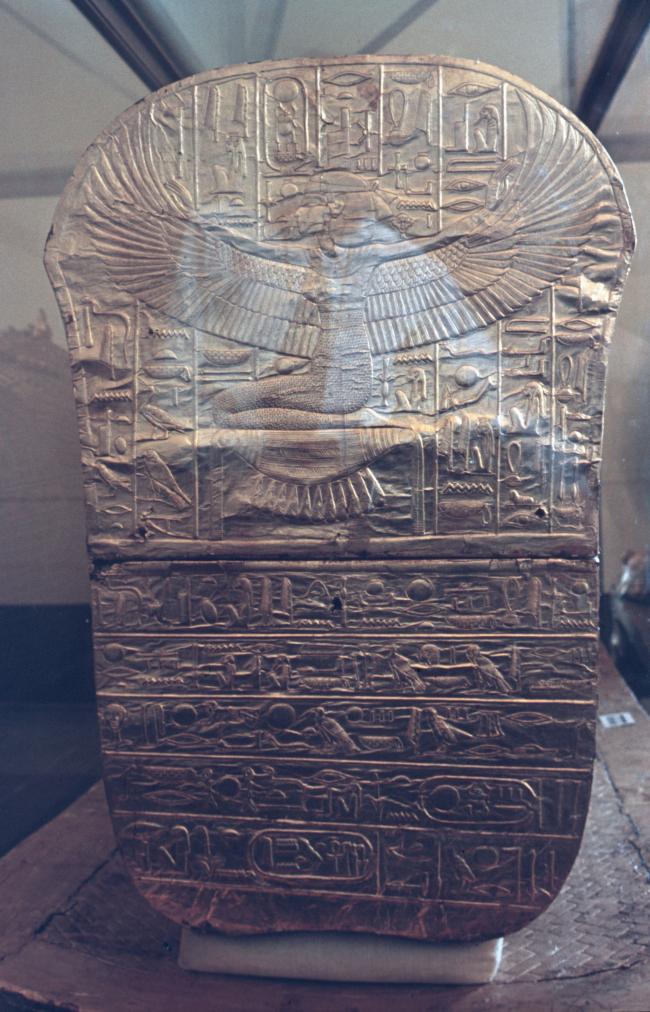
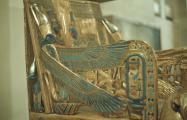
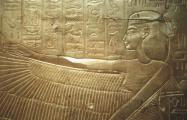
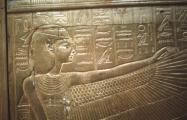
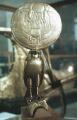
Winged Isis on the foot end of the innermost coffin (Cairo Museum). Courtesy of Uni Dia Verlag; Uni Dia Image Nr. 35424.
The third coffin of Tutankhamen in the tomb. Courtesy of Uni Dia Verlag; Uni Dia Image Nr. 35425.
The sarcophagus of Tutankhamen in the tomb. Courtesy of Uni Dia Verlag; Uni Dia Image Nr. 35426.
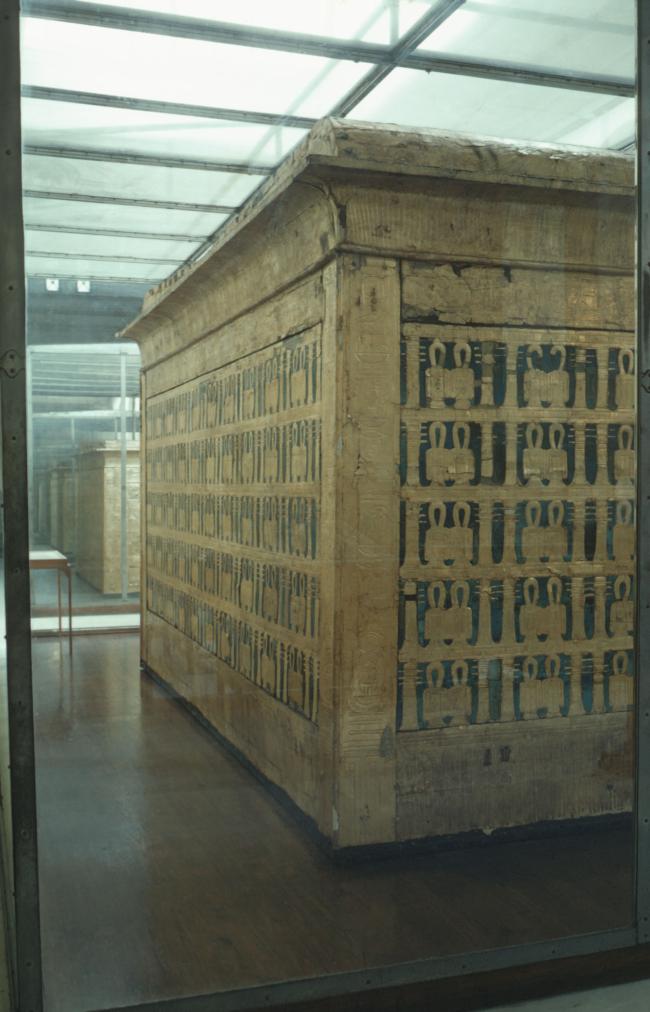
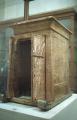
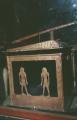
One of the shrines of Tutankhamen (Cairo Museum). Courtesy of Uni Dia Verlag; Uni Dia Image Nr. 35427.
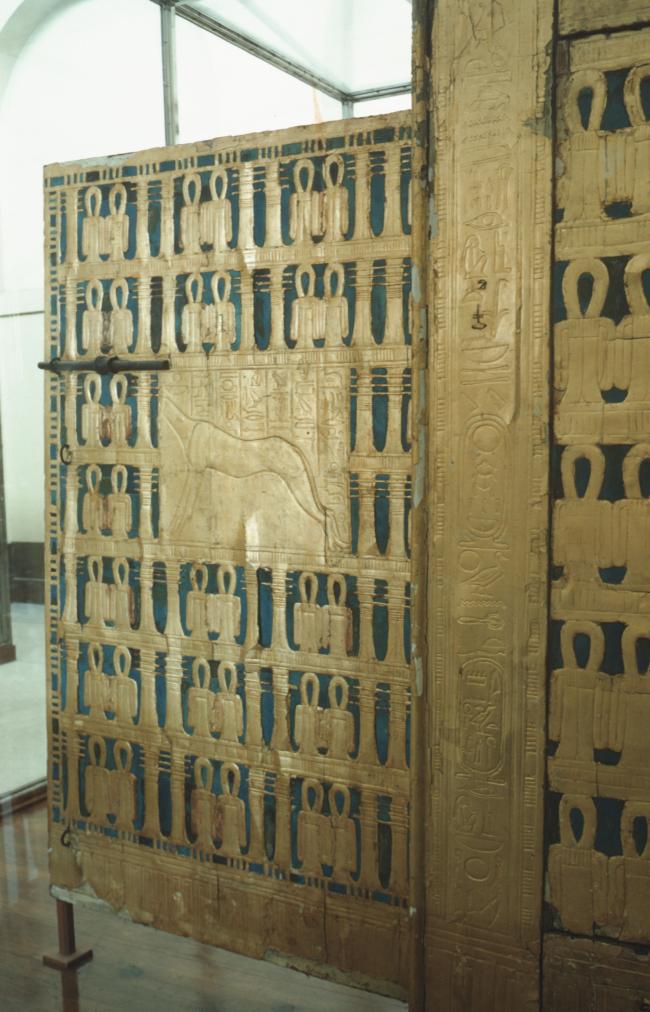
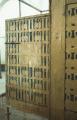
Door of the large wooden shrine (Cairo Museum). Courtesy of Uni Dia Verlag; Uni Dia Image Nr. 35428.
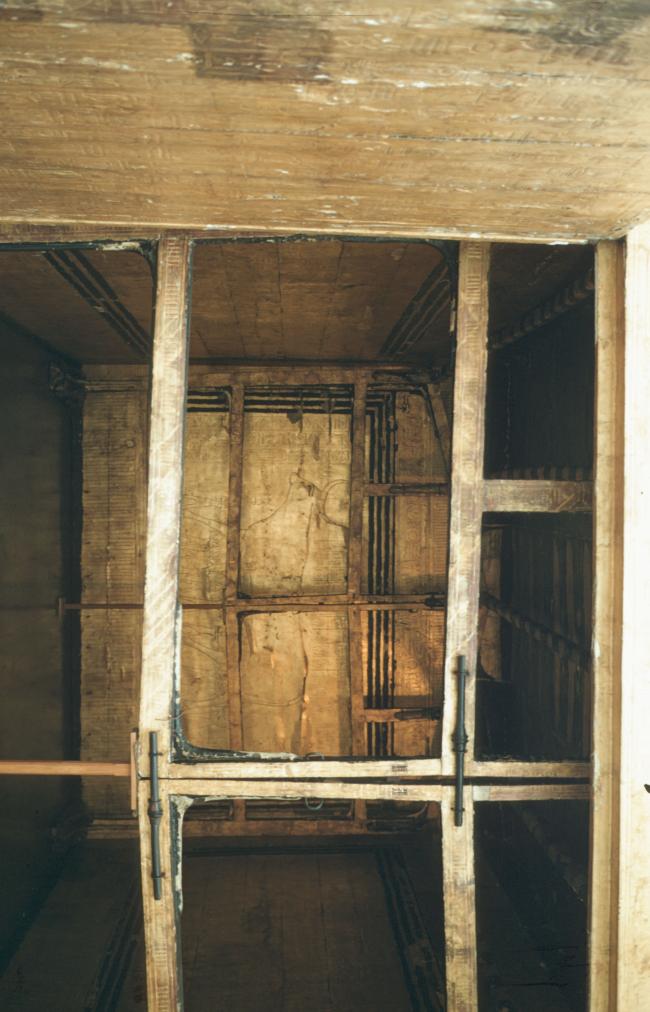
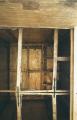
View inside large wooden shrine (Cairo museum). Courtesy of Uni Dia Verlag; Uni Dia Image Nr. 35429.
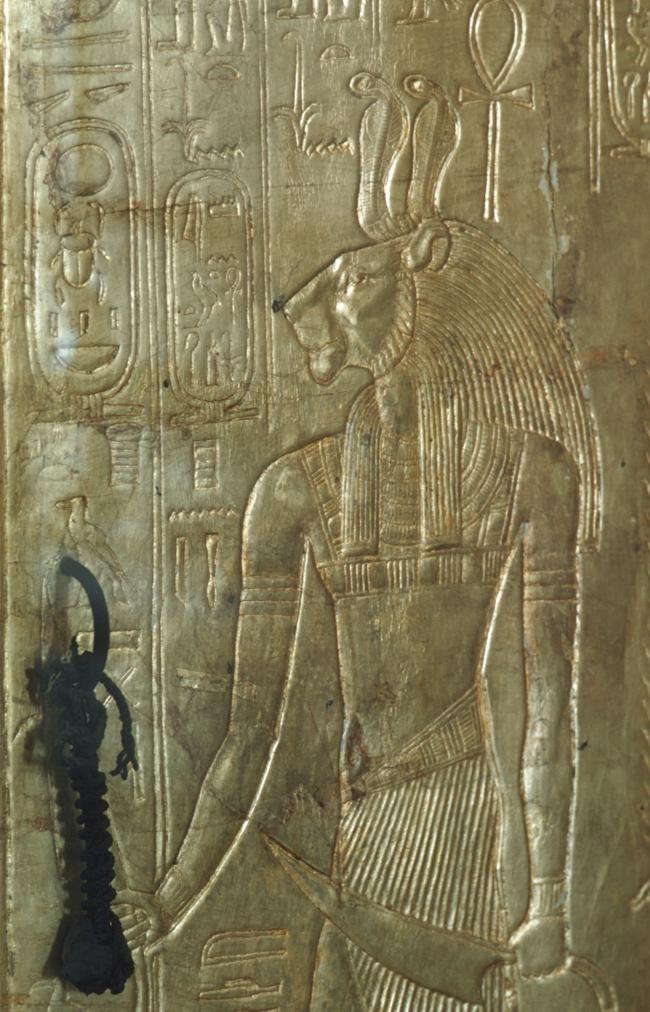
Door of the second wooden shrine with sealing cord (Cairo Museum). Courtesy of Uni Dia Verlag; Uni Dia Image Nr. 35430.
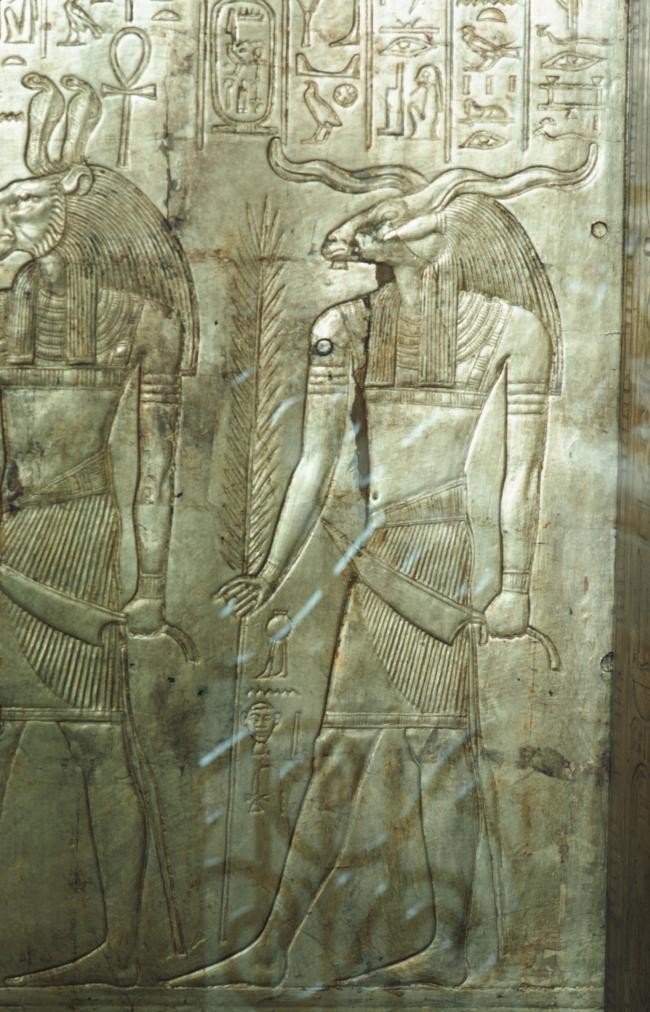
Door of the second wooden shrine (Cairo Museum). Courtesy of Uni Dia Verlag; Uni Dia Image Nr. 35431.
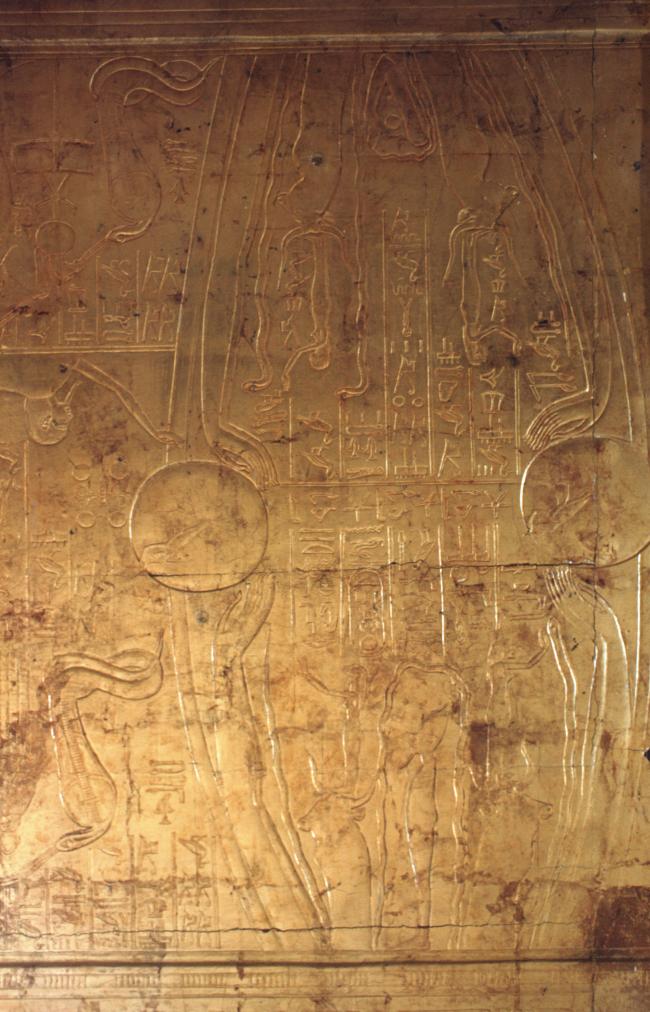
Scene from the book Imydwat, Inner wooden shrine (Cairo Museum). Courtesy of Uni Dia Verlag; Uni Dia Image Nr. 35432.
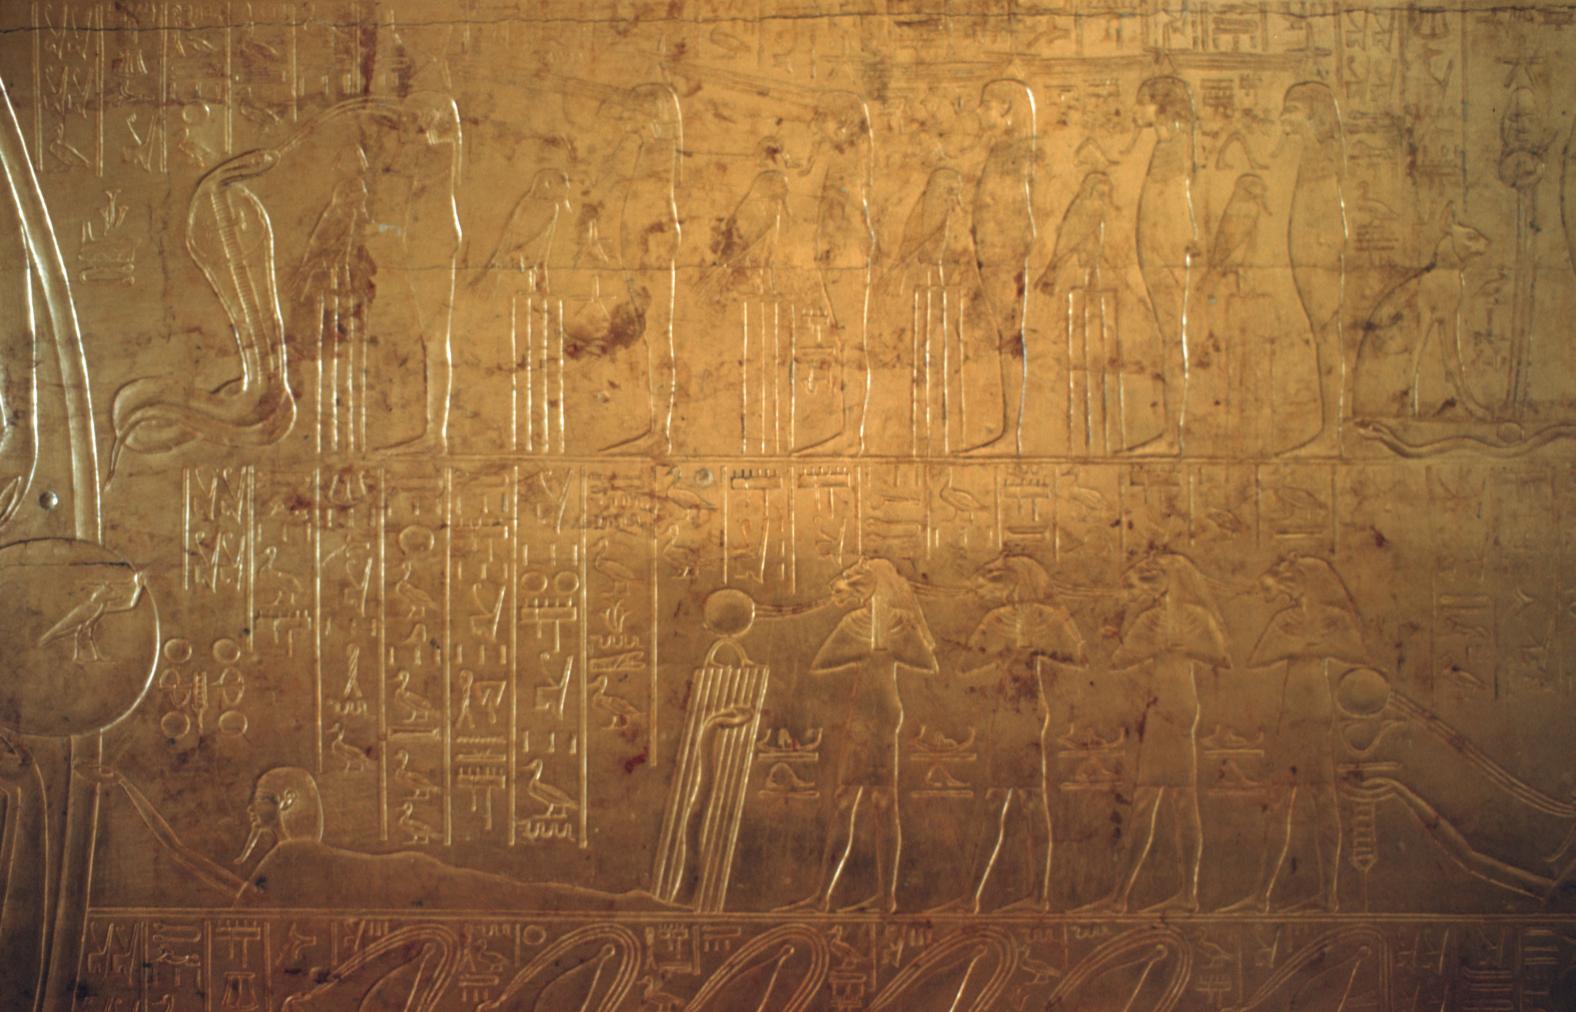
Scene from the book Imydwat, inner wooden shrine (Cairo Museum). Courtesy of Uni Dia Verlag; Uni Dia Image Nr. 35433.
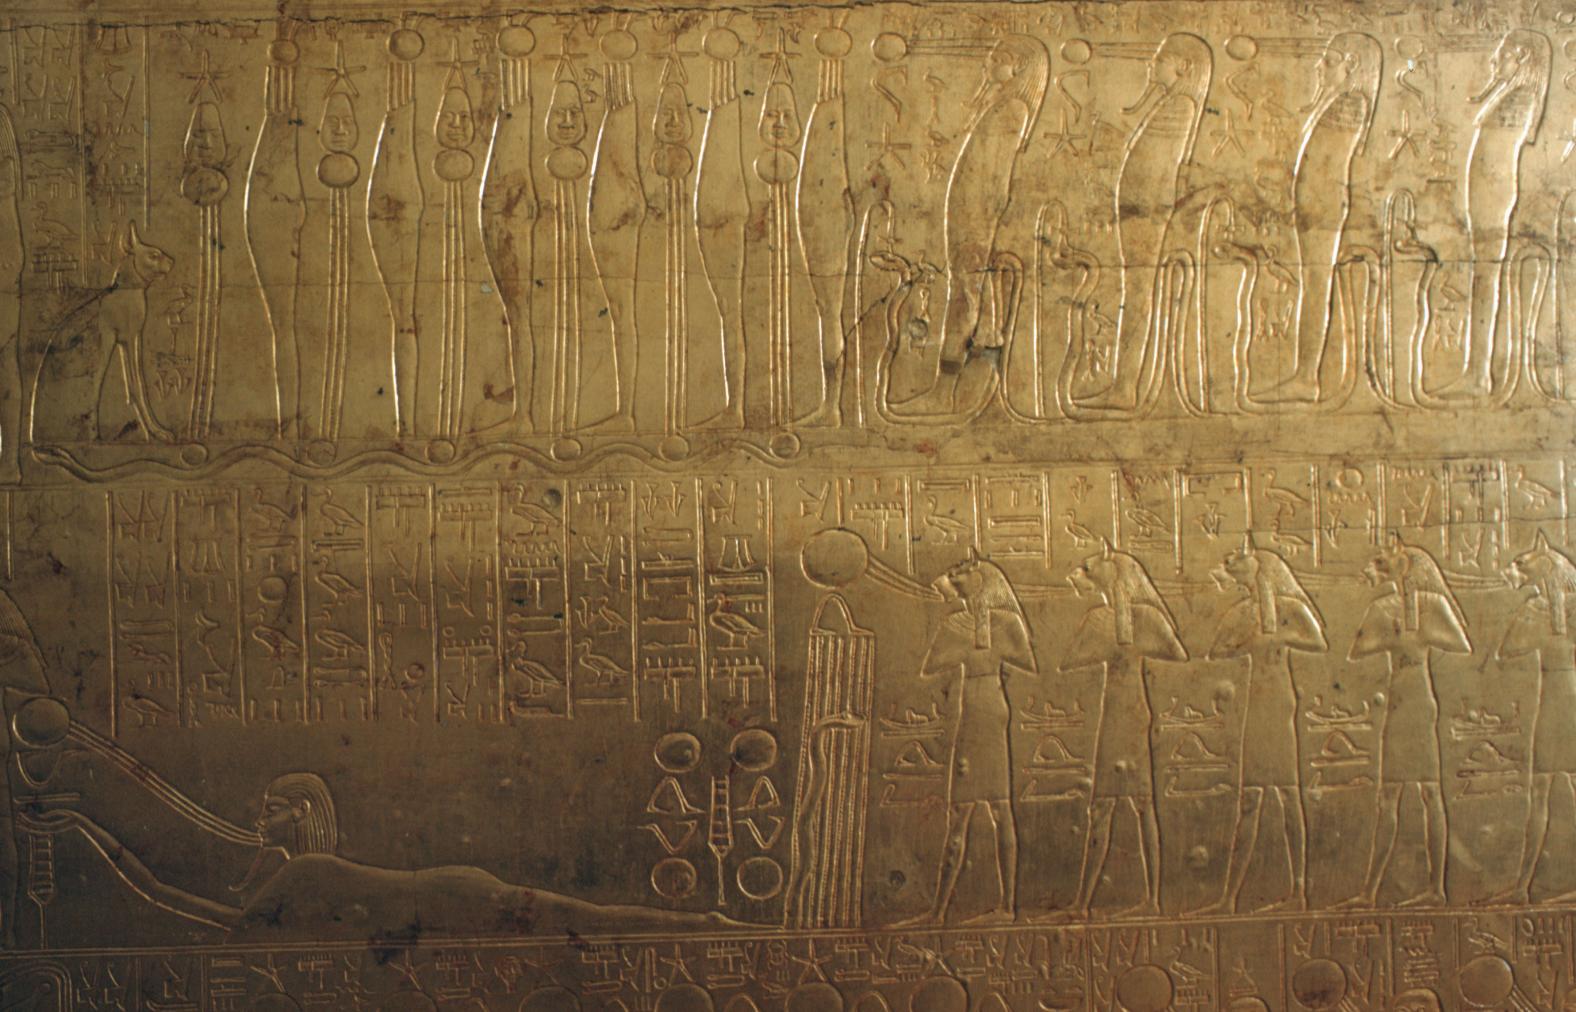
Scene from the book Imydwat, inner wooden shrine (Cairo Museum). Courtesy of Uni Dia Verlag; Uni Dia Image Nr. 35434.
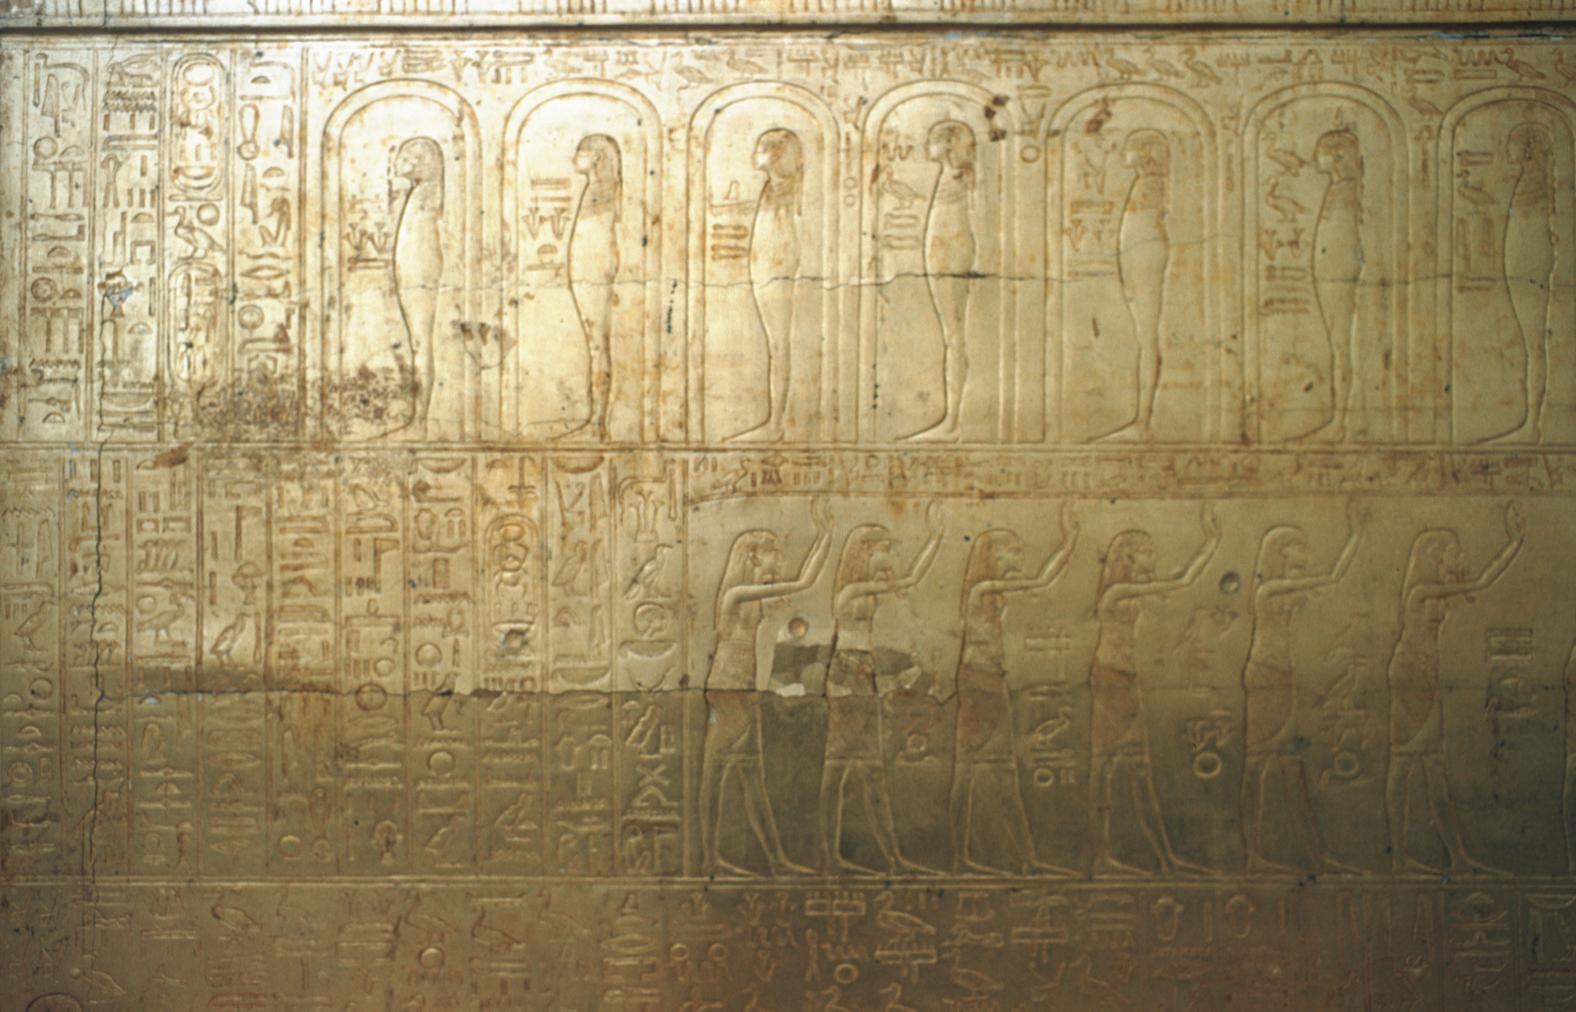
Scene from the book Imydwat, inner wooden shrine (Cairo Museum). Courtesy of Uni Dia Verlag; Uni Dia Image Nr. 35435.
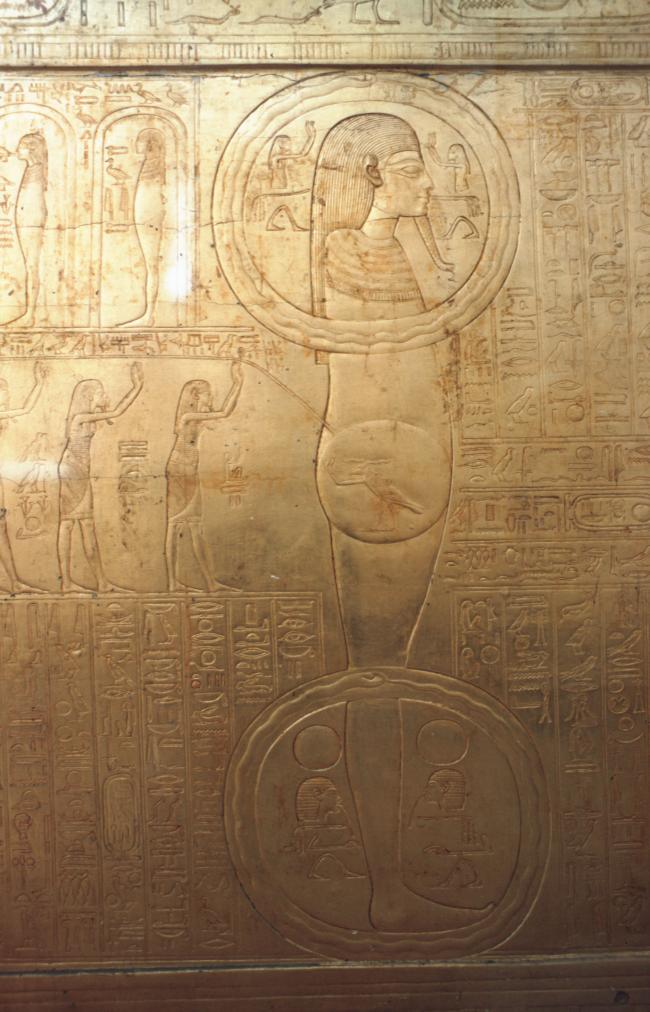
Scene from the Imydwat, inner wooden shrine (Cairo Museum). Courtesy of Uni Dia Verlag; Uni Dia Image Nr. 35436.
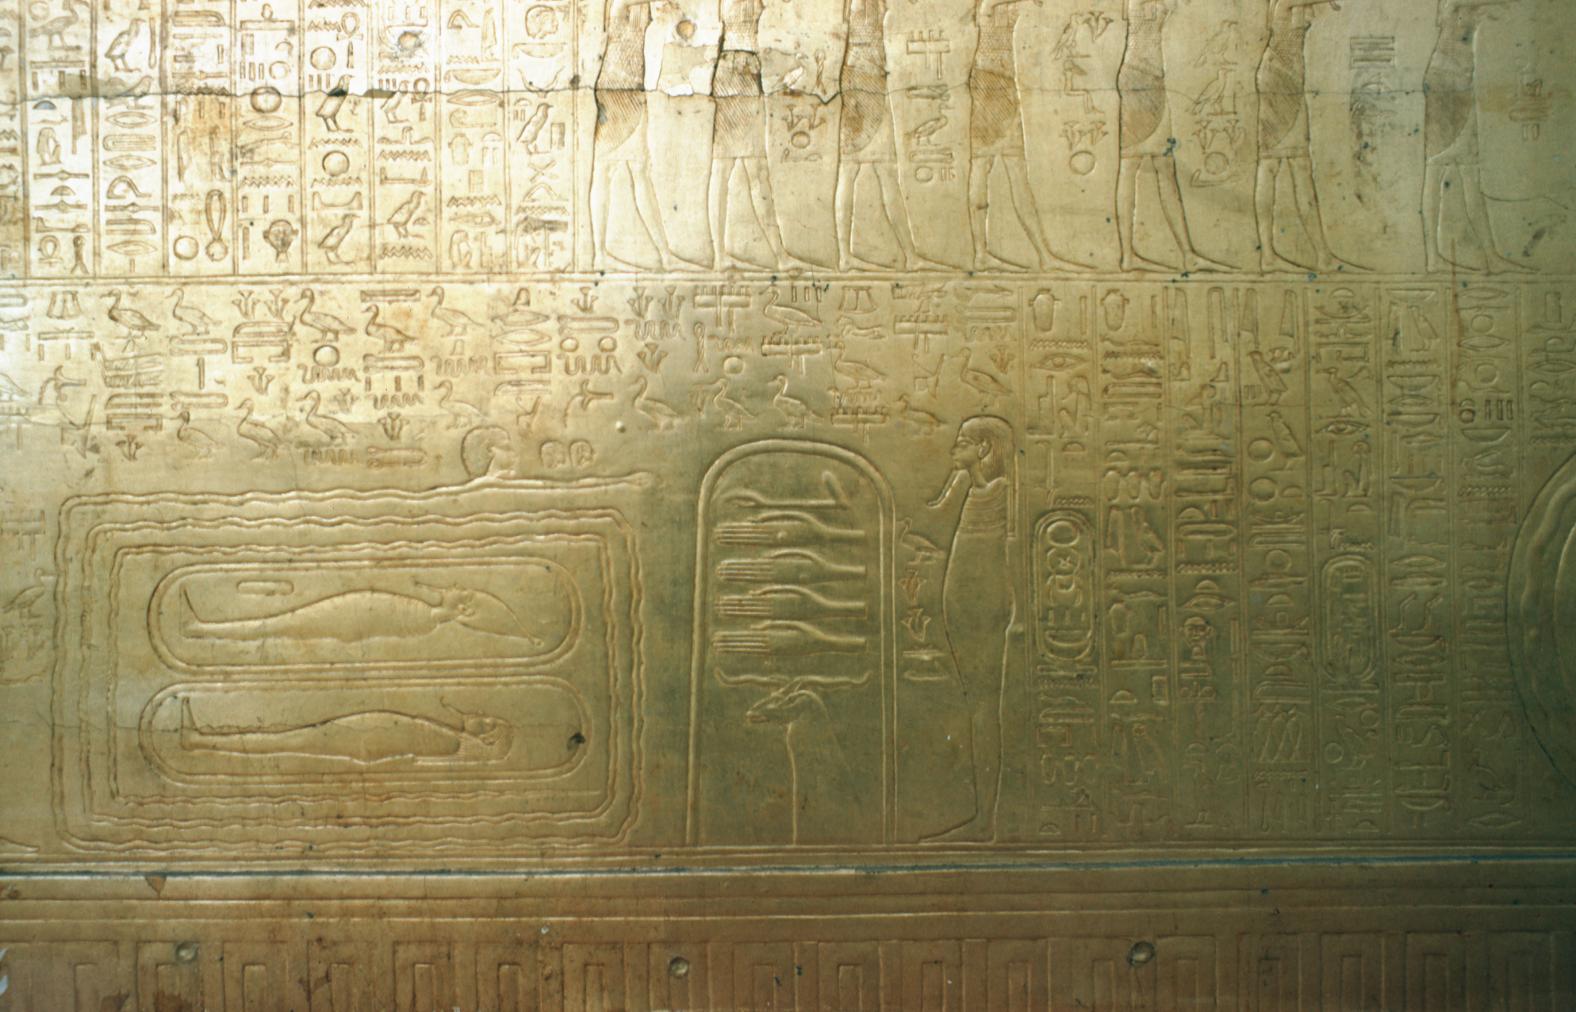
Scene from the Imydwat, inner wooden shrine (Cairo Museum). Courtesy of Uni Dia Verlag; Uni Dia Image Nr. 35437.
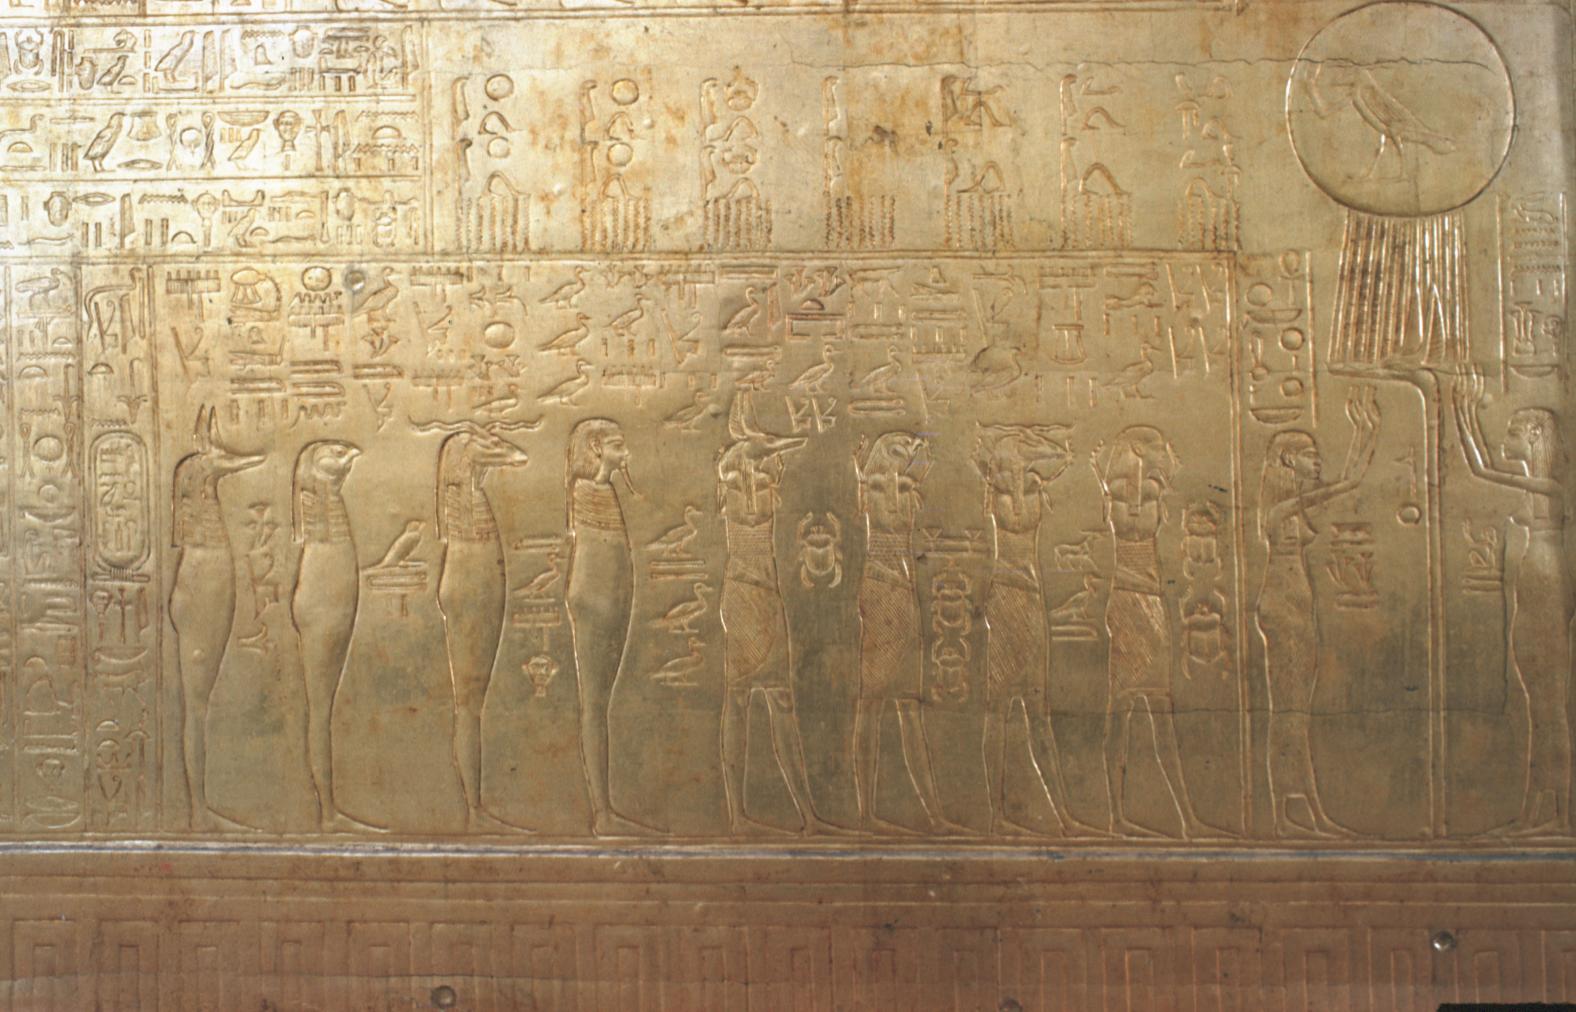
Scene from the Imydwat, inner wooden shrine (Cairo Museum). Courtesy of Uni Dia Verlag; Uni Dia Image Nr. 35438.
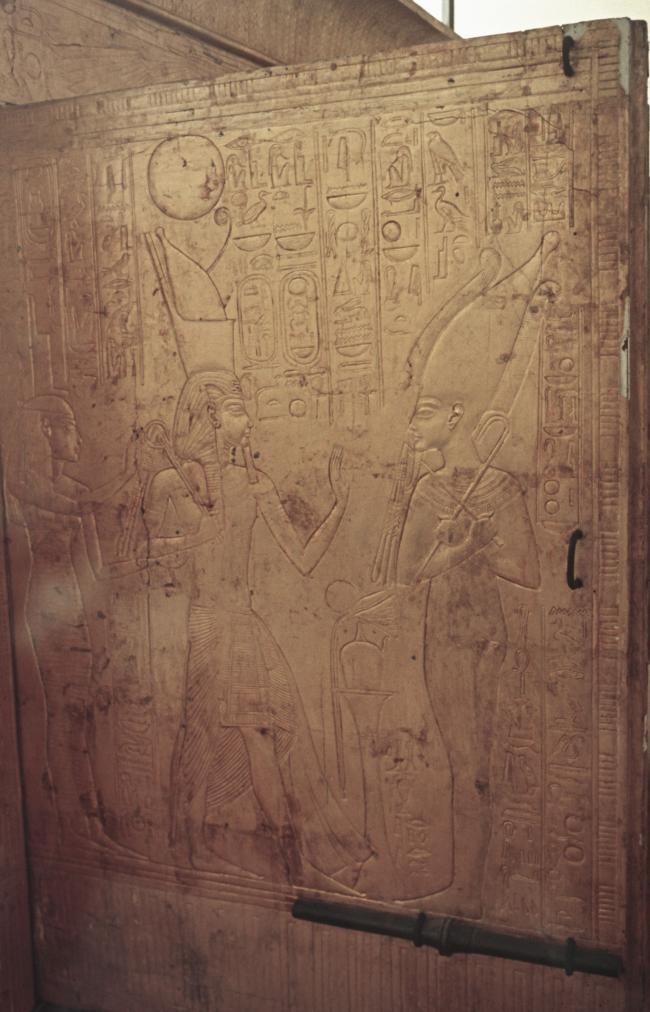
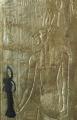
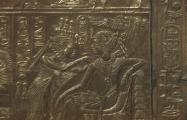
The King and Isis before Osiris, door of the innermost shrine (Cairo Museum). Courtesy of Uni Dia Verlag; Uni Dia Image Nr. 35439.
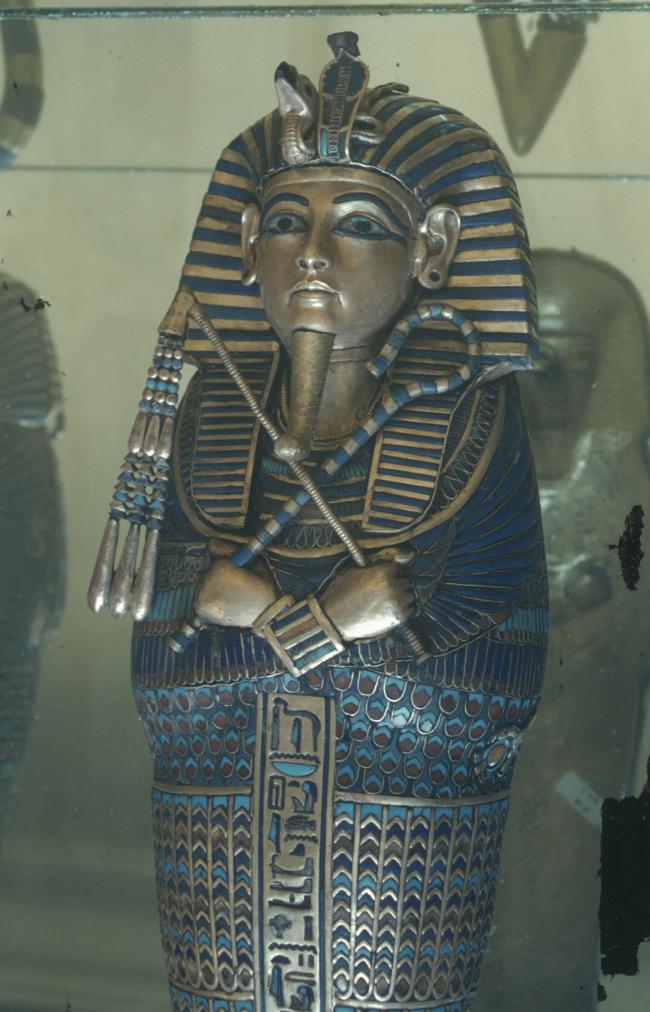
Miniature coffin (Cairo Museum). Courtesy of Uni Dia Verlag; Uni Dia Image Nr. 35440.
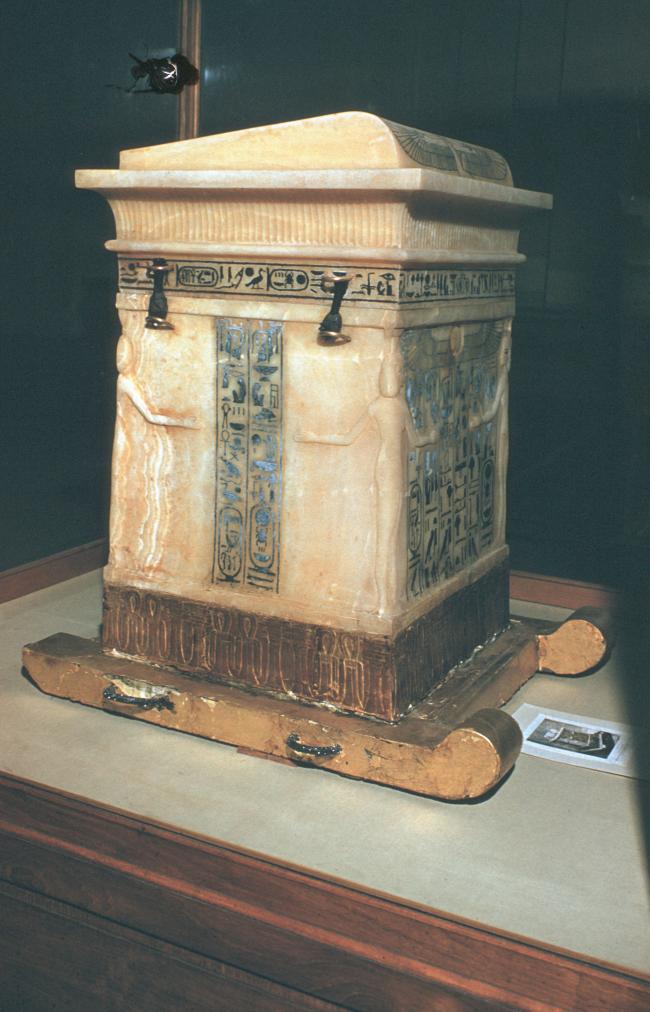
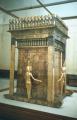
Canopic shrine on sled, alabaster with gold covering and black inscriptions (Cairo museum). Courtesy of Uni Dia Verlag; Uni Dia Image Nr. 35441.
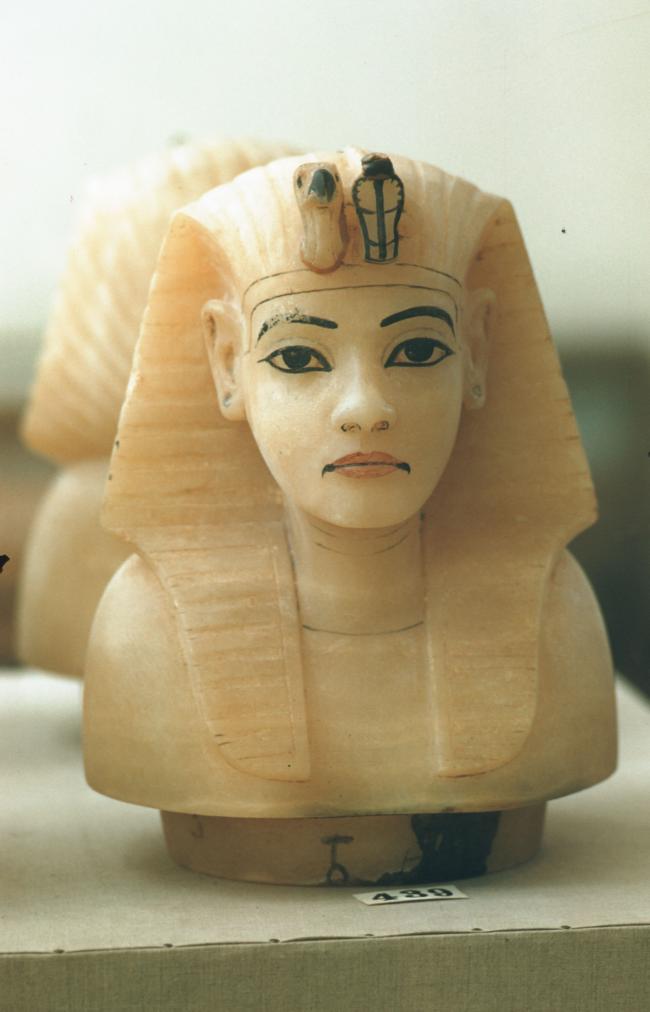
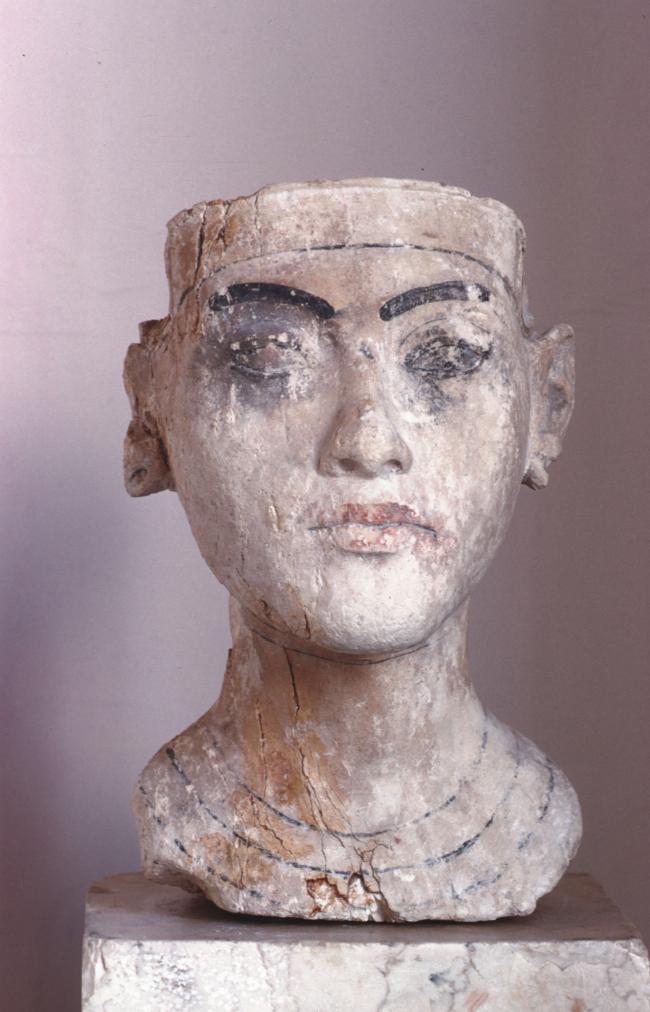
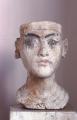
Lid of a canopic jar in the form of the king's head, painted alabaster (Cairo museum). Courtesy of Uni Dia Verlag; Uni Dia Image Nr. 35442.
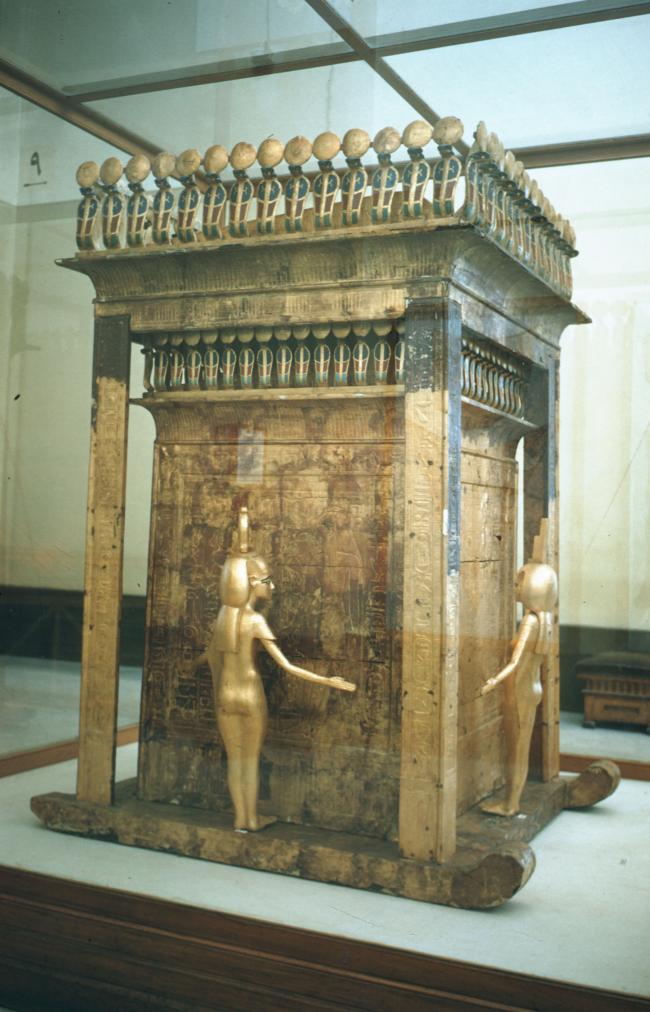
Canopic shrine on sled (Cairo Museum). Courtesy of Uni Dia Verlag; Uni Dia Image Nr. 35443.
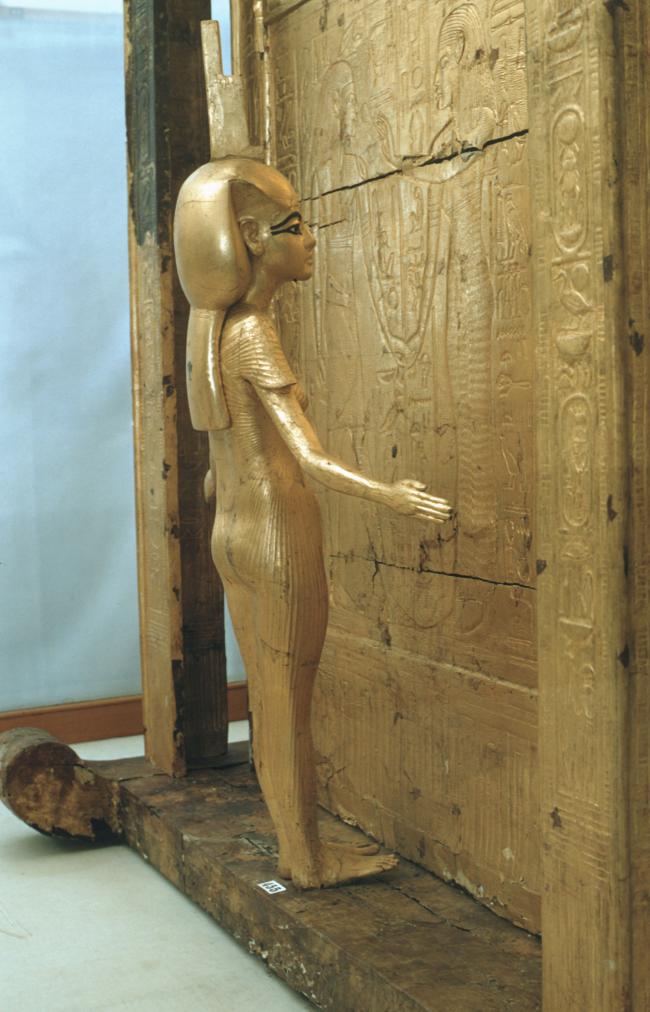
Detail of Canopic Shrine with statuette of Isis (Cairo museum). Courtesy of Uni Dia Verlag; Uni Dia Image Nr. 35444.
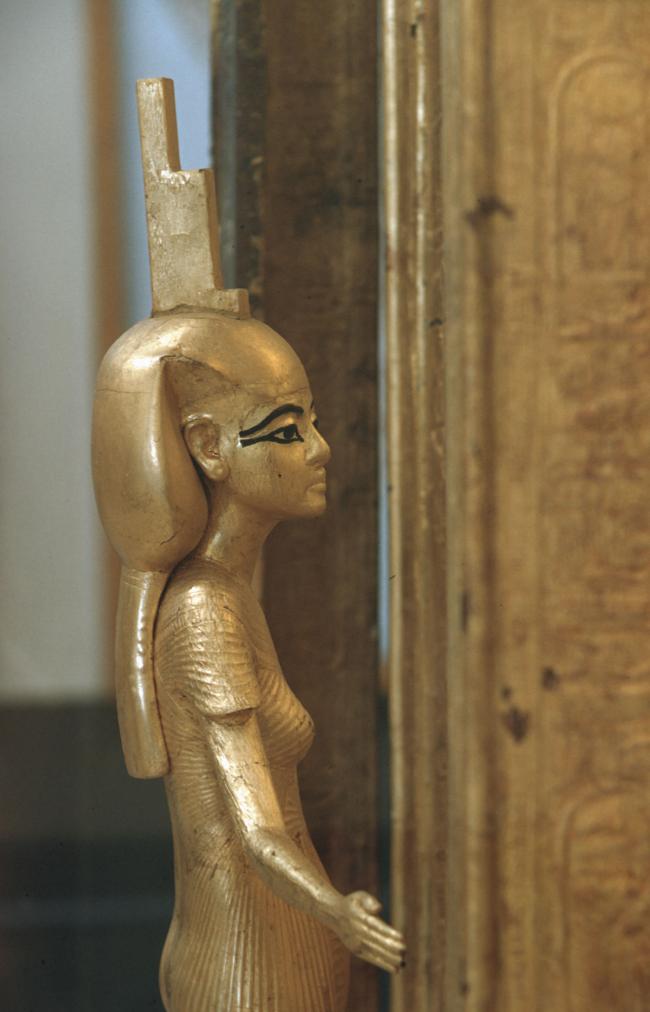
Detail of Canopic Shrine with statuette of Isis (Cairo museum). Courtesy of Uni Dia Verlag; Uni Dia Image Nr. 35445.
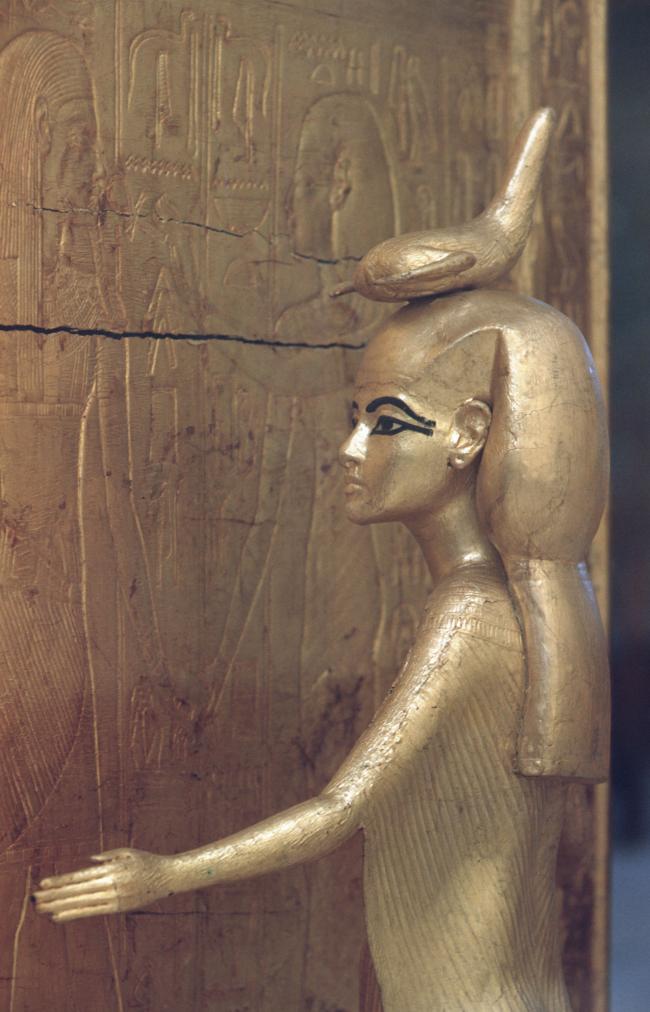
Detail of Canopic Shrine with statuette of Serqet (Cairo museum). Courtesy of Uni Dia Verlag; Uni Dia Image Nr. 35446.
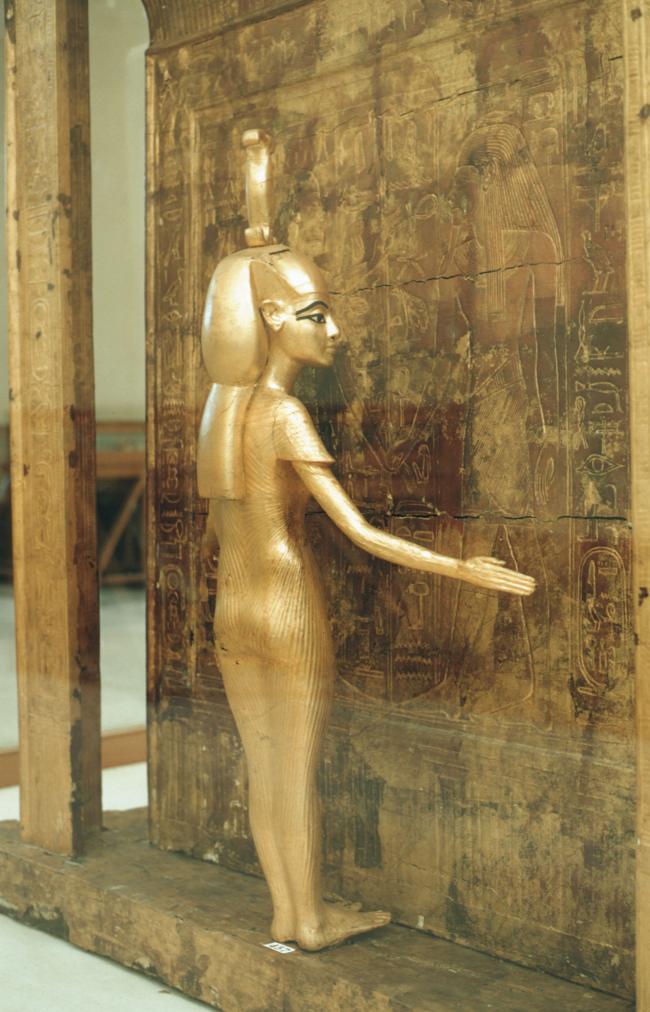
Detail of Canopic Shrine with statuette of Neit (Cairo museum). Courtesy of Uni Dia Verlag; Uni Dia Image Nr. 35447.
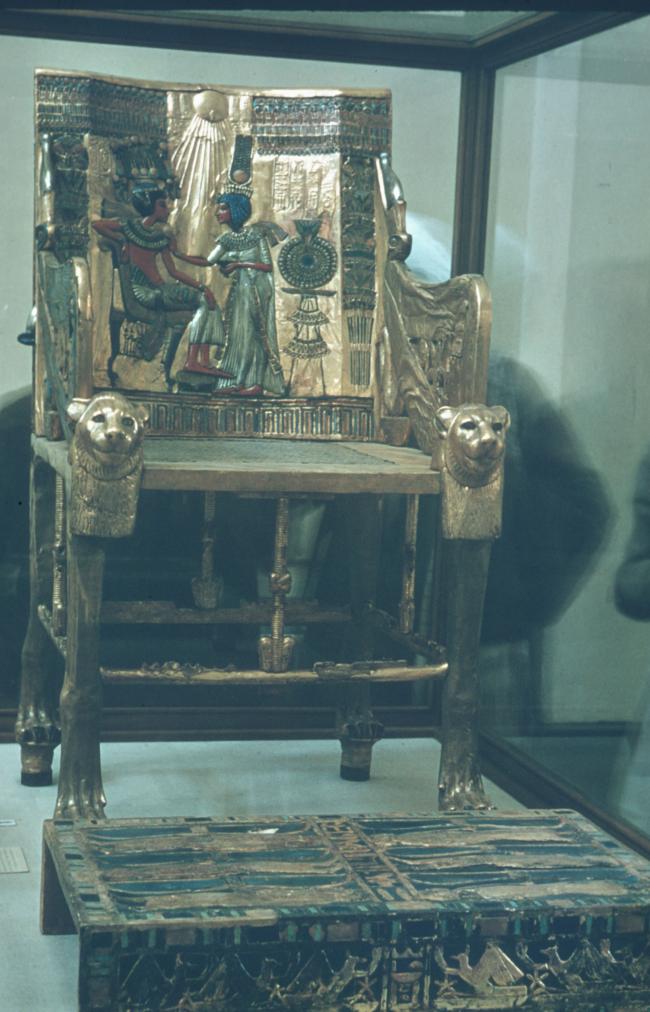
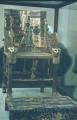
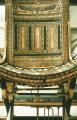
One of Tutankhamen's thrones (Cairo Museum). Courtesy of Uni Dia Verlag; Uni Dia Image Nr. 35448.
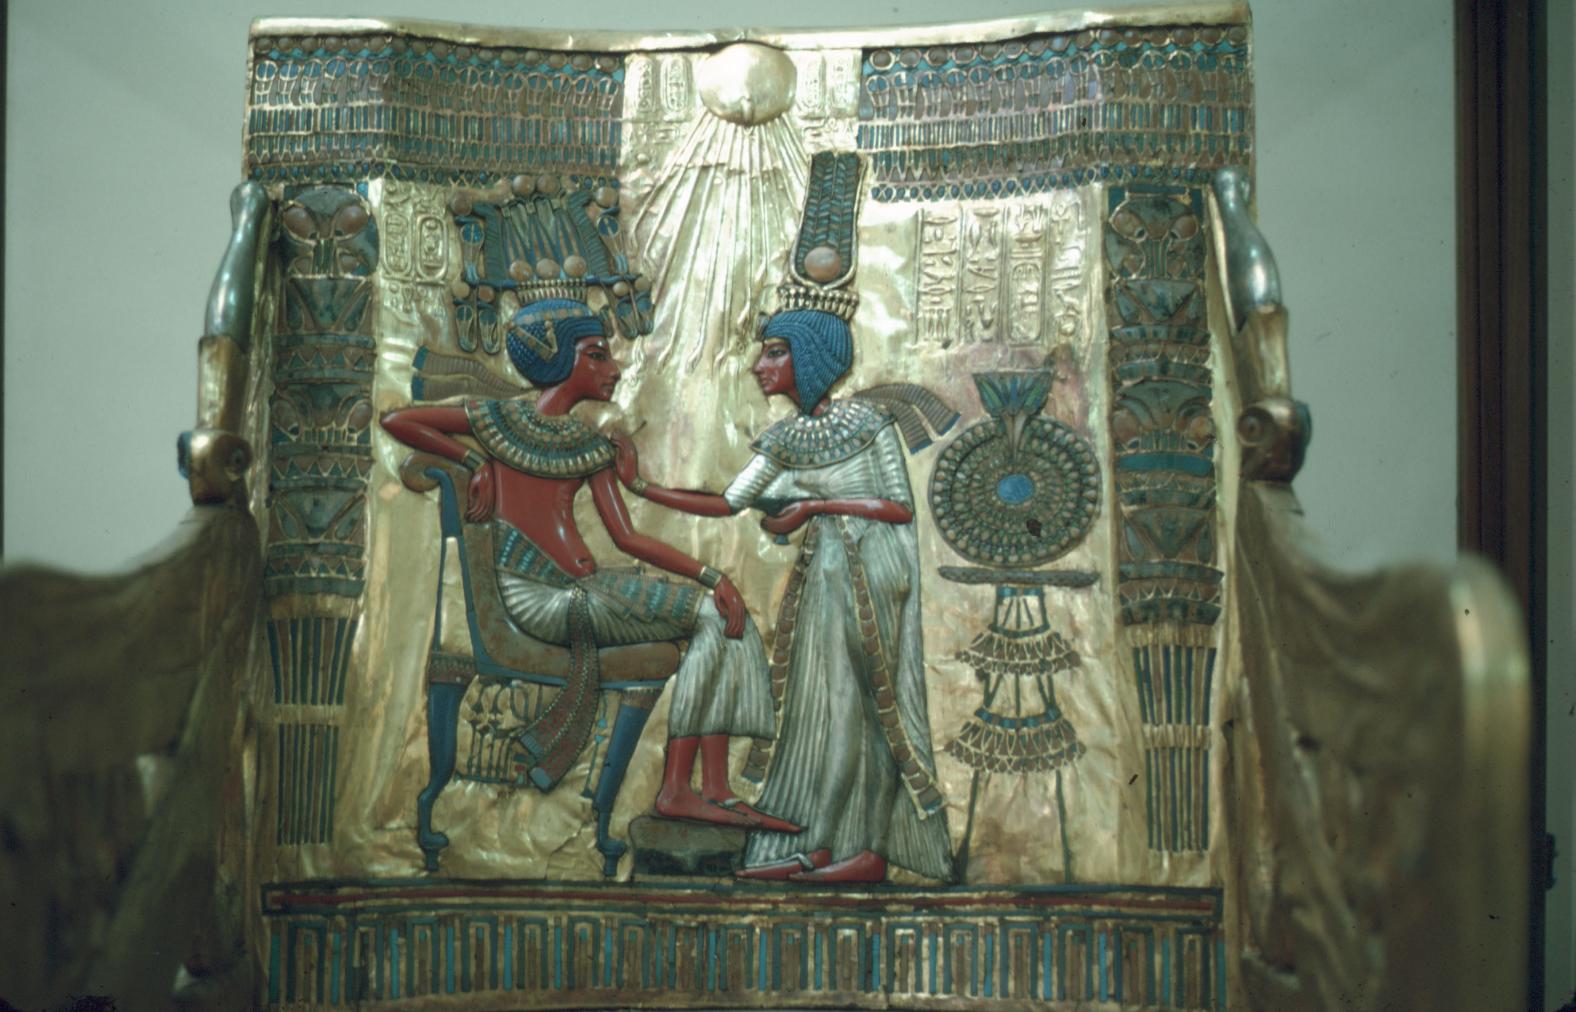
Detail of the backrest of one of the thrones of Tutankhamen (Cairo Museum). Courtesy of Uni Dia Verlag; Uni Dia Image Nr. 35449.
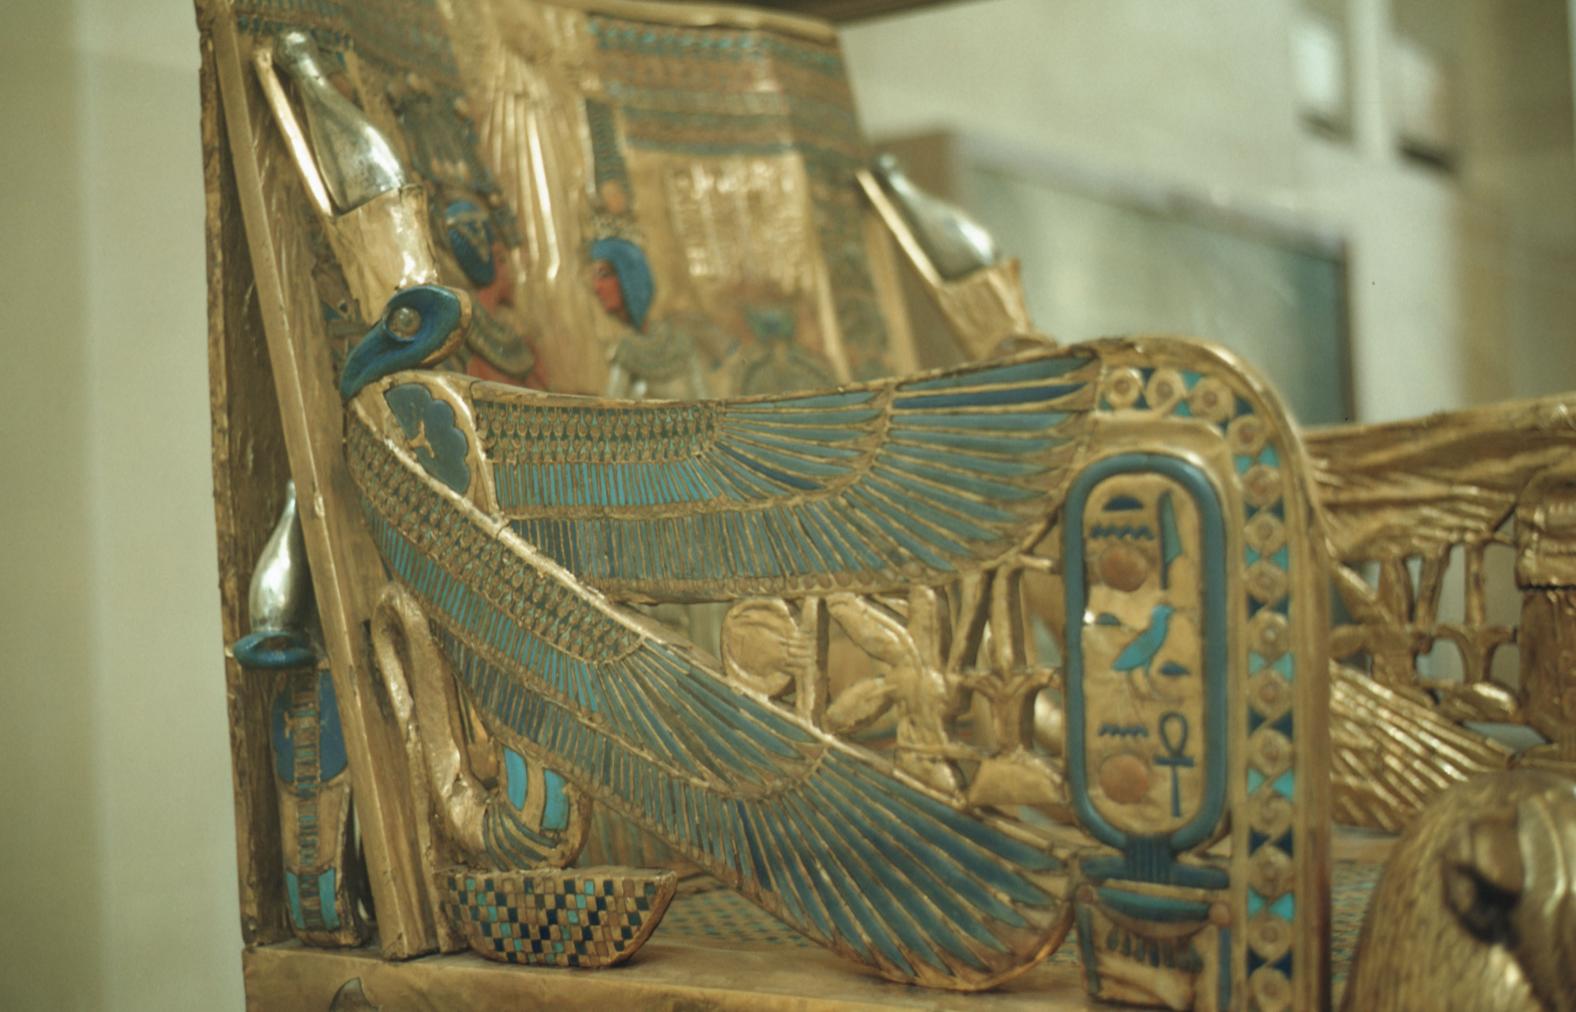
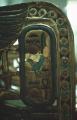
Right armrest of the royal throne with King's original royal name "Tutankhaten". Courtesy of Uni Dia Verlag; Uni Dia Image Nr. 35450.
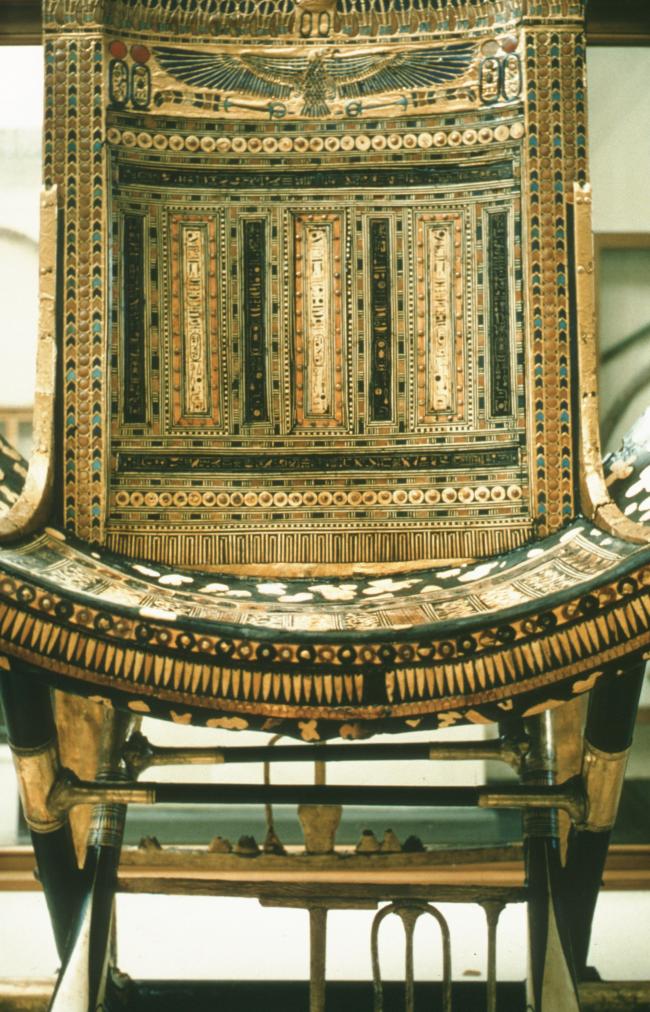
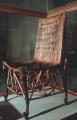
A throne of the king (Cairo Museum). Courtesy of Uni Dia Verlag; Uni Dia Image Nr. 35451.
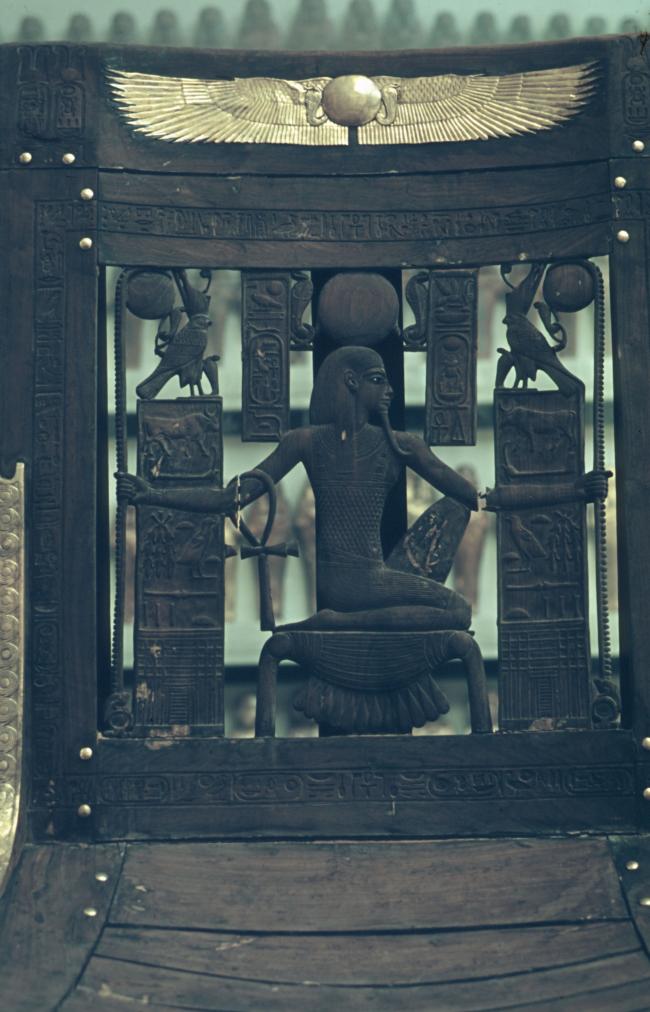
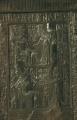
Backrest of a wooden armchair with gold nails and inserts (Cairo Museum). Courtesy of Uni Dia Verlag; Uni Dia Image Nr. 35452.
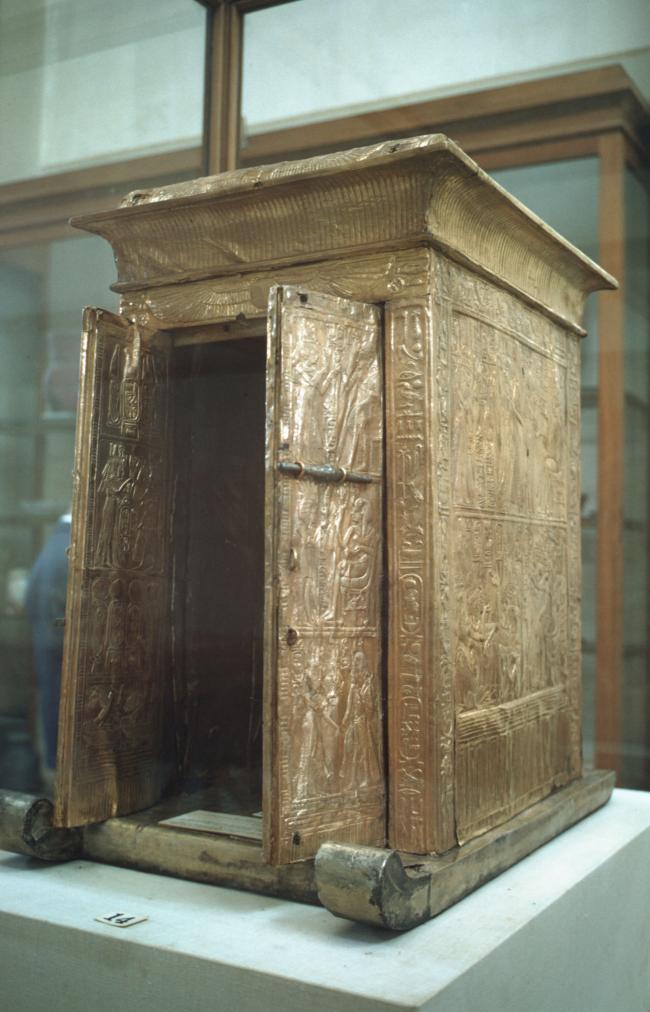
Small gilded wooden shrine on sled (Cairo Museum). Courtesy of Uni Dia Verlag; Uni Dia Image Nr. 35453.
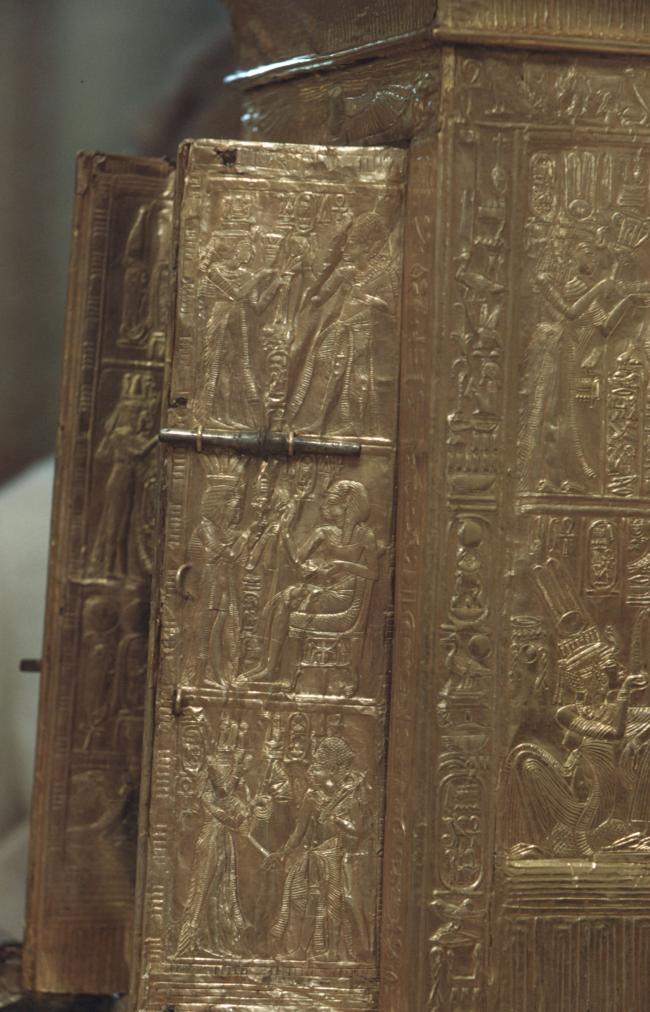
Detail of small gilded wooden shrine on sled (Cairo Museum). Courtesy of Uni Dia Verlag; Uni Dia Image Nr. 35454.
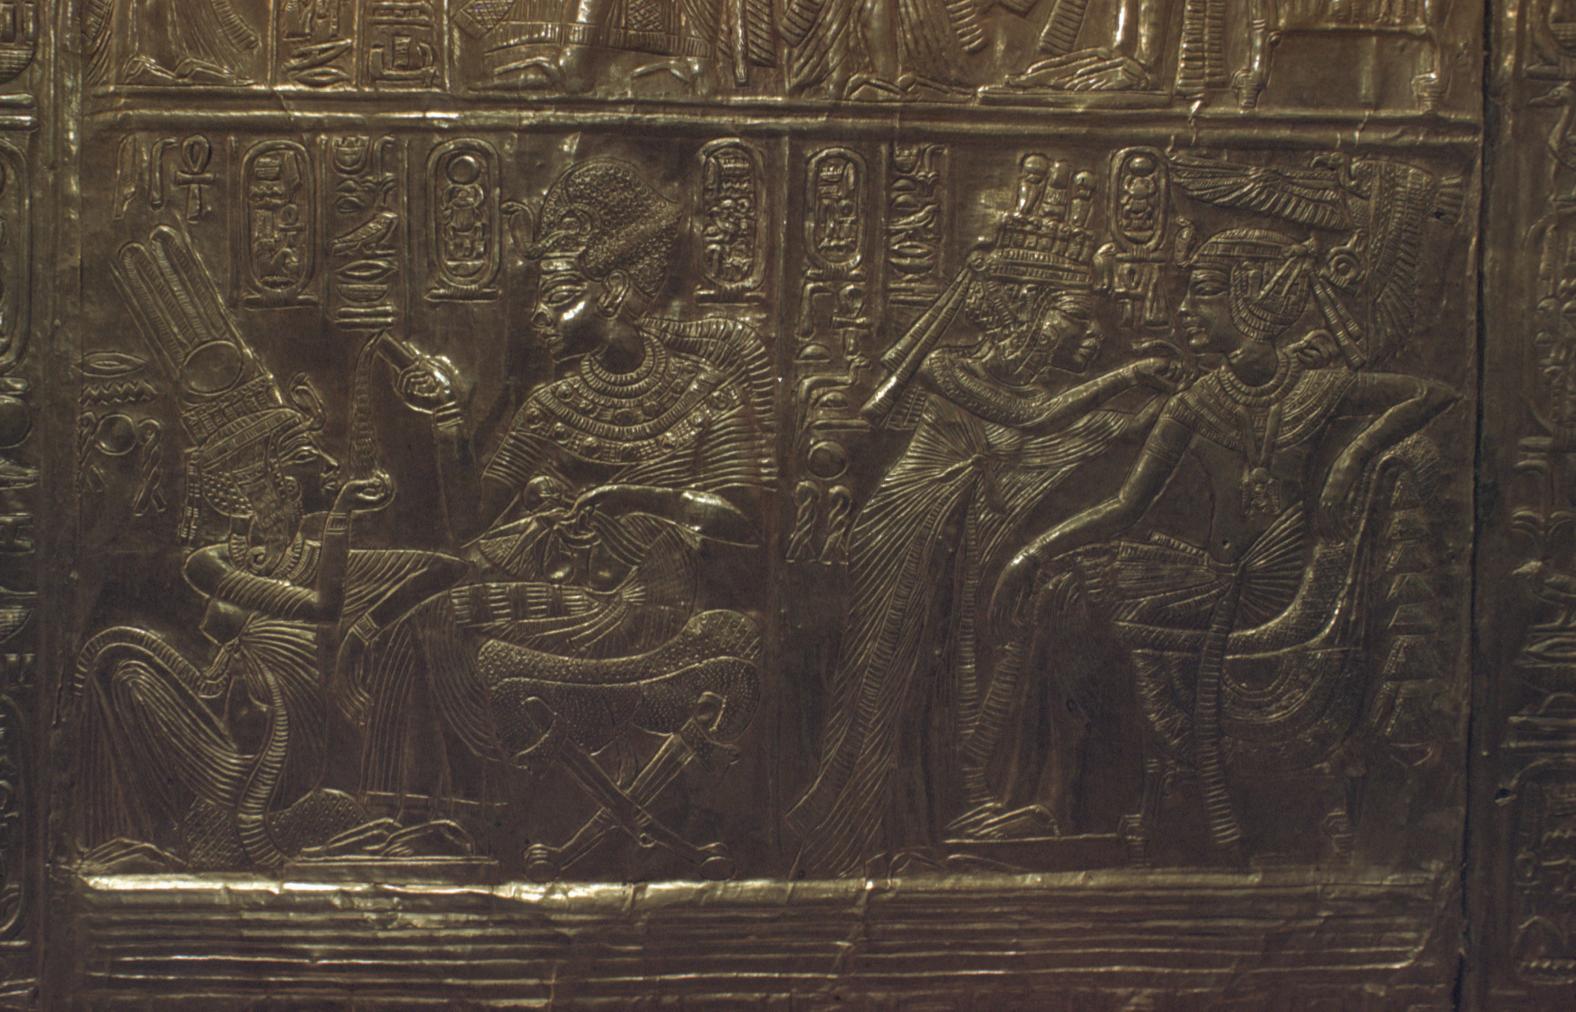
Detail of small gilded wooden shrine on sled (Cairo Museum). Courtesy of Uni Dia Verlag; Uni Dia Image Nr. 35455.
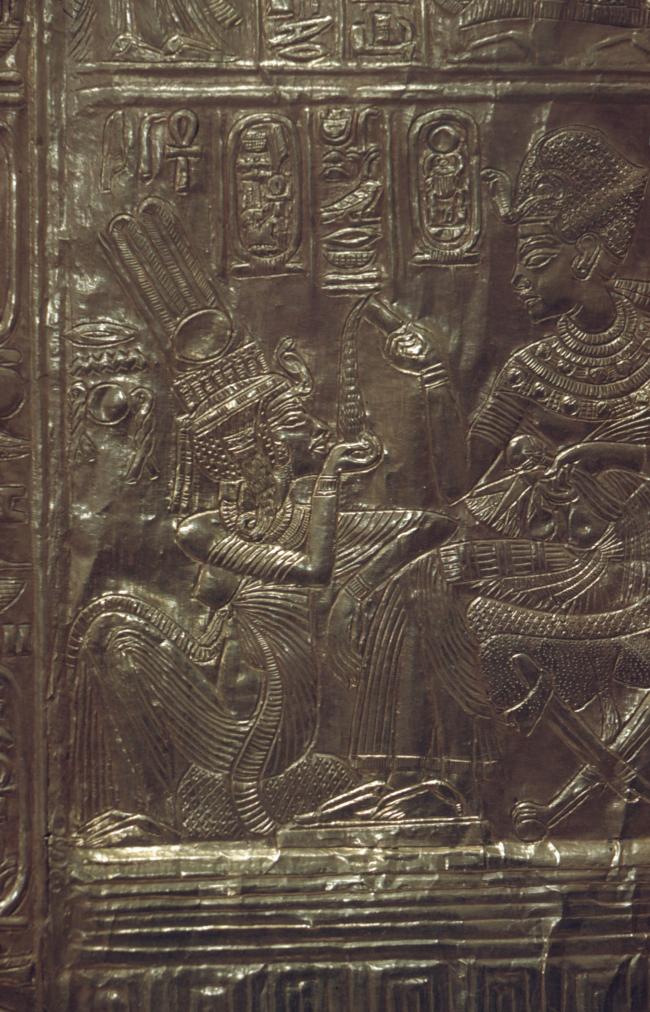
Detail of small gilded wooden shrine on sled (Cairo Museum). Courtesy of Uni Dia Verlag; Uni Dia Image Nr. 35456.
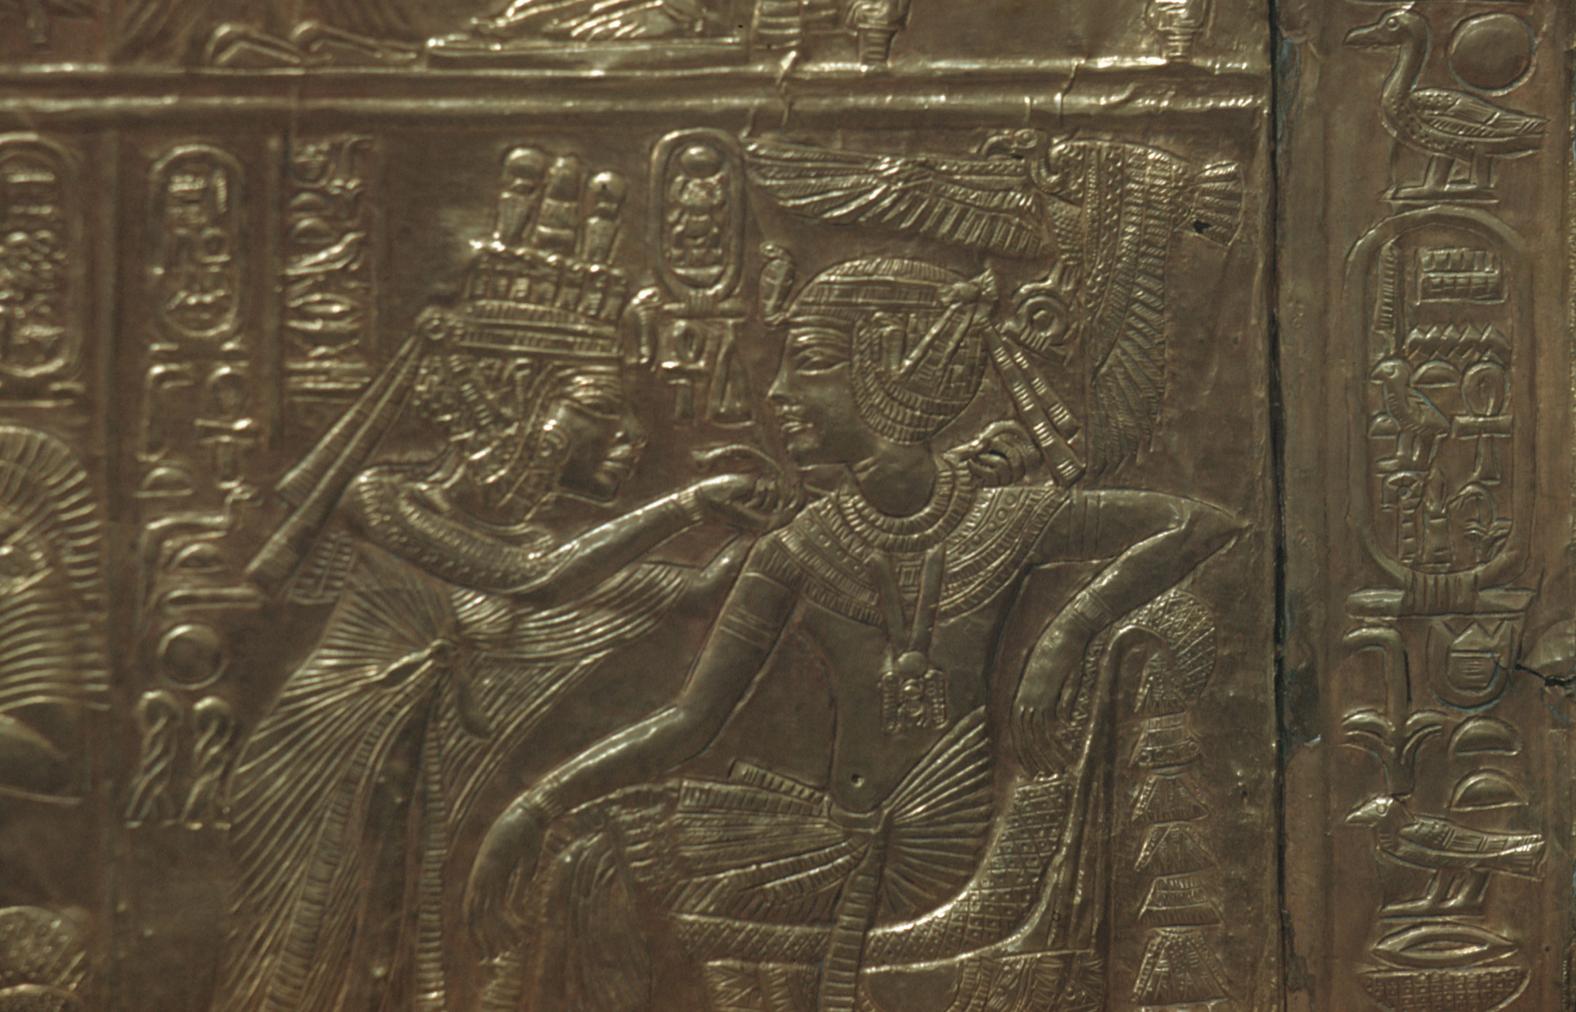
Detail of small gilded wooden shrine on sled (Cairo Museum). Courtesy of Uni Dia Verlag; Uni Dia Image Nr. 35457.
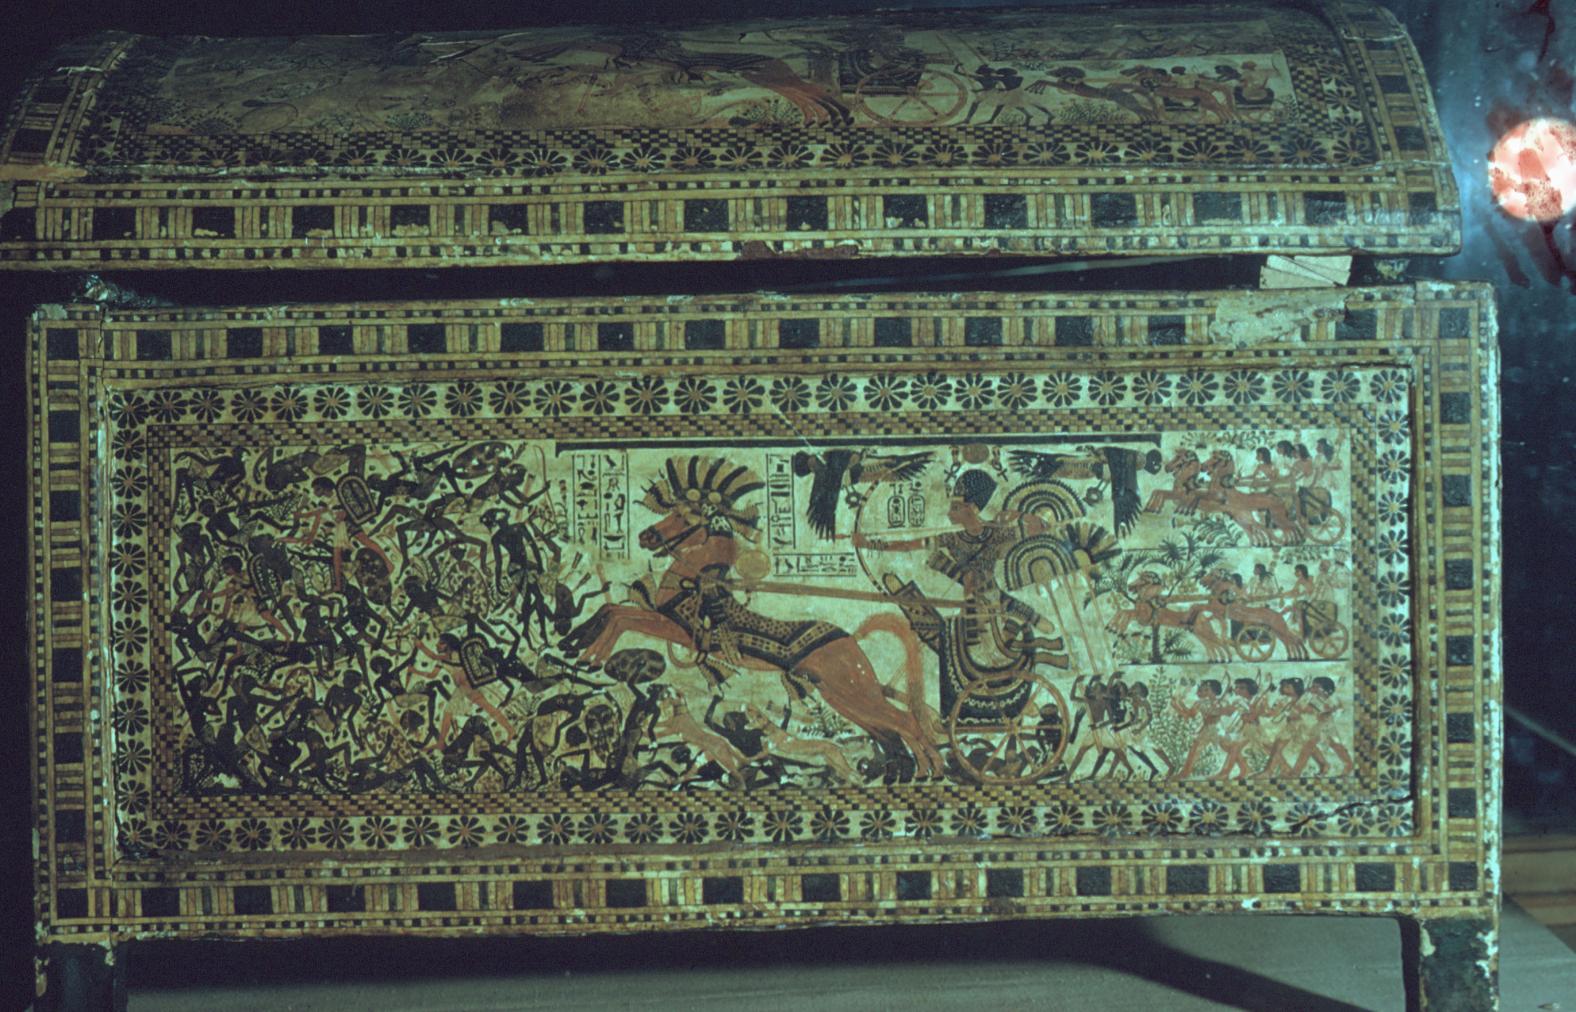
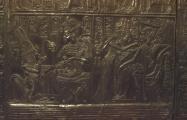
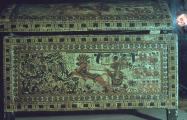
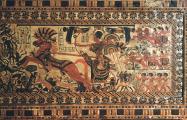
Chest with scenes of the king on a campaign against the Nubians and hunting (Cairo museum). Courtesy of Uni Dia Verlag; Uni Dia Image Nr. 35462.
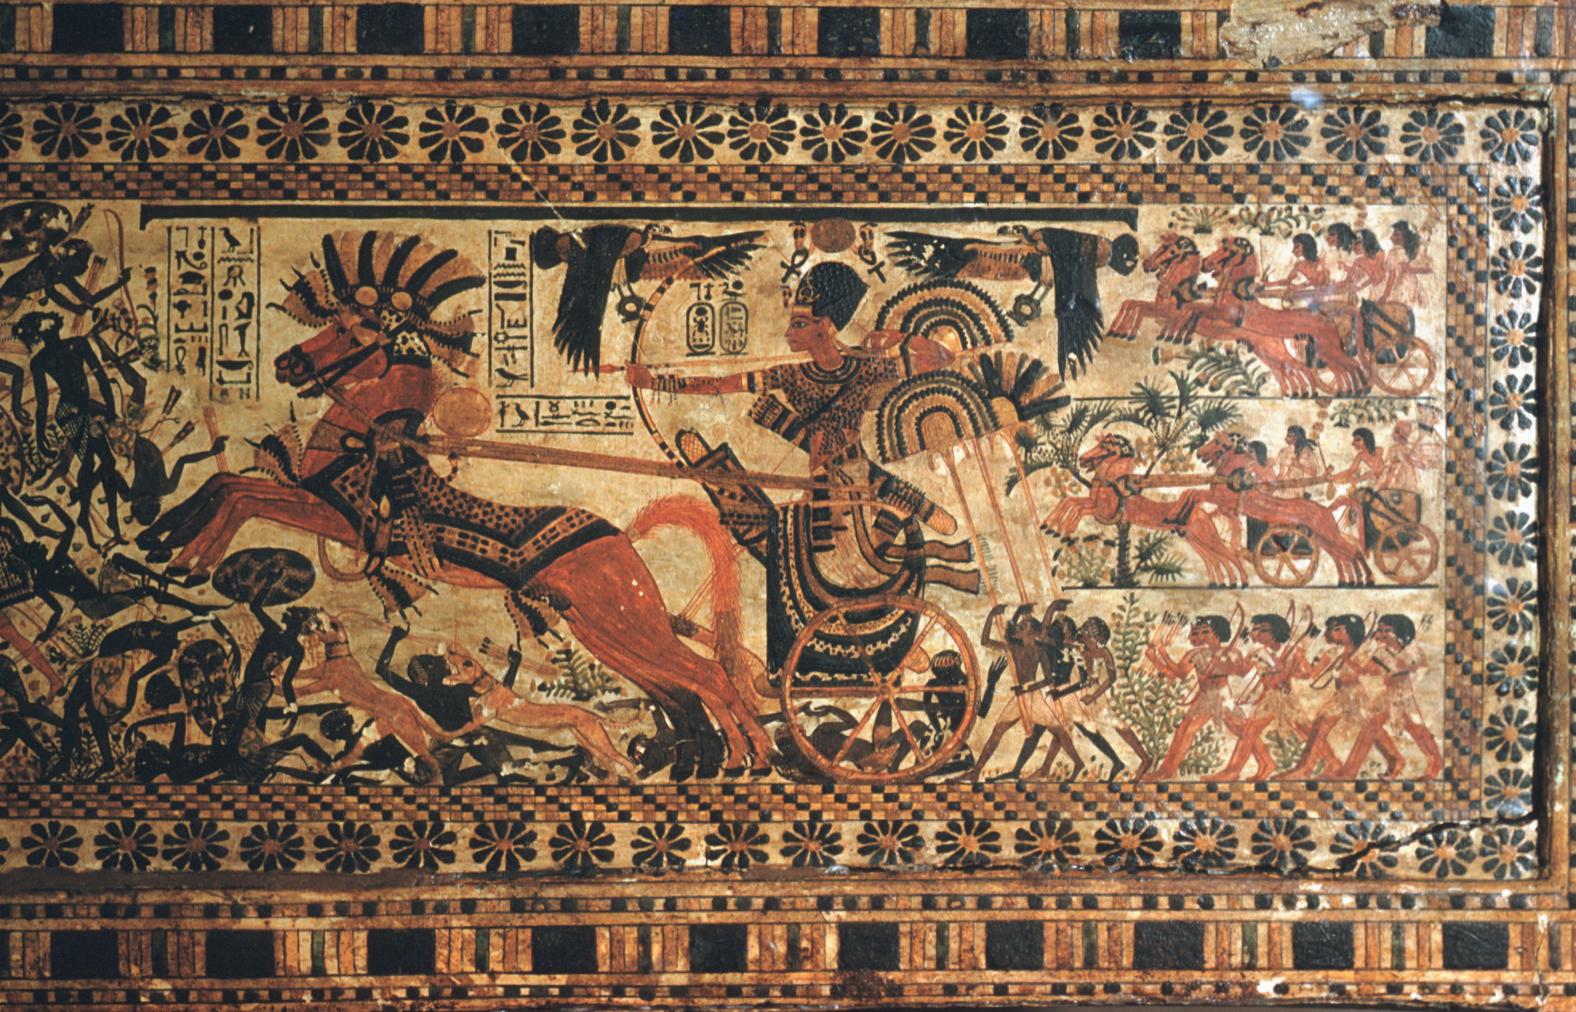
Detail of wooden chest with scenes of the king on a campaign against the Nubians (Cairo museum). Courtesy of Uni Dia Verlag; Uni Dia Image Nr. 35463.
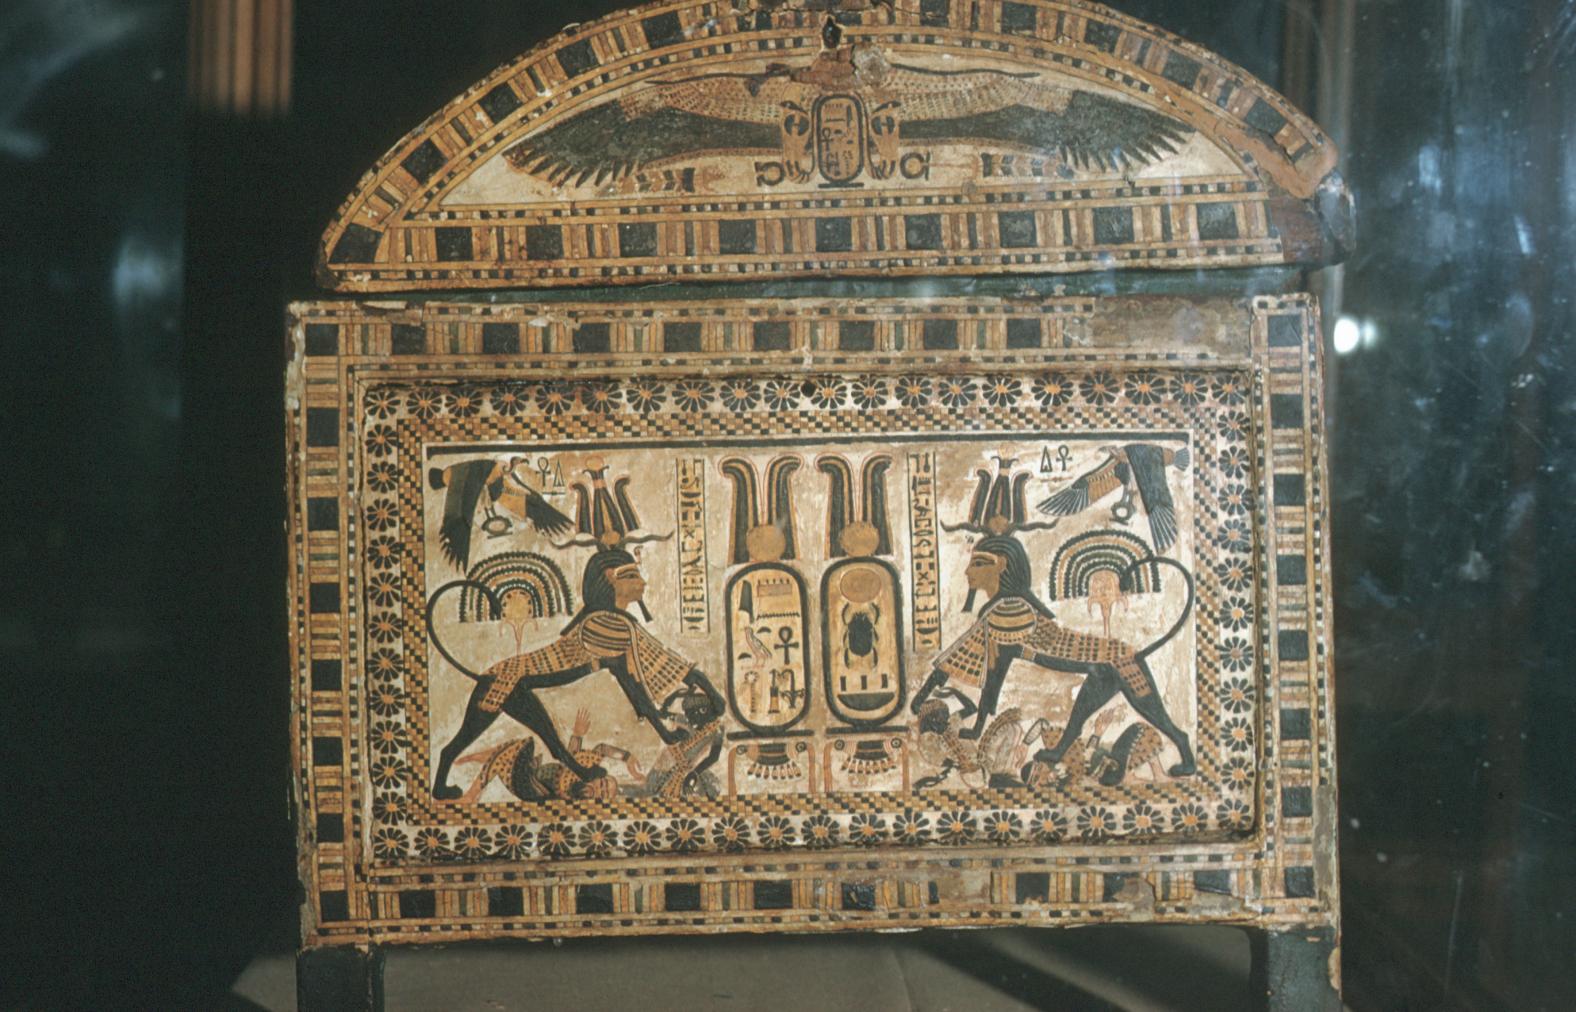
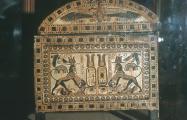
Detail of wooden chest, the king as Sphinx trampling his enemies and flanking two cartouches of the king. Courtesy of Uni Dia Verlag; Uni Dia Image Nr. 35468.
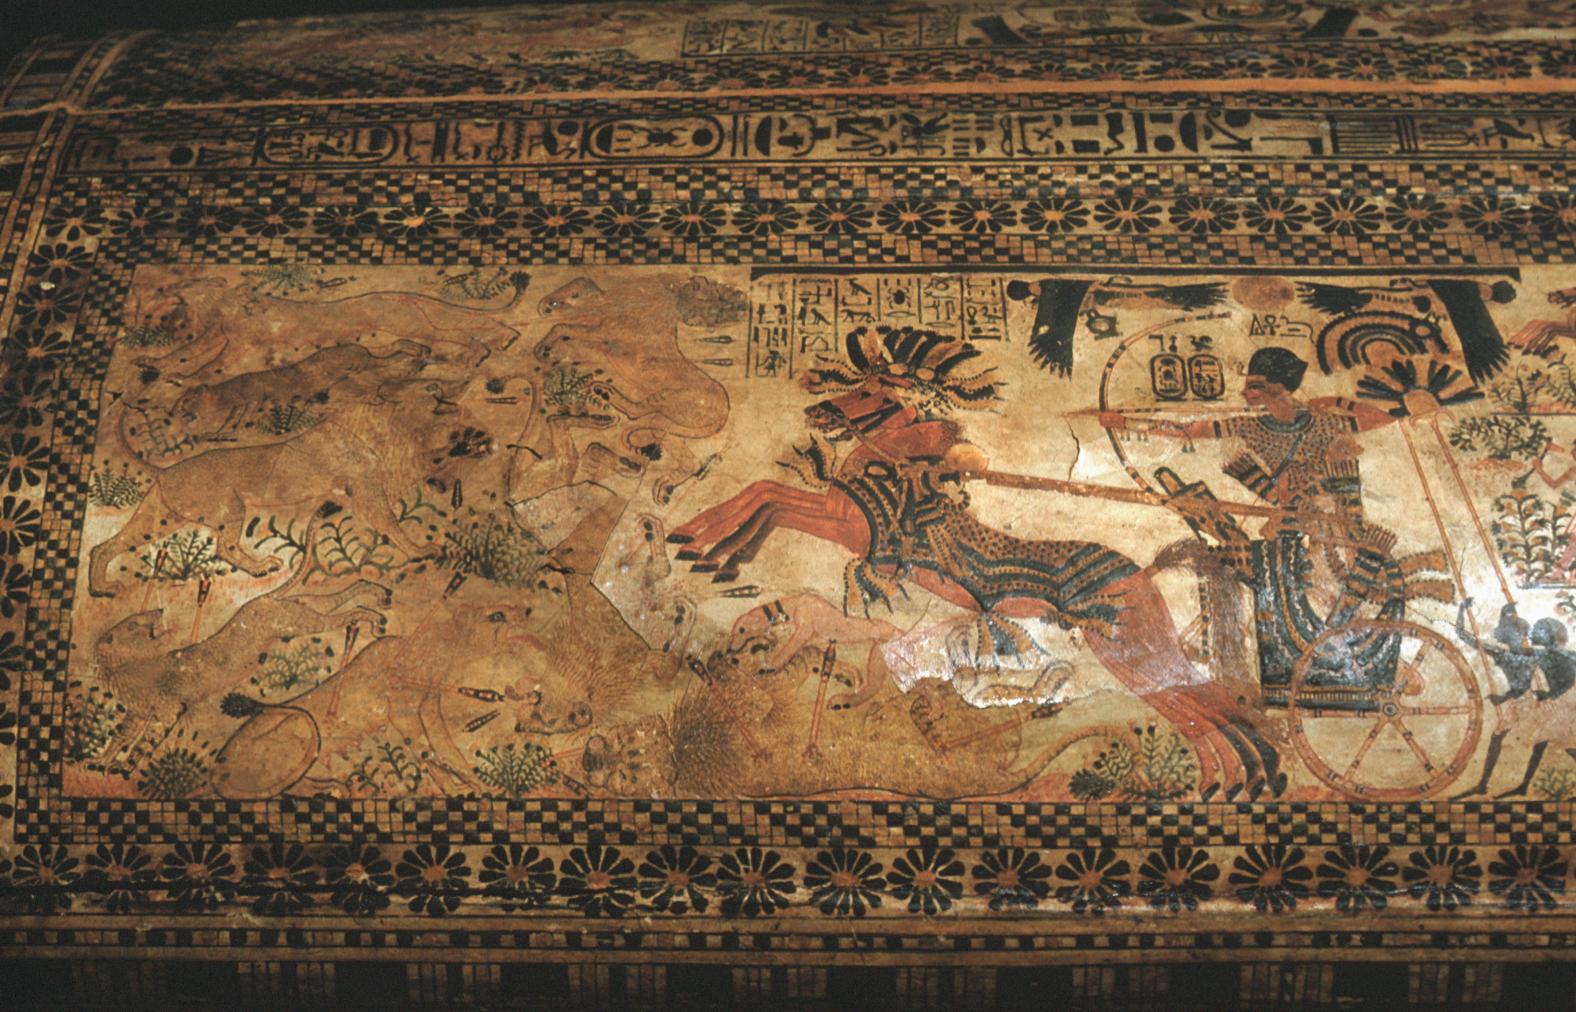
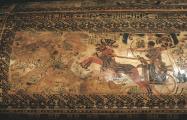
Lid of wooden chest, the king in his chariot on the hunt (Cairo Museum). Courtesy of Uni Dia Verlag; Uni Dia Image Nr. 35469.
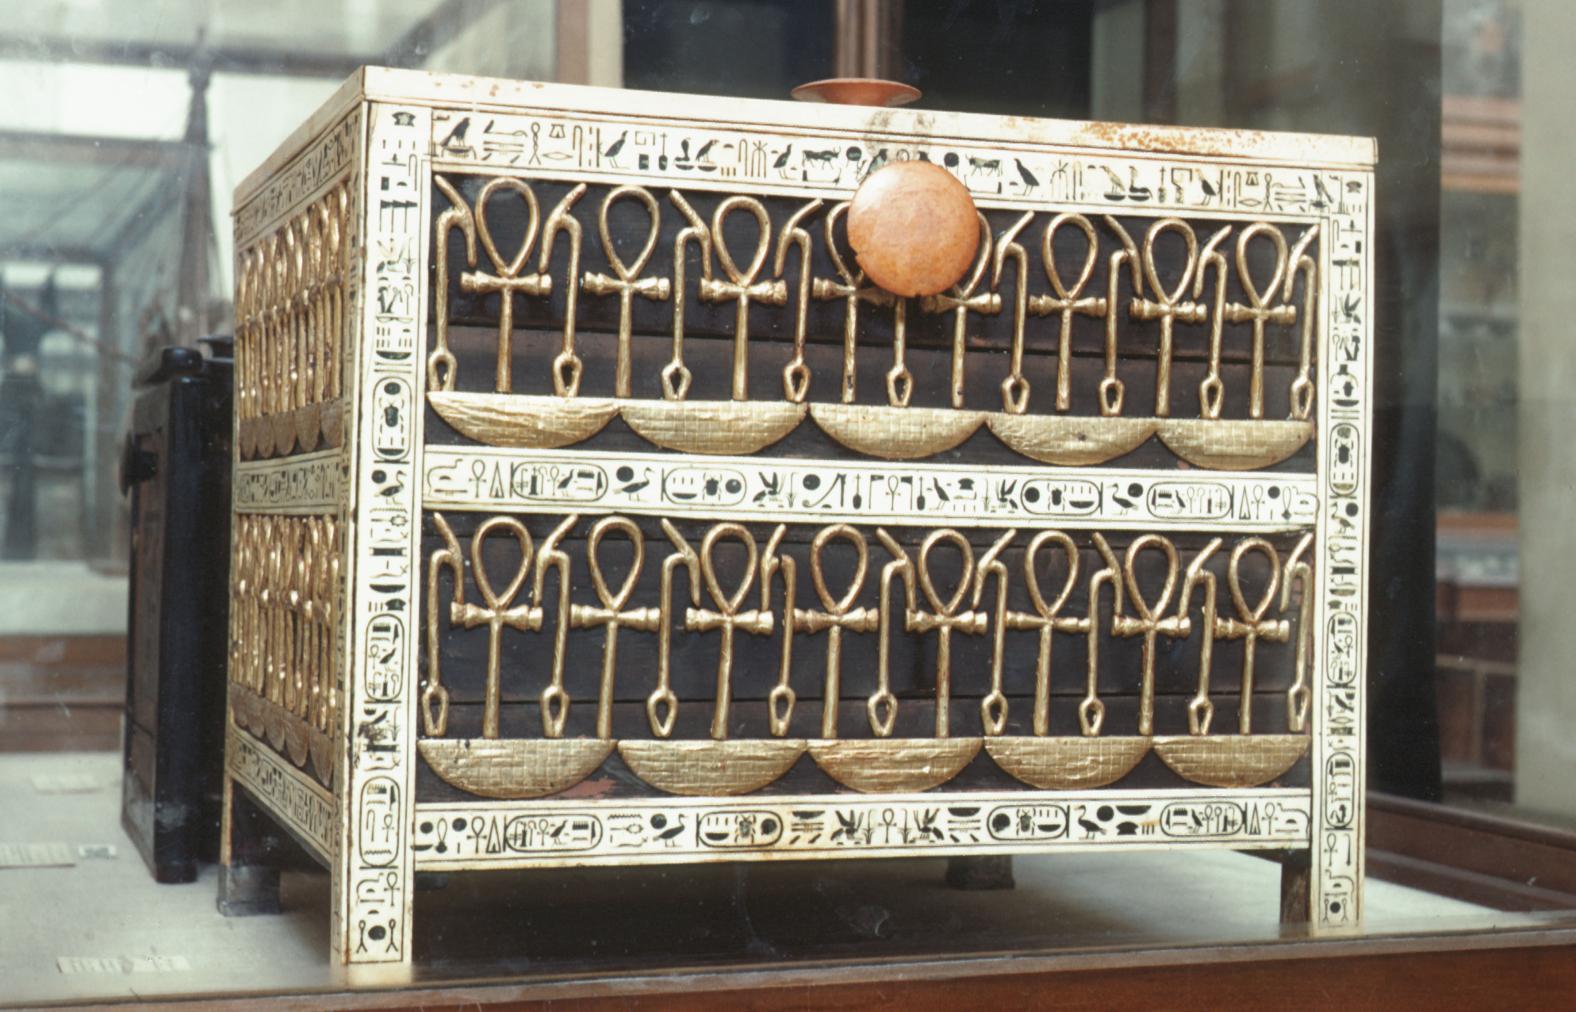
Chest with hieroglyphs ""Neb"", ""was"" and ""ankh"" (Cairo Museum). Courtesy of Uni Dia Verlag; Uni Dia Image Nr. 35473.
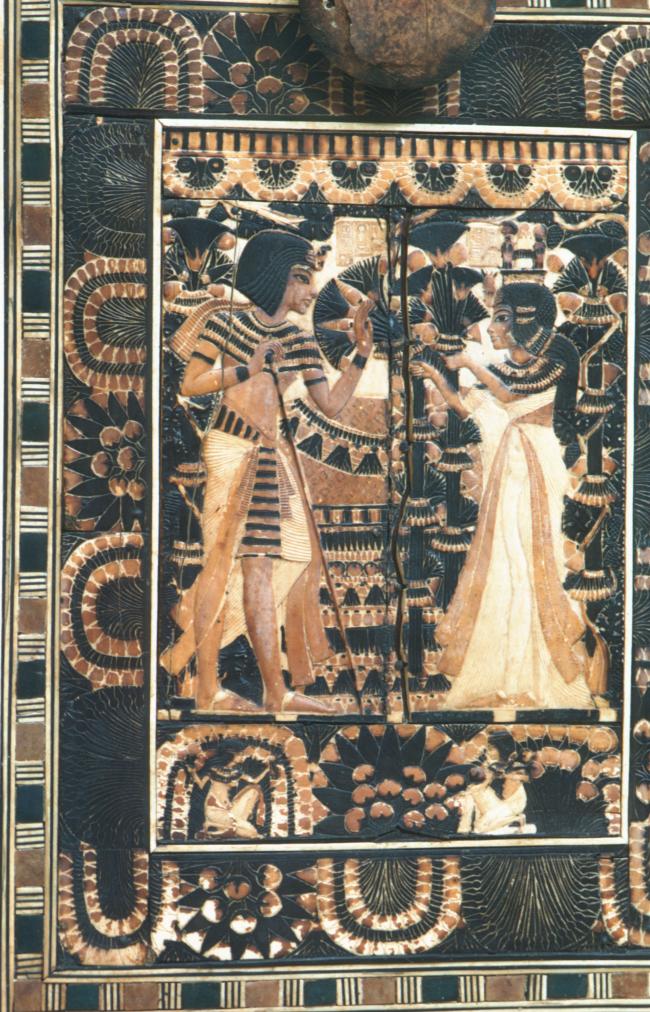
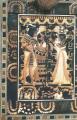
Tutankhamen and his wife, lid of chest, painted inlaid ivory (Cairo Museum). Courtesy of Uni Dia Verlag; Uni Dia Image Nr. 35475.
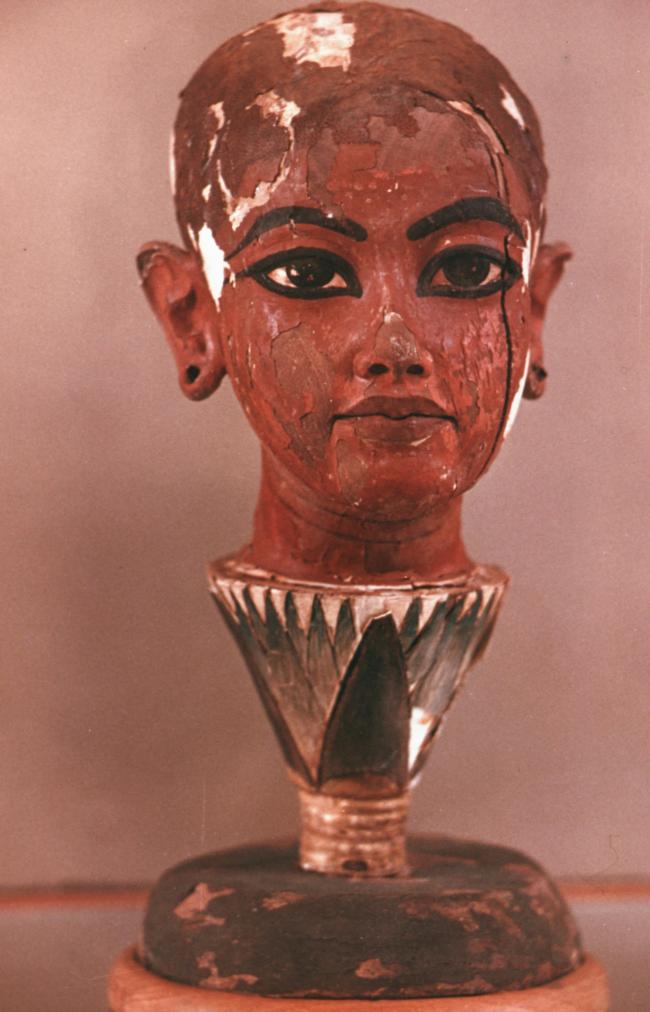
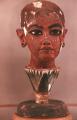
Tutankhamen as Nefertum (Cairo Museum). Courtesy of Uni Dia Verlag; Uni Dia Image Nr. 35476.
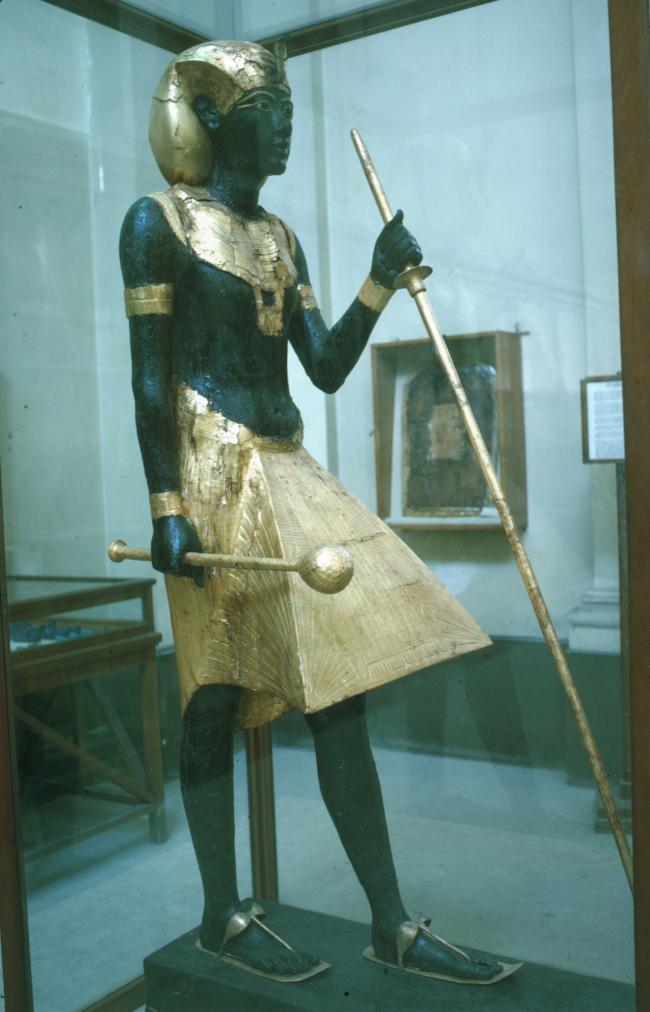
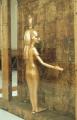
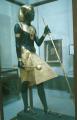
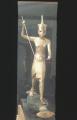
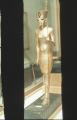
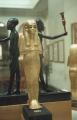
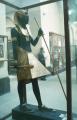
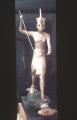
Guardian statue of the king with spear and mace (Cairo Museum). Courtesy of Uni Dia Verlag; Uni Dia Image Nr. 35477.
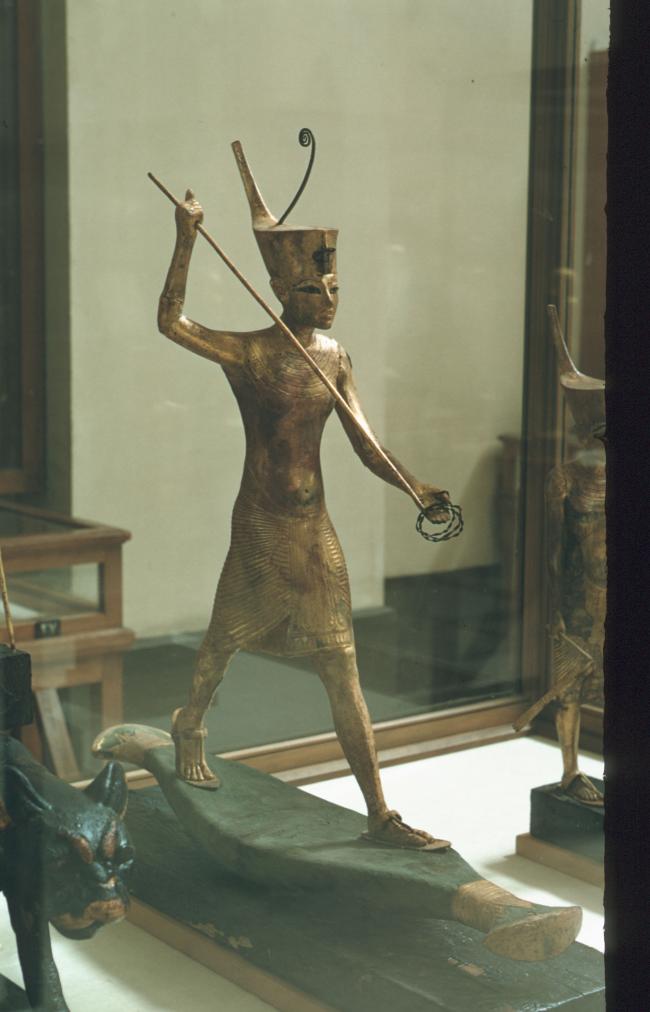
The king in fishing in a papyrus boat (Cairo Museum). Courtesy of Uni Dia Verlag; Uni Dia Image Nr. 35478.
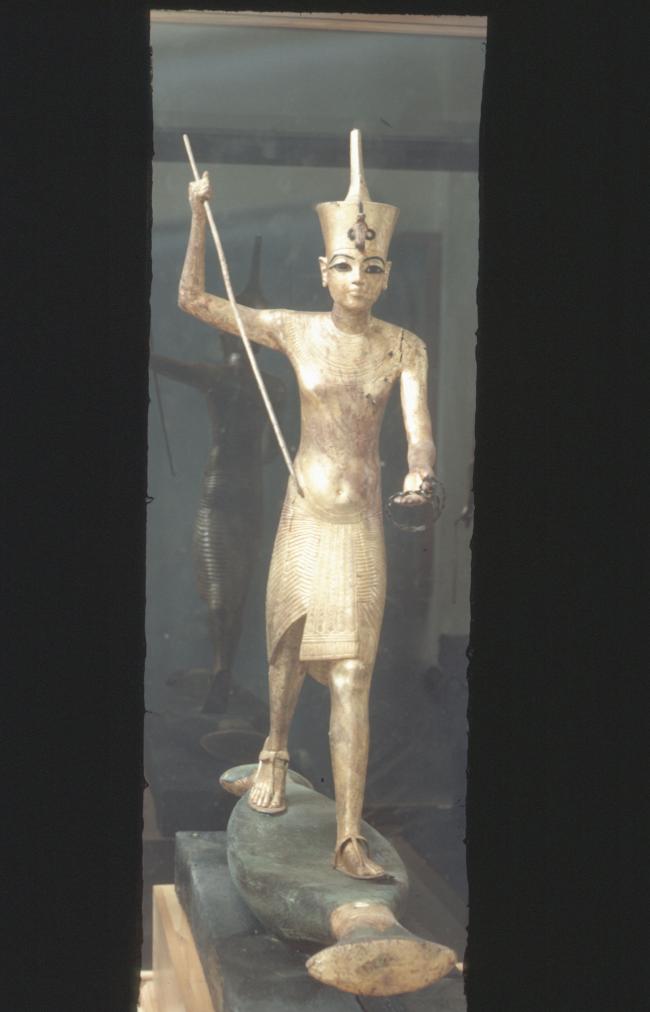
The king fishing in a papyrus boat (Cairo Museum). Courtesy of Uni Dia Verlag; Uni Dia Image Nr. 35479.
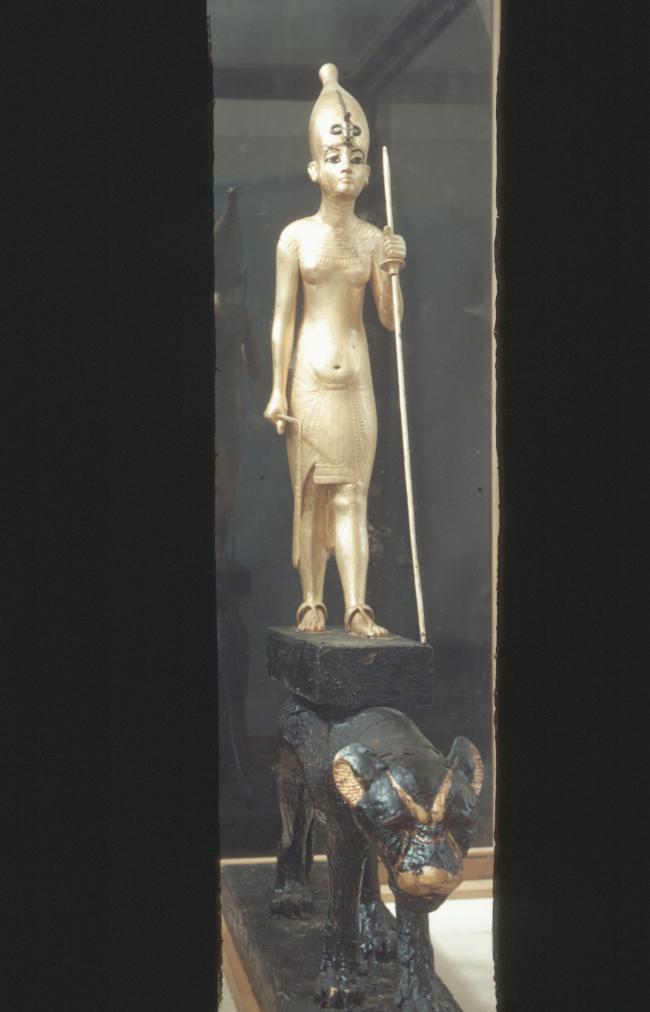
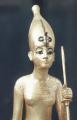
The king with a Upper Egyptian crown on the back of a panther (Cairo Museum). Courtesy of Uni Dia Verlag; Uni Dia Image Nr. 35480.
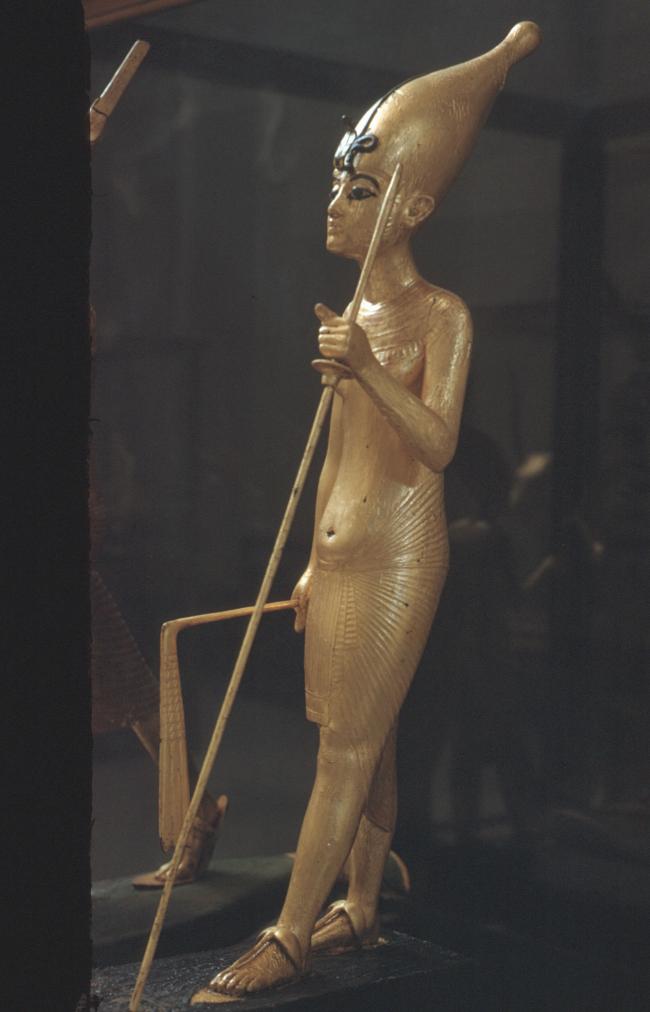
Detail of the king with a Upper Egyptian crown on the back of a panther (Cairo Museum). Courtesy of Uni Dia Verlag; Uni Dia Image Nr. 35481.
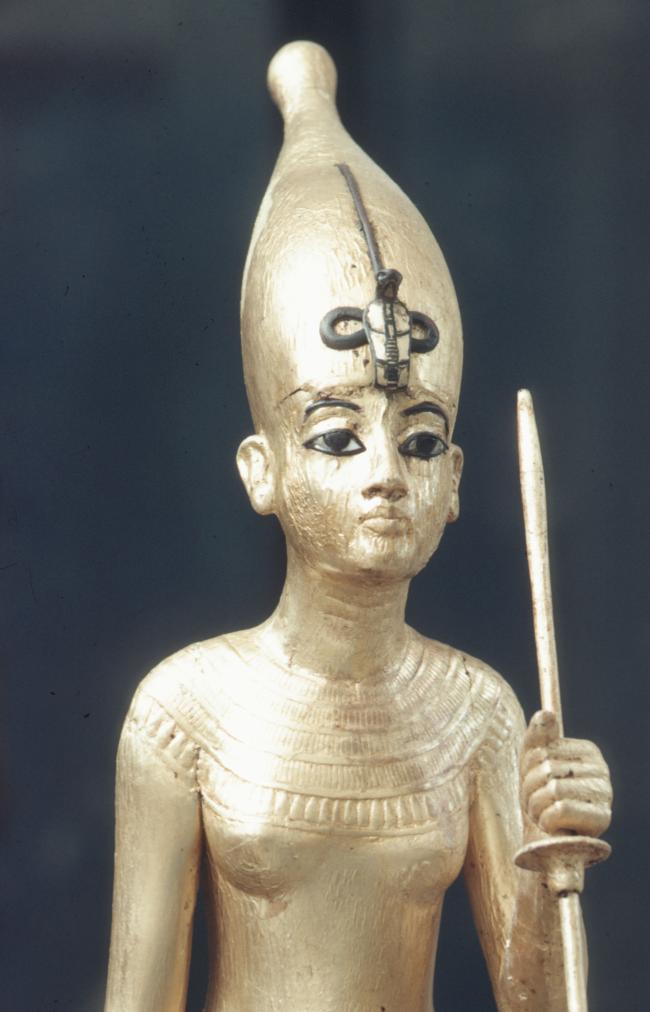
Detail of the king with a Upper Egyptian crown on the back of a panther (Cairo Museum). Courtesy of Uni Dia Verlag; Uni Dia Image Nr. 35482.
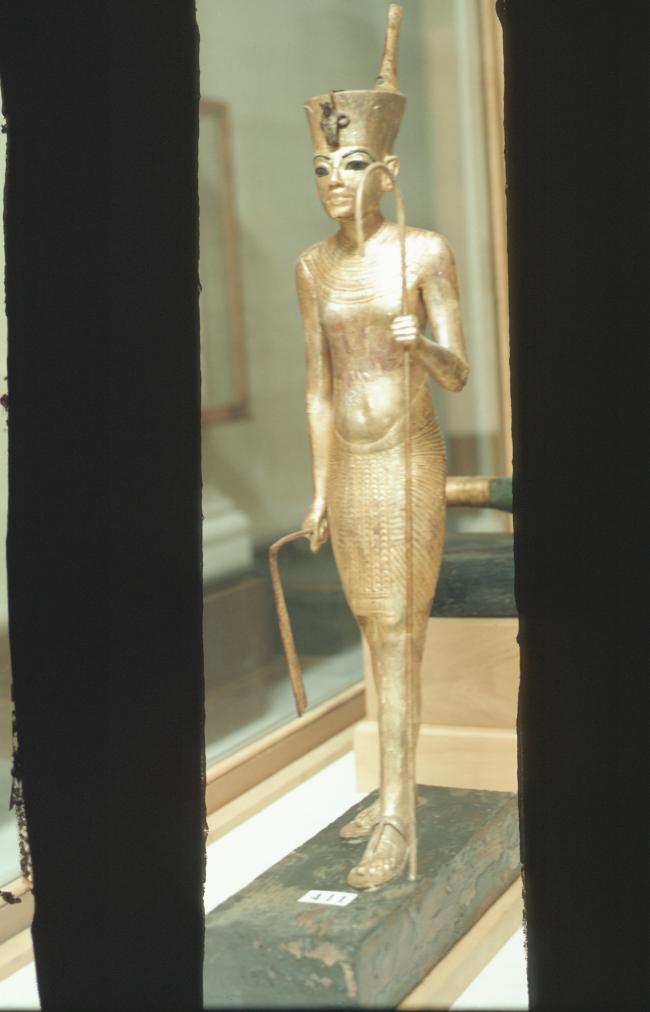
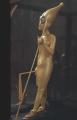
The king with a Lower Egyptian (red) crown with crook and flail (Cairo Museum). Courtesy of Uni Dia Verlag; Uni Dia Image Nr. 35483.
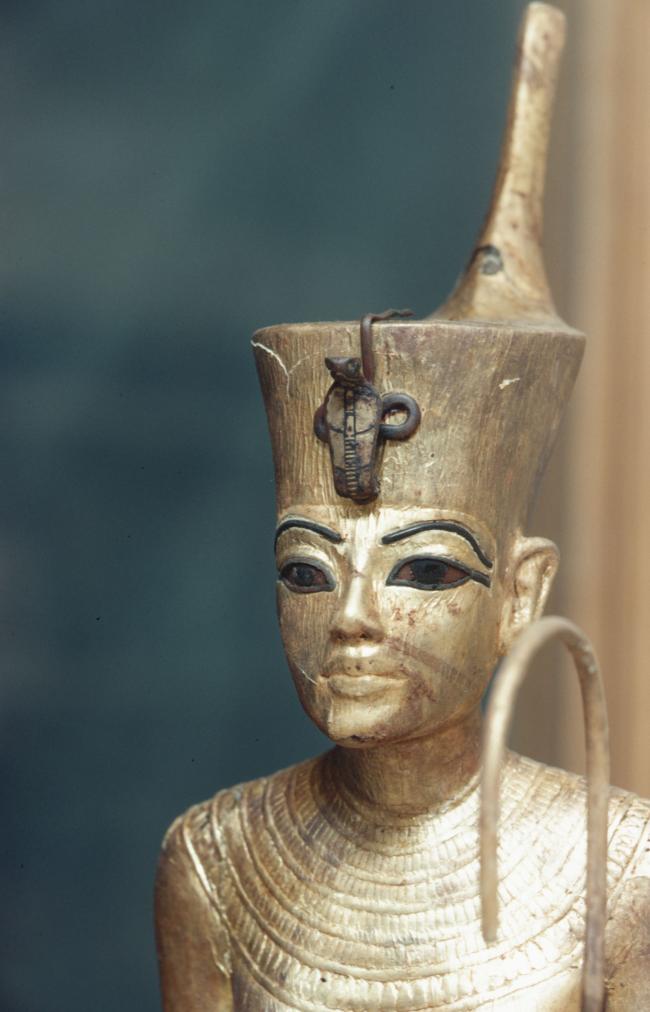
Detail of the king with a Lower Egyptian (red) crown with crook and flail (Cairo Museum). Courtesy of Uni Dia Verlag; Uni Dia Image Nr. 35484.
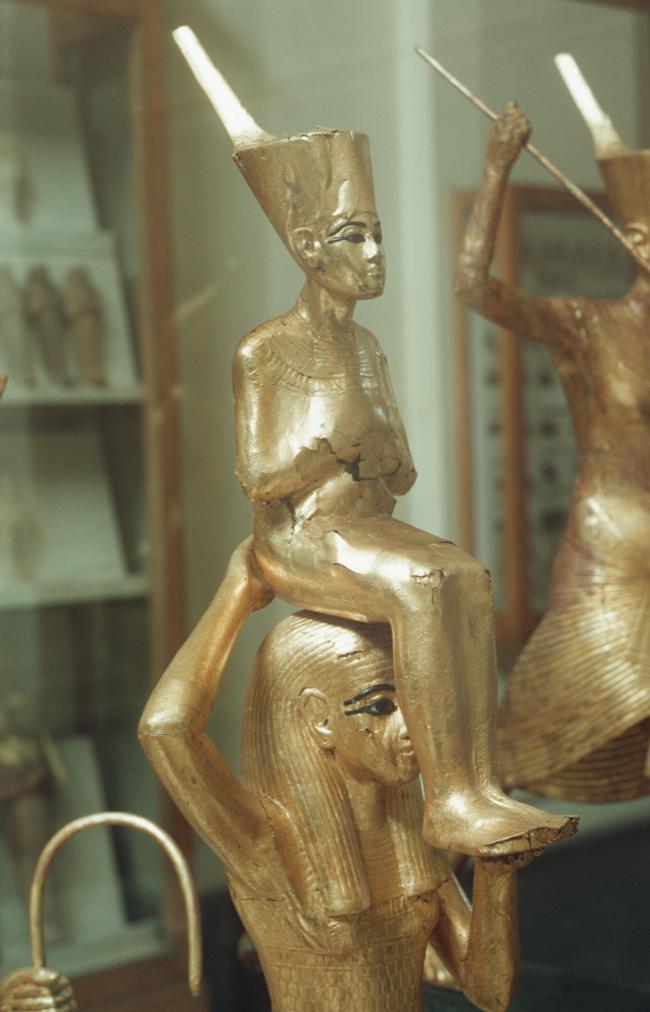
The mummiform king carried by the goddess Menkaret on his head (Cairo Museum). Courtesy of Uni Dia Verlag; Uni Dia Image Nr. 35485.
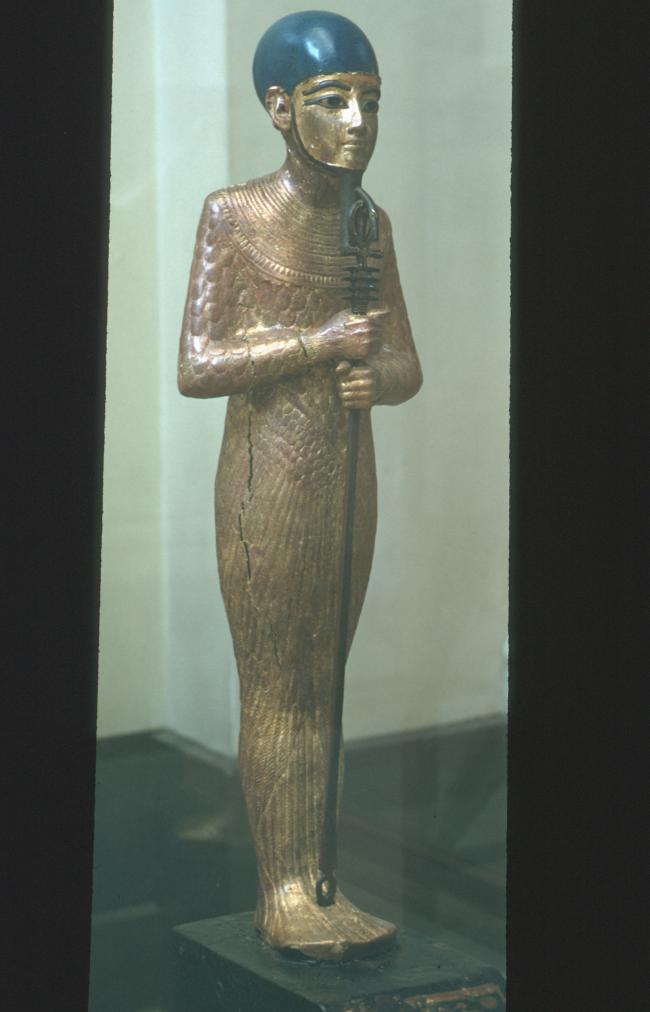
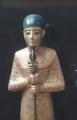
Statue of the God Ptah (Cairo Museum). Courtesy of Uni Dia Verlag; Uni Dia Image Nr. 35486.
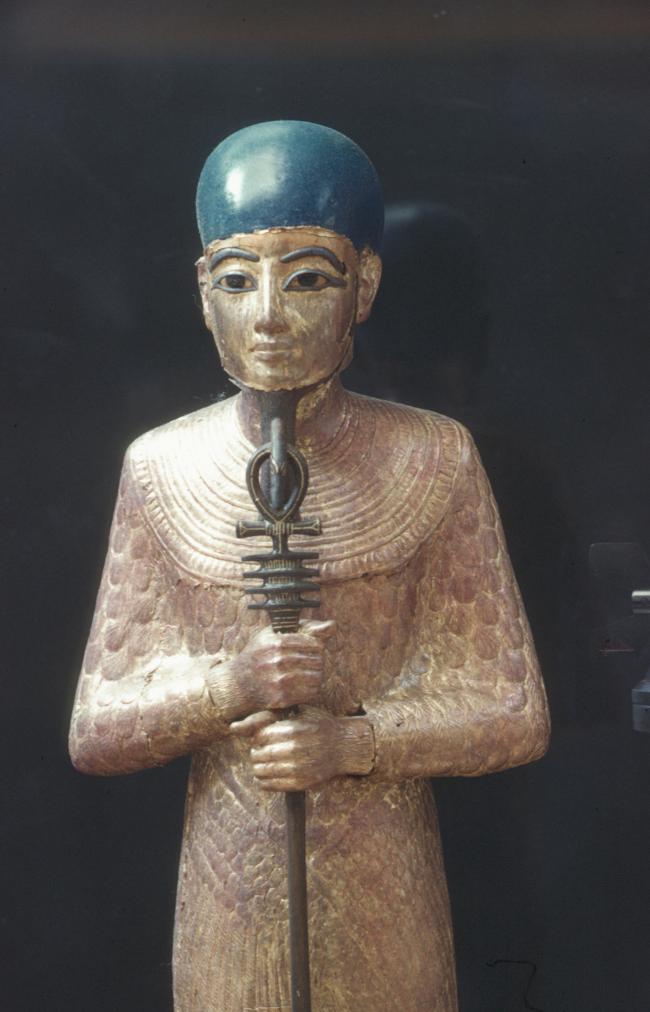
Detail of statue of the God Ptah (Cairo Museum). Courtesy of Uni Dia Verlag; Uni Dia Image Nr. 35487.
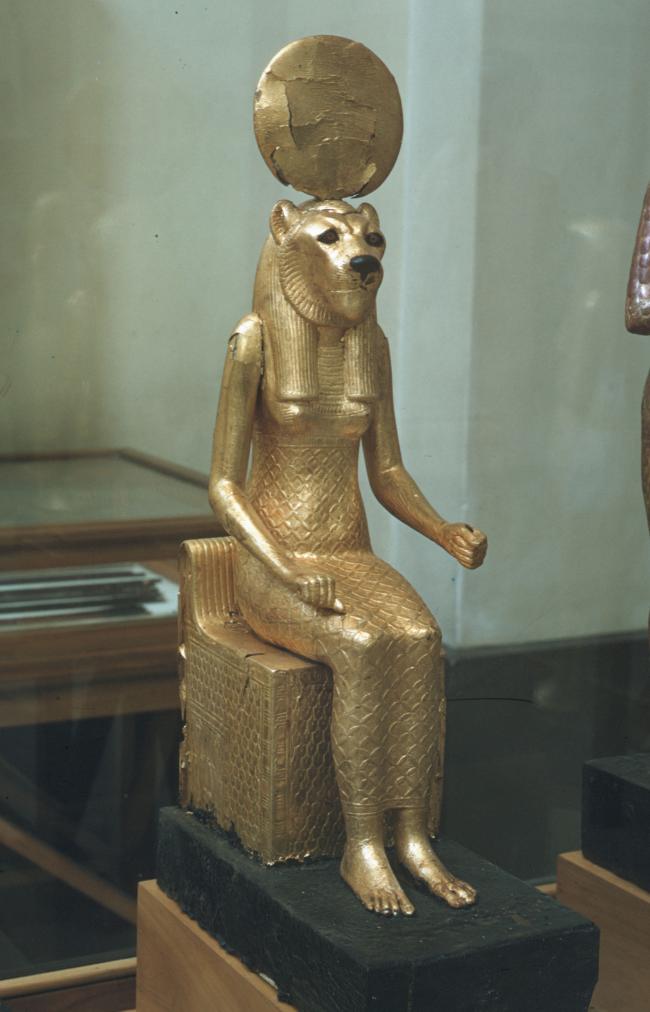
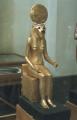
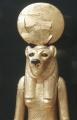
Sekhmet with sundisk seated on the throne (Cairo Museum). Courtesy of Uni Dia Verlag; Uni Dia Image Nr. 35488.
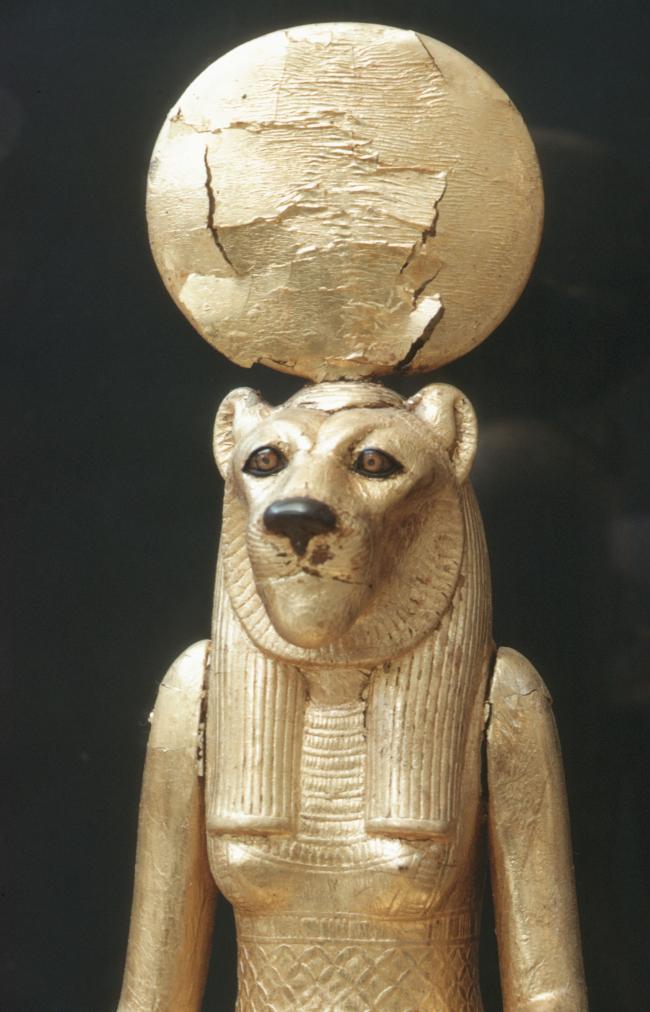
Detail of Sekhmet with sundisk seated on the throne (Cairo Museum). Courtesy of Uni Dia Verlag; Uni Dia Image Nr. 35489.
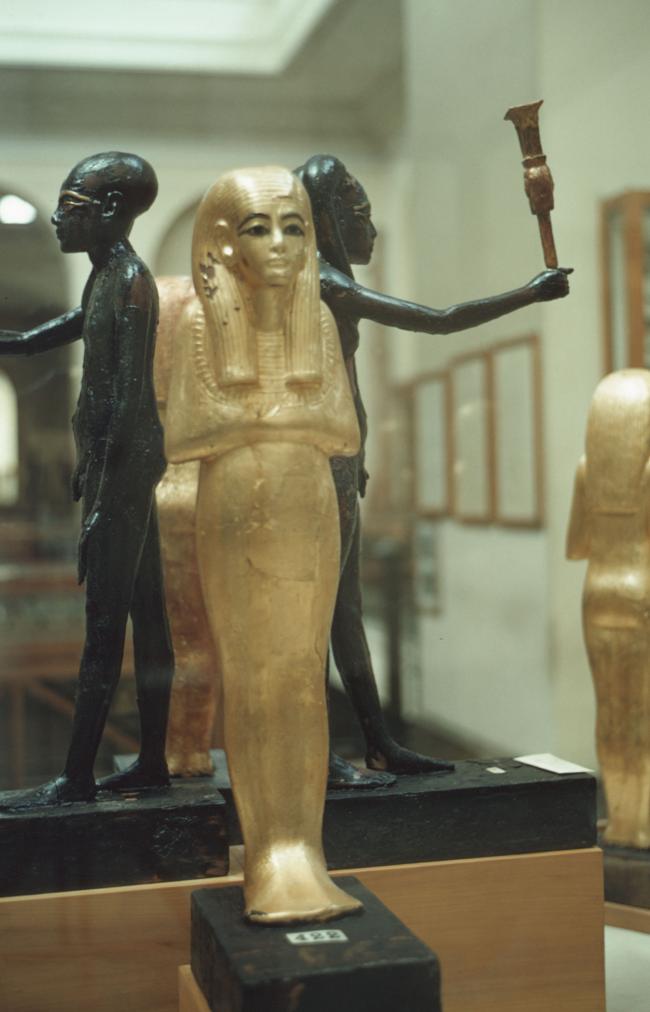
Statue of Atum (Cairo Museum). Courtesy of Uni Dia Verlag; Uni Dia Image Nr. 35490.
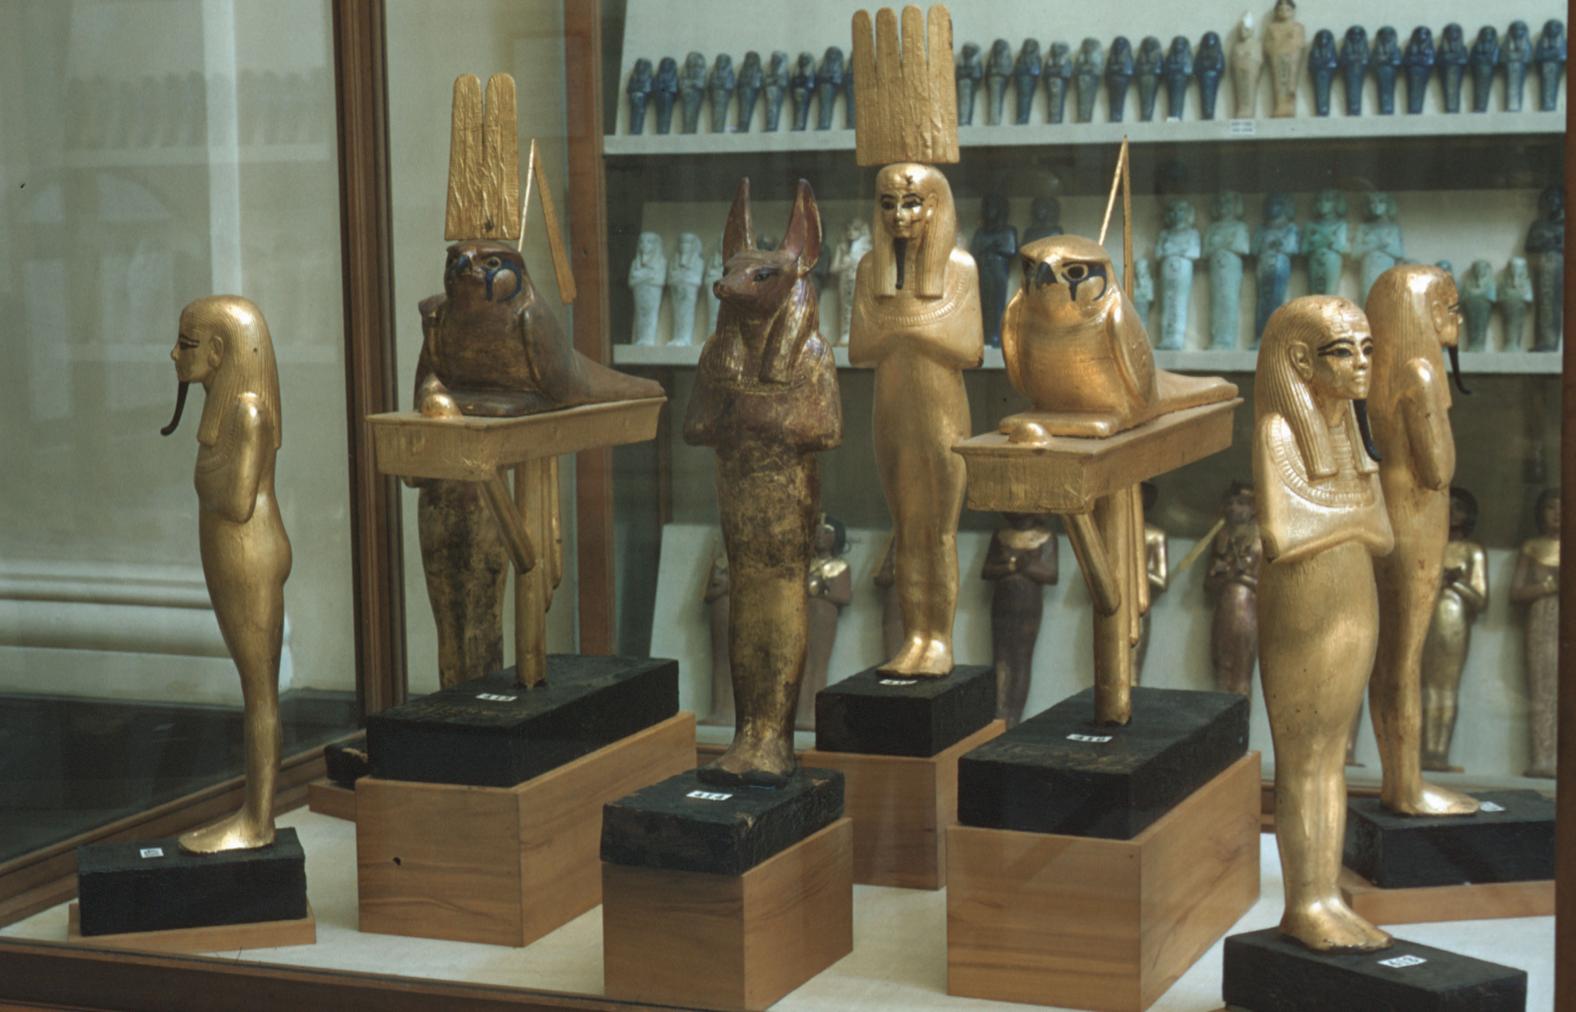
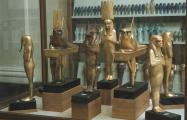
View of display case with gilded wooden statuettes of deities (Cairo Museum). Courtesy of Uni Dia Verlag; Uni Dia Image Nr. 35491.
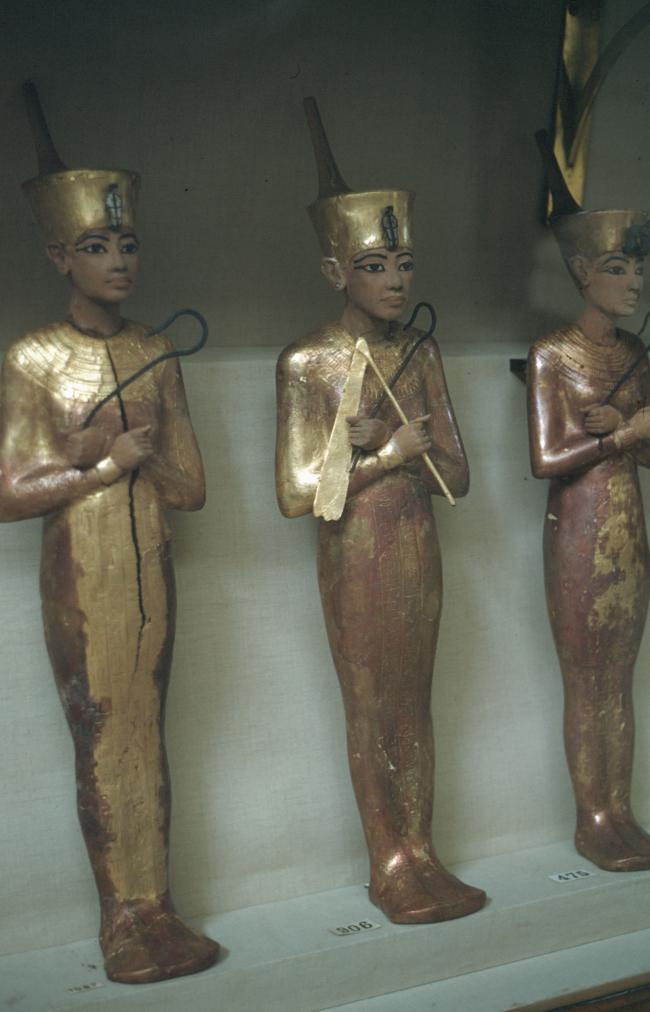
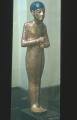
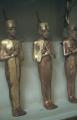
Three of the king's Shabti figures with a Lower Egyptian crown (Cairo Museum). Courtesy of Uni Dia Verlag; Uni Dia Image Nr. 35492.
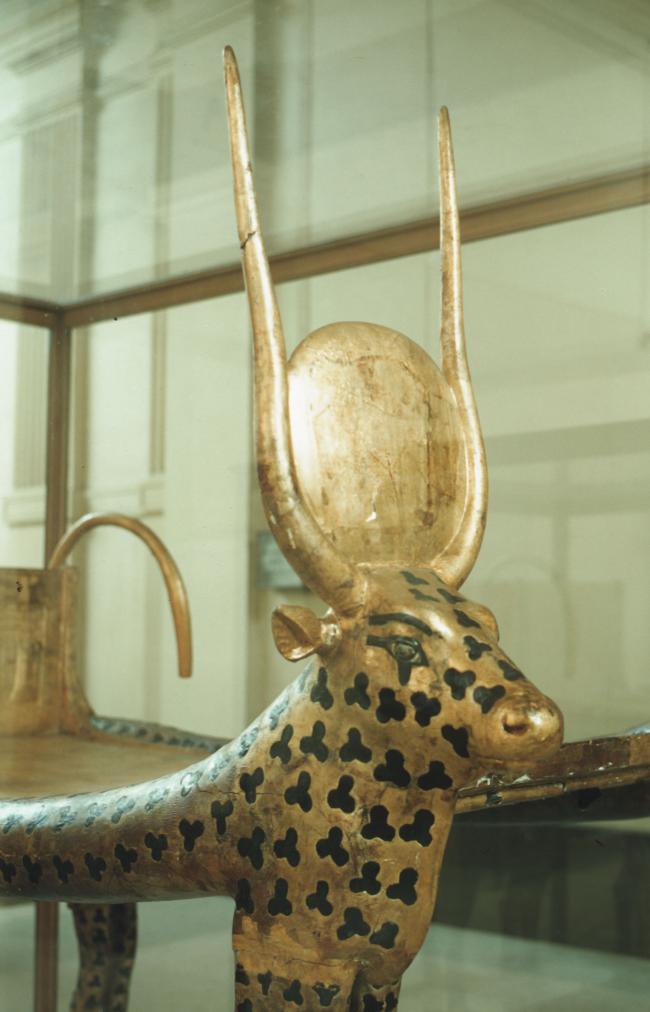
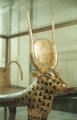
Head of a bovine-shaped bed (Cairo Museum). Courtesy of Uni Dia Verlag; Uni Dia Image Nr. 35493.
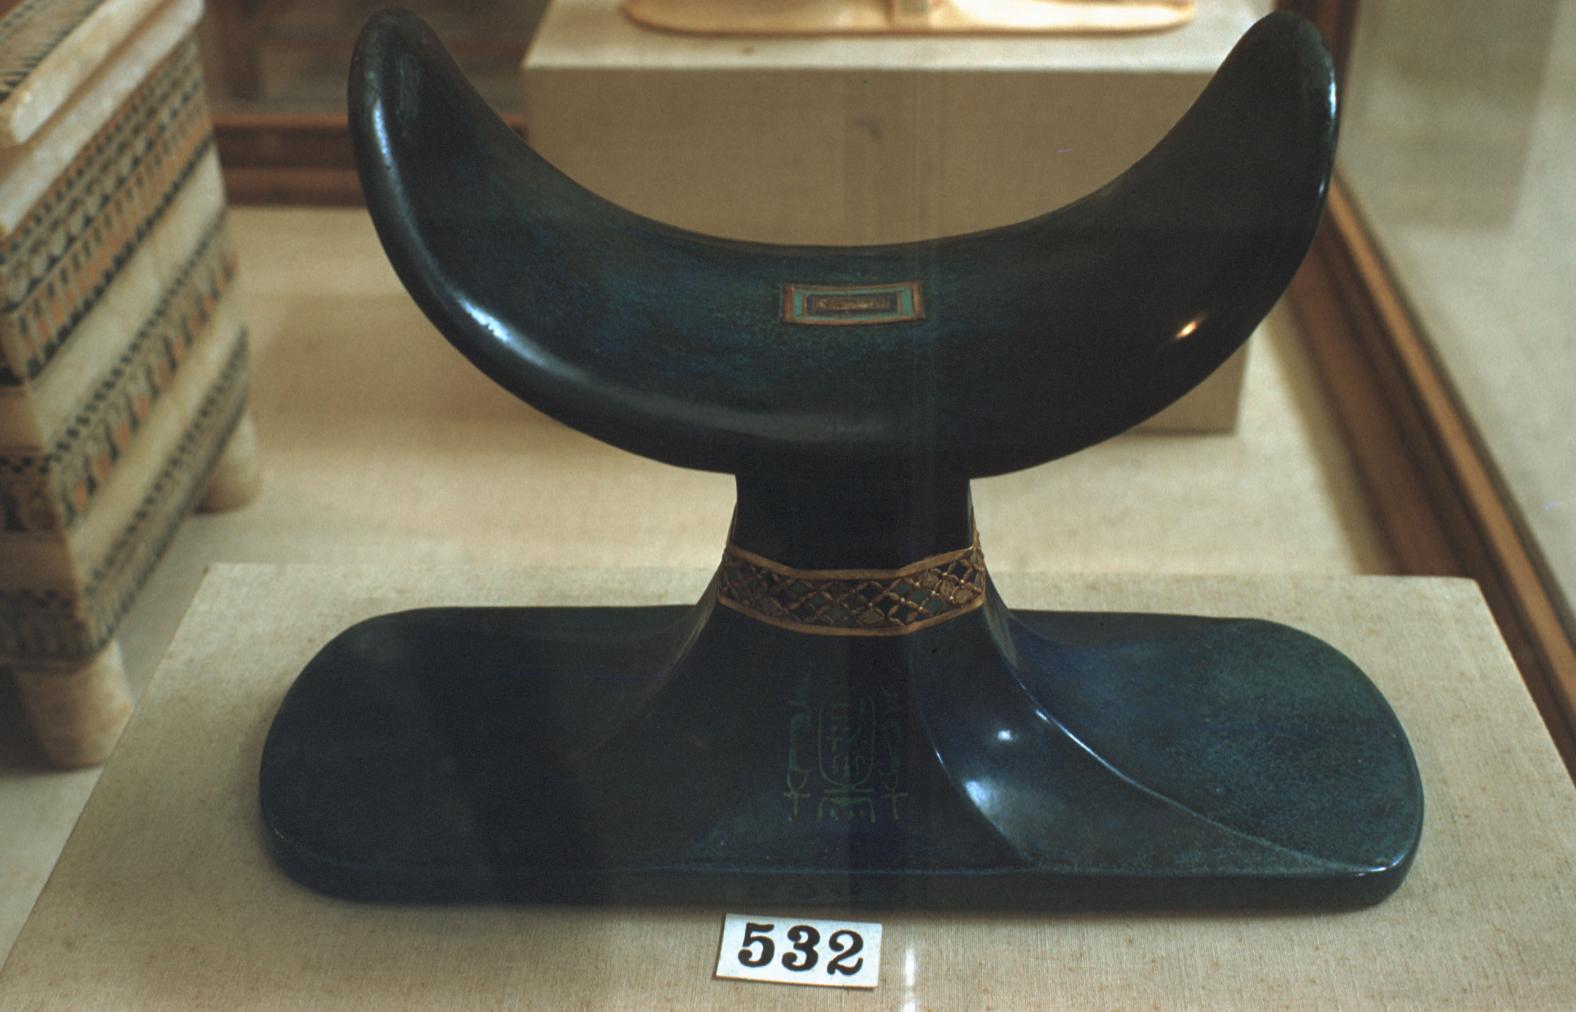
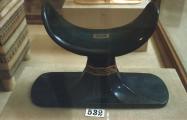
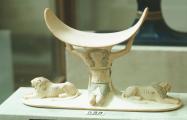
Headrest of Tutankhamen (Cairo Museum). Courtesy of Uni Dia Verlag; Uni Dia Image Nr. 35494.
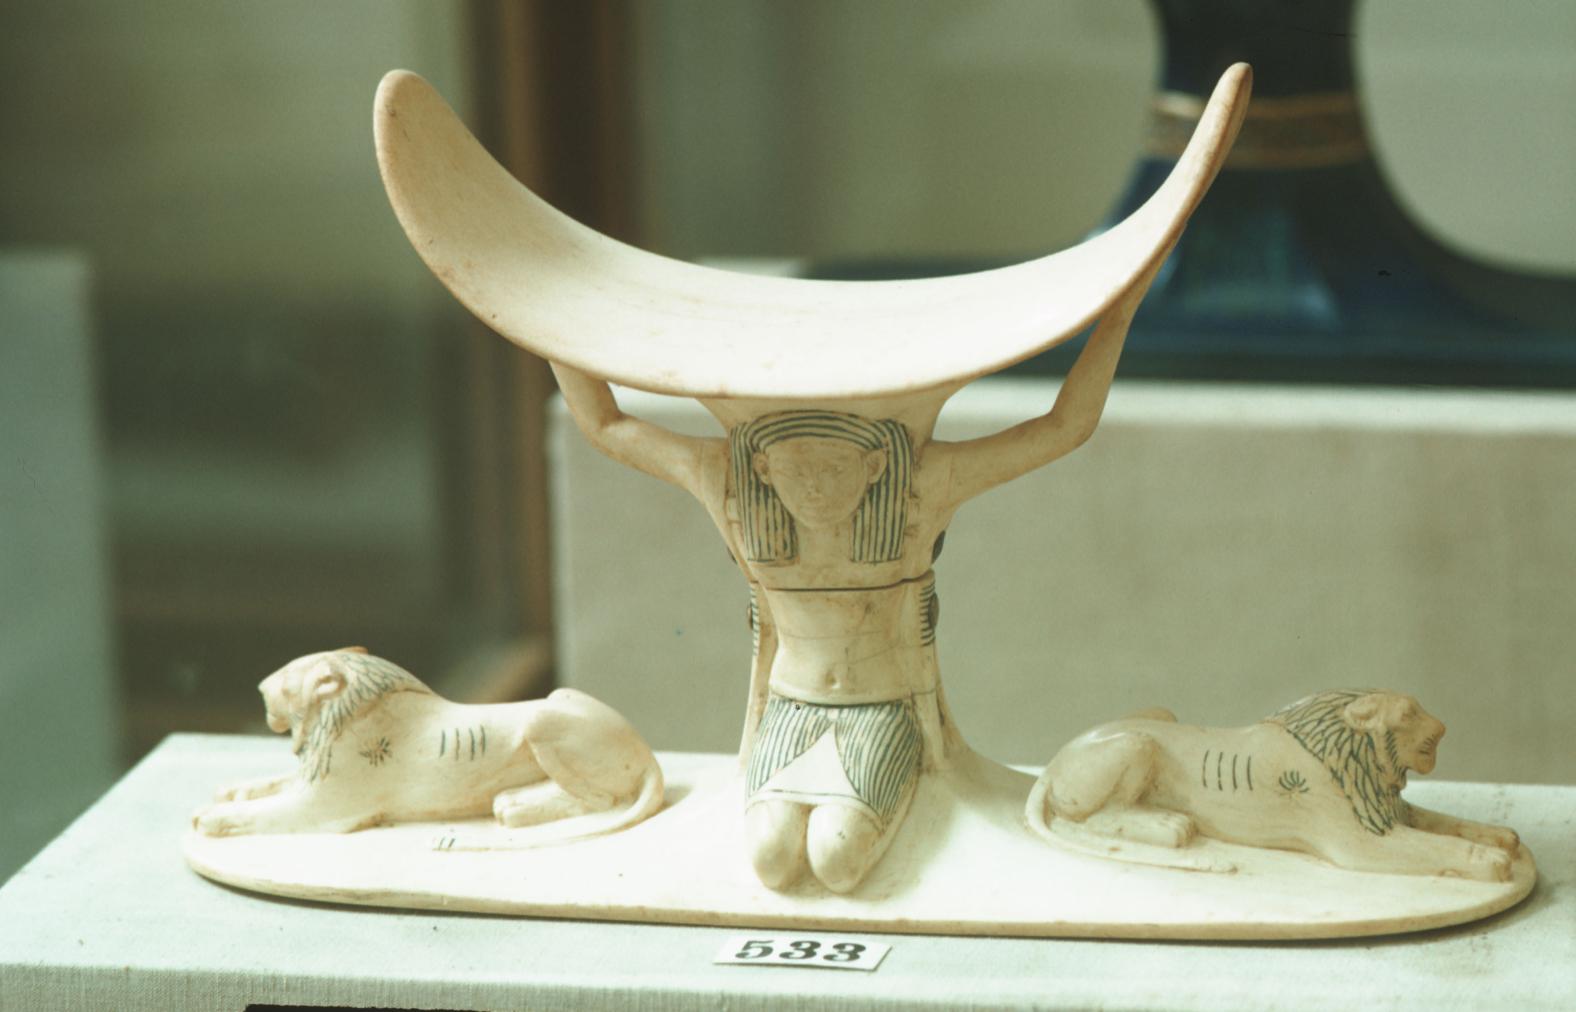
Headrest of Tutankhamen (Cairo Museum). Courtesy of Uni Dia Verlag; Uni Dia Image Nr. 35495.
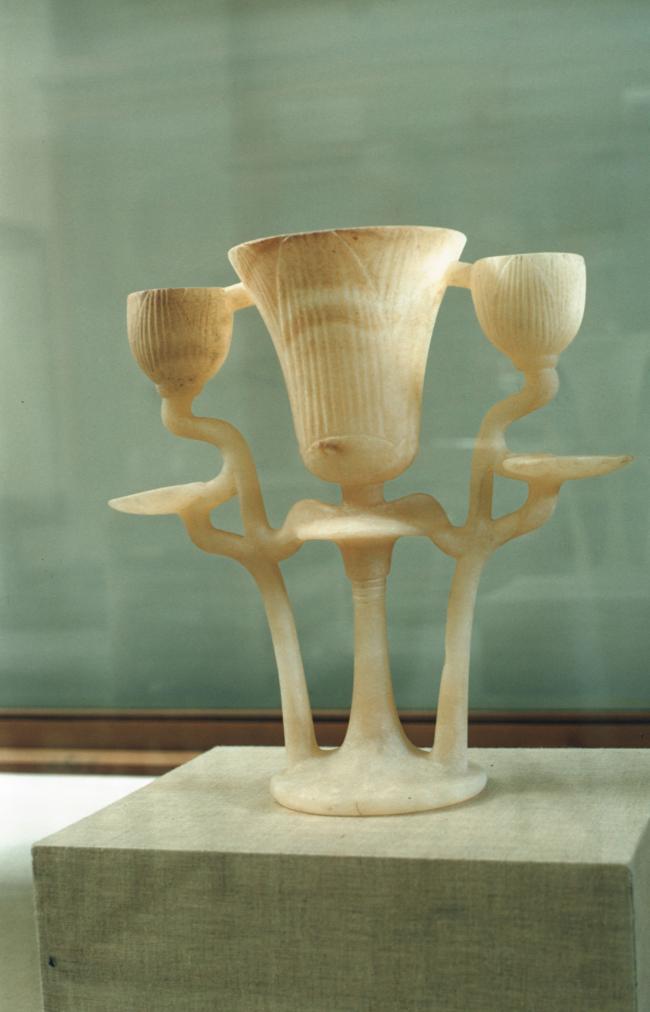
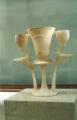
Alabaster lamp in the form of flowers (Cairo Museum). Courtesy of Uni Dia Verlag; Uni Dia Image Nr. 35496.
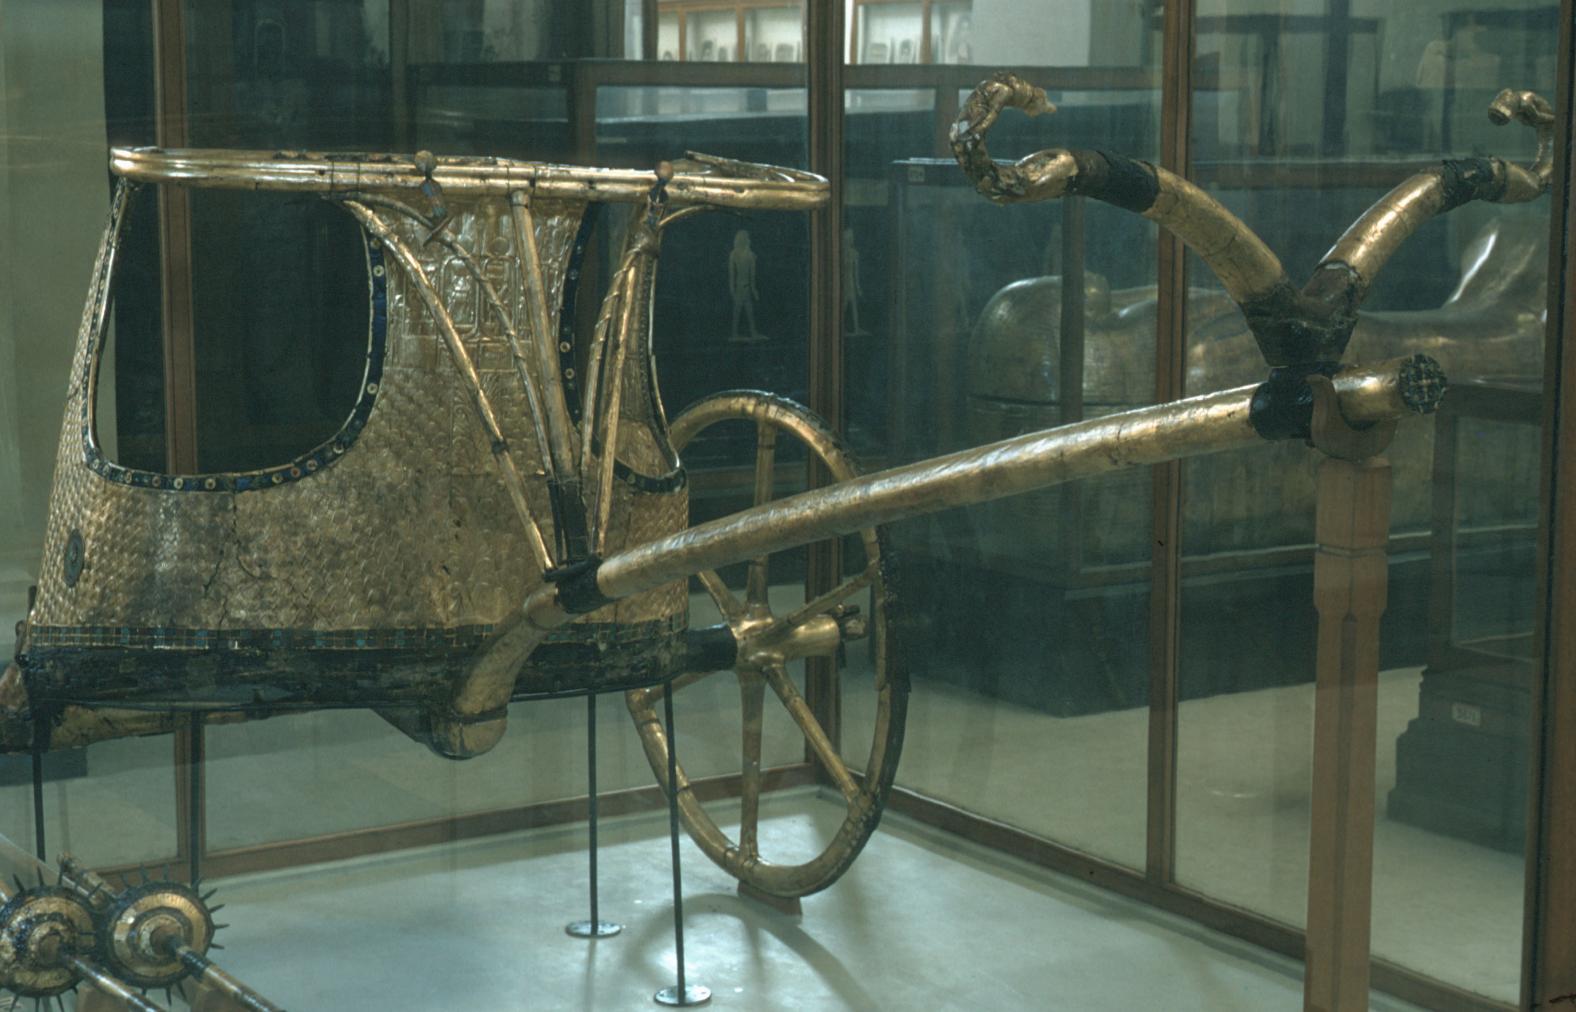
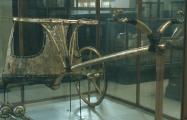
One of the gilded royal chariots (Cairo Museum). Courtesy of Uni Dia Verlag; Uni Dia Image Nr. 35497.
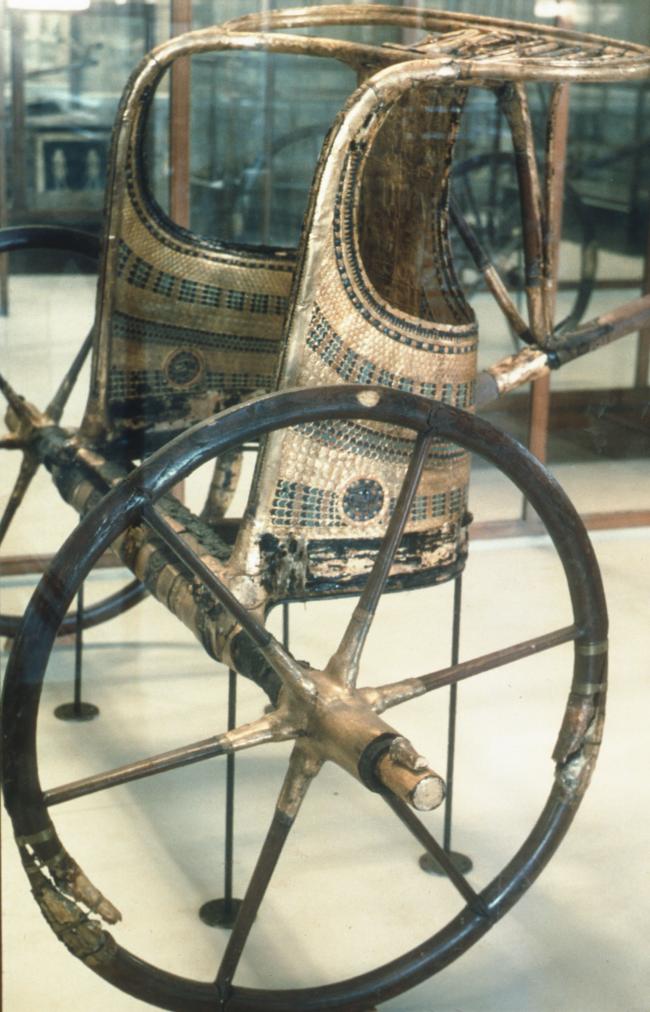
One of the gilded royal chariots (Cairo Museum). Courtesy of Uni Dia Verlag; Uni Dia Image Nr. 35498.
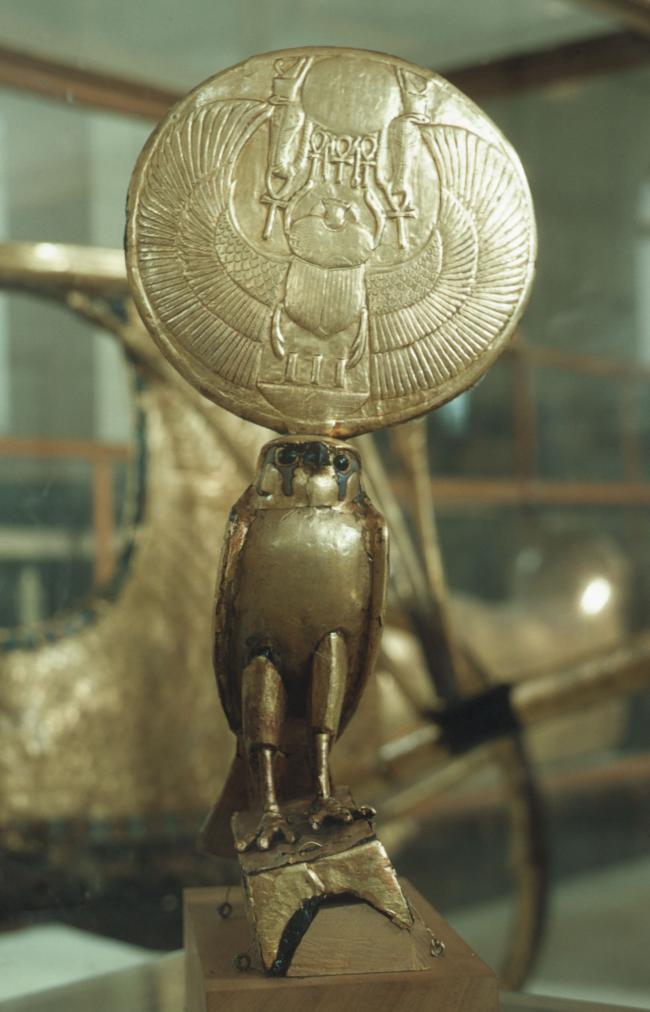
Detail from one of the gilded royal chariots (Cairo Museum). Courtesy of Uni Dia Verlag; Uni Dia Image Nr. 35499.
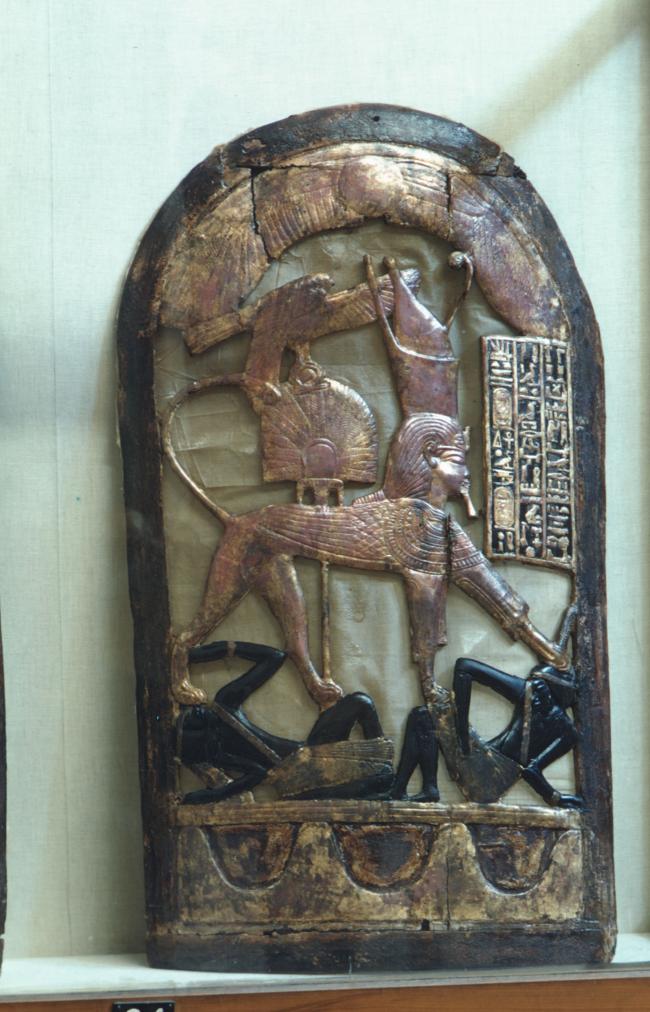
Shield depicting the king as Sphinx trampling his enemies (Cairo Museum). Courtesy of Uni Dia Verlag; Uni Dia Image Nr. 35500.
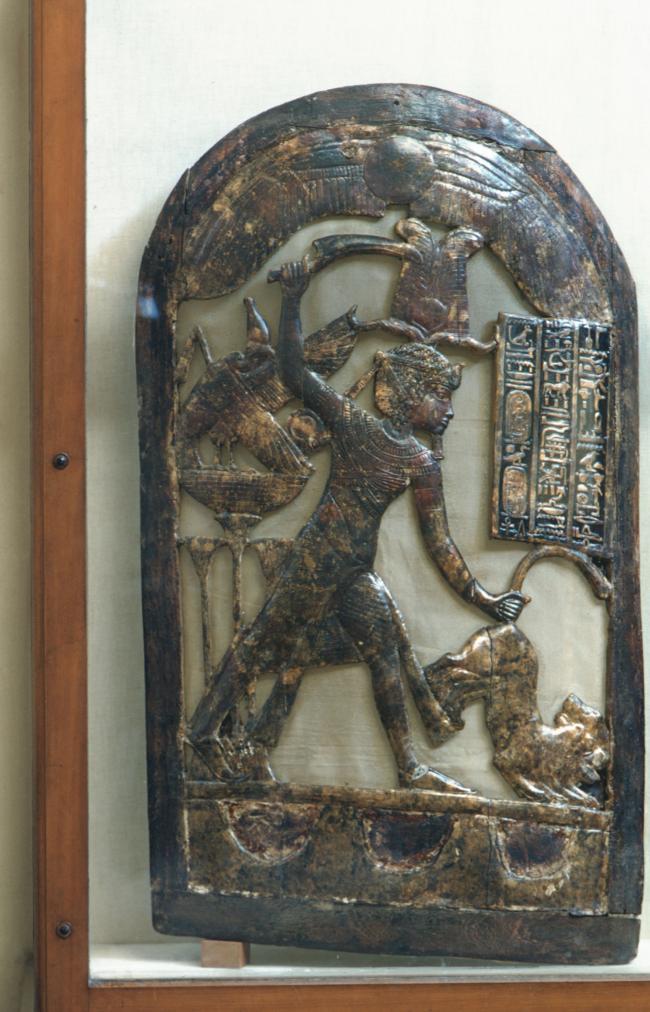
Shield with depiction of the king smiting a lion (Cairo Museum). Courtesy of Uni Dia Verlag; Uni Dia Image Nr. 35501.
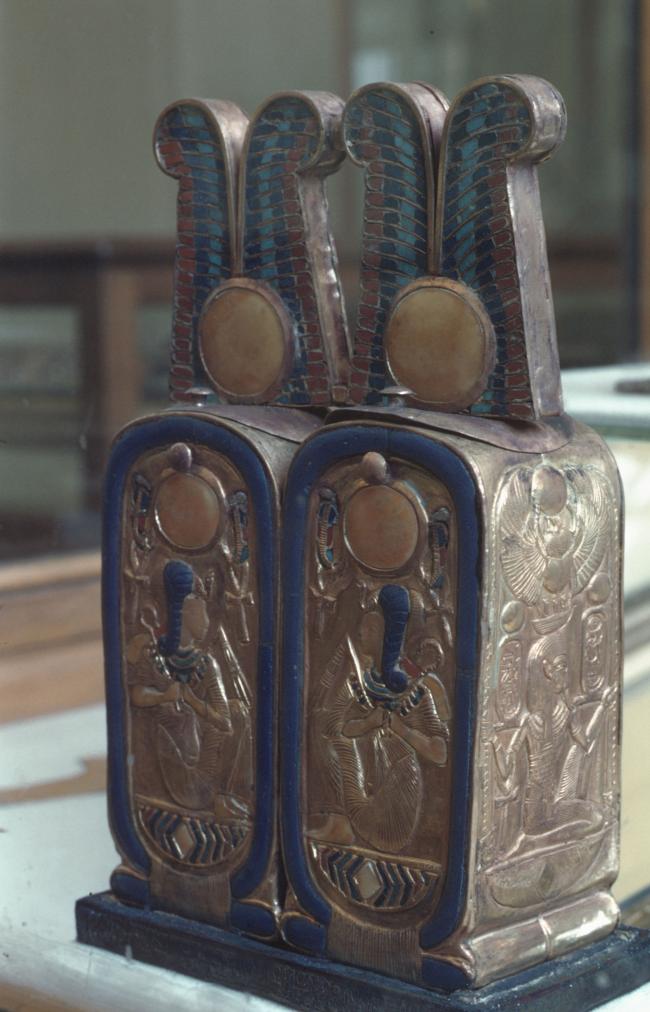
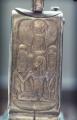
Small container in the form of a double cartouche with double feather crowns and the king as a child (Cairo Museum). Courtesy of Uni Dia Verlag; Uni Dia Image Nr. 35502.
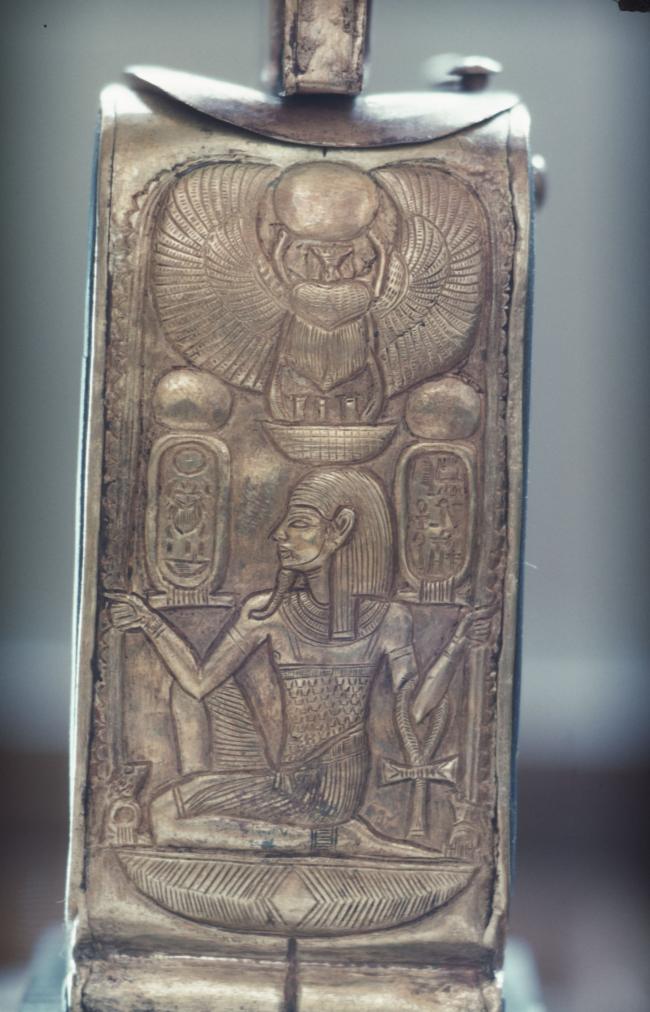
Side view of small container in the form of a double cartouche with double feather crowns and the king as a child (Cairo Museum). Courtesy of Uni Dia Verlag; Uni Dia Image Nr. 35503.
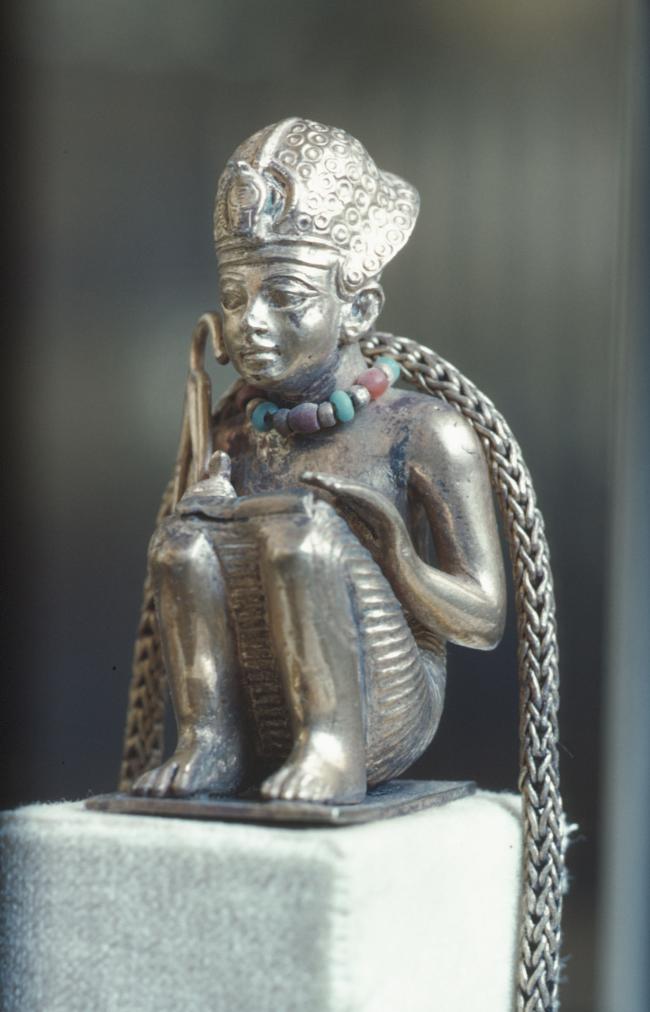
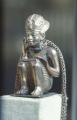
Squatting figure of the king on a chain (Cairo Museum). Courtesy of Uni Dia Verlag; Uni Dia Image Nr. 35504.
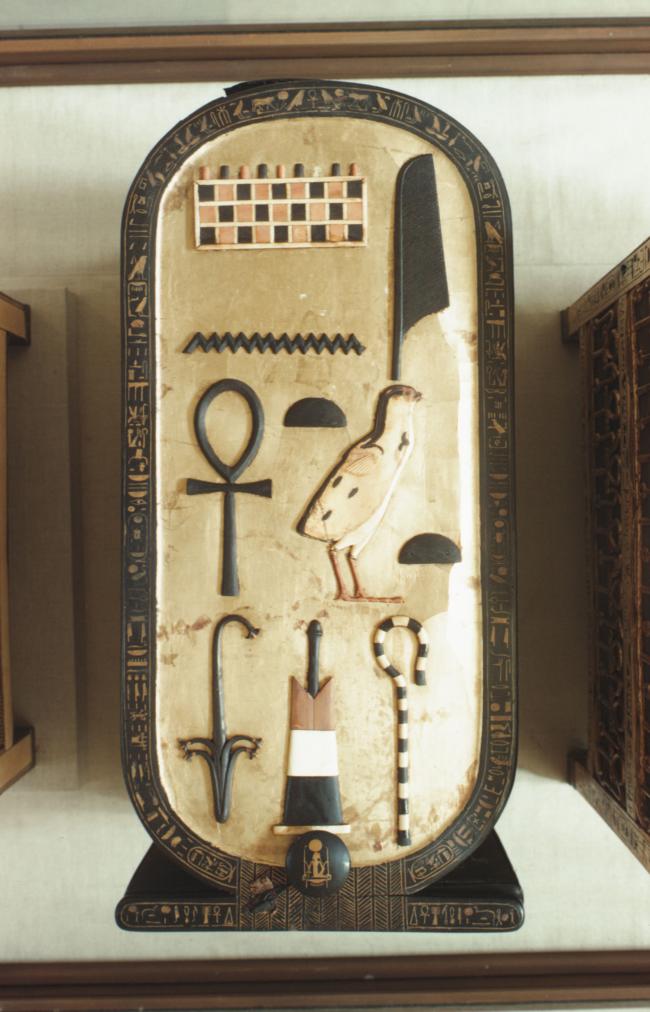
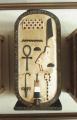
Ebony and ivory box in the form of a cartouche with the name ""Tutankhamun, ruler of Heliopolis and Upper Egypt" (Cairo Museum). Courtesy of Uni Dia Verlag; Uni Dia Image Nr. 35505.
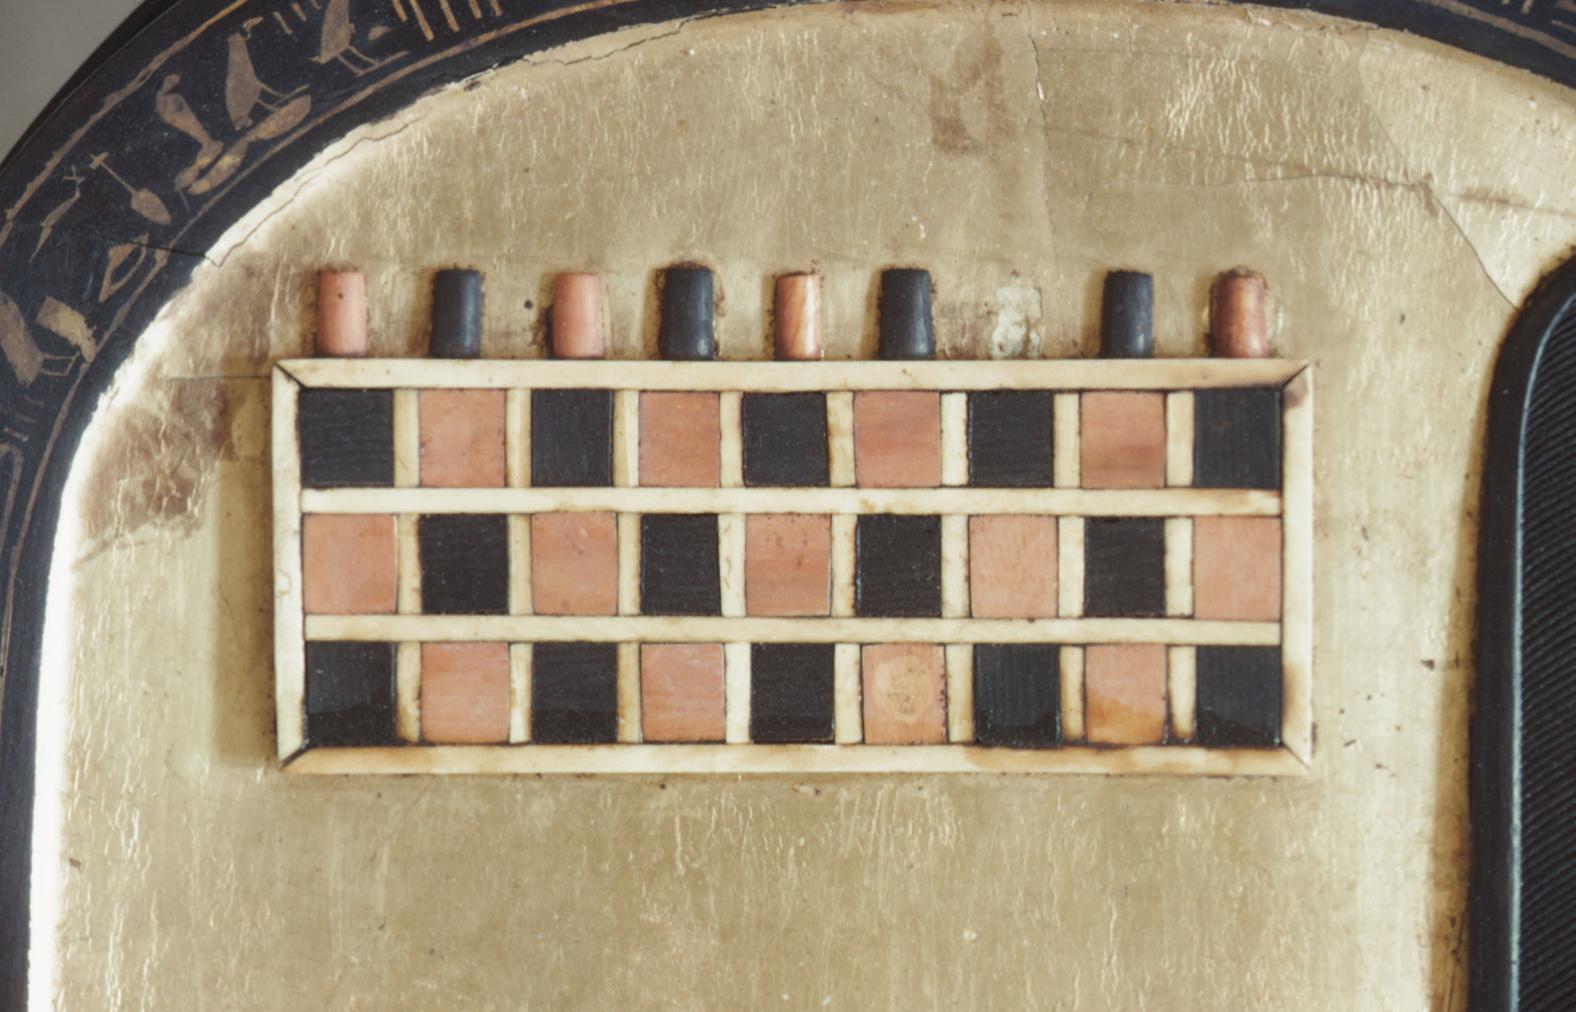
Detail of the 'mn' hieroglyph on an ebony and ivory box in the form of a cartouche. Includes the text ""Tutankhamen, ruler of Heliopolis and Upper Egypt" (Cairo Museum). Courtesy of Uni Dia Verlag; Uni Dia Image Nr. 35506.
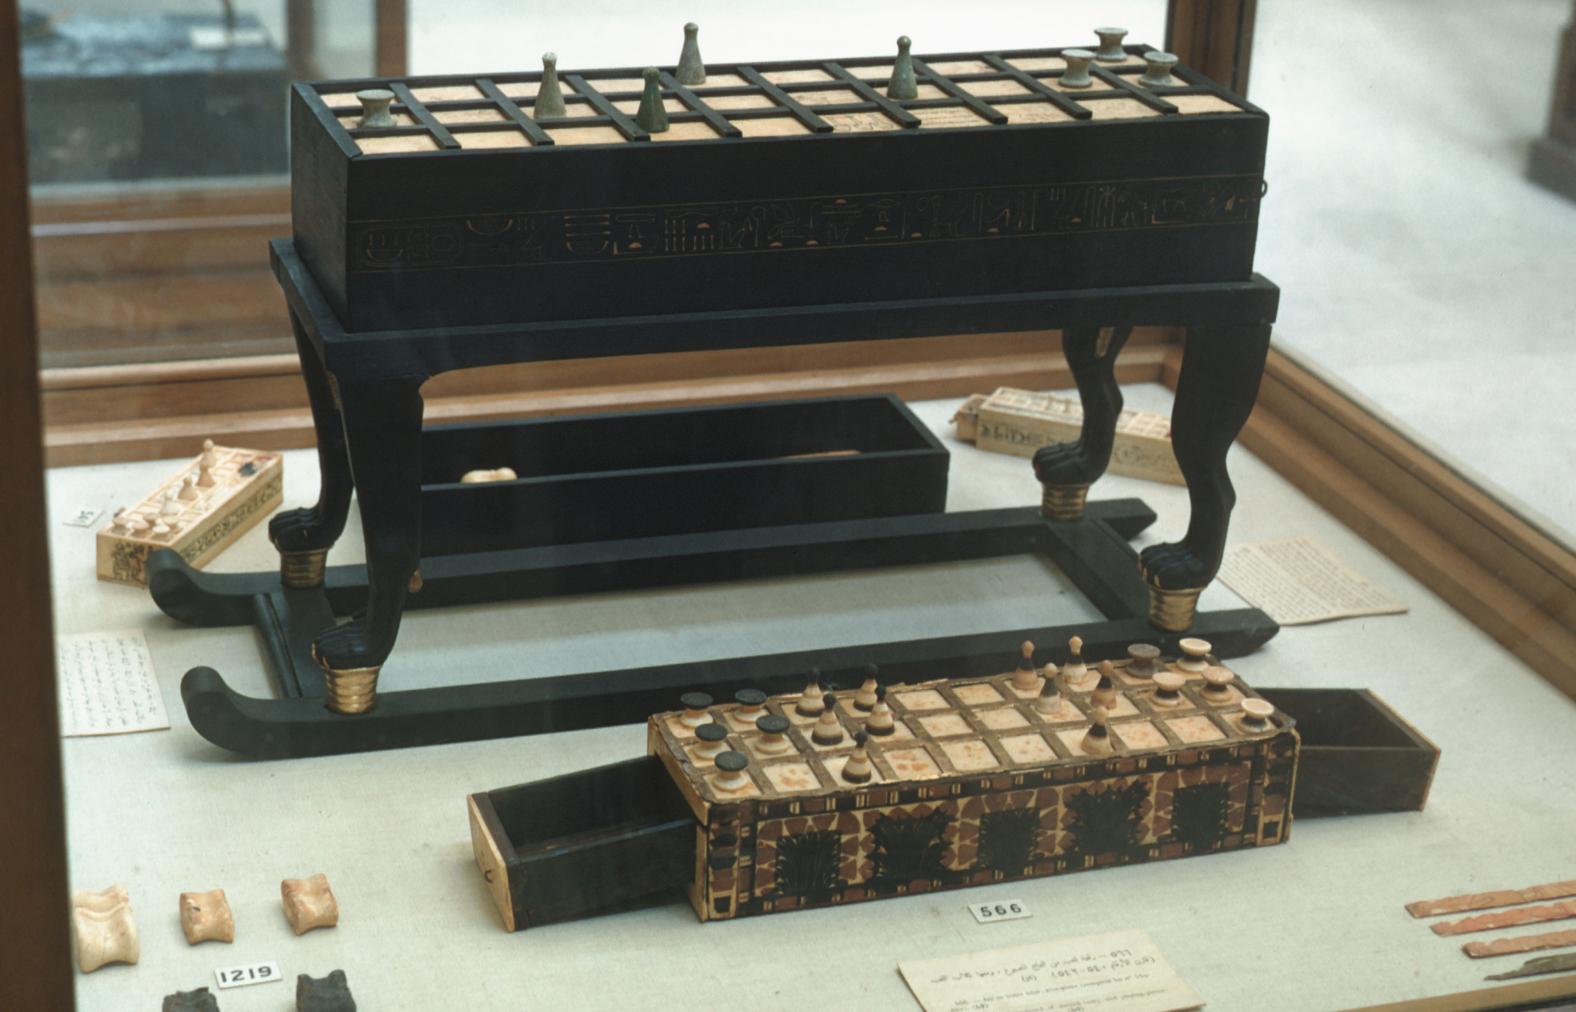
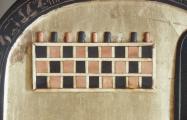
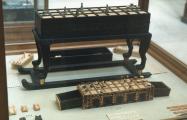
Senet game boards, ebony, with stone game parts (Cairo Museum). Courtesy of Uni Dia Verlag; Uni Dia Image Nr. 35507.
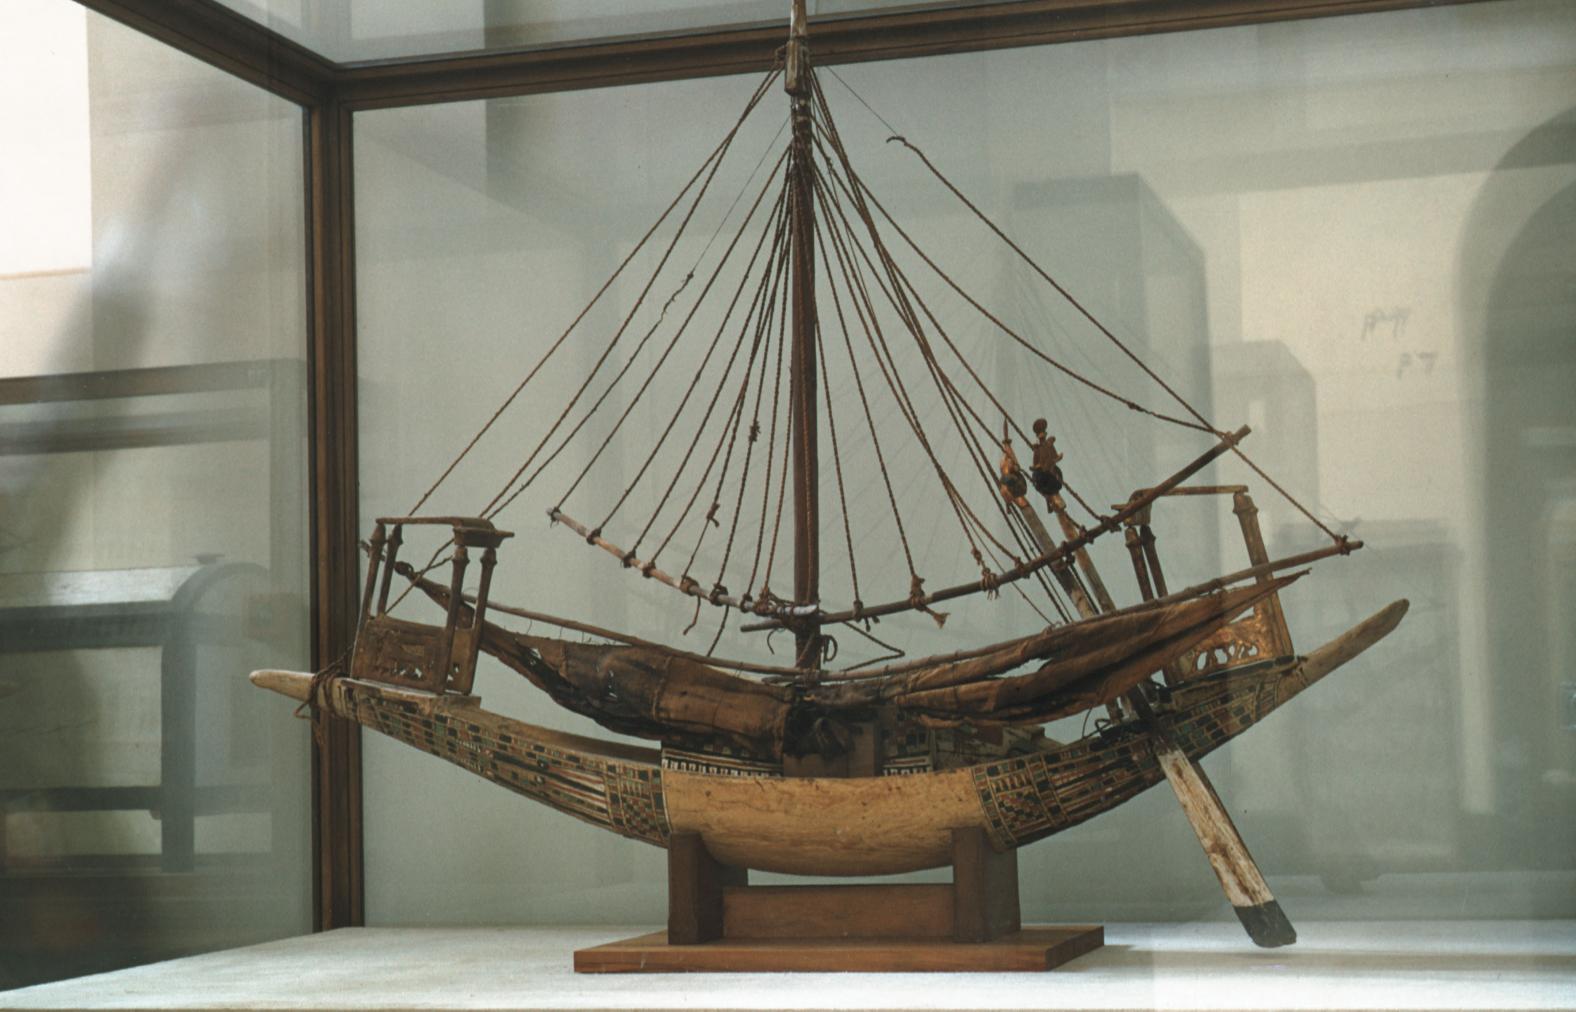
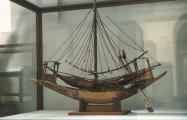
Wooden ship figurine with rigging (Cairo Museum). Courtesy of Uni Dia Verlag; Uni Dia Image Nr. 35508.
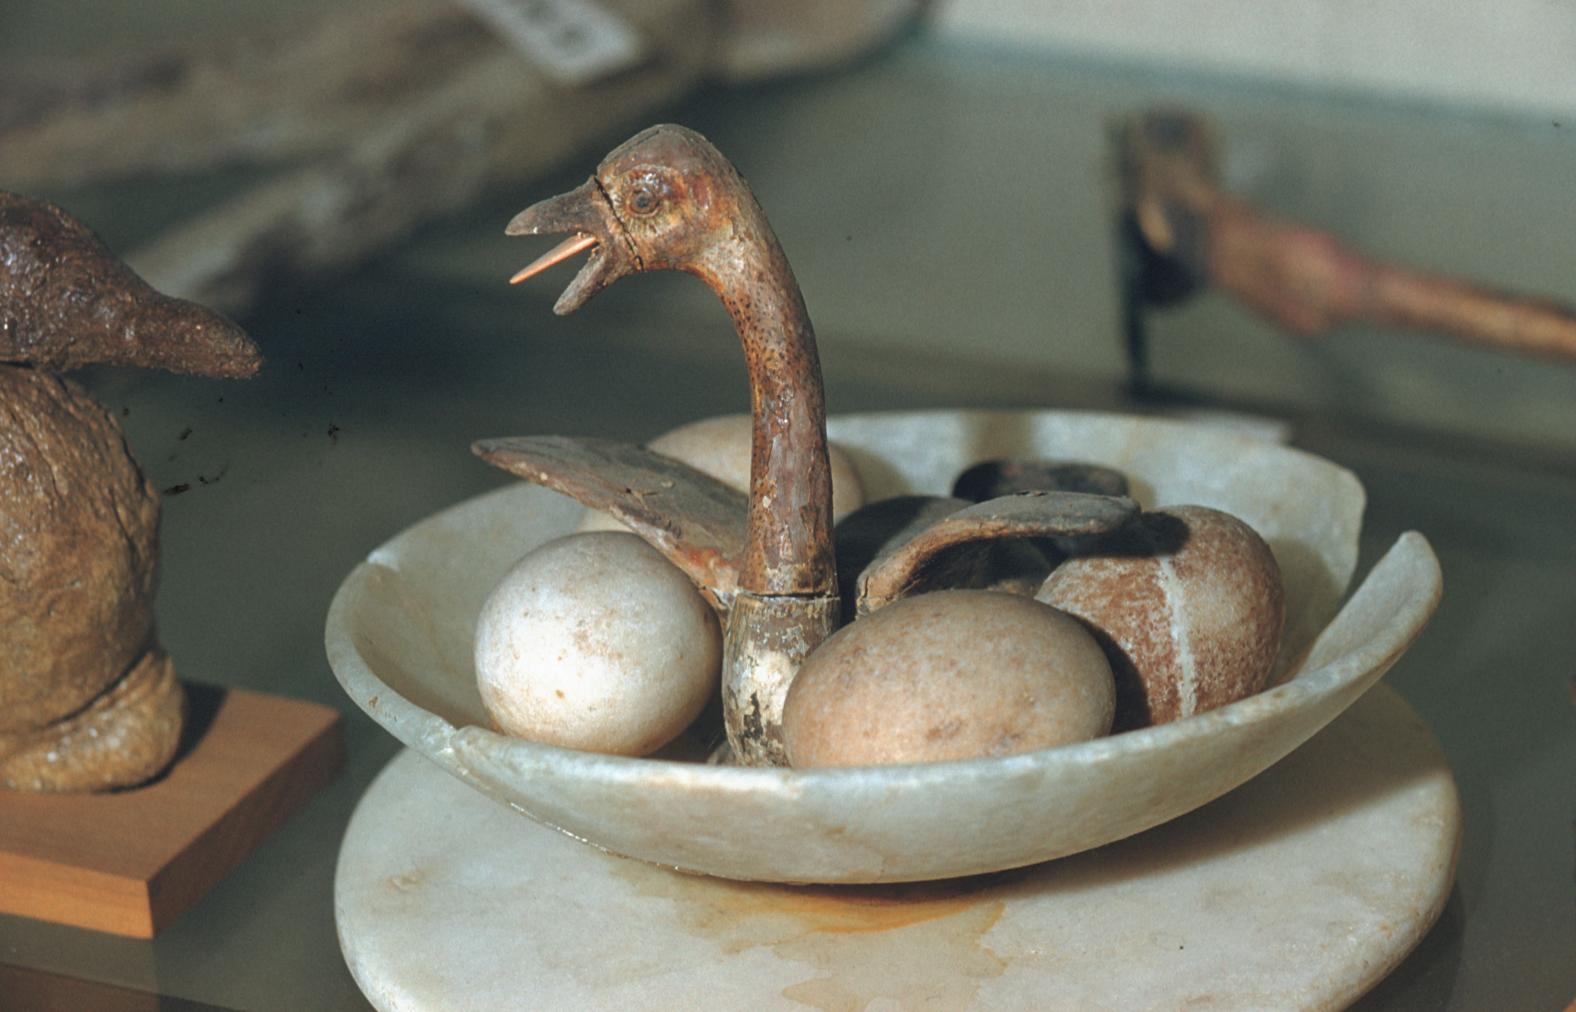
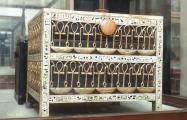
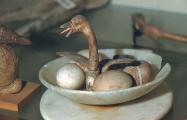
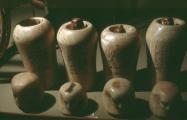
Nesting duck with eggs, wood (Cairo Museum). Courtesy of Uni Dia Verlag; Uni Dia Image Nr. 35509.
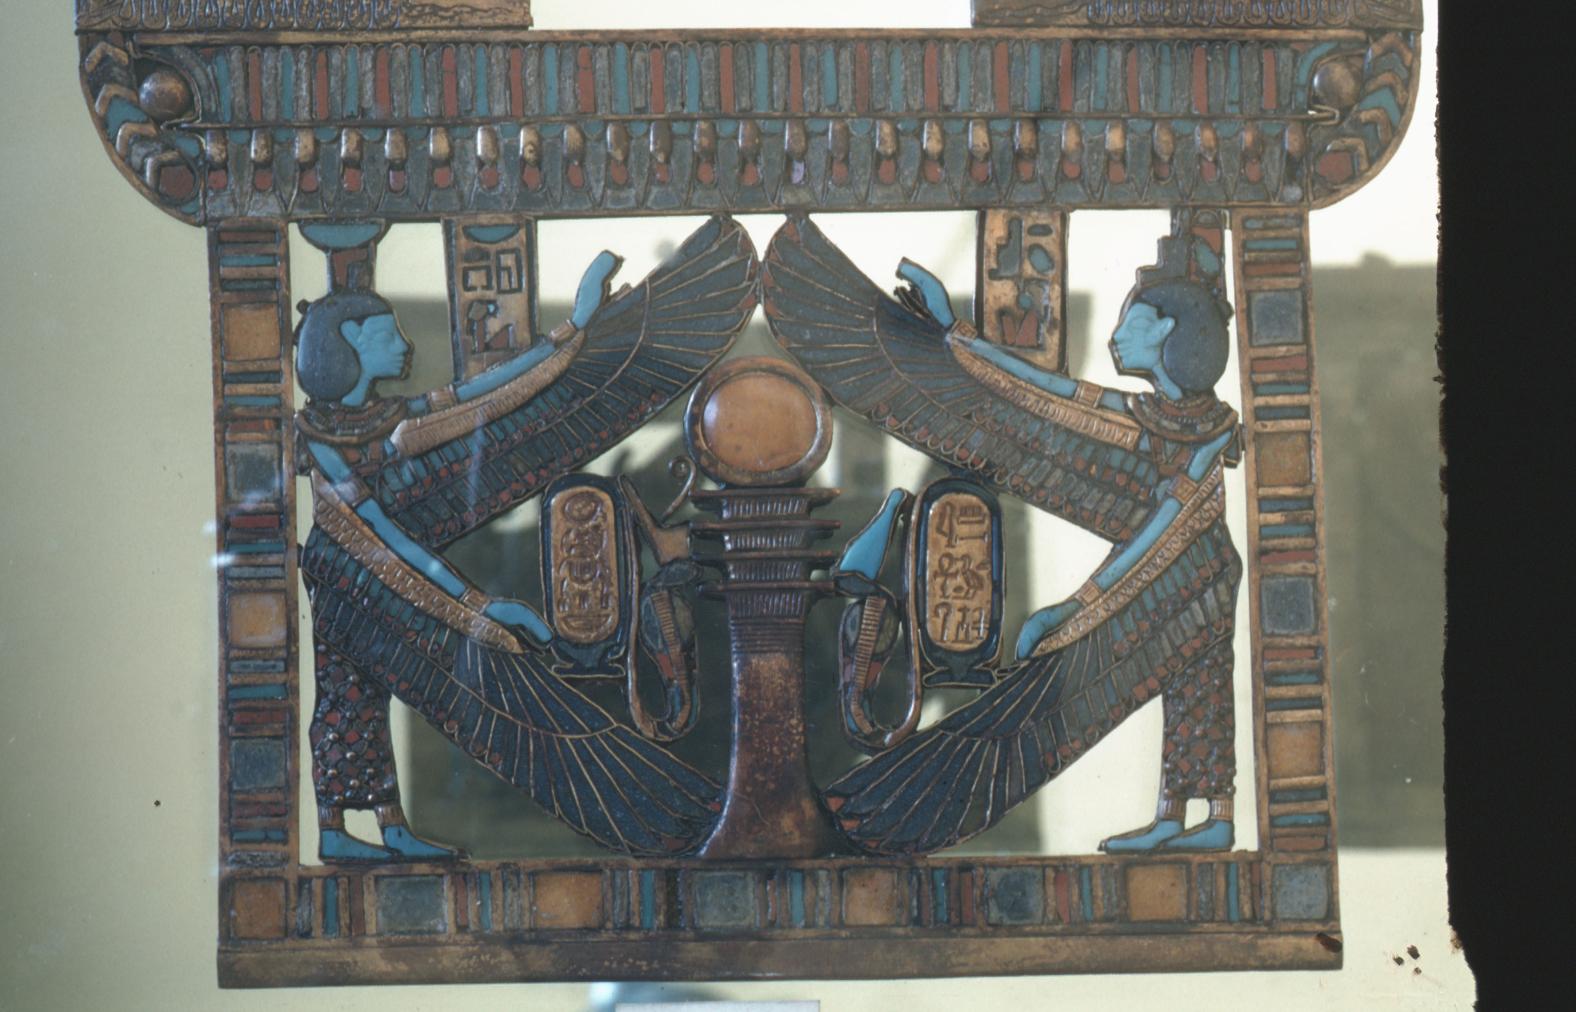
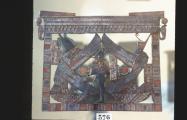
Pectoral, djed-pillar with cartouches of the king, protected by Isis and Nephthys (Cairo Museum). Courtesy of Uni Dia Verlag; Uni Dia Image Nr. 35510.
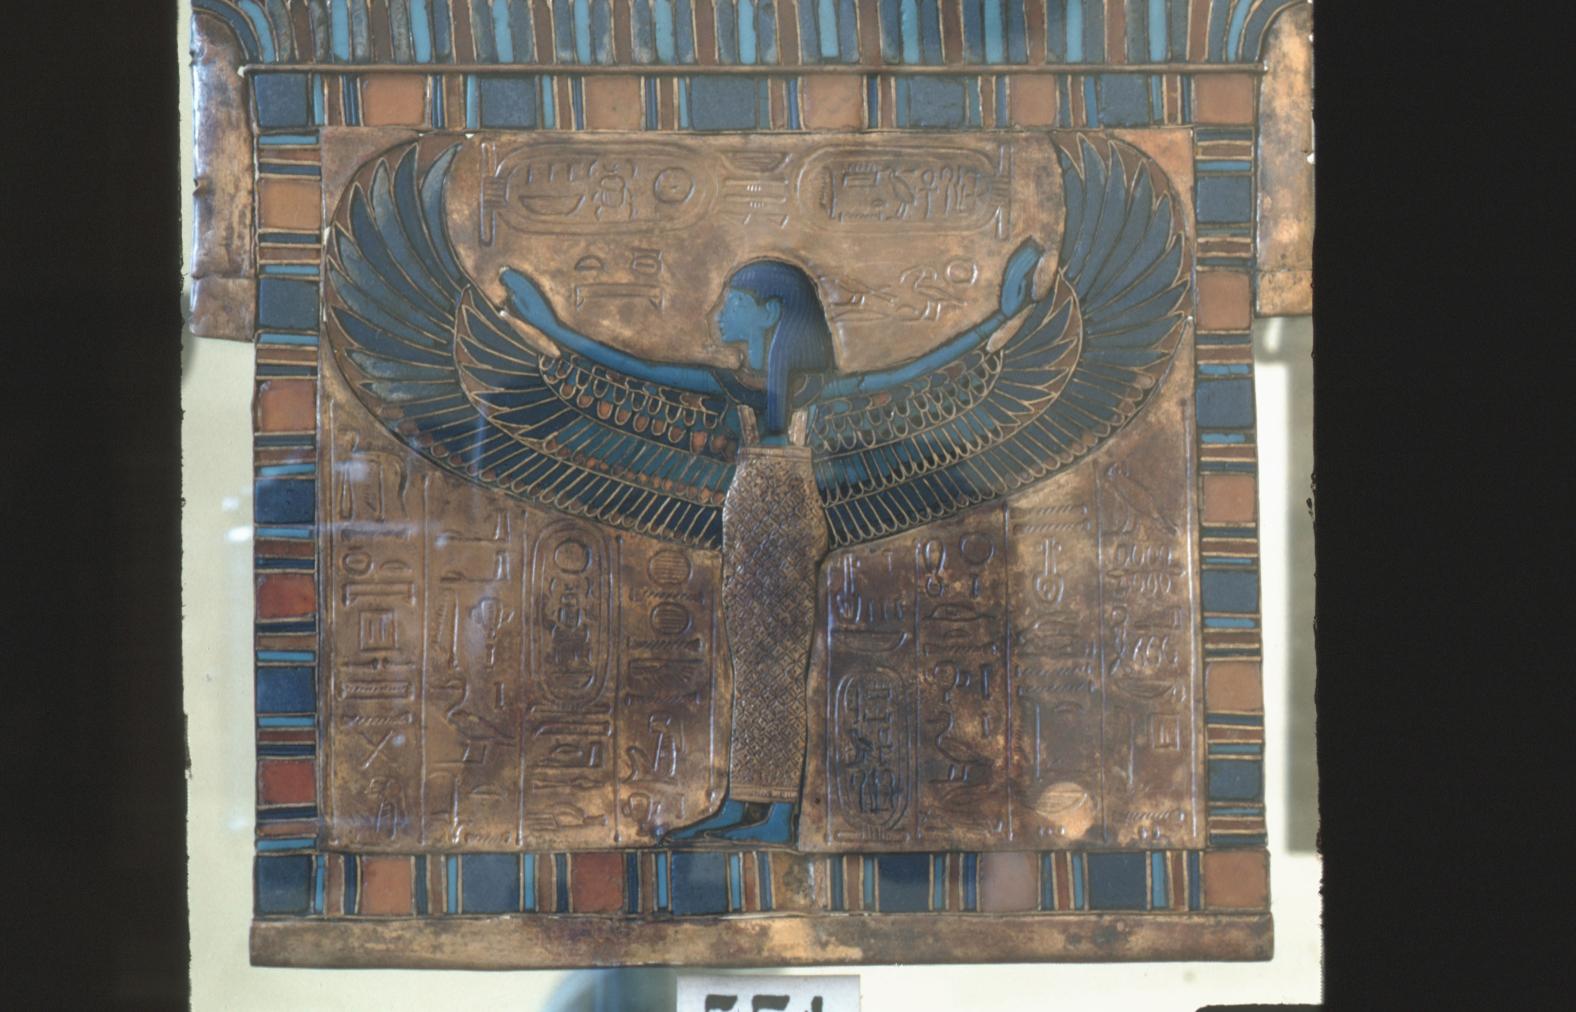
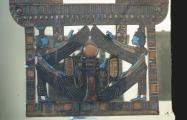
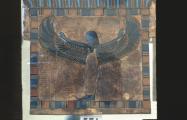
Pectoral with the goddess Nut with outspread wings (Cairo Museum). Courtesy of Uni Dia Verlag; Uni Dia Image Nr. 35511.
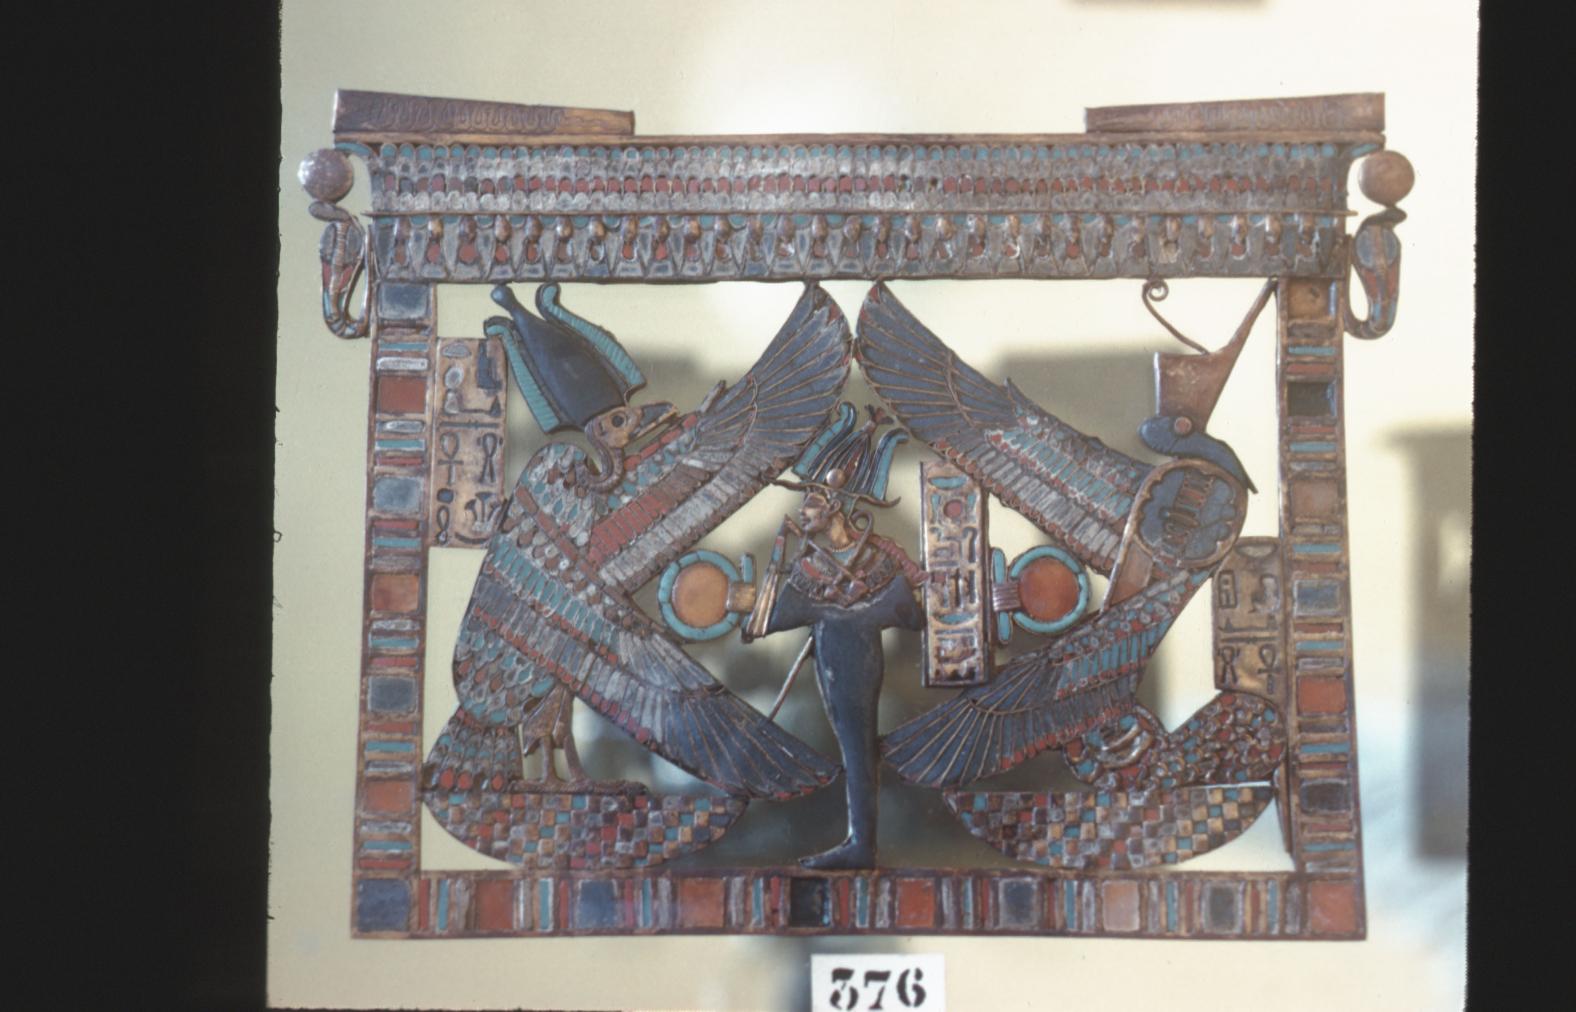
Pectoral with Osiris between Wadjet and Nekhbet (Cairo Museum). Courtesy of Uni Dia Verlag; Uni Dia Image Nr. 35512.
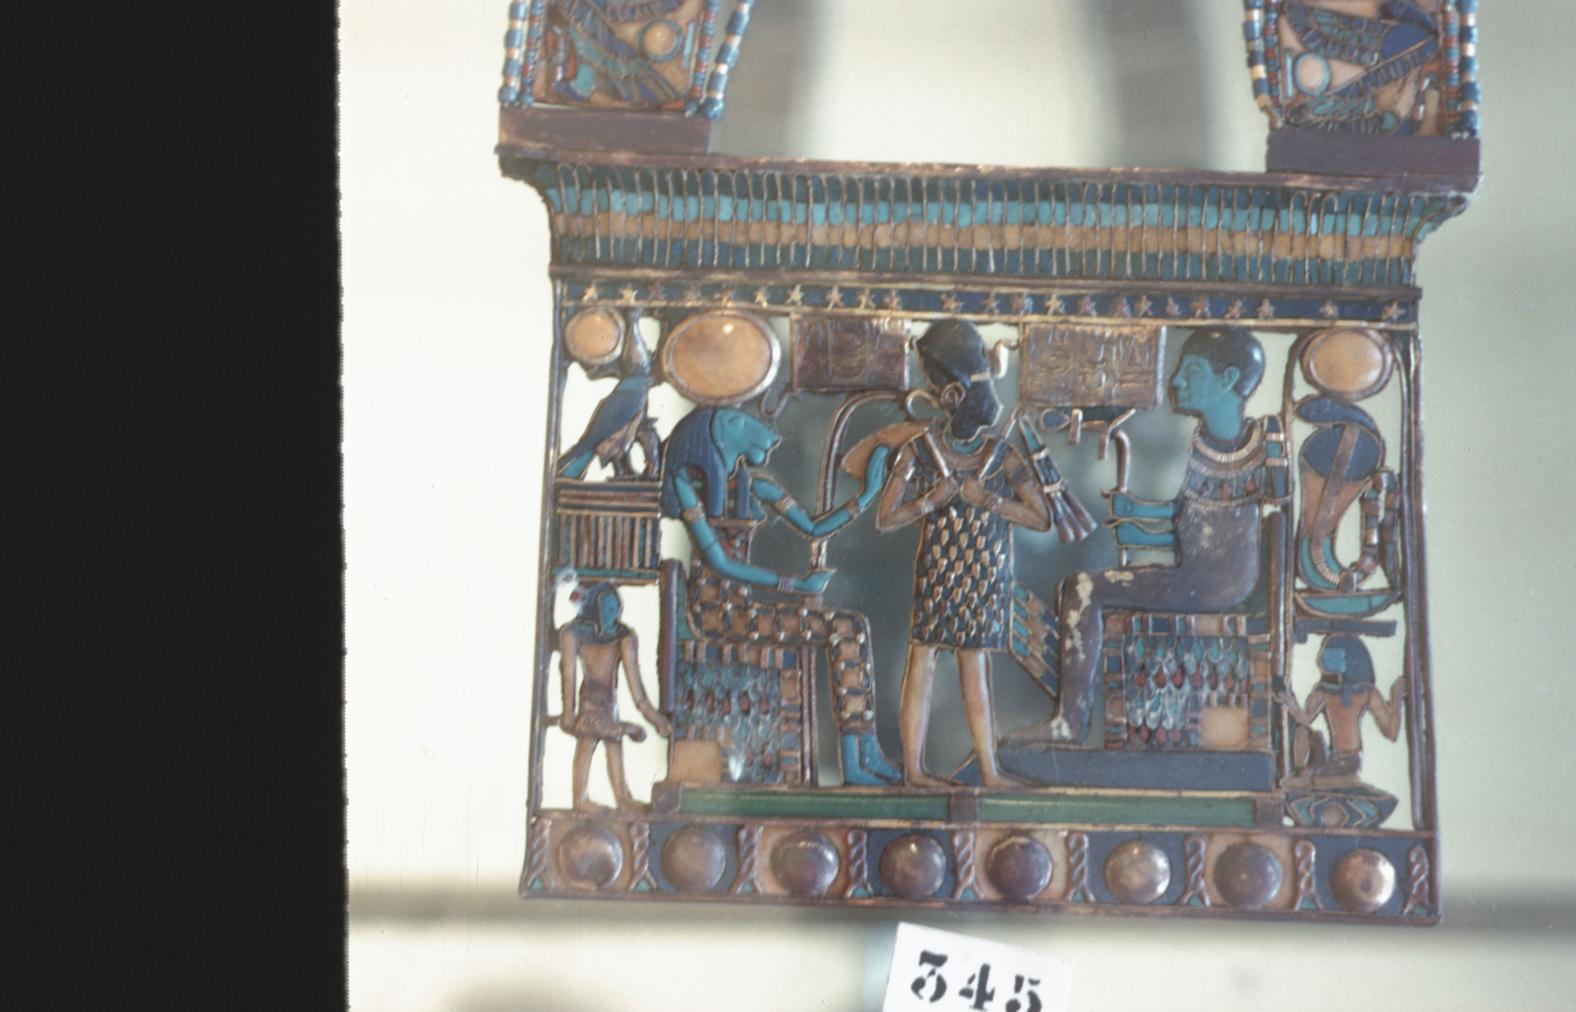
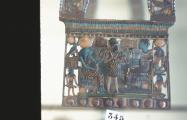
Pectoral with the king between the gods Ptah and Sekhmet (Cairo Museum). Courtesy of Uni Dia Verlag; Uni Dia Image Nr. 35513.
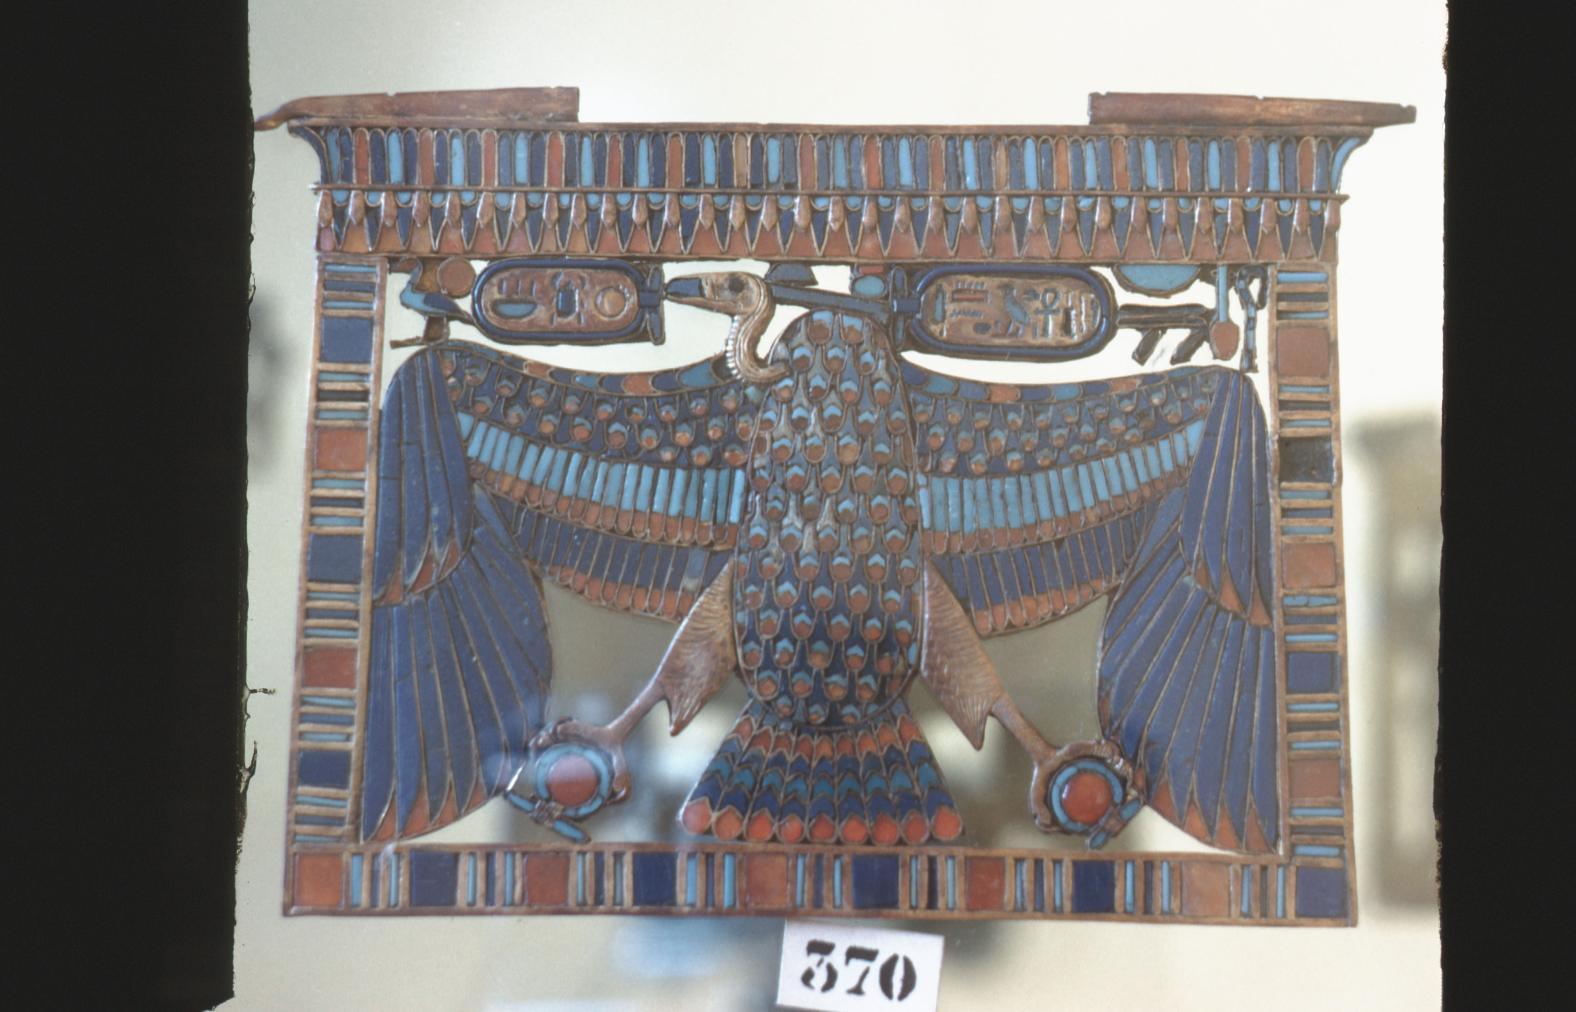
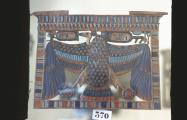
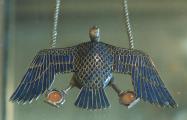
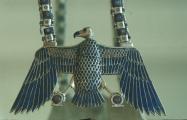
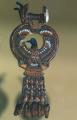
Pectoral of a vulture with spread wings and the cartouches of the king (Cairo Museum). Courtesy of Uni Dia Verlag; Uni Dia Image Nr. 35514.
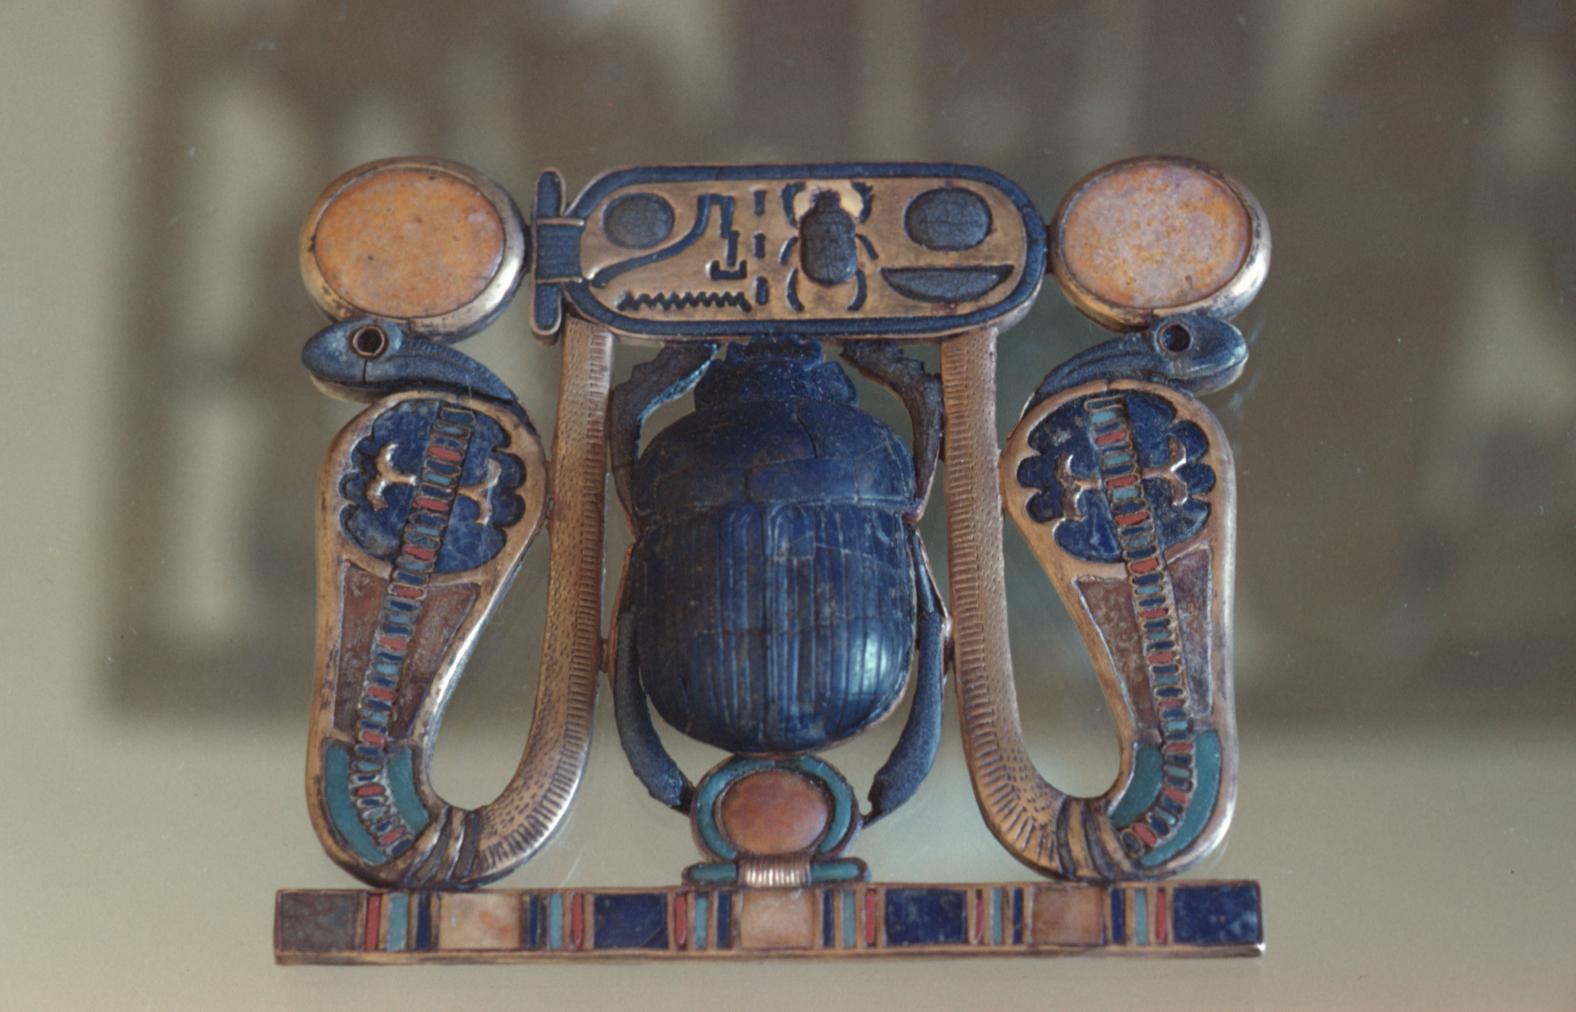
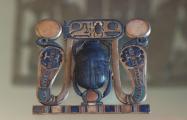
Scarab with the king's cartouches between uraei, gold and lapis lazuli (Cairo Museum). Courtesy of Uni Dia Verlag; Uni Dia Image Nr. 35515.
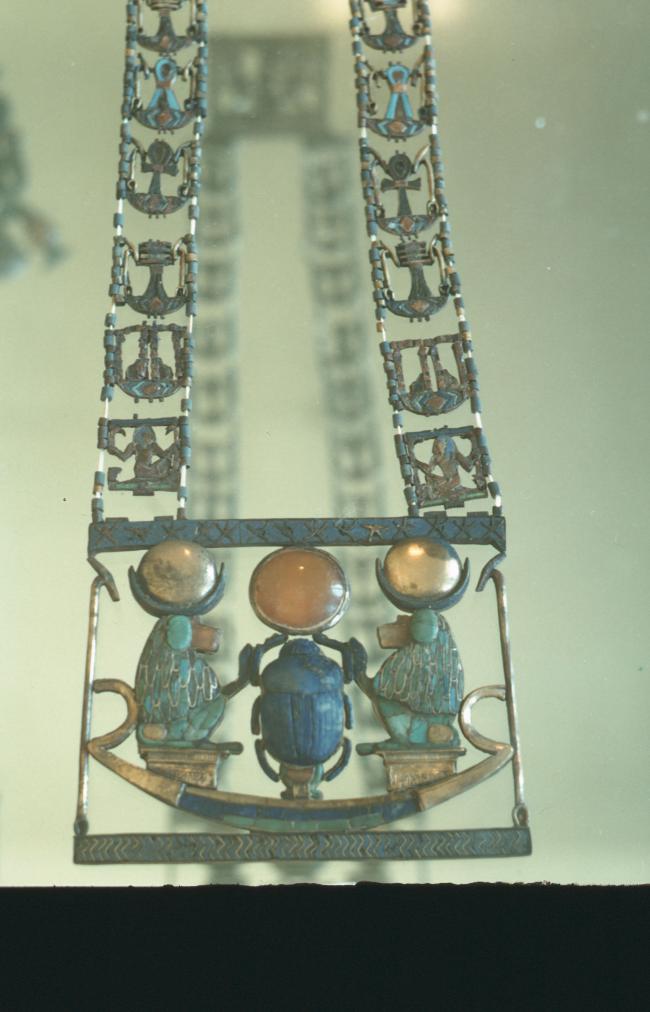
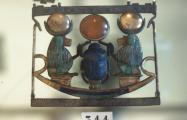
Pectoral with a scarab and sun disc between two baboons within a barque (Cairo Museum). Courtesy of Uni Dia Verlag; Uni Dia Image Nr. 35516.
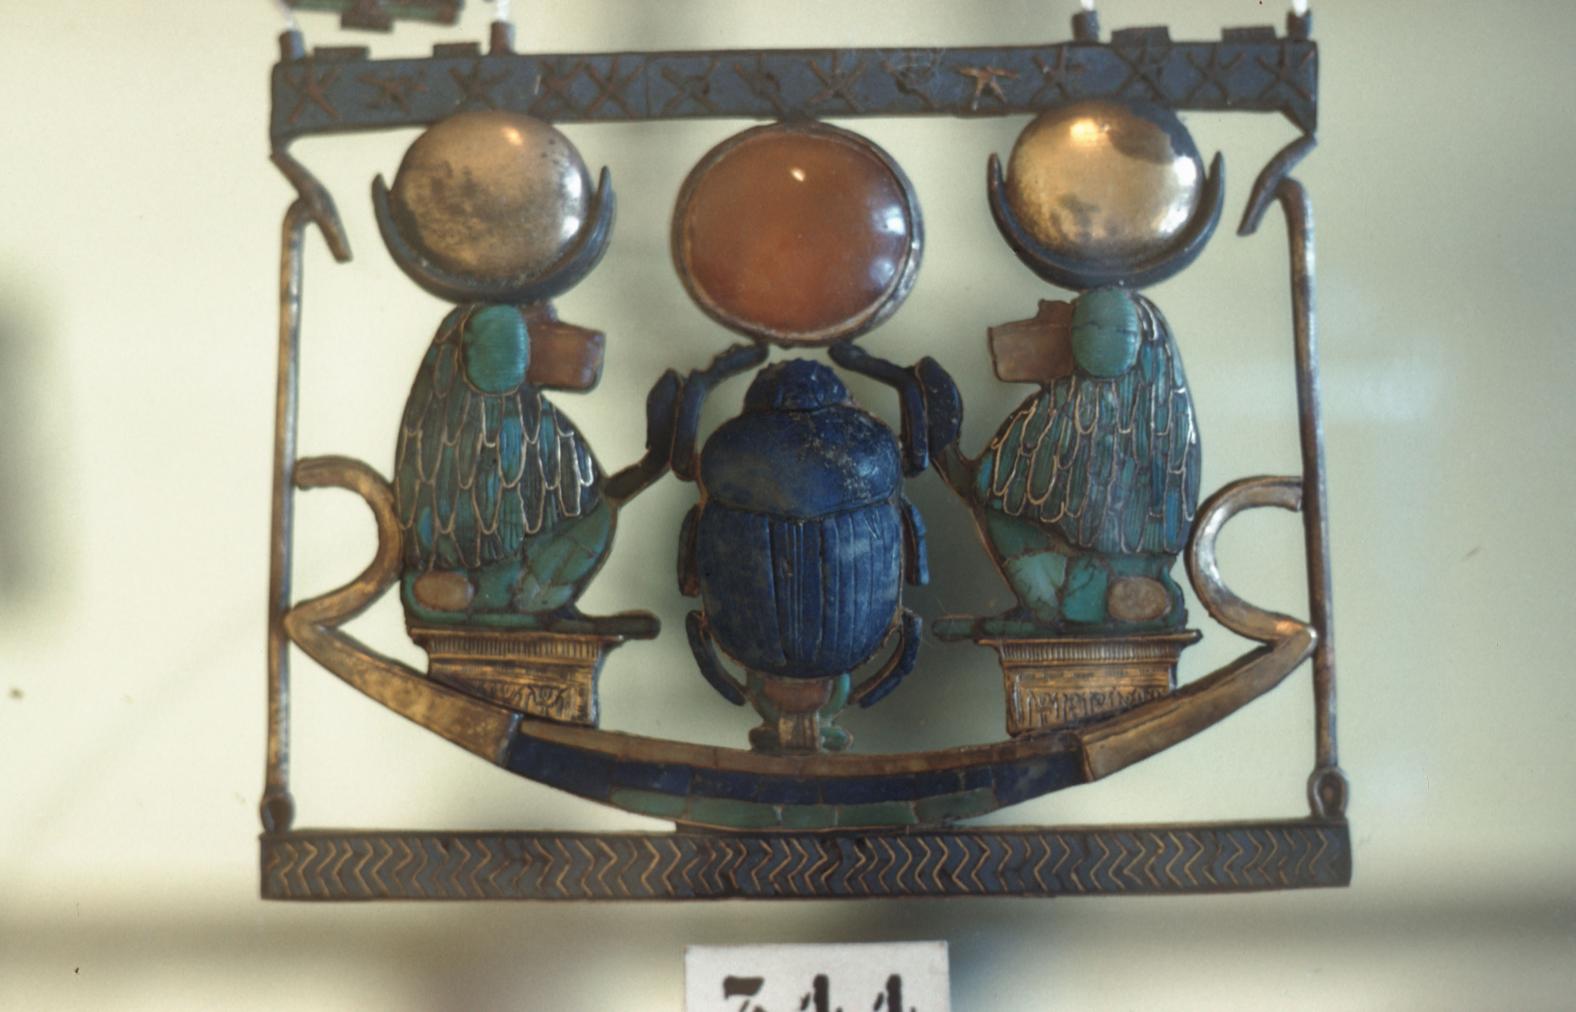
Pectoral with a scarab and sun disc between two baboons within a barque (Cairo Museum). Courtesy of Uni Dia Verlag; Uni Dia Image Nr. 35517.
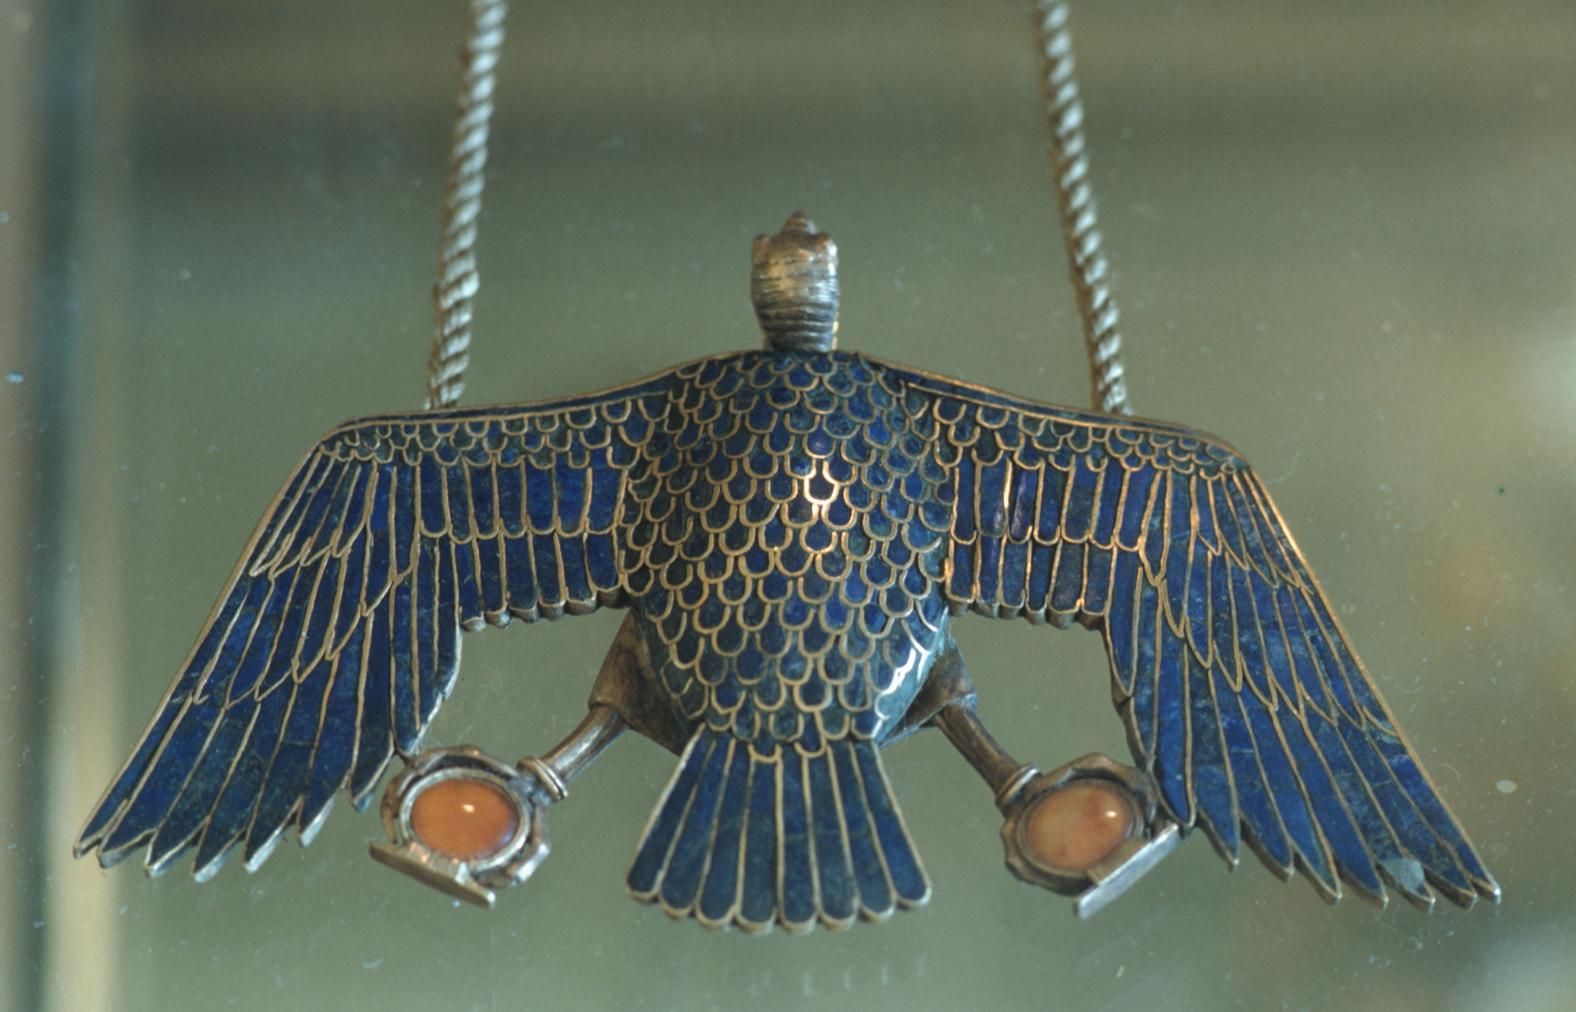
Pectoral of a vulture with spread wings, gold with lapis lazuli inlay (Cairo Museum). Courtesy of Uni Dia Verlag; Uni Dia Image Nr. 35519.
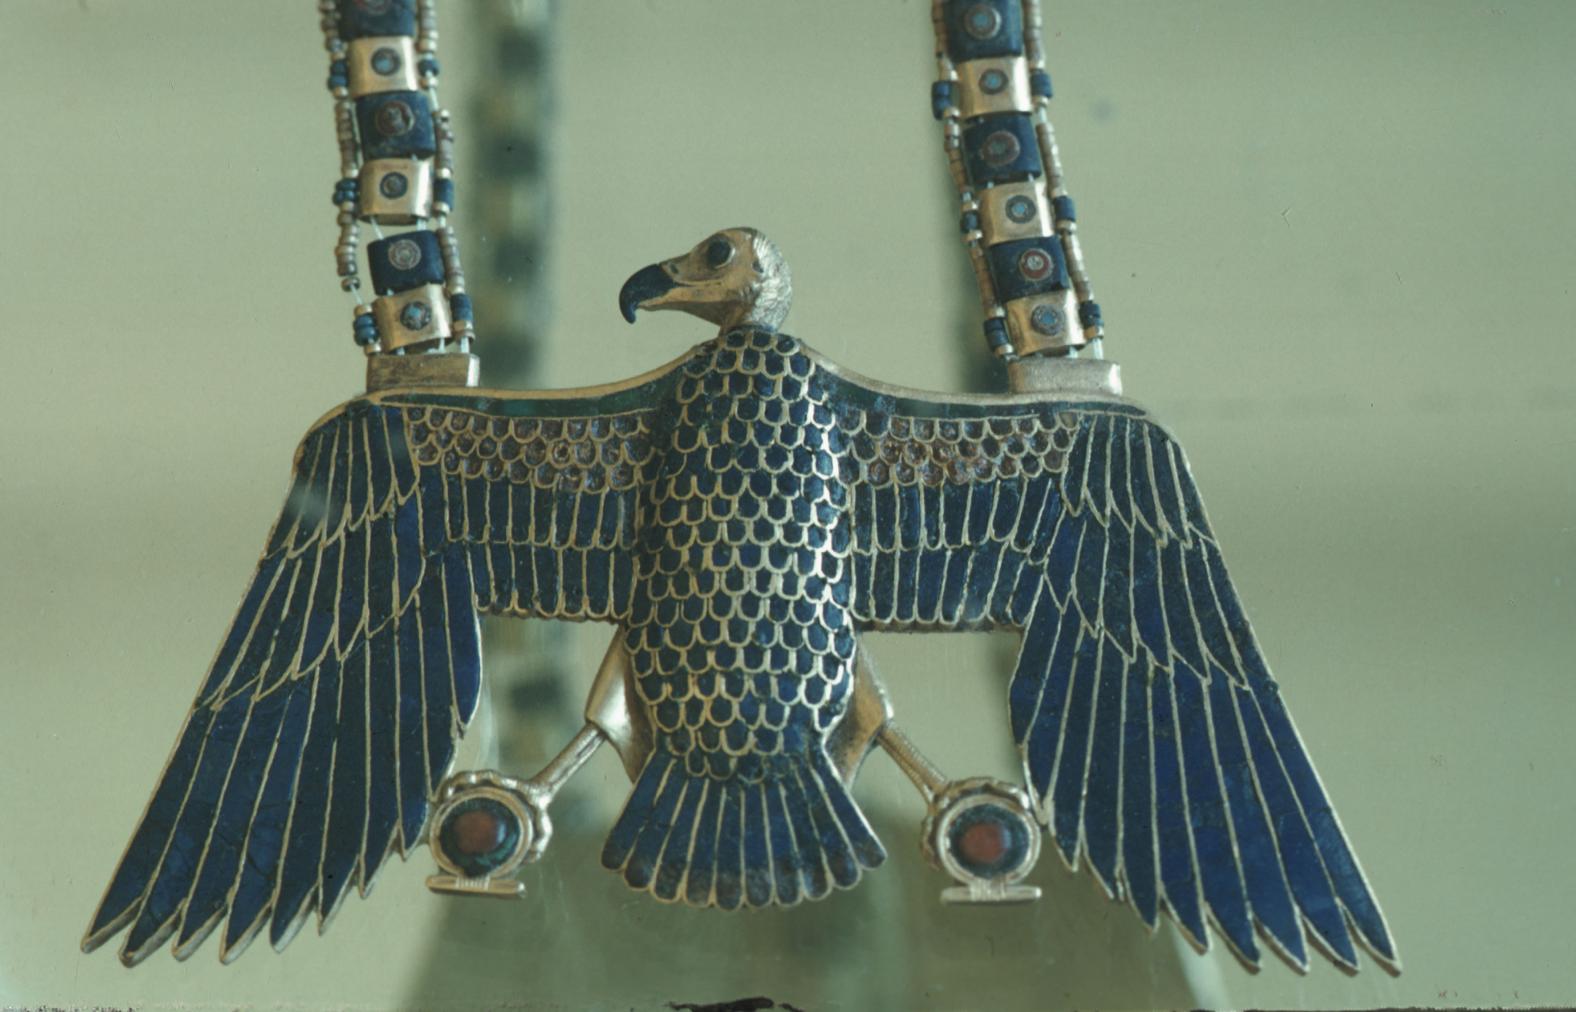
Pectoral of a vulture with spread wings, gold with a lapis lazuli inlay (Cairo Museum). Courtesy of Uni Dia Verlag; Uni Dia Image Nr. 35520.
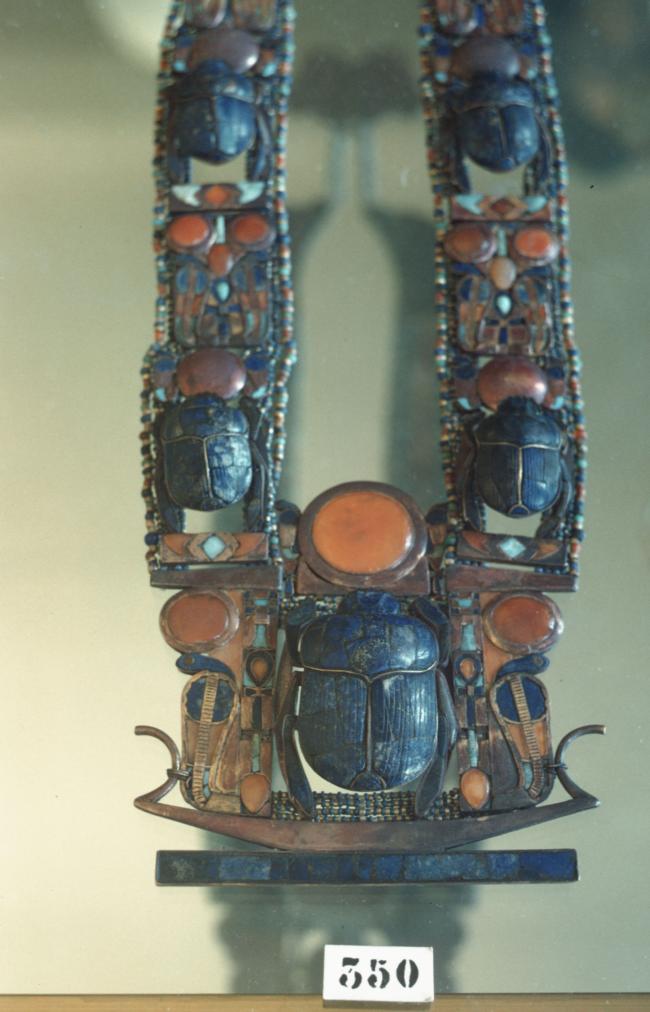
Pectoral with a central scarab and two uraei in a barque set on a chain of scarabs, uraei, and ankh, gold with lapis lazuli and carnelian (Cairo Museum). Courtesy of Uni Dia Verlag; Uni Dia Image Nr. 35521.
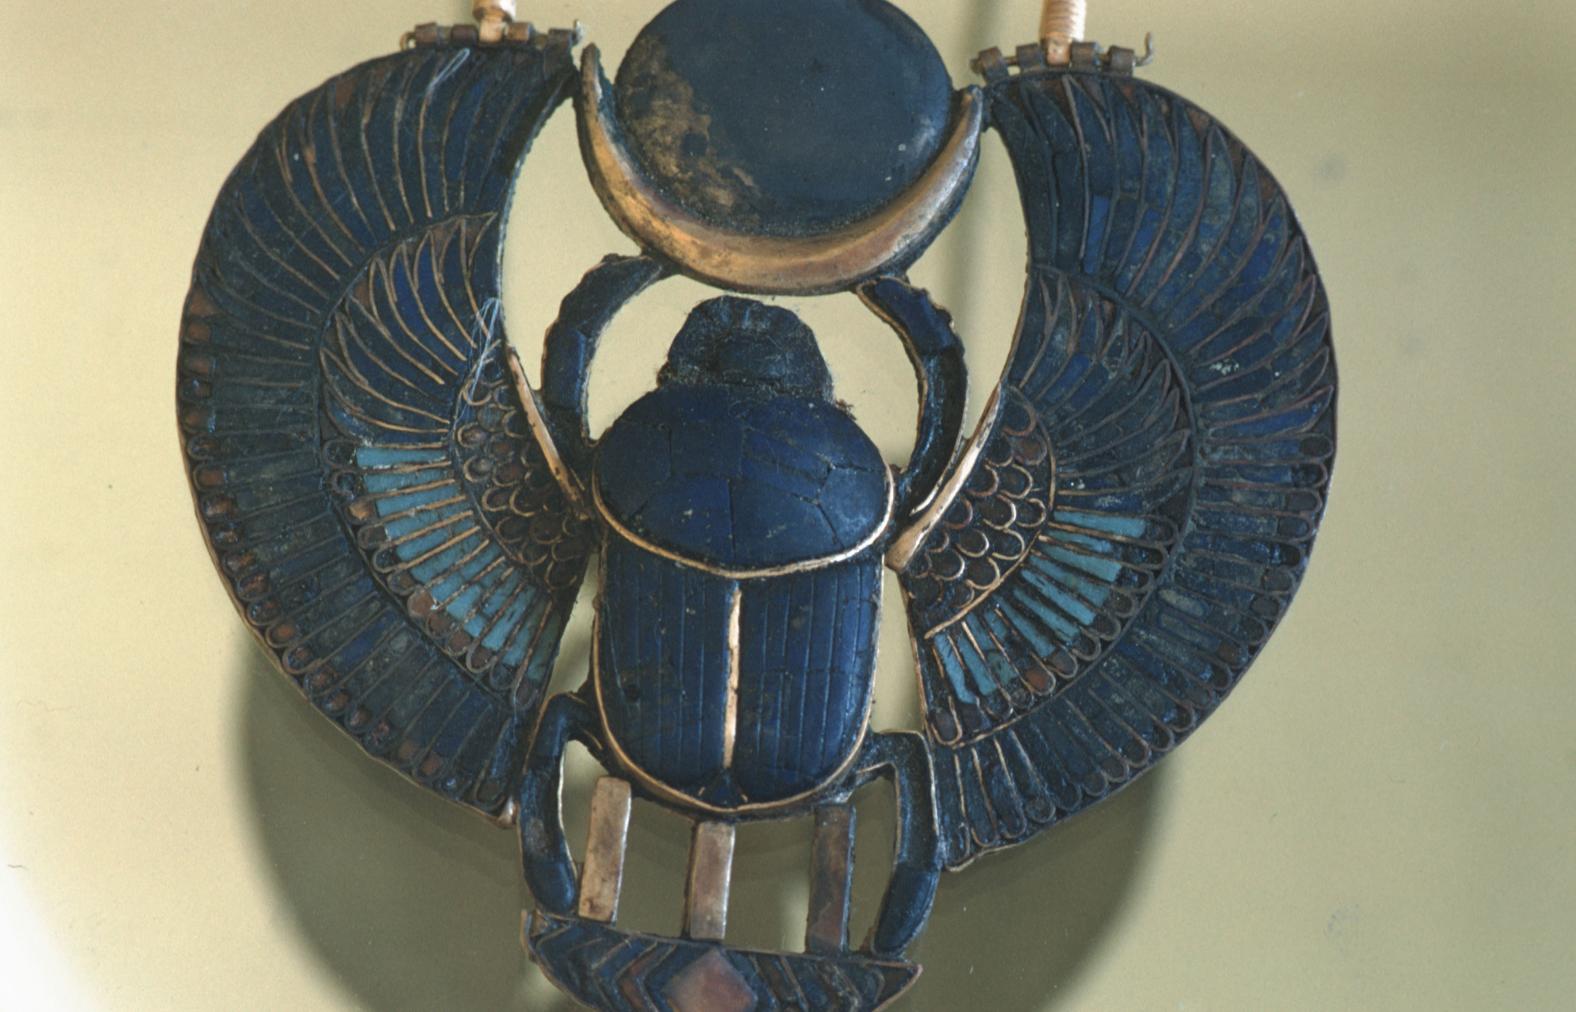
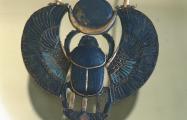
Pendant of a winged scarab with a rebus of the king's throne name Nebkheperura, gold with lapis lazuli (Cairo Museum). Courtesy of Uni Dia Verlag; Uni Dia Image Nr. 35522.
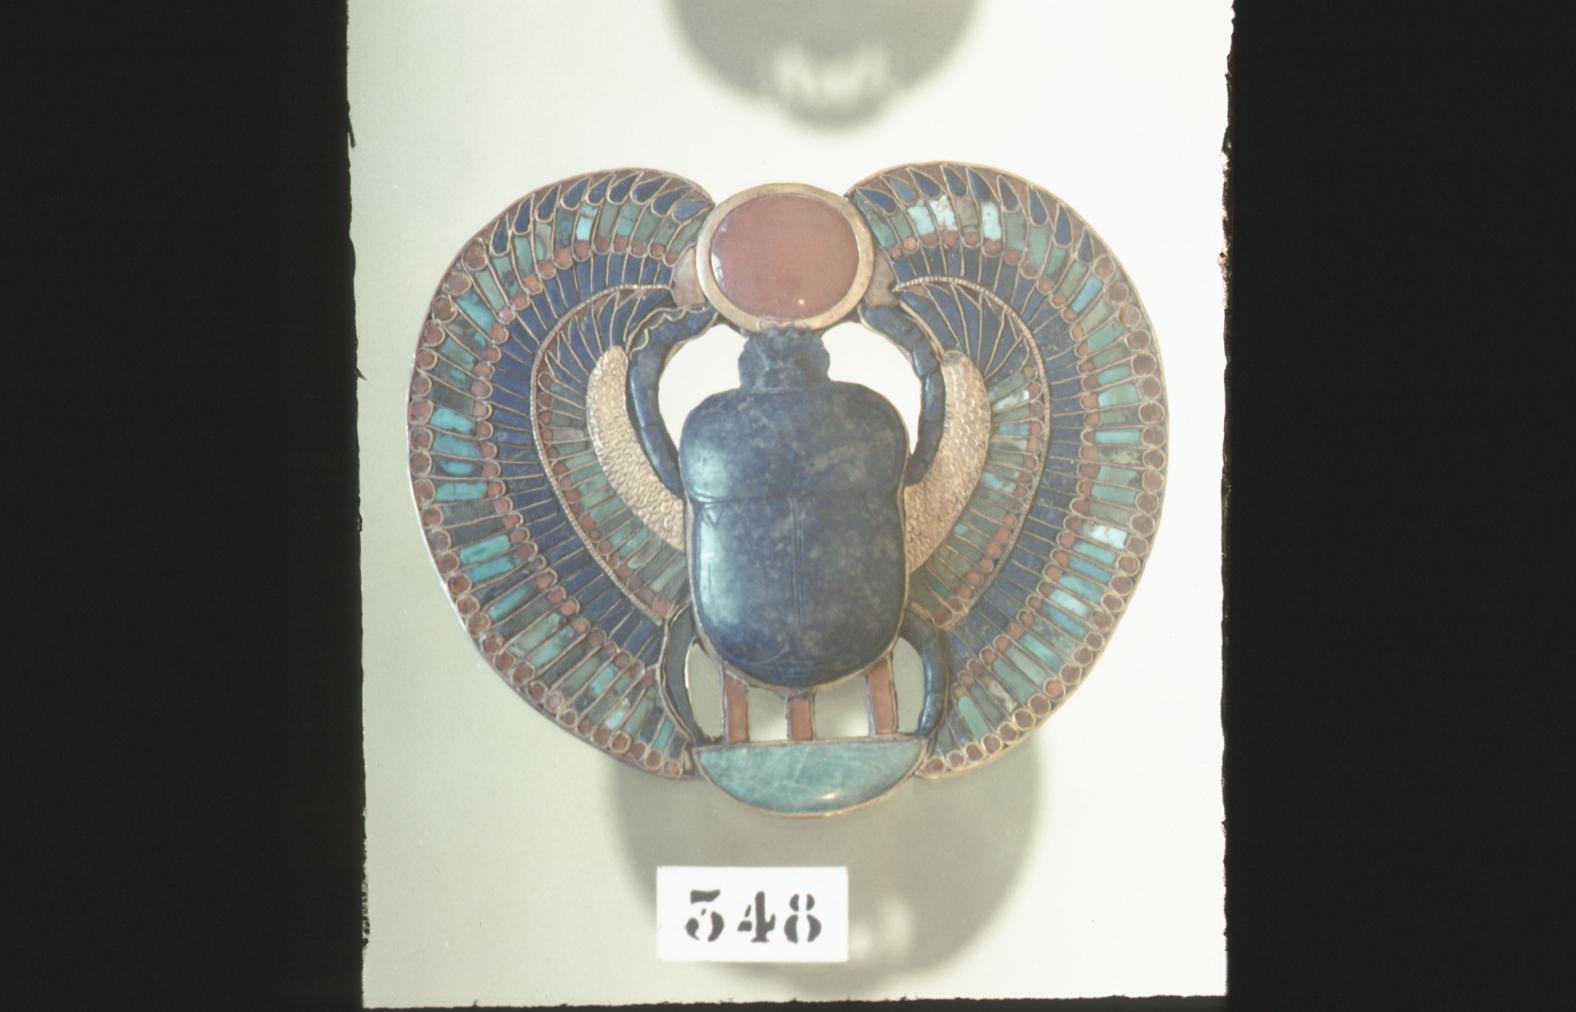
Pendant with winged scarab with sun disc, gold, lapis lazuli, and carnelian (Cairo Museum). Courtesy of Uni Dia Verlag; Uni Dia Image Nr. 35523.
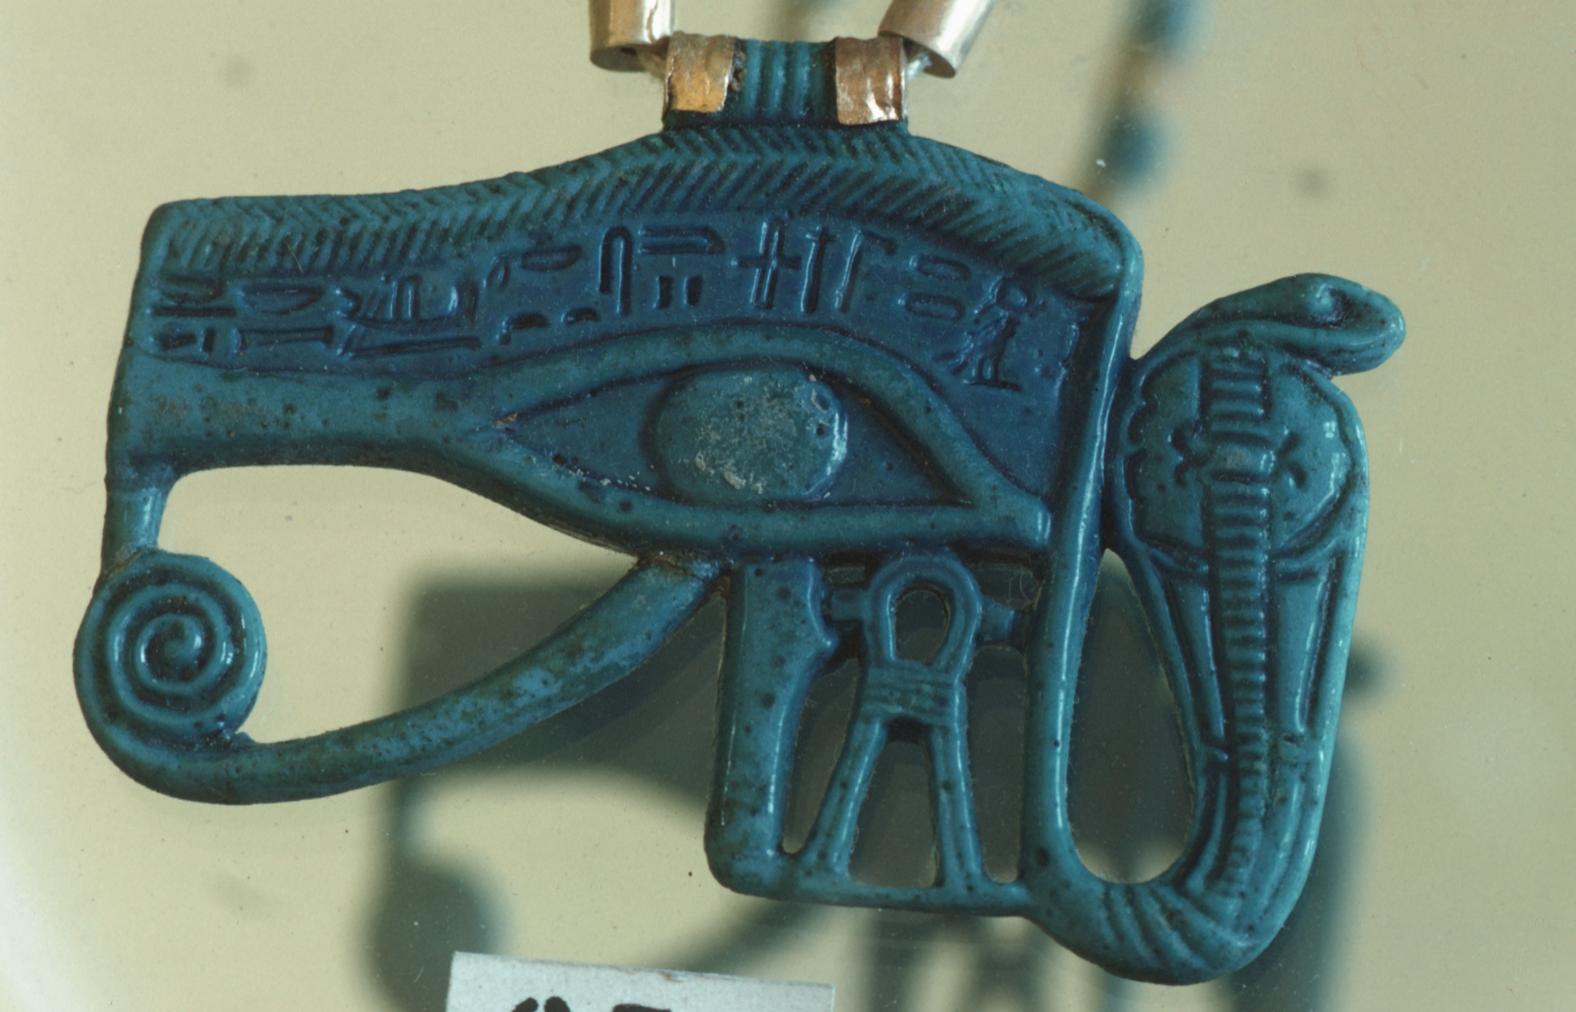
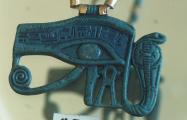
Pendant of a wadjet-eye on chain, gold and blue and white faience (Cairo Museum). Courtesy of Uni Dia Verlag; Uni Dia Image Nr. 35524.
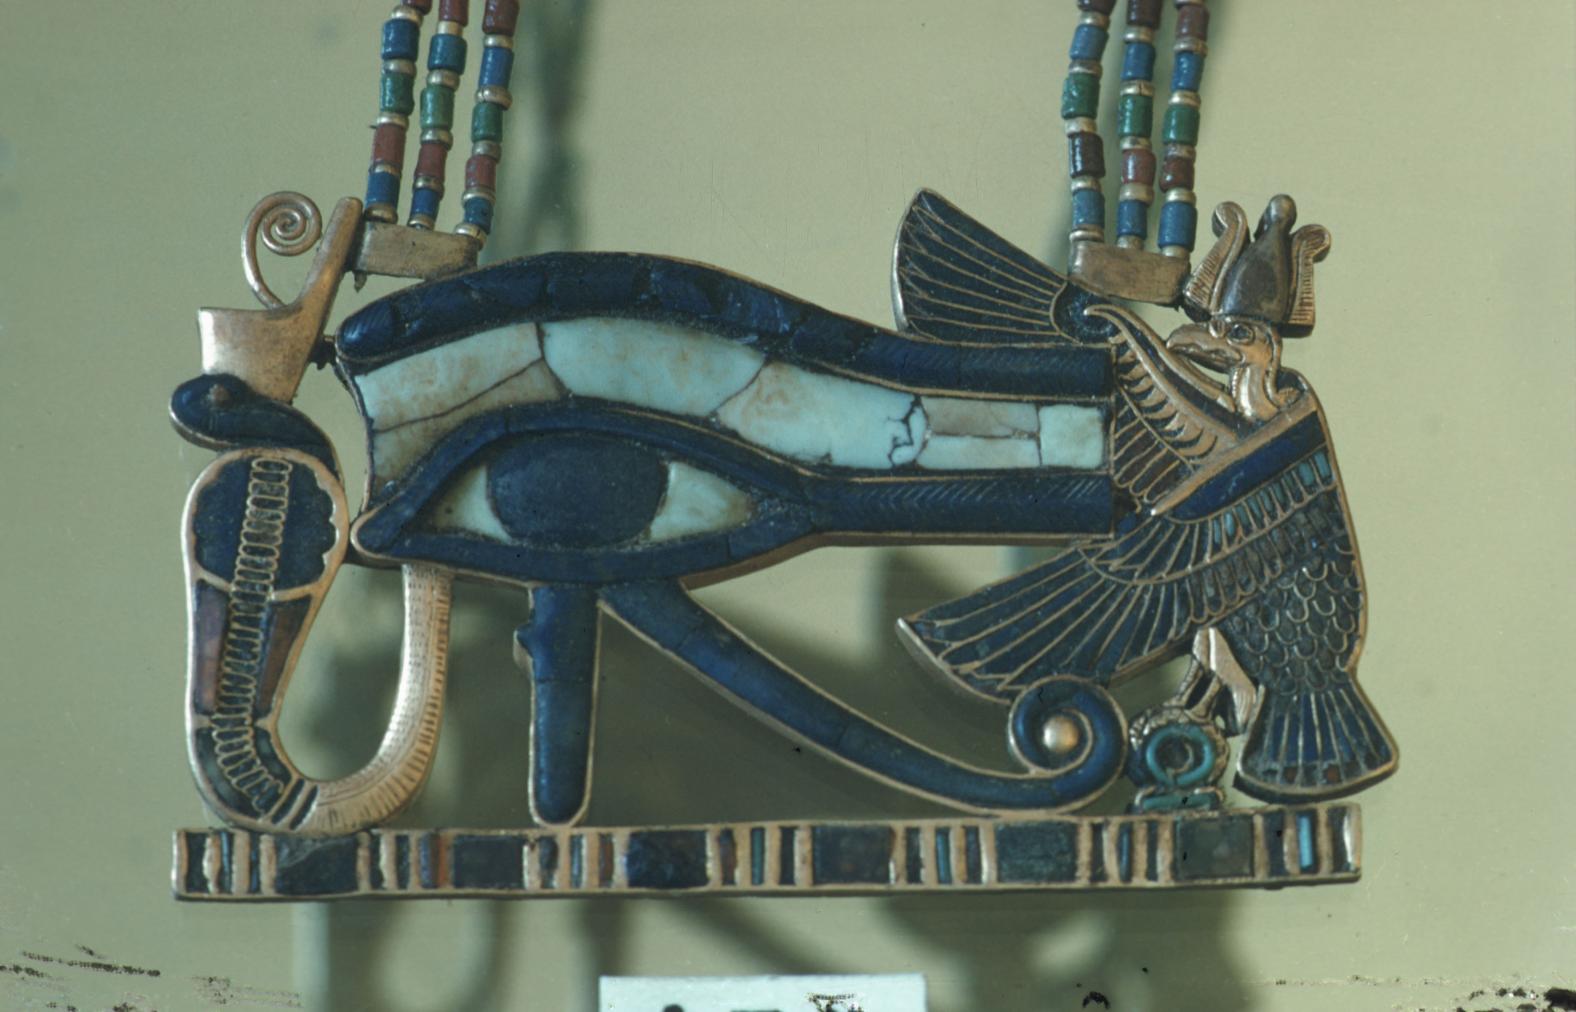
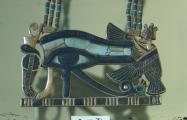
Pendant with wadjet-eye between an uraeus and vulture on a chain, gold, lapis lazuli, carnelian, and faience (Cairo Museum). Courtesy of Uni Dia Verlag; Uni Dia Image Nr. 35525.
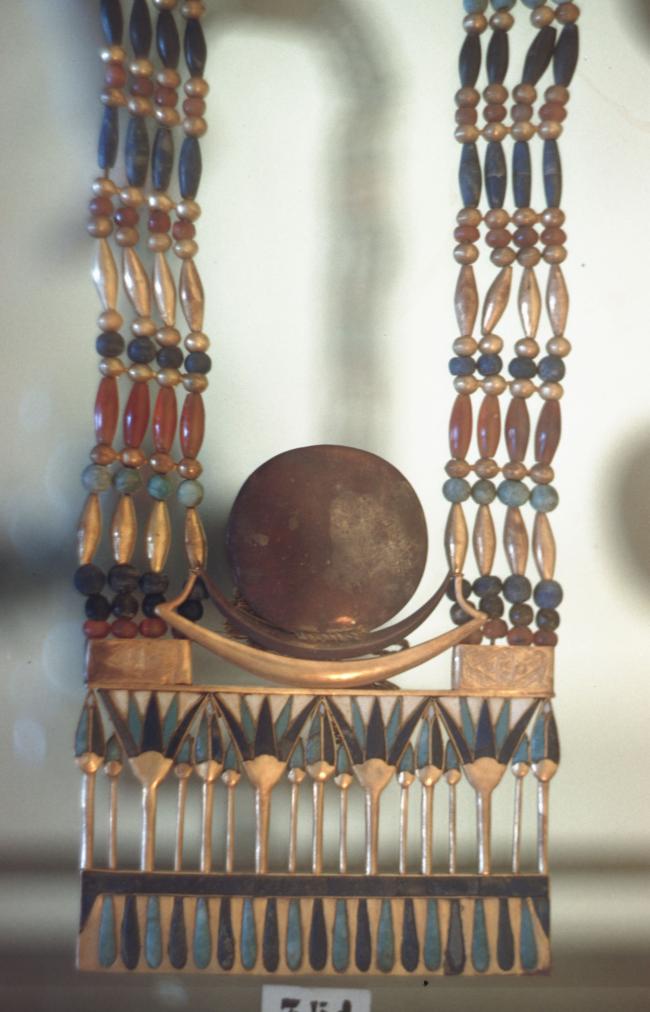
Pectoral on a chain with a crescent moon and sun disc barque floating on lotus flowers, gold with semi-precious stones (Cairo Museum). Courtesy of Uni Dia Verlag; Uni Dia Image Nr. 35526.
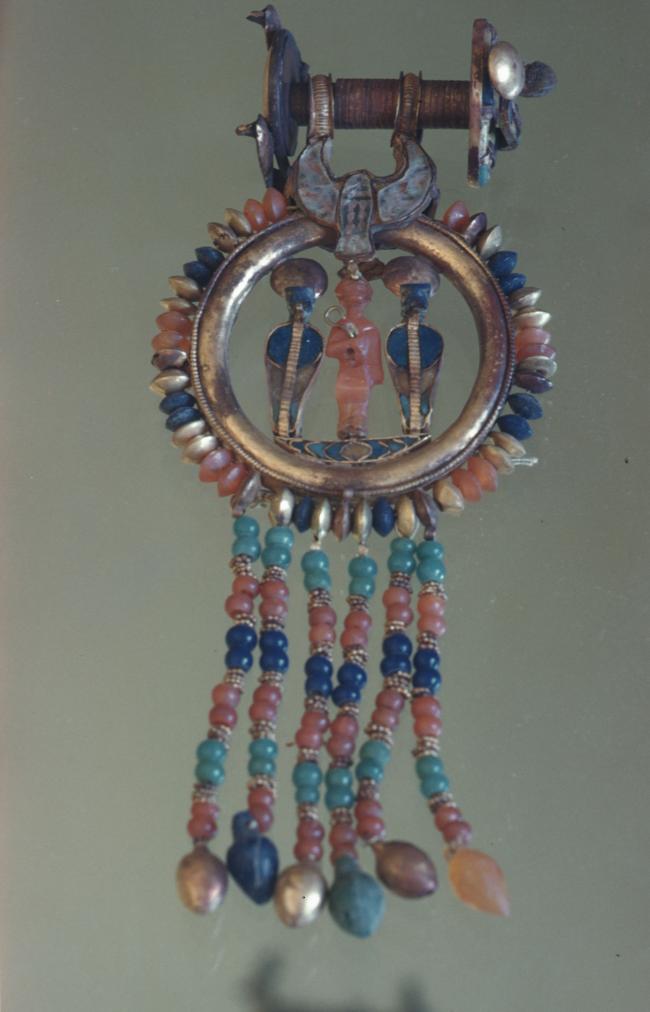
Earring with uraei and a tiny carnelian statuette of the king in a ring, gold, carnelian, and glass beads (Cairo Museum). Courtesy of Uni Dia Verlag; Uni Dia Image Nr. 35527.
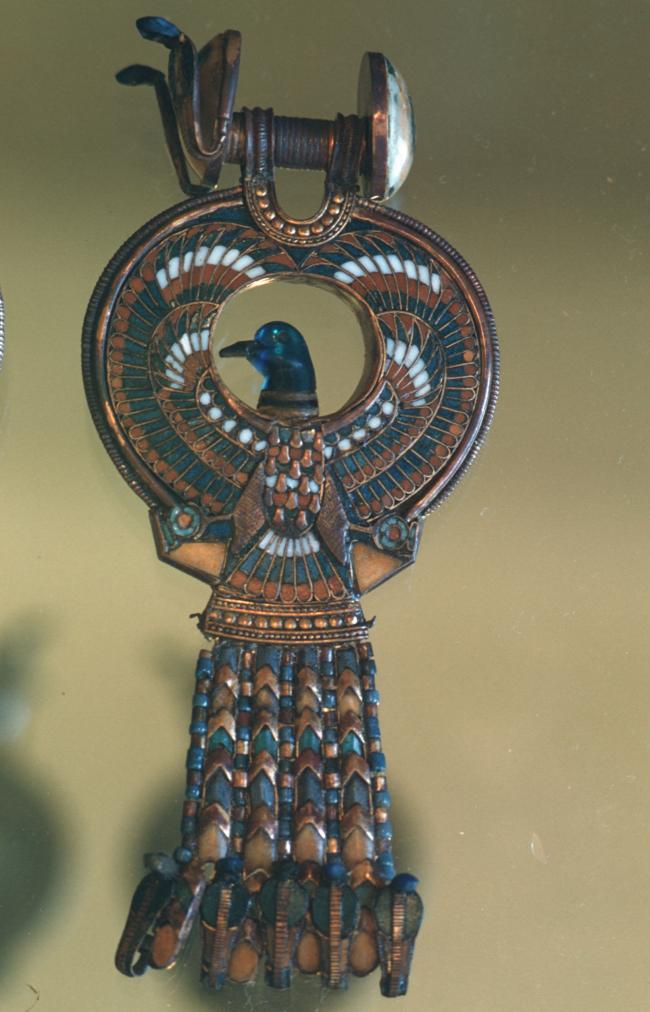
Earring with a wesekh-collar in the form of a winged turtle dove, gold, carnelian, semi-precious, and glass inlay (Cairo Museum). Courtesy of Uni Dia Verlag; Uni Dia Image Nr. 35528.
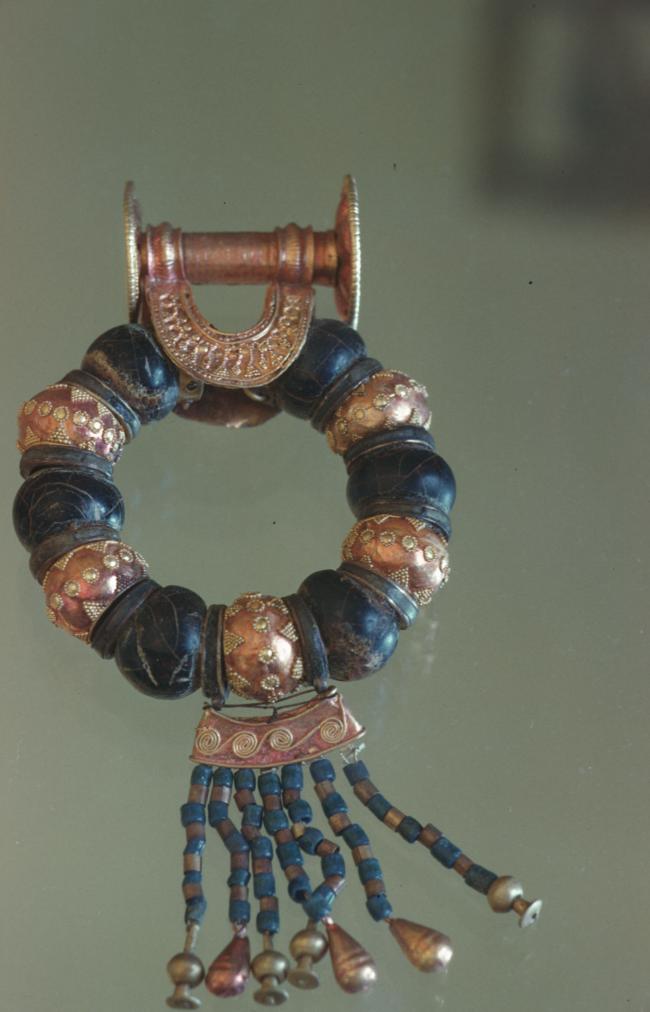
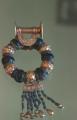
Earring with thick gold rings and resin balls with filigrées (Cairo Museum). Courtesy of Uni Dia Verlag; Uni Dia Image Nr. 35529.
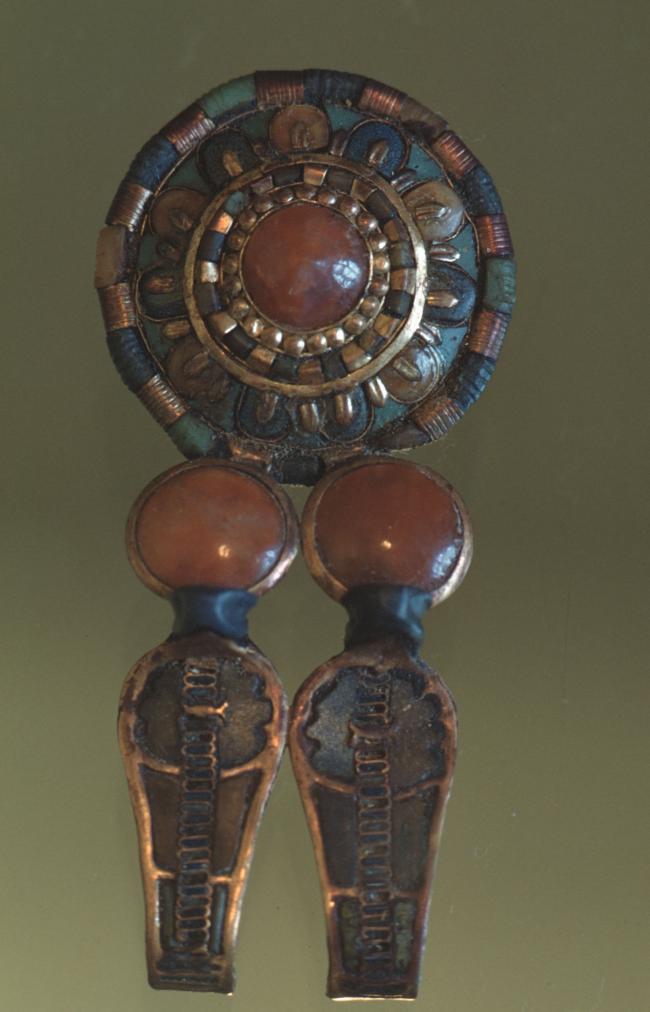
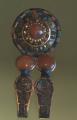
Earring with two uraei below a larger, inlaid sun disc, gold, lapus lazuli, semi-precious stones (Cairo Museum). Courtesy of Uni Dia Verlag; Uni Dia Image Nr. 35530.
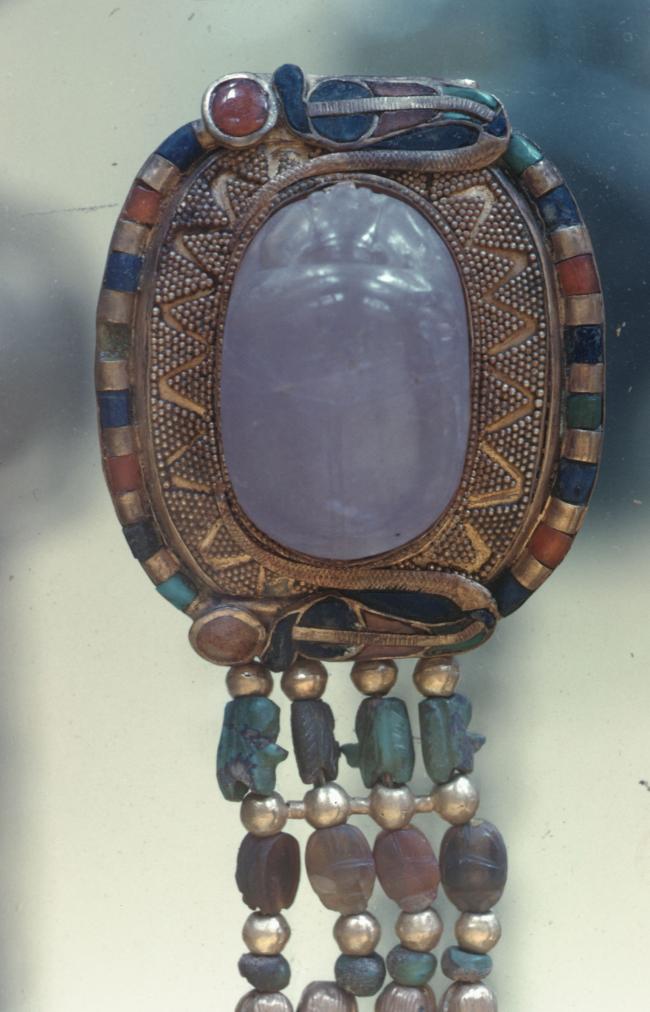
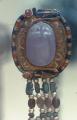
Pendant with an amethyst scarab surrounded by inlaid uraei and gold filigrées on a chain with additional amulettes (Cairo Museum). Courtesy of Uni Dia Verlag; Uni Dia Image Nr. 35531.
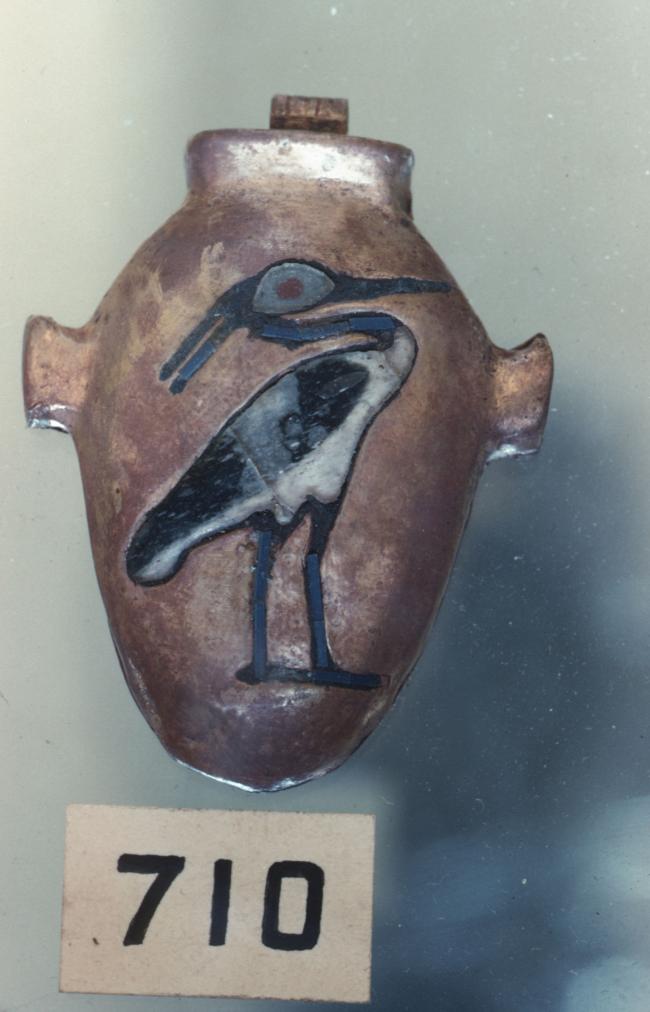
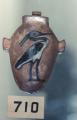
Heart-shaped amulet with an inlaid benu-bird (Cairo Museum). Courtesy of Uni Dia Verlag; Uni Dia Image Nr. 35533.
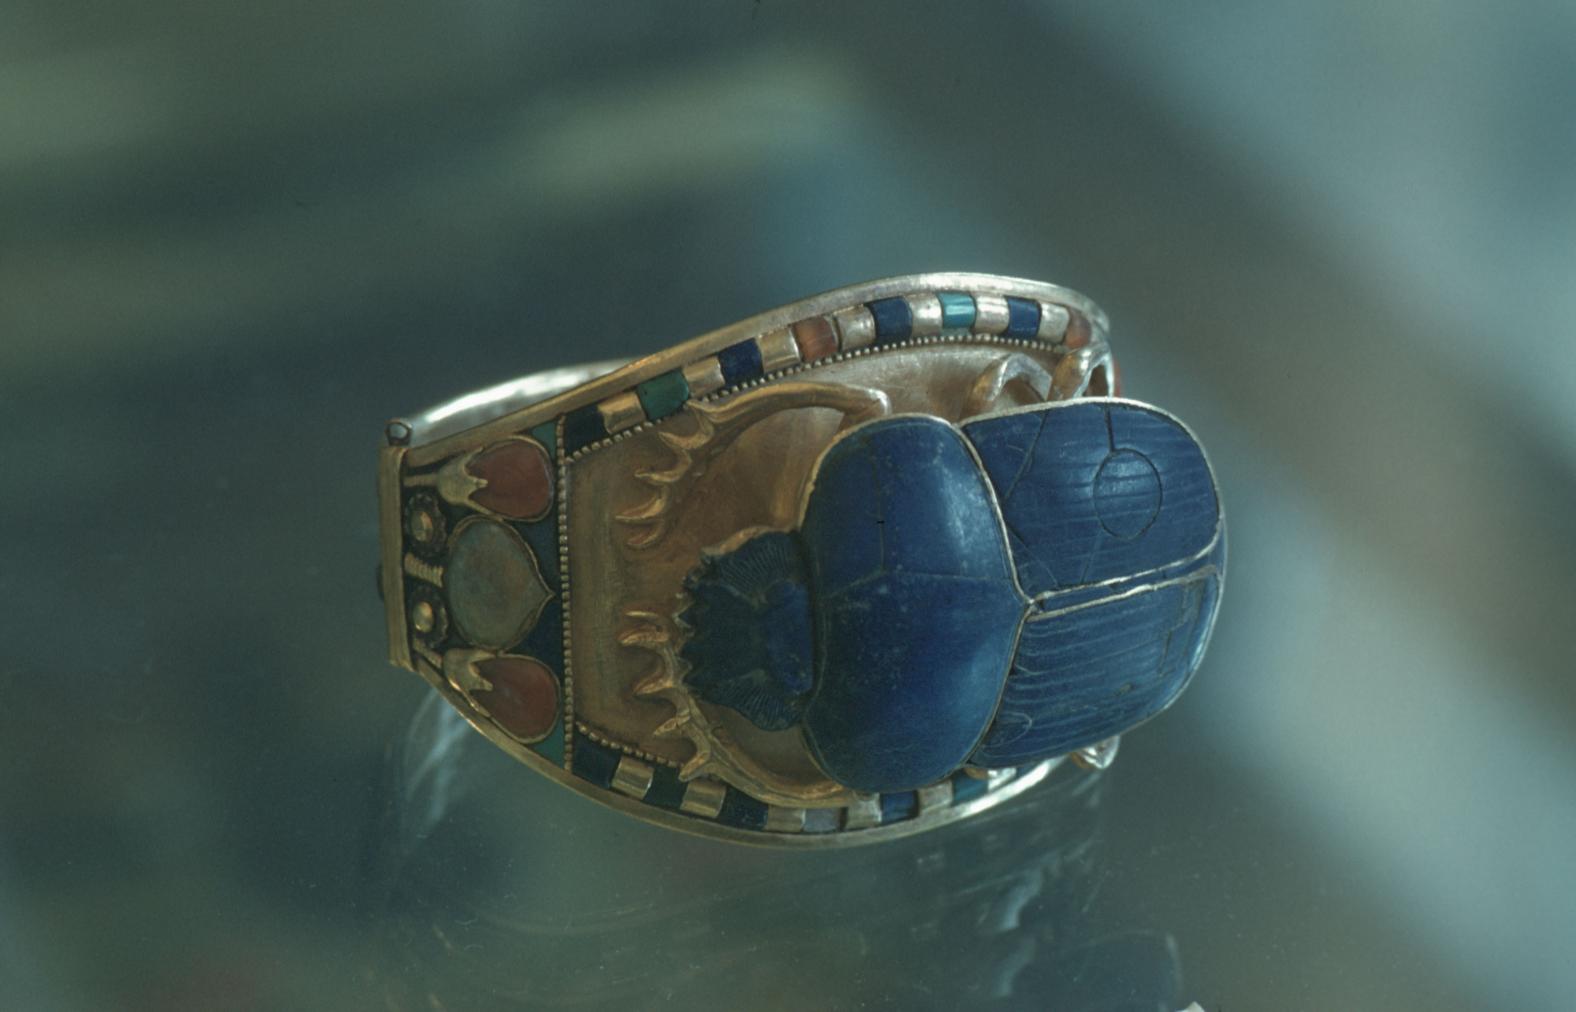
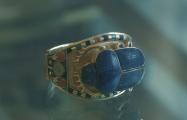
Ring with scarab and floral motifs, gold, lapis lazuli, carnelian, and faience inlay (Cairo Museum). Courtesy of Uni Dia Verlag; Uni Dia Image Nr. 35534.
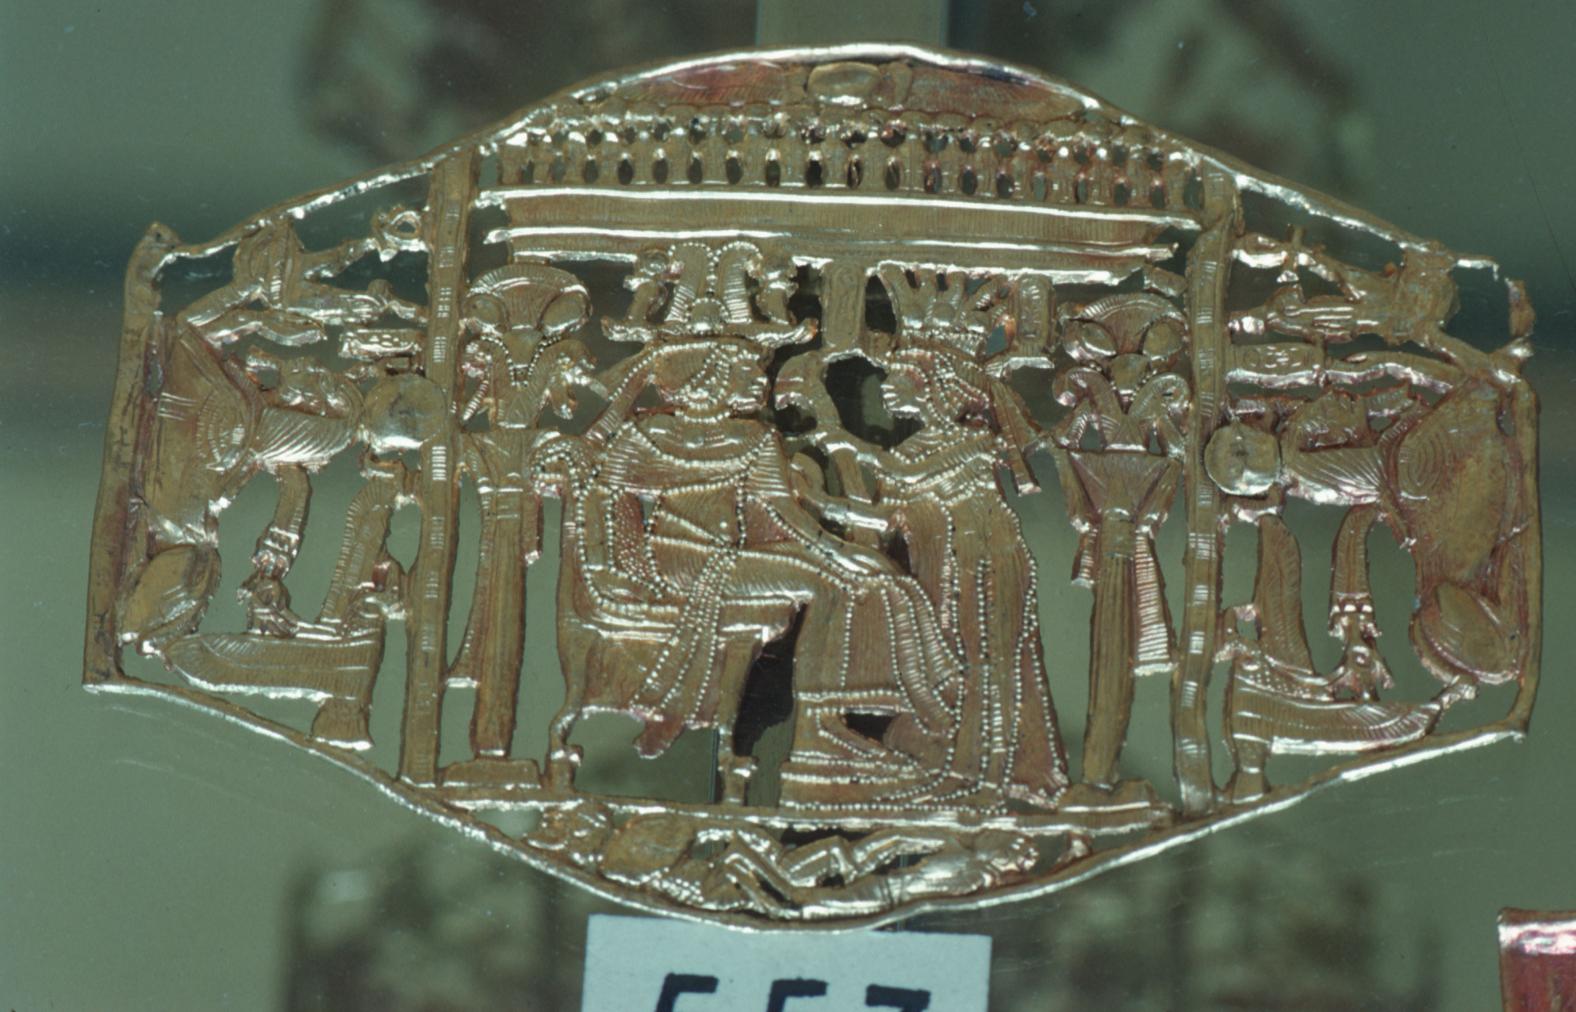
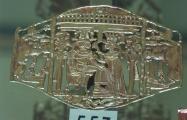
Motif of the king and a great wife (queen) in a pavilion surrounded by a winged sun disc, uraei, vultures, floral arrangments, sphinxes, and slaughtered enemies (Cairo Museum), possibly inlay from a chariot (?), gold (Cairo Museum). Courtesy of Uni Dia Verlag; Uni Dia Image Nr. 35535.
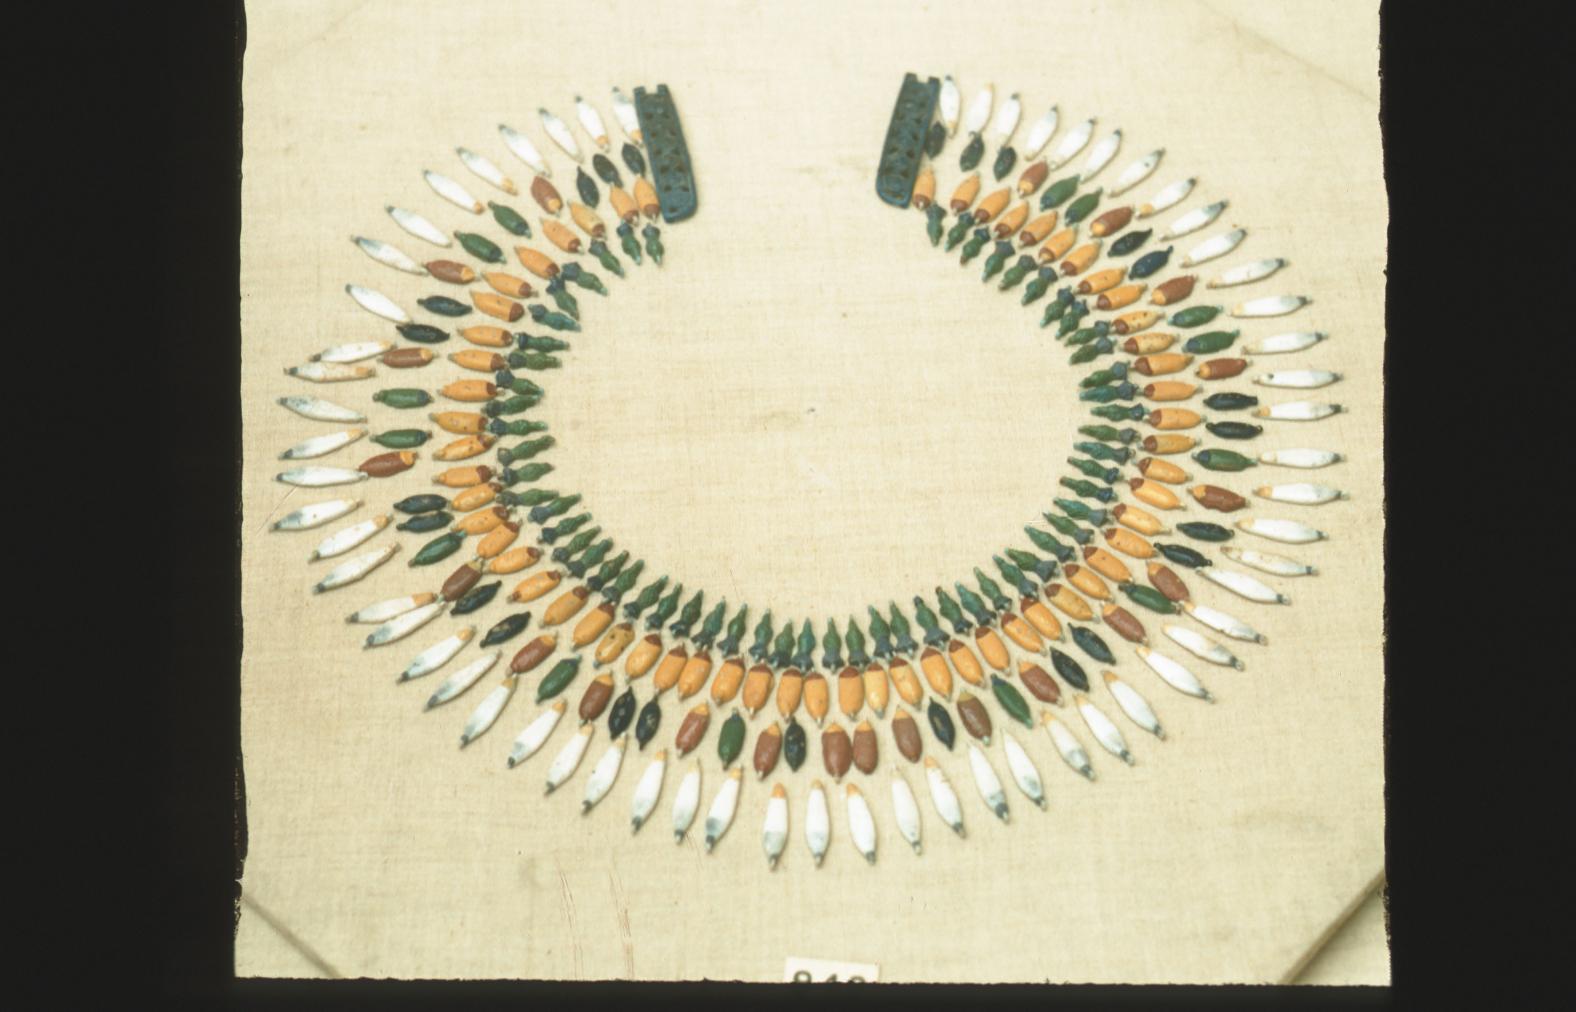
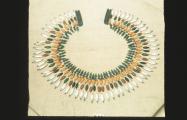
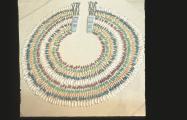
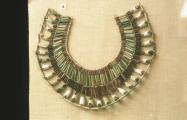
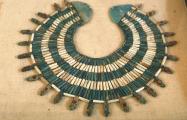
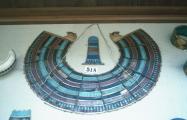
Wesekh-collar made from faience in the form of cornflowers, blue and white lotus, and other types of flower petals (Cairo Museum). Courtesy of Uni Dia Verlag; Uni Dia Image Nr. 35536.
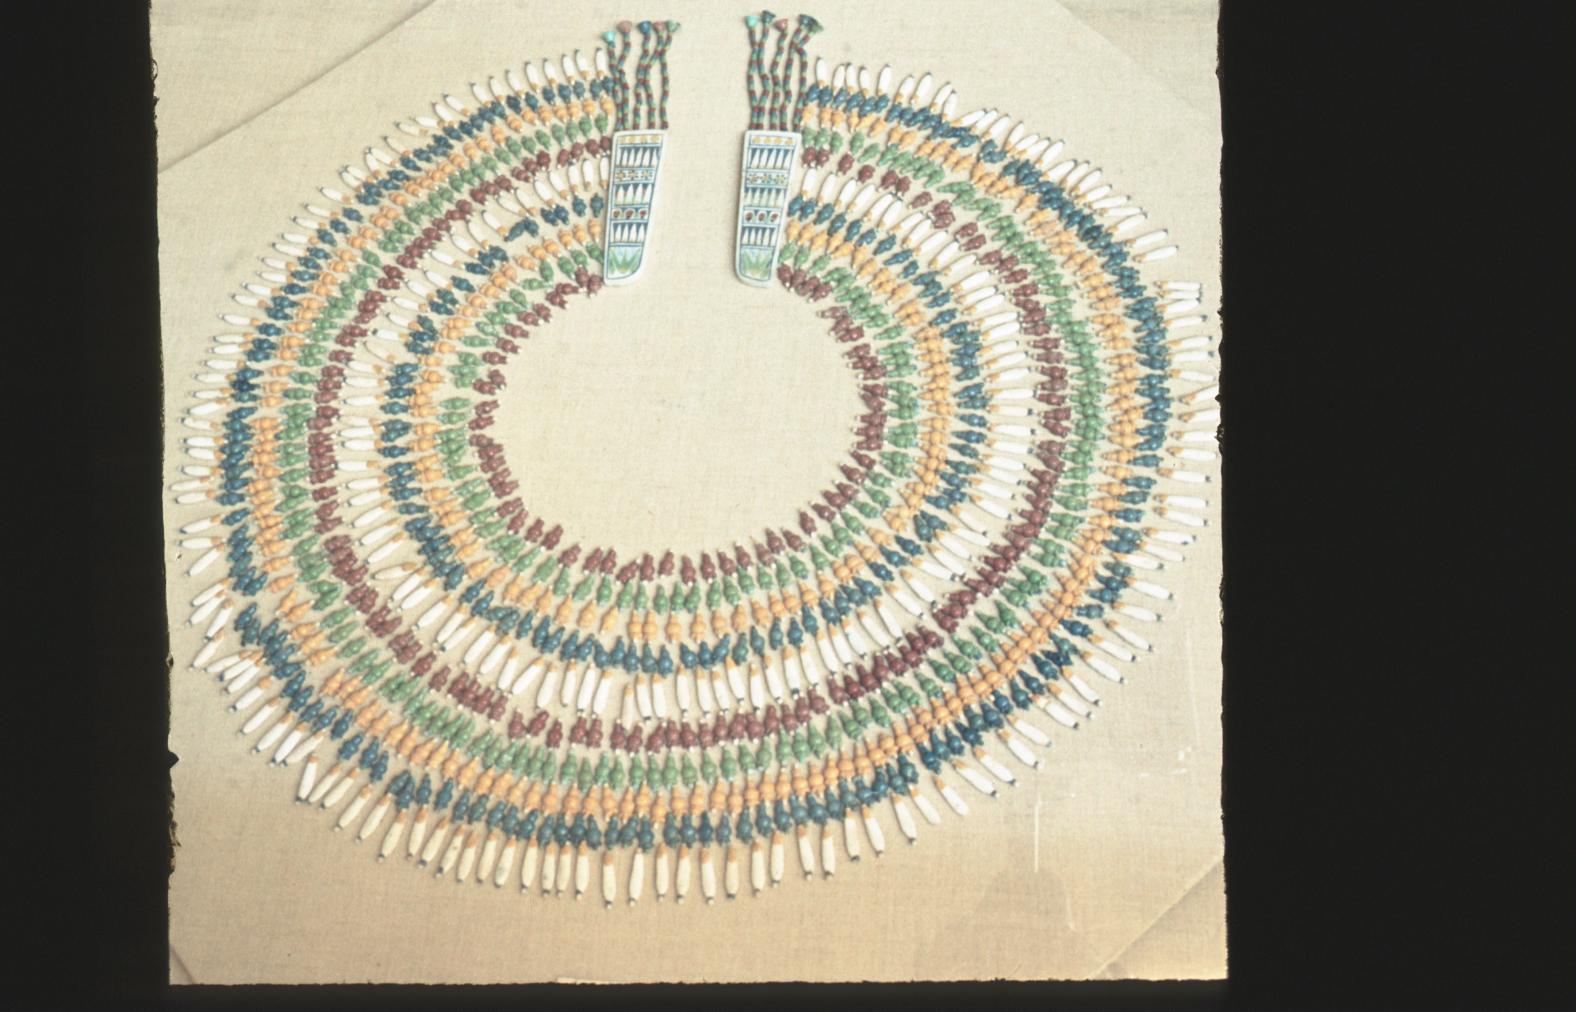
Wesekh-collar made from faience in the form of different types of flower petals, such as cornflower and blue and white lotus (Cairo Museum). Courtesy of Uni Dia Verlag; Uni Dia Image Nr. 35537.
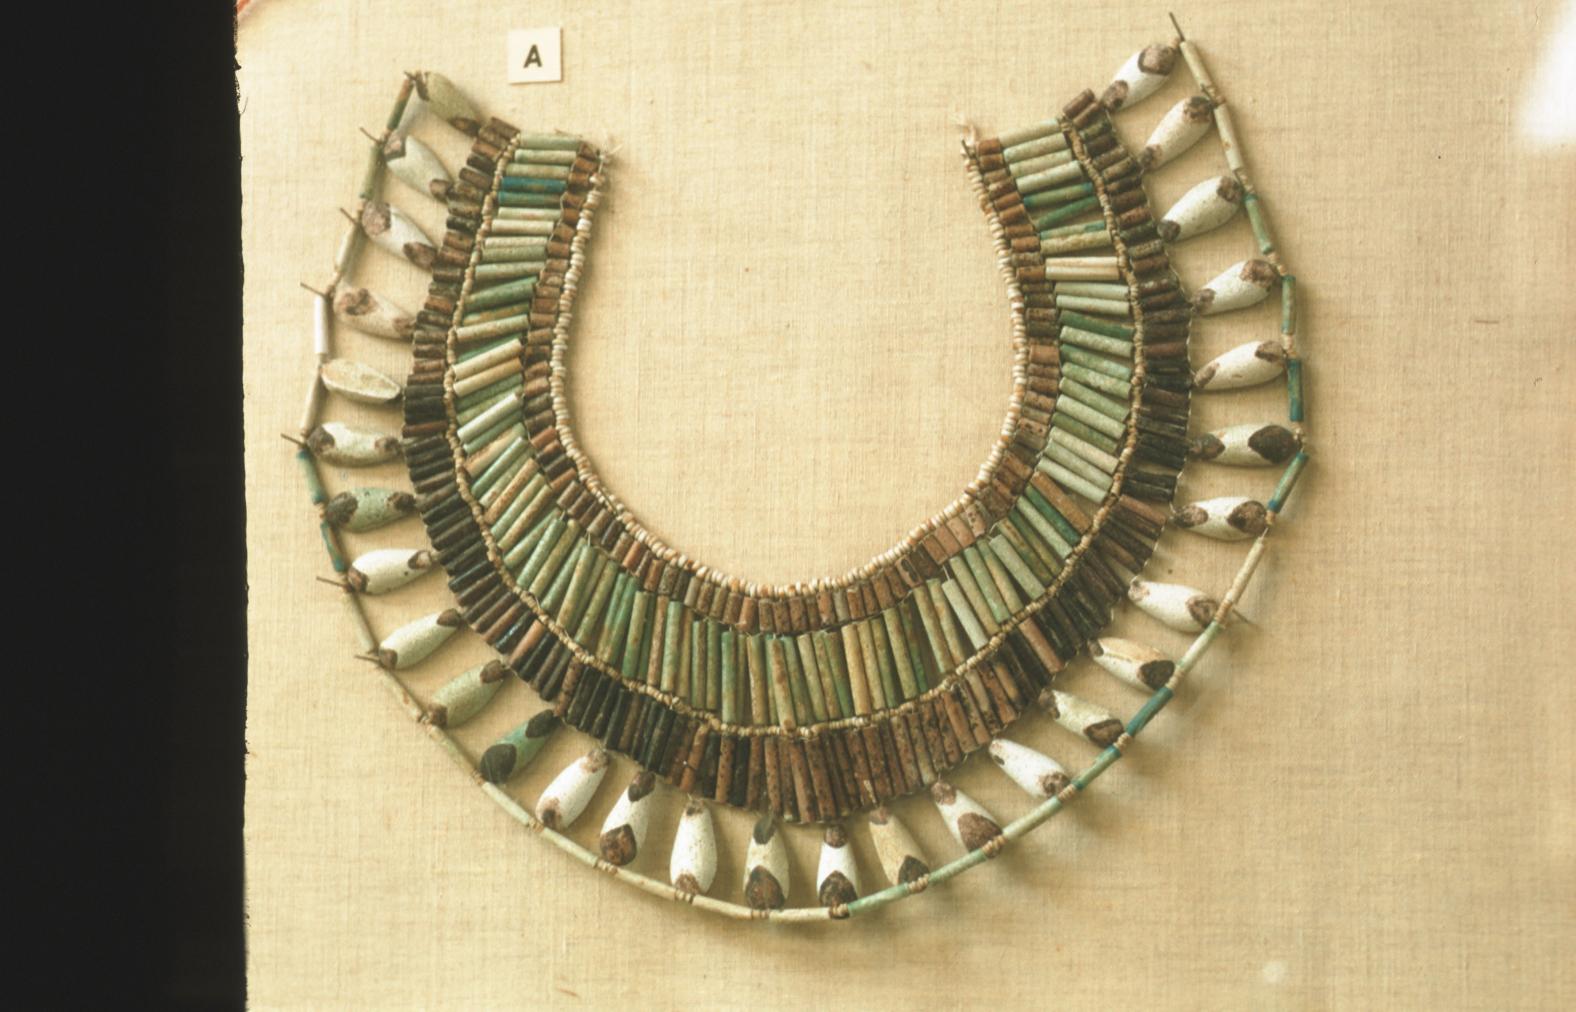
Wesekh-collar made from colored faience beads with some in the form of white flower petals (Cairo Museum). Courtesy of Uni Dia Verlag; Uni Dia Image Nr. 35538.
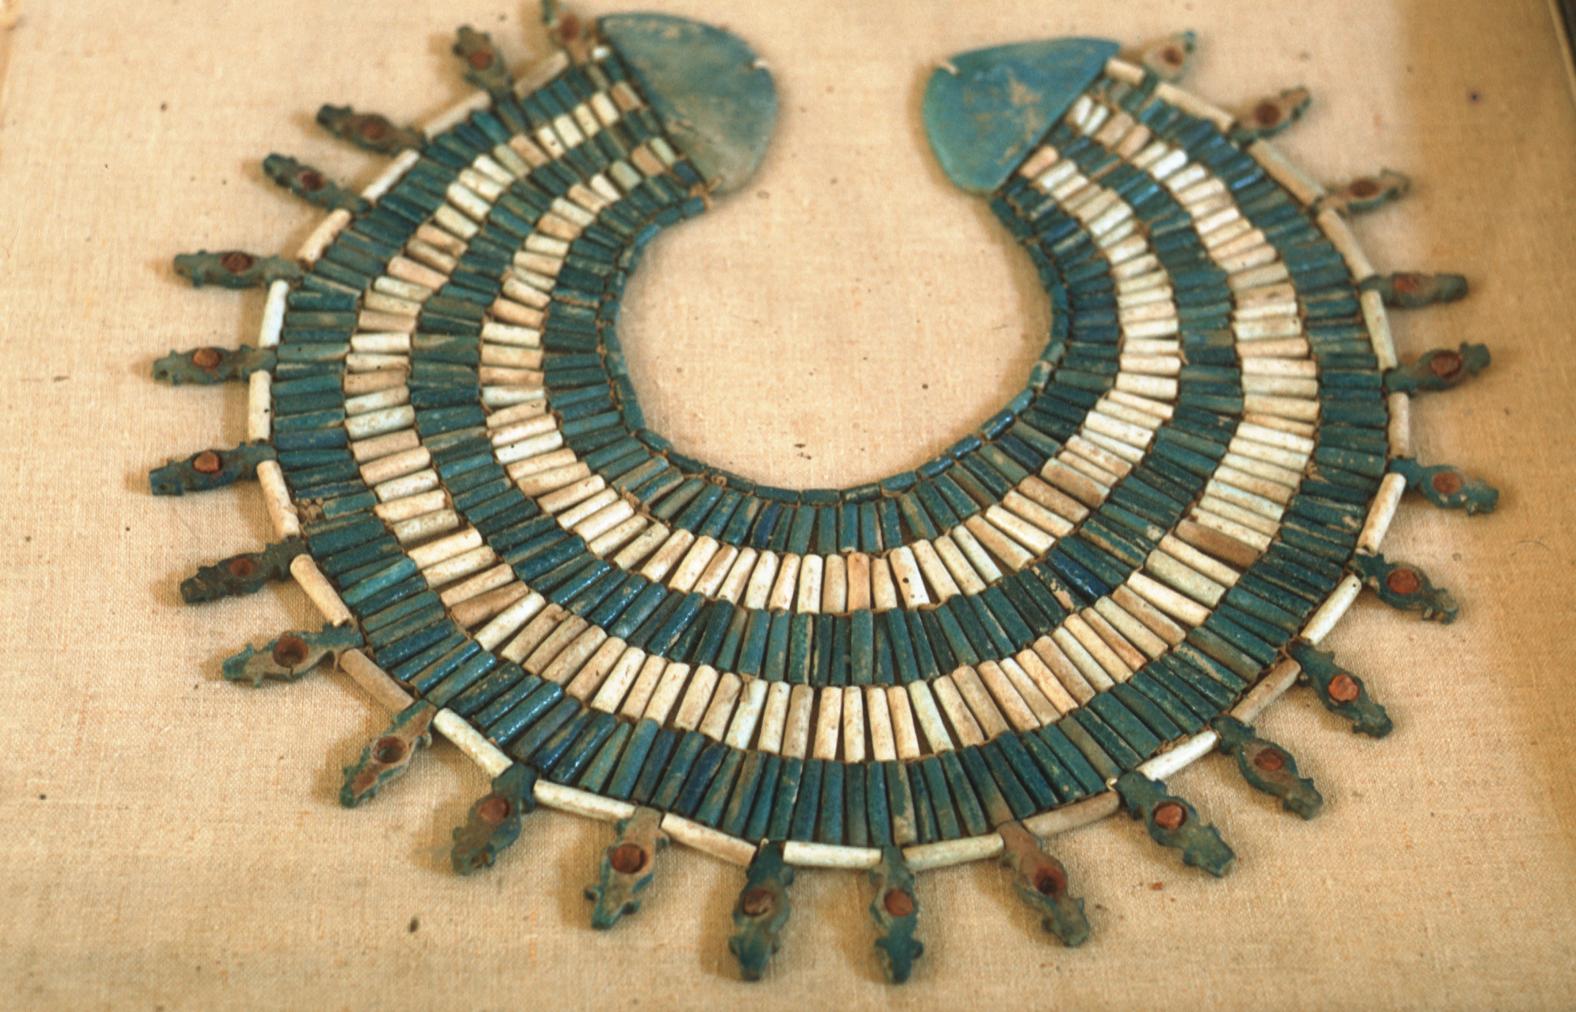
Wesekh-collar made from colored faience beads with some in the form of frogs (?) or crocodiles (?) with an inlaid sun disc (Cairo Museum). Courtesy of Uni Dia Verlag; Uni Dia Image Nr. 35539.
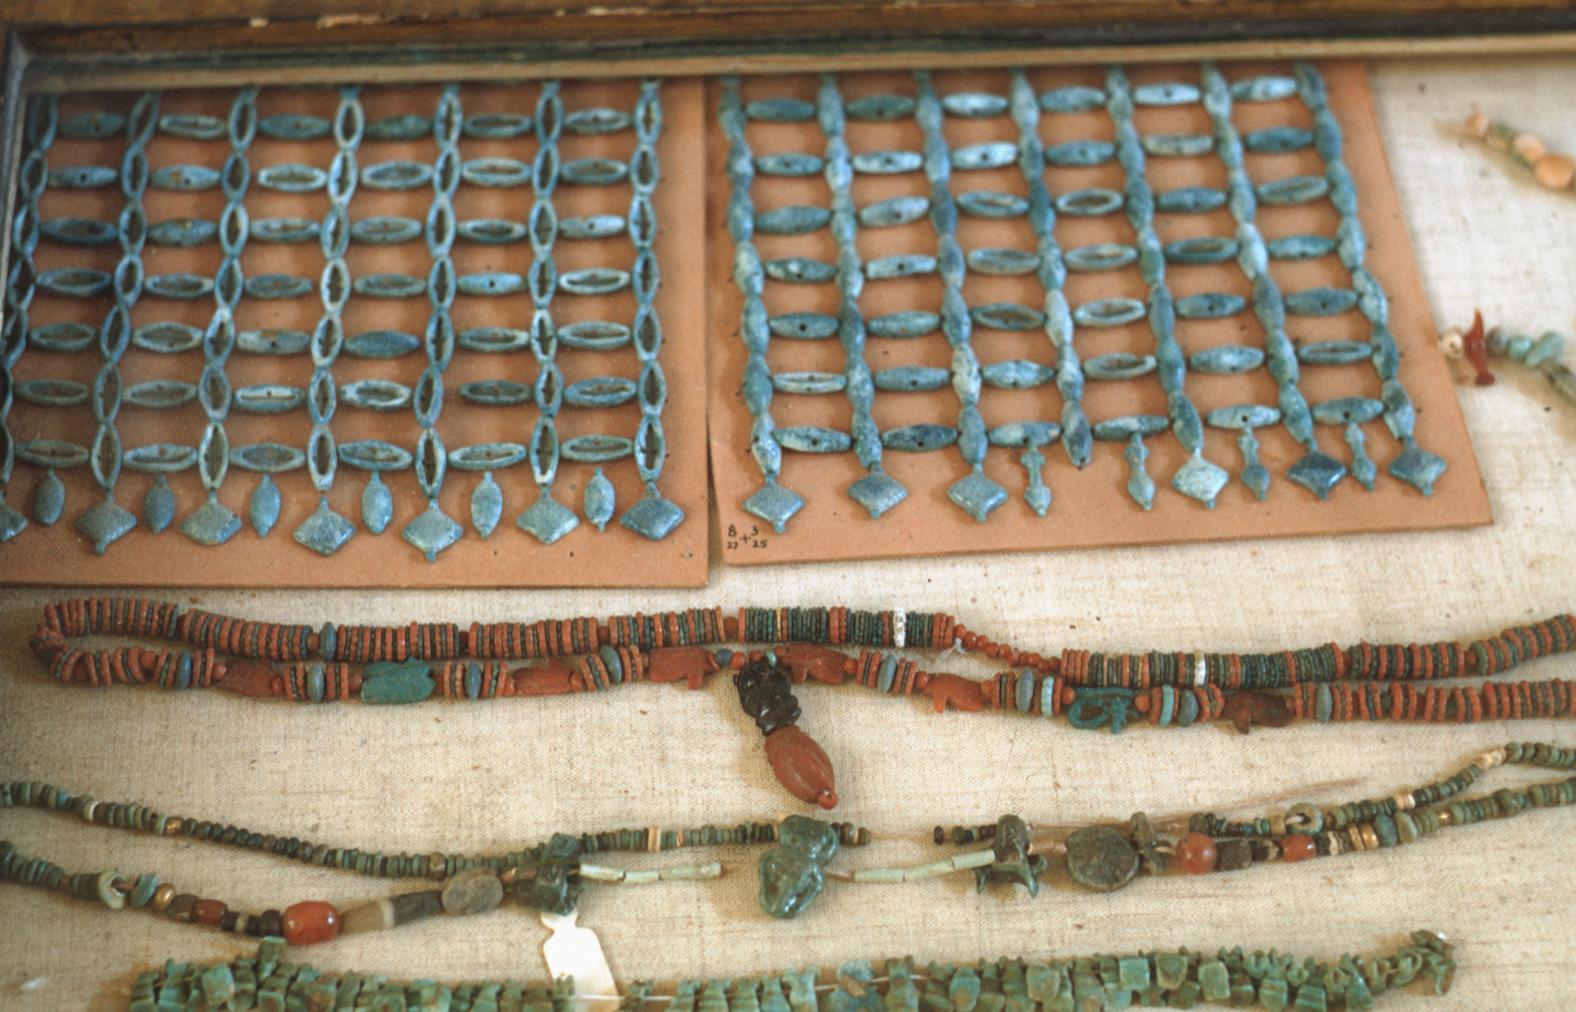
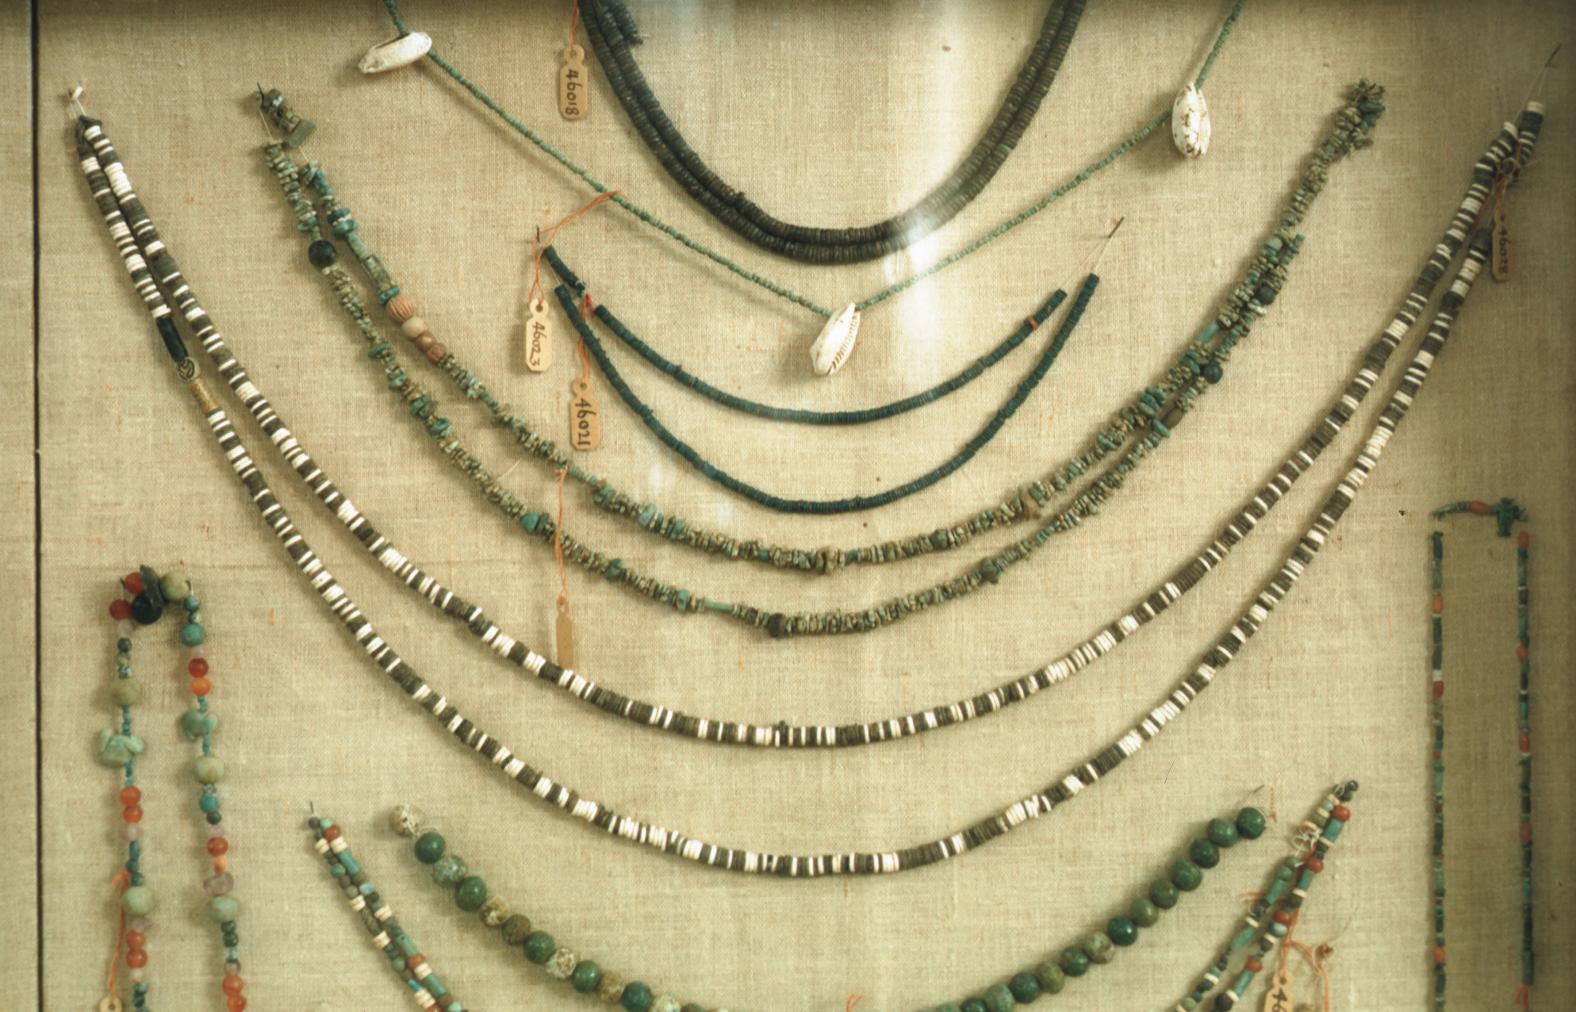
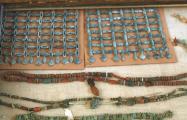
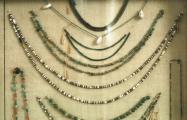
Various necklaces and chains made from networks of beads and amulettes, gold, faience, carnelian, lapus lazuli, and other semi-precious stones (Cairo Museum). Courtesy of Uni Dia Verlag; Uni Dia Image Nr. 35540.
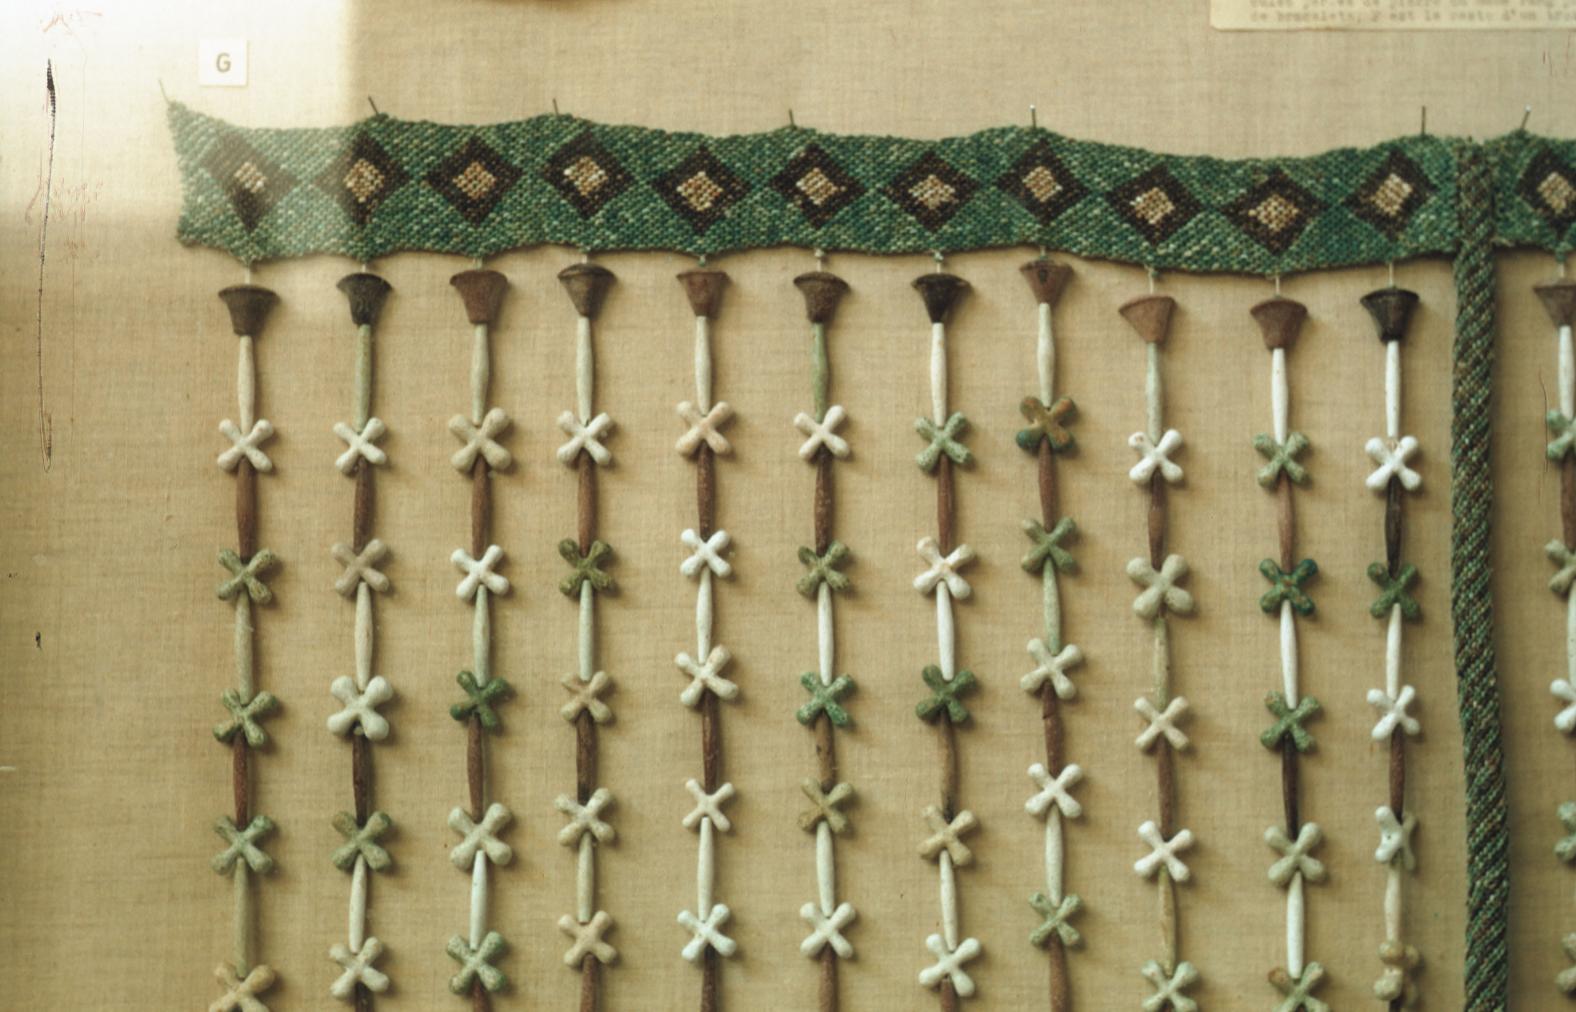
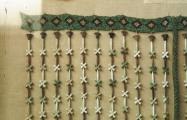
Decorative net made from colored faience beads in different shapes and sizes (Cairo Museum). Courtesy of Uni Dia Verlag; Uni Dia Image Nr. 35541.
Various necklaces and chains made from networks of colored beads and amulettes, gold, faience, carnelian, lapus lazuli, and other semi-precious stones (Cairo Museum). Courtesy of Uni Dia Verlag; Uni Dia Image Nr. 35542.
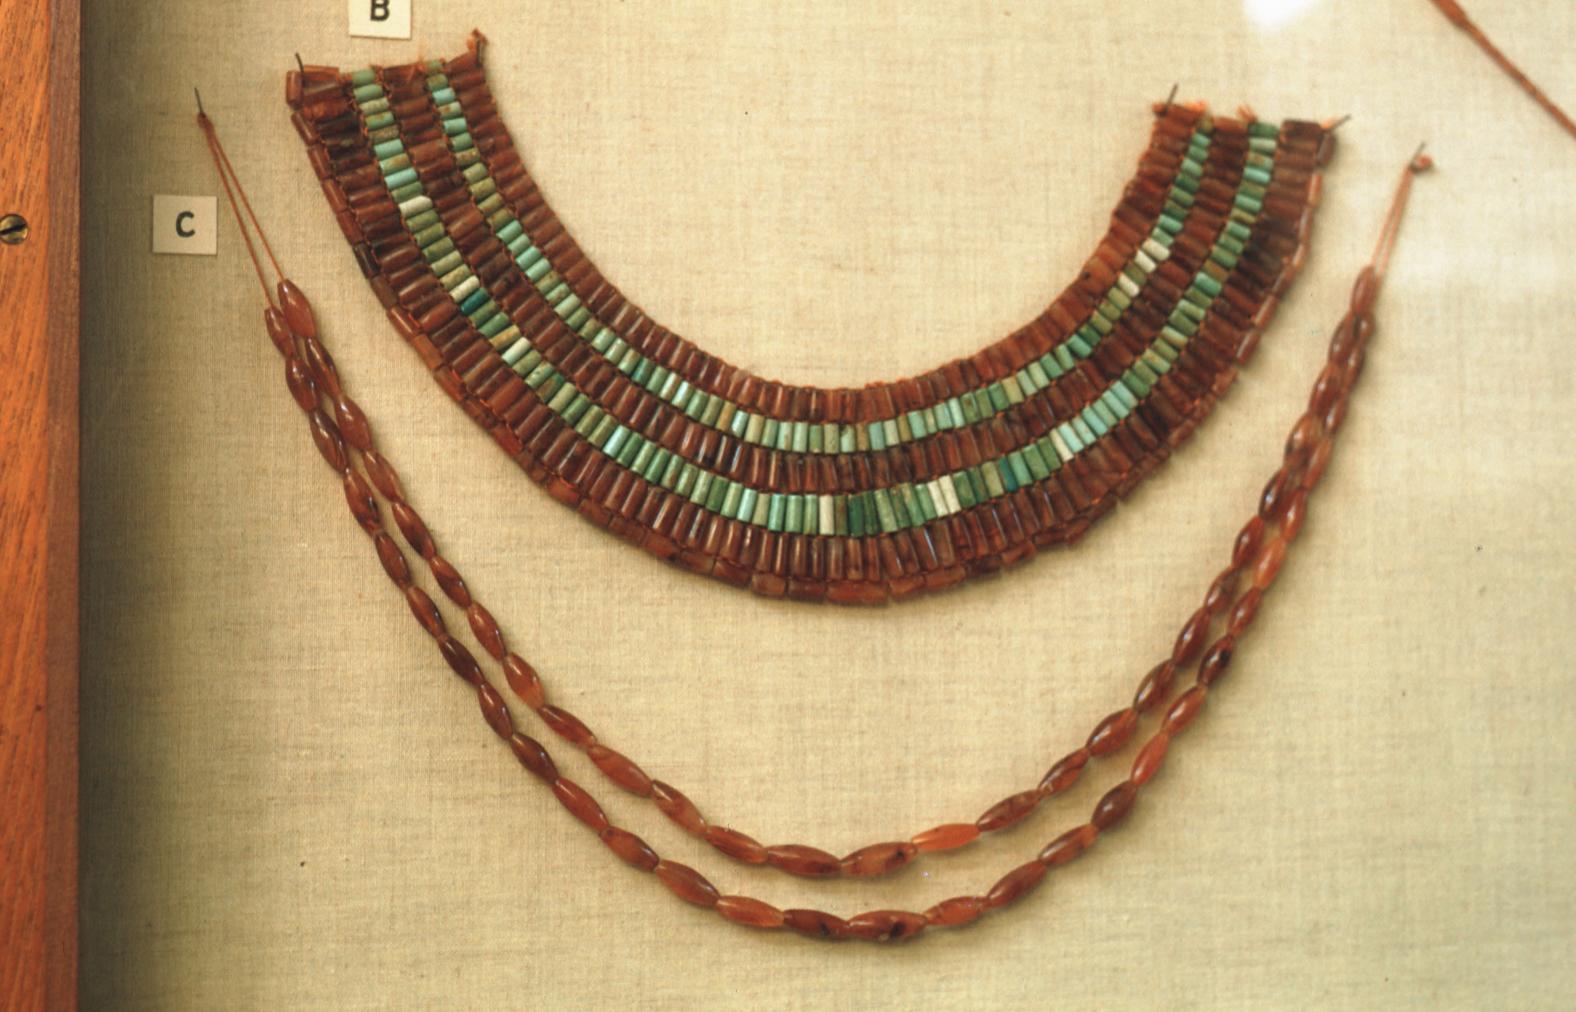
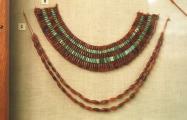
Wesekh-collar and chain made from carnelian and blue faience beadwork (Cairo Museum). Courtesy of Uni Dia Verlag; Uni Dia Image Nr. 35543.
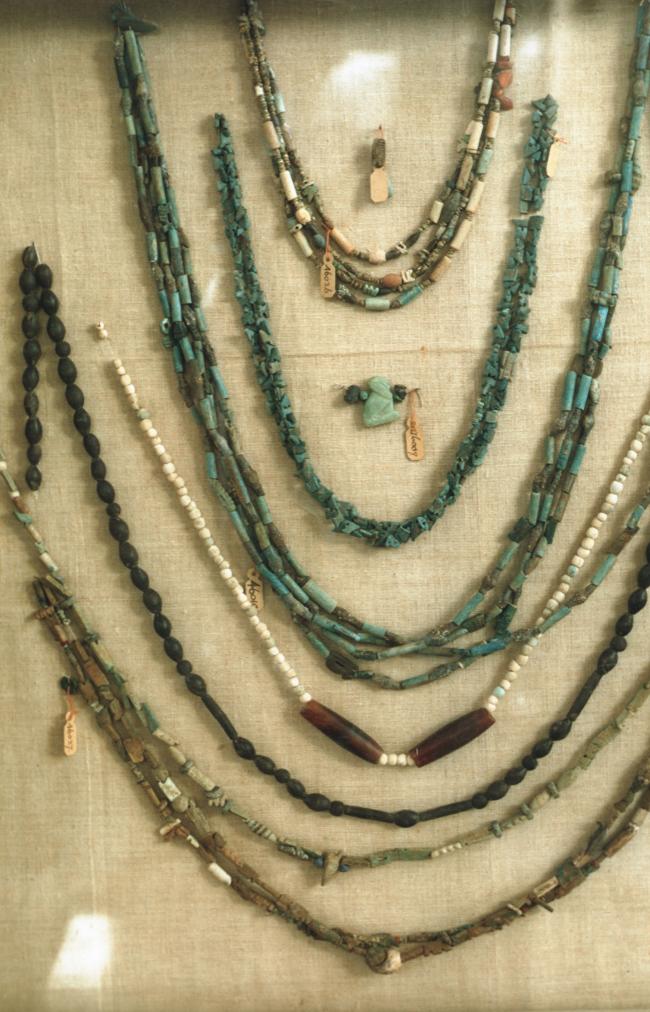
Various necklaces and chains made from networks of colored beads and amulettes, faience, carnelian, lapus lazuli, and other semi-precious stones (Cairo Museum). Courtesy of Uni Dia Verlag; Uni Dia Image Nr. 35544.
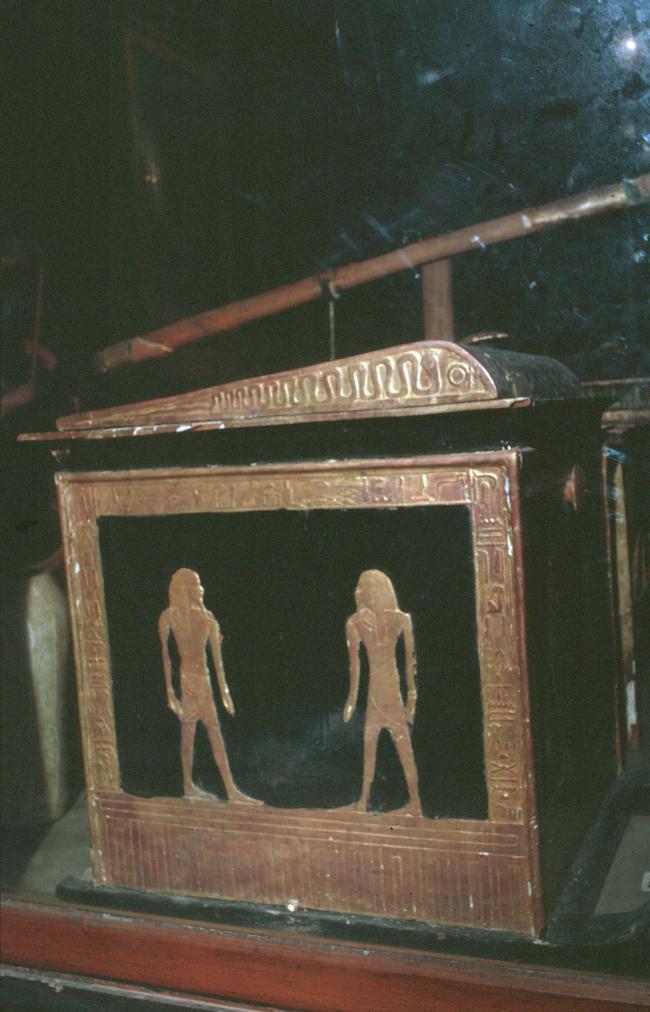
Shrine inlaid with texts and images of an uraeus, shen-ring, and gods, ebony wood and gold leaf (Cairo Museum). Courtesy of Uni Dia Verlag; Uni Dia Image Nr. 35545.
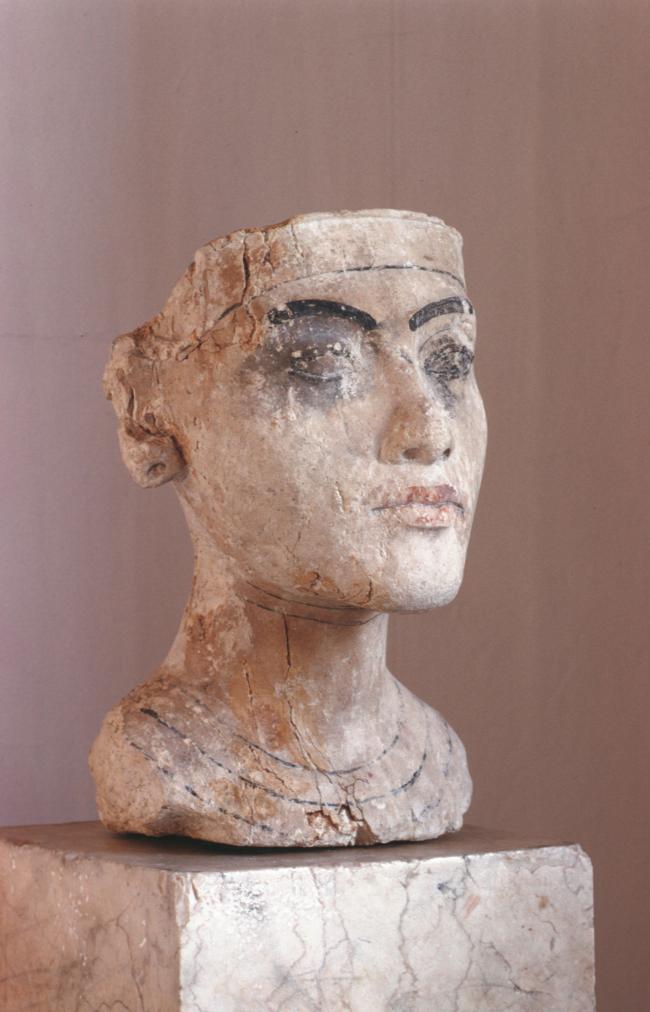
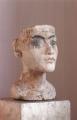
Fragment of an alabaster statue of a great wife (queen) or princess with details painted in red and black (Cairo Museum). Courtesy of Uni Dia Verlag; Uni Dia Image Nr. 35546.
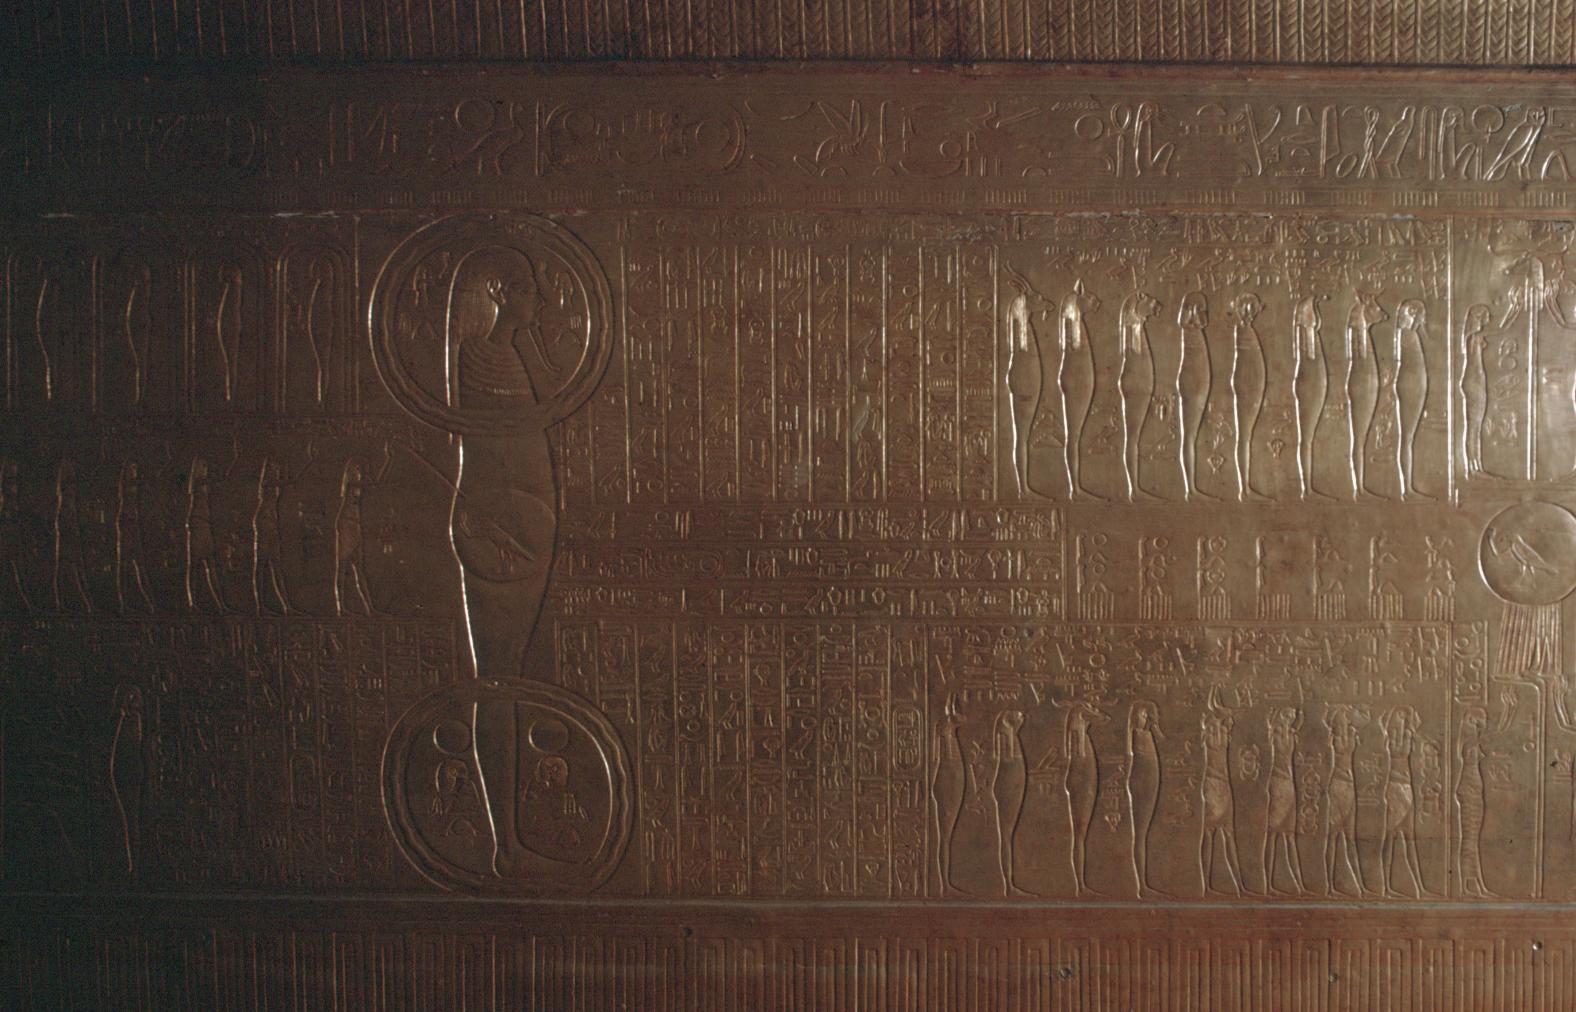
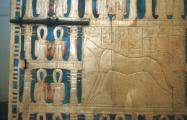
Details of the middle shrine with scenes of the Amduat in the center, gold leaf and wood Cairo Museum). Courtesy of Uni Dia Verlag; Uni Dia Image Nr. 35548.
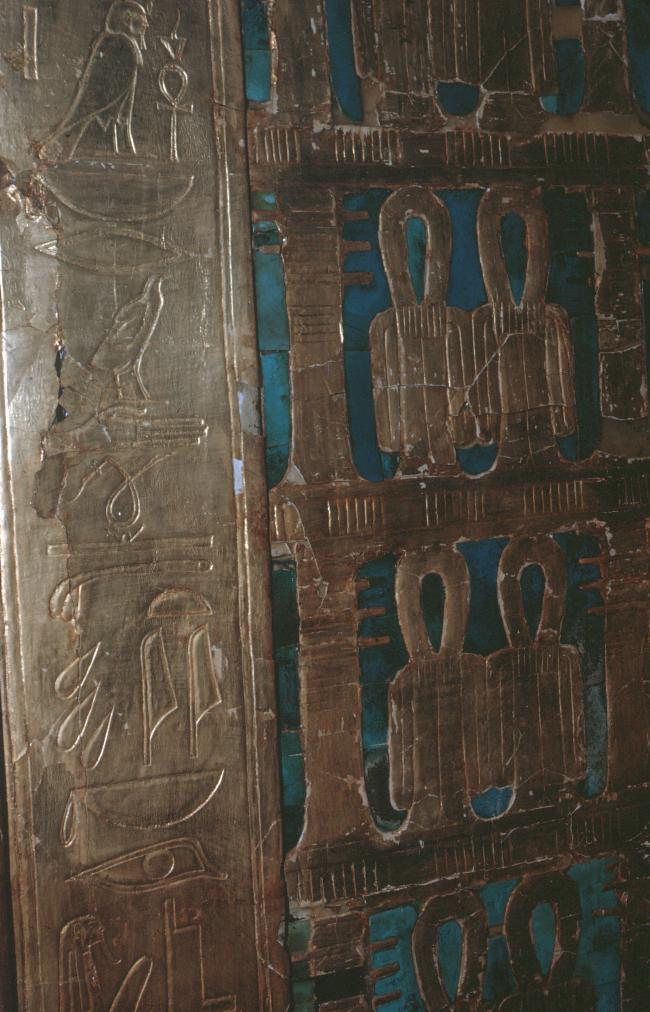
Gilded text (left) beside a djed-pillar and tyet-knot motif around the edge of the outermost shrine, gold leaf, inlaid faience, and wood (Cairo Museum). Courtesy of Uni Dia Verlag; Uni Dia Image Nr. 35549.
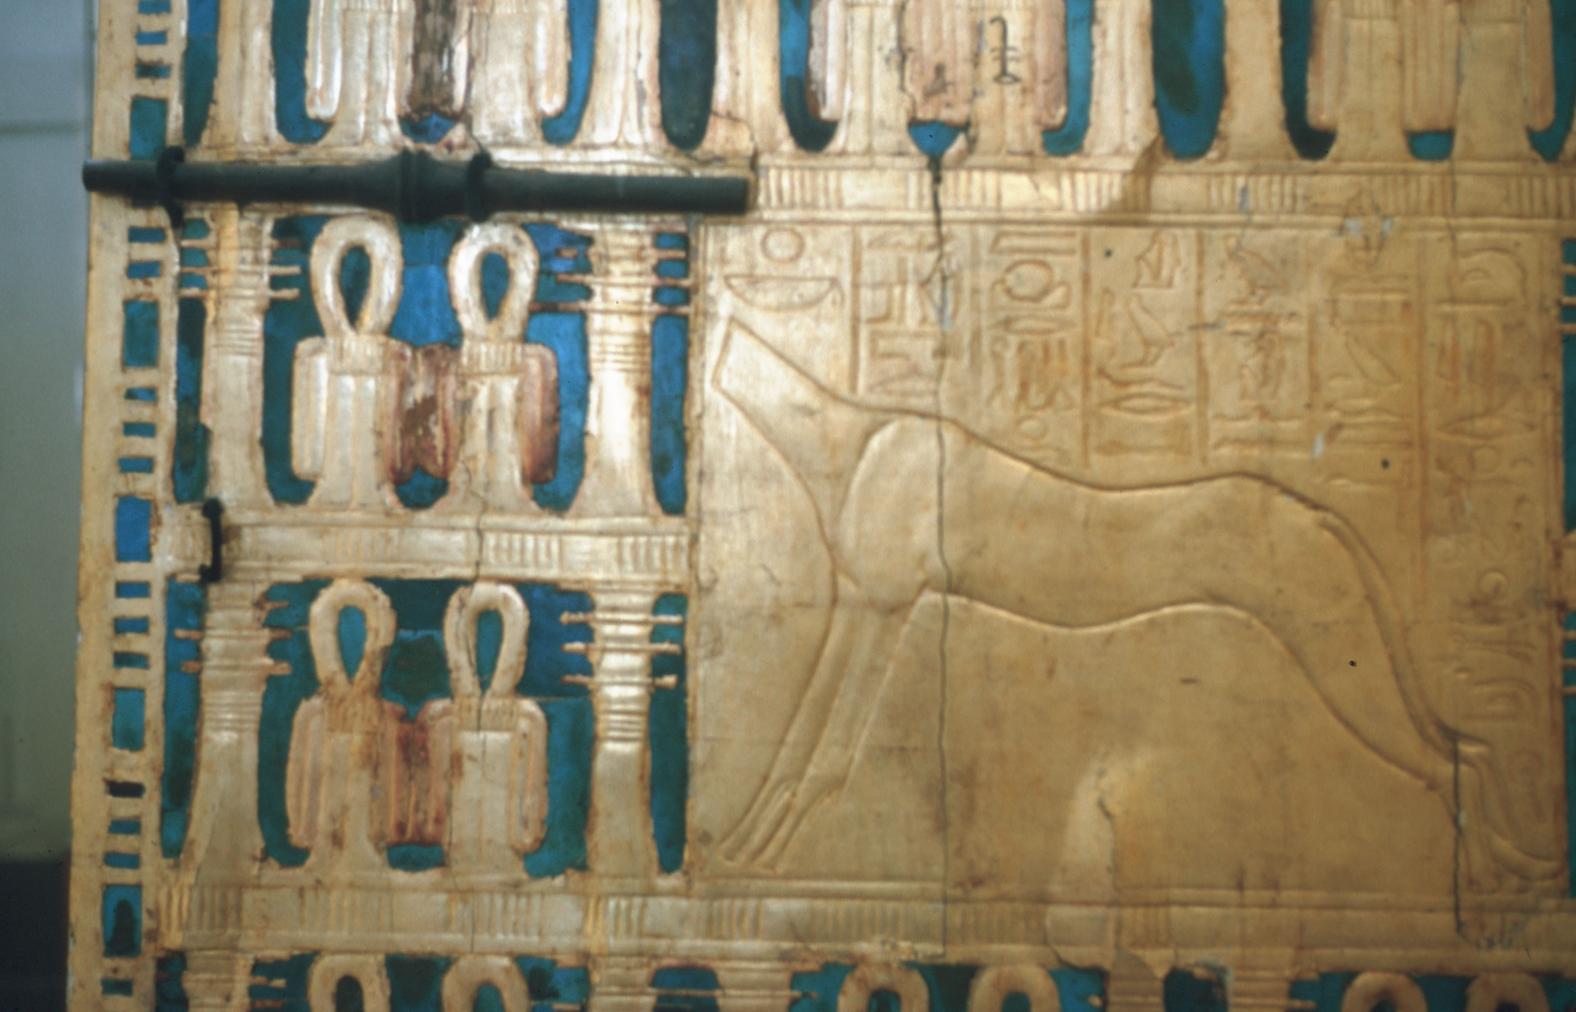
Gilded text and an image of a decapitated jackal (right) beside a djed-pillar and tyet-knot motif around the edge of the outermost shrine, gold leaf, inlaid faience, and wood (Cairo Museum). Courtesy of Uni Dia Verlag; Uni Dia Image Nr. 35550.
Fragment of an alabaster statue of a great wife (queen) or princess with details painted in red and black (Cairo Museum). Courtesy of Uni Dia Verlag; Uni Dia Image Nr. 35552.
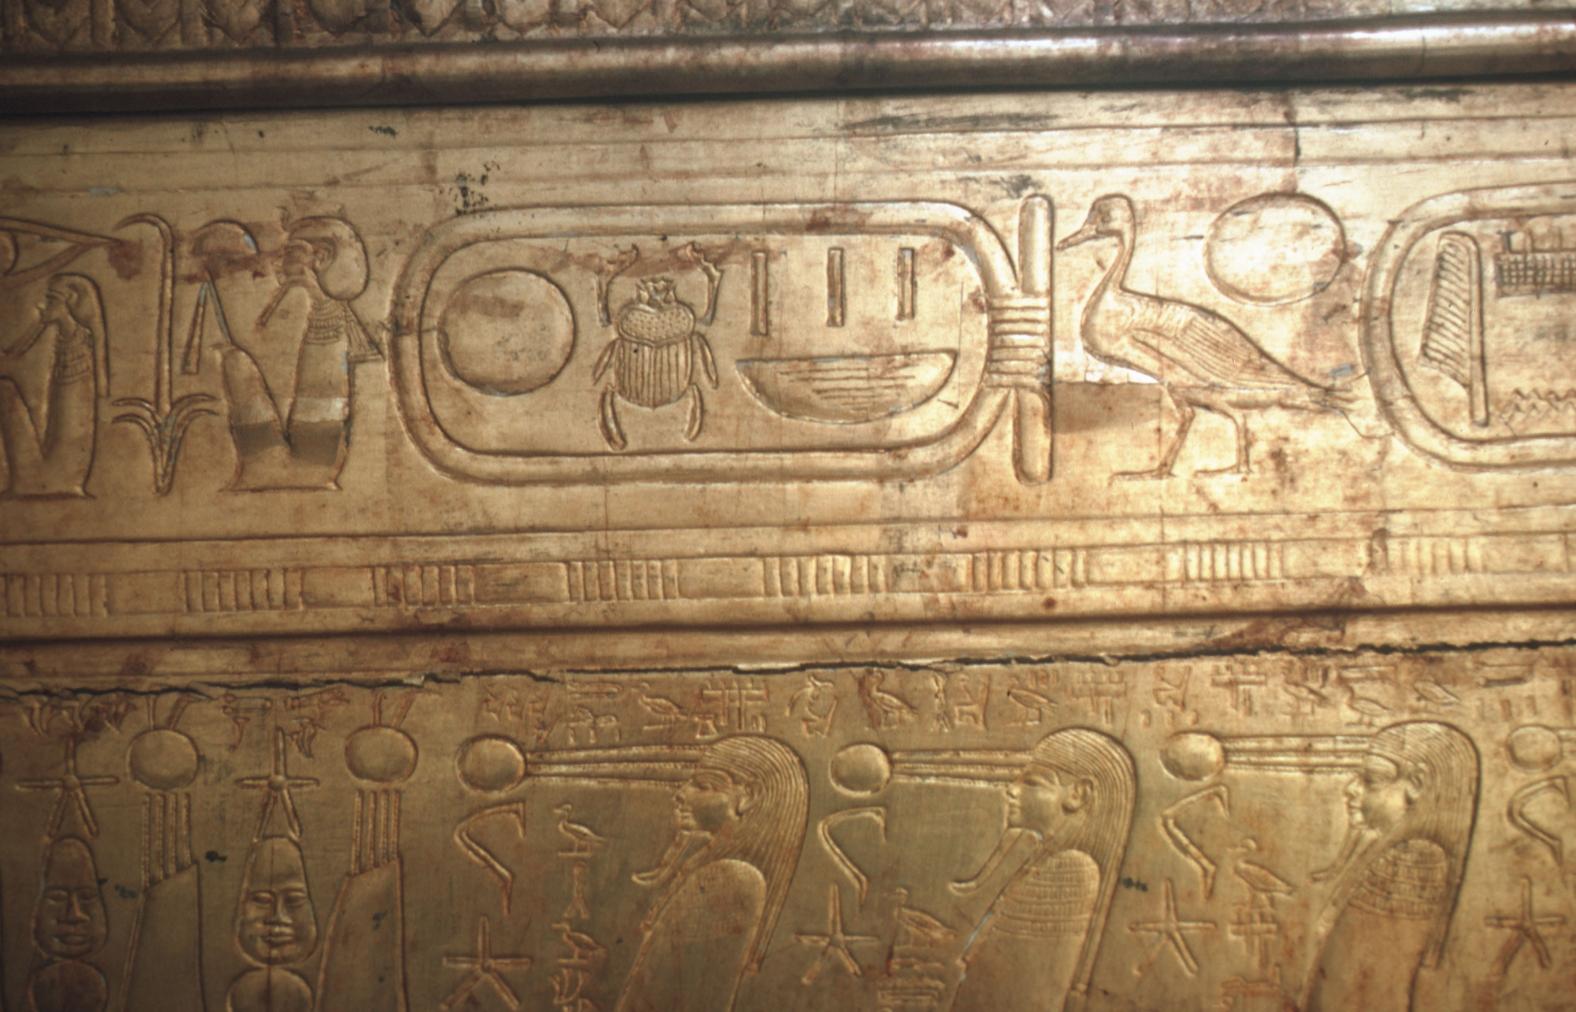
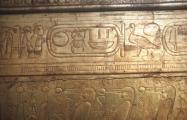
Details of the middle shrine with the honorific titularies, praenomen, and nomen of the king, as well as scenes from the Amduat (below), gold leaf and wood (Cairo Museum). Courtesy of Uni Dia Verlag; Uni Dia Image Nr. 35553.
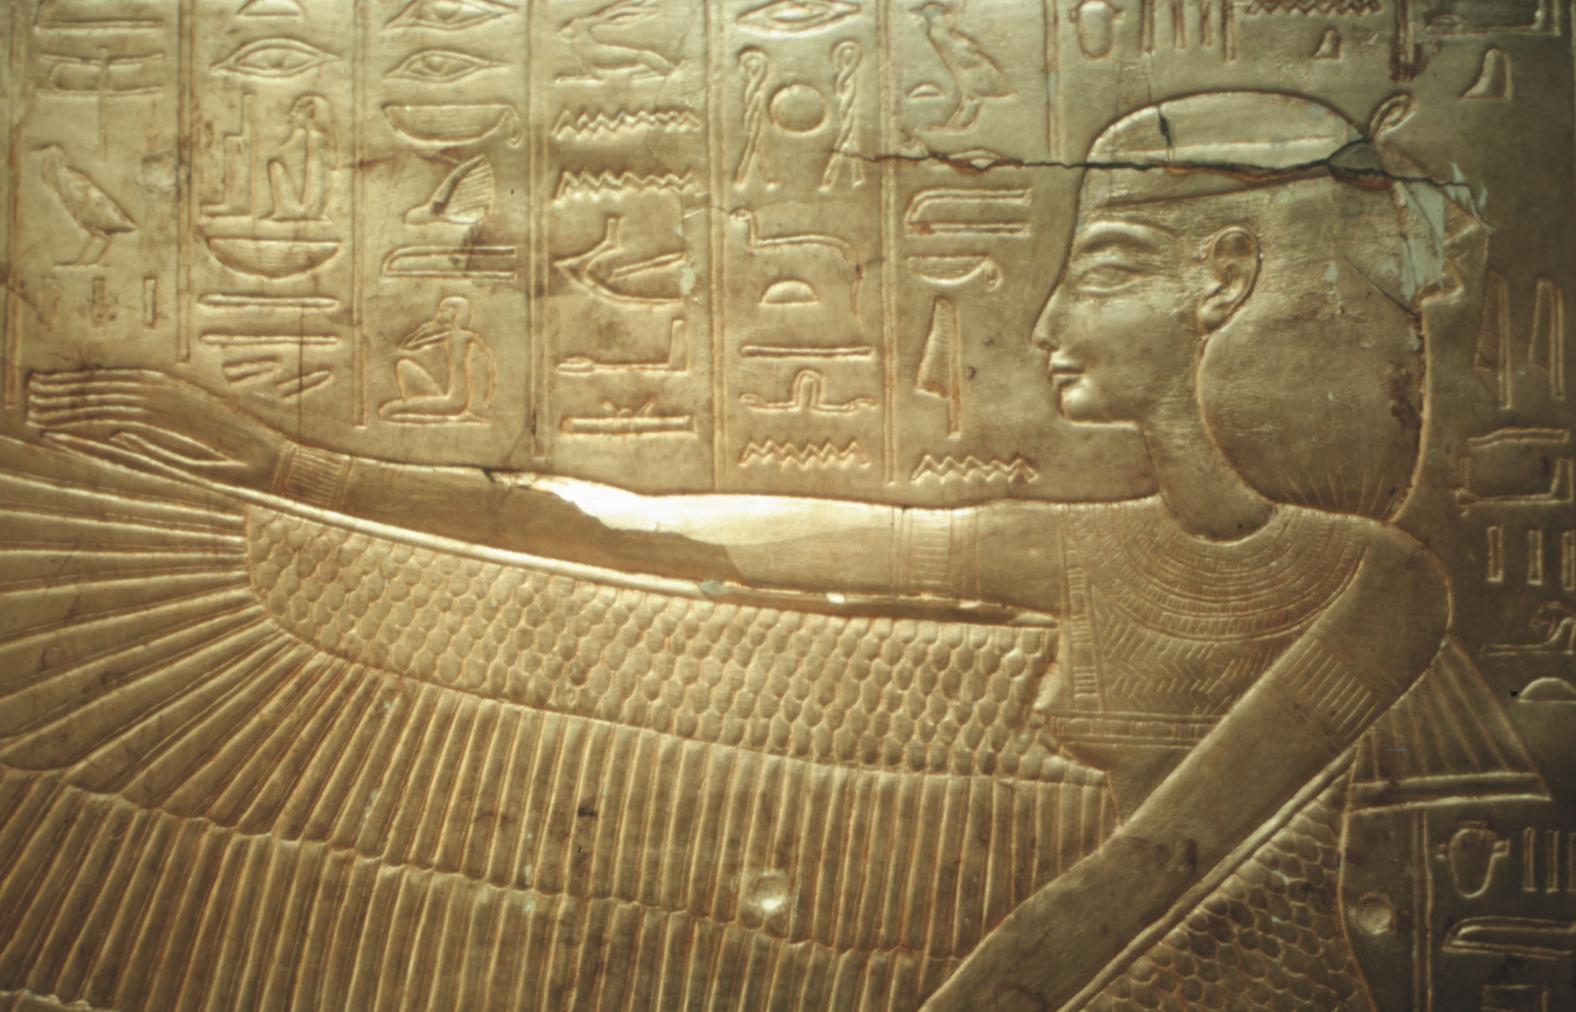
Details of the rear of the middle shrine with texts and an image of the goddess Isis with wings (Cairo Museum). Courtesy of Uni Dia Verlag; Uni Dia Image Nr. 35554.
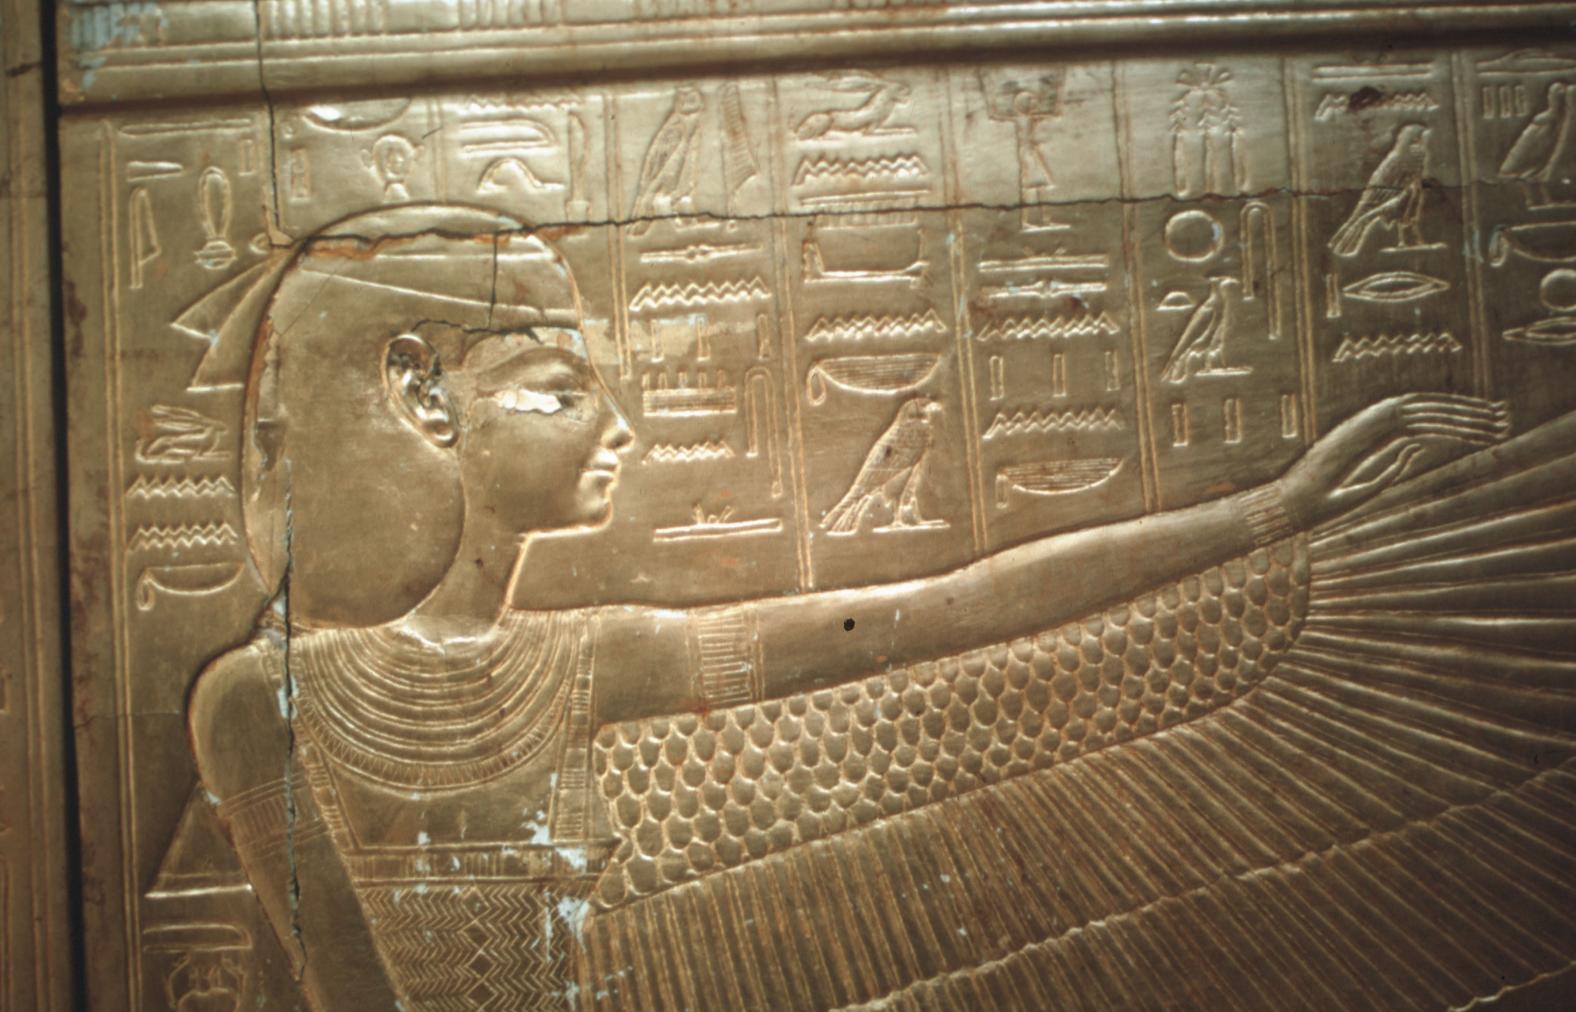
Details of the rear of the middle shrine with texts and an image of the goddess Nepthys with wings (Cairo Museum). Courtesy of Uni Dia Verlag; Uni Dia Image Nr. 35555.
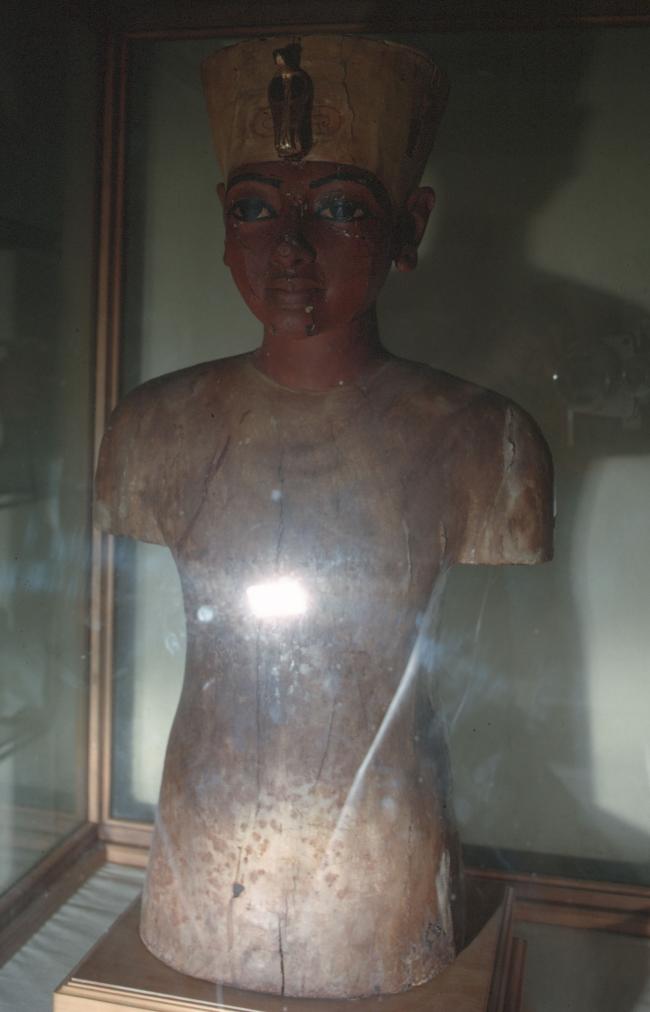
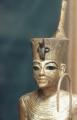
Painted, wooden statue of the king with details in gold leaf (Cairo Museum). Courtesy of Uni Dia Verlag; Uni Dia Image Nr. 35556.
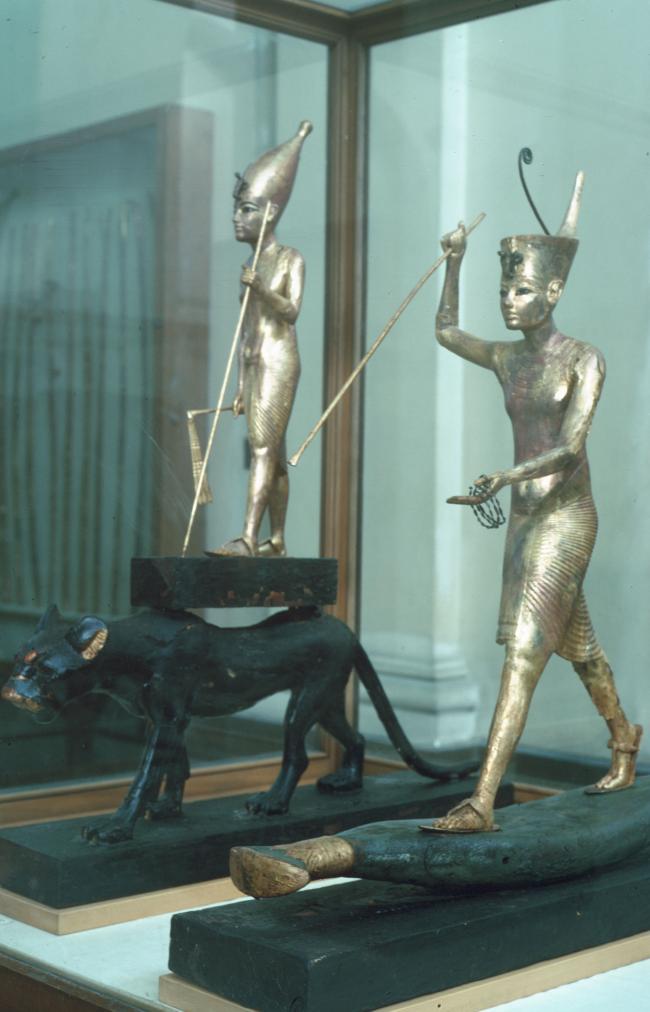
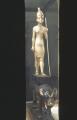
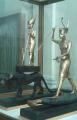
A pair of statuettes of the king: one upon a papyrus reed boat and the other atop a leopard, gilded gold leaf, and ebony wood (Cairo Museum). Courtesy of Uni Dia Verlag; Uni Dia Image Nr. 35557.
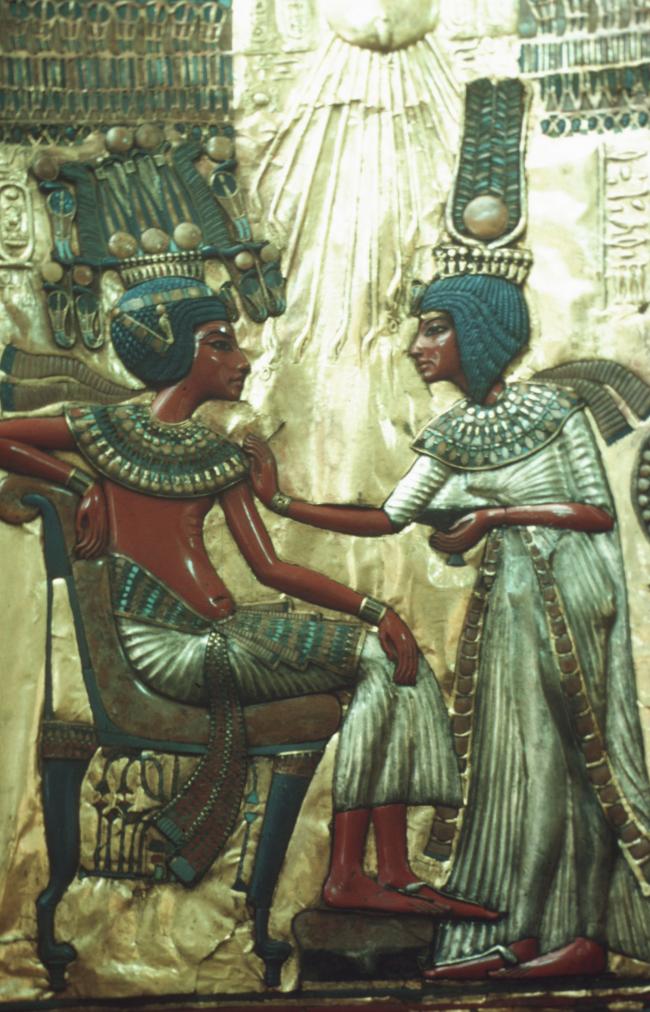
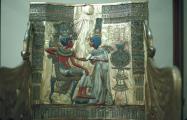
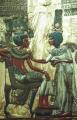
Detail from the backrest of one of king's thrones. Tutankhamen and one of his great wives (queens) Ankhnesamen in the presence of the god Aten as a sun disc with outstretched arms and ankh, gilded gold leaf, wood, carnelian, lapis lazuli, and other precious and semi-precious stone inlay (Cairo Museum). Courtesy of Uni Dia Verlag; Uni Dia Image Nr. 35558.
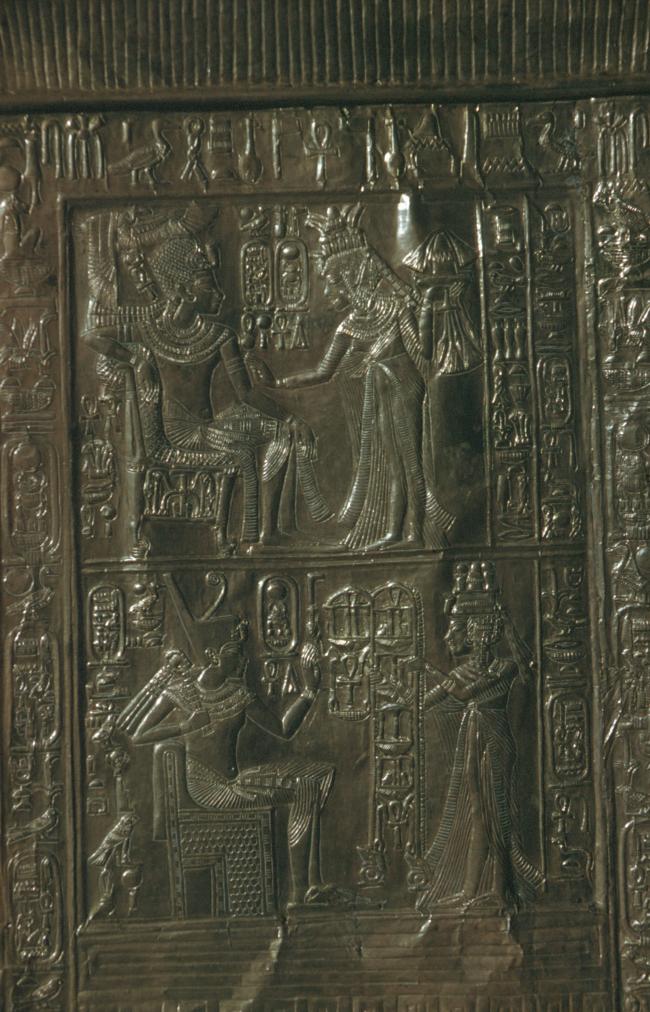
Detail of a piece of furniture from the king's tomb. Tutankhamen and one of his great wives (queens) Ankhnesamen surrounded by decorative motifs and texts, gilded gold leaf and wood (Cairo Museum). Courtesy of Uni Dia Verlag; Uni Dia Image Nr. 35559.
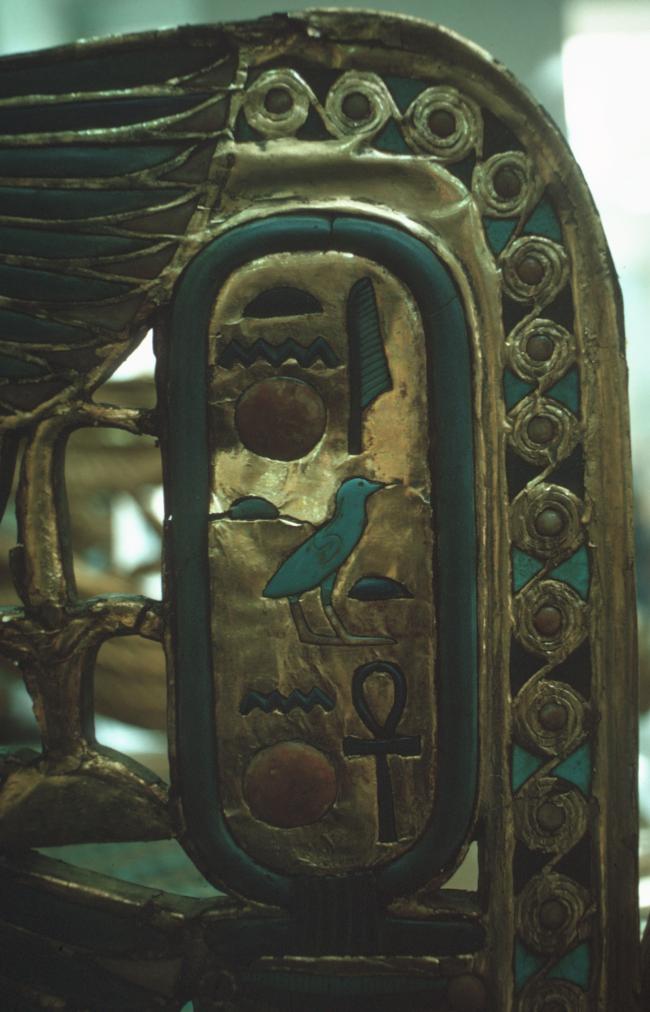
Detail from the arm of one of the king's thrones. Nomen of Tutankhamen, gilded gold leaf, wood, carnelian, lapis lazuli, faience, and semi-precious stone inlay (Cairo Museum). Courtesy of Uni Dia Verlag; Uni Dia Image Nr. 35560.
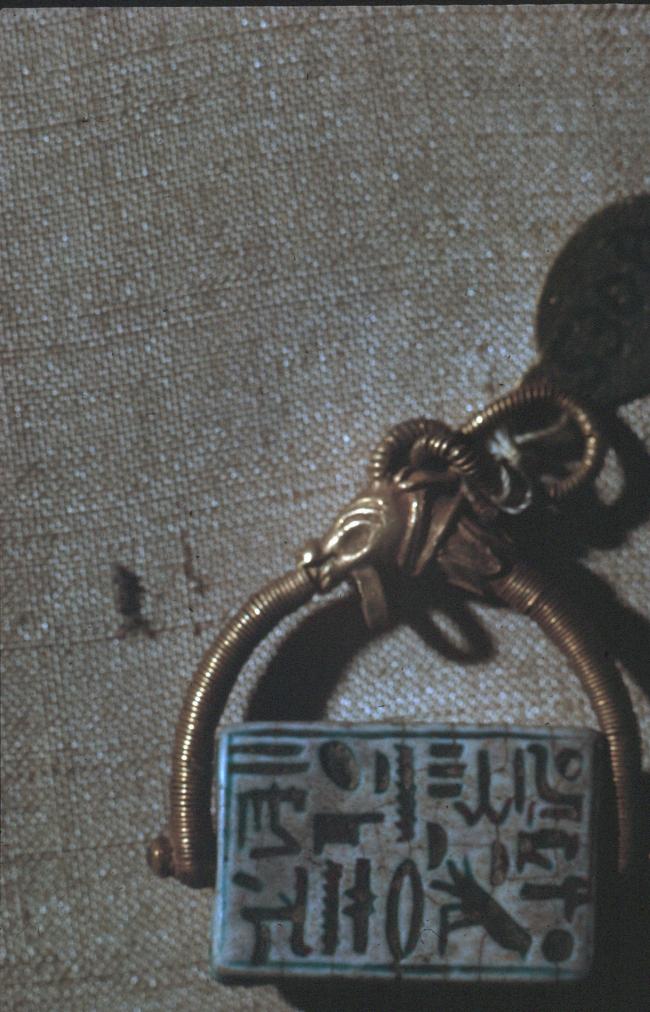
Faience ring with text, blue faience and cast gold (Cairo Museum). Courtesy of Uni Dia Verlag; Uni Dia Image Nr. 35565.
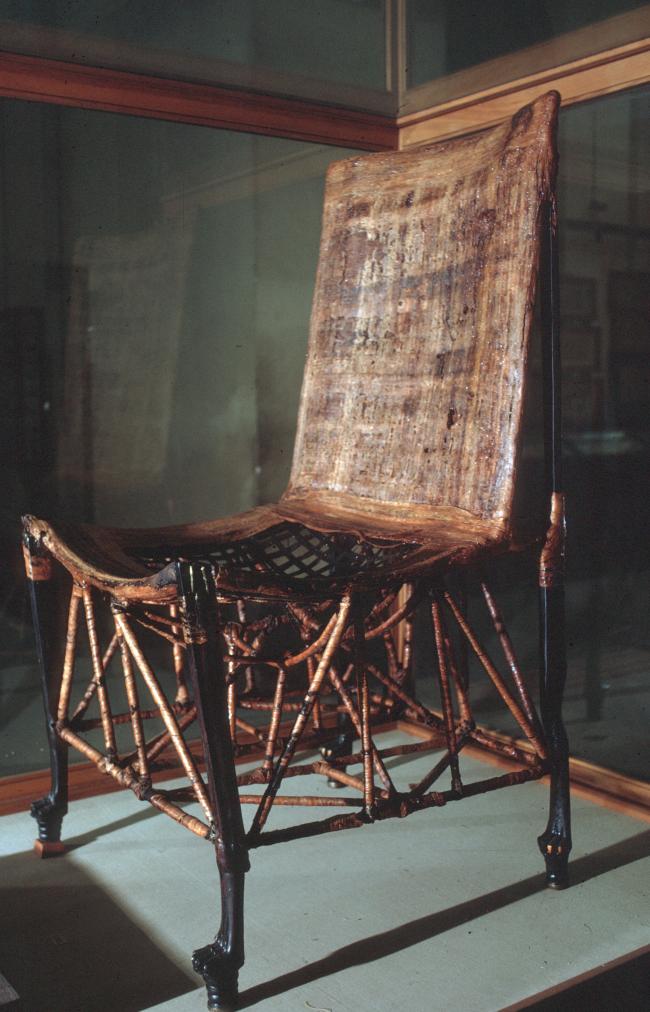
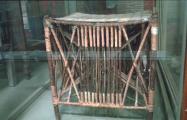
Chair carved from ebony wood and woven with plant fibers and leather (Cairo Museum). Courtesy of Uni Dia Verlag; Uni Dia Image Nr. 35566.
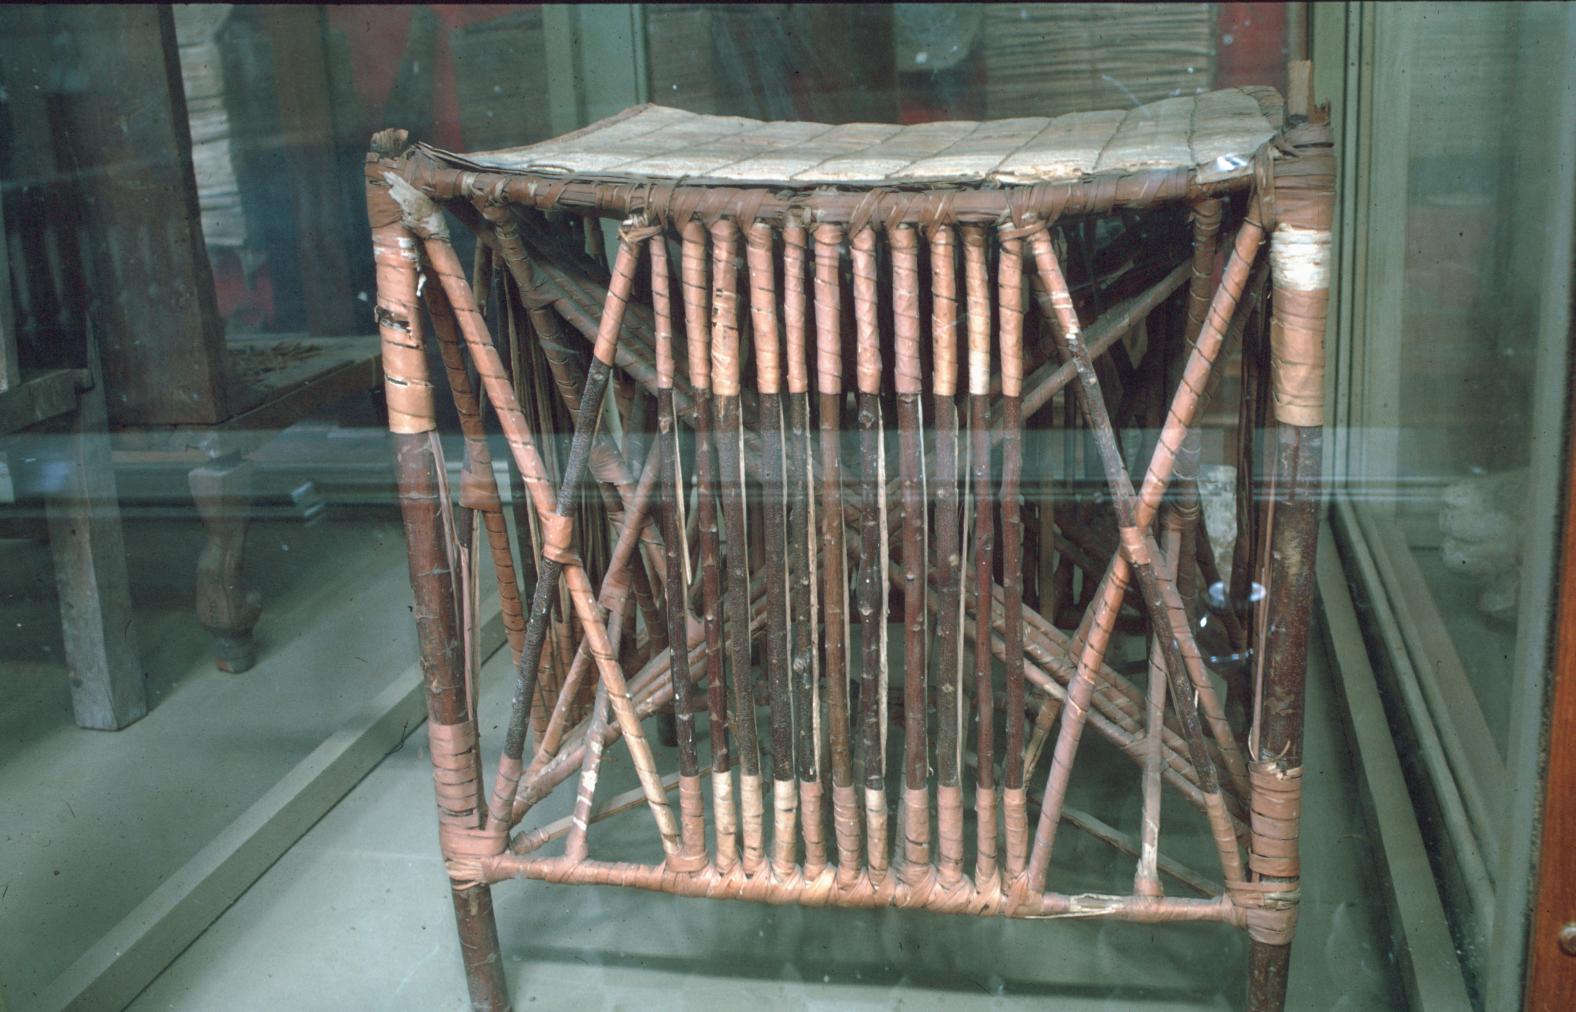
Stool carved from ebony wood and woven with plant fibers and leather (Cairo Museum). Courtesy of Uni Dia Verlag; Uni Dia Image Nr. 35567.
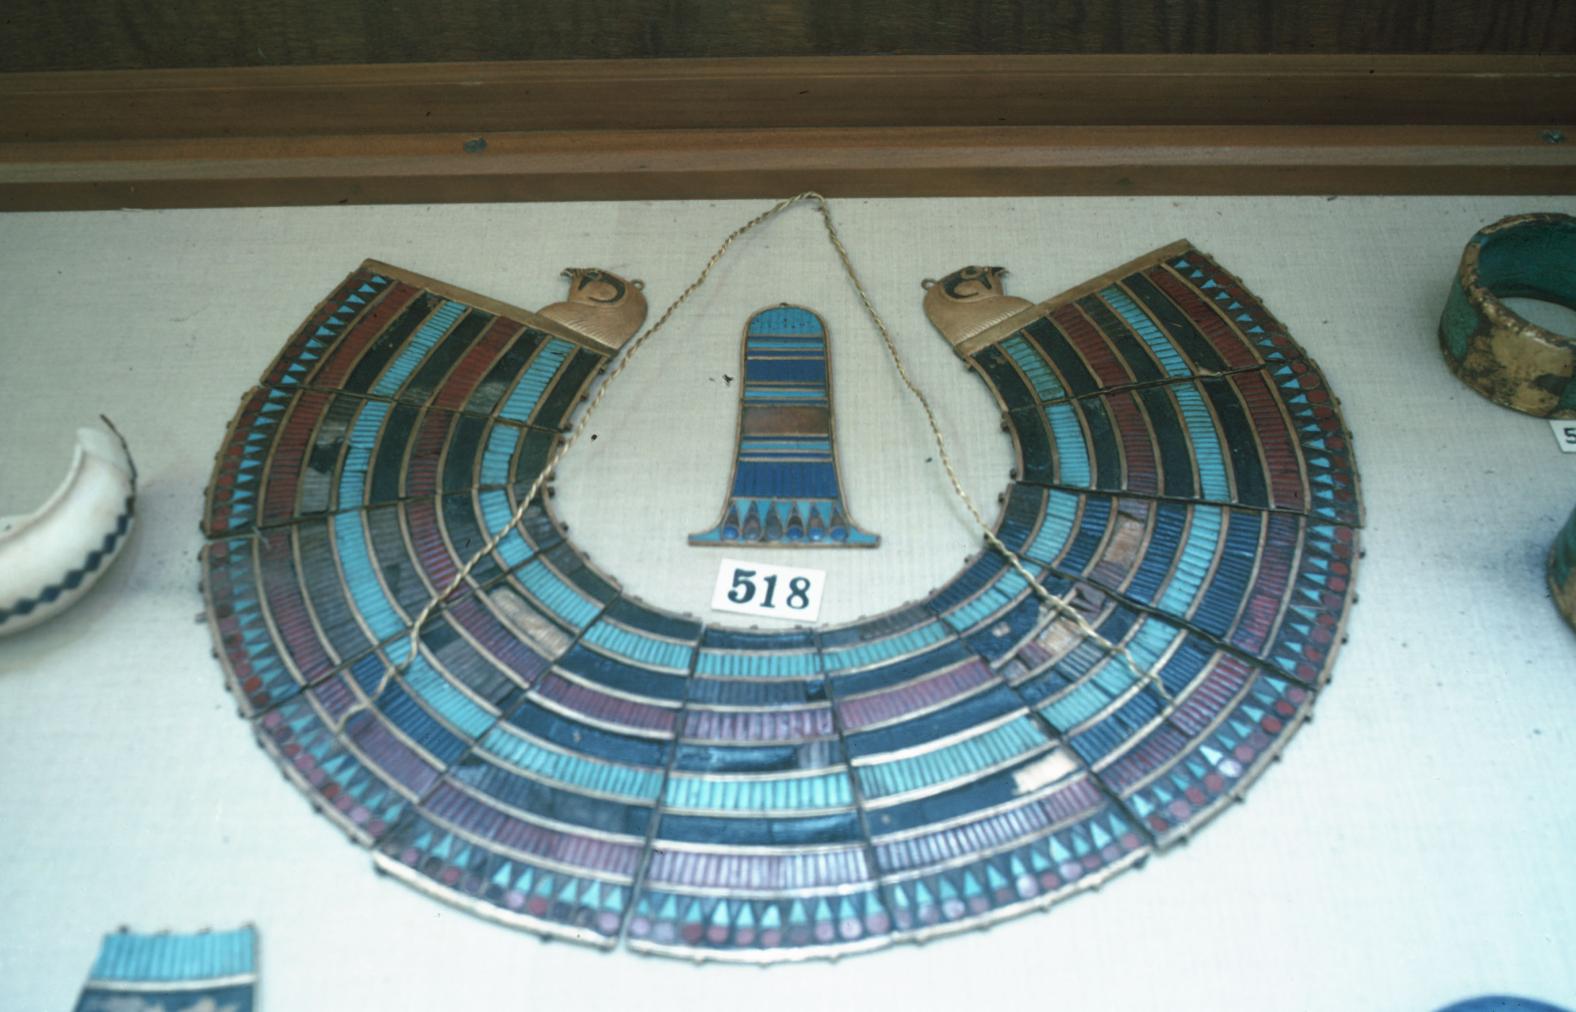
Wesekh-collar with falcon-shaped terminals and a counterpoise, gold, precious and semi-precious stone inlay (Cairo Museum). Courtesy of Uni Dia Verlag; Uni Dia Image Nr. 35568.
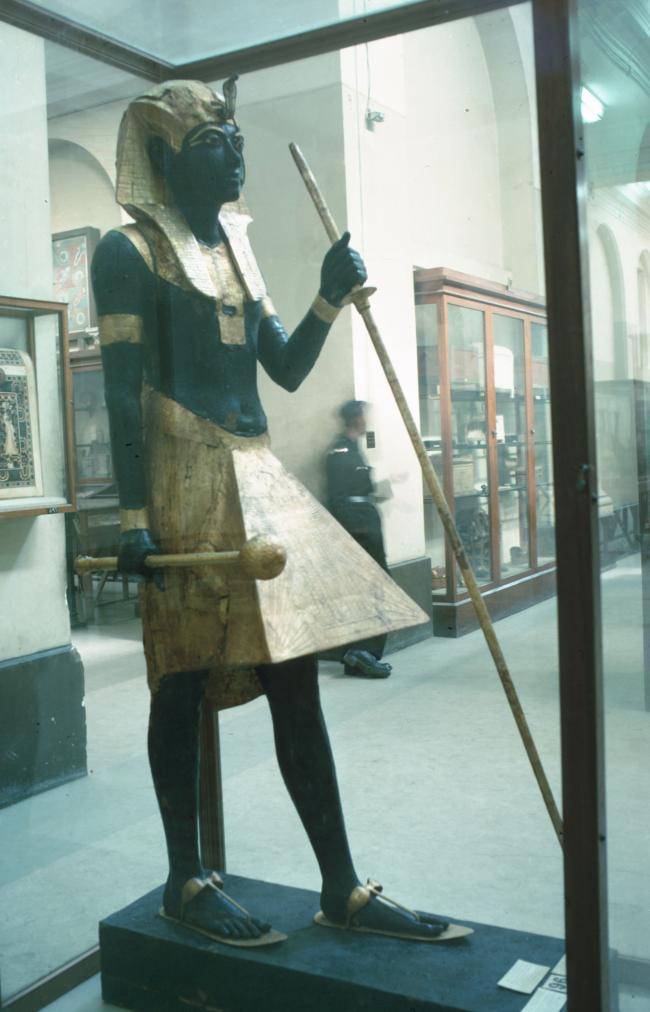
A striding guardian statue of the king in a nemes-headdress and holding a staff and mace, ebony wood and gilded gold leaf (Cairo Museum). Courtesy of Uni Dia Verlag; Uni Dia Image Nr. 35569.
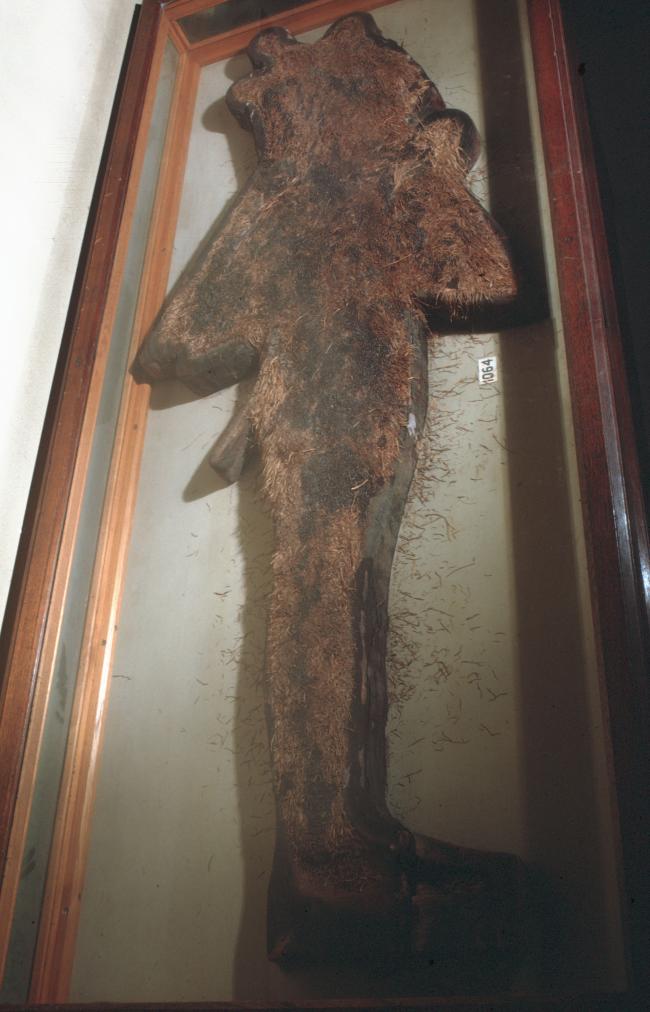
Germinating wheat or barley mummy in the form of the god Osiris (Cairo Museum). Courtesy of Uni Dia Verlag; Uni Dia Image Nr. 35571.
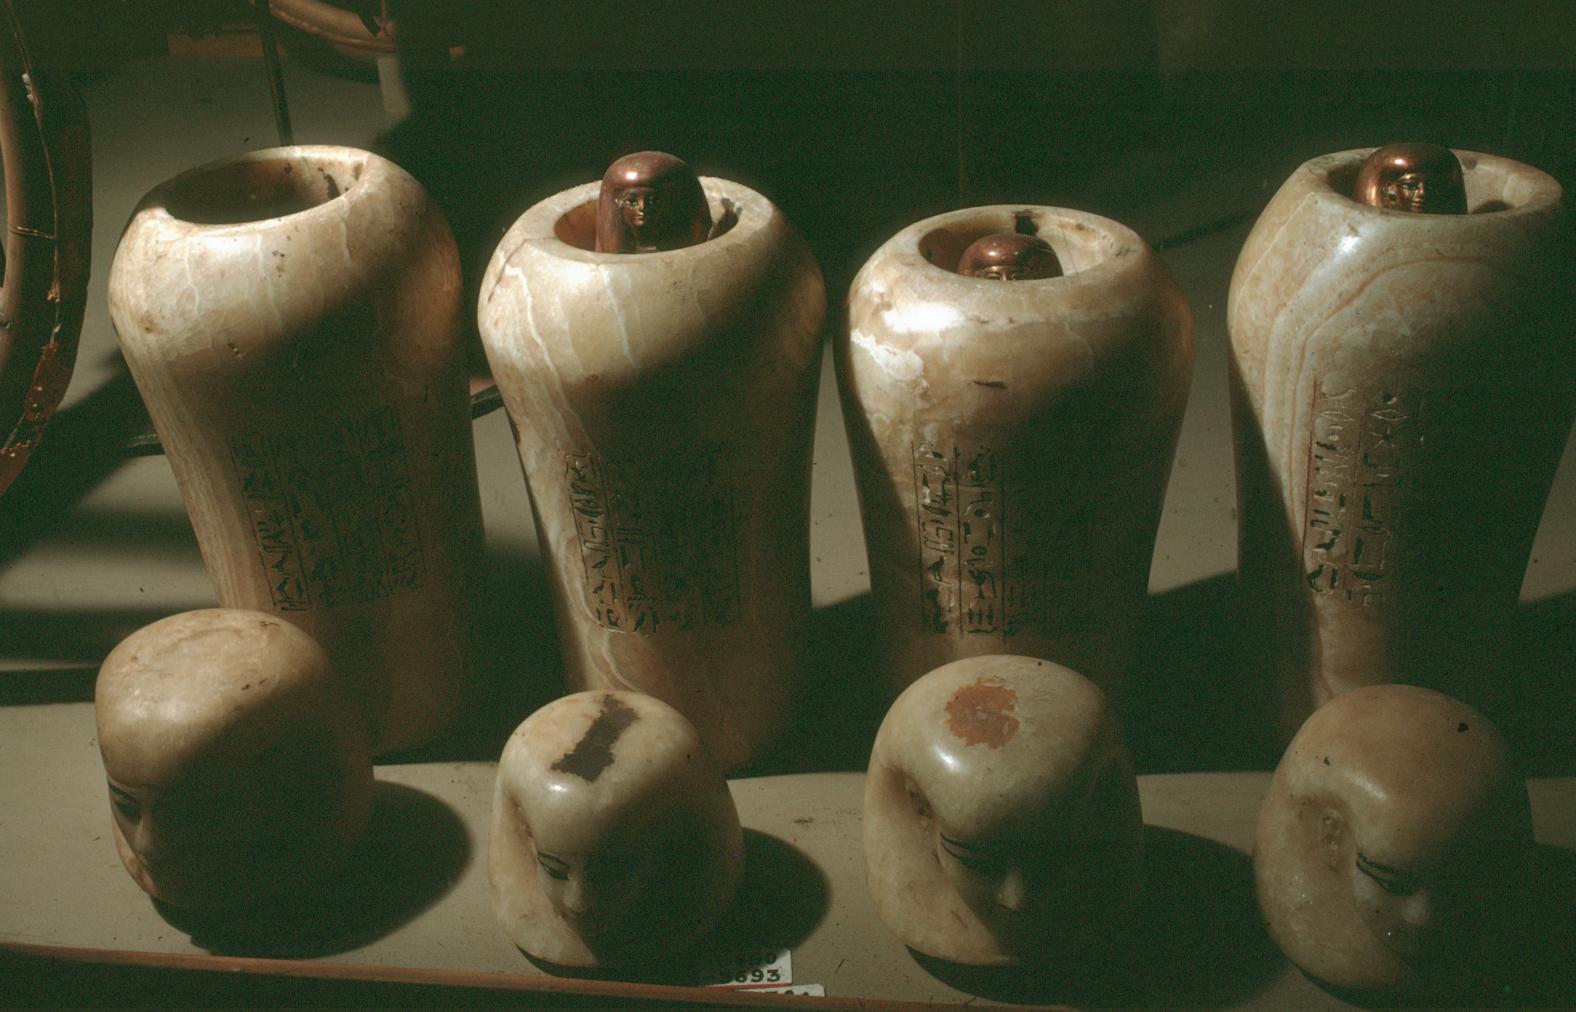
Set of four alabaster canopic jars with text and fitted with copper and gold shabtis (Cairo Museum). Courtesy of Uni Dia Verlag; Uni Dia Image Nr. 35573.
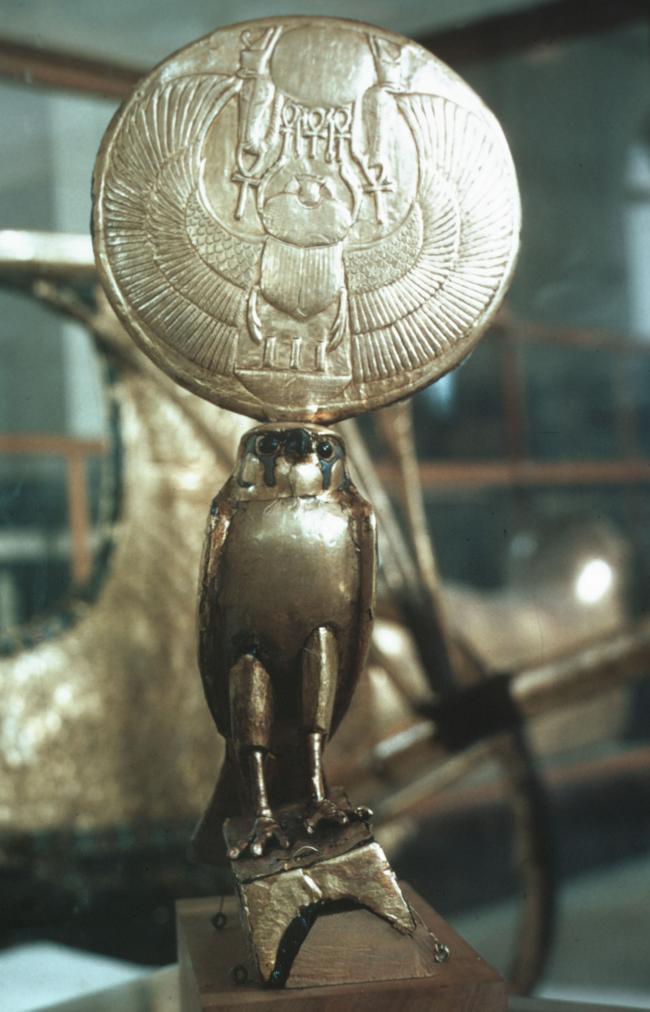
Detail of a statuette of a falcon with a large sun disc decorated with a winged scarab and text, wood, gilded gold leaf, semi-precious stone inlay (Cairo Museum). Courtesy of Uni Dia Verlag; Uni Dia Image Nr. 35574.
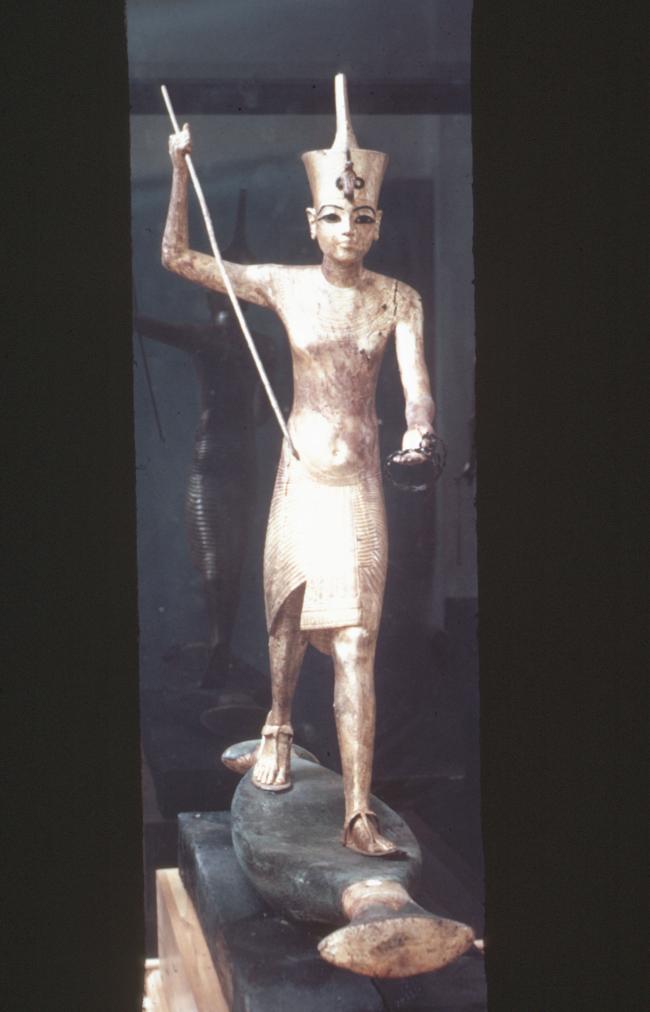
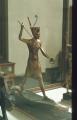
Statuette of the king in the red crown of Lower Egypt spearing in a papyrus reed boat, ebony wood and gilded gold leaf (Cairo Museum). Courtesy of Uni Dia Verlag; Uni Dia Image Nr. 35575.
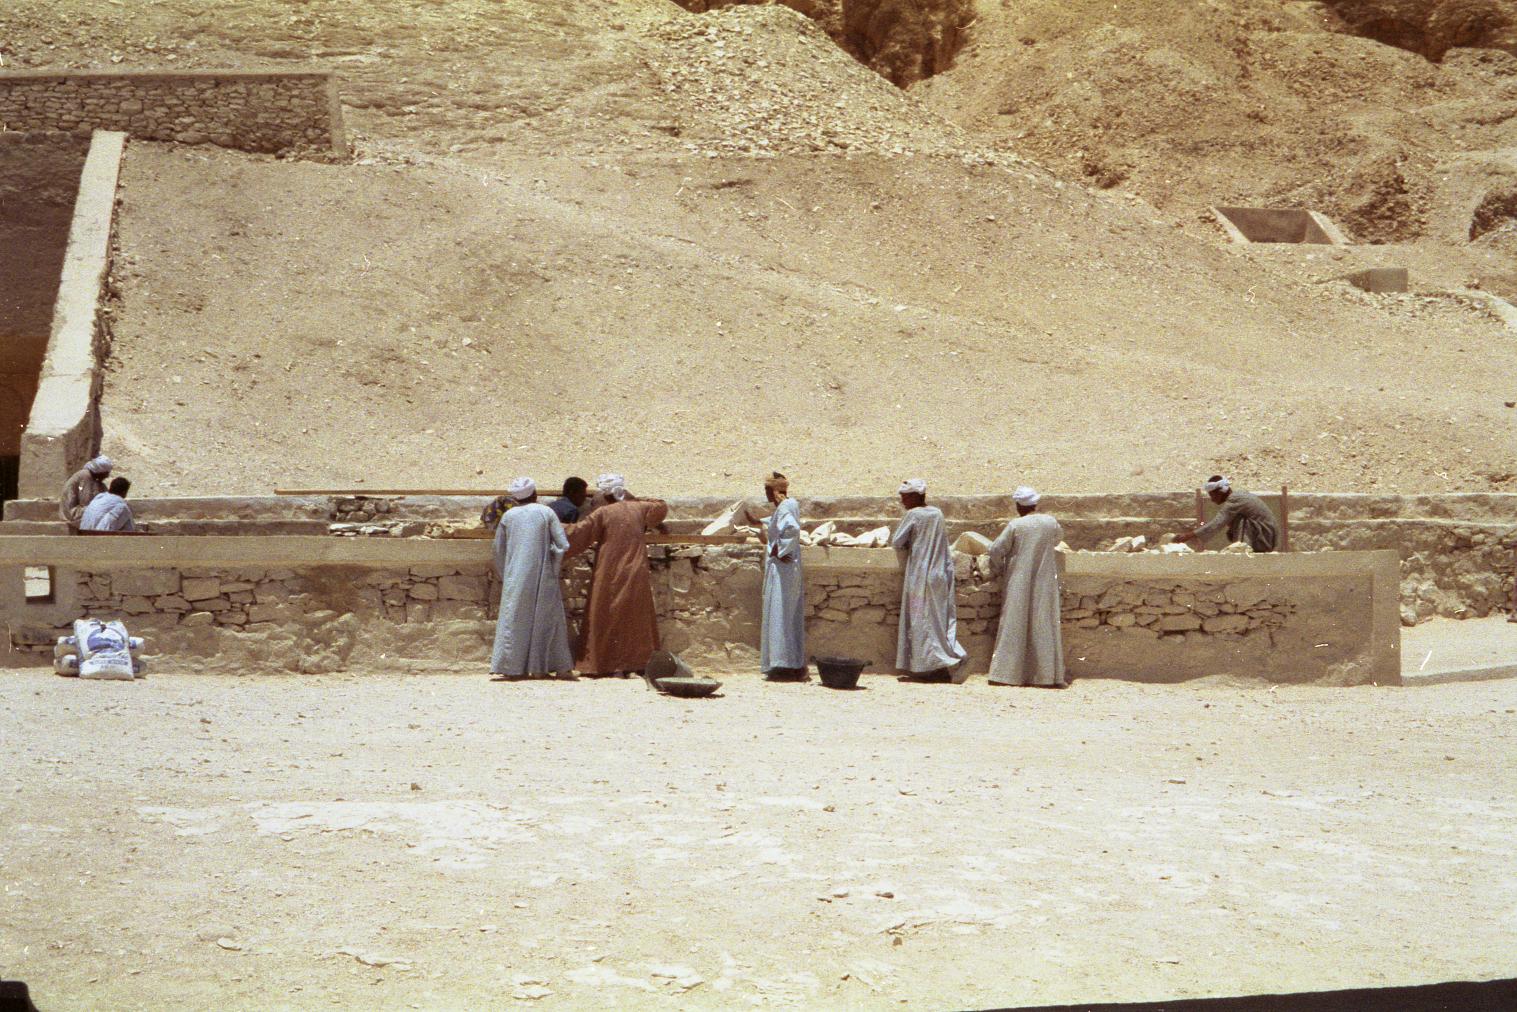
Workers building flood protection around Tutankhamen's tomb (KV 62) in 1995. Courtesy of Richard Sellicks.
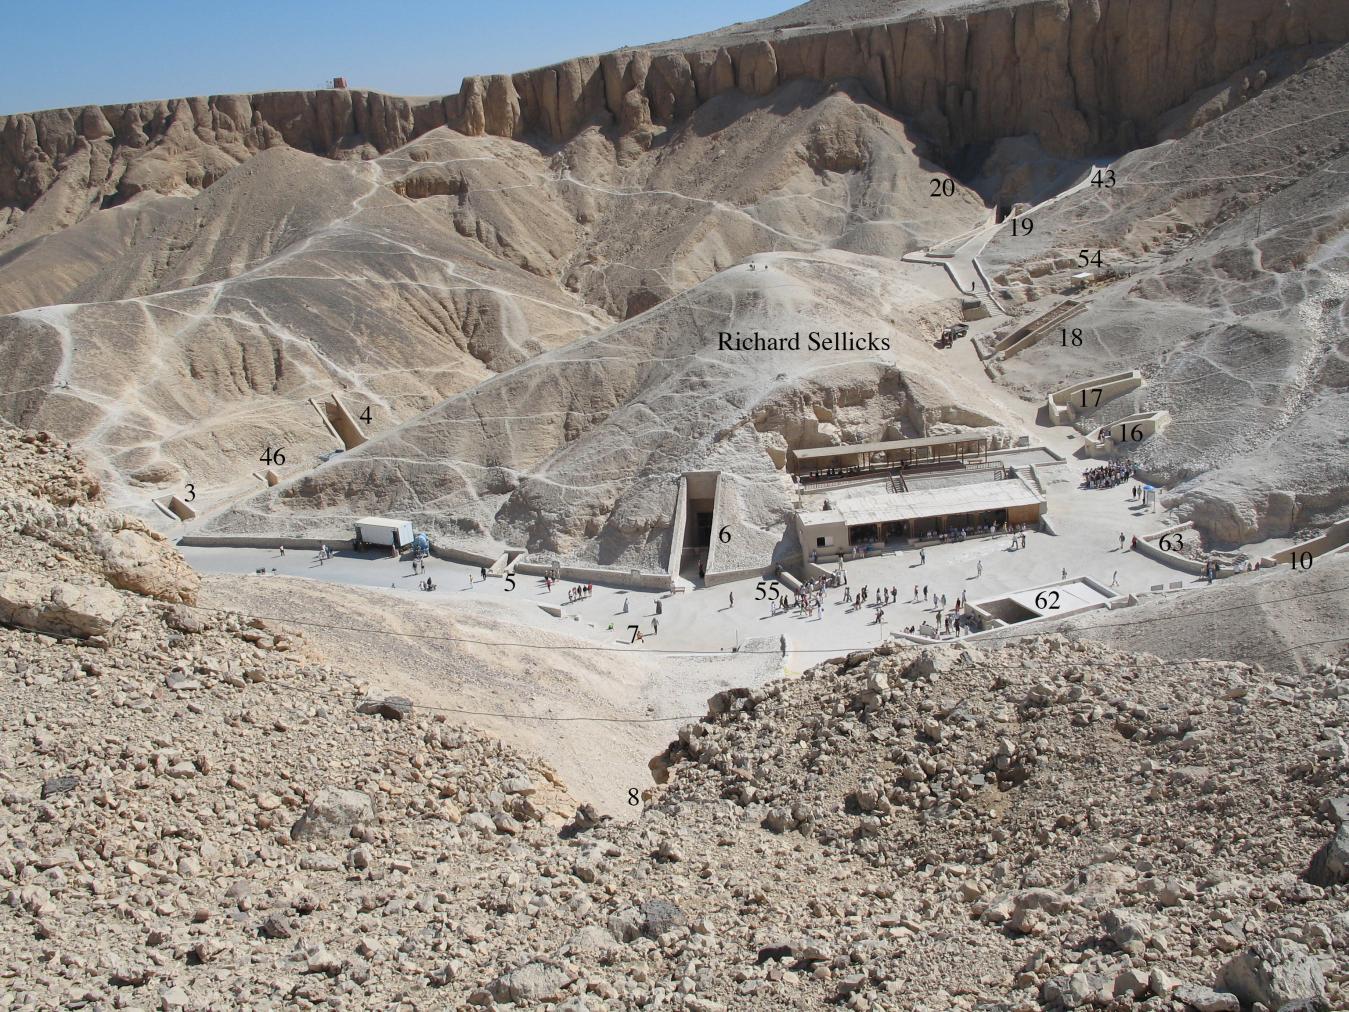
View of Tutankhamen's tomb (KV 62) at the bottom right-hand corner. Courtesy of Richard Sellicks.
View of modern protection superstructure around Tutankhamen's tomb (KV 62). Courtesy of Richard Sellicks.
Bibliography
Cottrell, Leonard. The Secrets of Tutankhamen. London: Evans Brothers, 1965.
Desroches-Noblecourt, Christiane. Toutankhamon et son temps: Petit Palais, Paris, 17 février-juillet 1967. Paris: Réunion des Musées Nationaux, 1967.
Drenkhan, Rosemarie. Eine Umbettung Tutanchamuns? Mitteilungen des Deutschen Archäologischen Instituts: Abteilung Kairo, 39 (1983): 29-37.
Eaton-Krauss, Marianne. The Sarcophagus in the Tomb of Tut'ankhamun. In: Carl Nicholas Reeves (ed.). After Tut'ankhamun: Research and Excavation in the Royal Necropolis at Thebes. London: KPI, 1992: 85-90.
Eaton-Krauss, Marianne. Neue Forschung zum Schatz des Tutanchamun. Antike Welt 22 (1991): 97-105.
Eaton-Krauss, Marianne. The Sarcophagus in the Tomb of Tutankhamun. Oxford; Griffith Institute, 1993.
Eaton-Krauss, Marianne and E. Graefe. The Small Golden Shrine From the Tomb of Tutankhamun. Oxford: Griffith Institute, 1985.
Edwards, I.E.S. The Treasures of Tutankhamun. New York: Viking, 1973. Published also in London: BM, 1972, but without the author's name on the title-page; New York: MMA, 1976.
Edwards, I.E.S. Tutankhamun: His Tomb and Its Treasures. New York: MMA and Knopf, 1976.