KV 34
Thutmes III

Entryway A
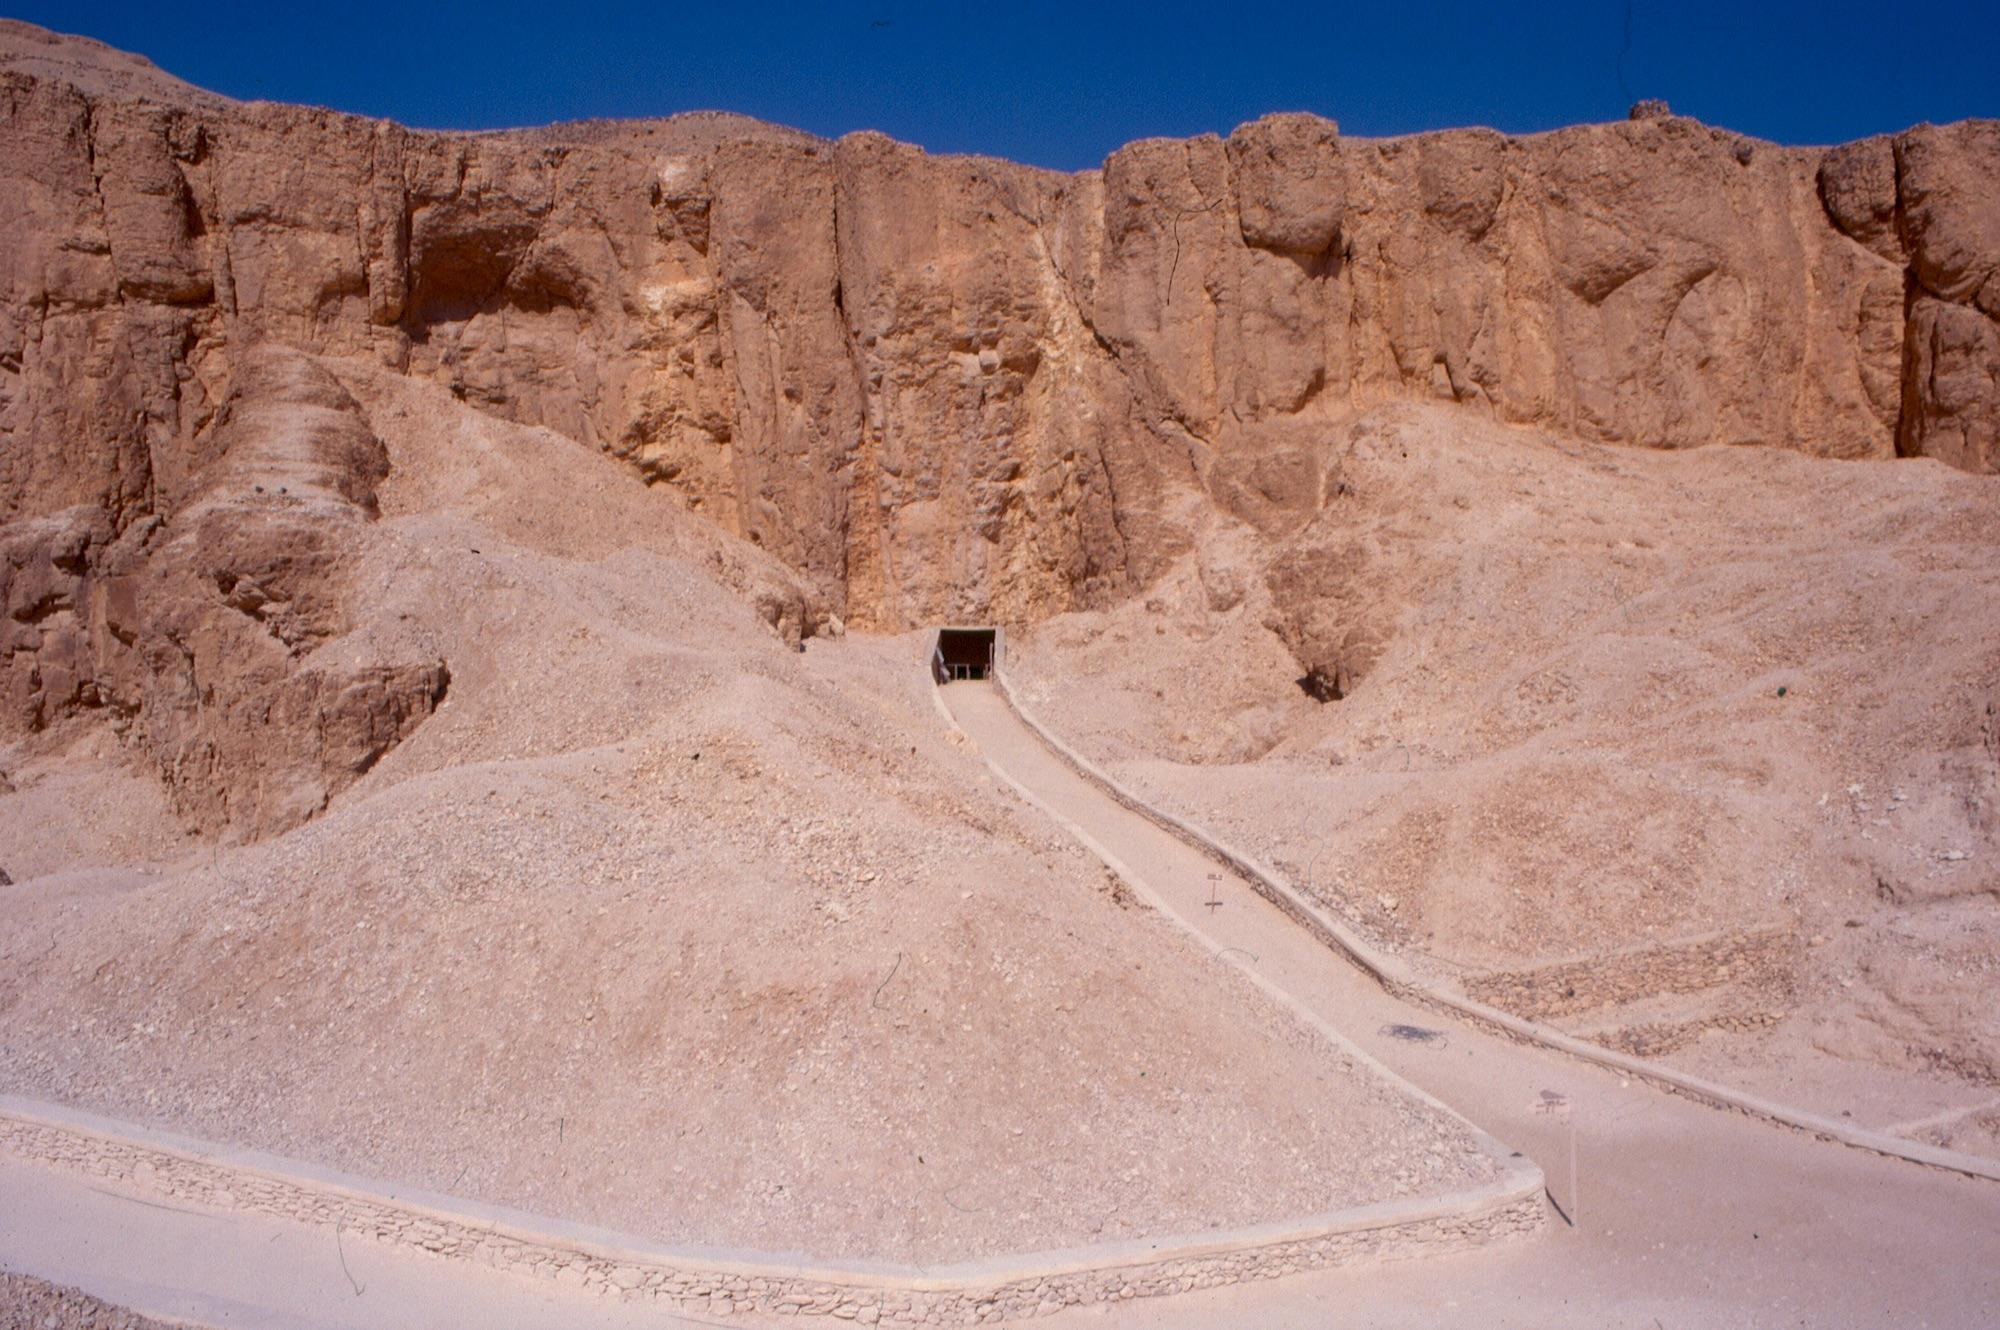
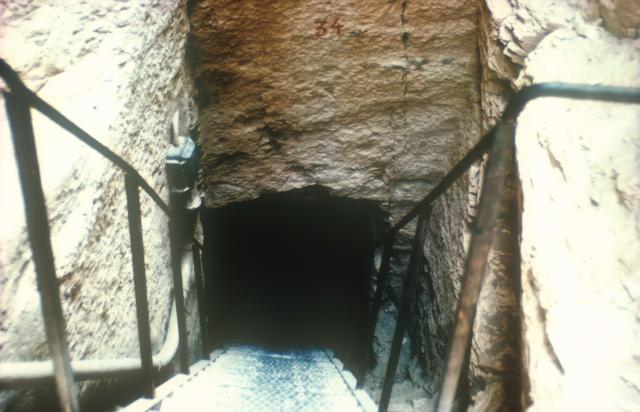
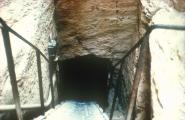
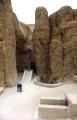
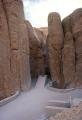
See entire tombThis roughly cut entryway lies high in the cleft of the hill south of the Valley of the Kings. A steep staircase descends deep into the mountain. Foundation deposits were found near the tomb.
Porter and Moss designation:
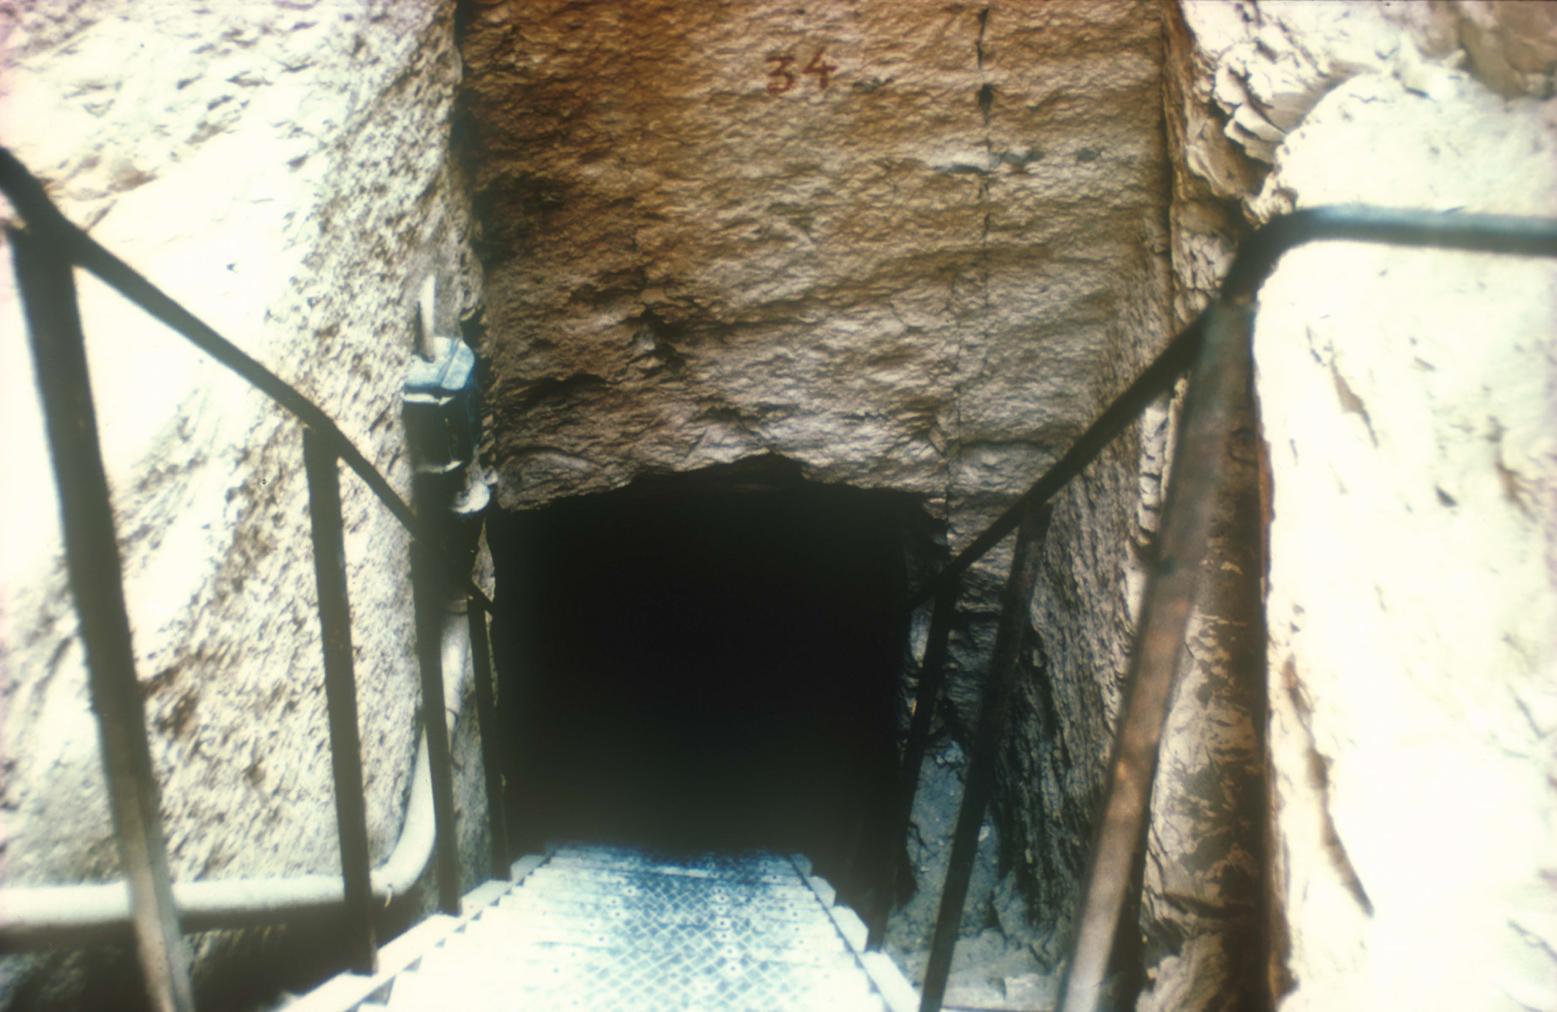
Tomb entrance.
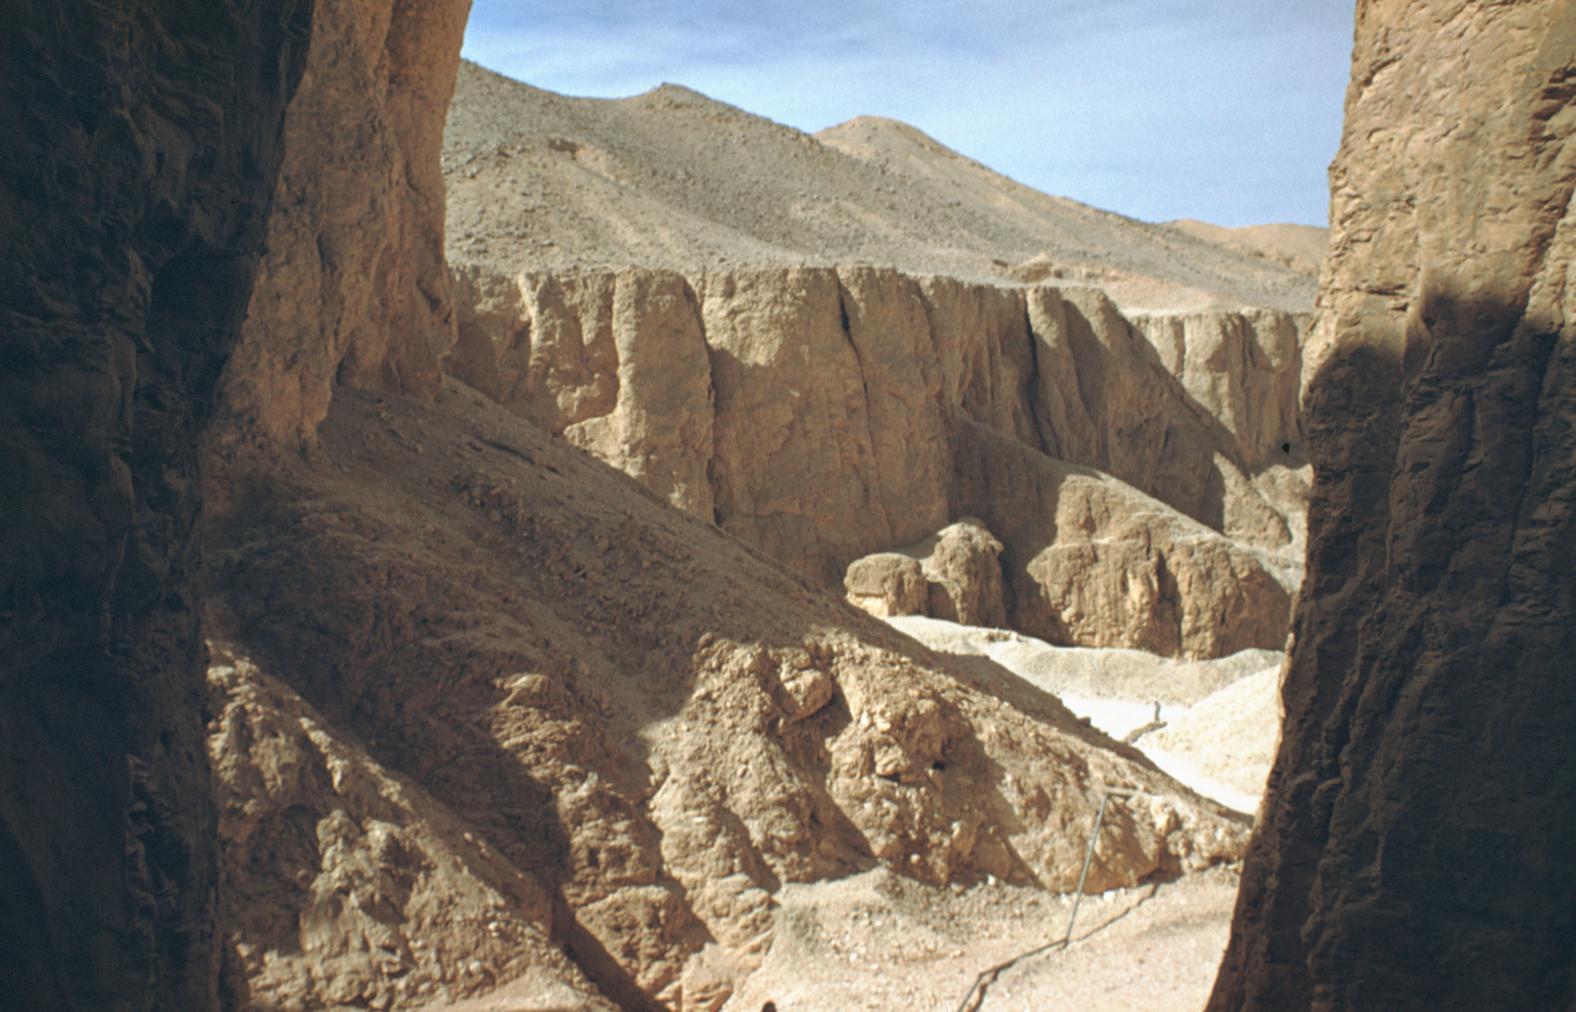
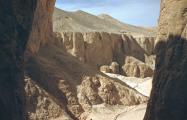
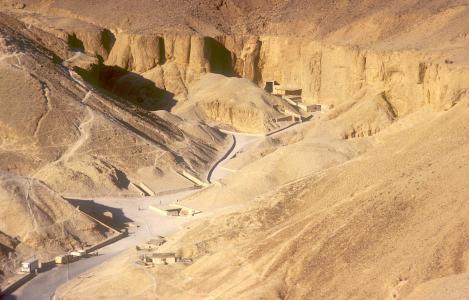
View from in front of the tomb entrance towards the East valley. Courtesy of Uni Dia Verlag; Uni Dia Image Nr. 35003
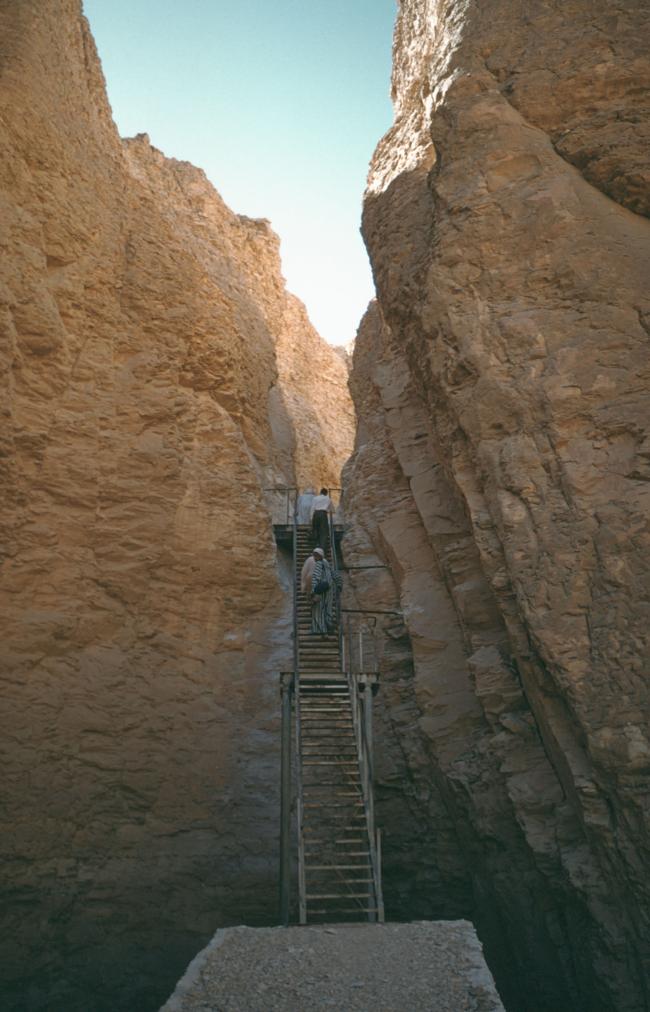
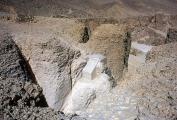
Entrance stairs to the tomb. Courtesy of Uni Dia Verlag; Uni Dia Image Nr. 35004
Gate B
See entire tombThe stairs of this gate are irregular and badly damaged.
Porter and Moss designation:
Corridor B
See entire tombThere is a small bench cut immediately before the left (east) jamb of gate C.
Porter and Moss designation:
Gate C
See entire tombThis gate continues the slope from corridor B to chamber C, and begins the steps in stairwell C. The west jamb was cut back.
Porter and Moss designation:
Stairwell C
See entire tombThere are roughly cut recesses in the walls of this stairwell. The staircase is poorly preserved.
Porter and Moss designation:
Gate D
See entire tombThe slope of this simple gate continues in corridor D.
Porter and Moss designation:
Corridor D
See entire tombThis corridor is very steep. There is a landing at its end.
Porter and Moss designation:
Gate E
See entire tombThis simple gate leads from corridor D to well chamber E.
Porter and Moss designation:
Well chamber E
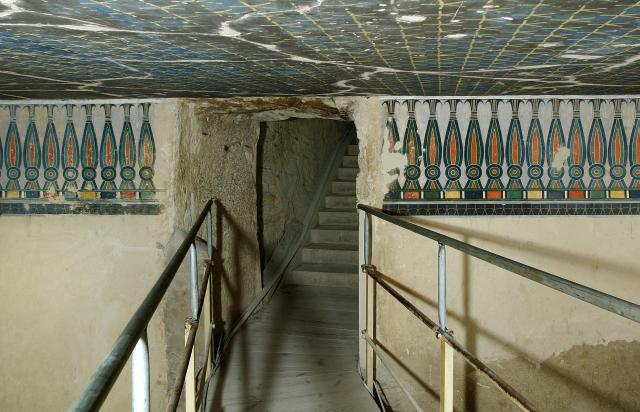
See entire tombThe well chamber is well cut. Its ceiling and walls are plastered and partly decorated.
Porter and Moss designation:
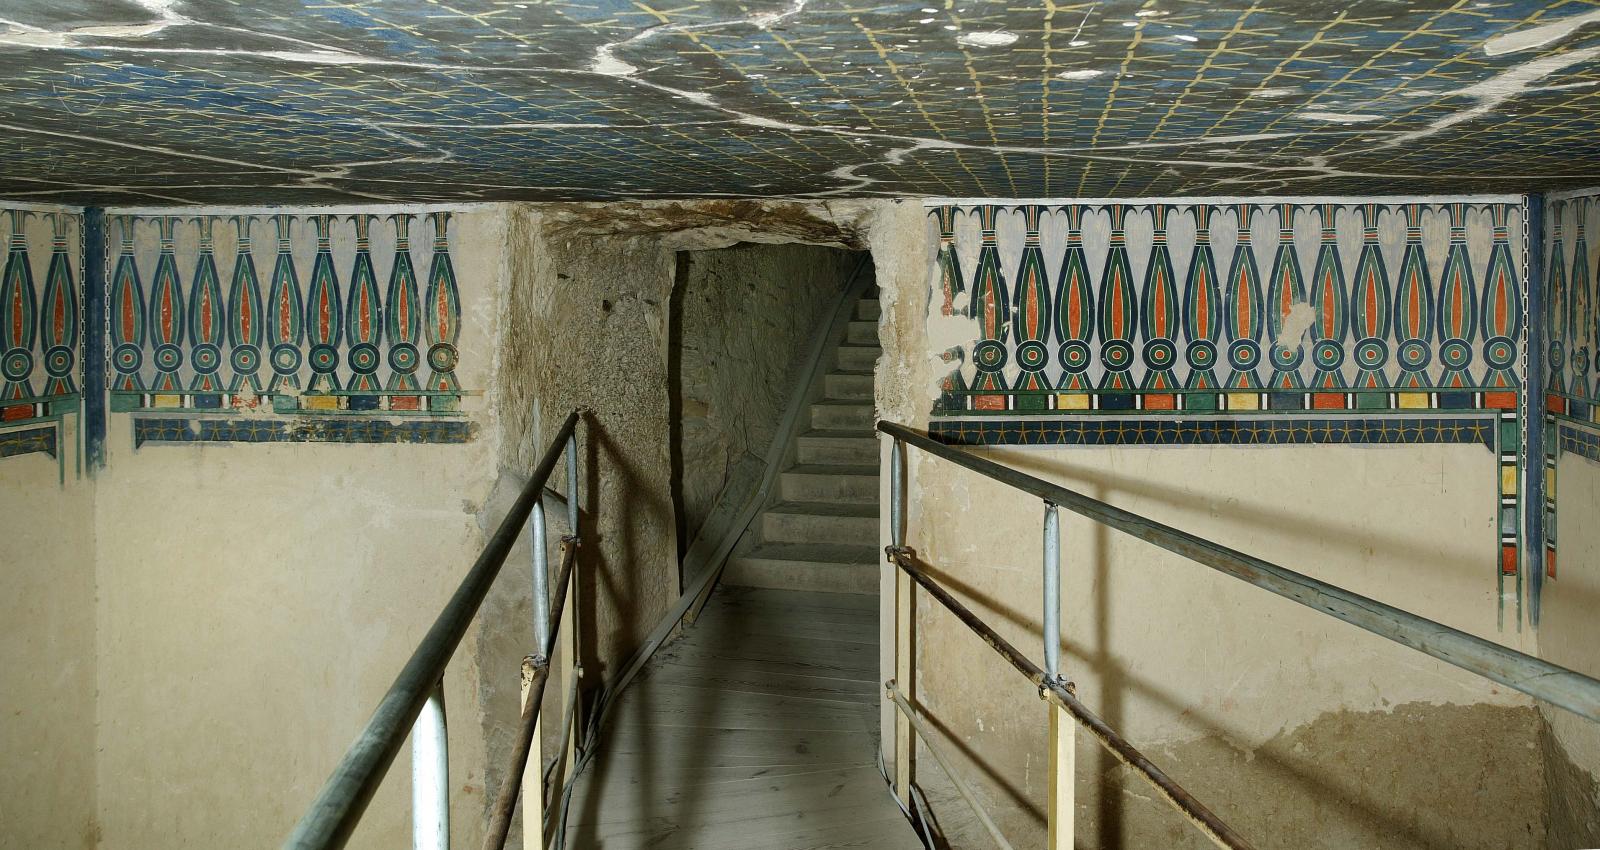
Well Chamber E, tomb of Thutmes III.
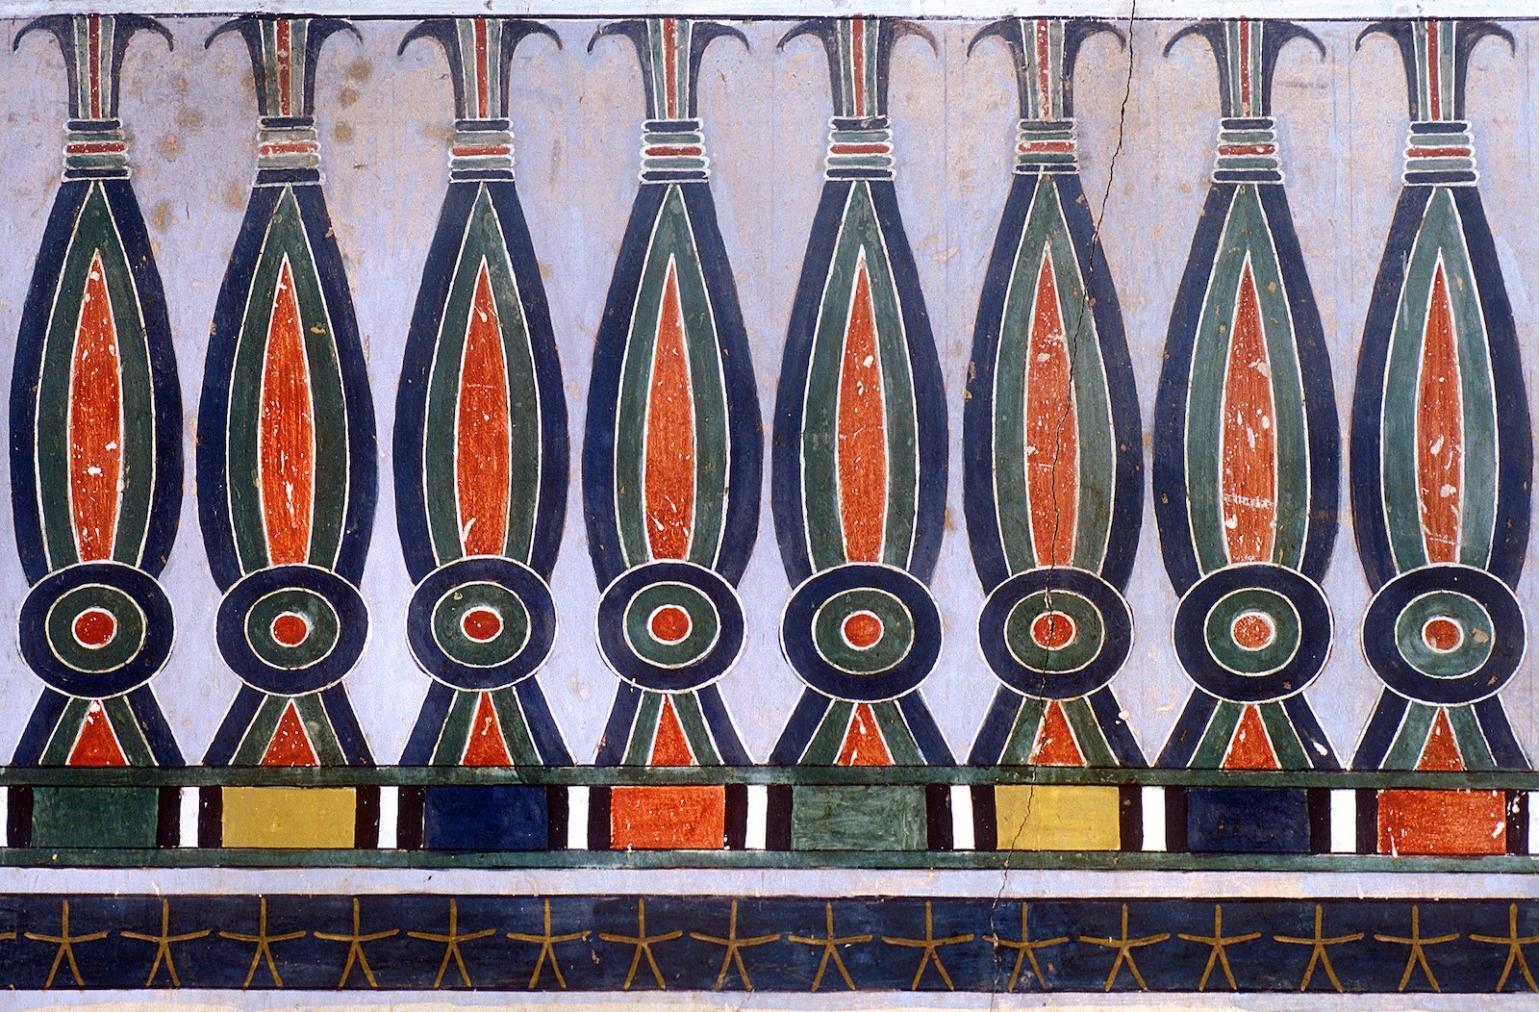
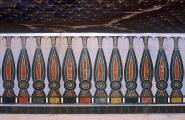
Kheker freize (detail)
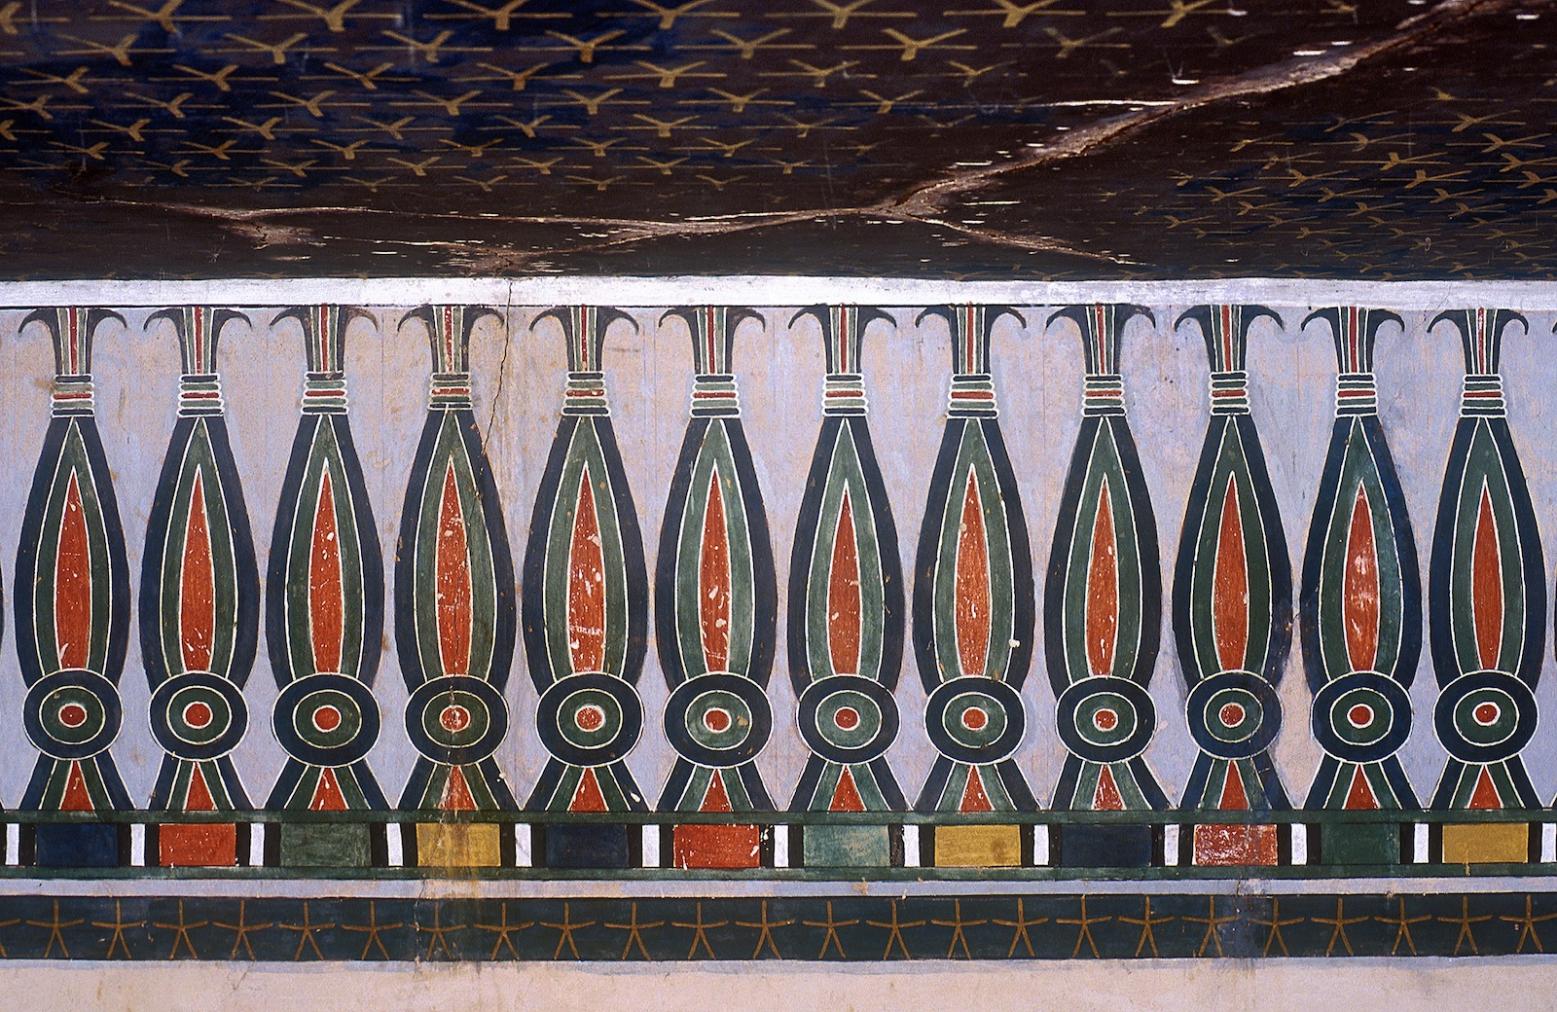
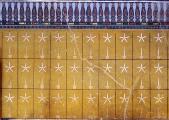
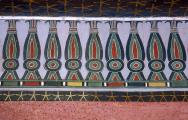
Star pattern; kheker frieze (detail).
Gate F
See entire tombThis simple, undecorated gate leads from well chamber E to pillared chamber F.
Porter and Moss designation:
Pillared chamber F
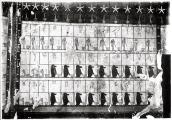
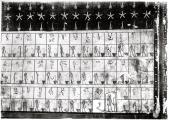
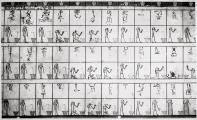
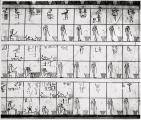
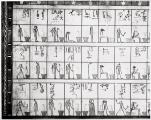
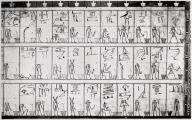
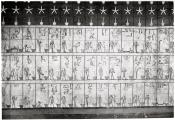
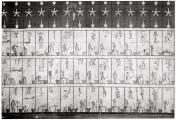
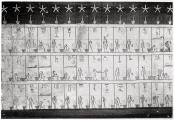
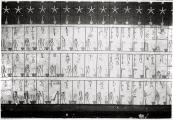
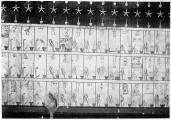
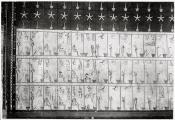
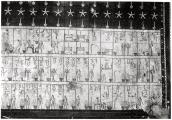
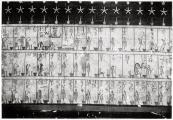
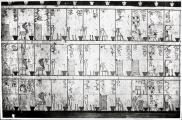
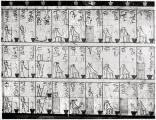
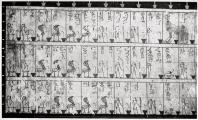
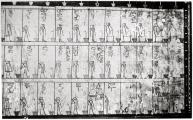
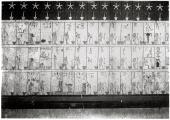
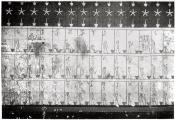
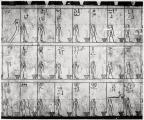
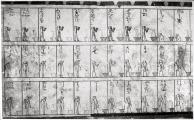
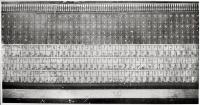
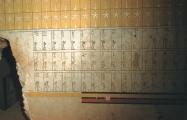
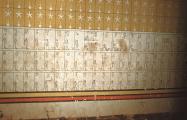
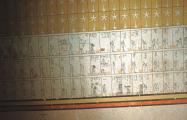
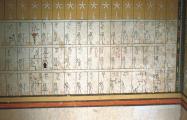
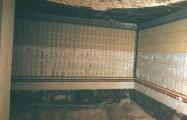
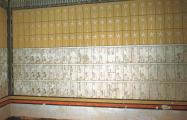
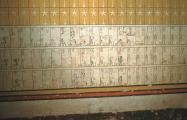
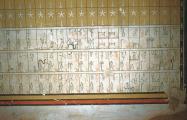
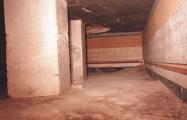
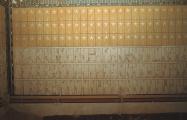
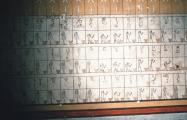
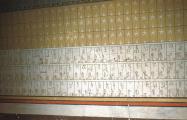
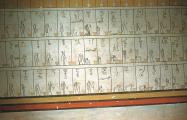
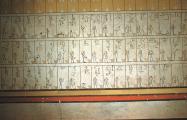
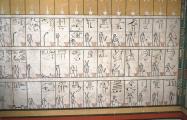
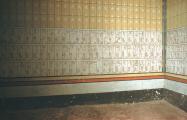
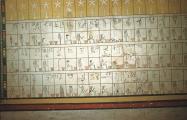
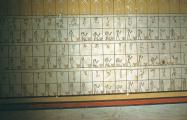
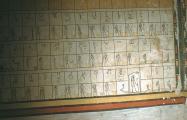
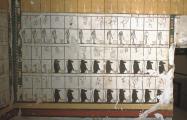
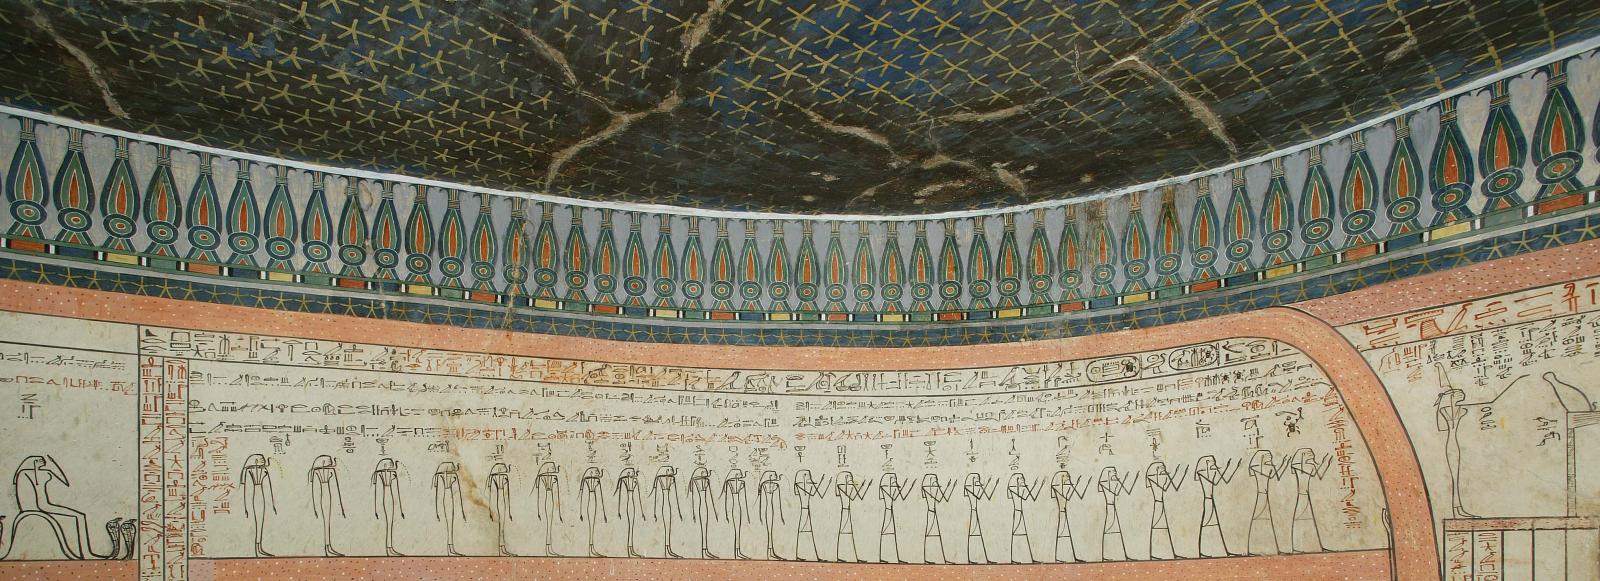
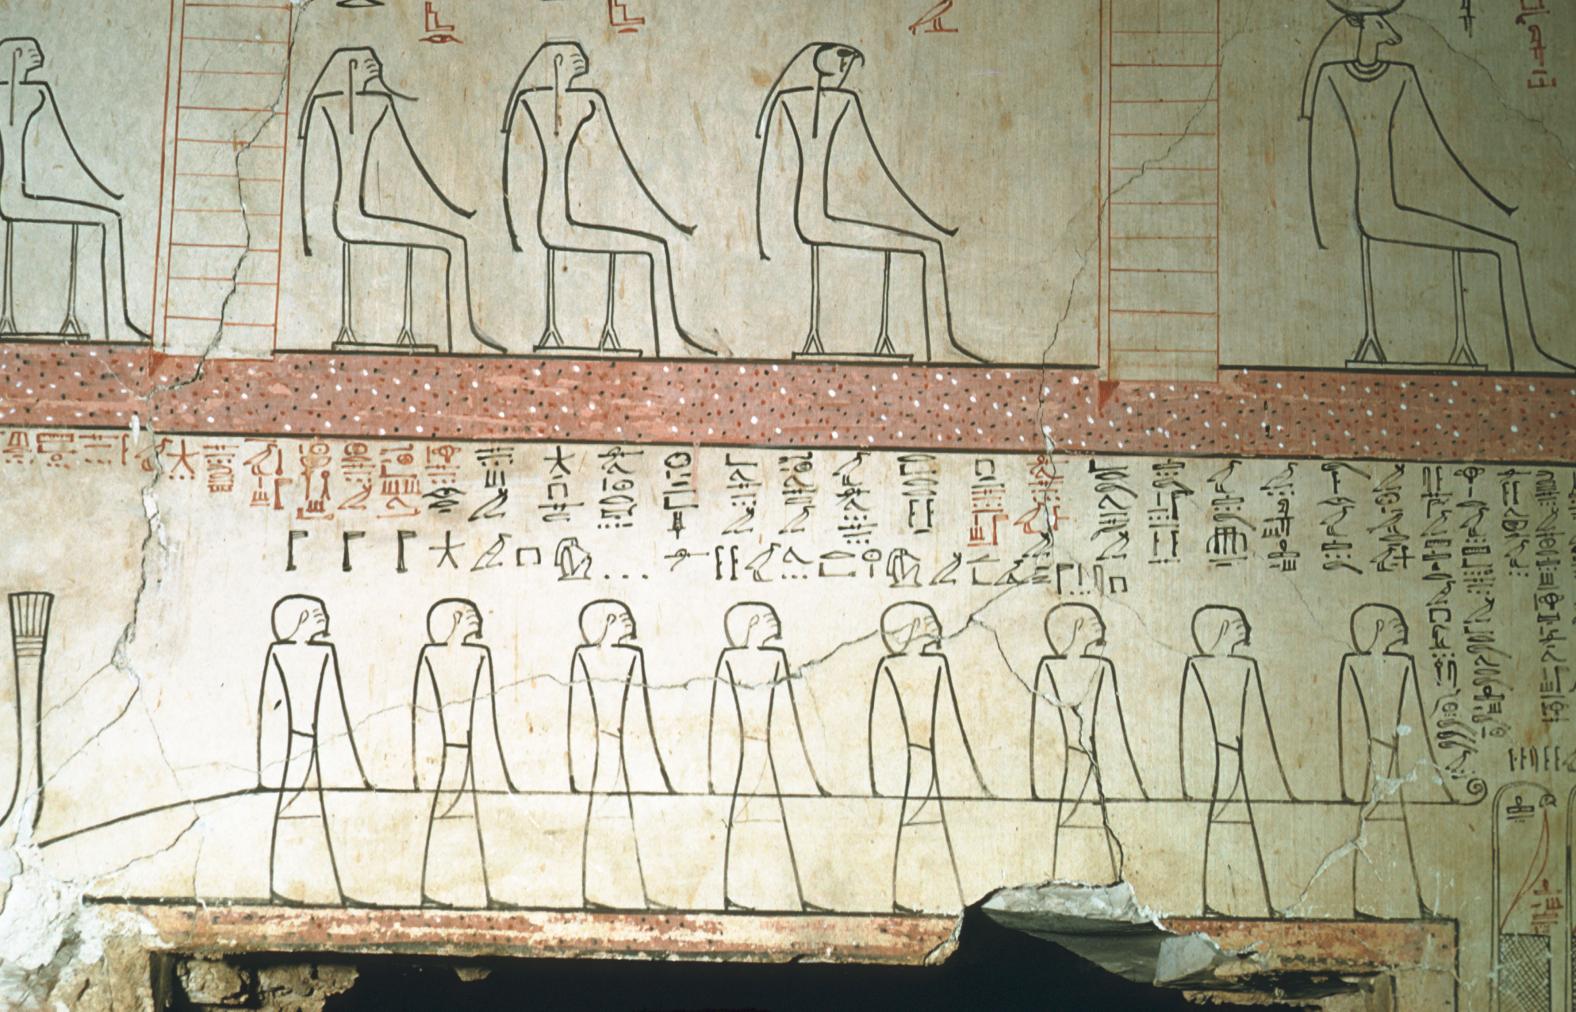
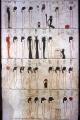
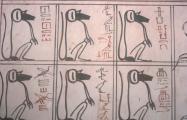
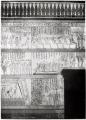
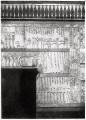
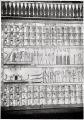
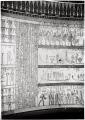
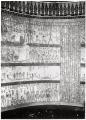
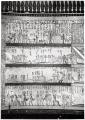
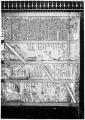
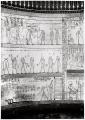
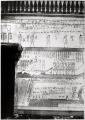
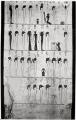
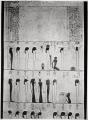
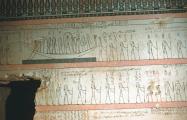
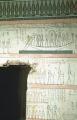
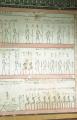
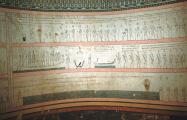
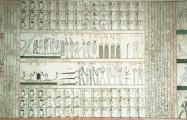
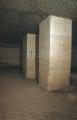
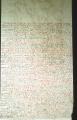
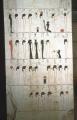
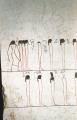
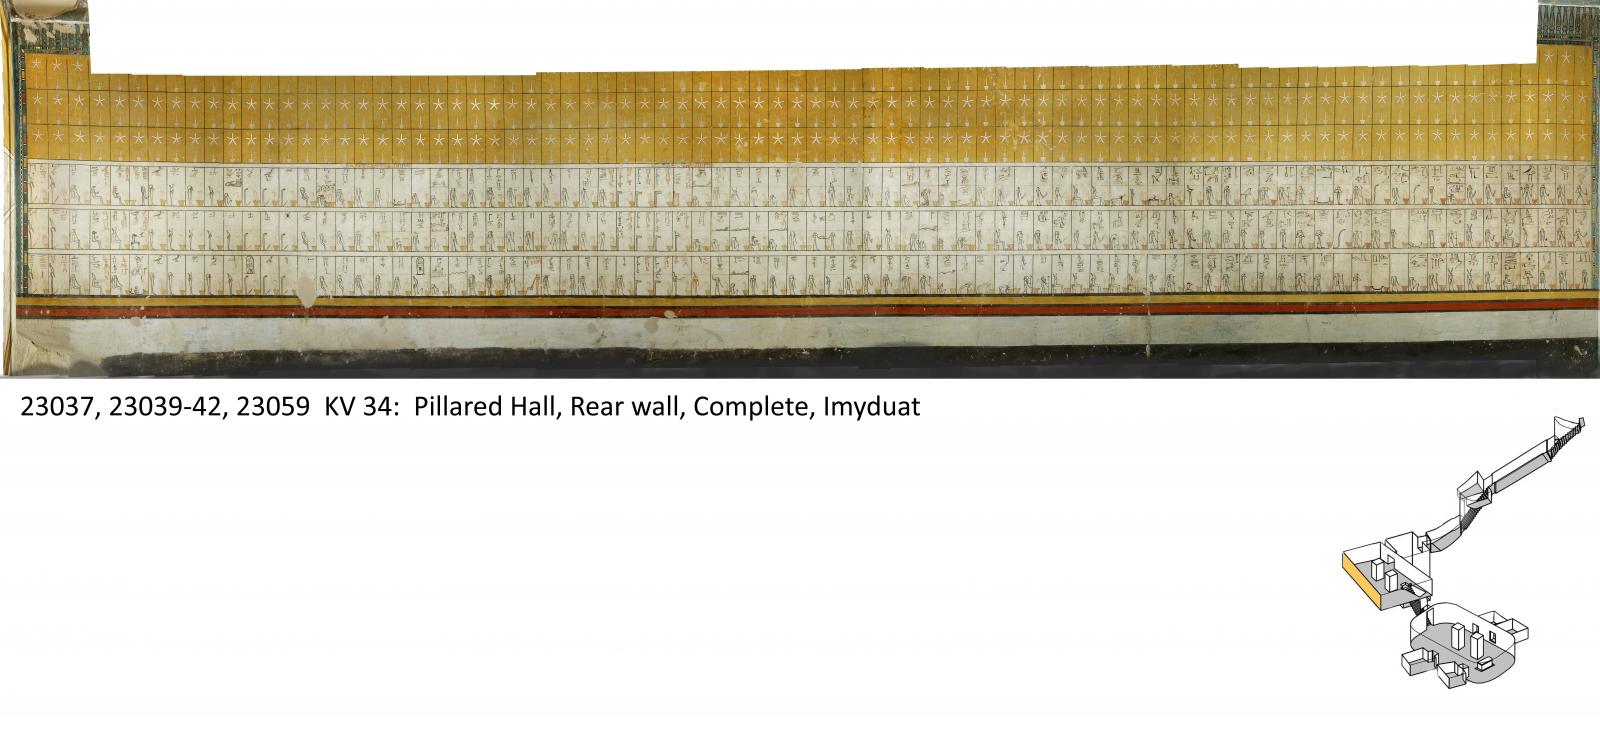
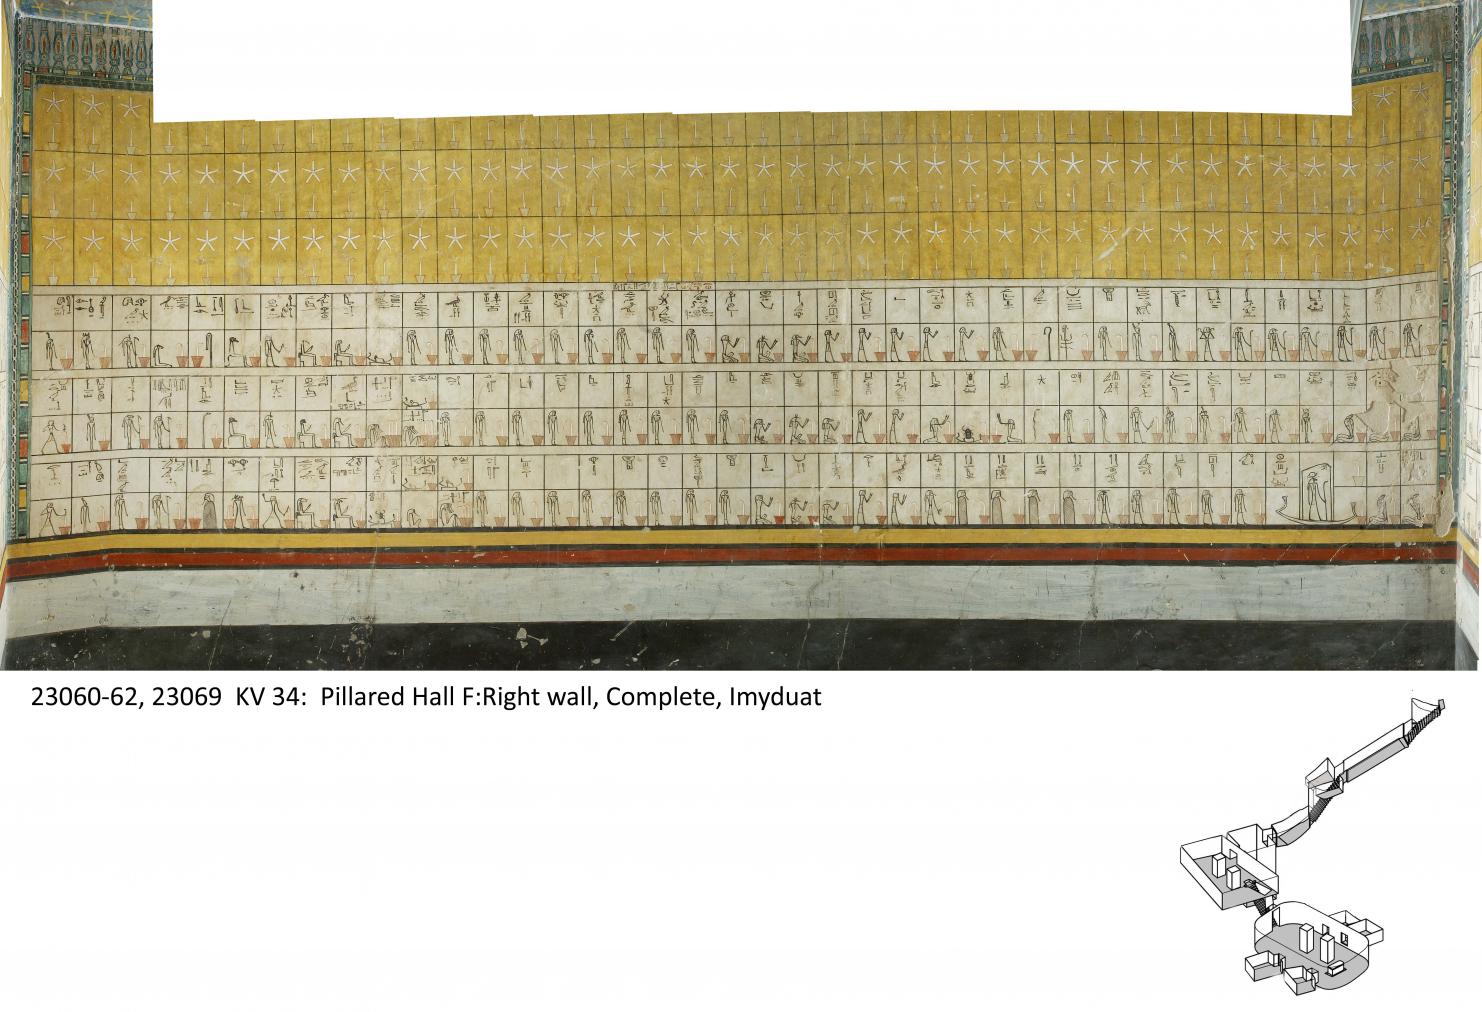
See entire tombThis large unfinished chamber contains two pillars in its center. The walls meet at oblique angles. Walls and ceiling are covered with plaster. The wall decoration is unique: it lists 741 divinities of the Imydwat, a motif which is not found elsewhere. A descent descends through the floor of pillared chamber F to gate J.
Porter and Moss designation:
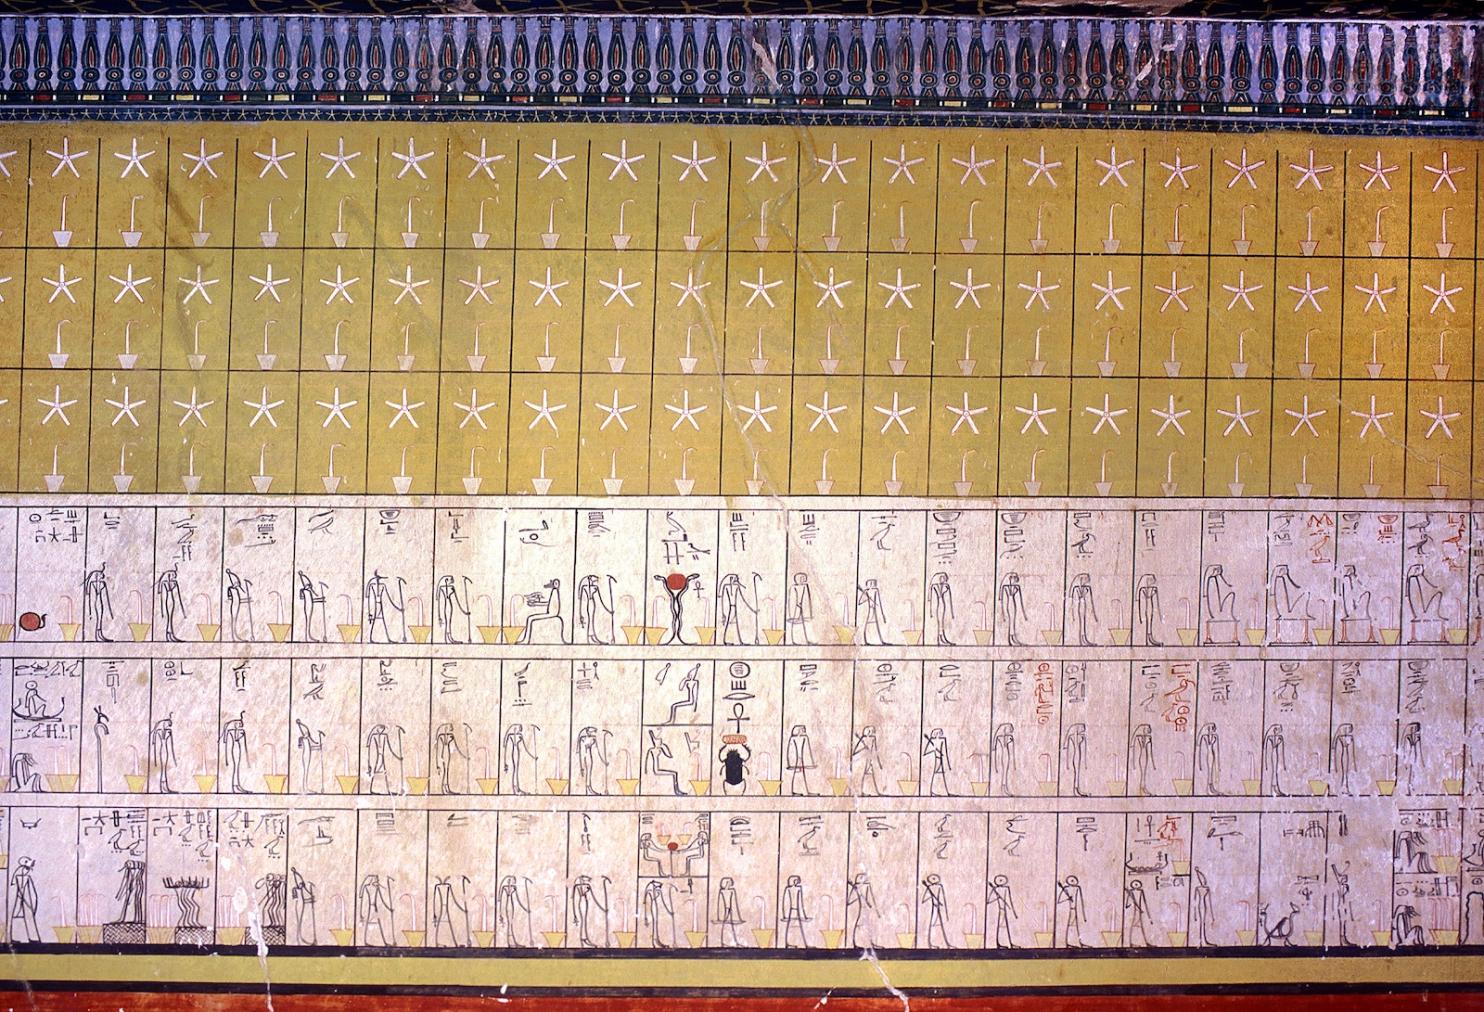
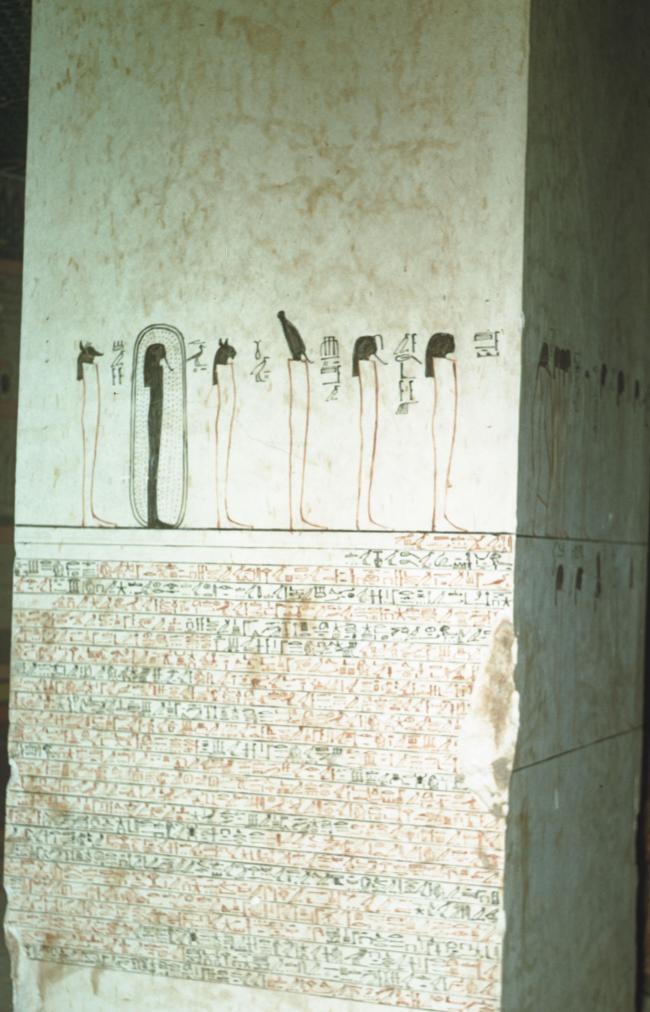
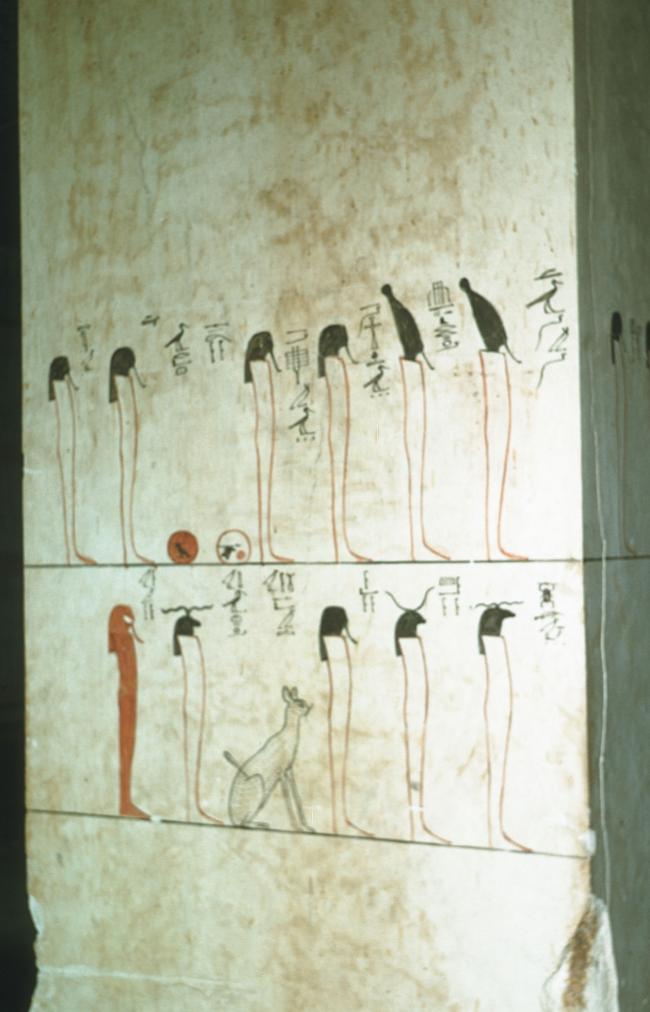
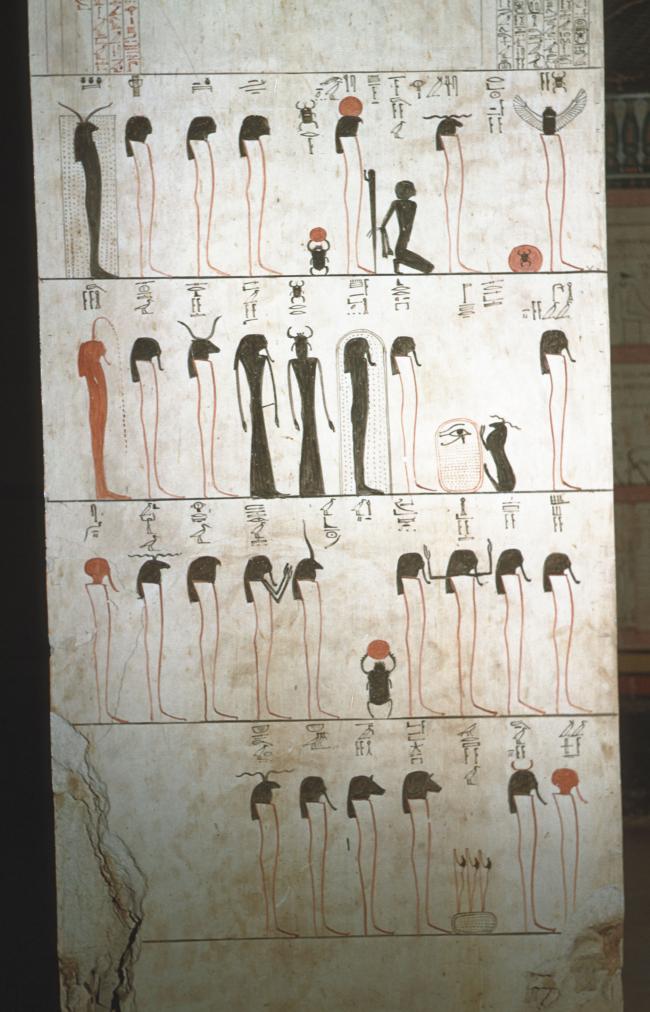
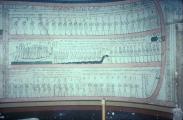
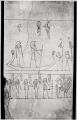
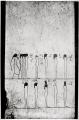
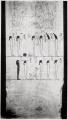
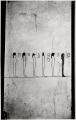
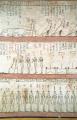
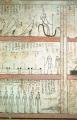
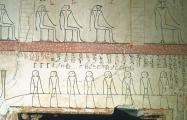
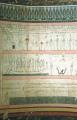
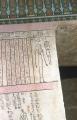
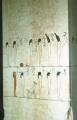
Imydwat, tenth and eleventh hours: list of deities.
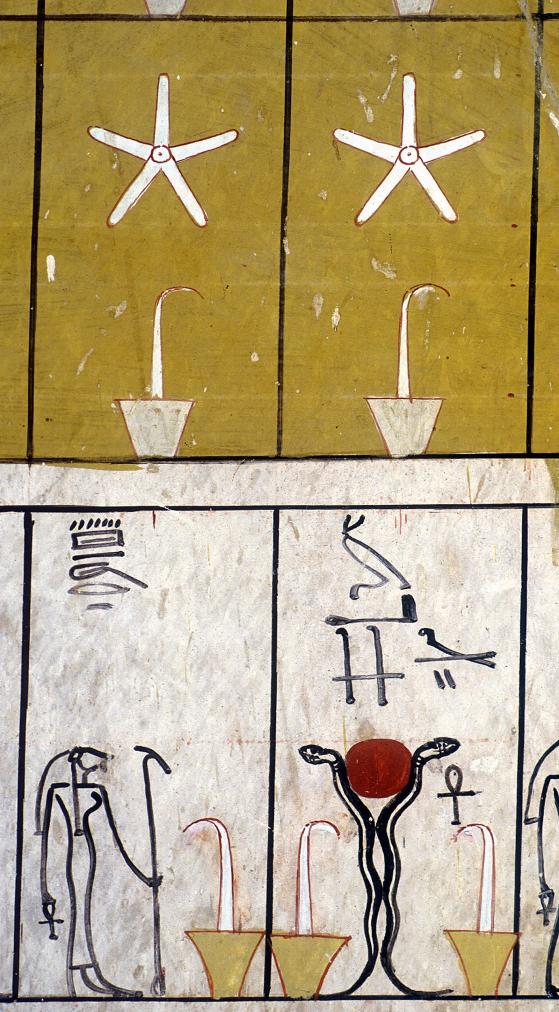
Imydwat, tenth hour, upper register, scene 3, figure 701; scene 2, figure 696; scene 1, figure 693.
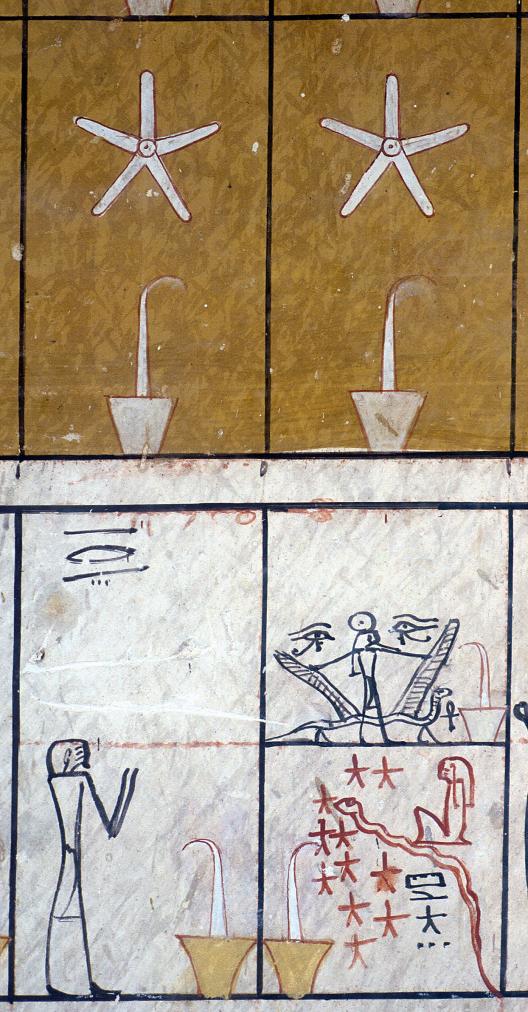
Imydwat, eleventh hour, scene 4, figure 761; scene 2, figures 755-756; scene 3 figures 757-758; scene 9, figure 802: list of deities.
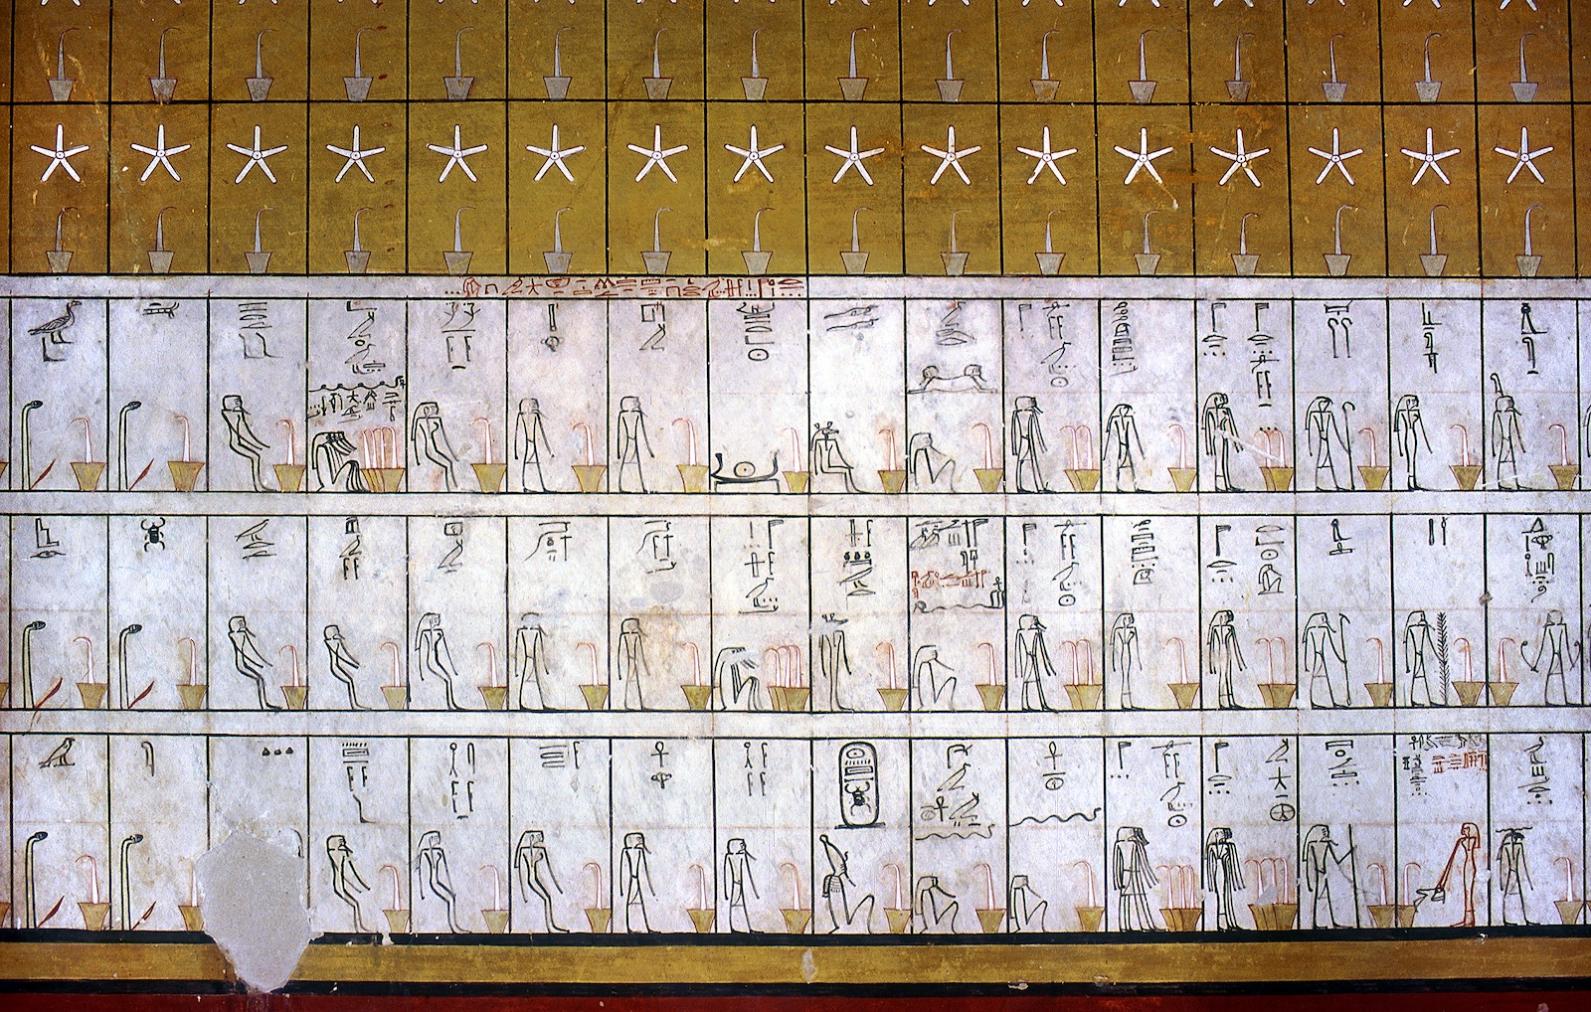
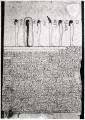
Imydwat, fifth and sixth hours: list of deities.
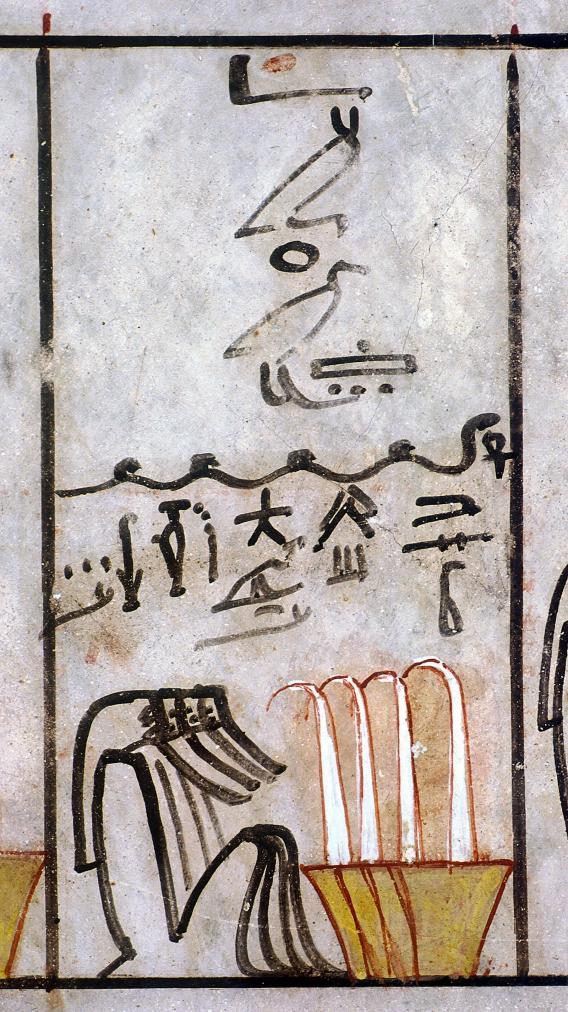
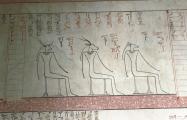
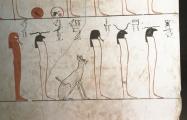
Imydwat, sixth hour, scene 11, figure 472: Four Sons of Horus.
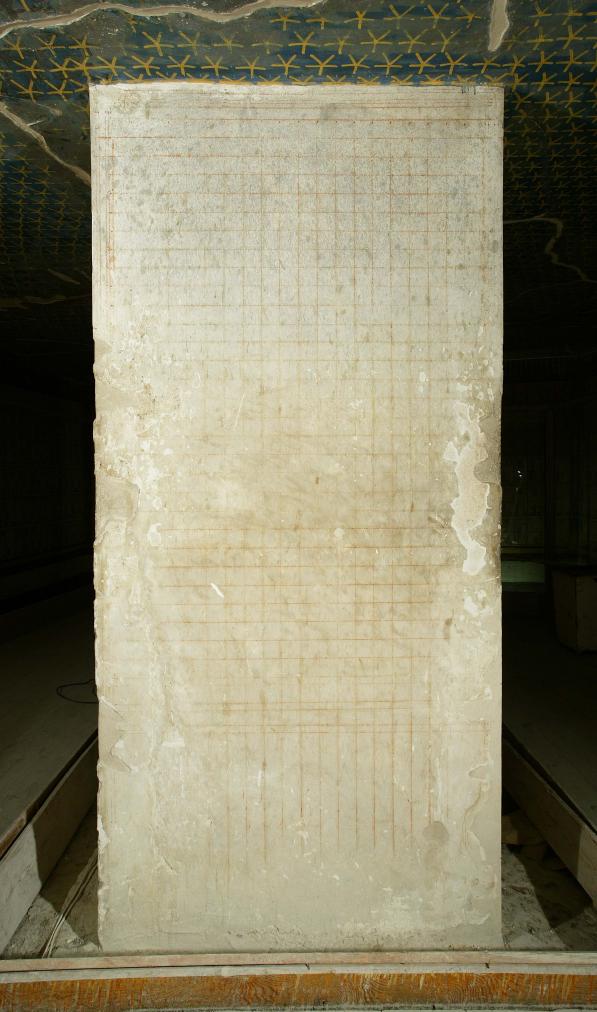
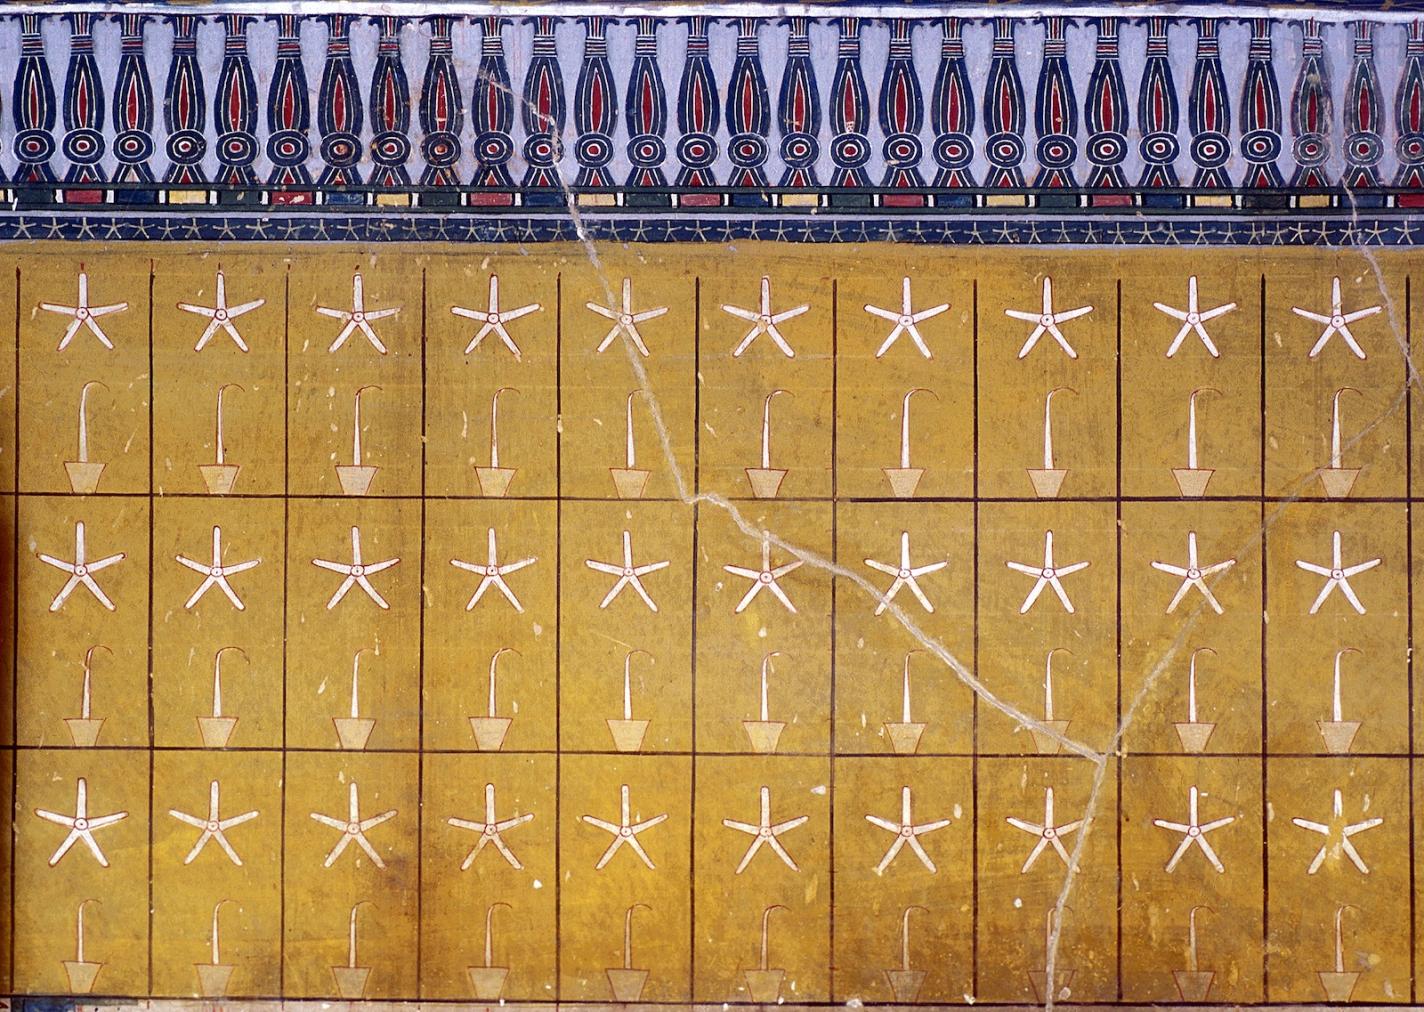
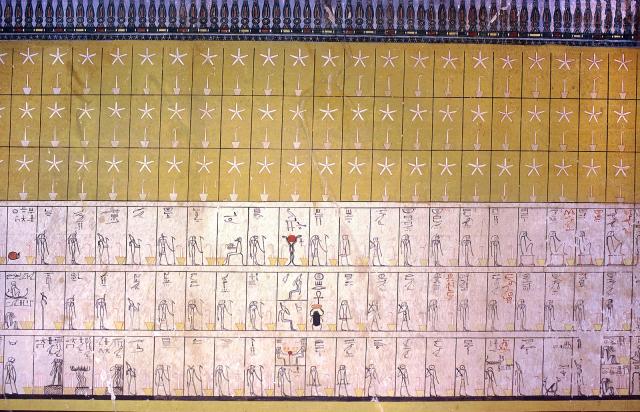
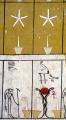
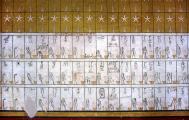
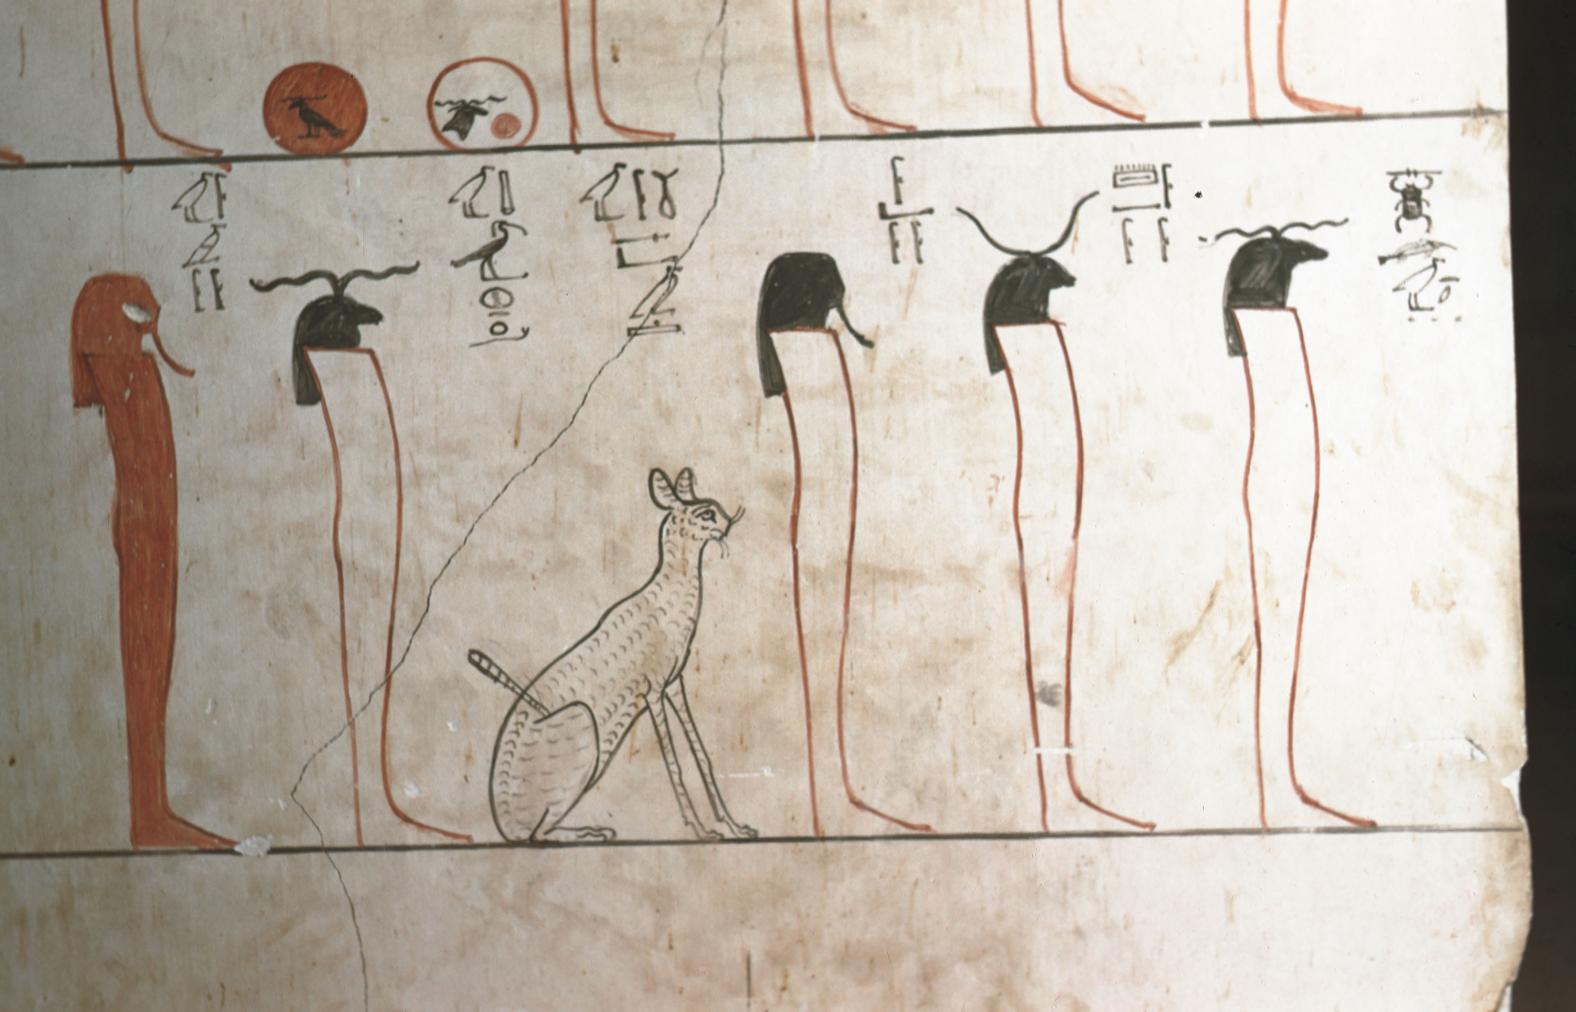
Star pattern; kheker frieze; Imydwat, twelfth hour: grid with stars and incense burners.
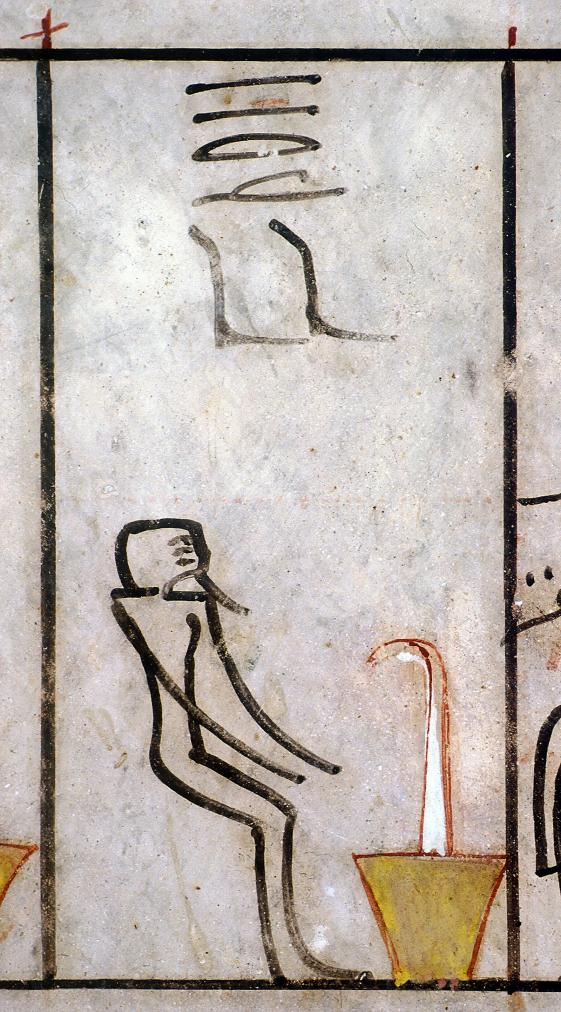
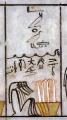
Imydwat,sixth hour, scene 13, figure 475 (detail).
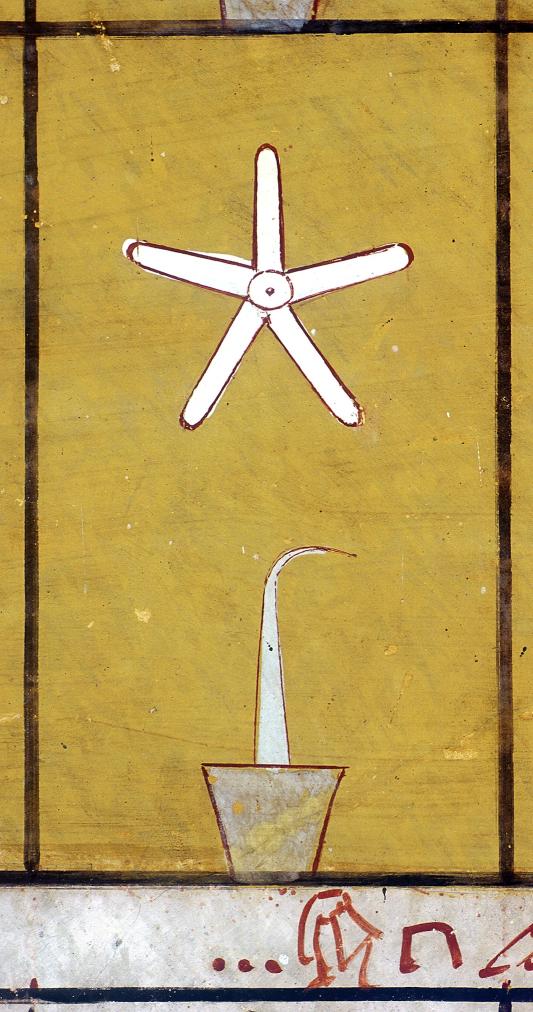
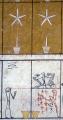
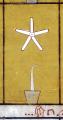
Imydwat, sixth hour: star and incense burner in list of deities (detail)
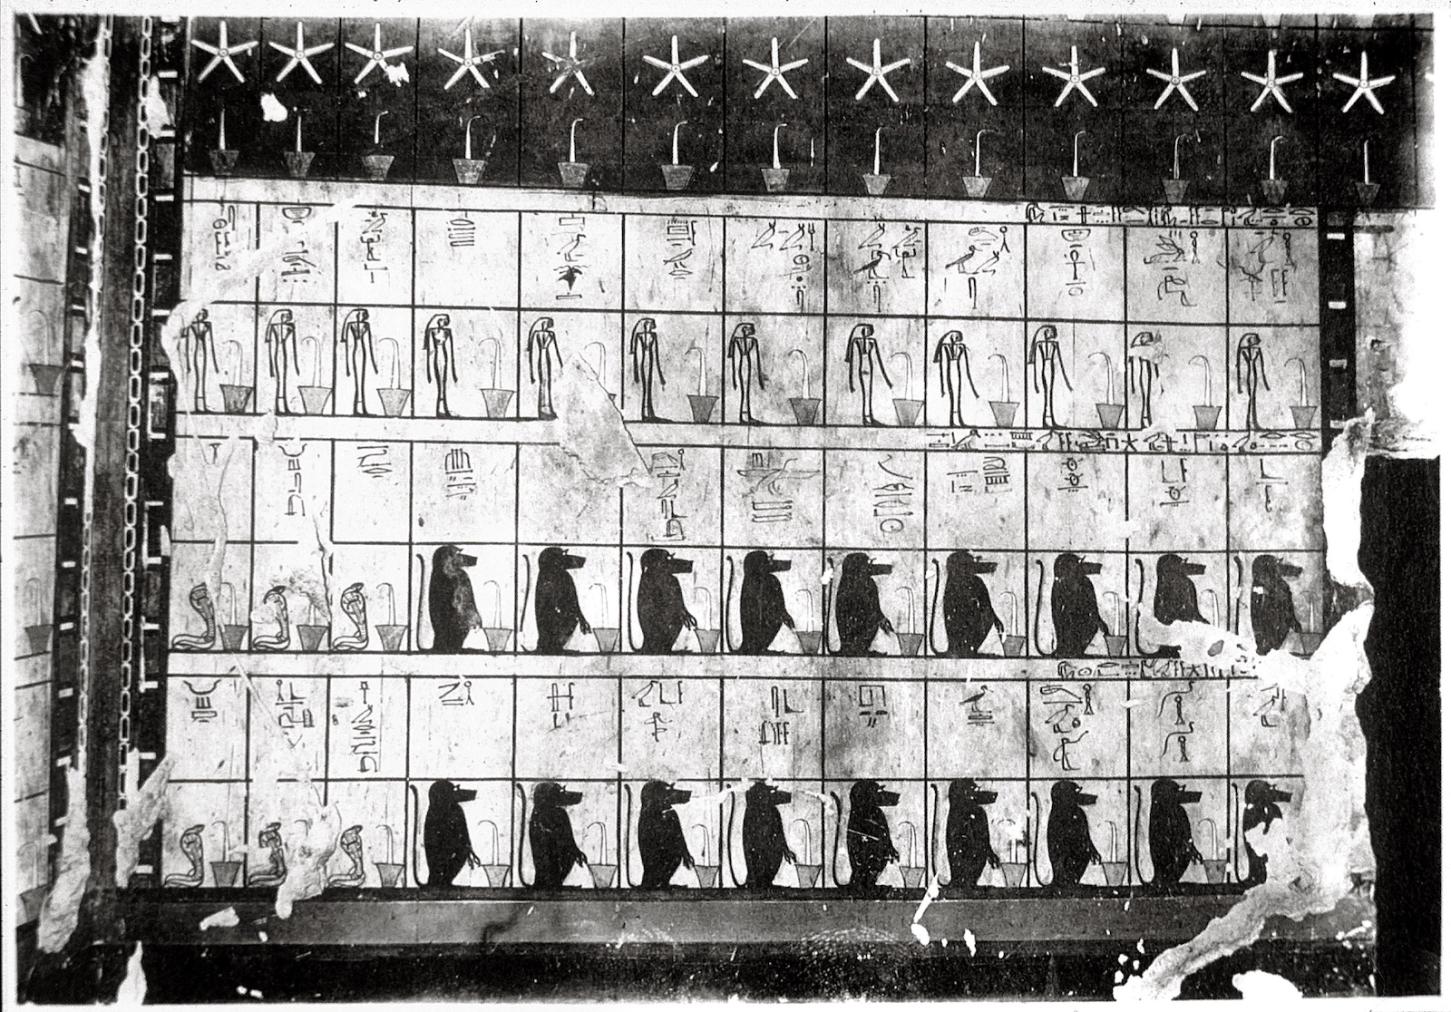
Imydwat, first hour: list of deities.
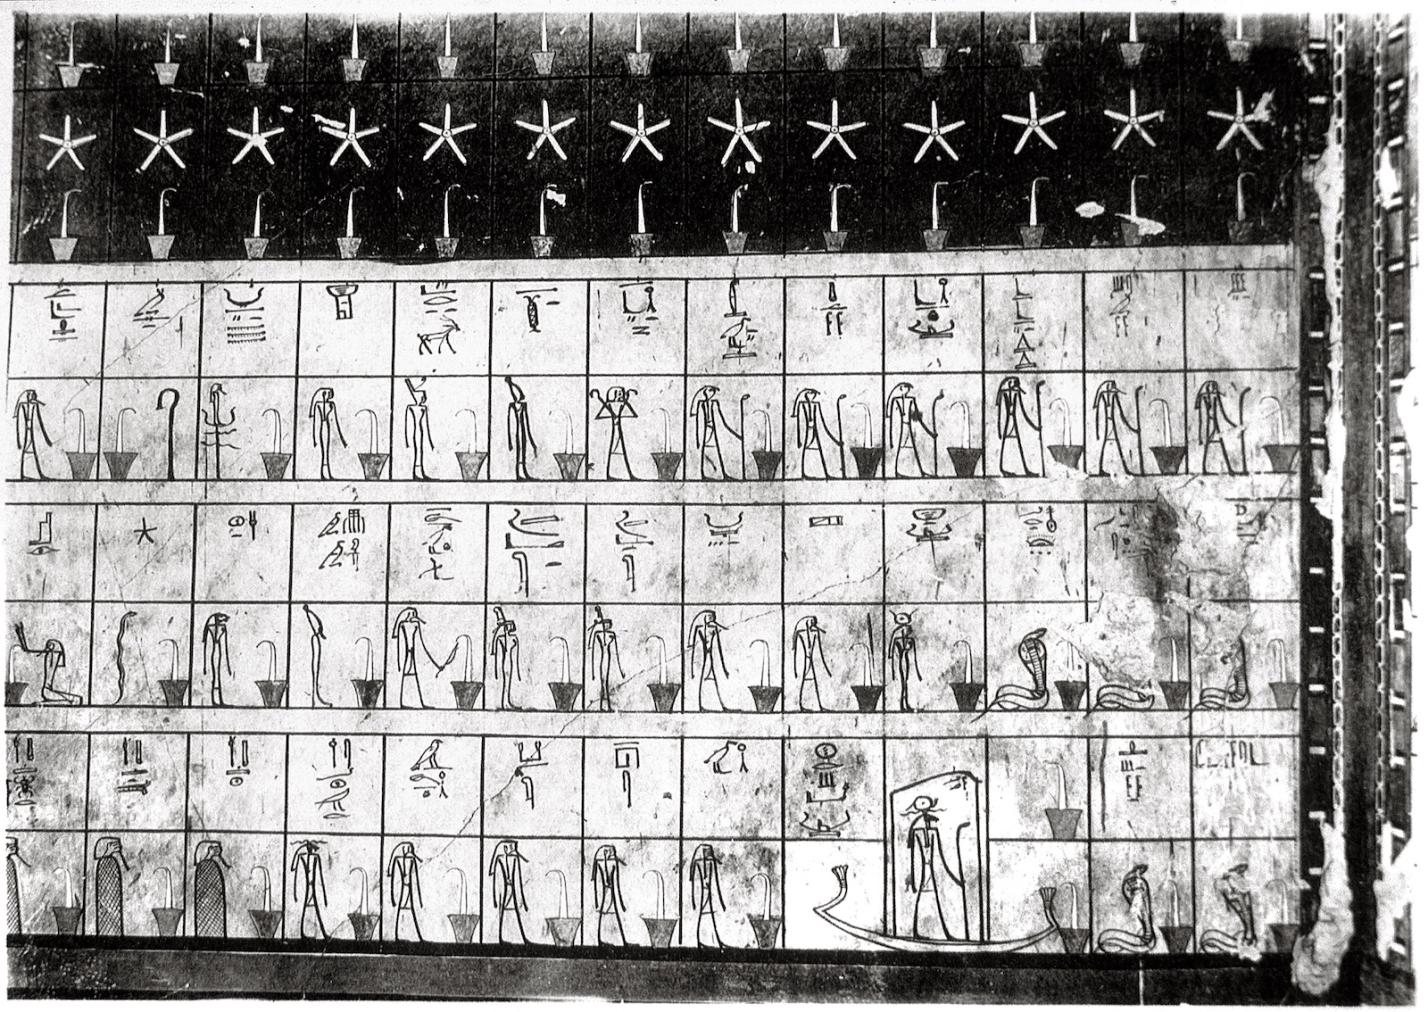
Imydwat, first hour: list of deities.
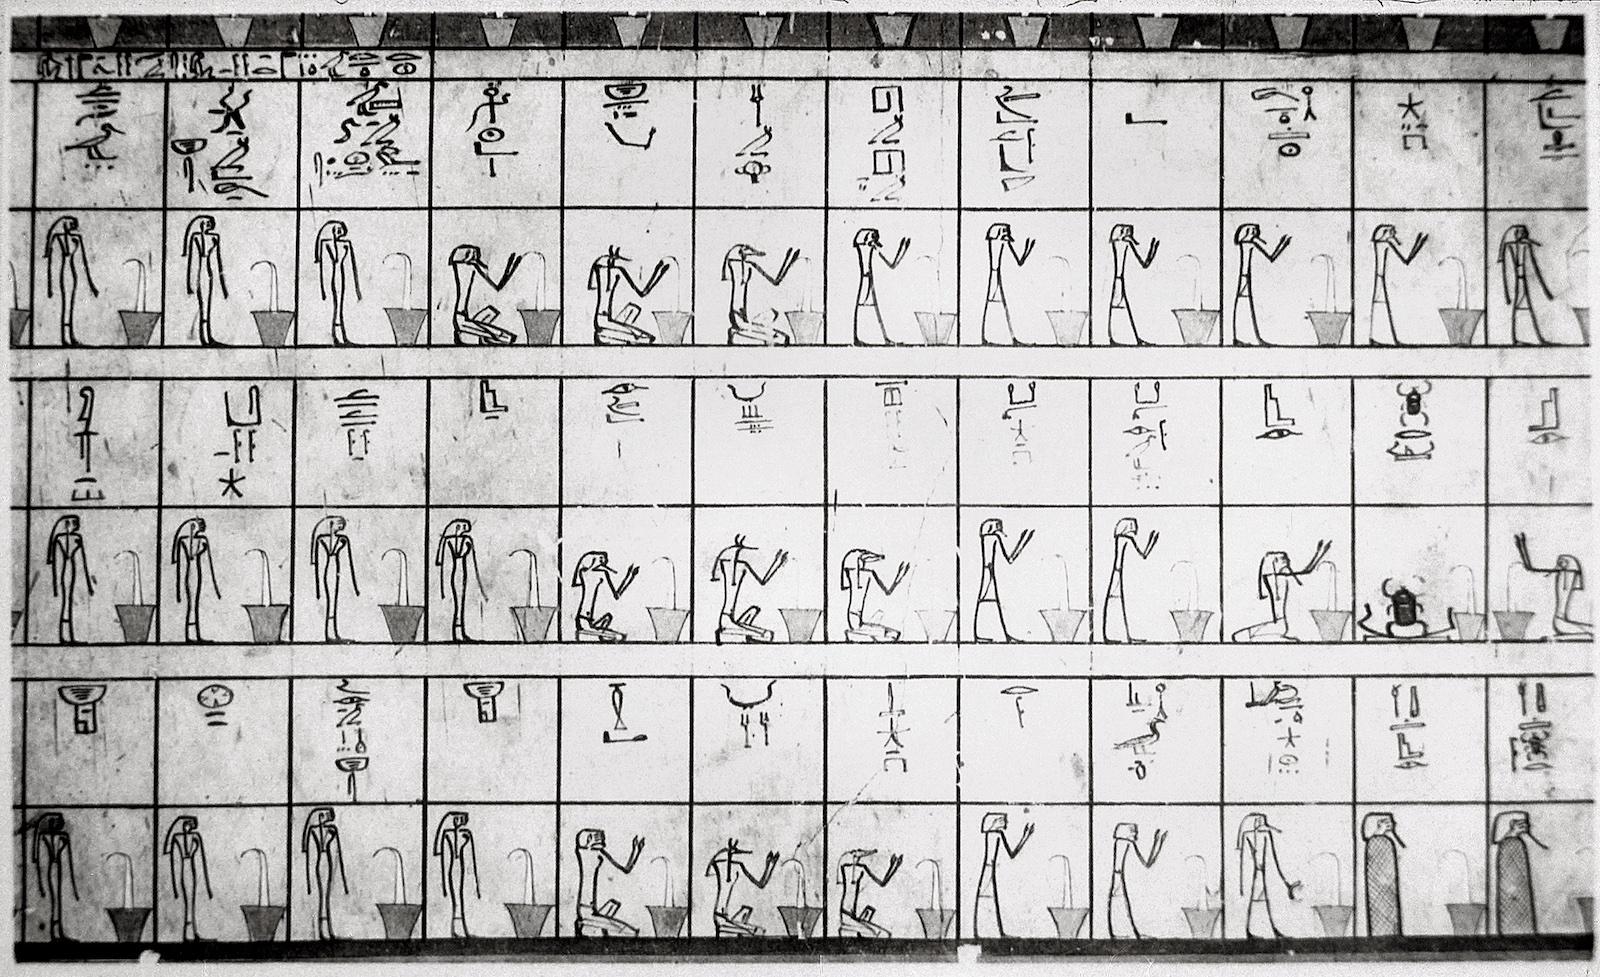
Imydwat, first hour: list of deities.
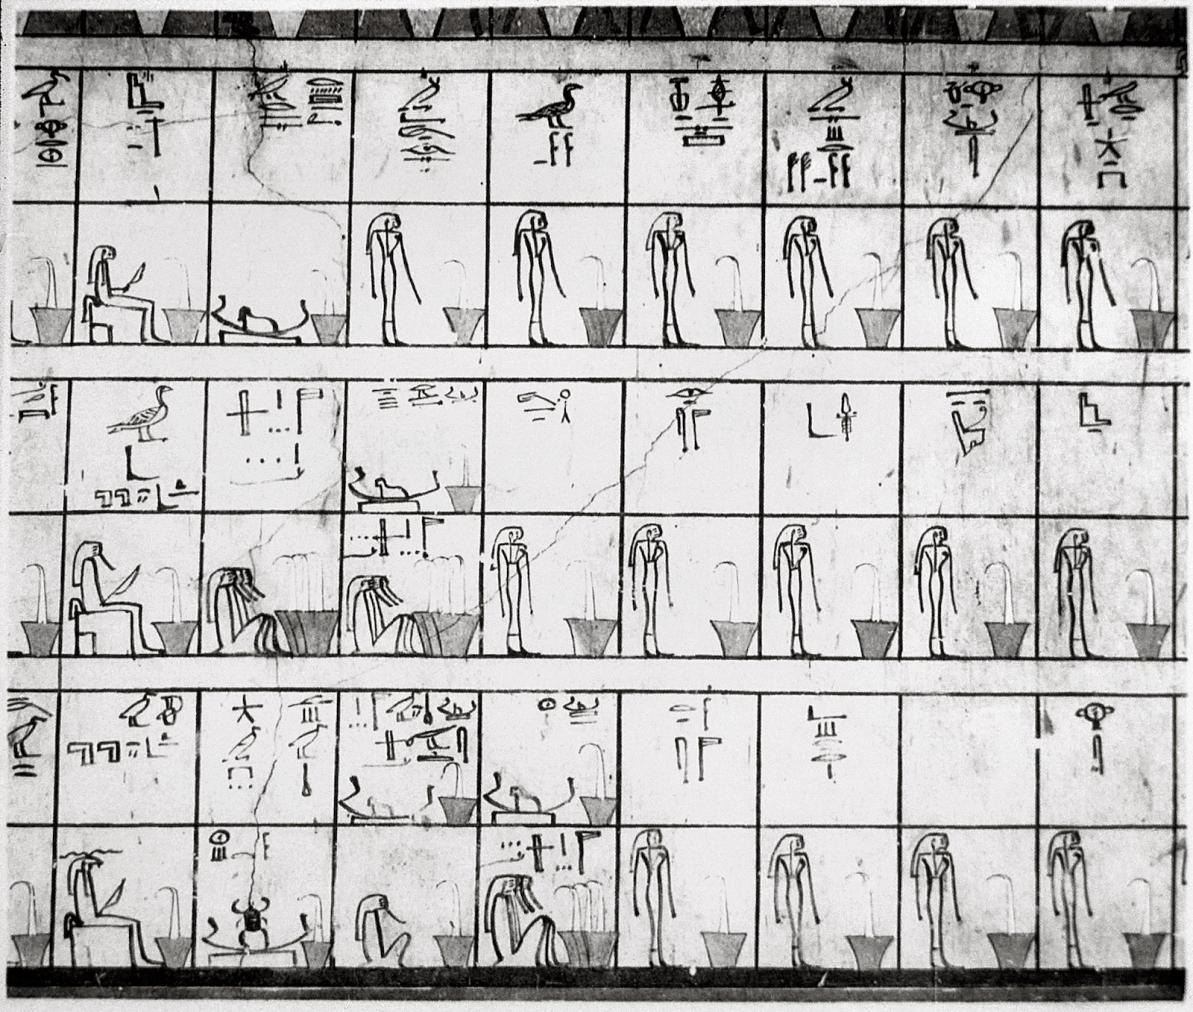
Imydwat, first and second hours: list of deities.
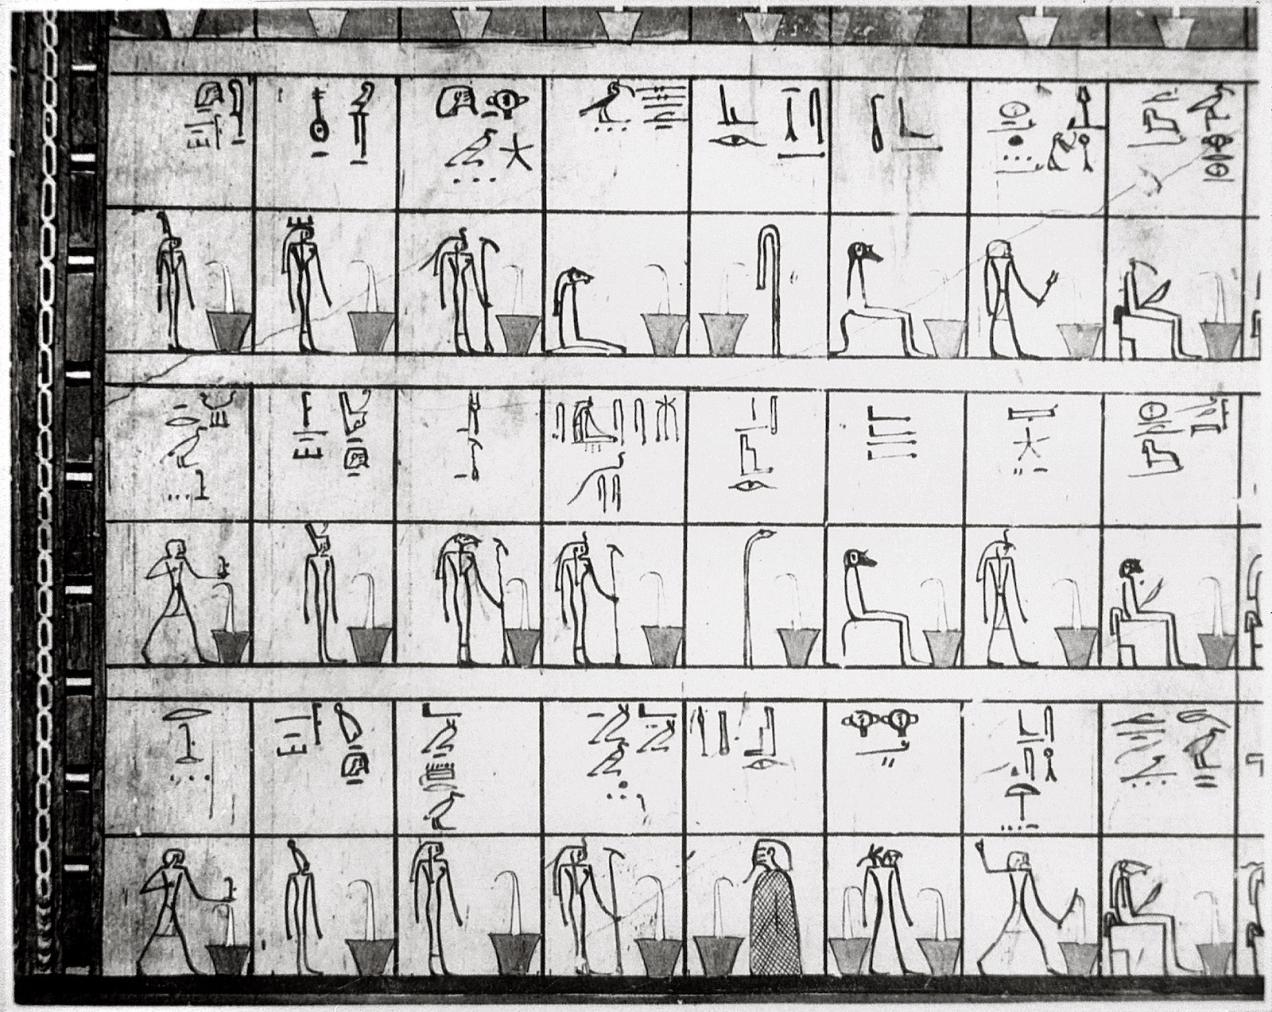
Imydwat, second hour: list of deities.
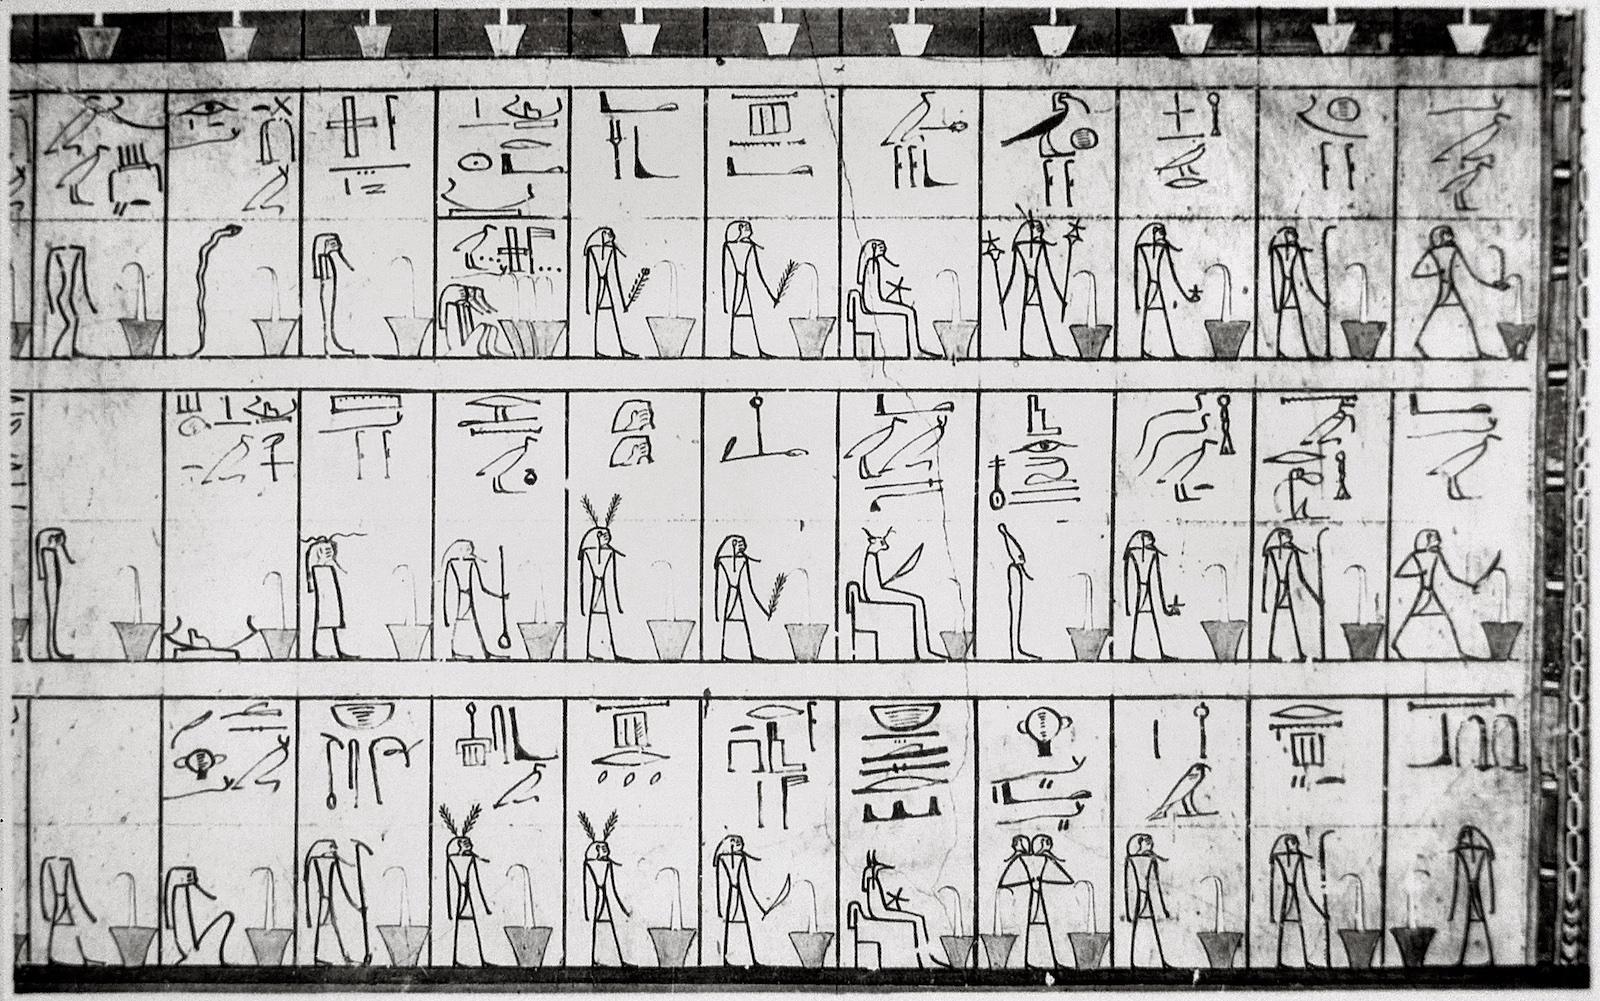
Imydwat, second hour: list of deities.
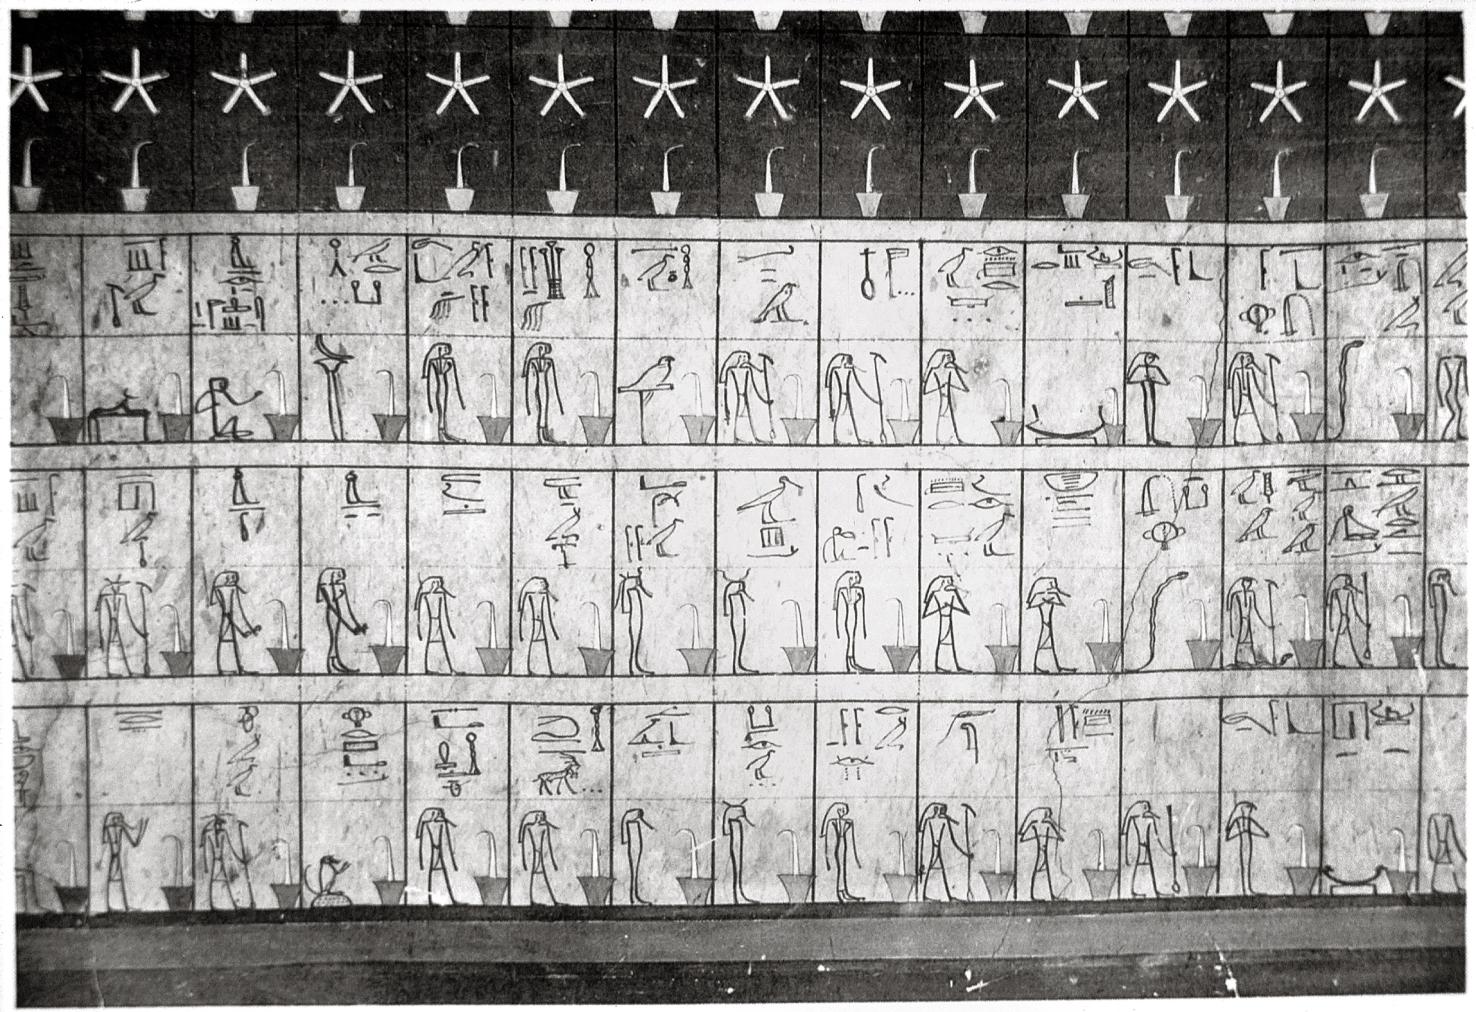
Imydwat, third hour: list of deities.
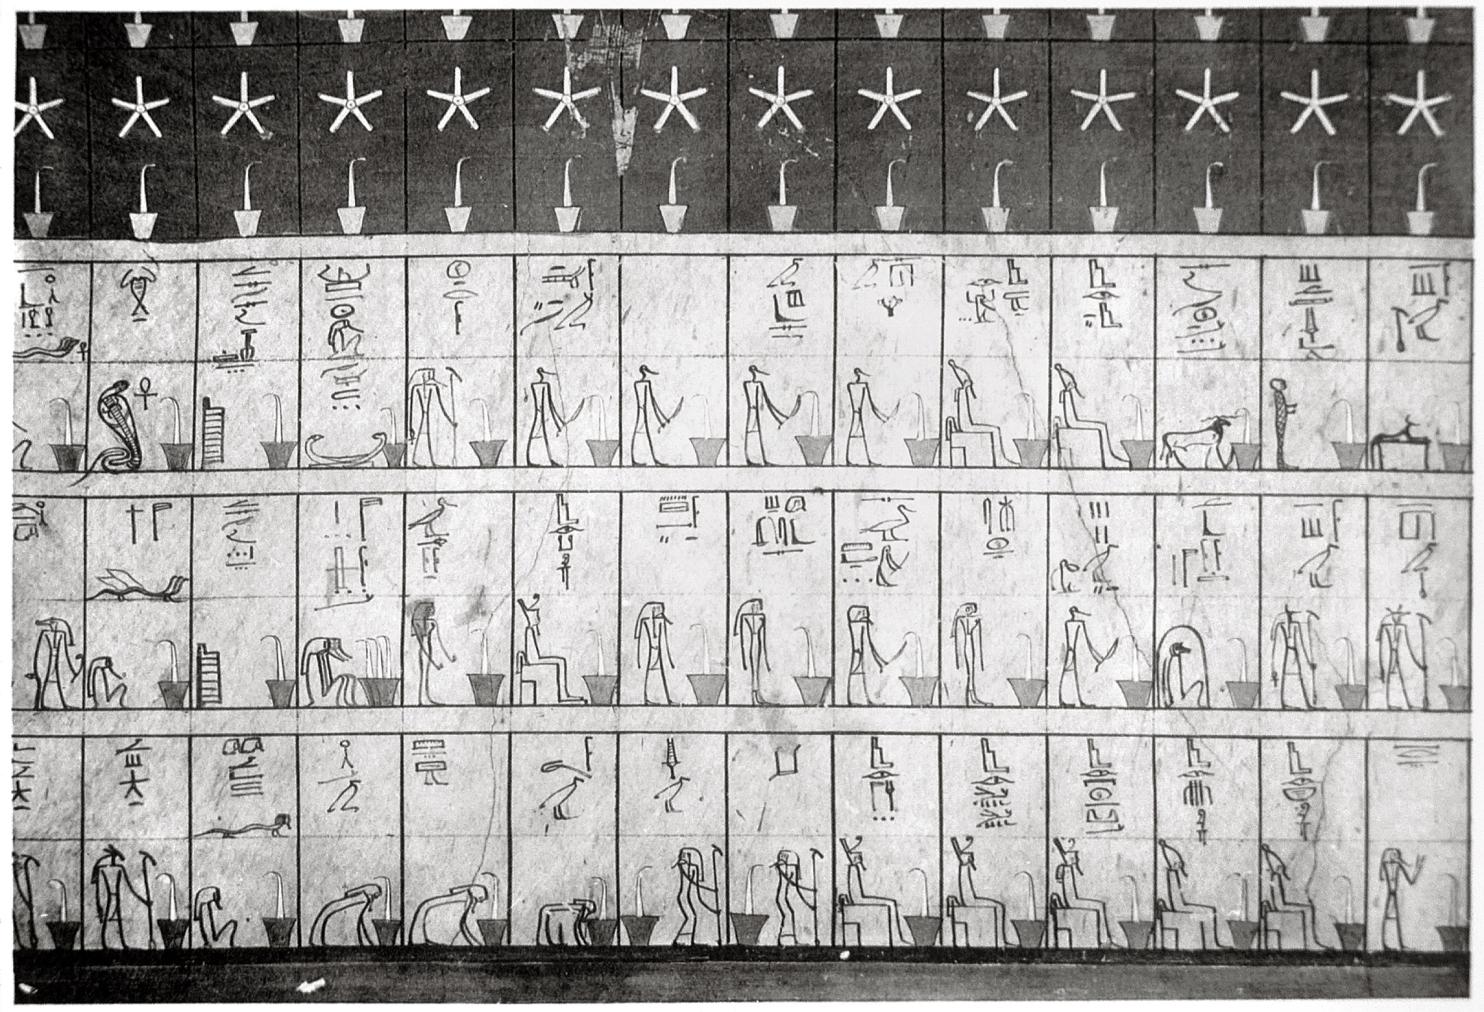
Imydwat, third and fourth hours: list of deities.
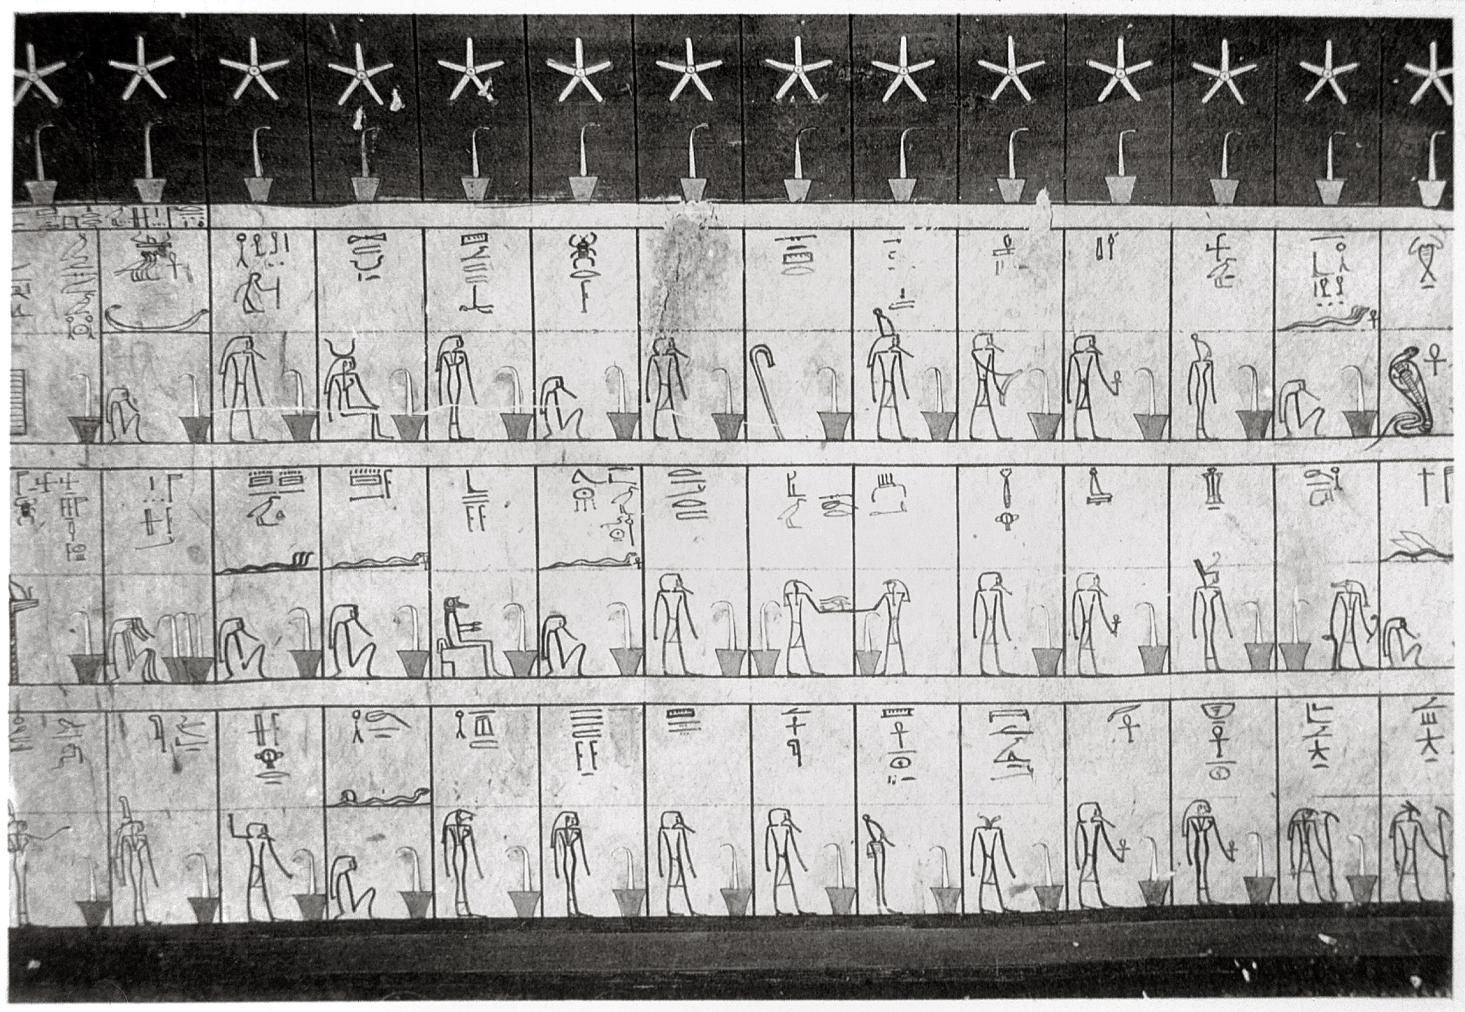
Imydwat, fourth and fifth hours: list of deities.
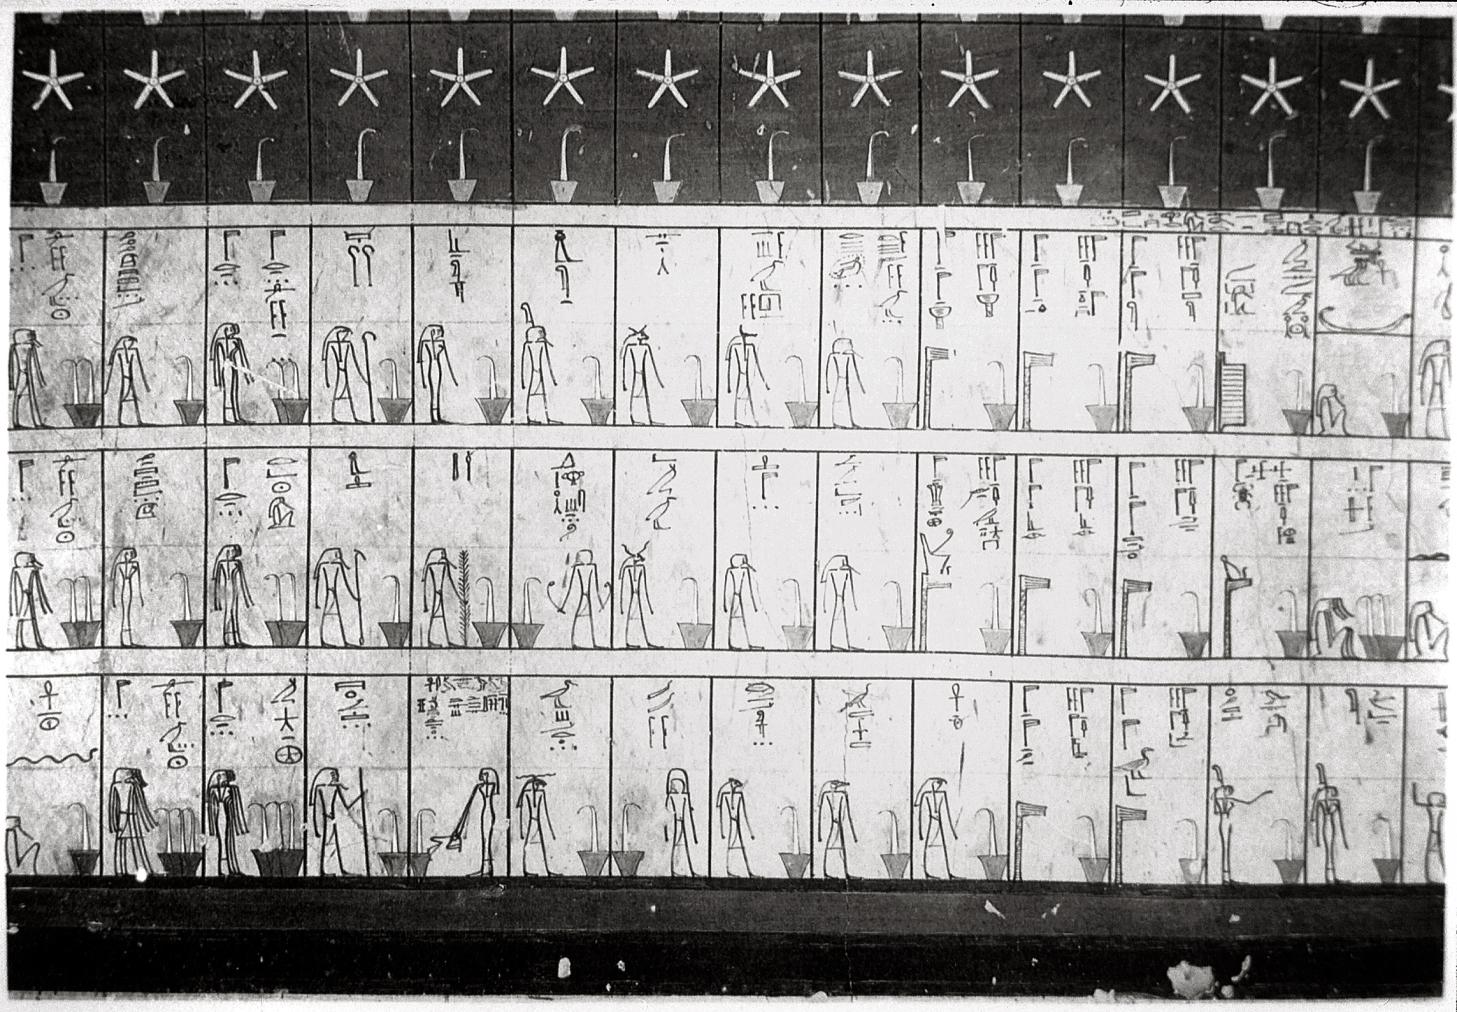
Imydwat, fifth hour: list of deities.
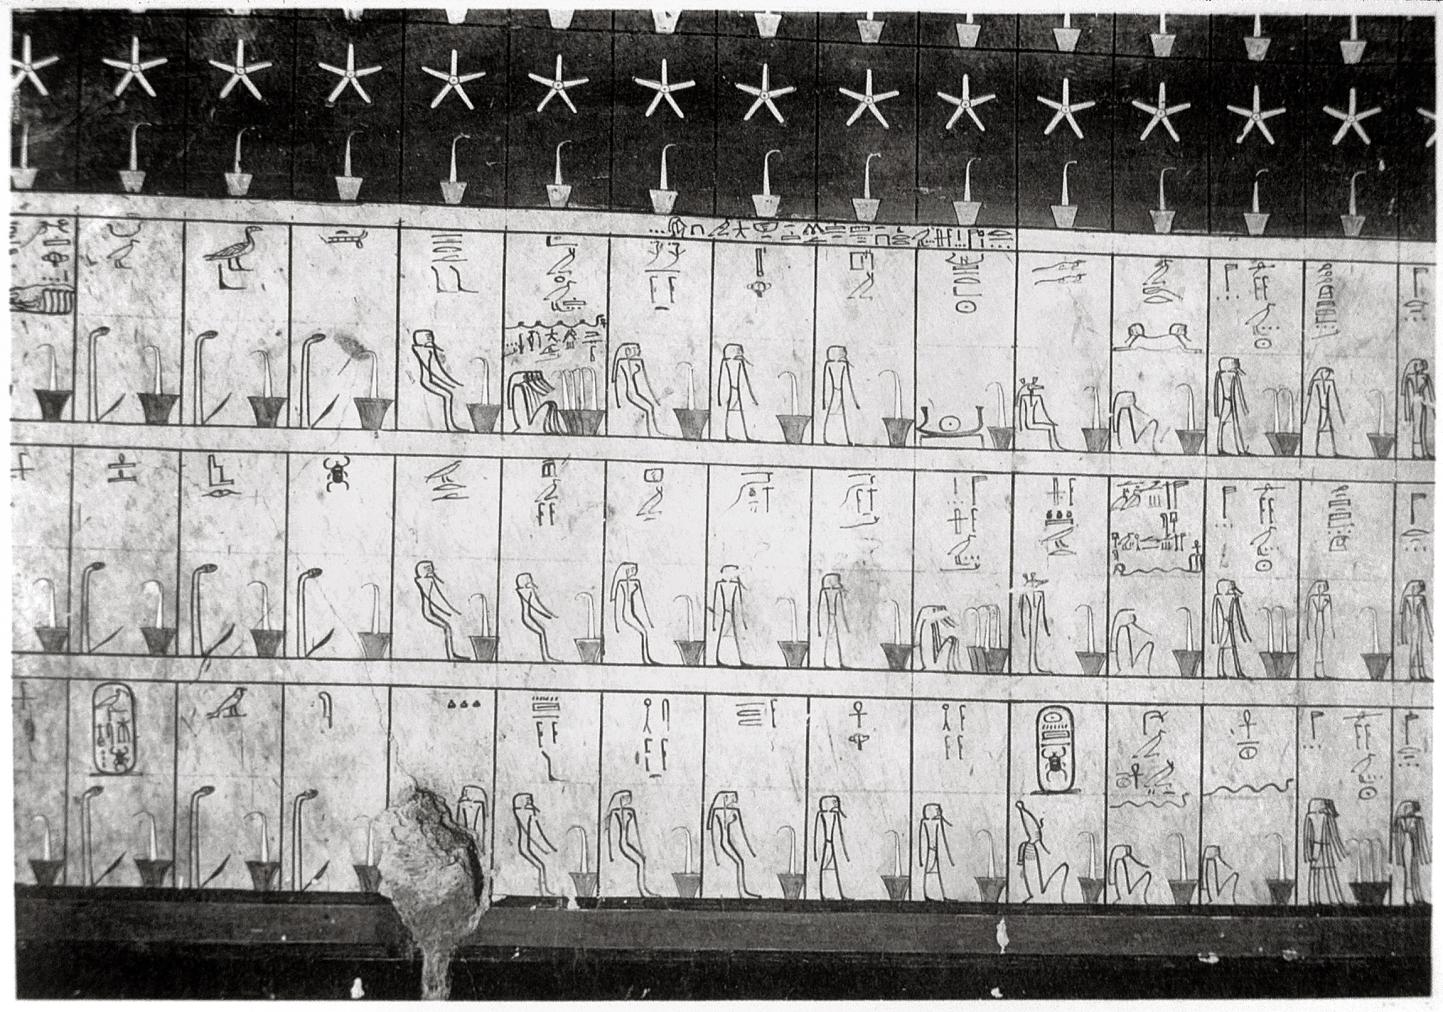
Imydwat, fifth and sixth hours: list of deities.
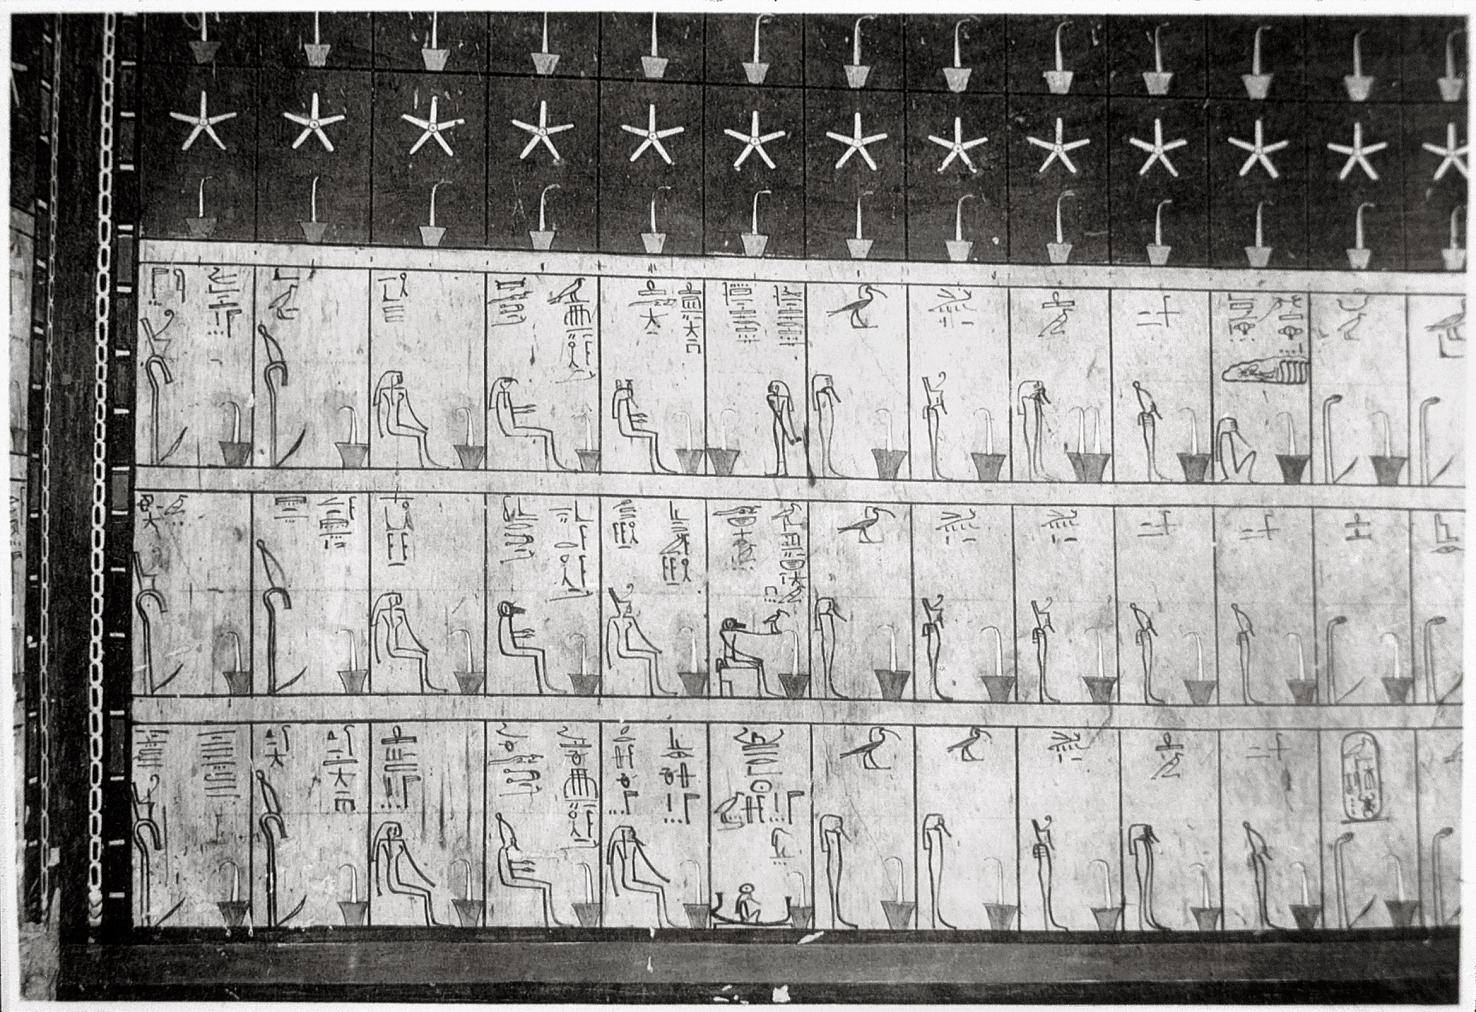
Imydwat, sixth hour: list of deities.
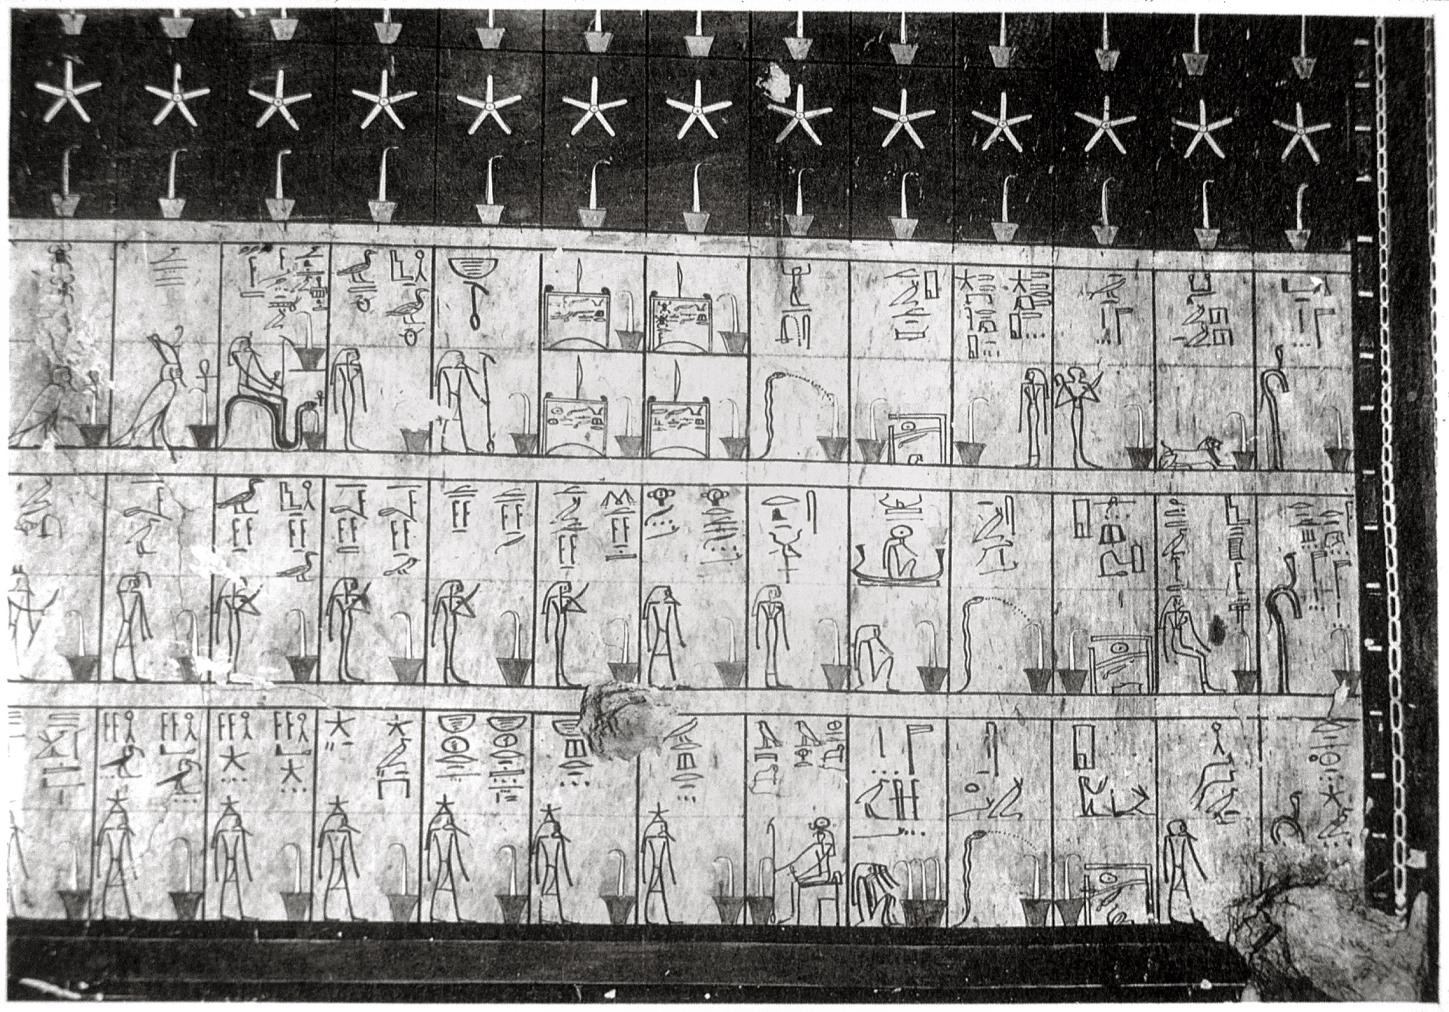
Imydwat, sixth and seventh hours: list of deities.
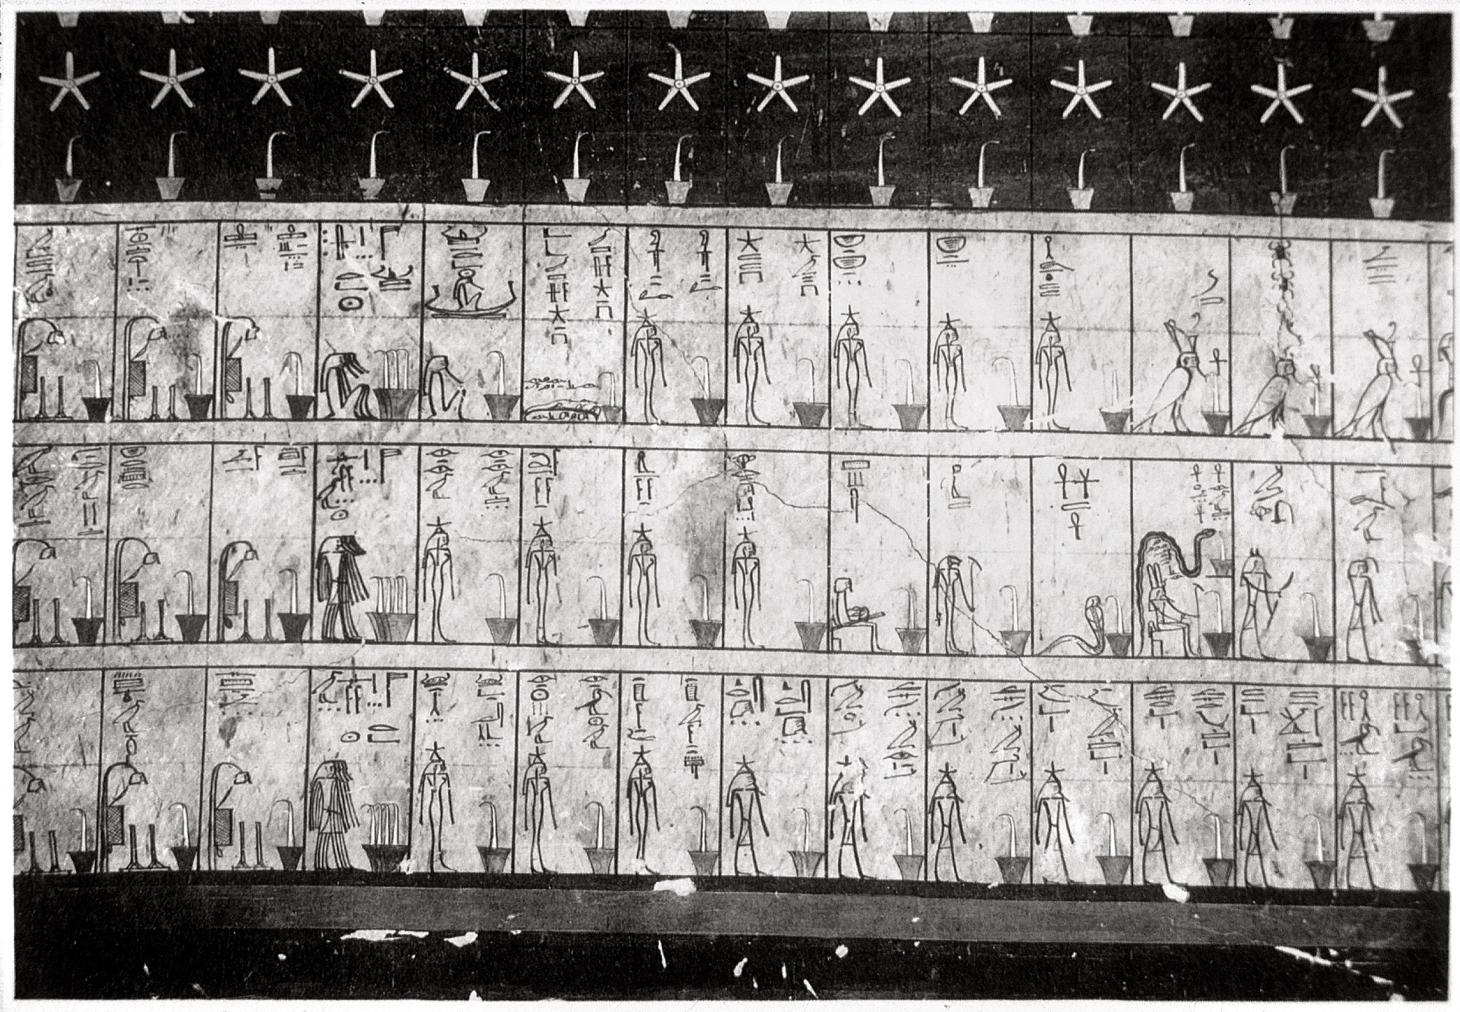
Imydwat, seventh and eighth hours: list of deities.
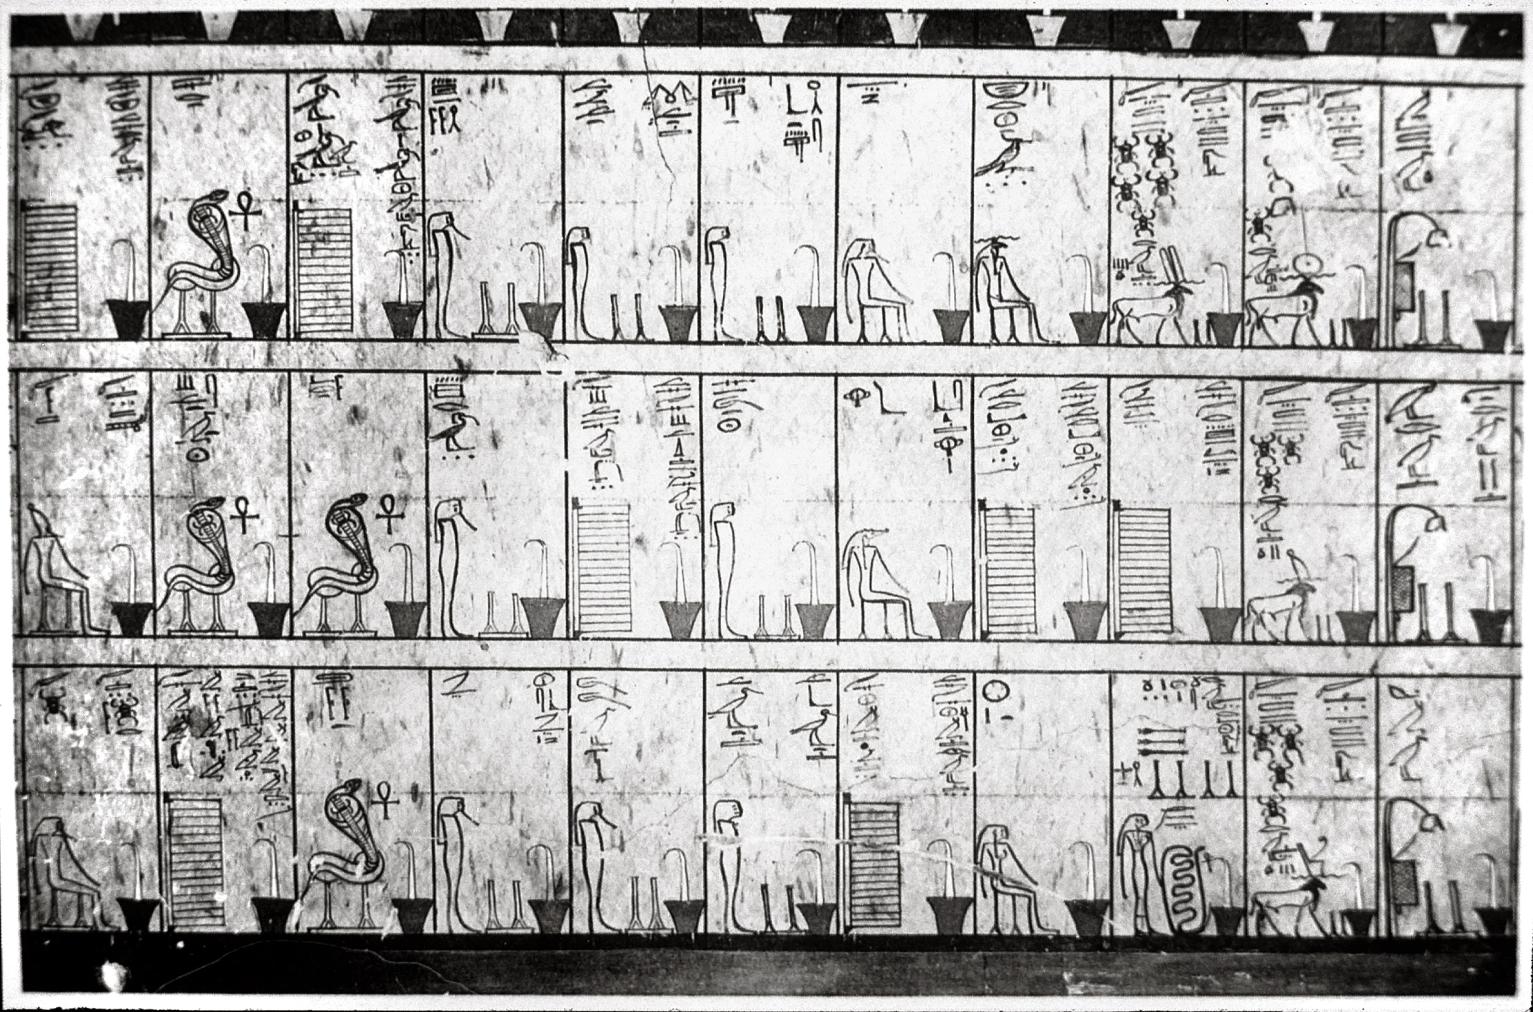
Imydwat, eighth hour: list of deities.
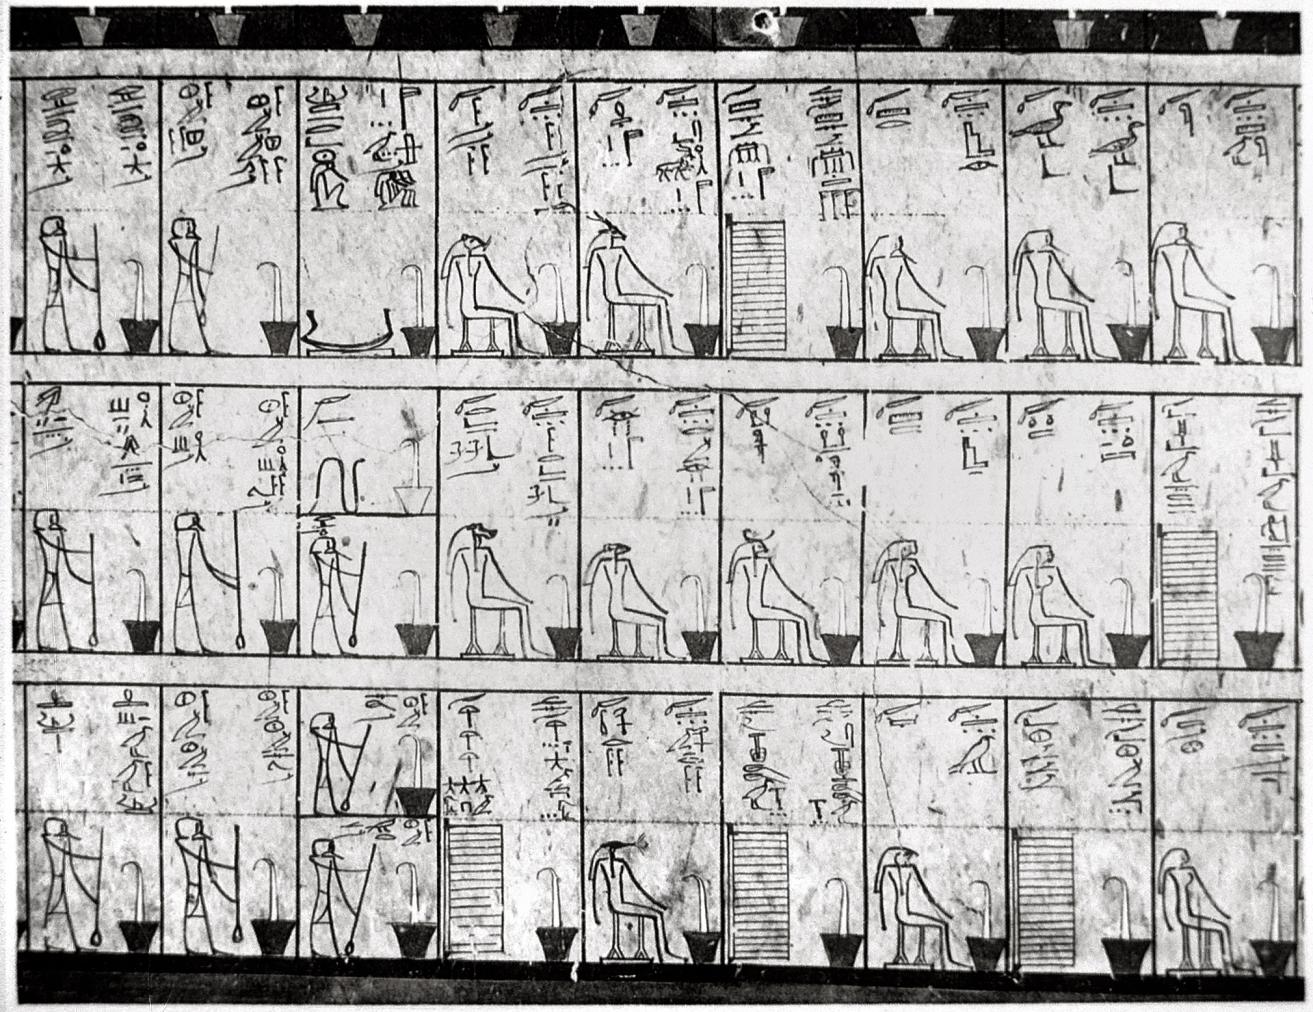
Imydwat, eighth and ninth hours: list of deities.
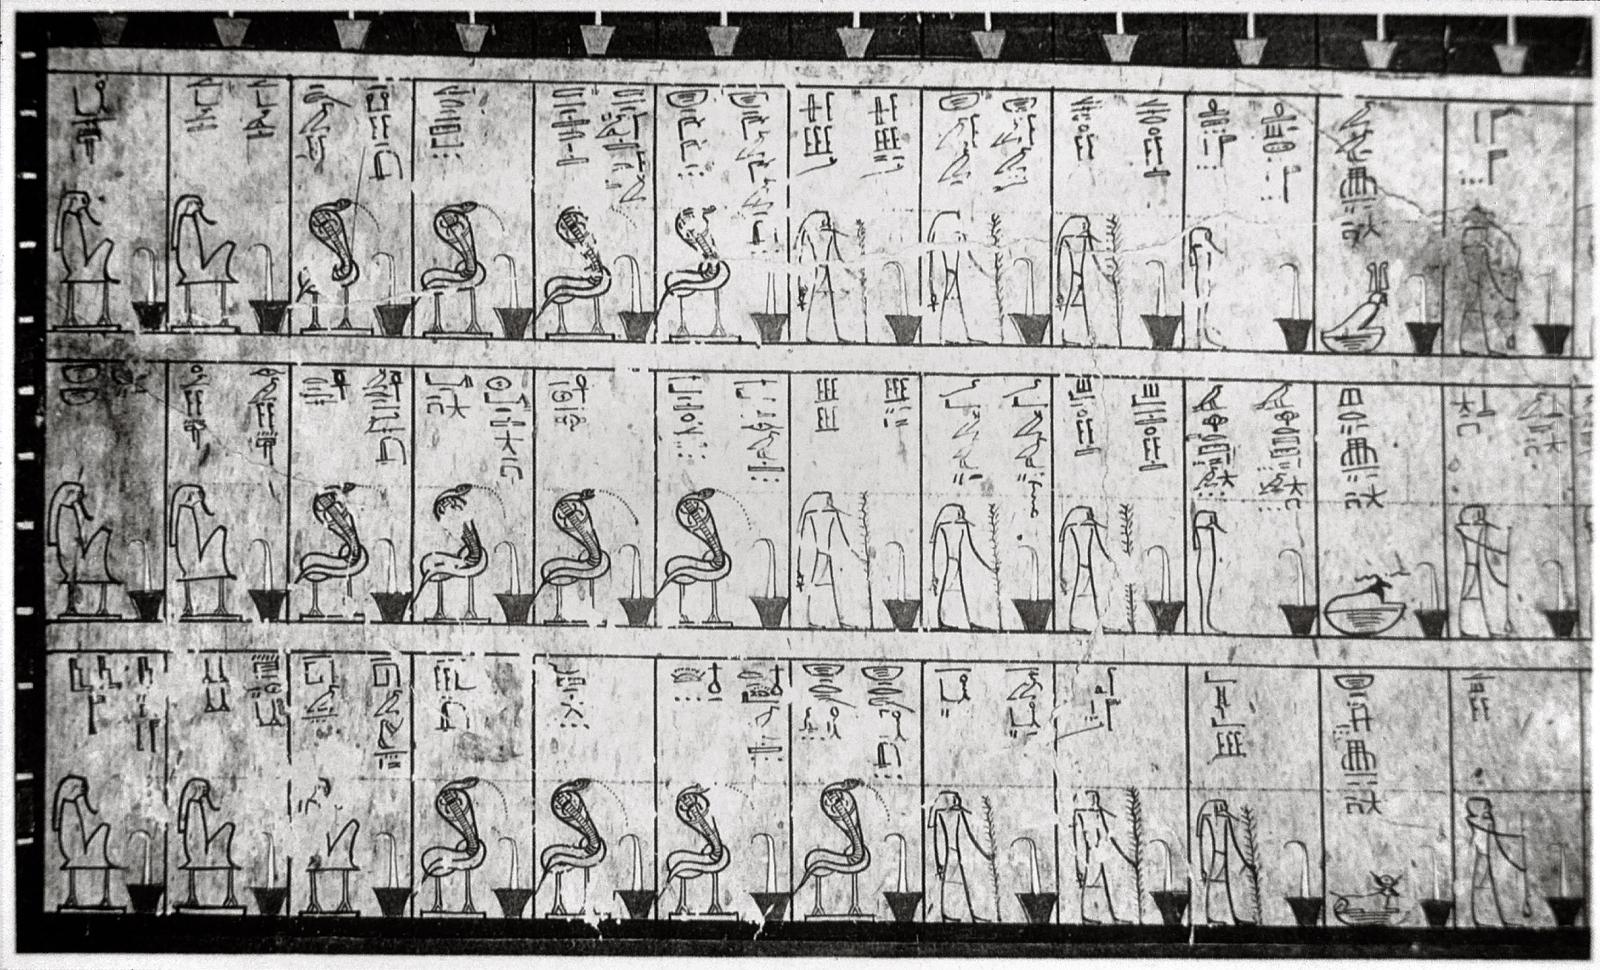
Imydwat, ninth hour: list of deities.
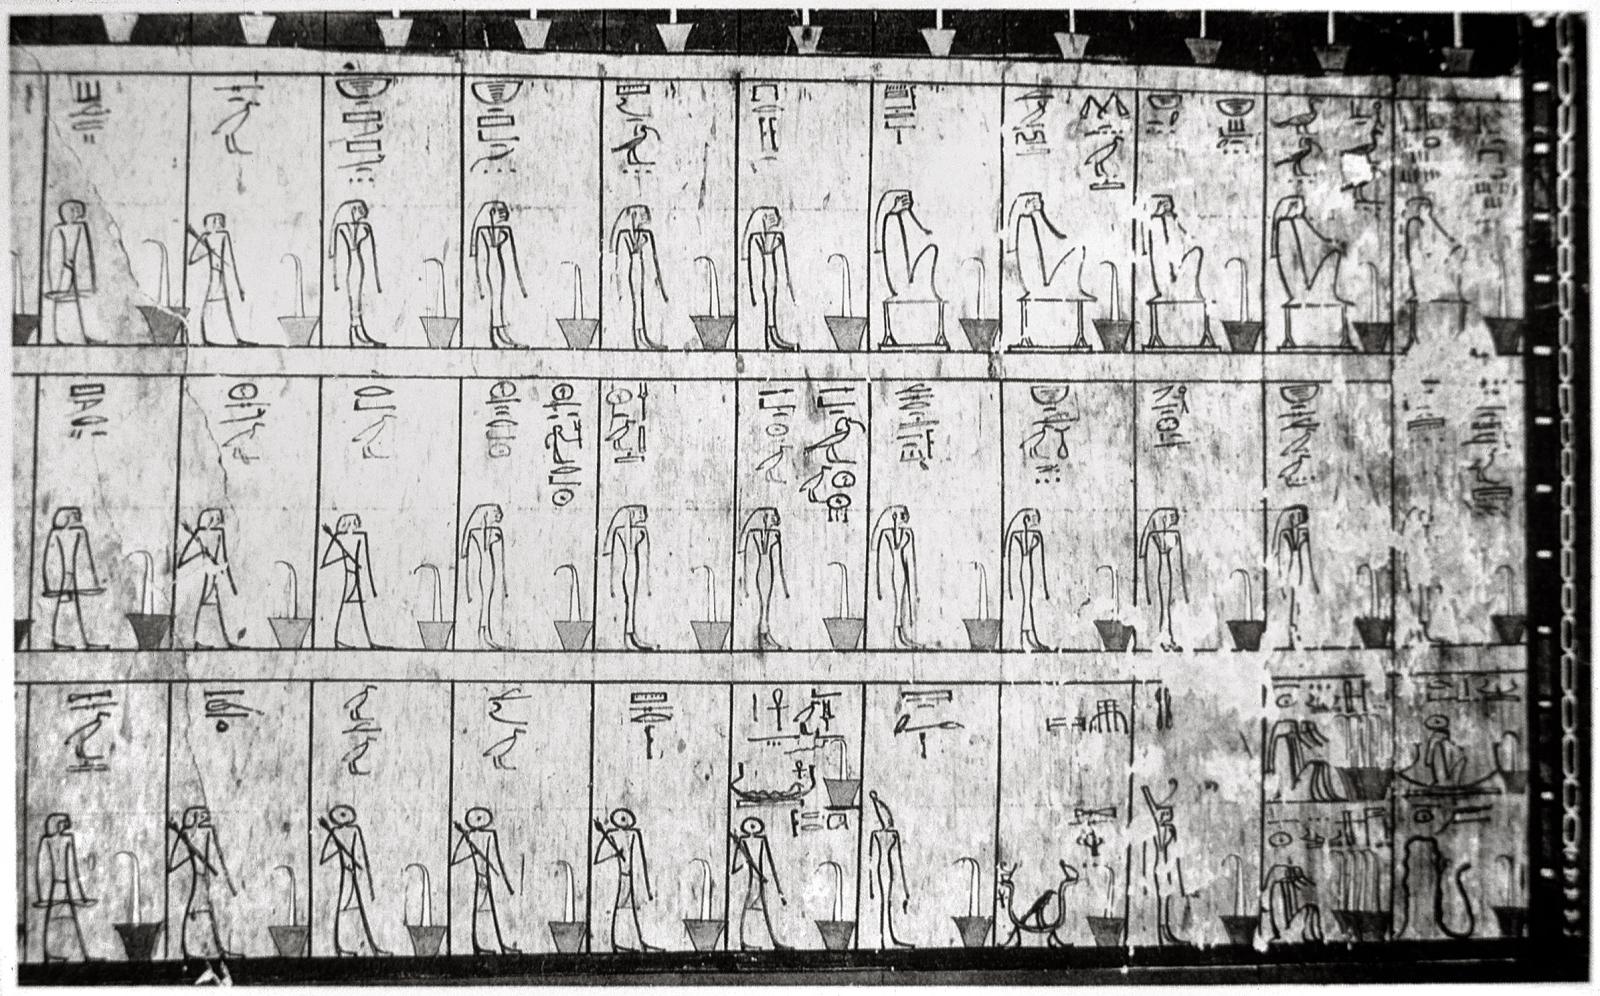
Imydwat, ninth and tenth hours: list of deities.
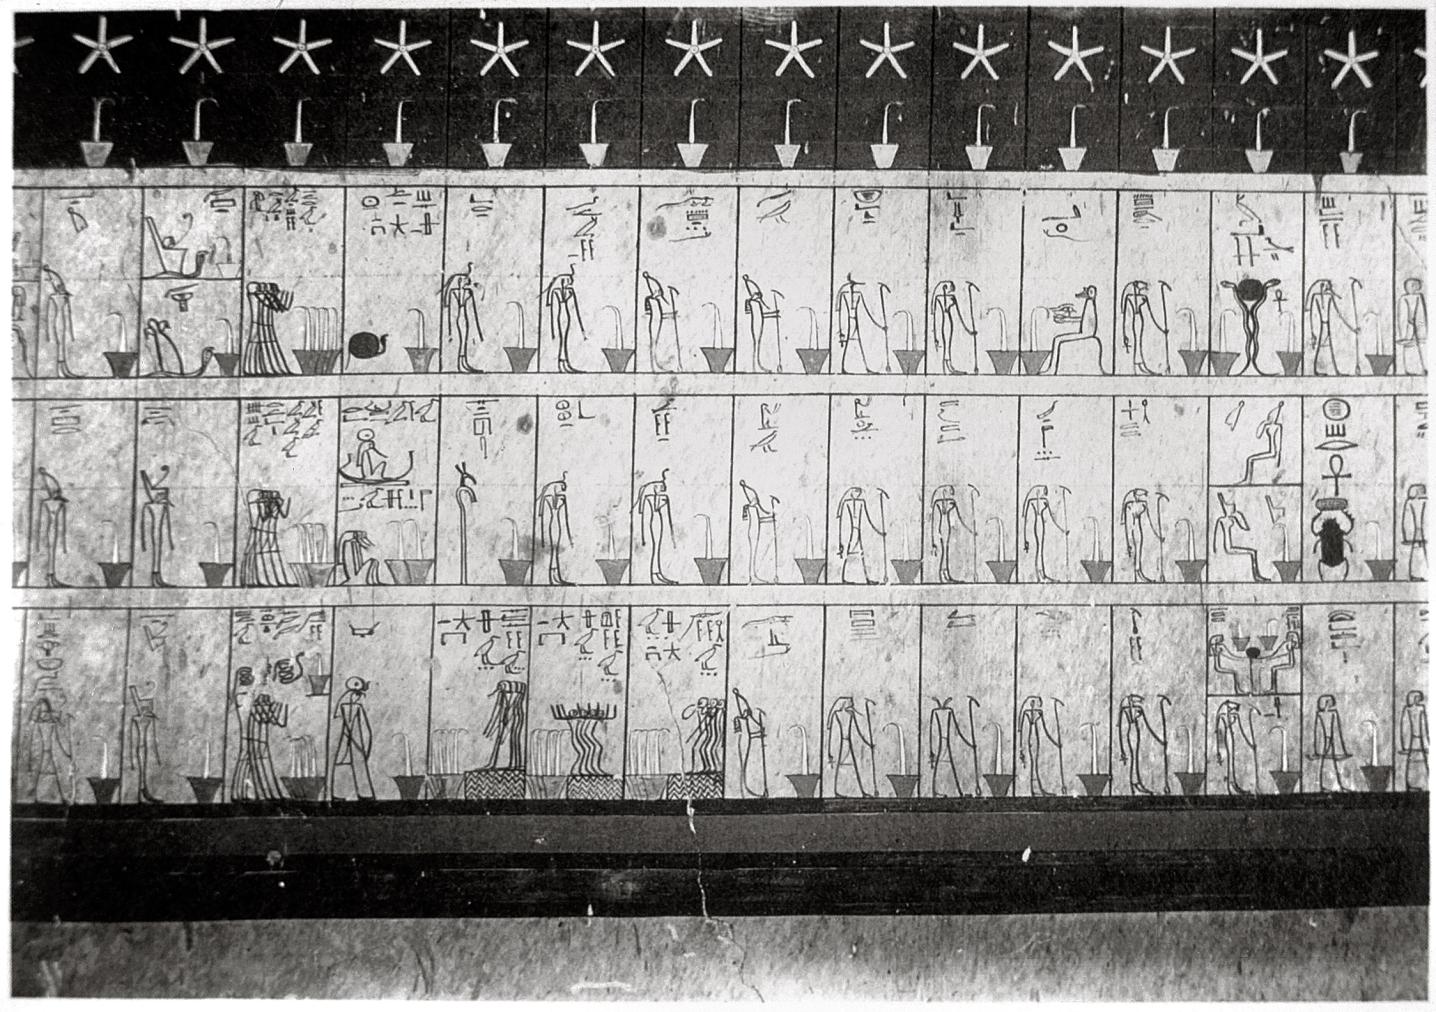
Imydwat, tenth and eleventh hours: list of deities.
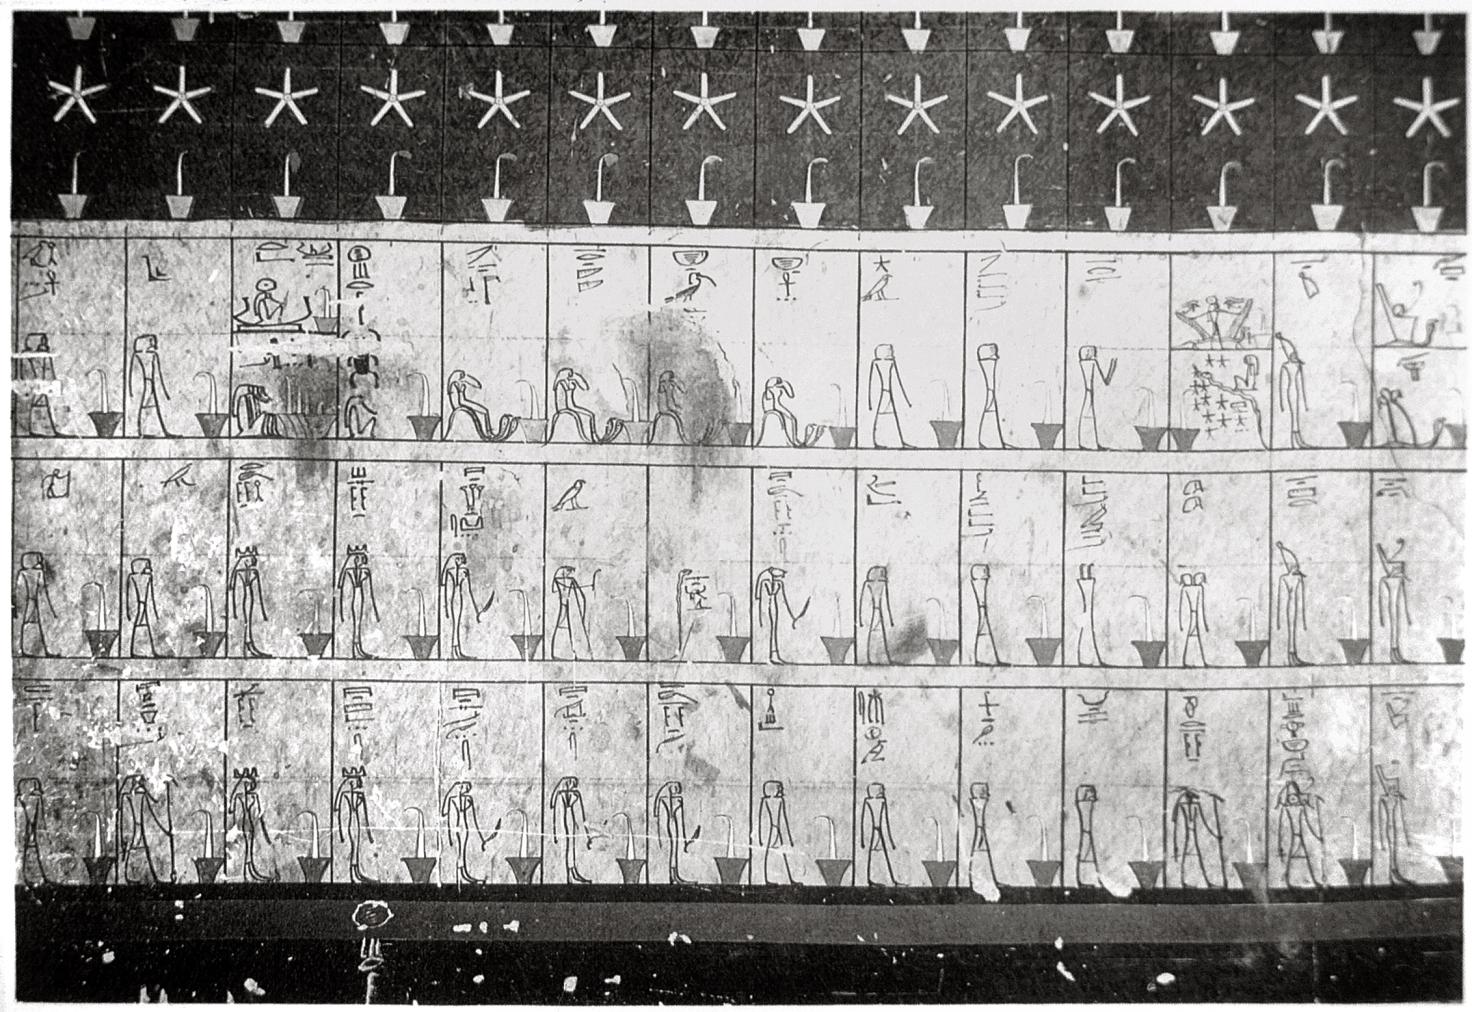
Imydwat, eleventh and twelfth hours: list of deities.
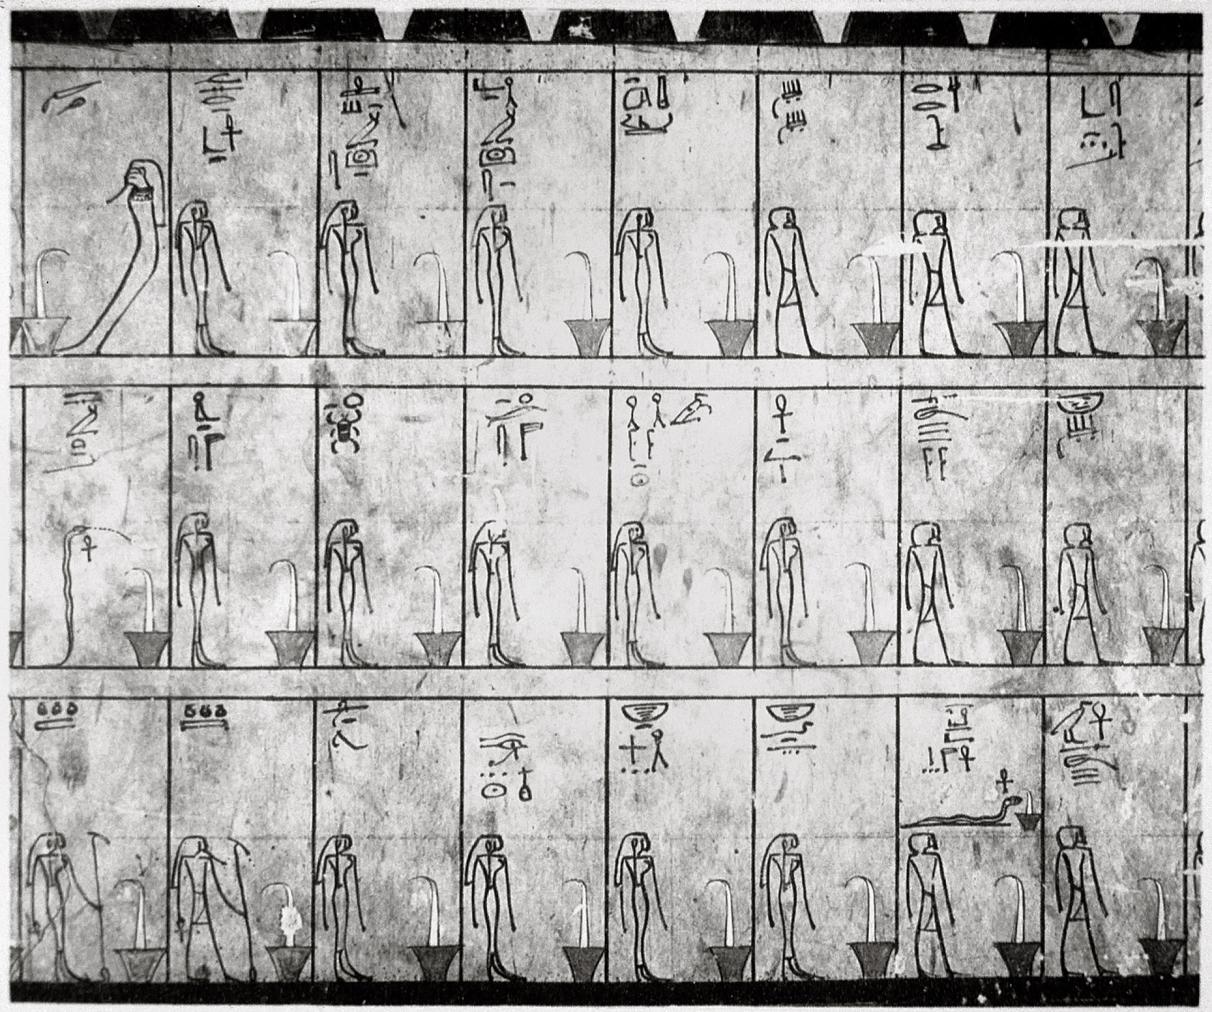
Imydwat, twelfth hour: list of deities.
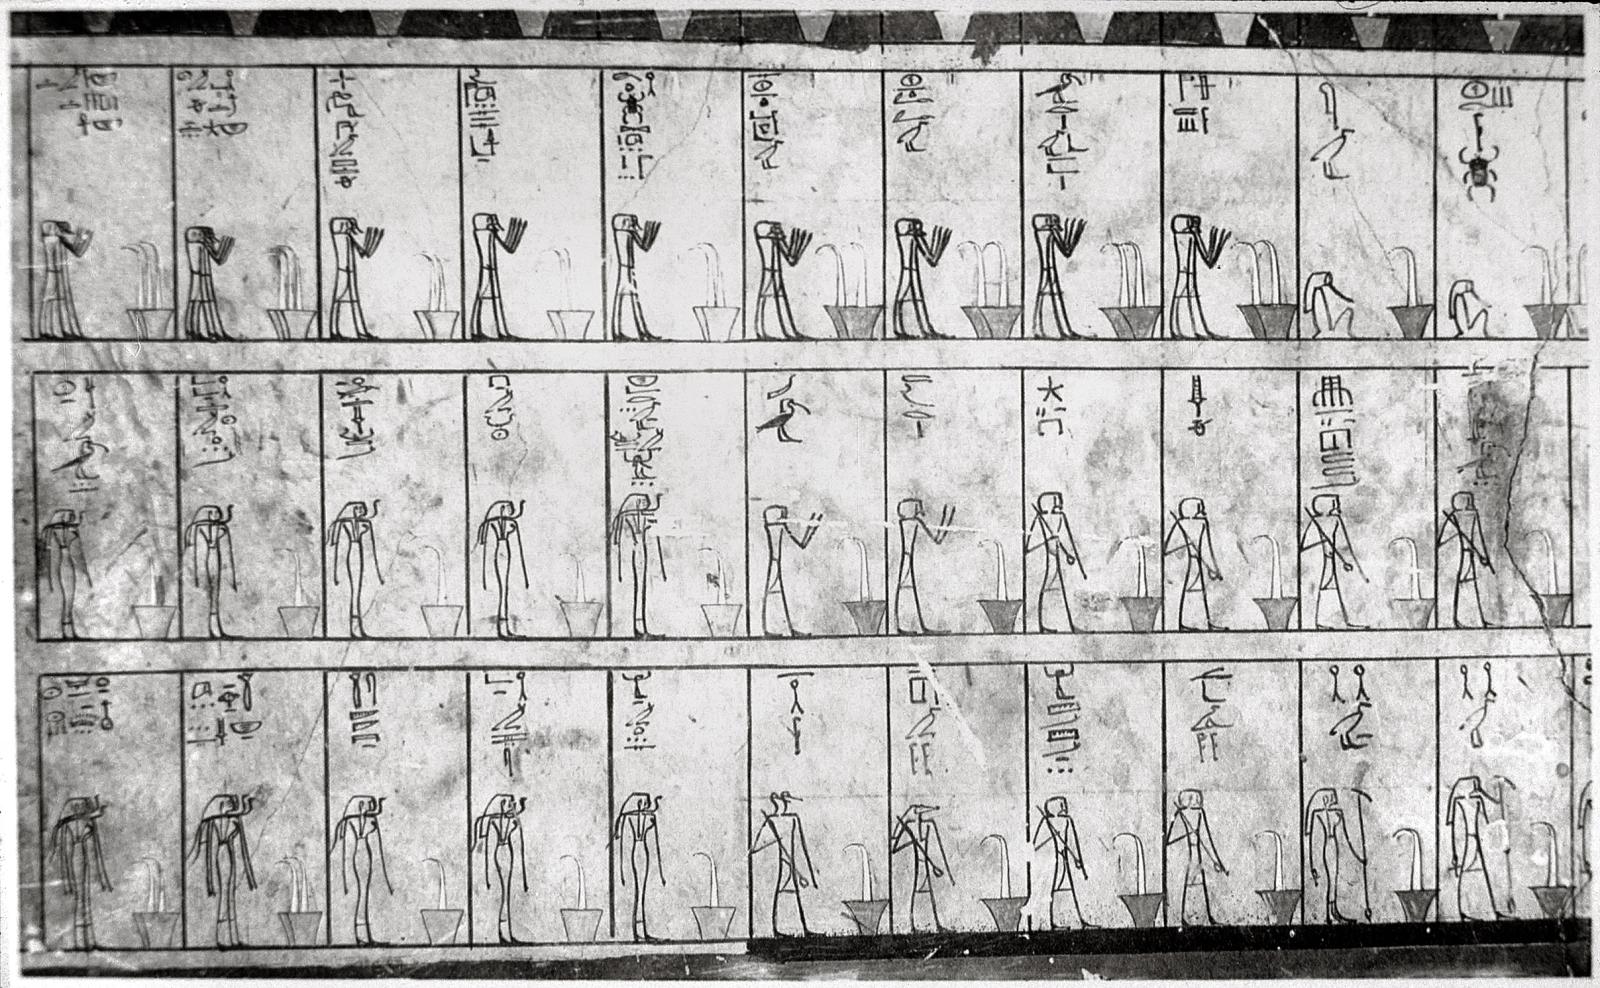
Imydwat, twelfth hour: list of deities.
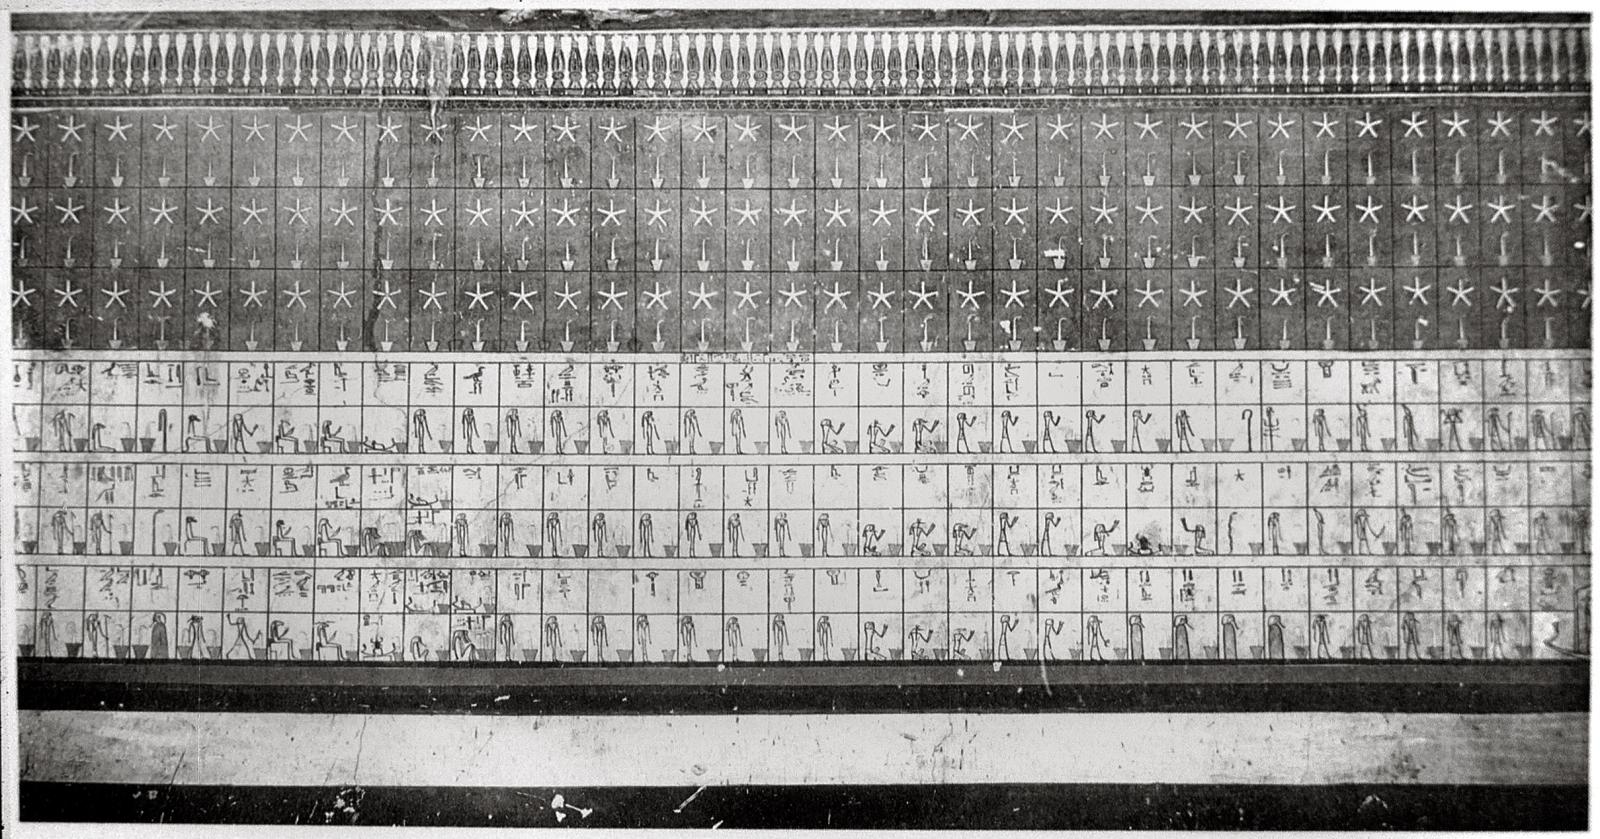
Kheker frieze; Imydwat, first and second hours: list of deities.
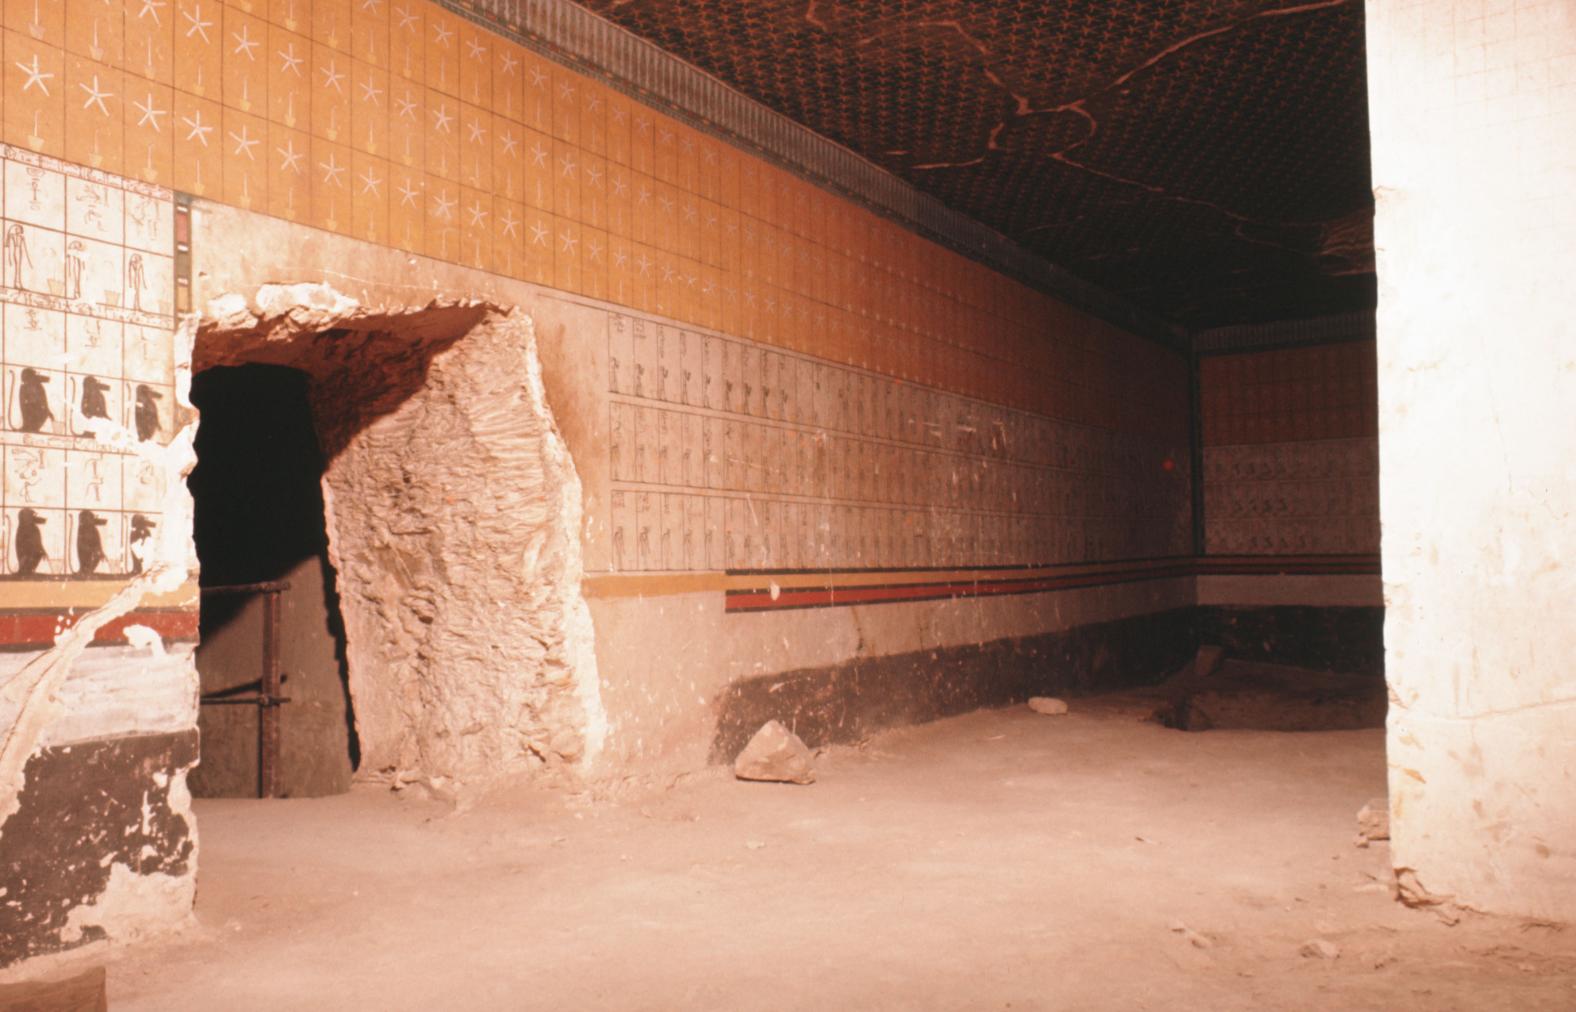
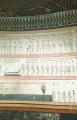
View of Pillared Chamber F, lists 741 divinities of the Imydwat. Courtesy of Uni Dia Verlag; Uni Dia Image Nr. 35005.
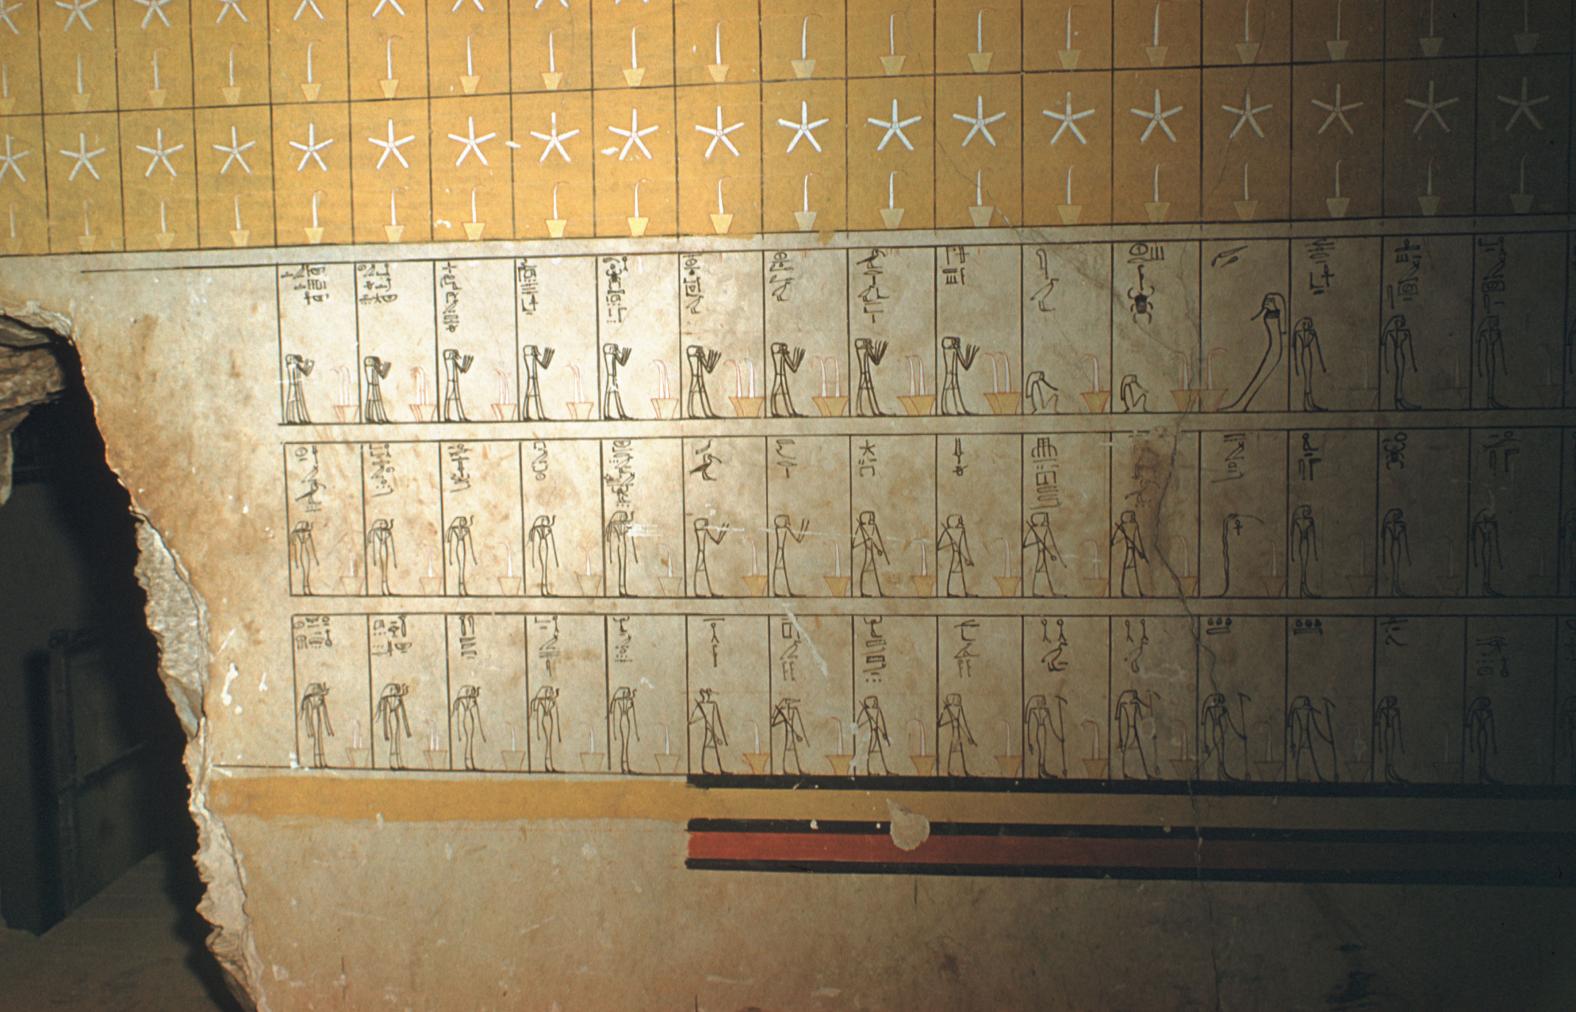
The Gods of the 12th hour (catalog of gods). Courtesy of Uni Dia Verlag; Uni Dia Image Nr. 35006
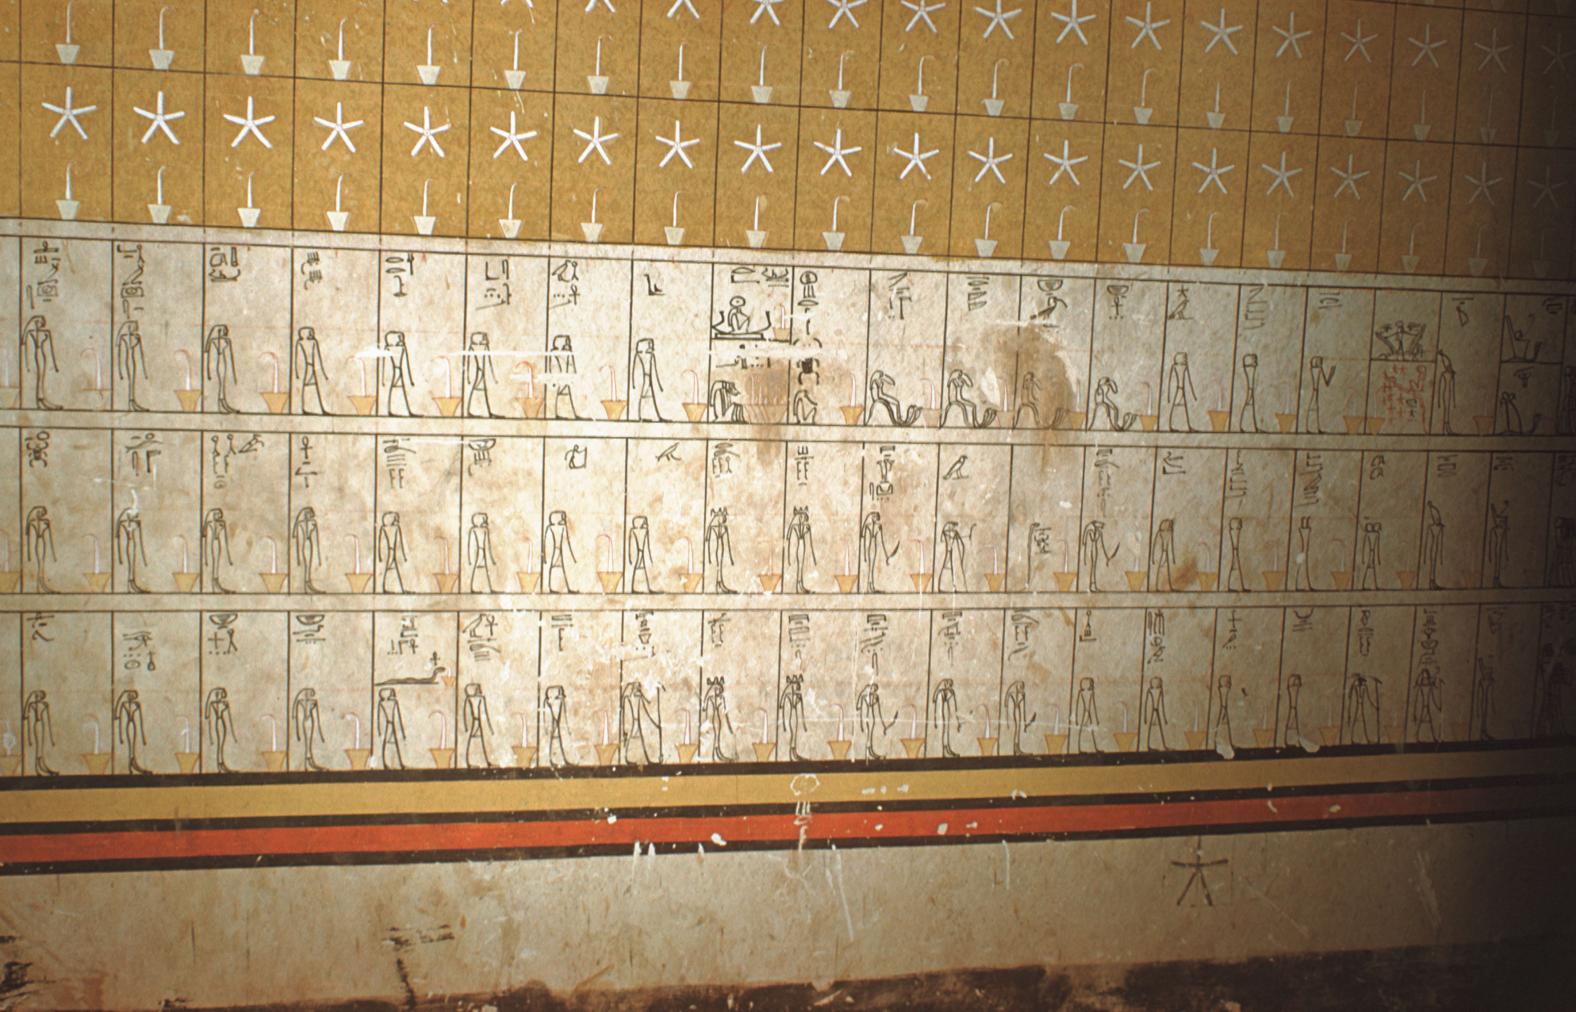
The Gods of the 11th Hour (catalog of gods). Courtesy of Uni Dia Verlag; Uni Dia Image Nr. 35007
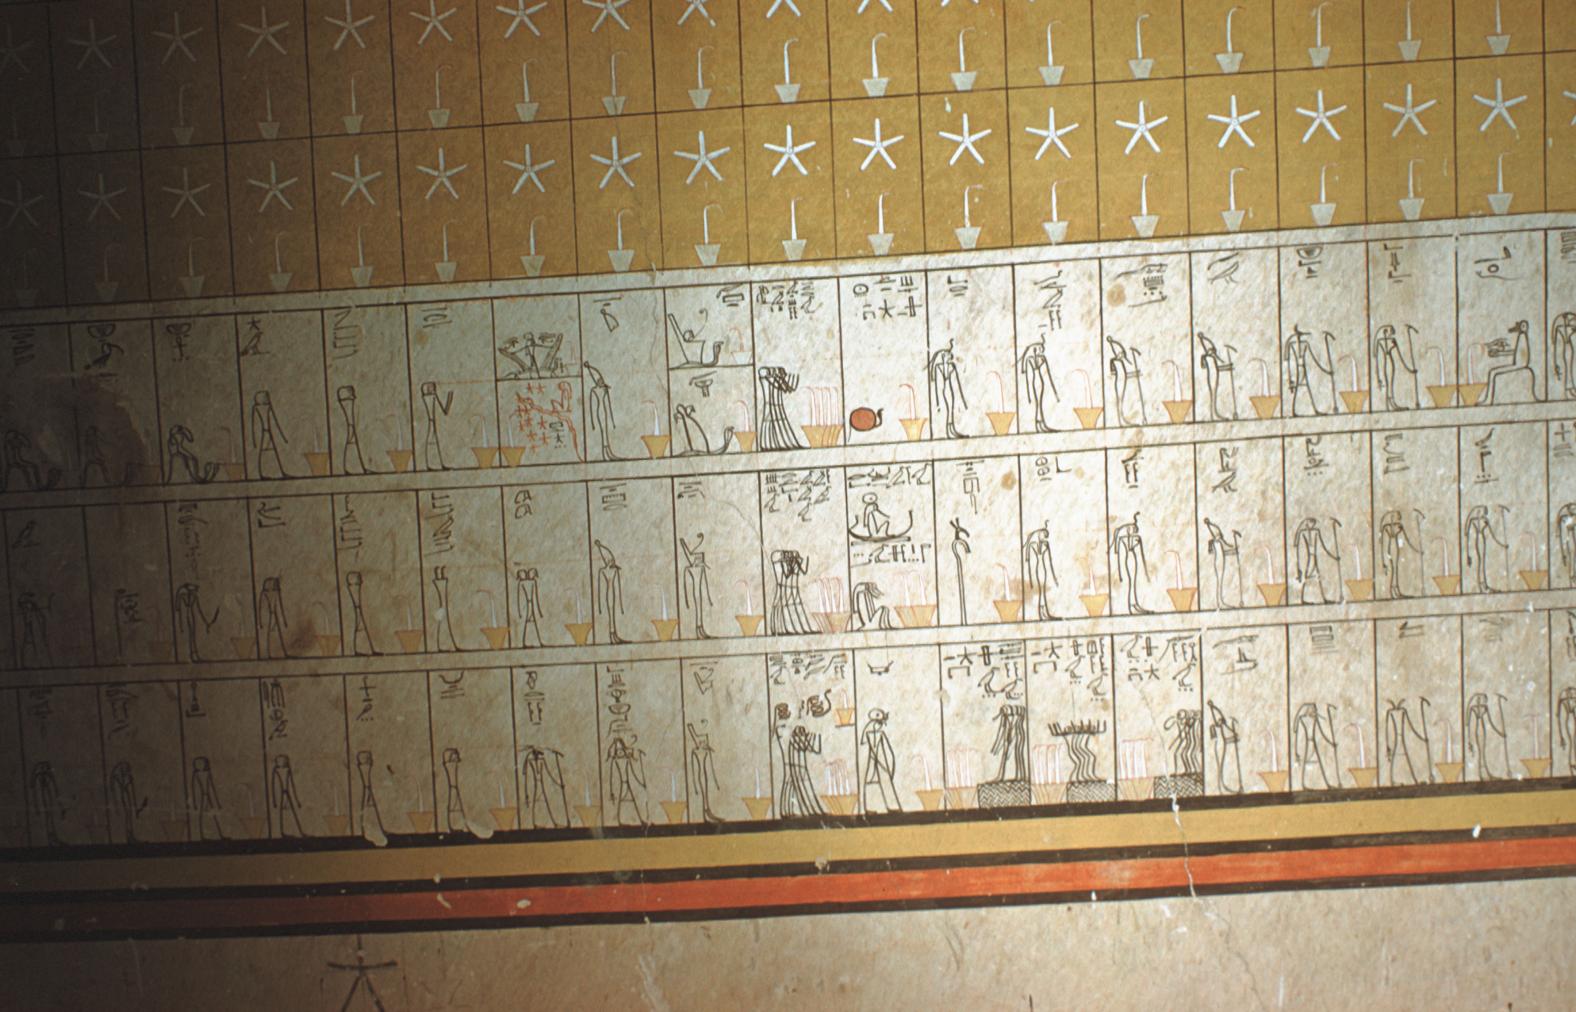
The Gods of the 10th and 11th hours (catalog of gods). Courtesy of Uni Dia Verlag; Uni Dia Image Nr. 35008
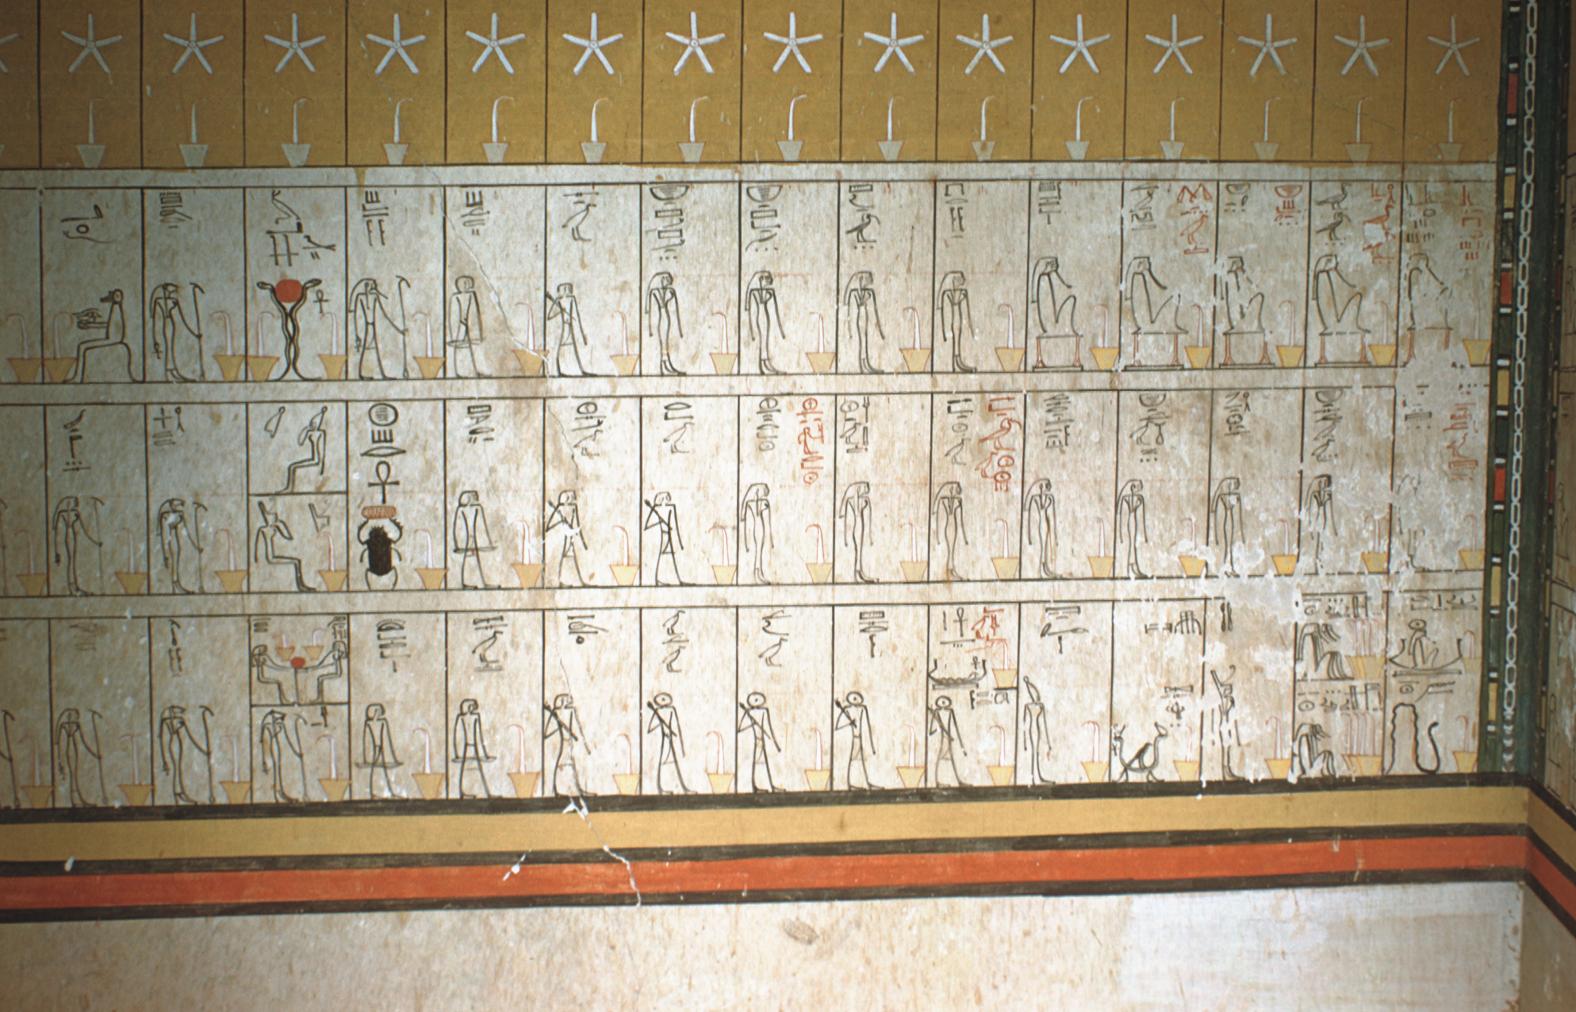
The Gods of the 10th Hour (catalog of gods). Courtesy of Uni Dia Verlag; Uni Dia Image Nr. 35009.
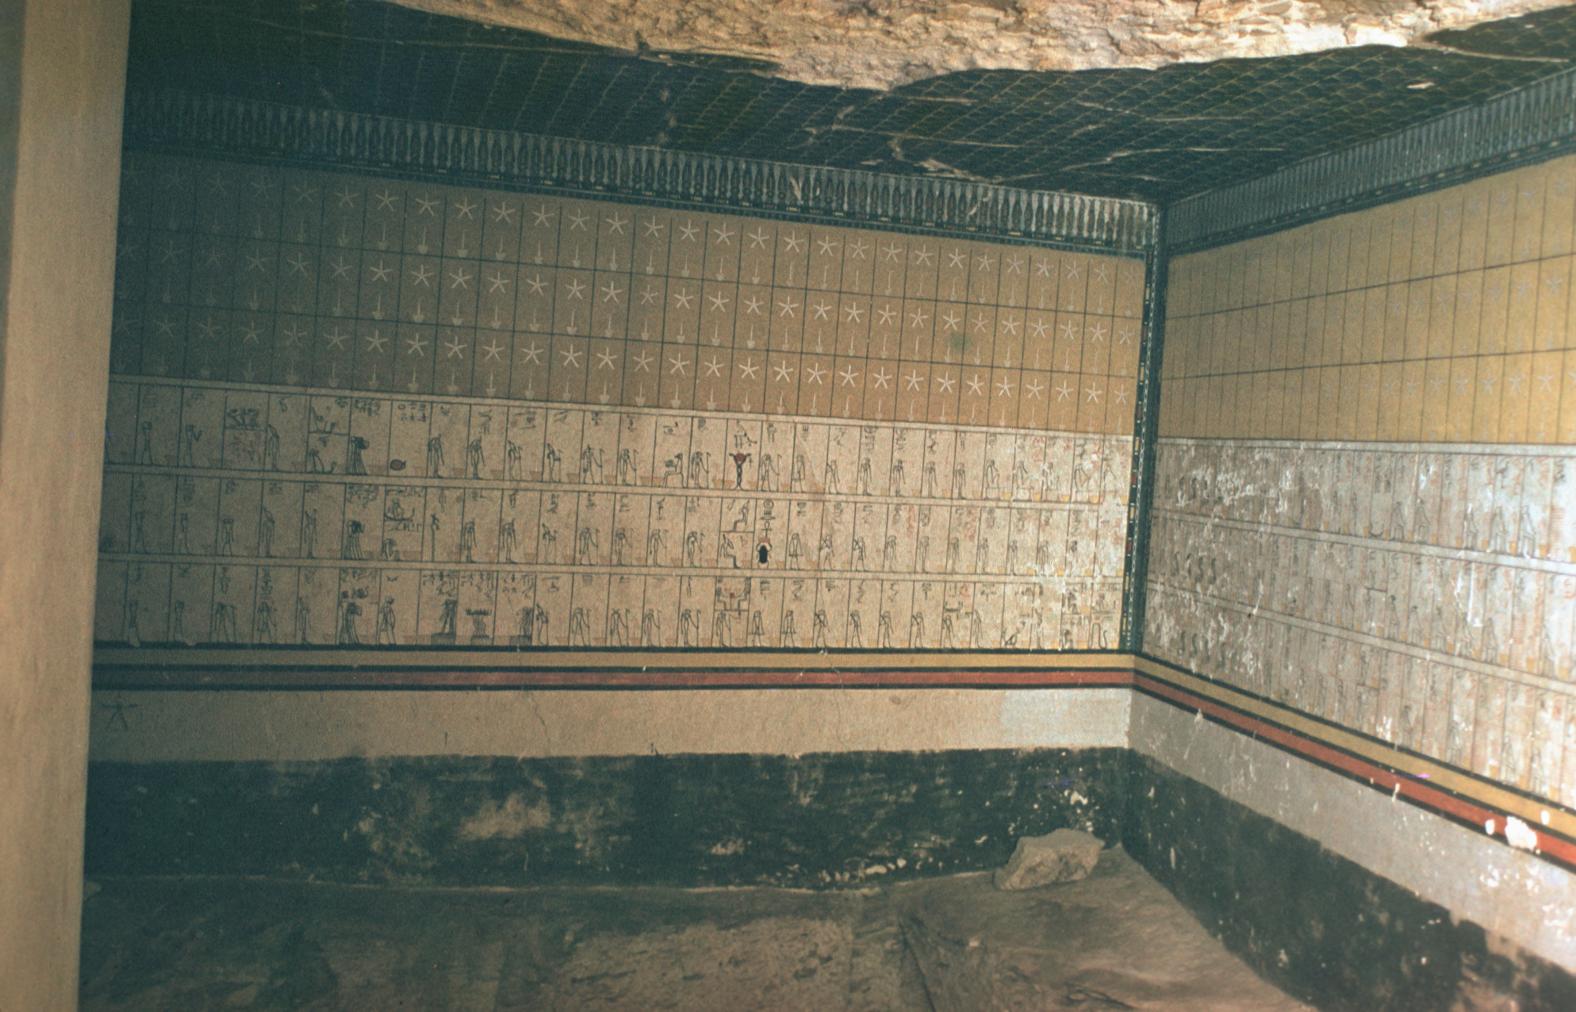
View into the Northeast corner, Catalog of Gods. Courtesy of Uni Dia Verlag; Uni Dia Image Nr. 35010
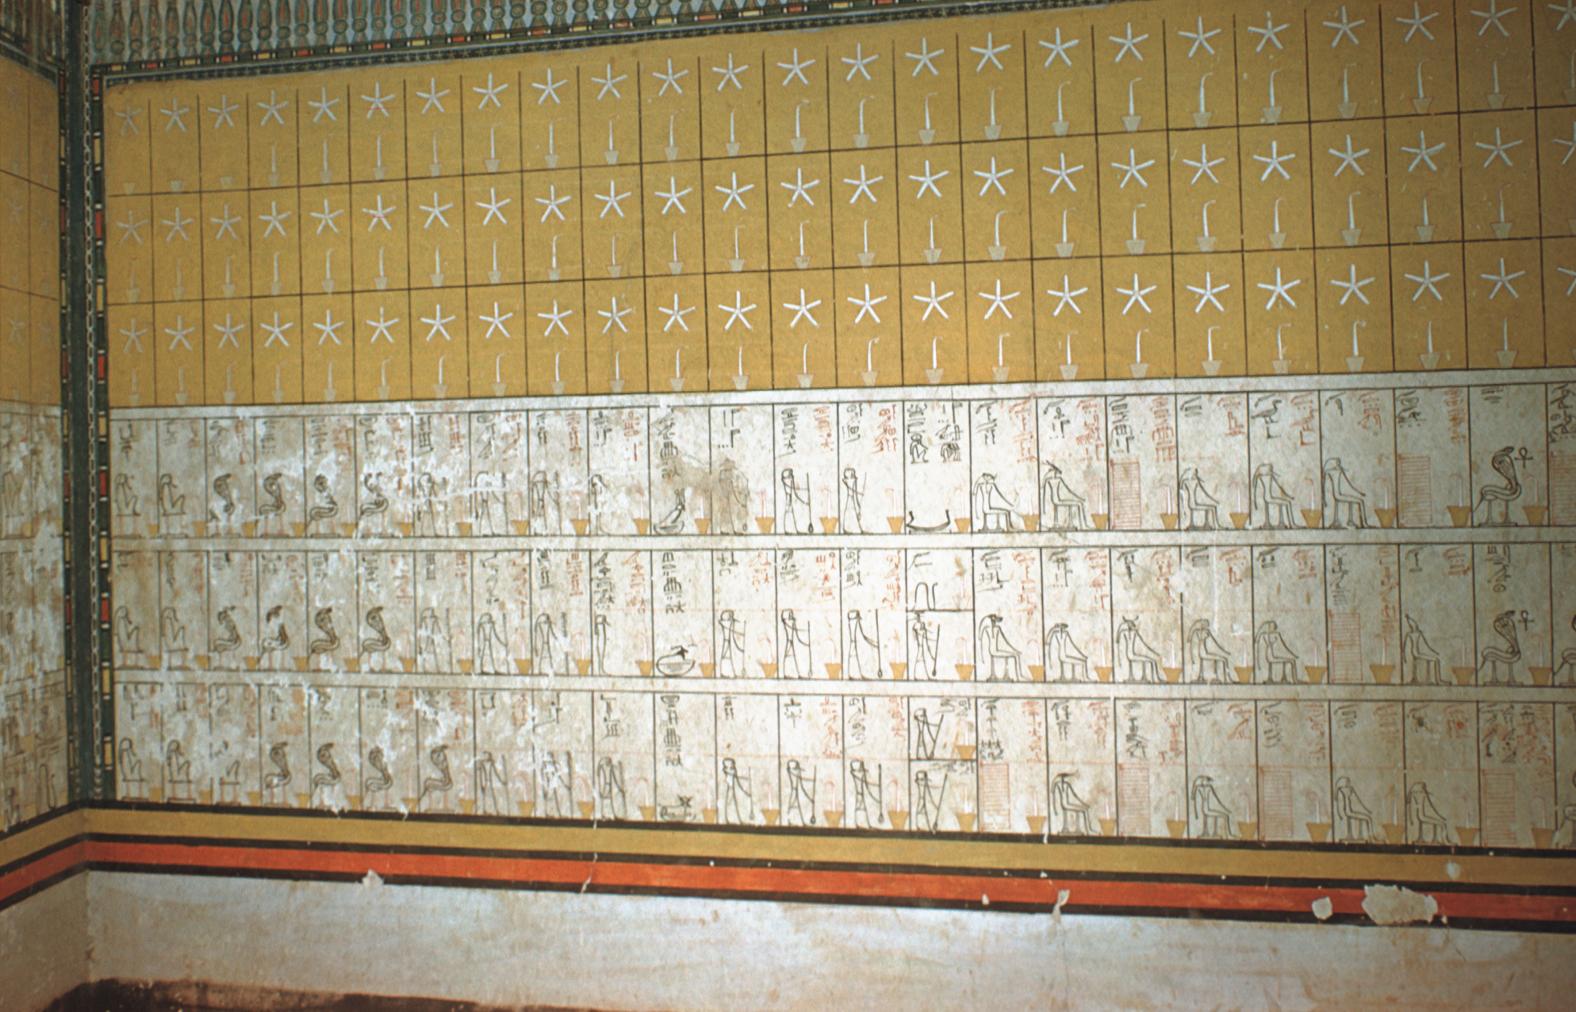
The Gods of the 8th and 9th Hours (catalog of gods). Courtesy of Uni Dia Verlag; Uni Dia Image Nr. 35011
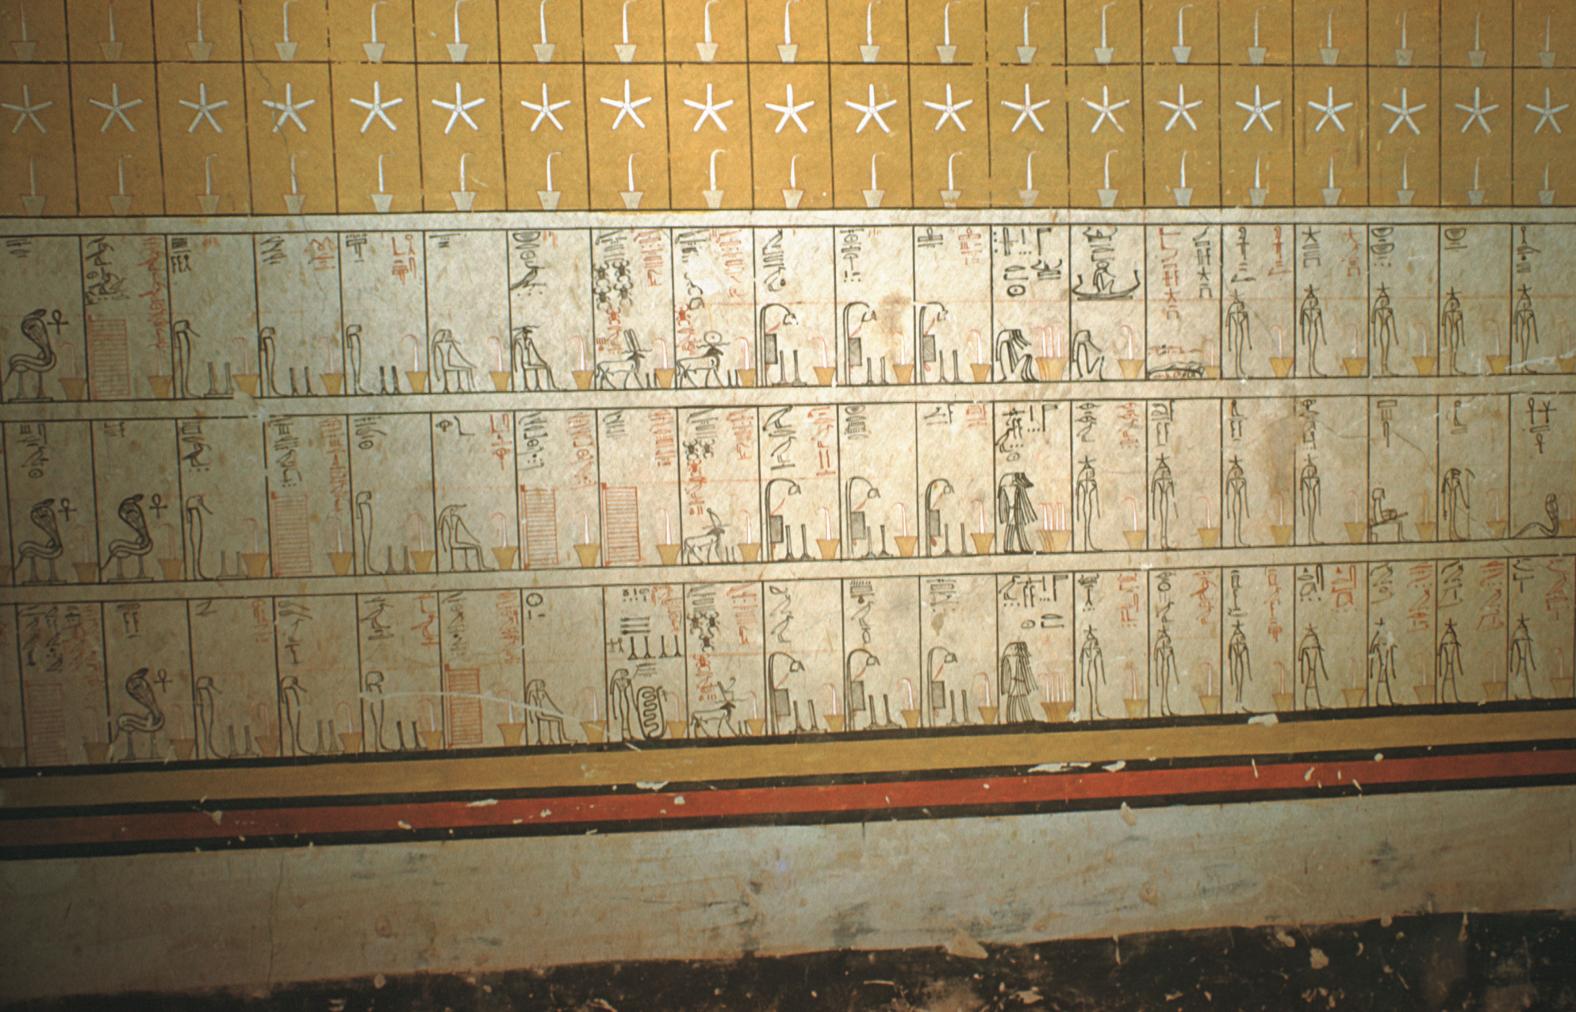
The Gods of the 7th and 8th Hours (catalog of gods). Courtesy of Uni Dia Verlag; Uni Dia Image Nr. 35012.
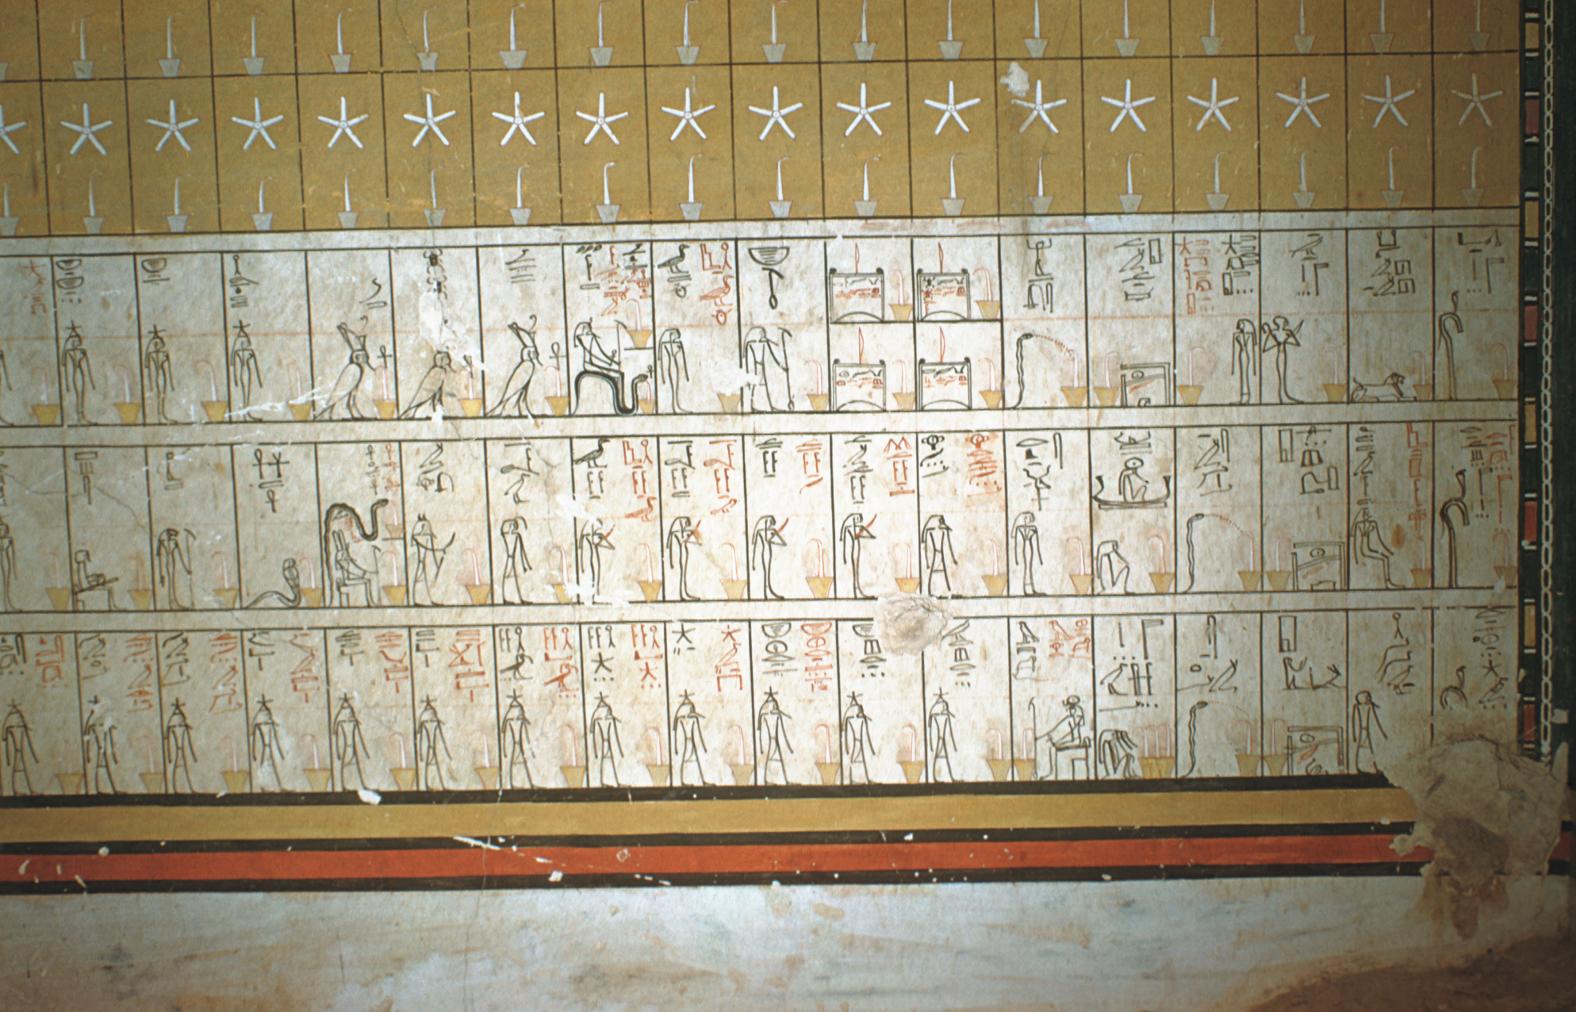
The Gods of the 6th and 7th hours (catalog of gods). Courtesy of Uni Dia Verlag; Uni Dia Image Nr. 35013.
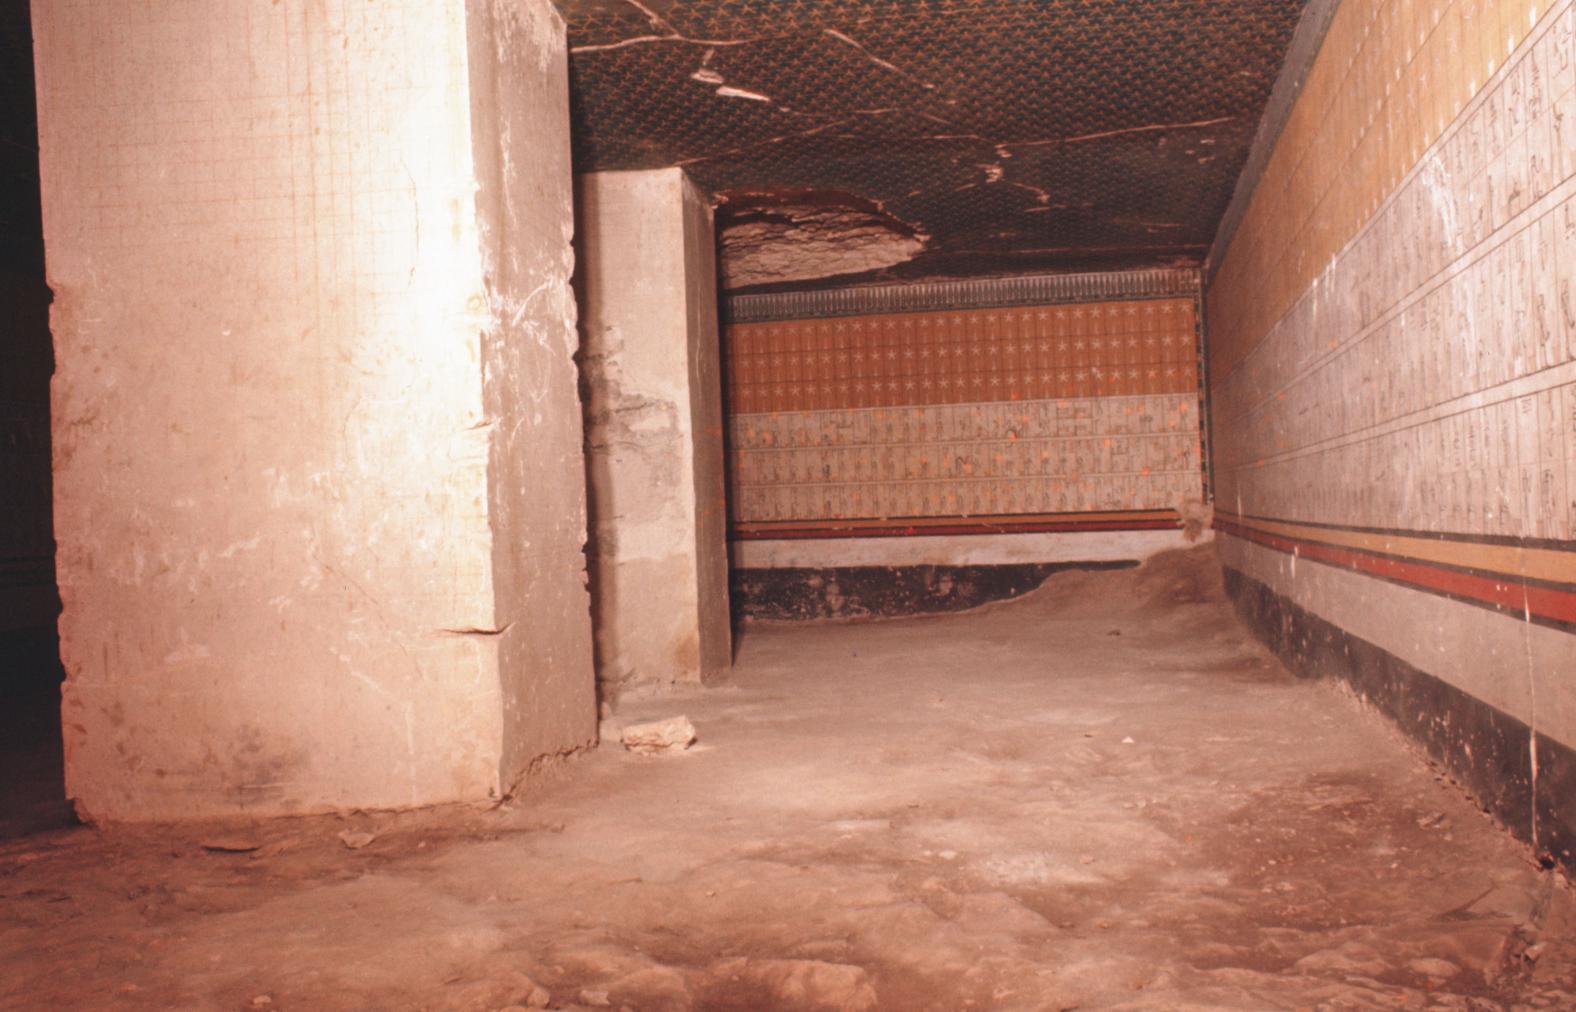
View of the Southeast corner (catalog of gods). Courtesy of Uni Dia Verlag; Uni Dia Image Nr. 35014.
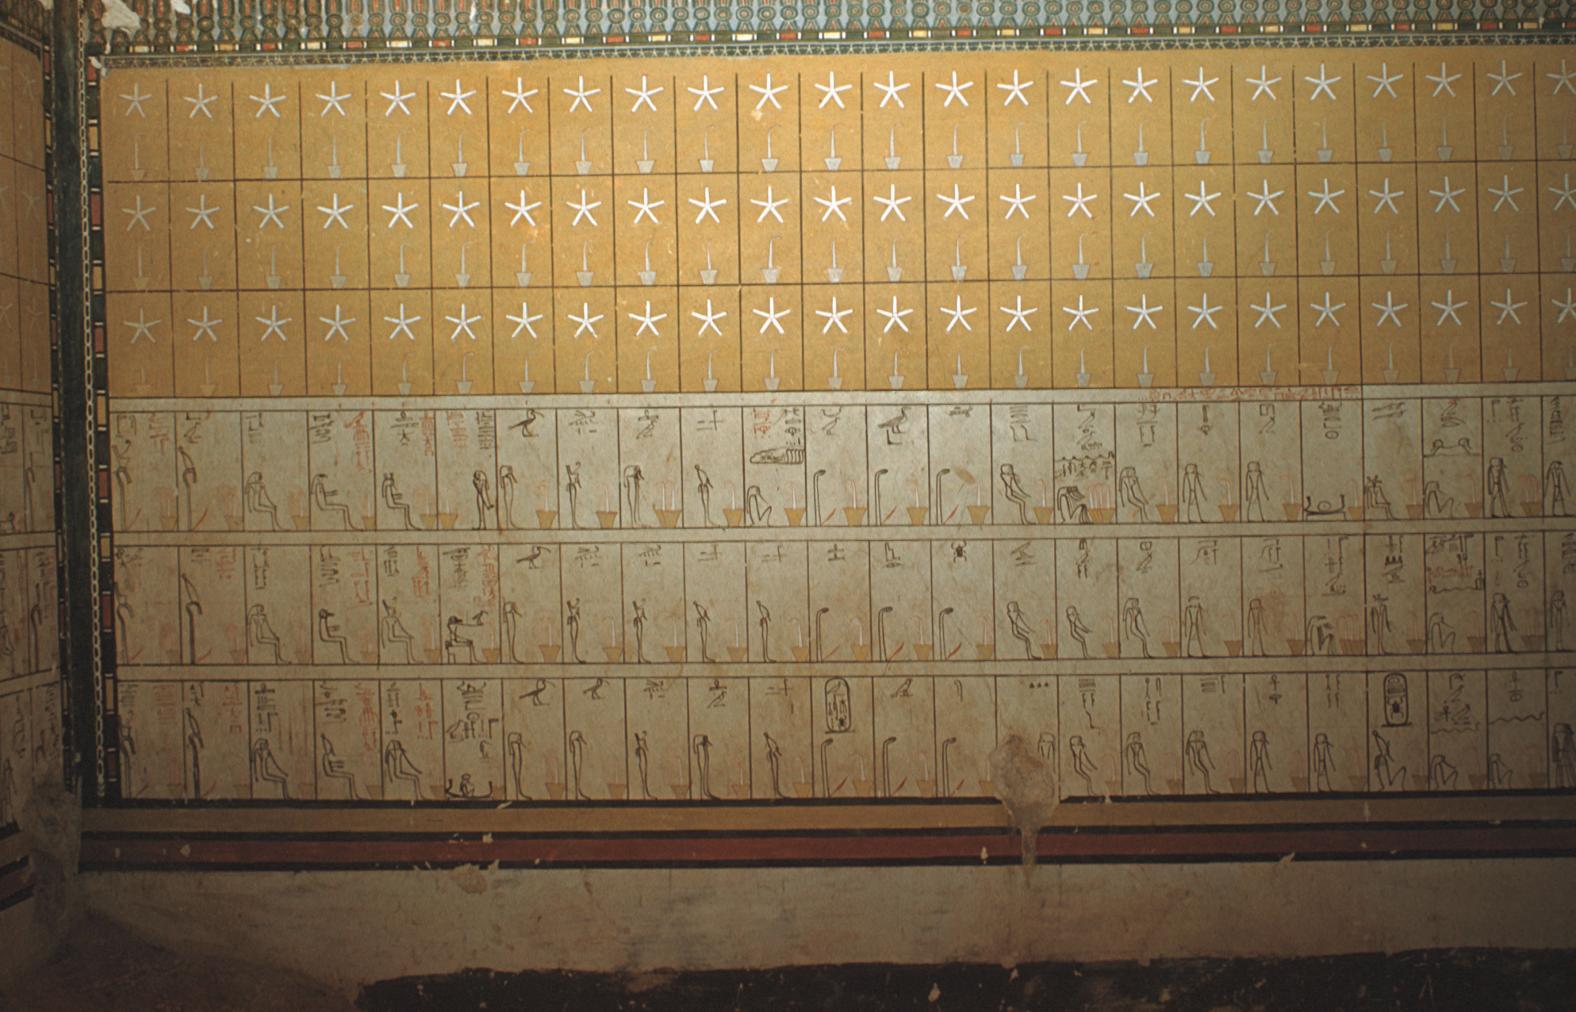
The Gods of the 5th and 6th hours (catalog of gods). Courtesy of Uni Dia Verlag; Uni Dia Image Nr. 35015.
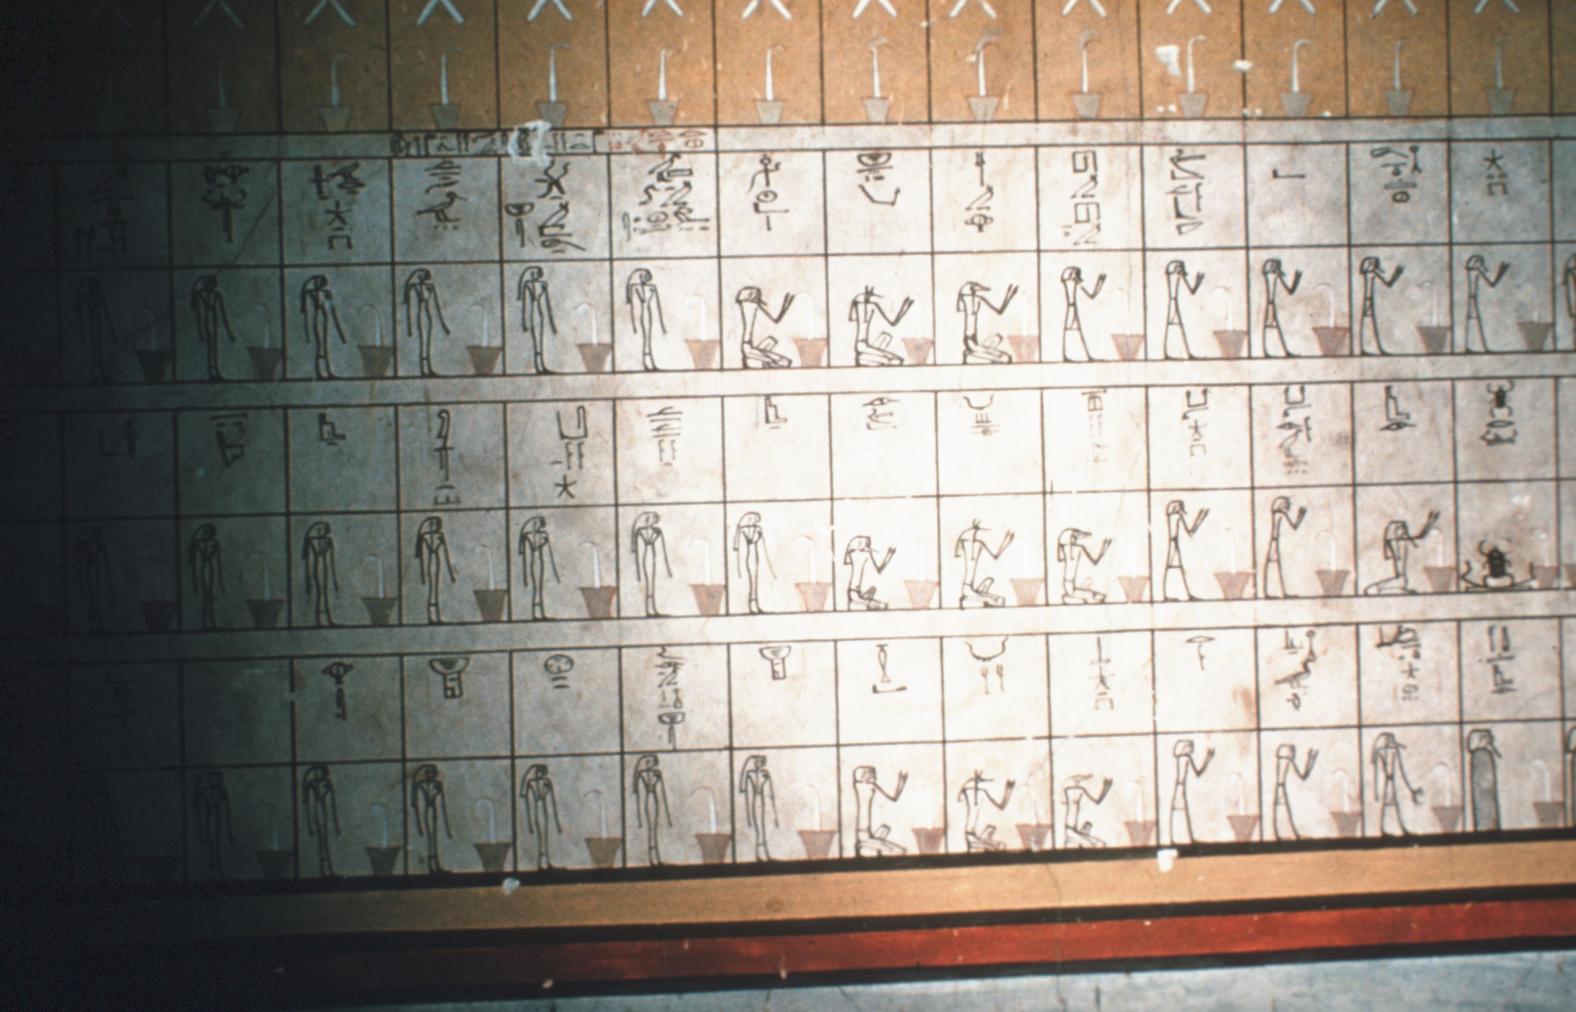
The Gods of the 4th and 5th Hours (catalog of gods). Courtesy of Uni Dia Verlag; Uni Dia Image Nr. 35016.
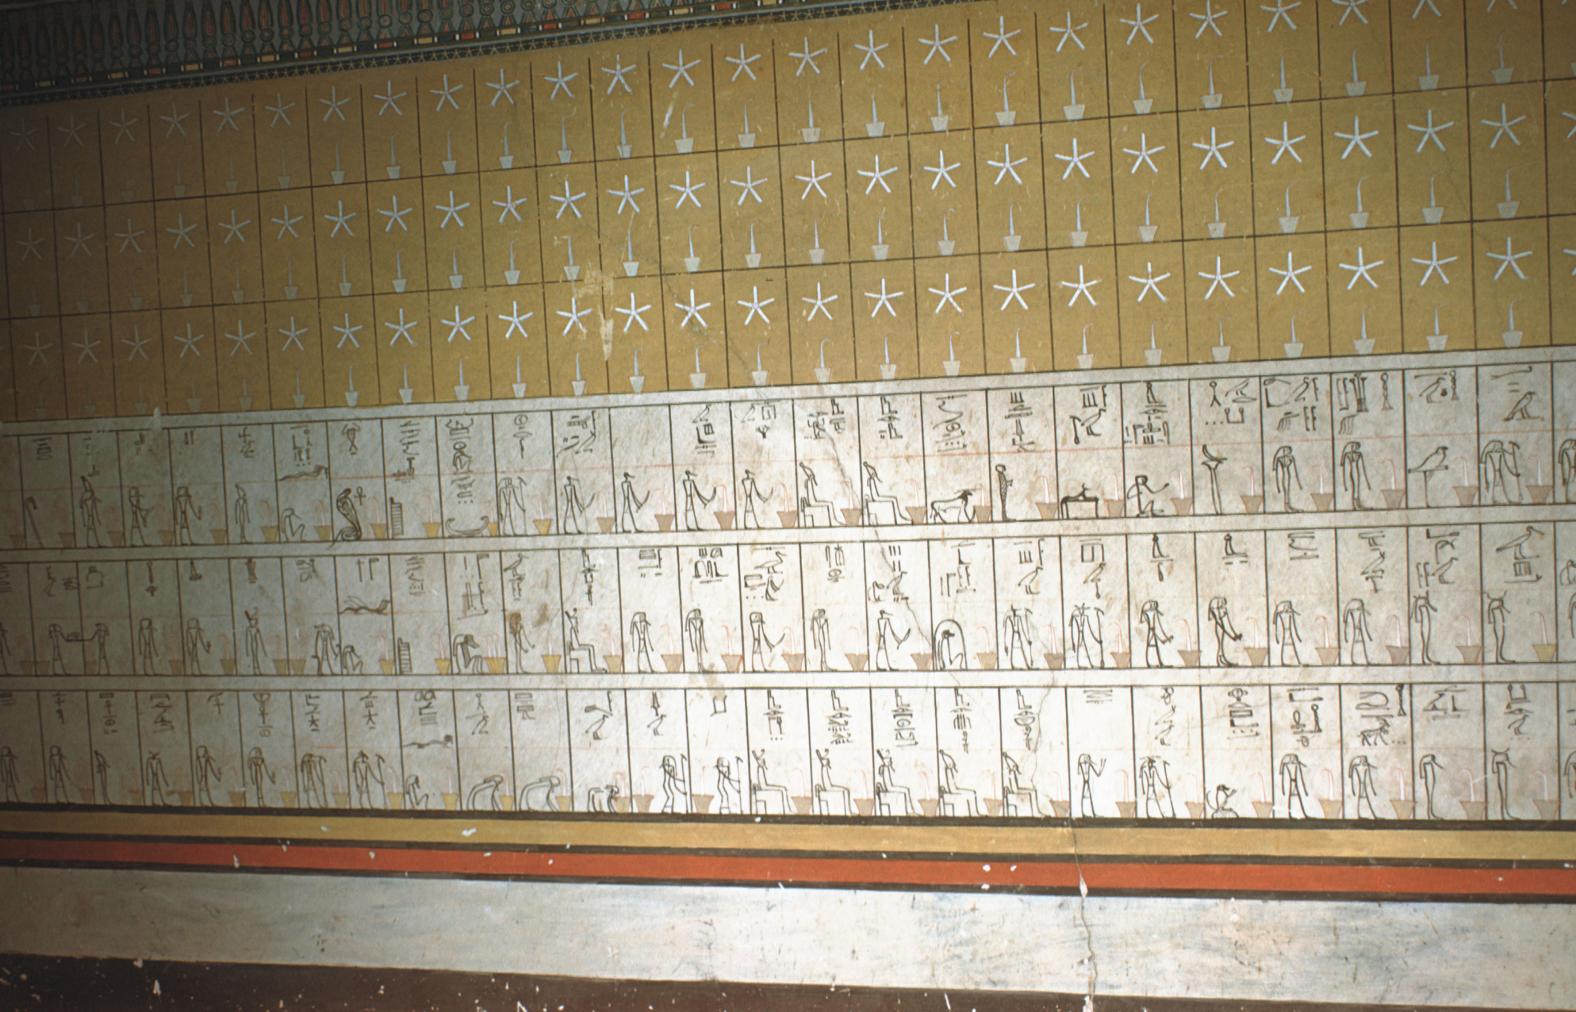
View of the central part of the south (rear) wall (catalog of gods). Courtesy of Uni Dia Verlag; Uni Dia Image Nr. 35017.
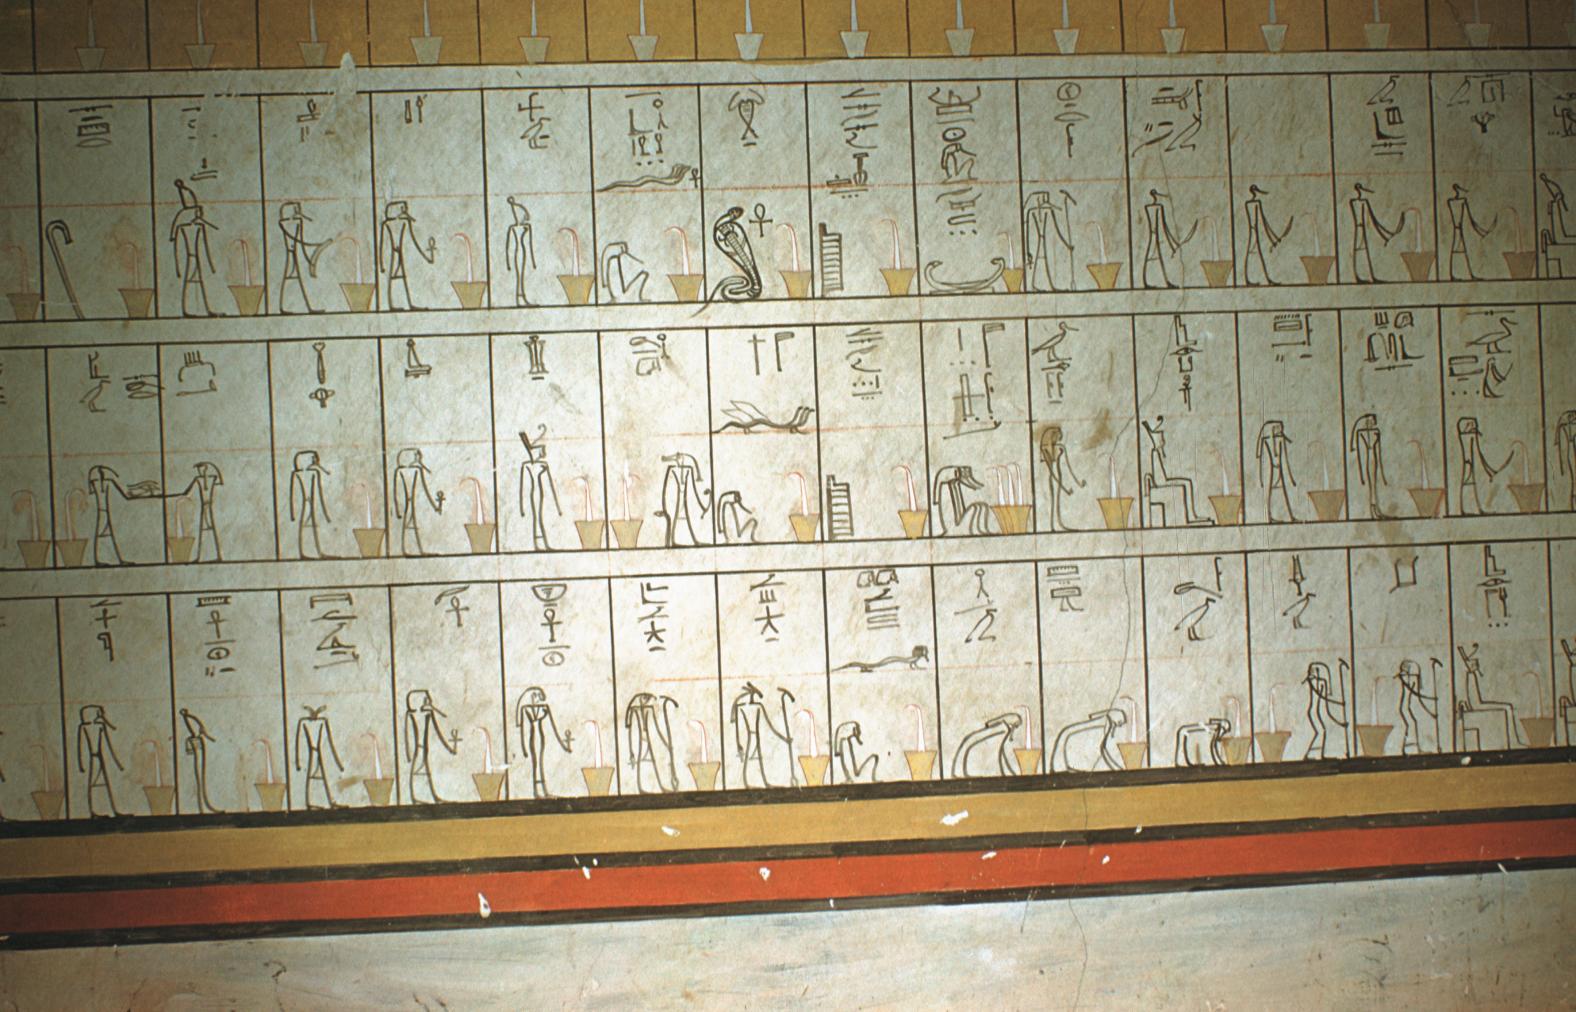
The Gods of the 4th hour (catalog of gods). Courtesy of Uni Dia Verlag; Uni Dia Image Nr. 35018.
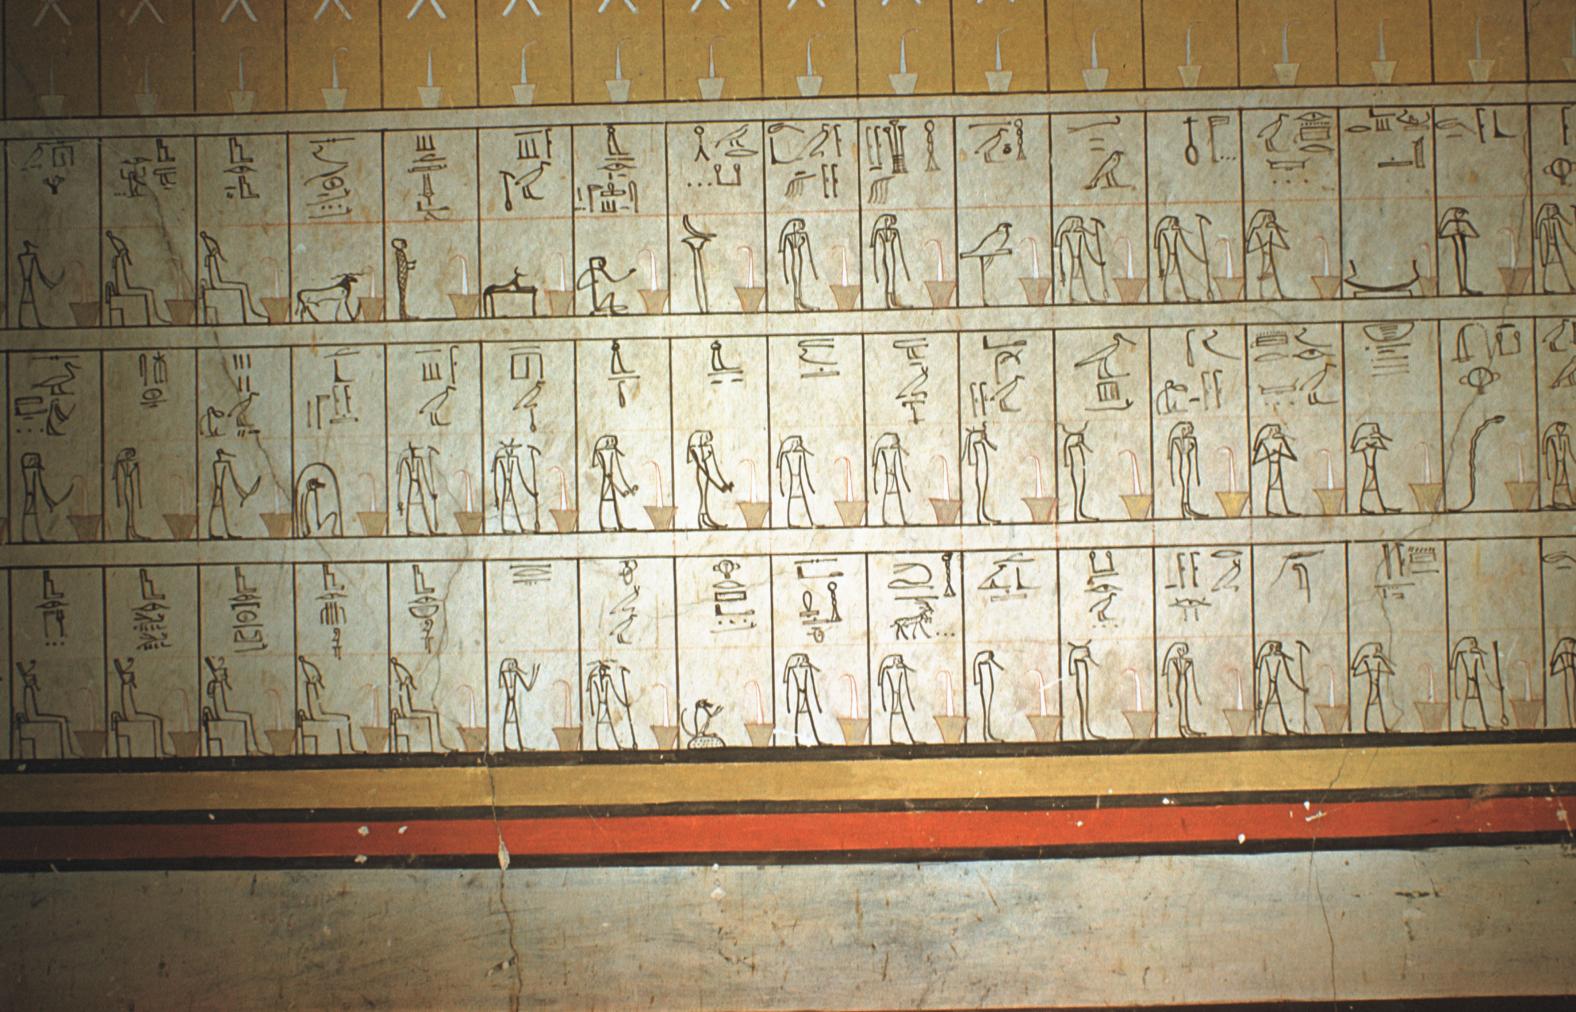
The Gods of the 3rd Hour (catalog of gods). Courtesy of Uni Dia Verlag; Uni Dia Image Nr. 35019.
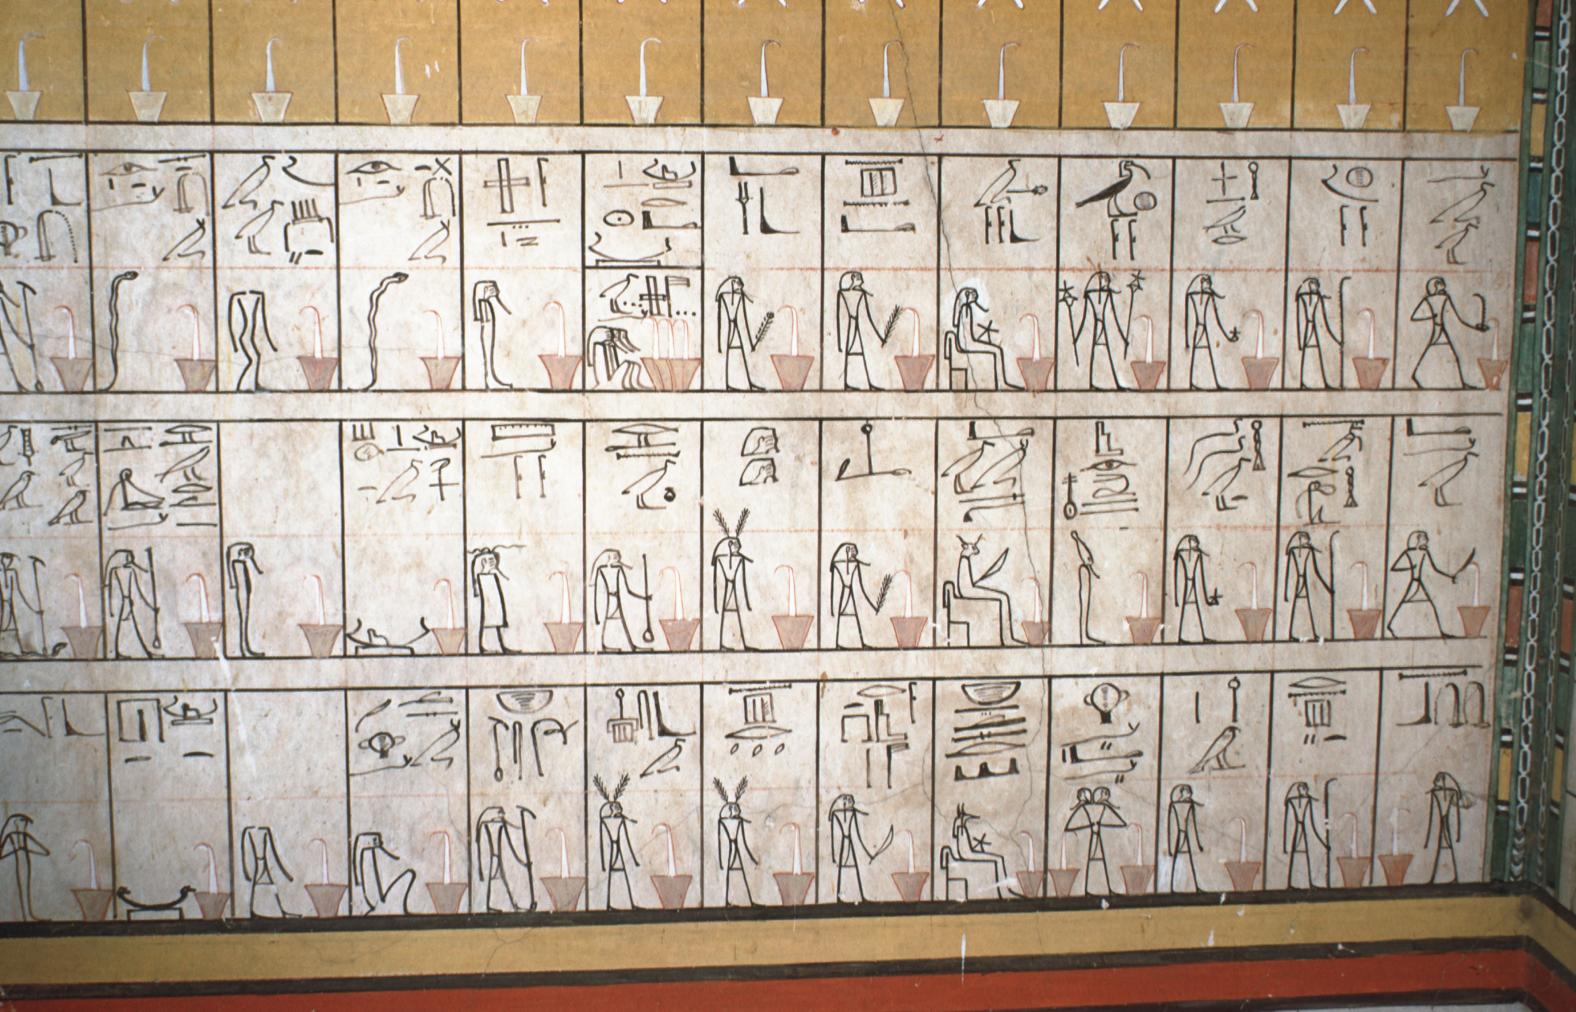
The Gods of the 2nd Hour (catalog of gods). Courtesy of Uni Dia Verlag; Uni Dia Image Nr. 35020.
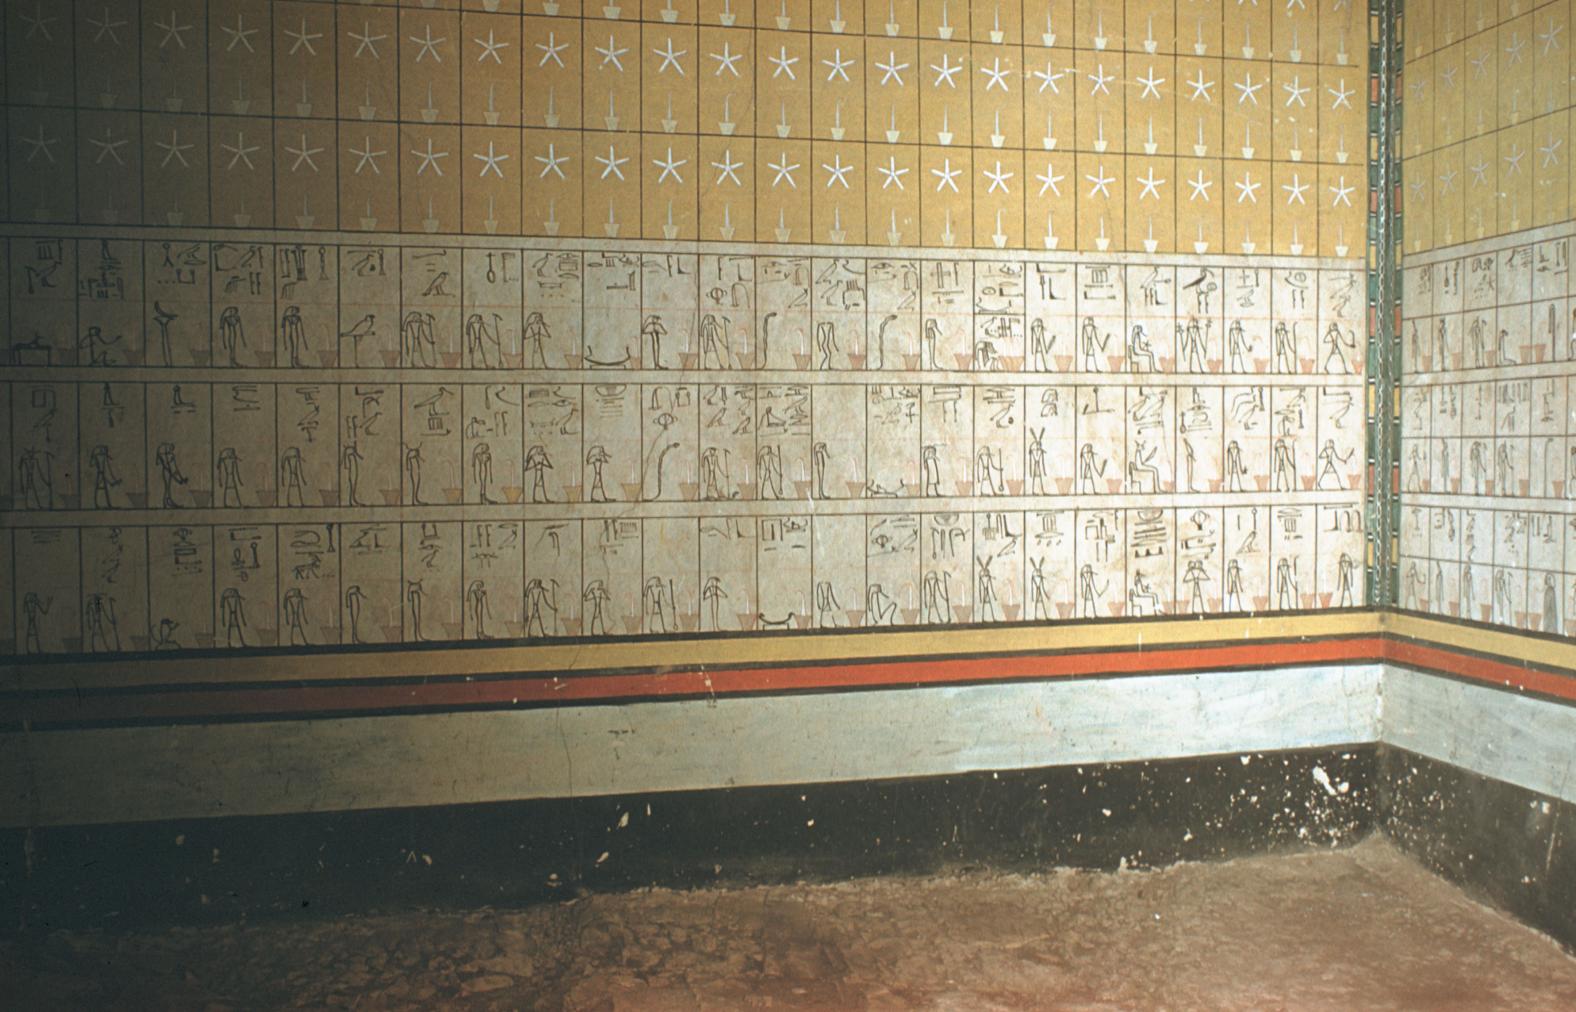
View into the Southwest corner (catalog of gods). Courtesy of Uni Dia Verlag; Uni Dia Image Nr. 35021.
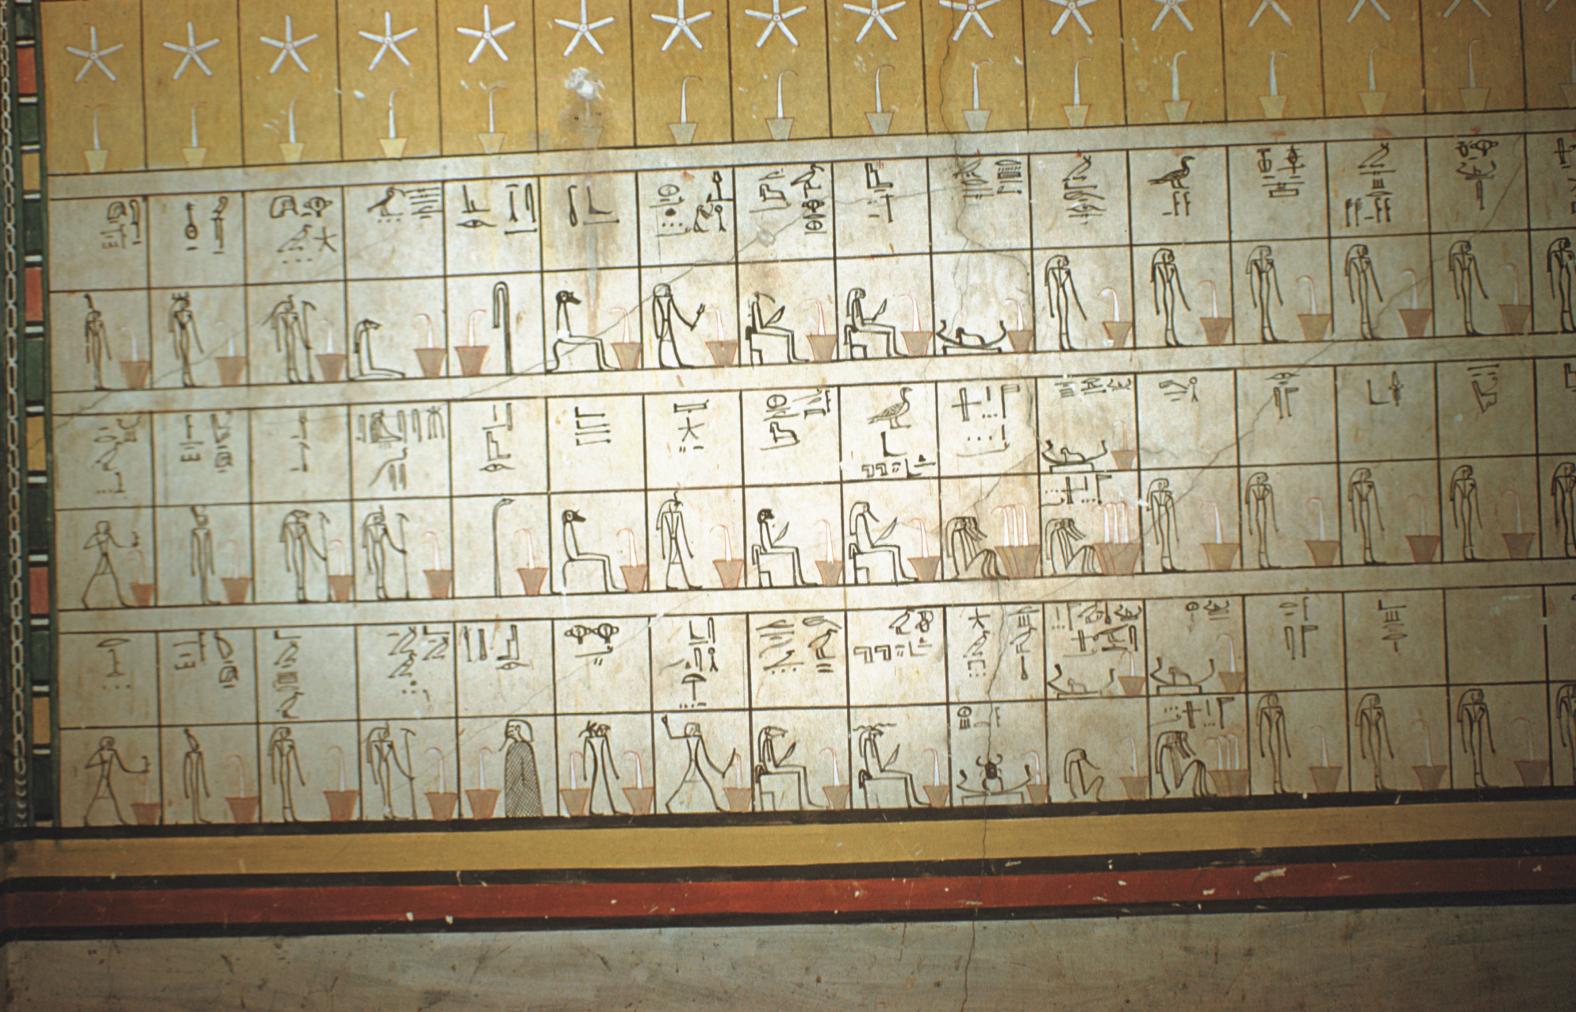
The Gods of the 2nd Hour (catalog of gods). Courtesy of Uni Dia Verlag; Uni Dia Image Nr. 35022.
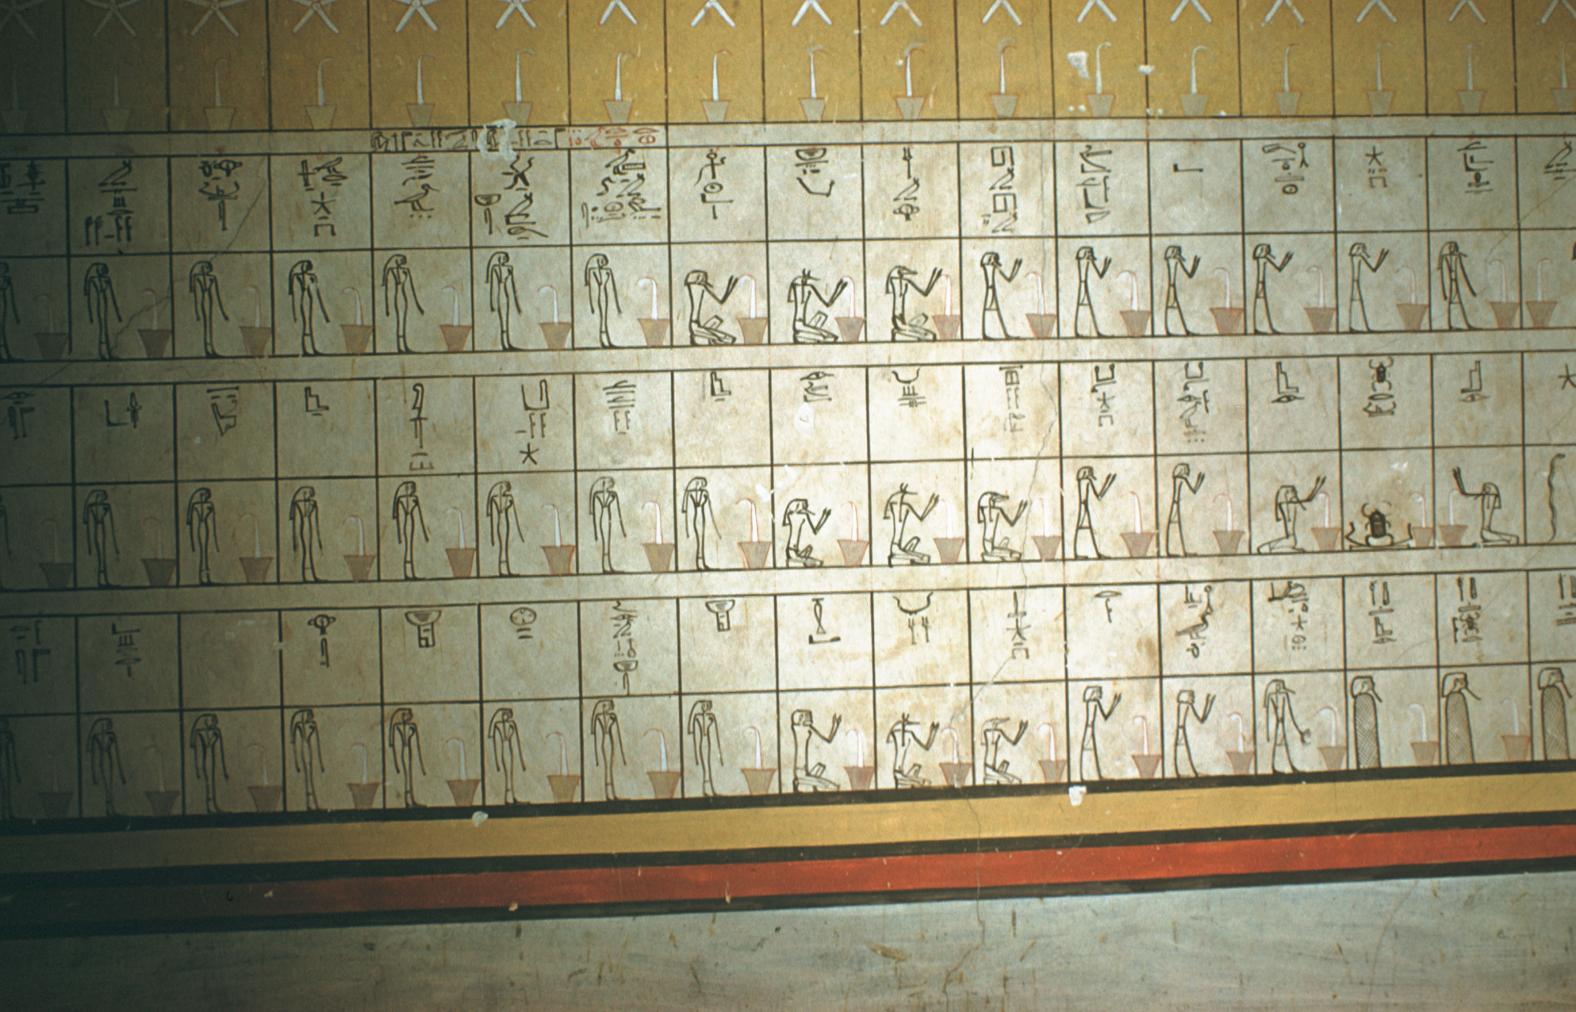
The Gods of the 2nd Hour (catalog of gods). Courtesy of Uni Dia Verlag; Uni Dia Image Nr. 35023.
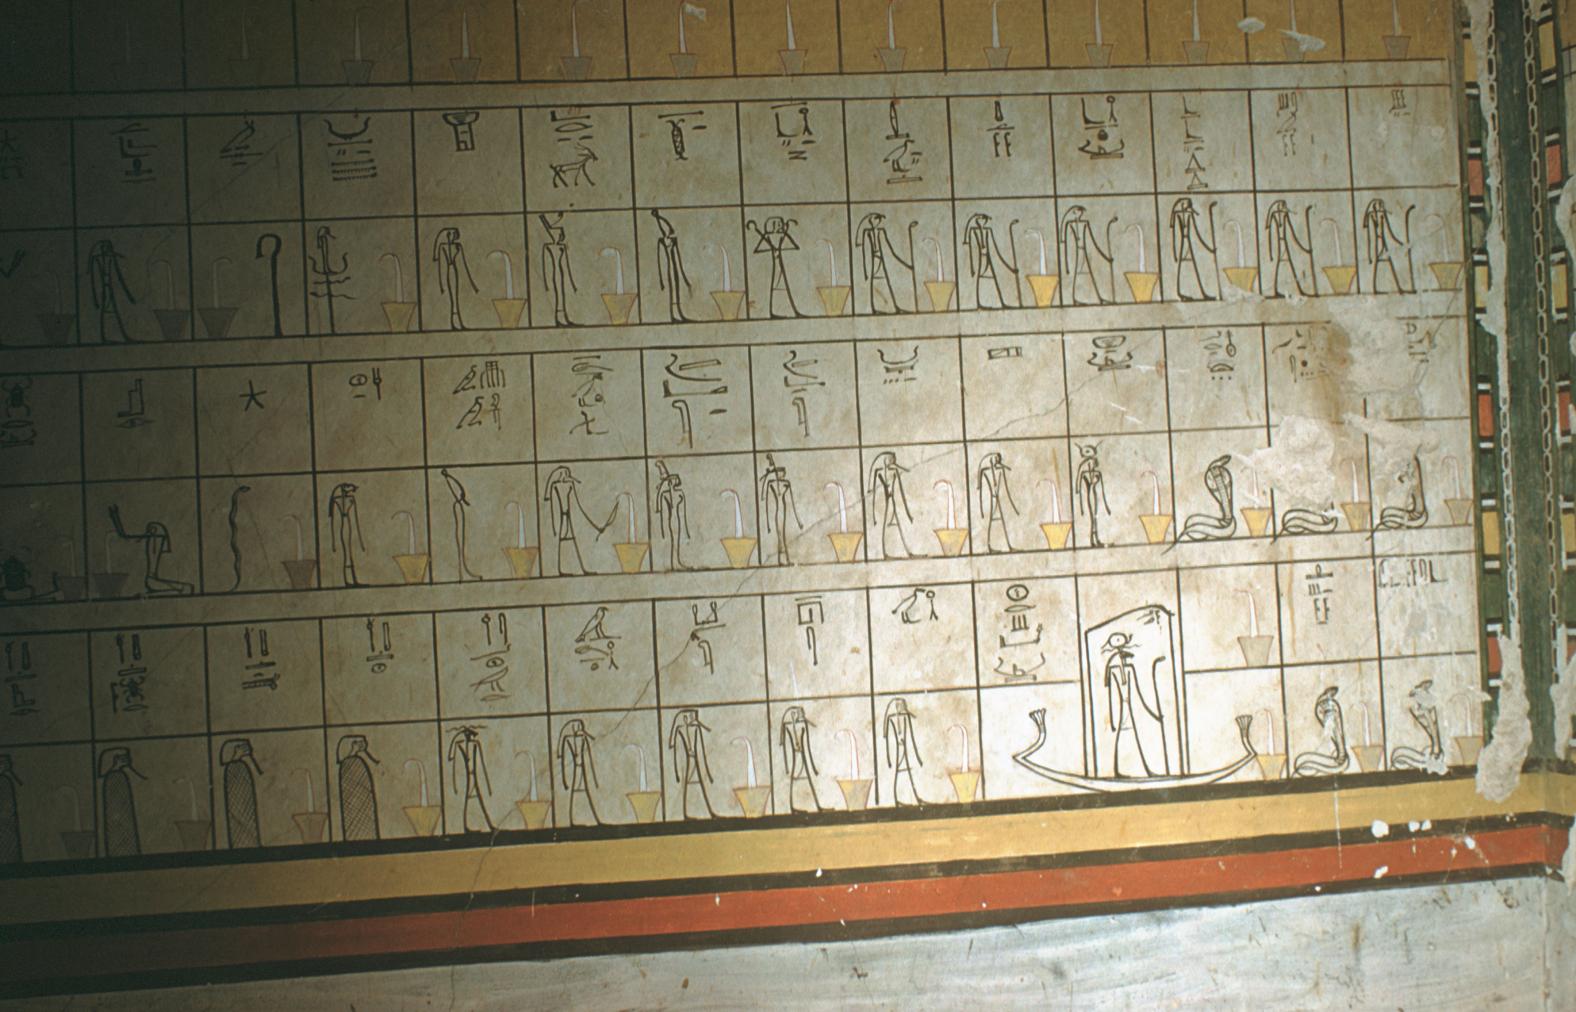
The Gods of the 1st Hour (catalog of gods). Courtesy of Uni Dia Verlag; Uni Dia Image Nr. 35024.
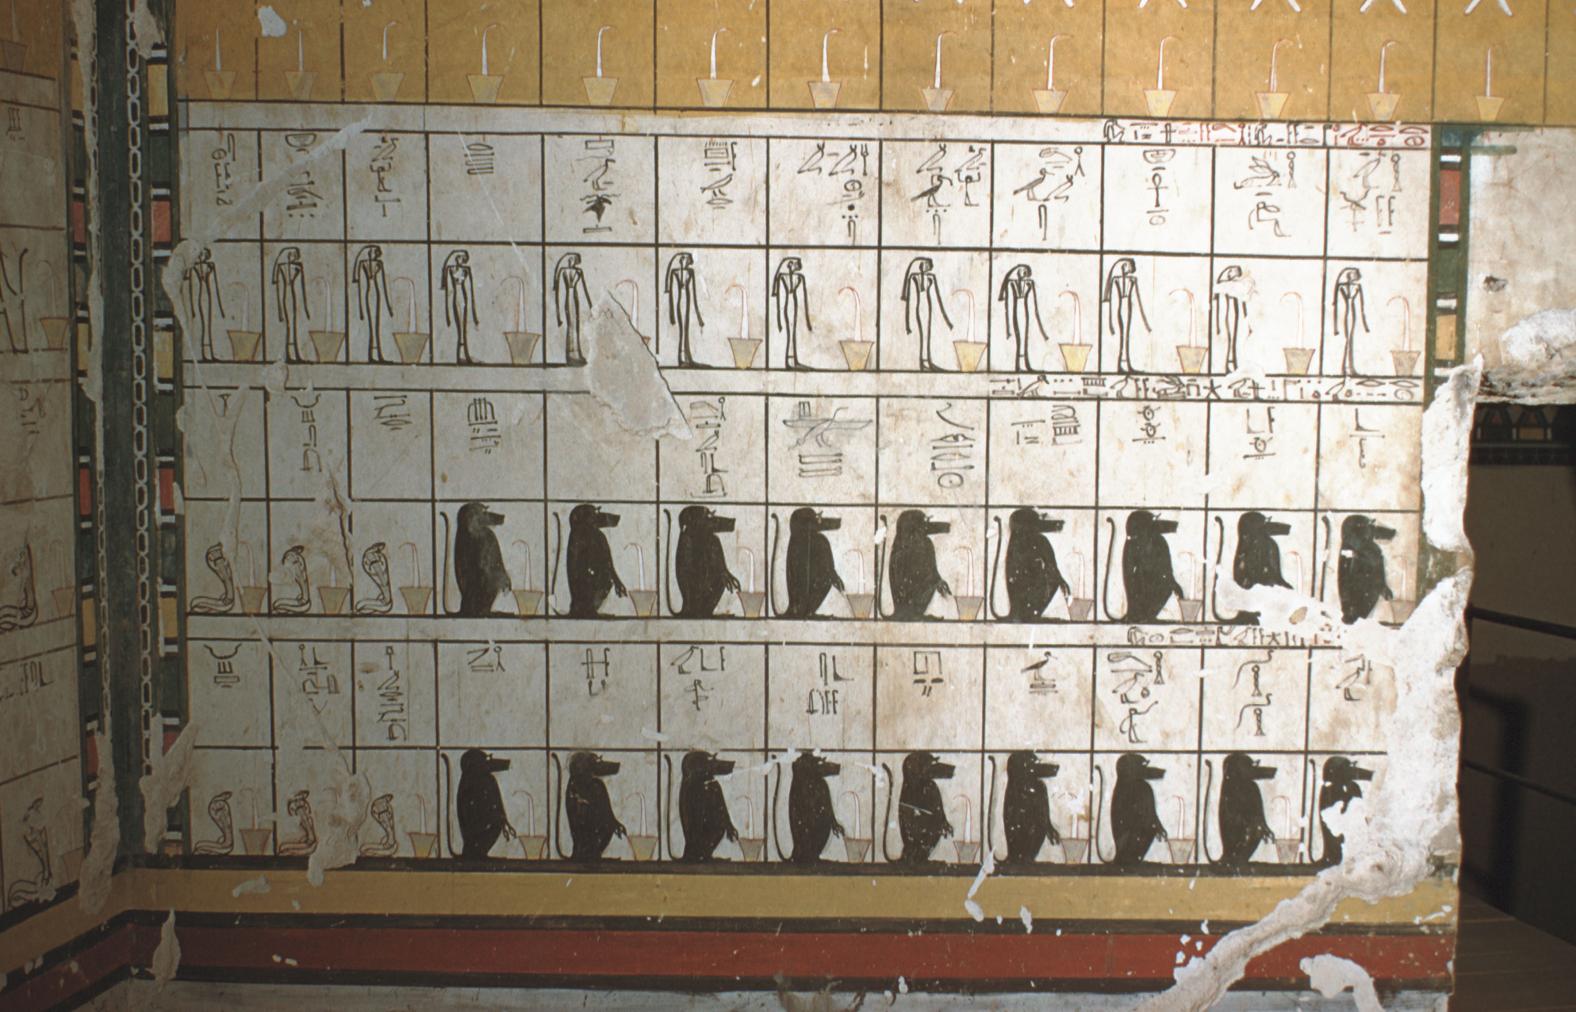
View of Northwest Corner and Gods of the 1st Hour (catalog of gods). Courtesy of Uni Dia Verlag; Uni Dia Image Nr. 35025.
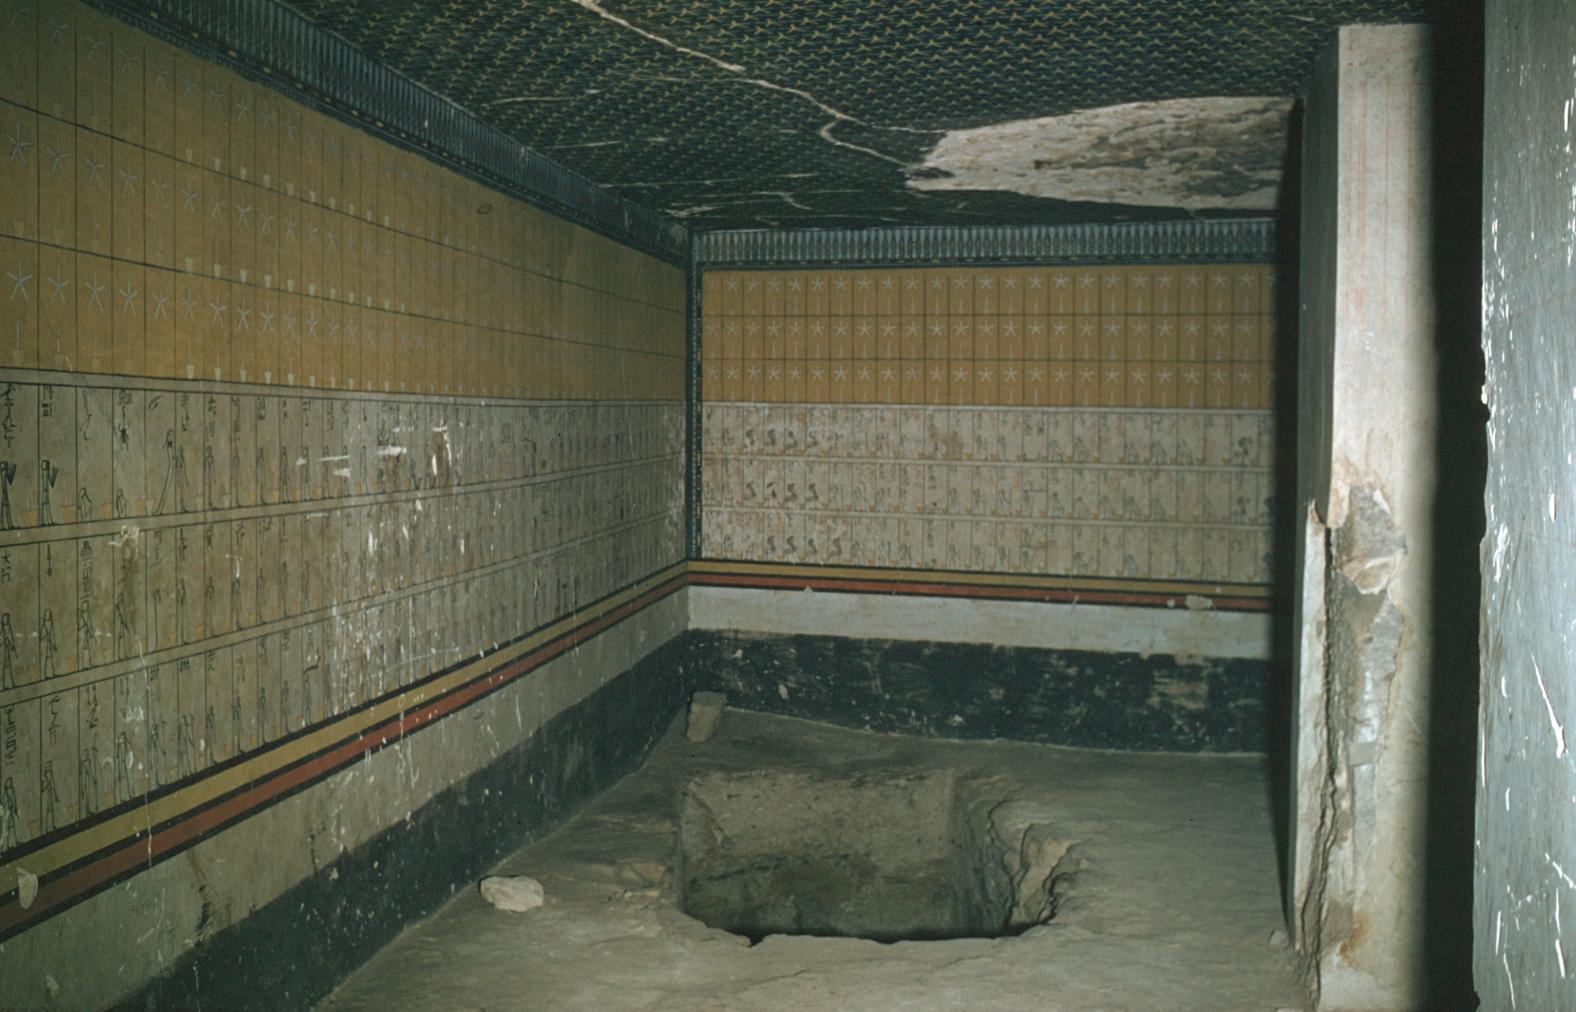
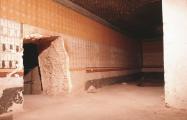
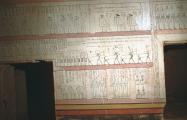
View into the Northeast corner and descent to the burial chamber. Courtesy of Uni Dia Verlag; Uni Dia Image Nr. 35026.
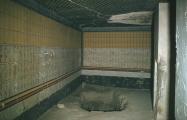
Descent F
See entire tombPossible beam holes are cut at the top of this descent.
Porter and Moss designation:
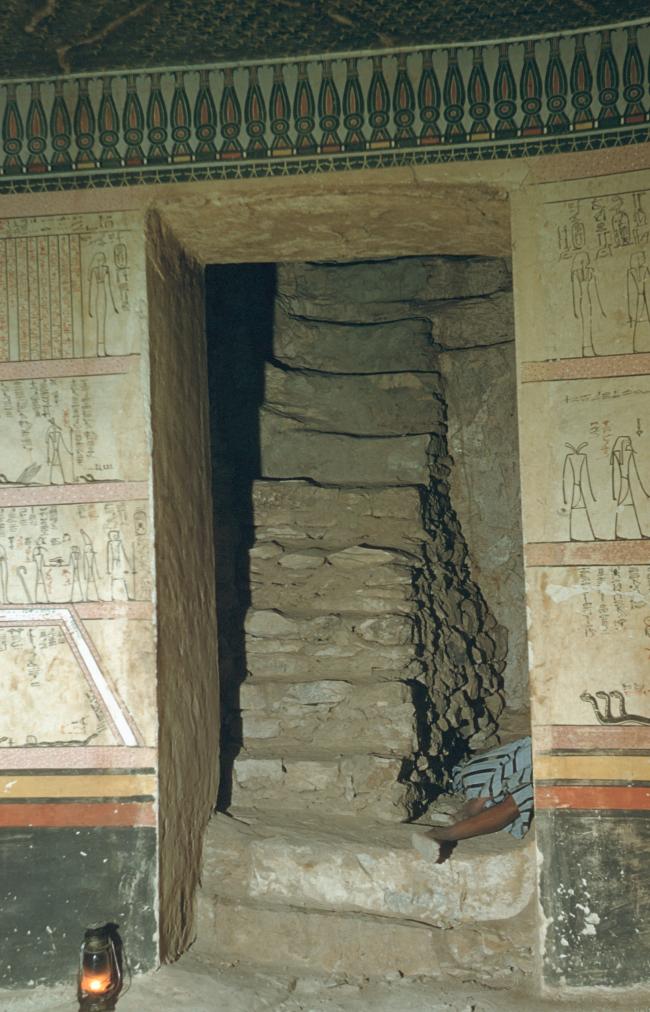
View of descent F and Gate J from Burial Chamber J. Courtesy of Uni Dia Verlag; Uni Dia Image Nr. 35027.
Gate J
See entire tombThe stairway from descent F continues through this simple, undecorated gate.
Porter and Moss designation:
View of descent F and Gate J from Burial Chamber J. Courtesy of Uni Dia Verlag; Uni Dia Image Nr. 35027.
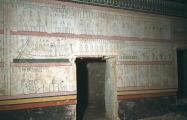
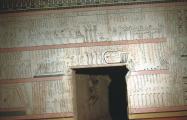
View of Gate J and the Northwest corner of Burial Chamber J with the 4th and 7th hours of the Imydwat. Courtesy of Uni Dia Verlag; Uni Dia Image Nr. 35028.
Burial chamber J
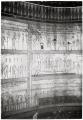
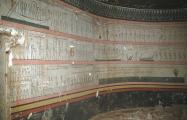
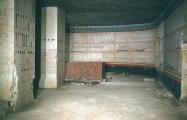
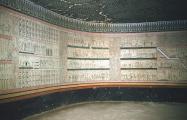
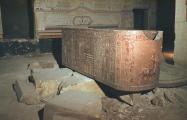
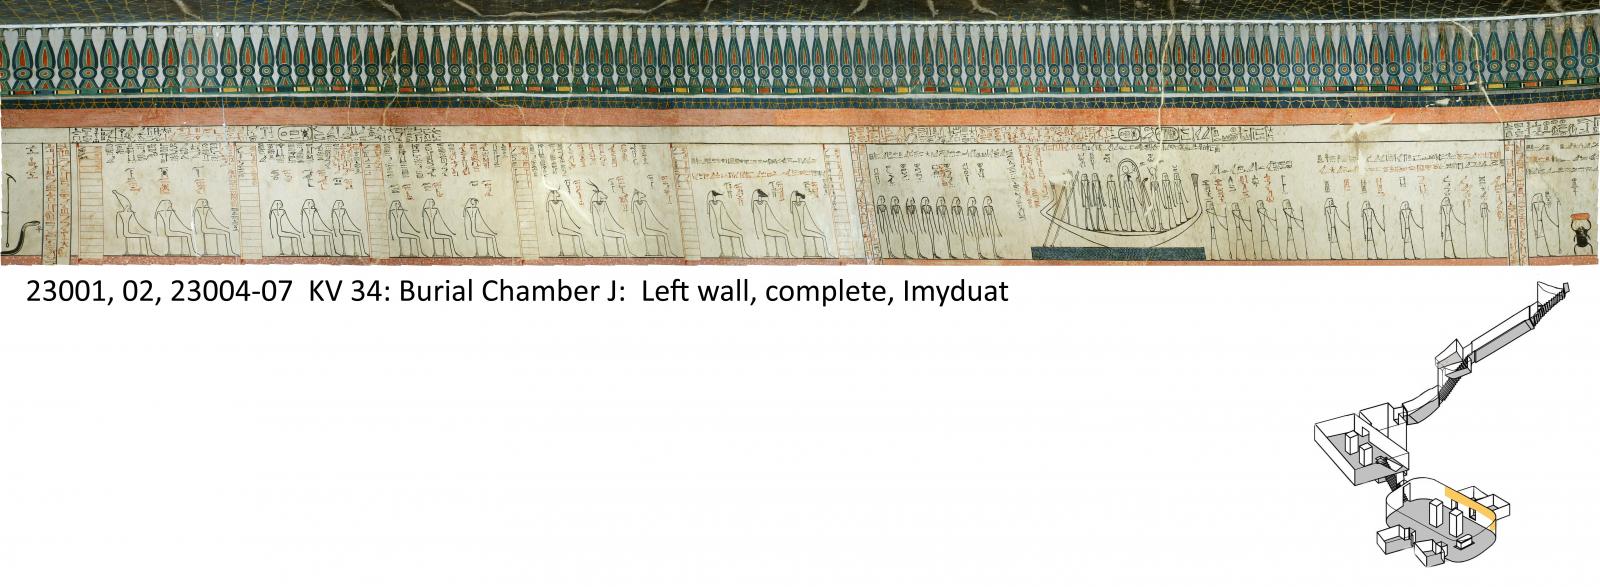
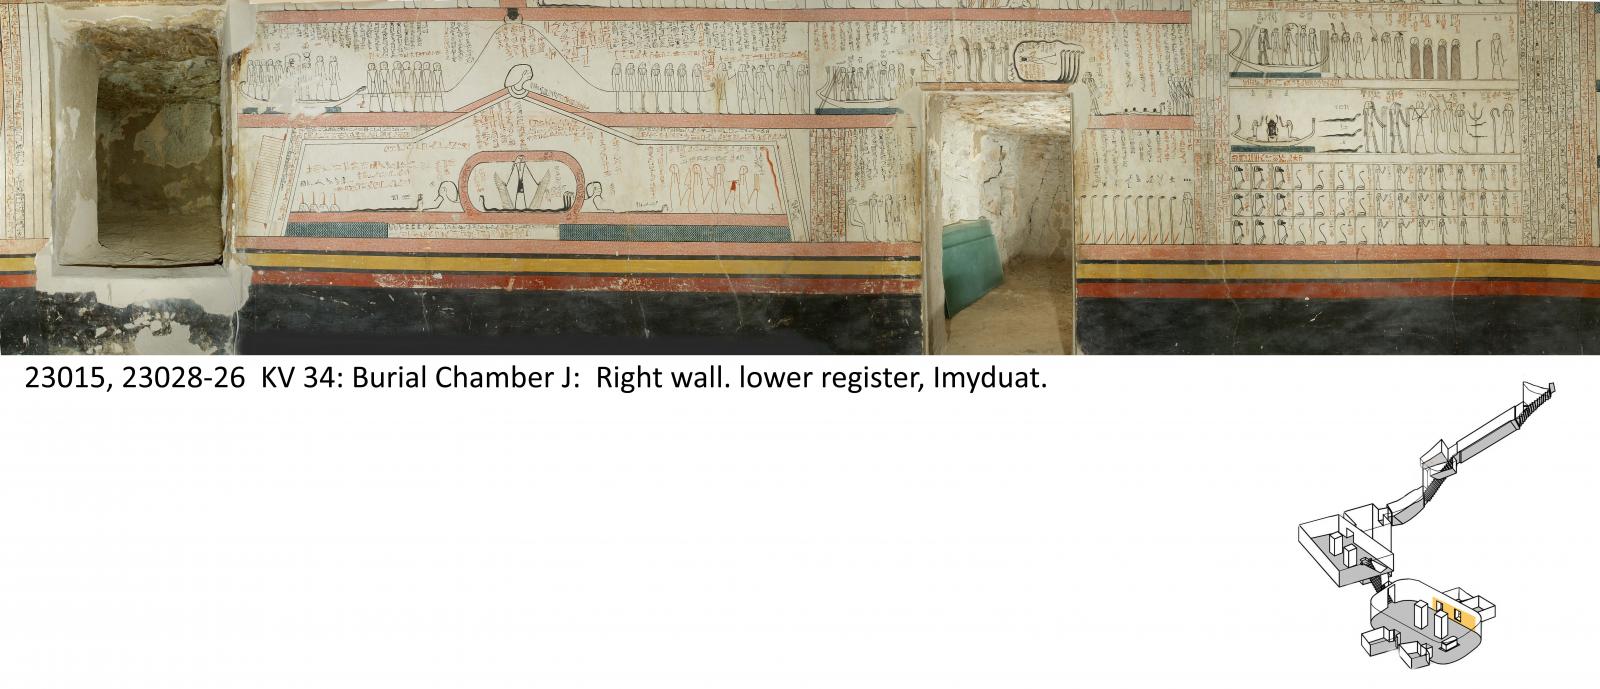
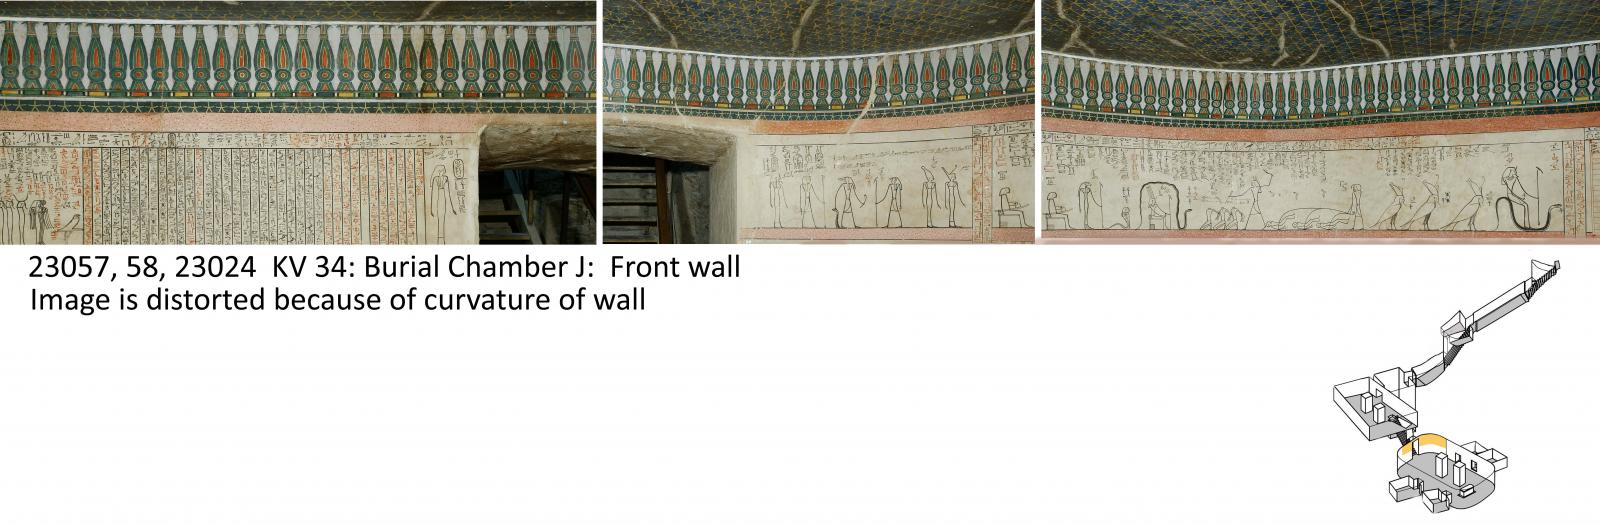
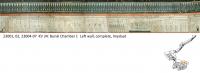
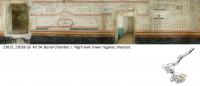
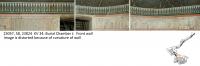
See entire tombTwo partially decorated pillars stand in the center of this large burial chamber. The cartouche-shaped sarcophagus of Thutmes III rests in the rear (northeastern) end of the chamber. The gates to two of the four side chambers are cut close together in the left (northwest) wall. Two others are spaced farther apart in the right (southeast) wall.
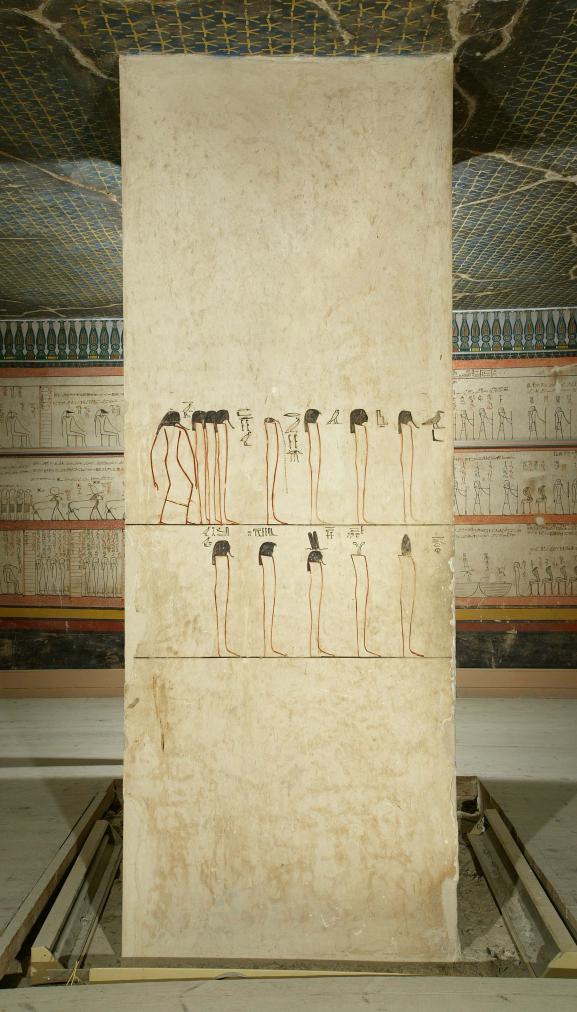
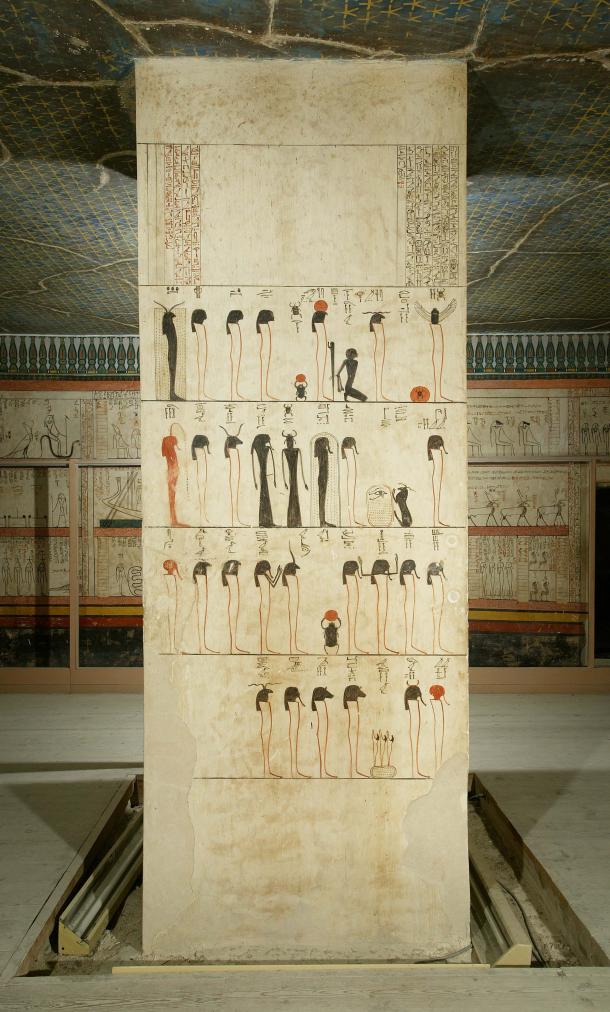
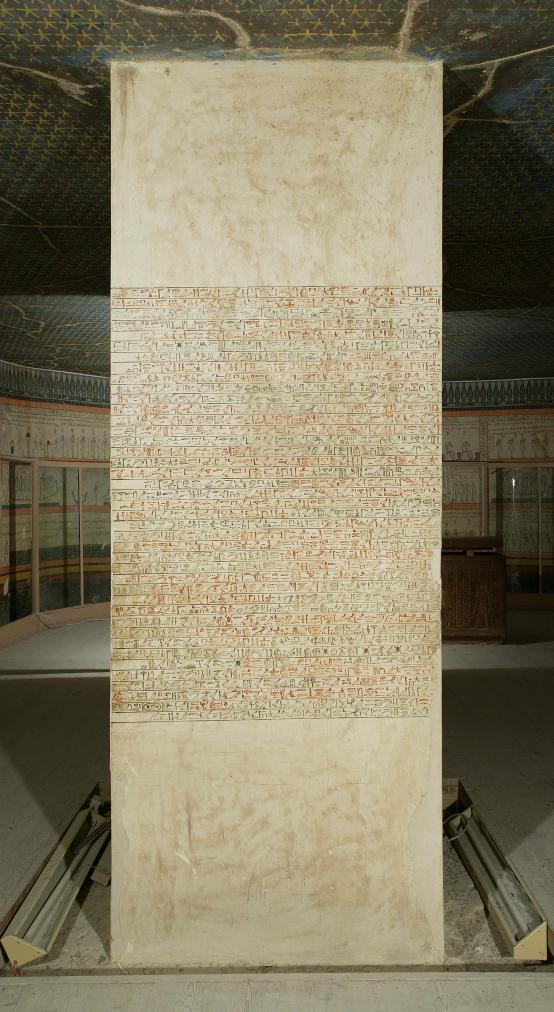
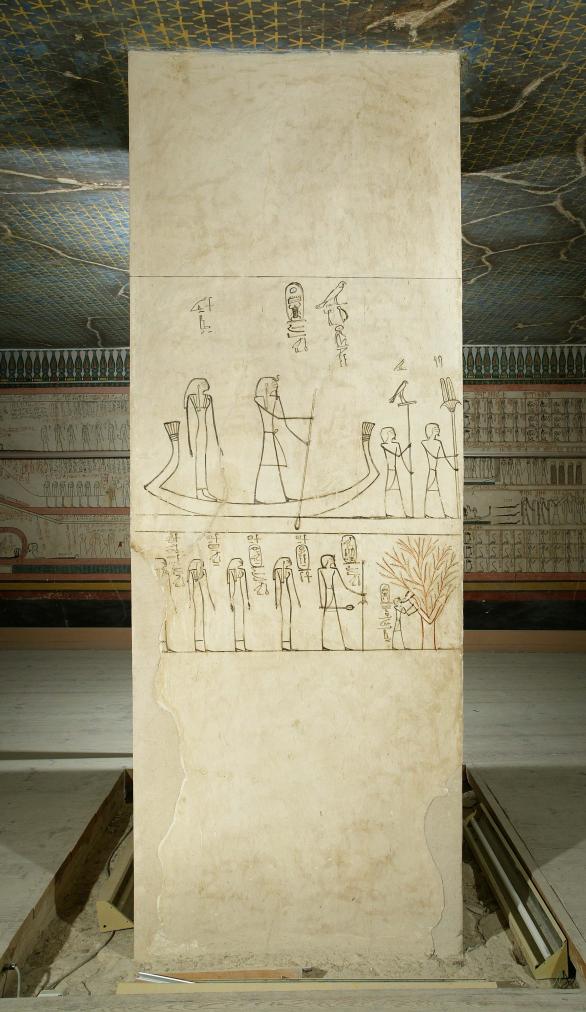
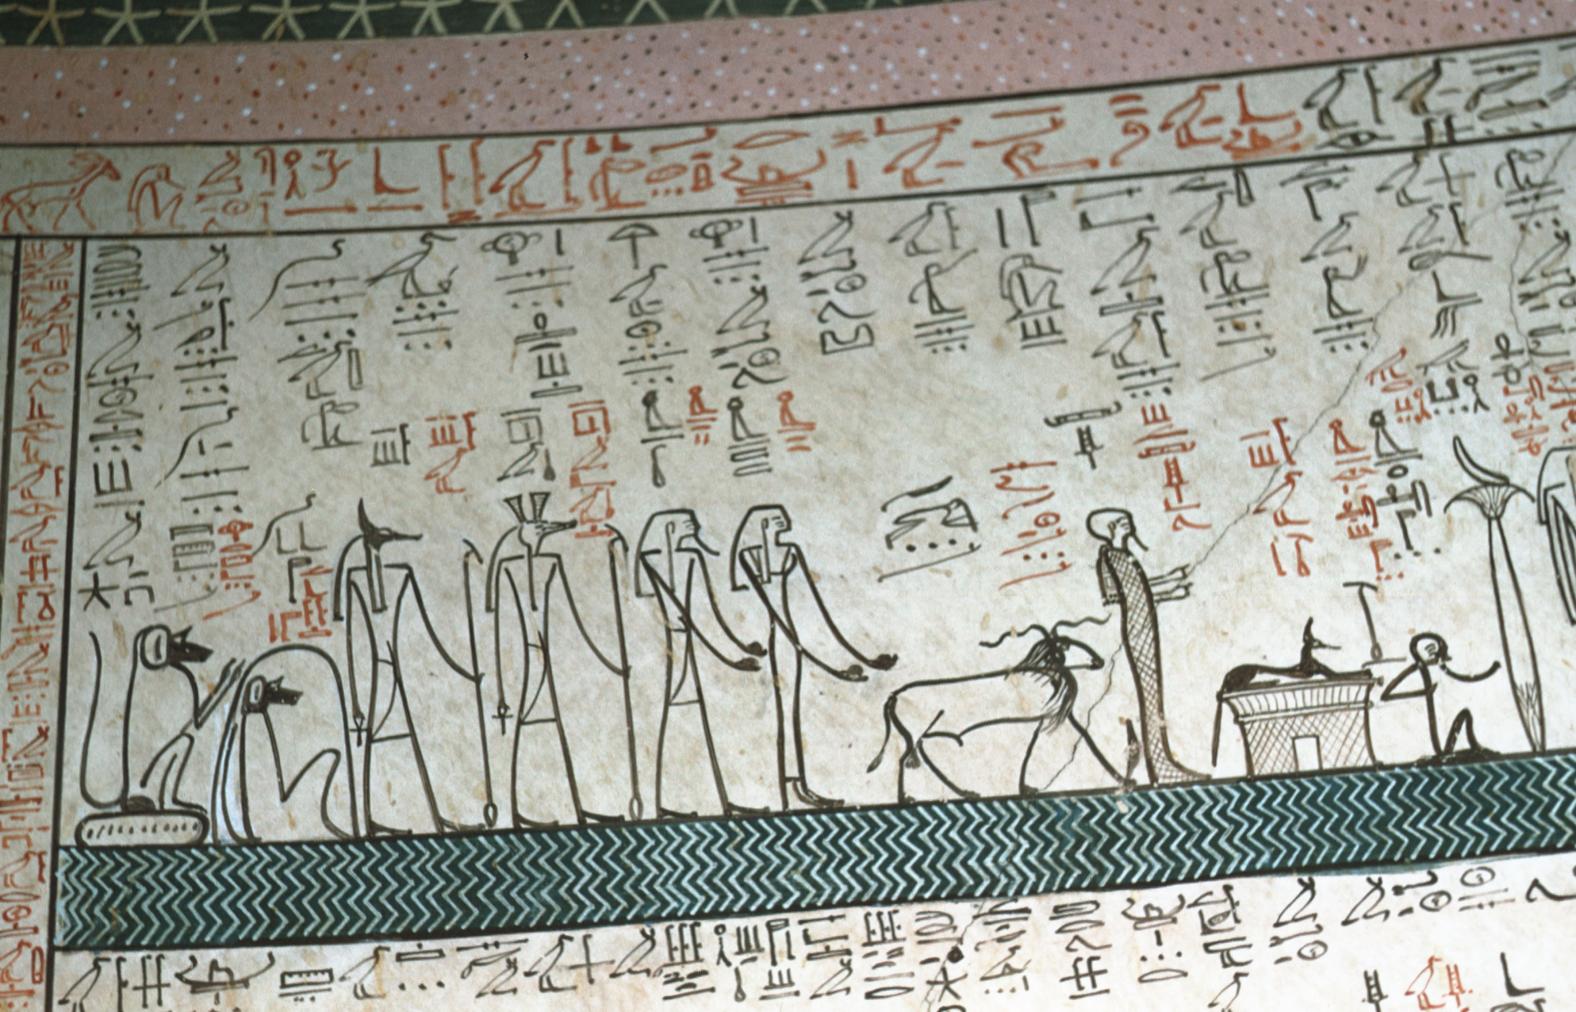
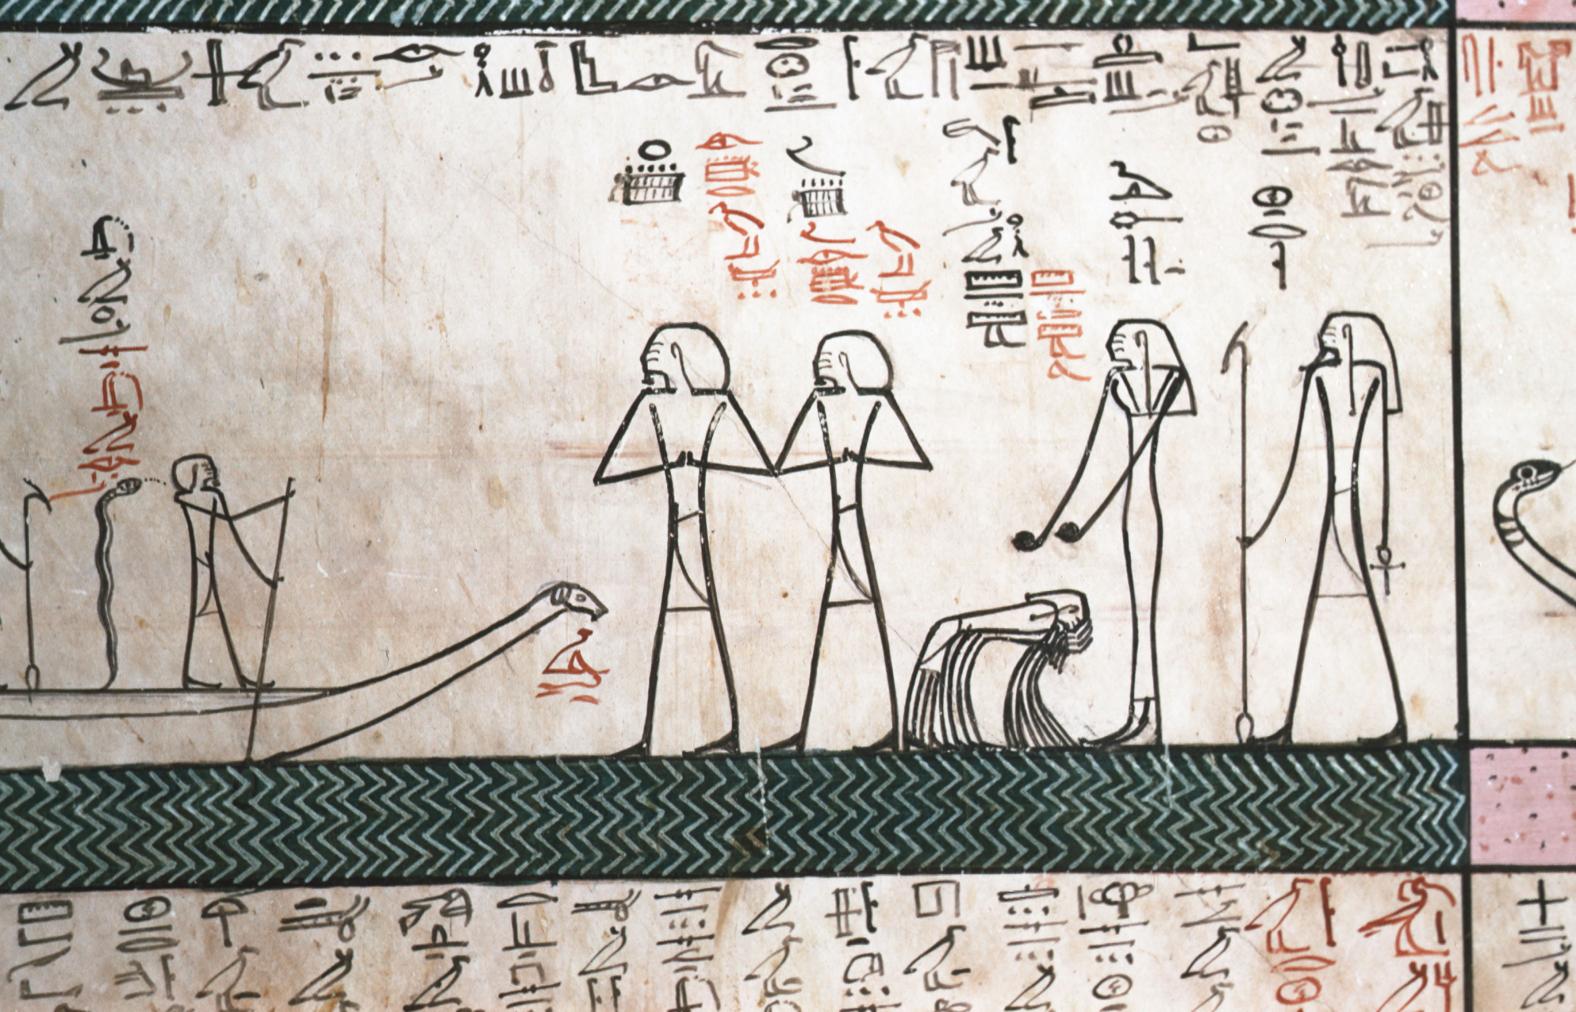
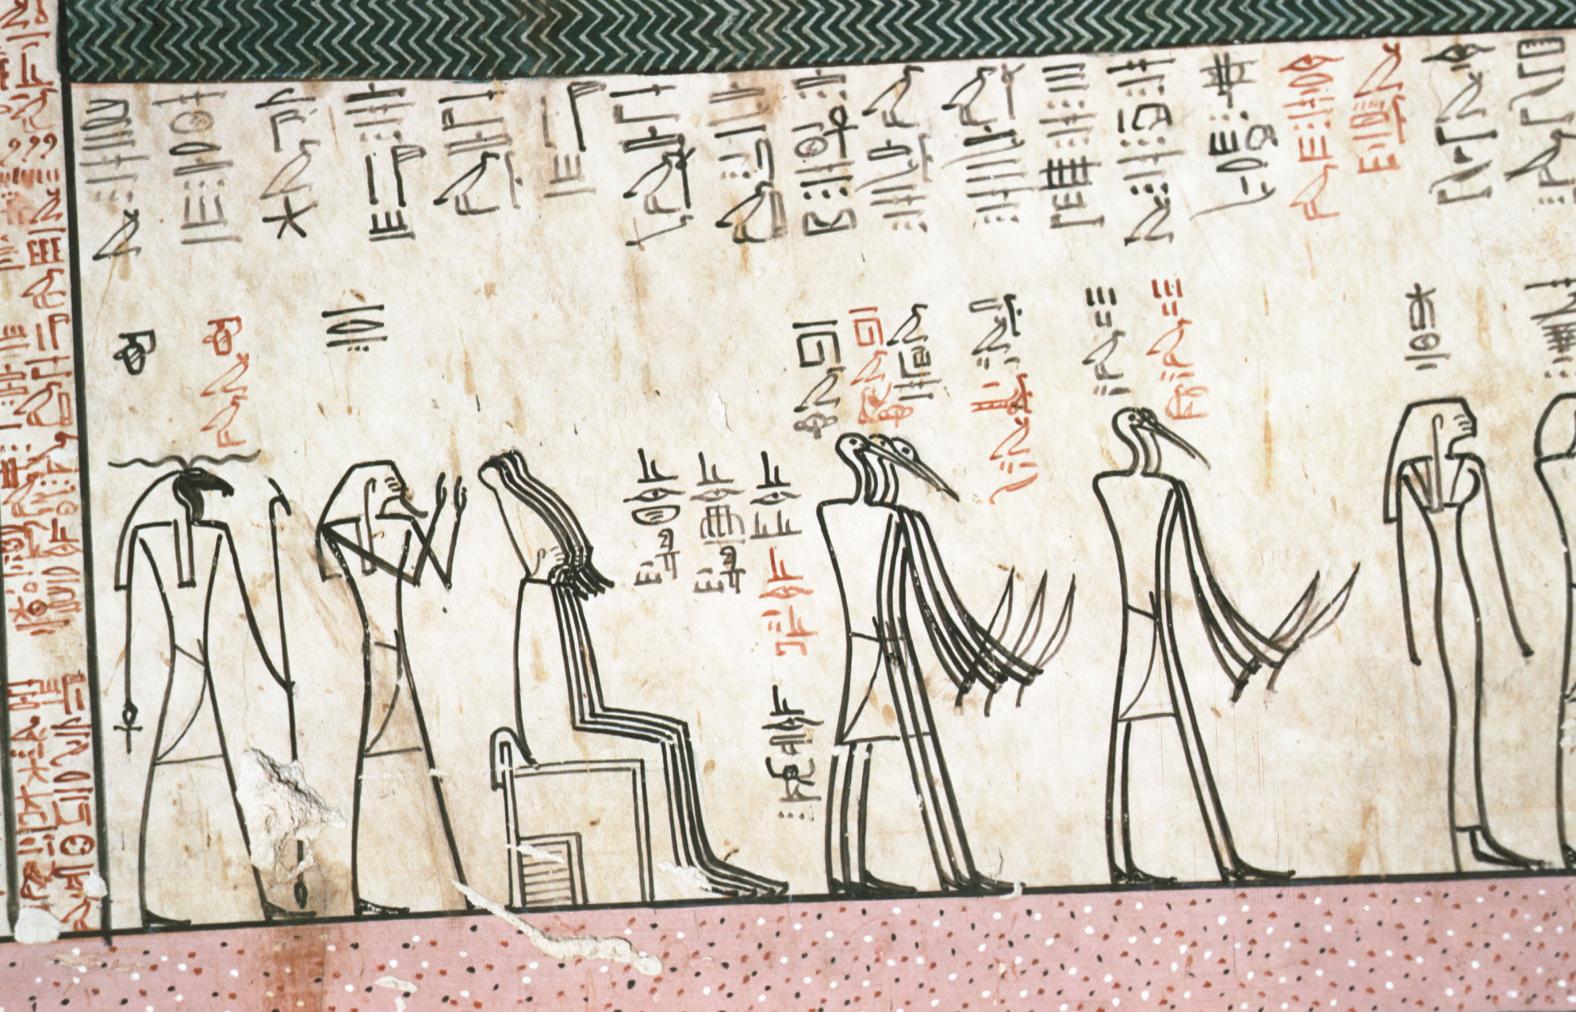
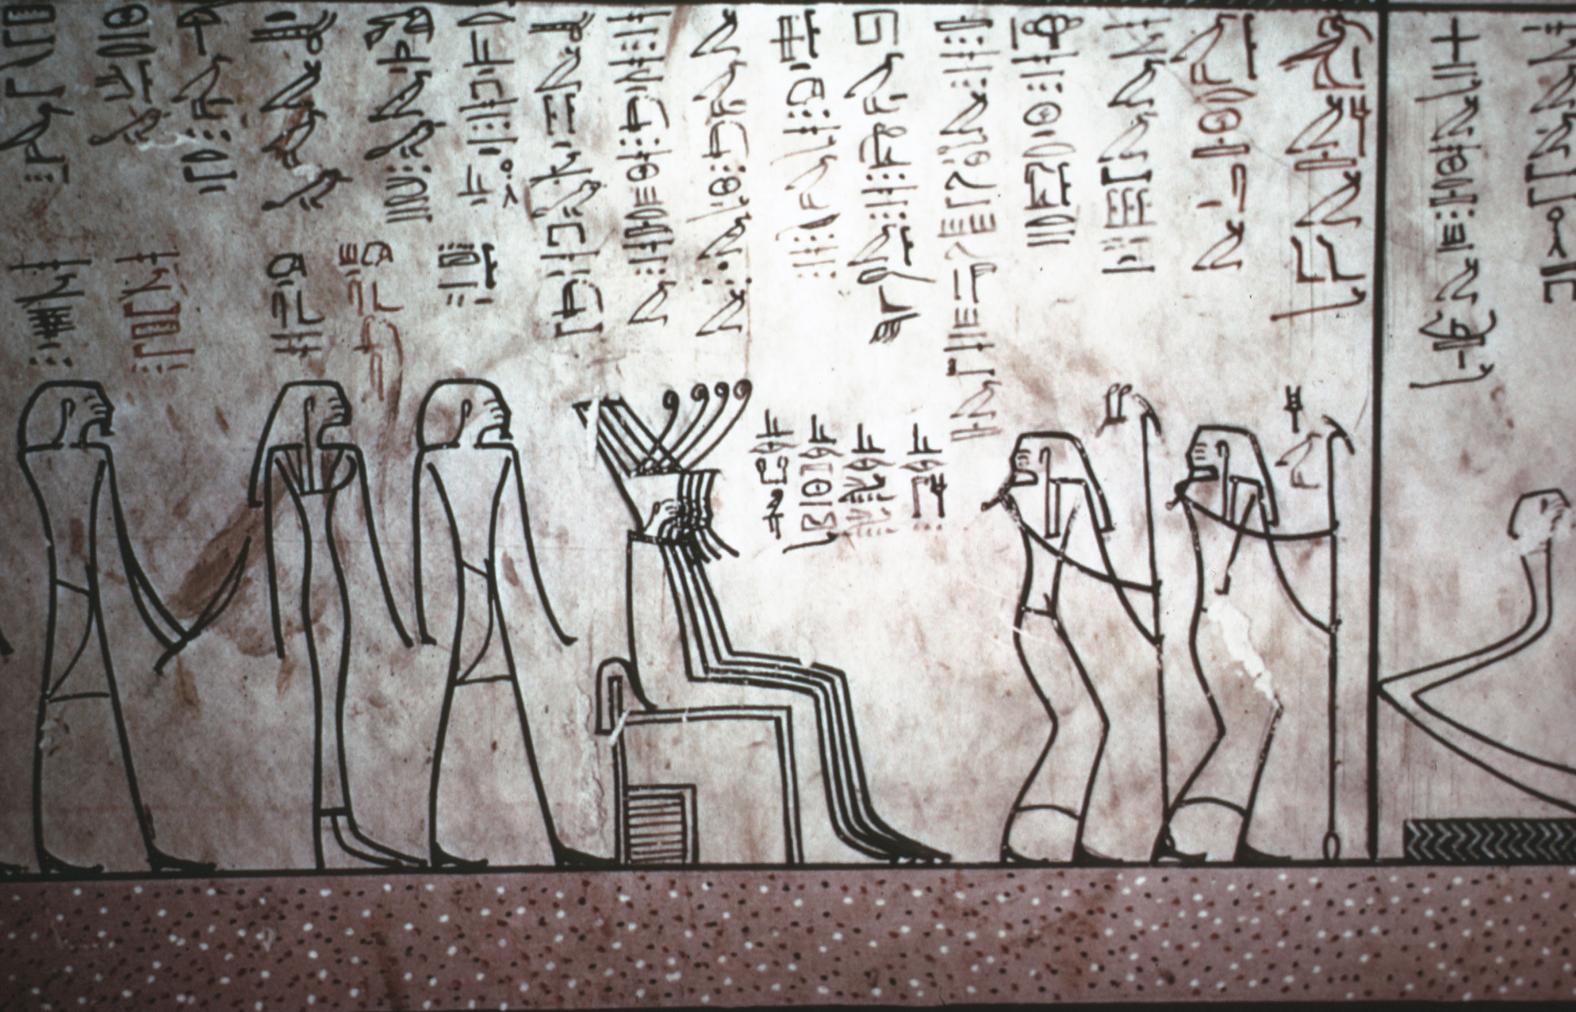
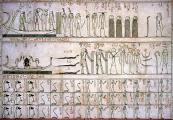
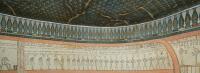
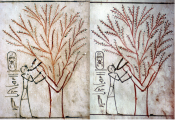
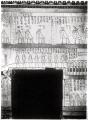
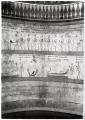
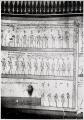
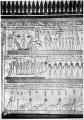
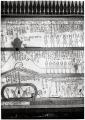
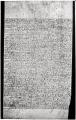
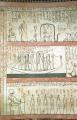
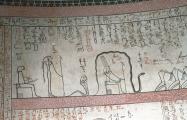
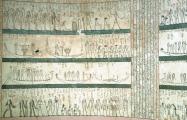
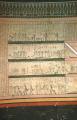
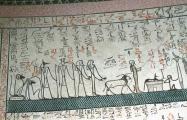
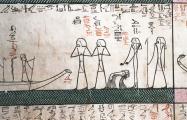
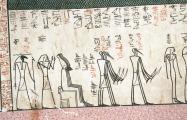
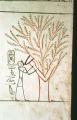
The sections of the Imydwat are arranged on the walls of the burial chamber starting with the first three hours to the right of the entrance which itself is flanked by two halves of the fourth hour. The two pillars in this chamber are decorated with figures representing the seventy-four forms of the sun god found in the Litany of Ra, and texts from an abridged version of the Imydwat. In addition, there are two unusual scenes showing the king and members of his family, including a detail of Thutmes being suckled by a tree that personifies Isis. Figures and texts are done in a cursive fashion more appropriate to papyrus.
Chamber plan:
OvalRelationship to main tomb axis:
PerpendicularChamber layout:
Flat floor, pillarsFloor:
One levelCeiling:
Flat
Porter and Moss designation:
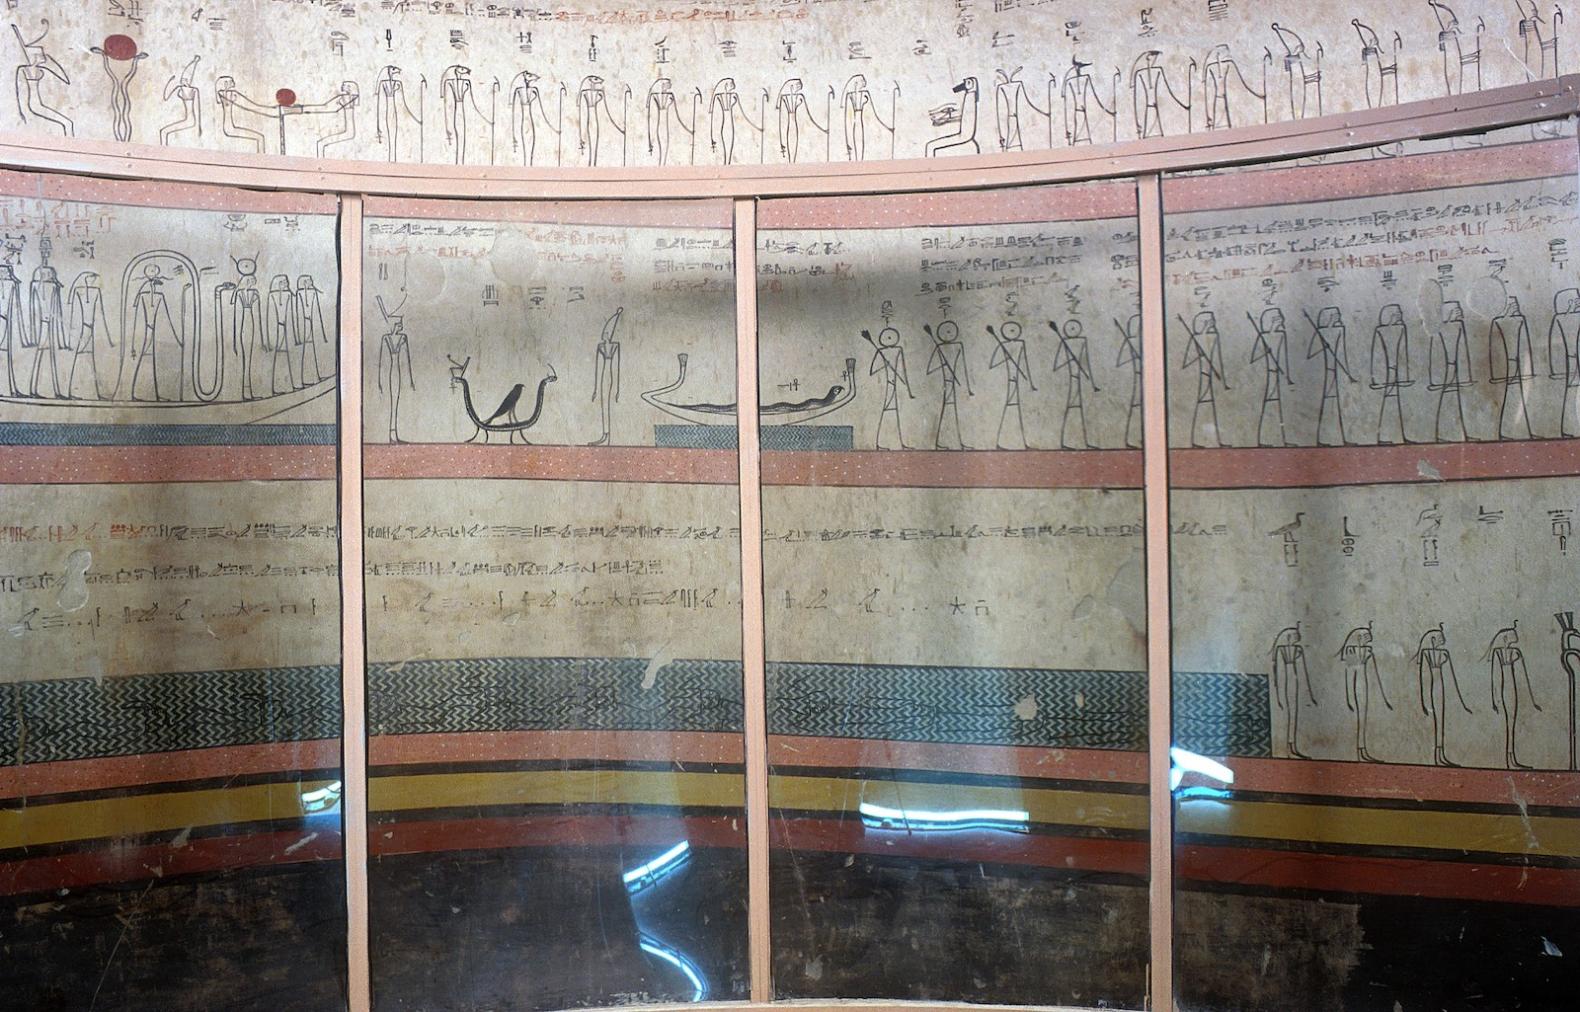
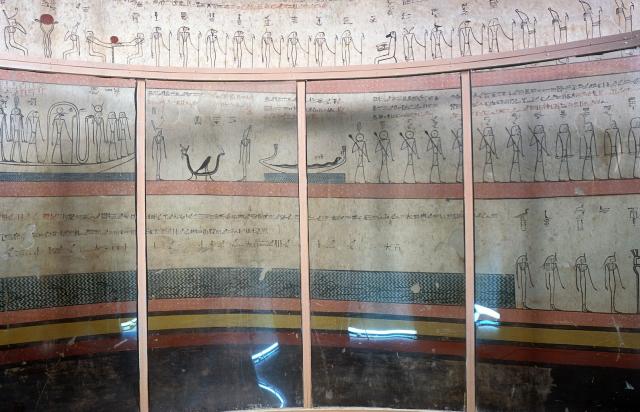
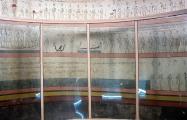
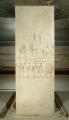
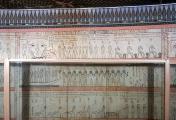
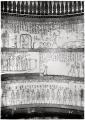
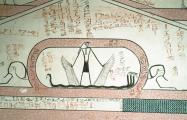
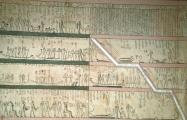
Imydwat, tenth hour; modern glass panels installed to protect painted surface.
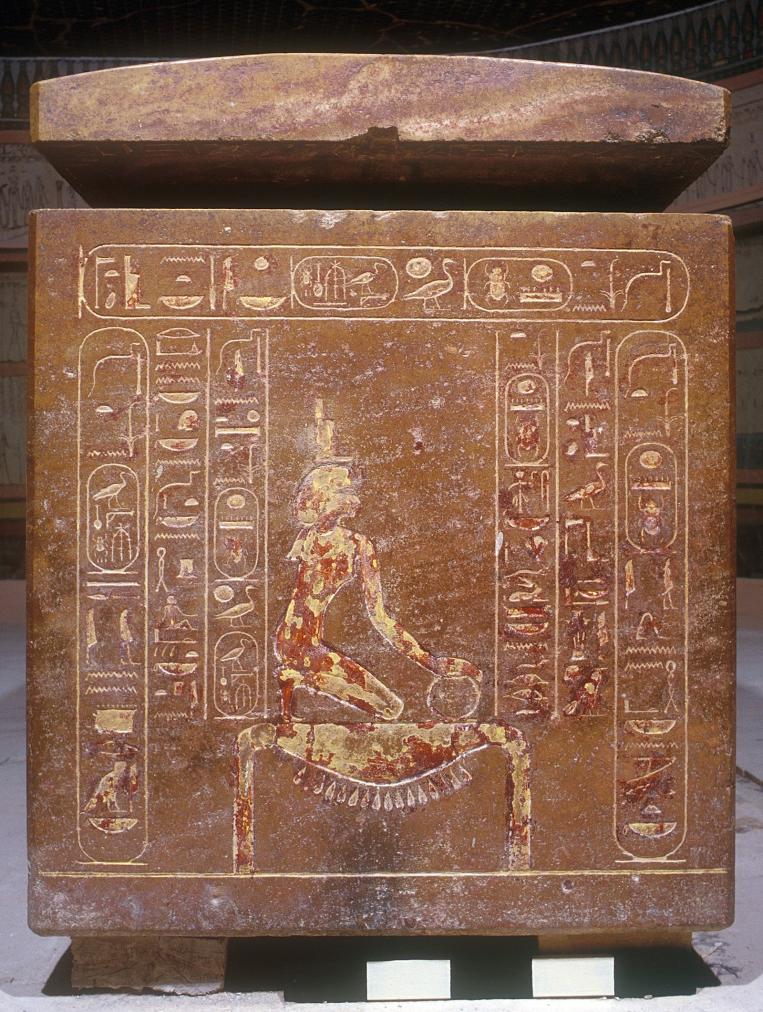
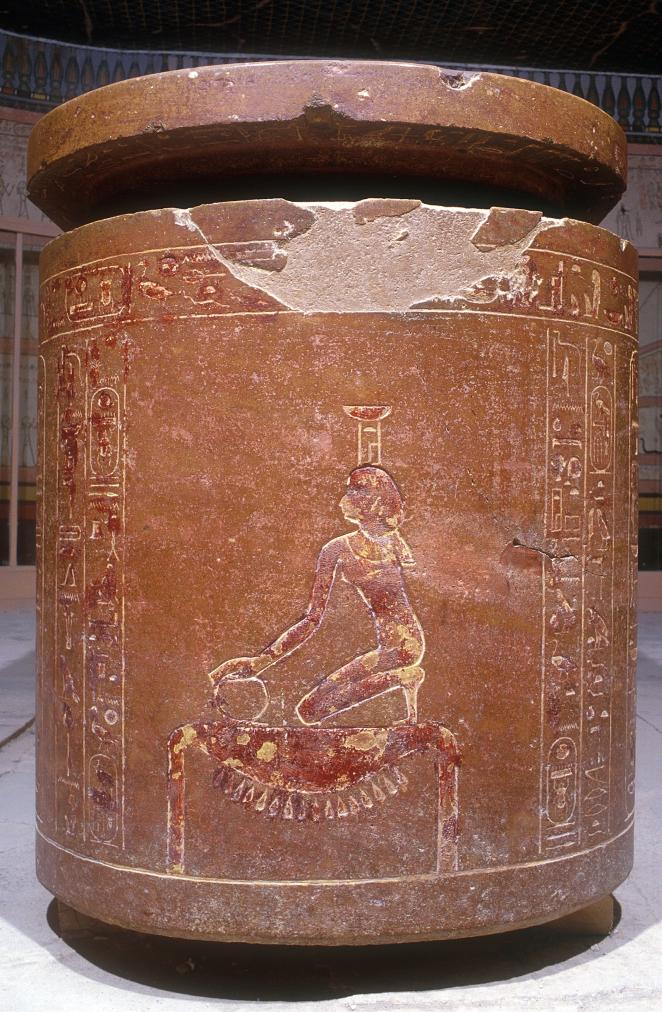
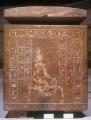
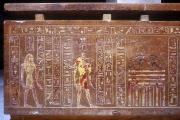
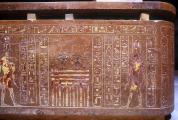
Isis on the foot end of the sarcophagus.
Nephthys.
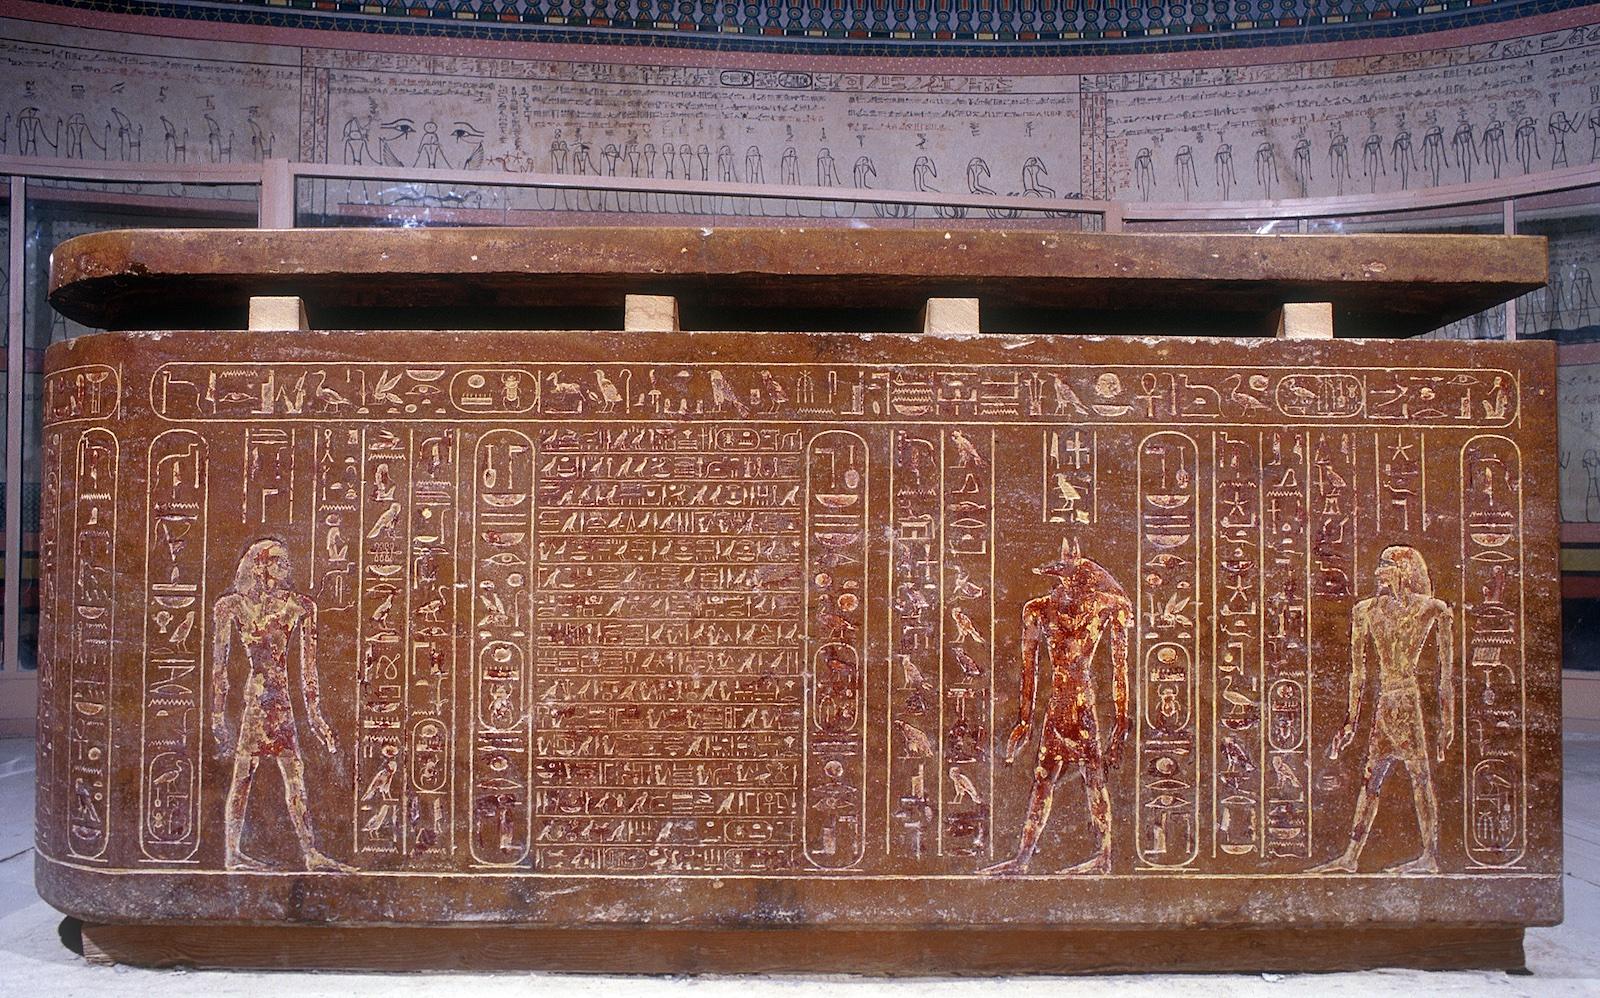
Imsety, Anubis, and Duamutef.
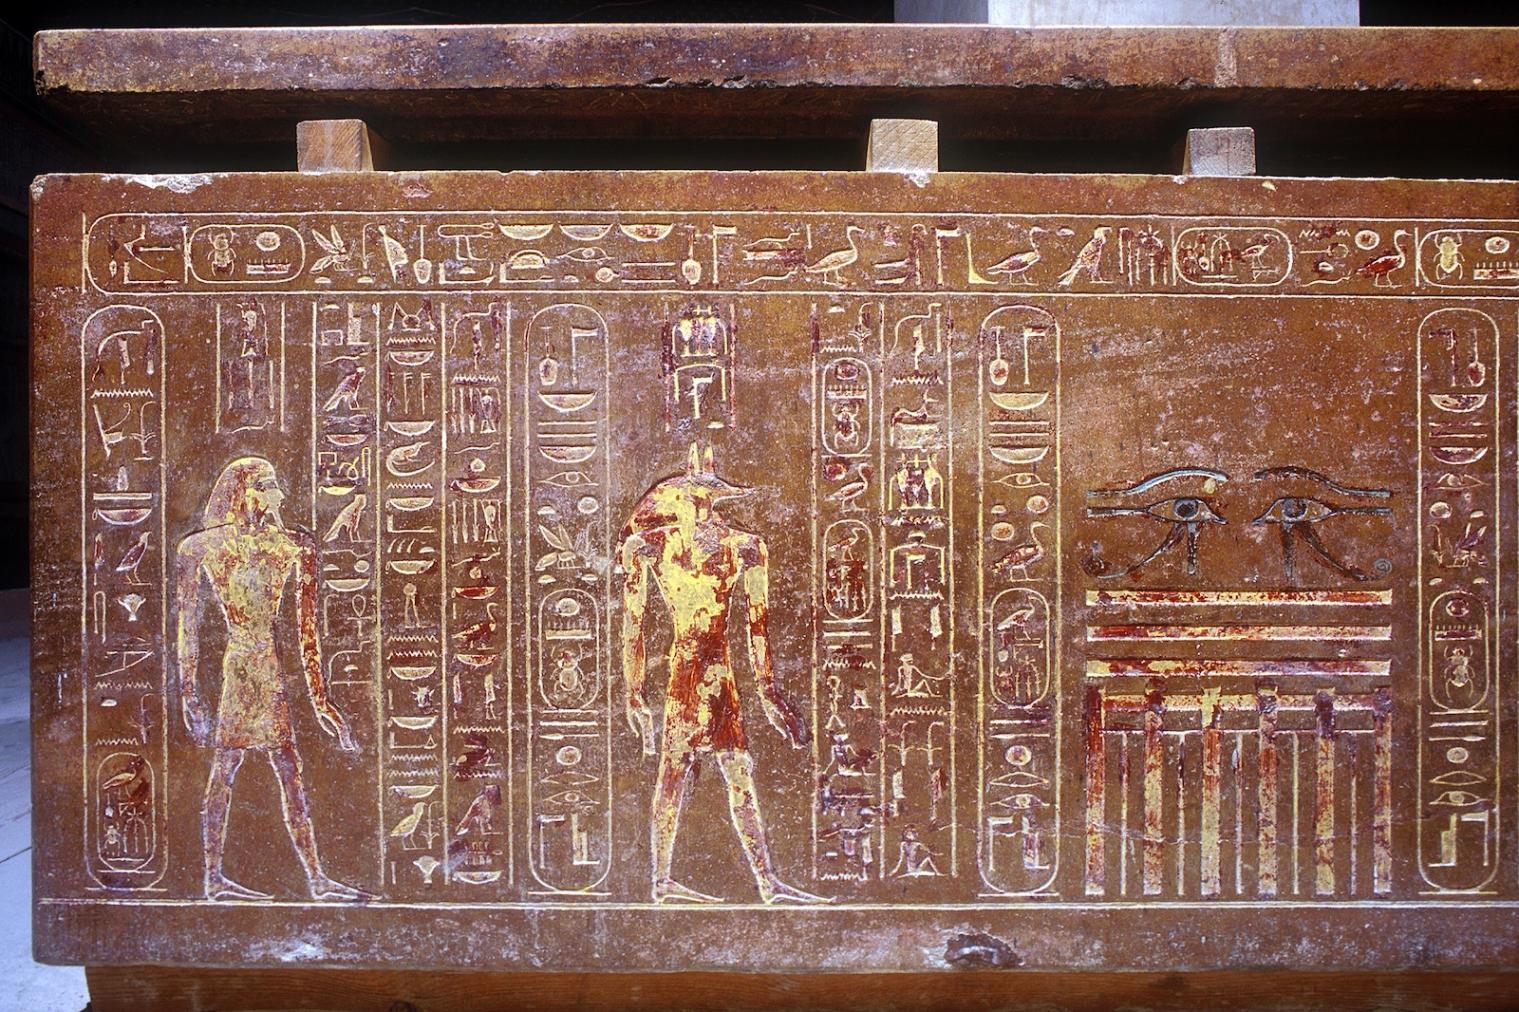
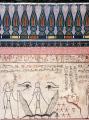
Qebehsenuef, Anubis and eye-panel.
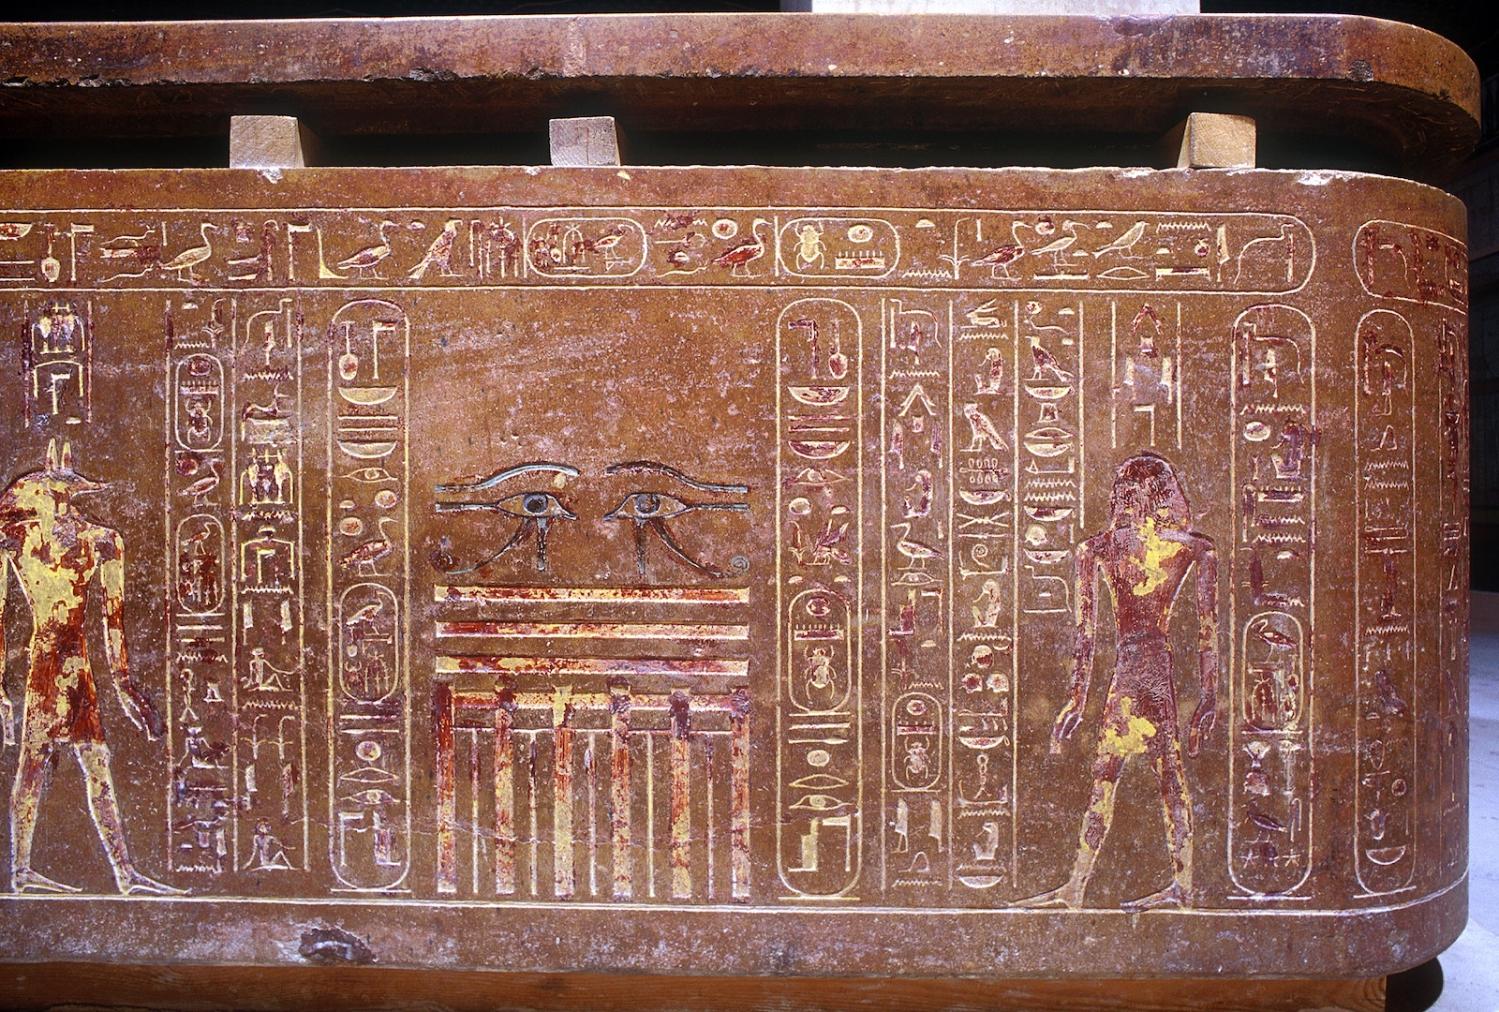
Anubis, eye-panel and Hapy.
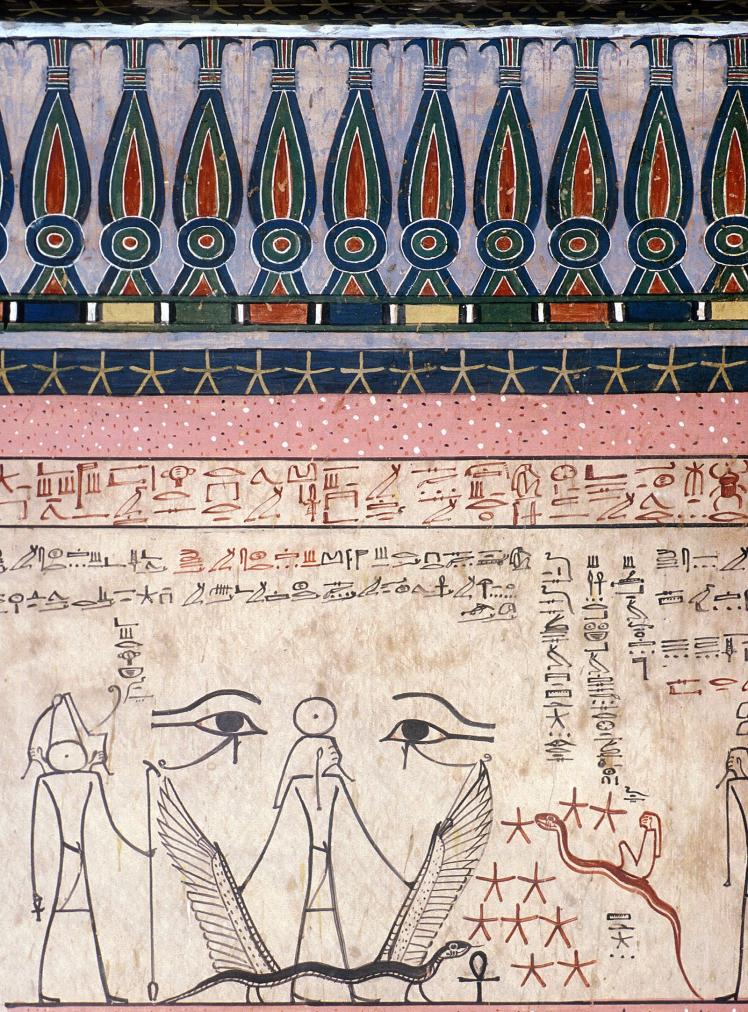
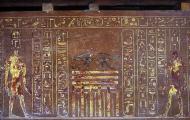
Star pattern; kheker frieze; Imydwat, eleventh hour, upper register, scenes 1-3, figures 754-758.
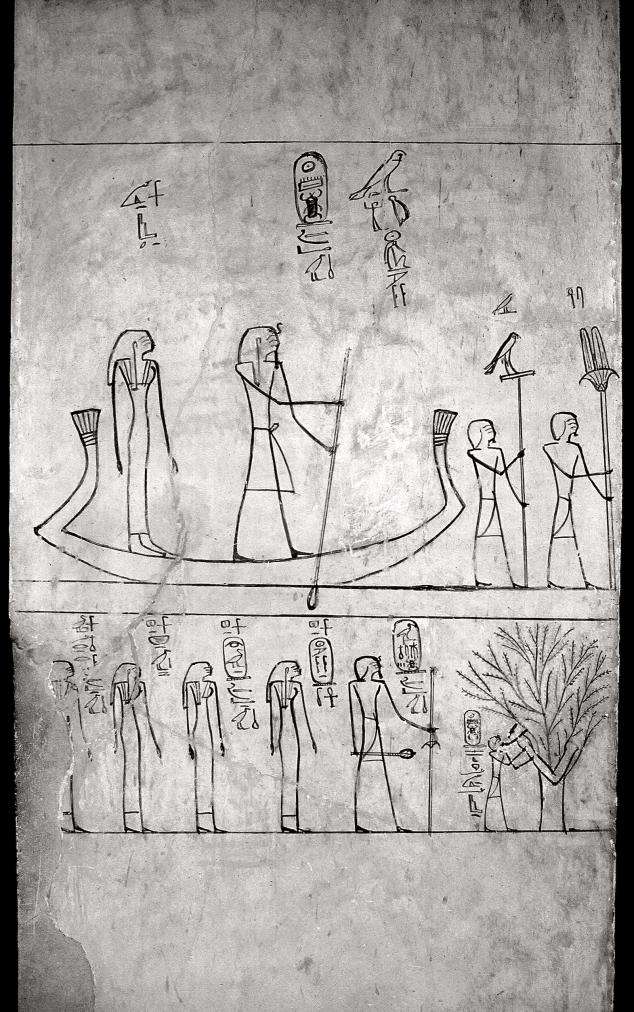
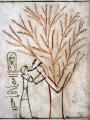
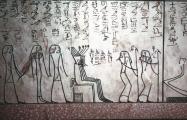
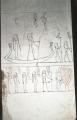
Thutmes III with his mother Isis in boat; Thutmes III and royal women; Thutmes III suckled by the goddess Isis in the form of a sycamore tree.
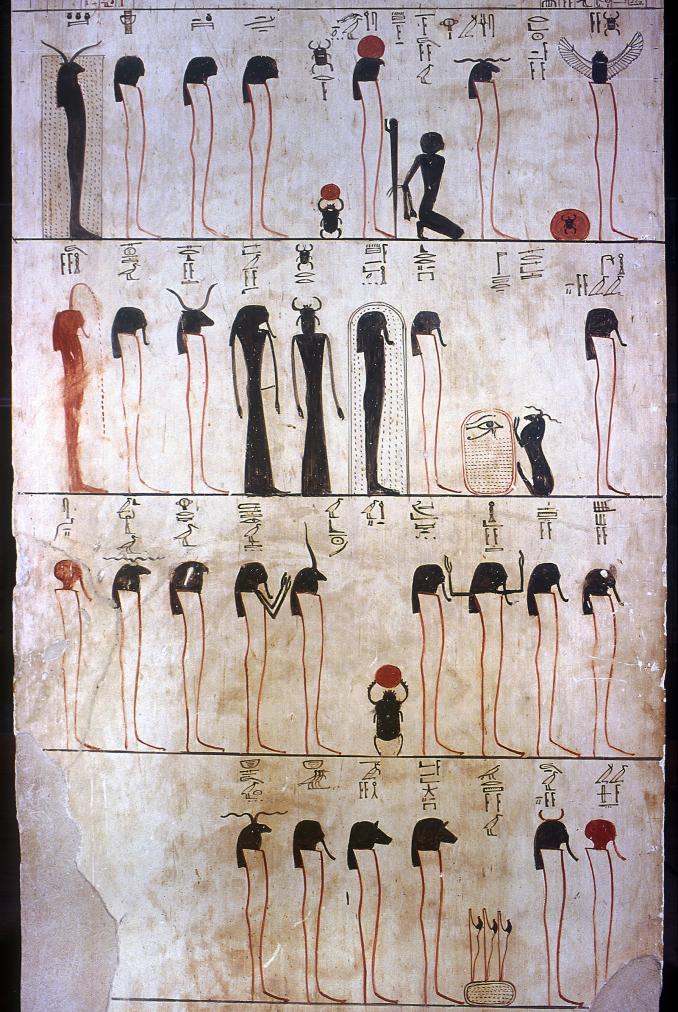
Litany of Ra: forms of Ra.
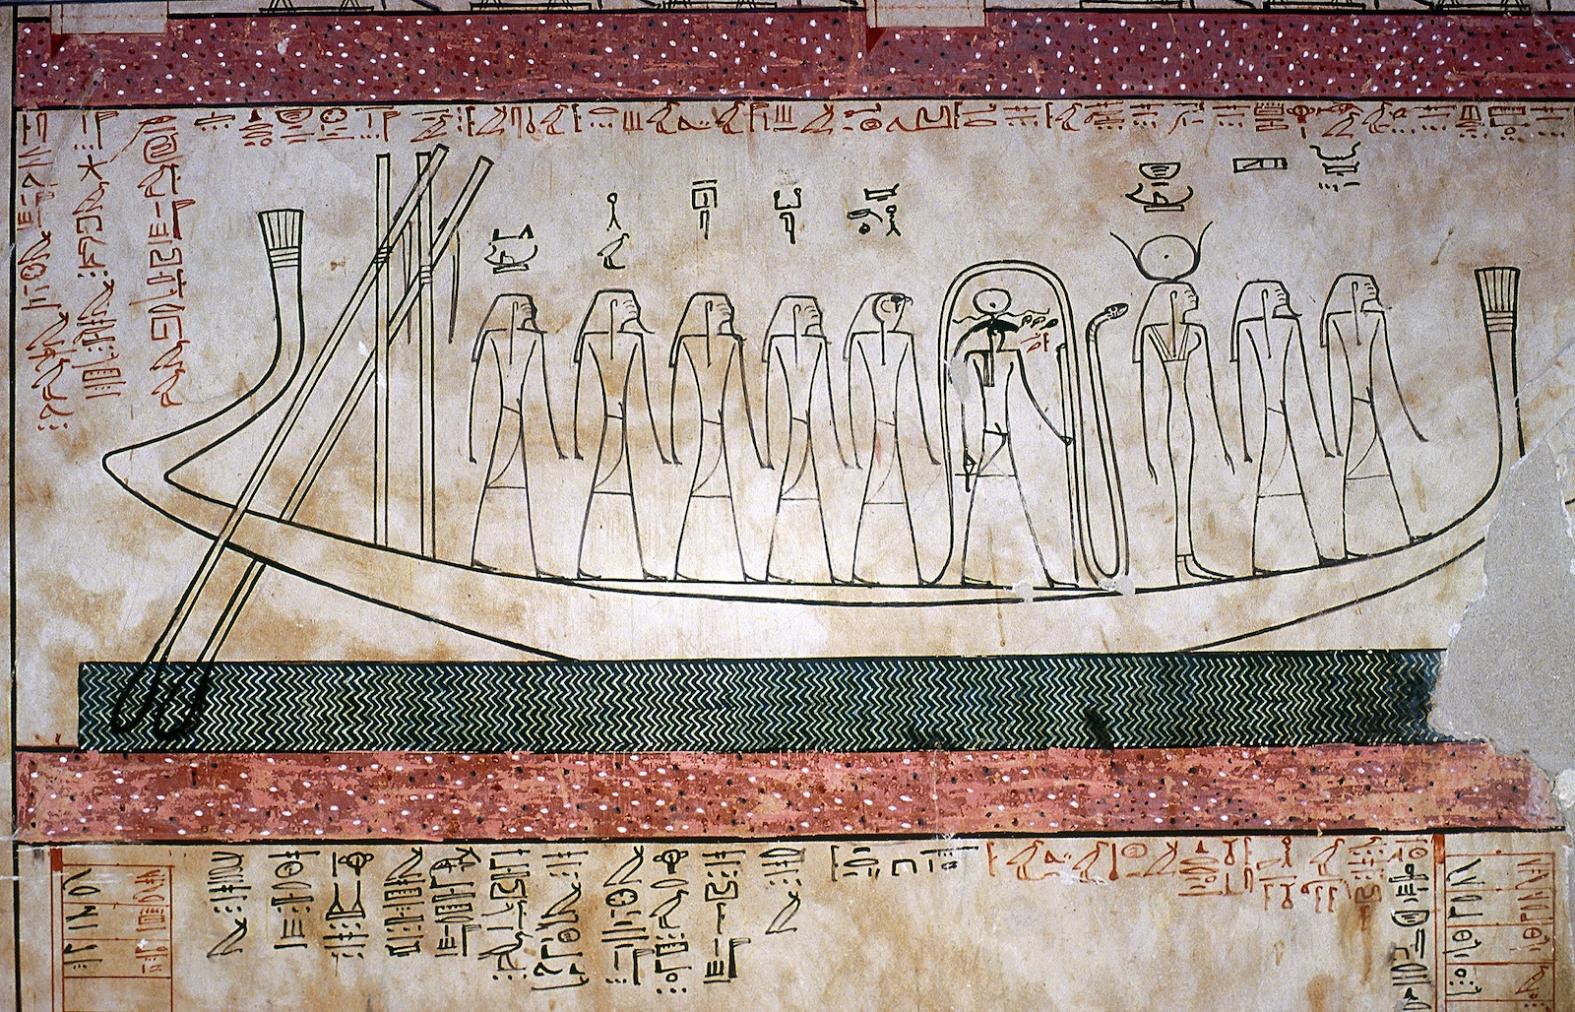
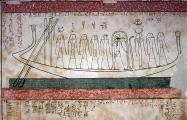
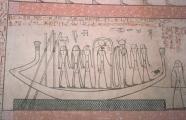
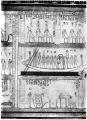
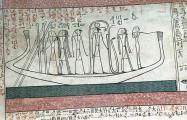
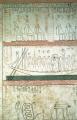
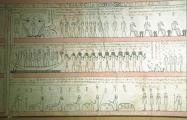
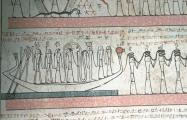
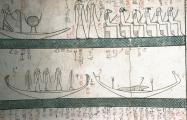
Imydwat, sixth hour, middle register: solar bark.
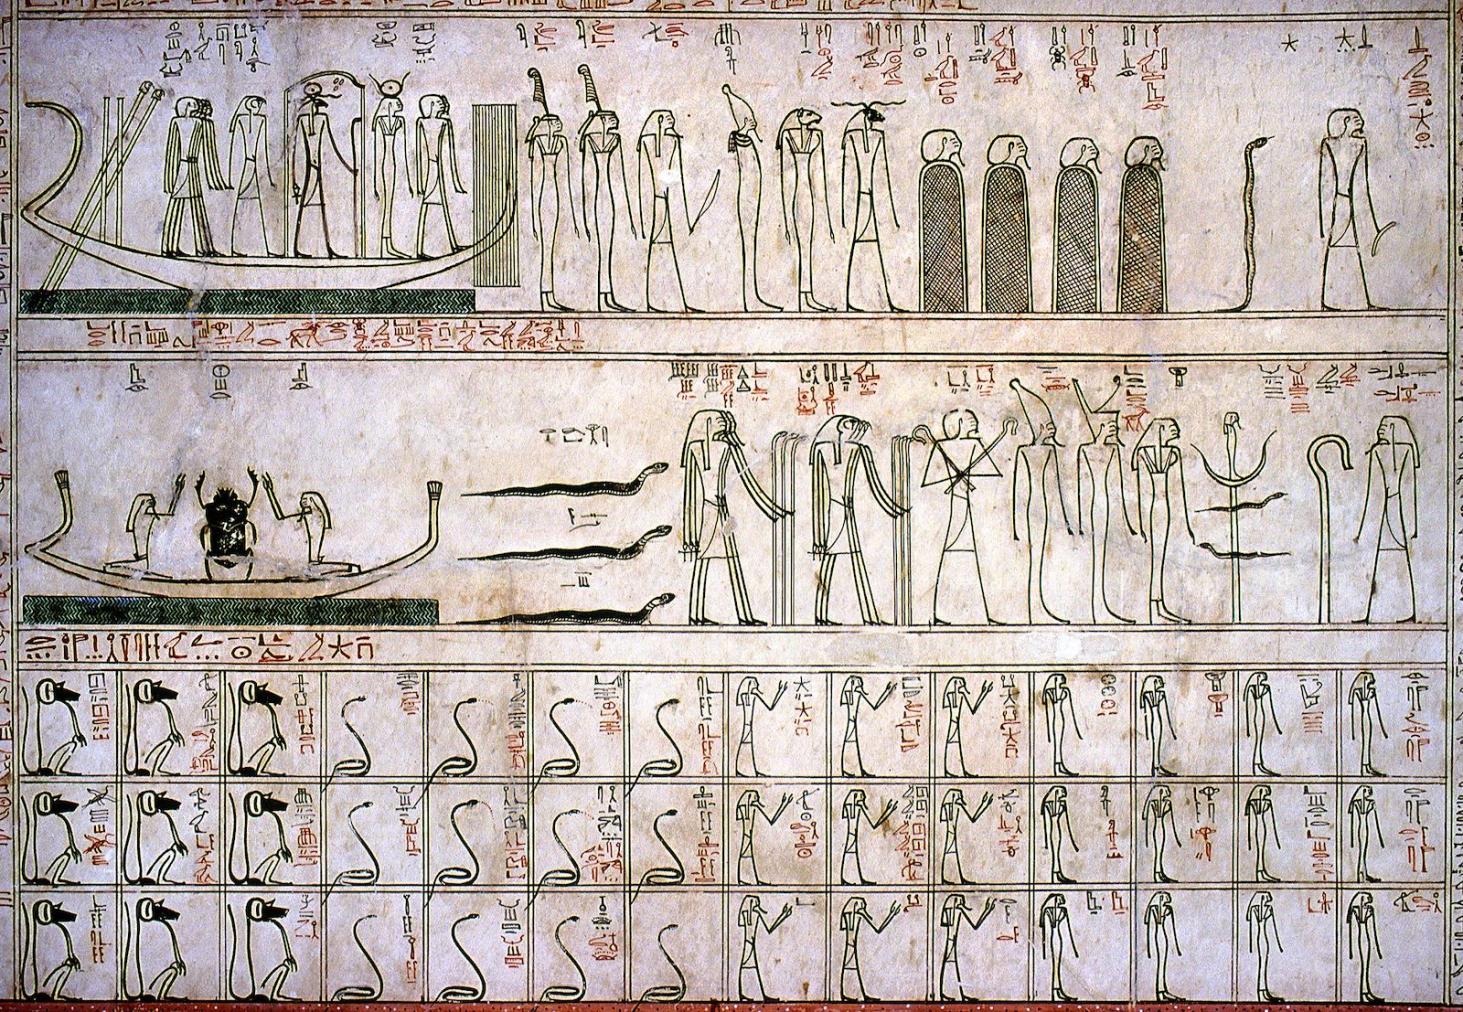
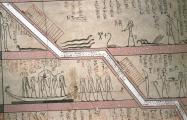
Imydwat, first hour, middle and lower registers.
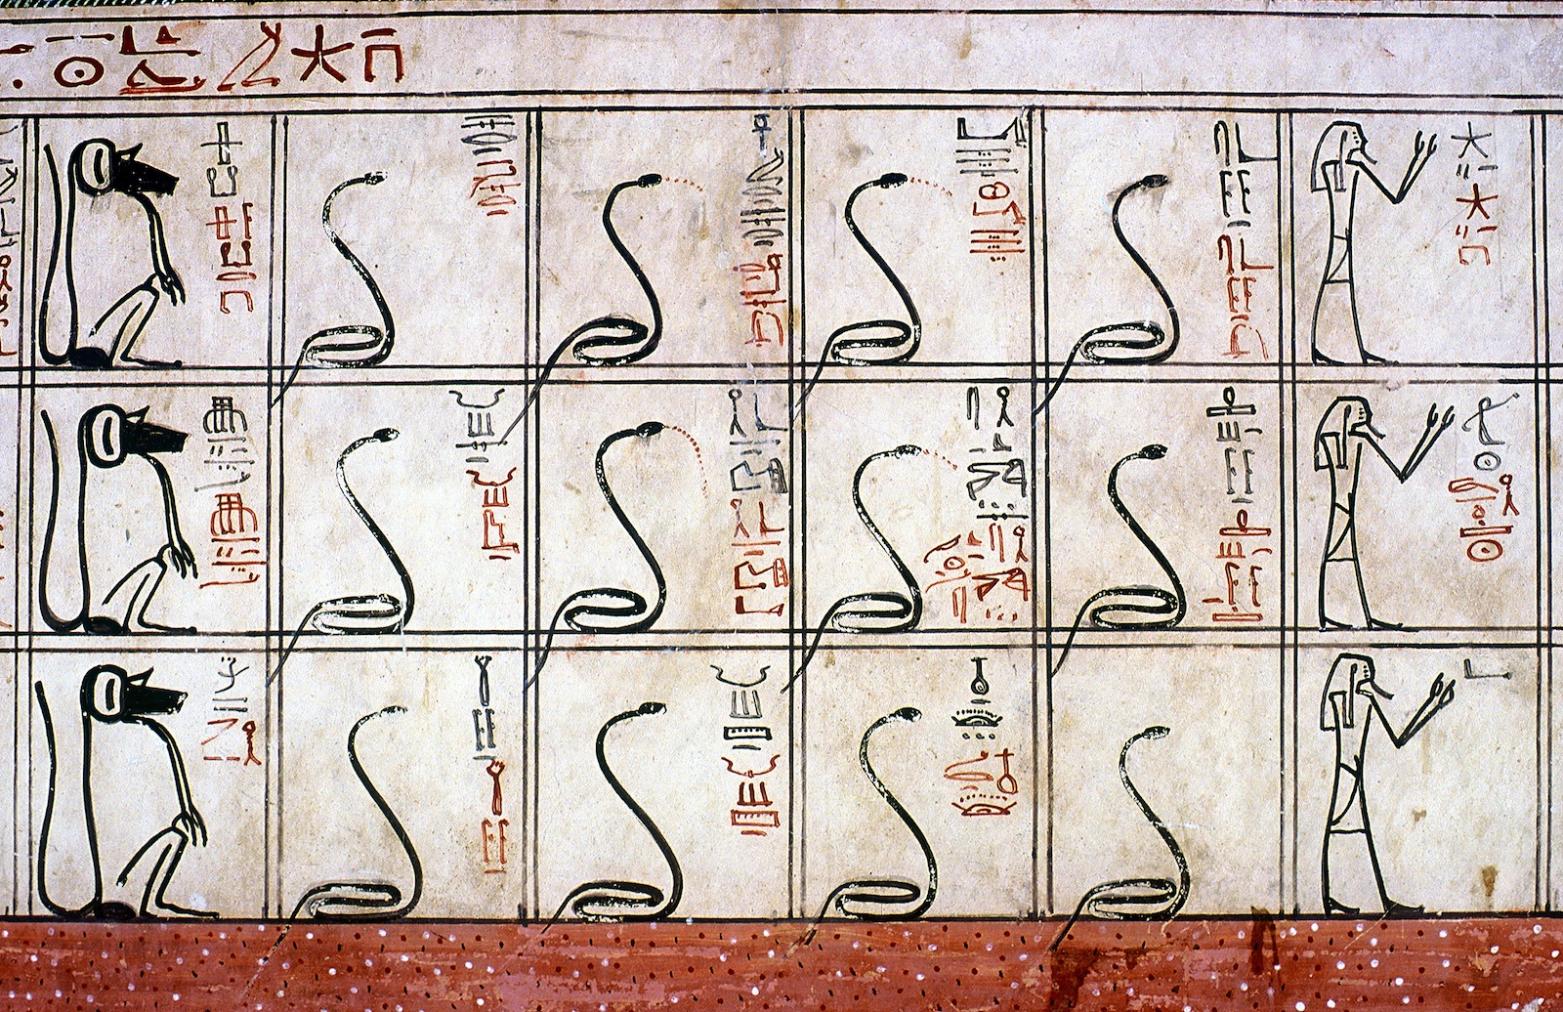
Imydwat, first hour, lower register, scenes 6-8, figures 89-109.
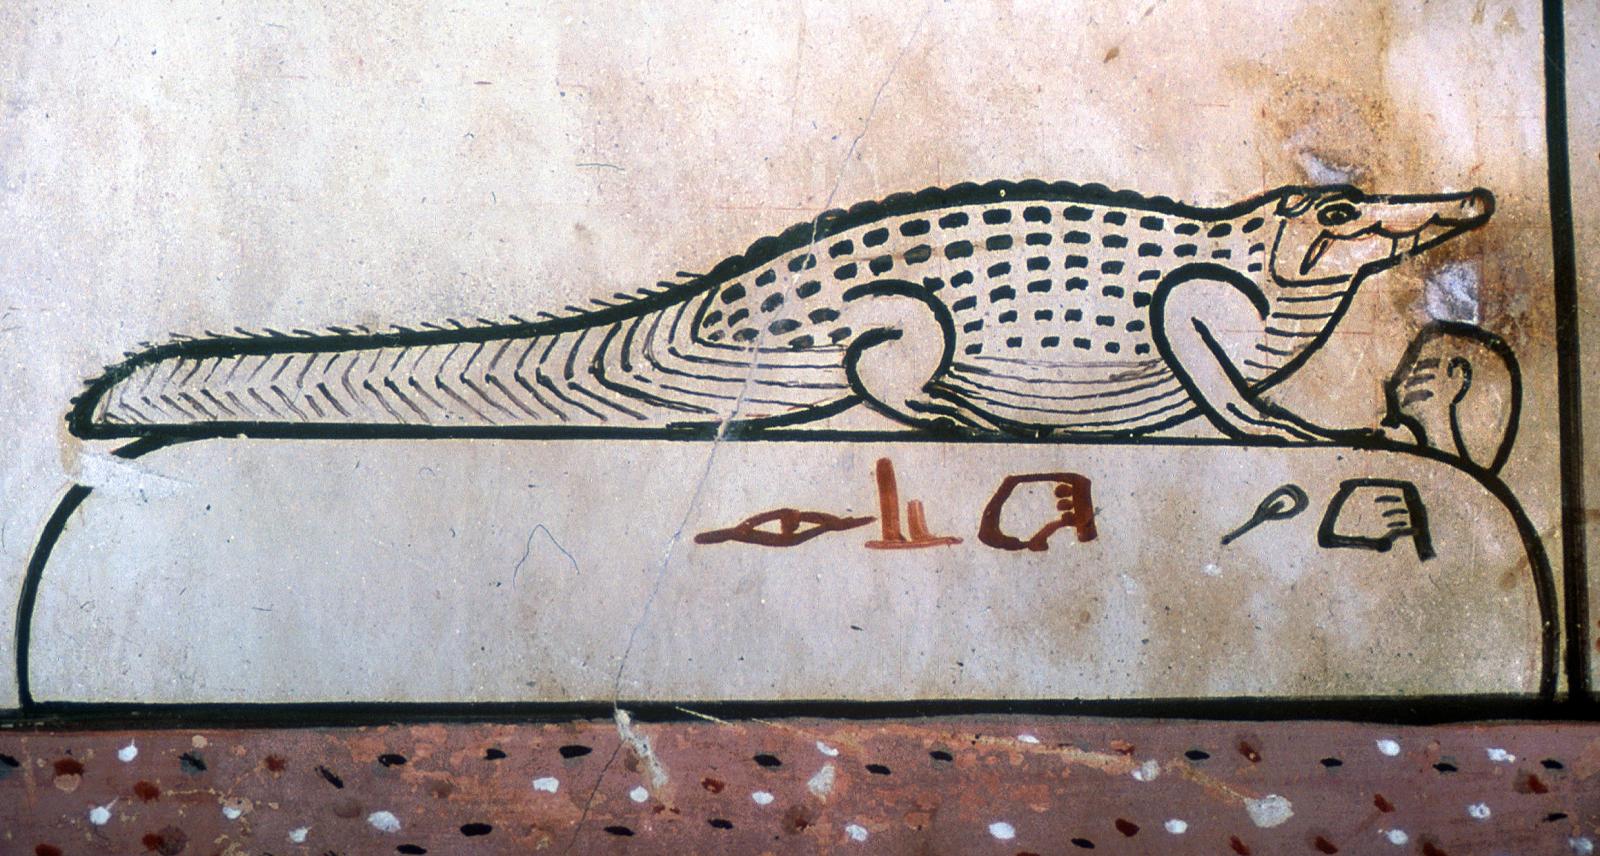
Imydwat, seventh hour, scene 10, figures 553-555.
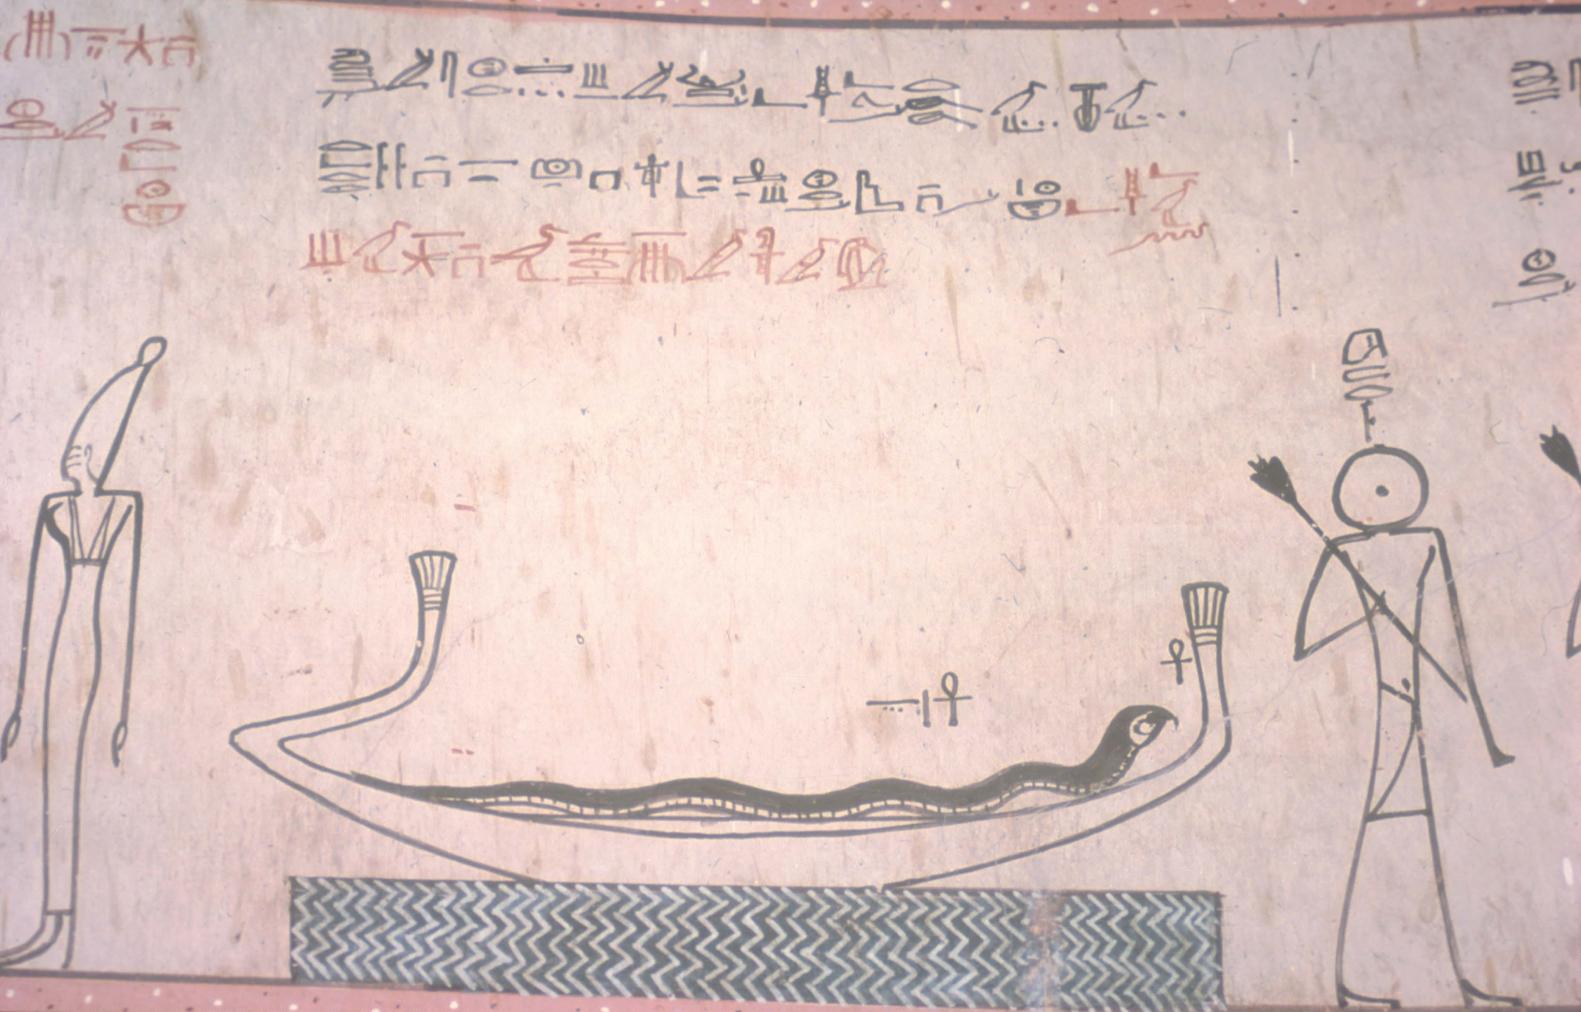
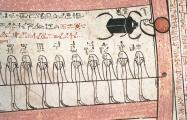
Imydwat, tenth hour: detail.
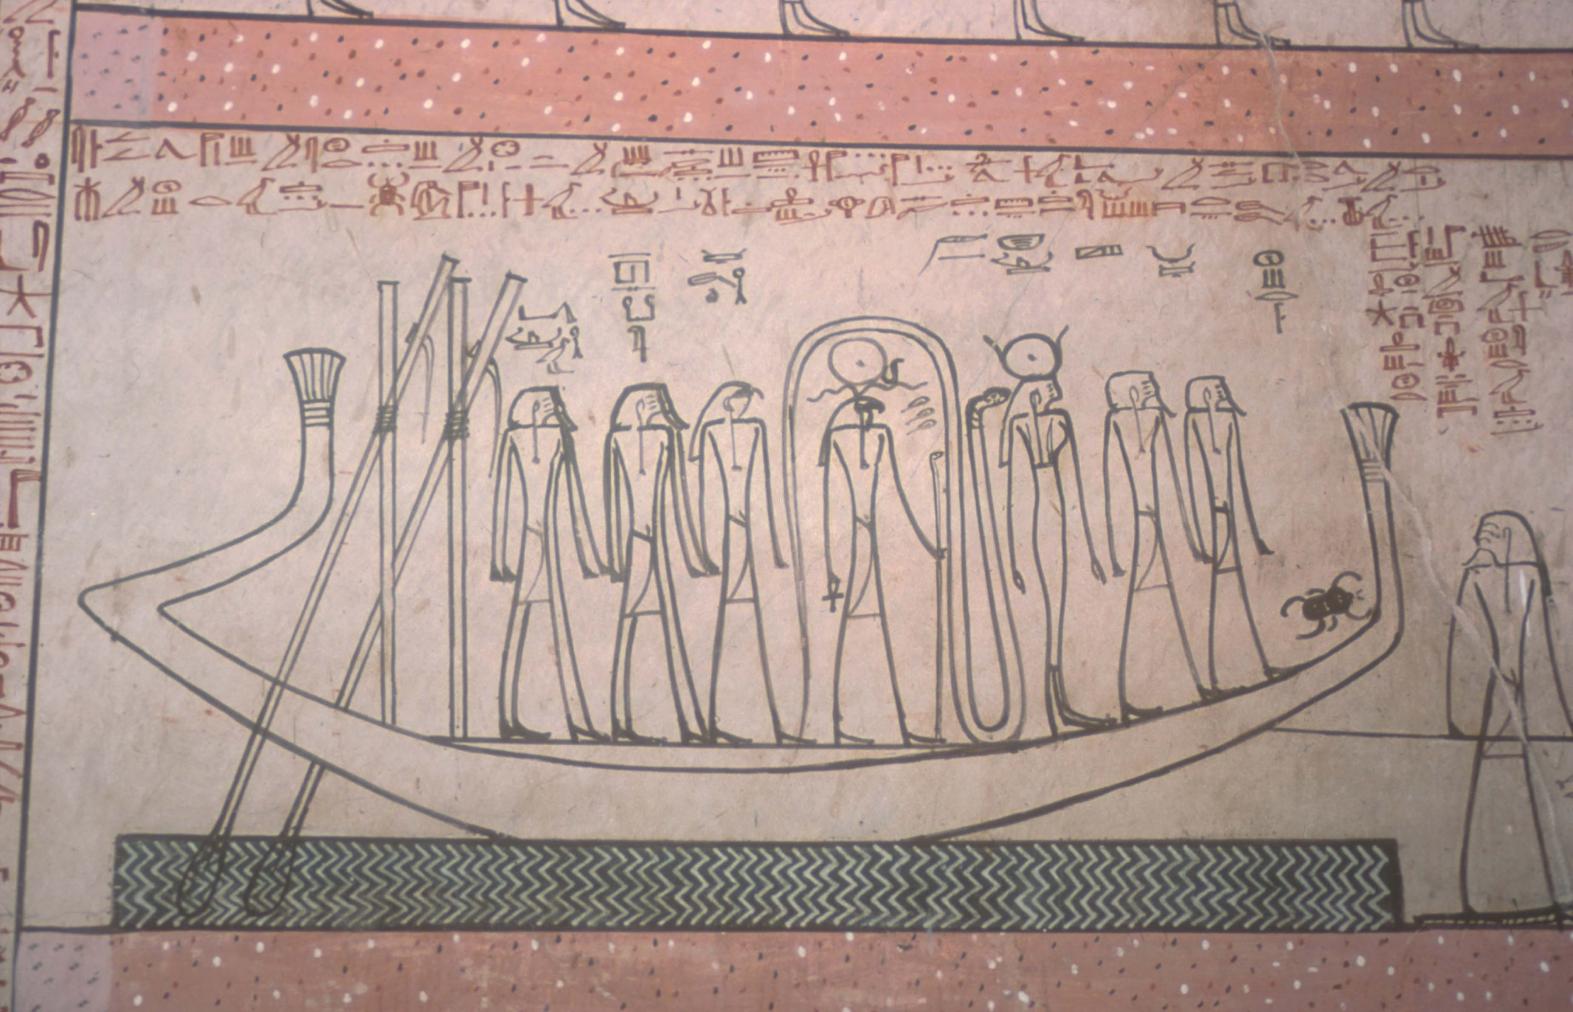
Imydwat, twelfth hour: detail.
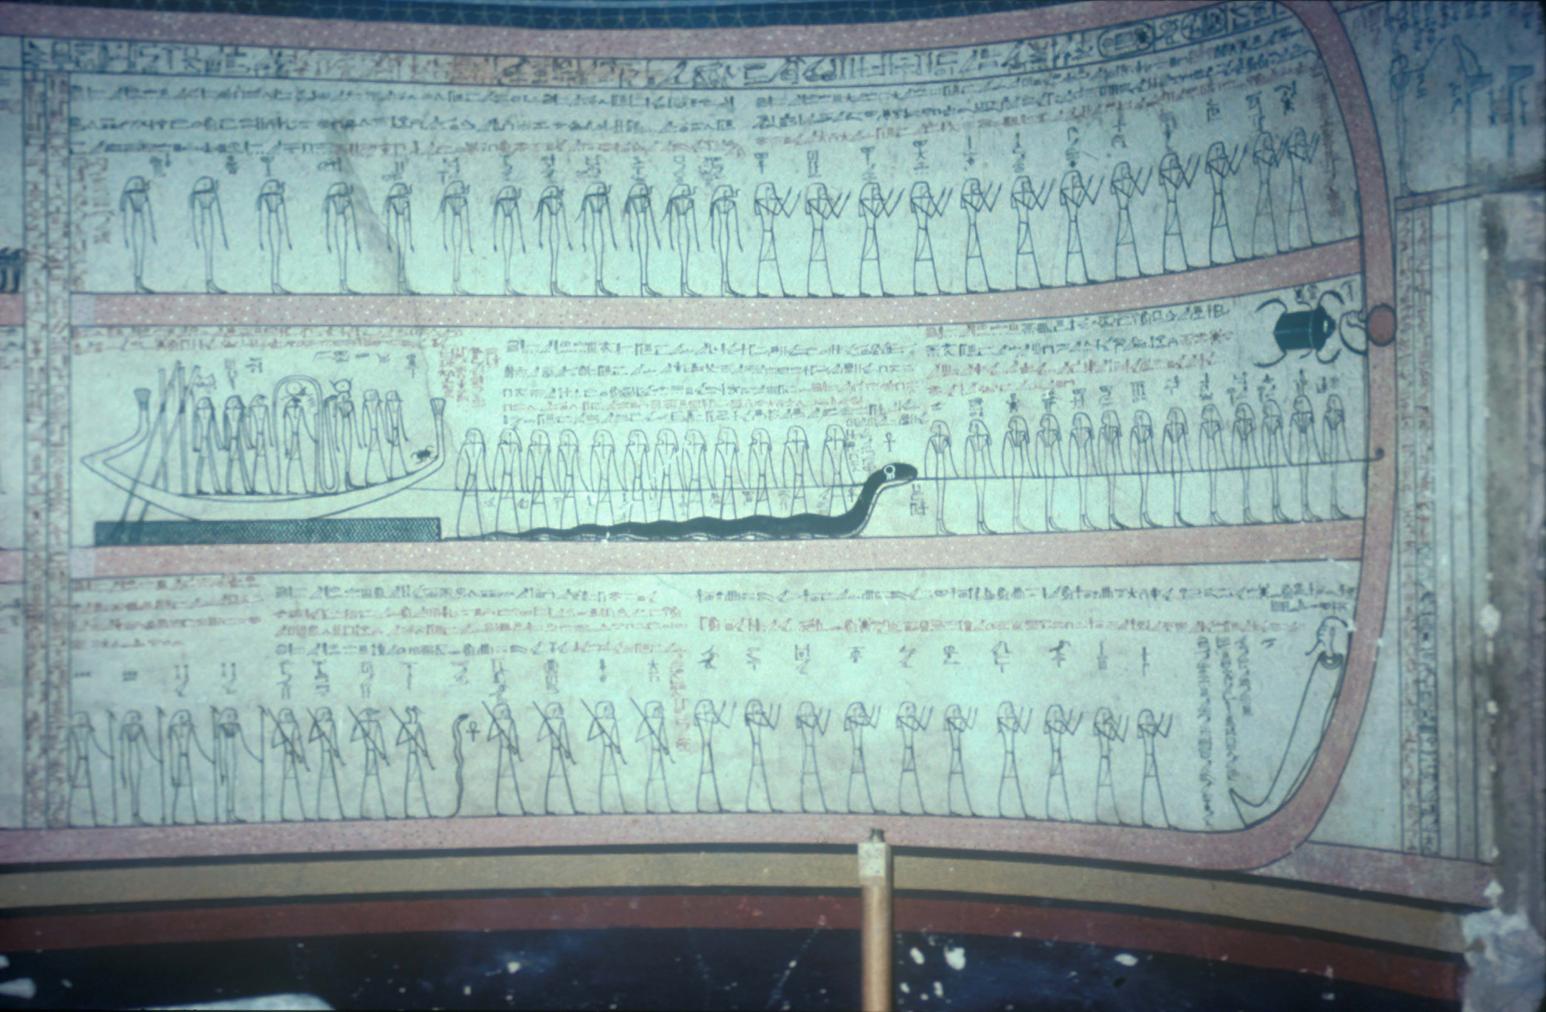
Imydwat, twelfth hour.
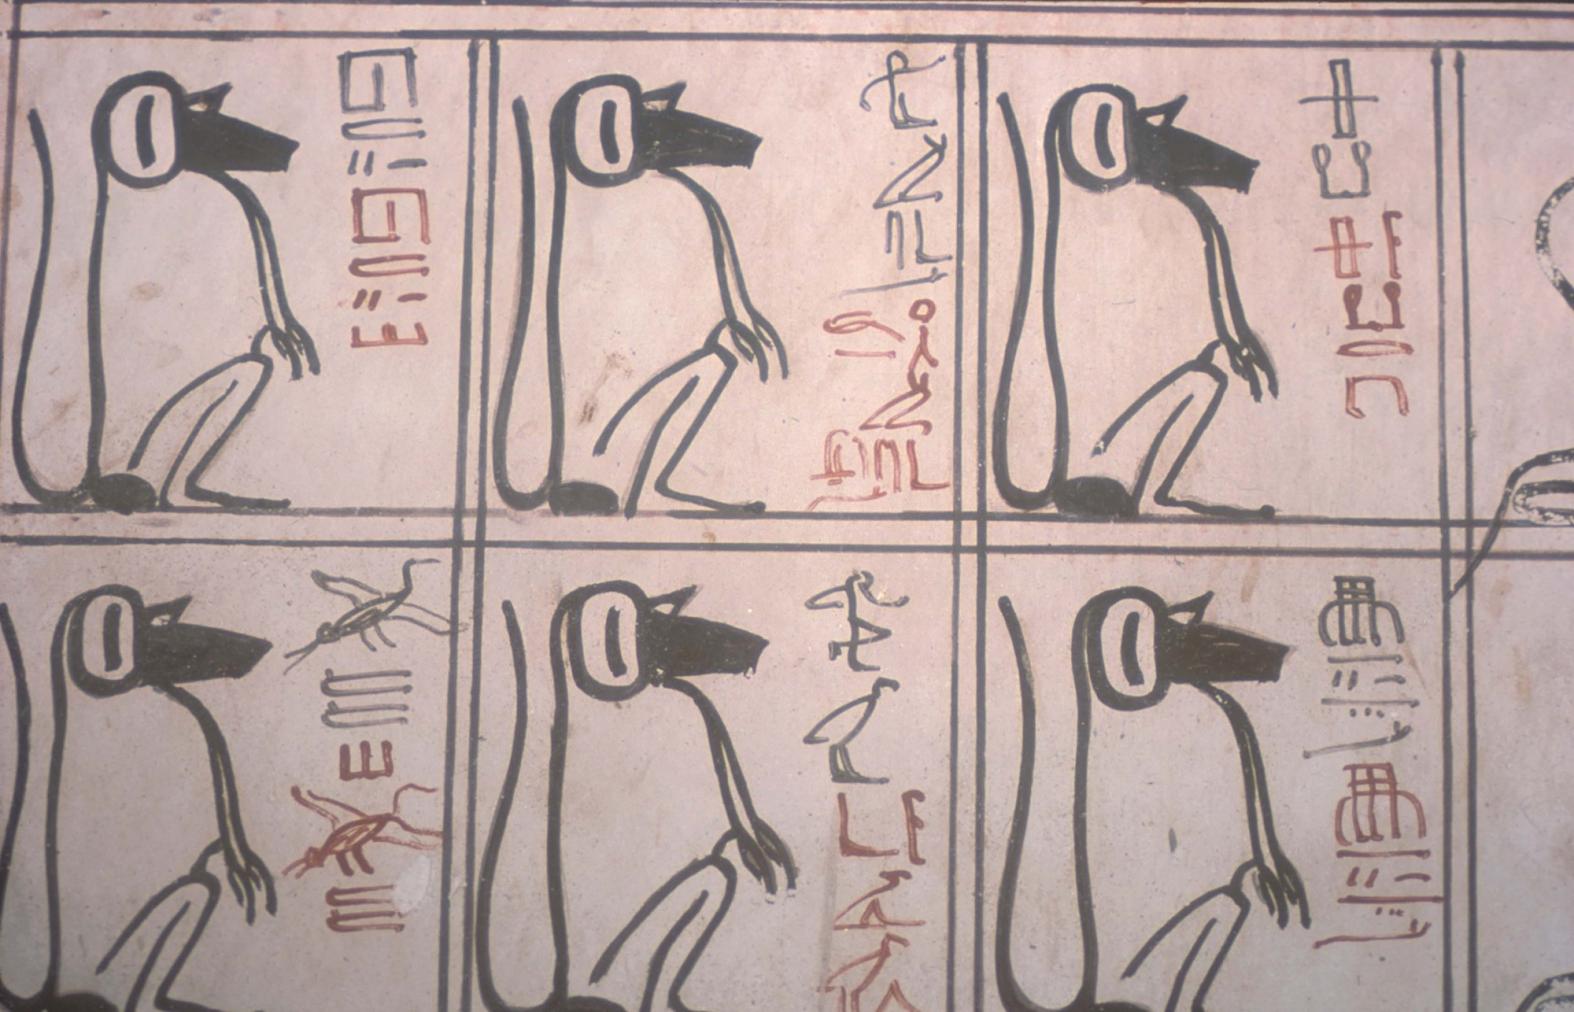
Imydwat, first hour: detail.
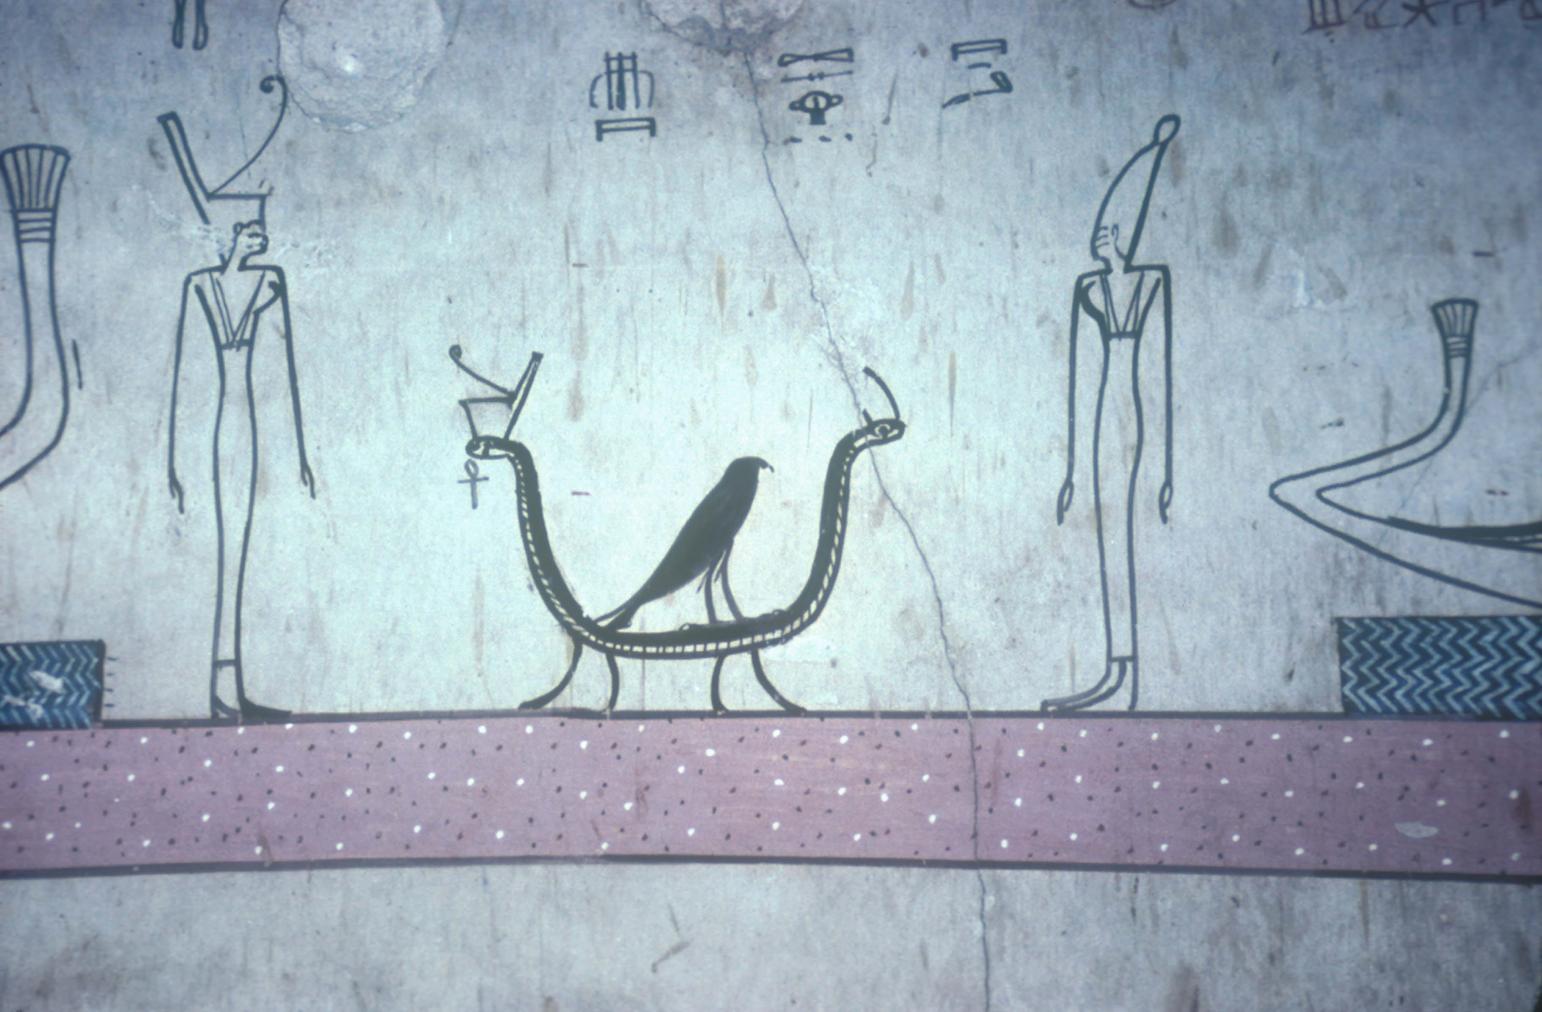
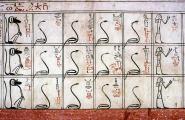
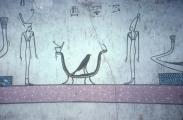
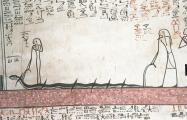
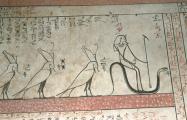
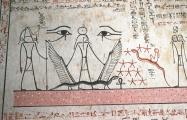
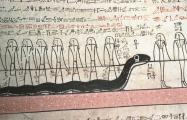
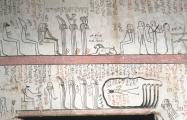
Imydwat, tenth hour: two-headed snake.
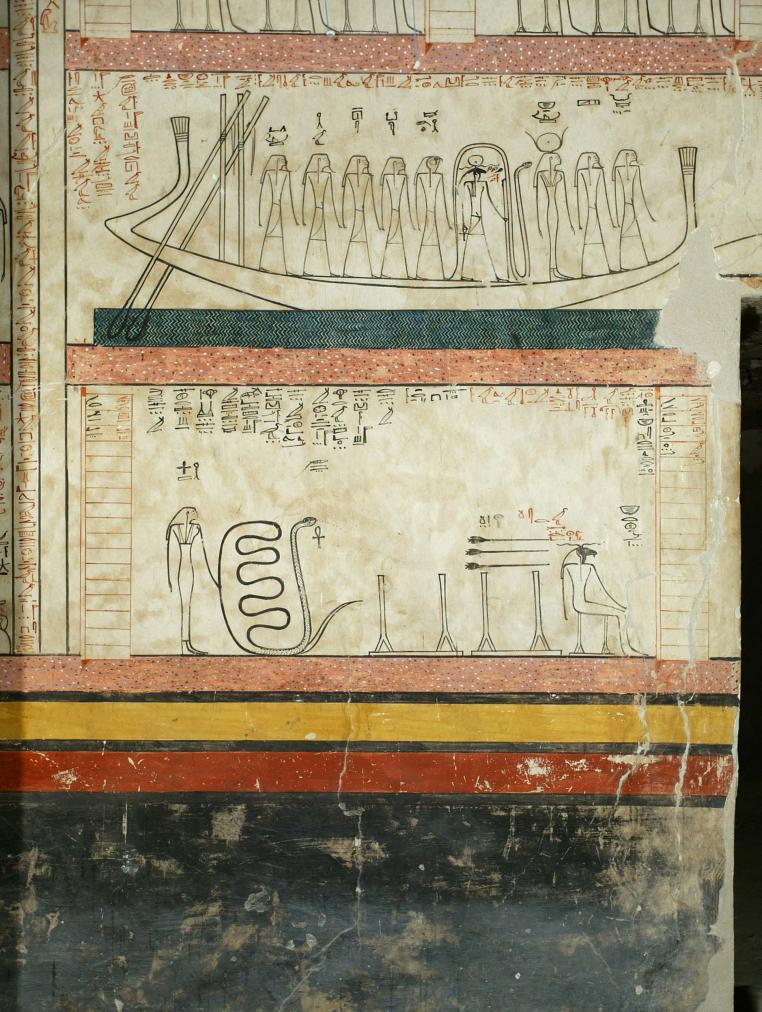
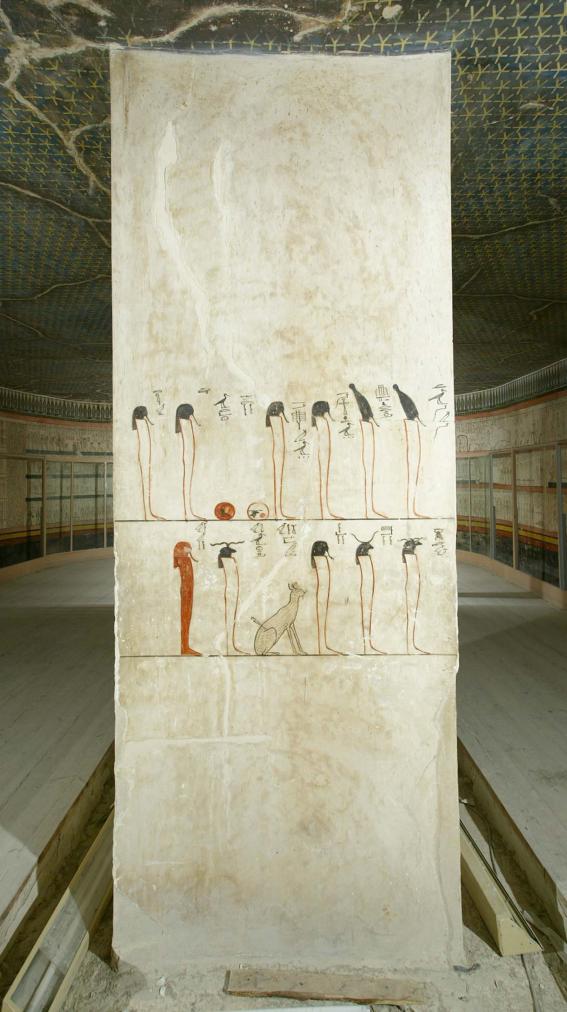
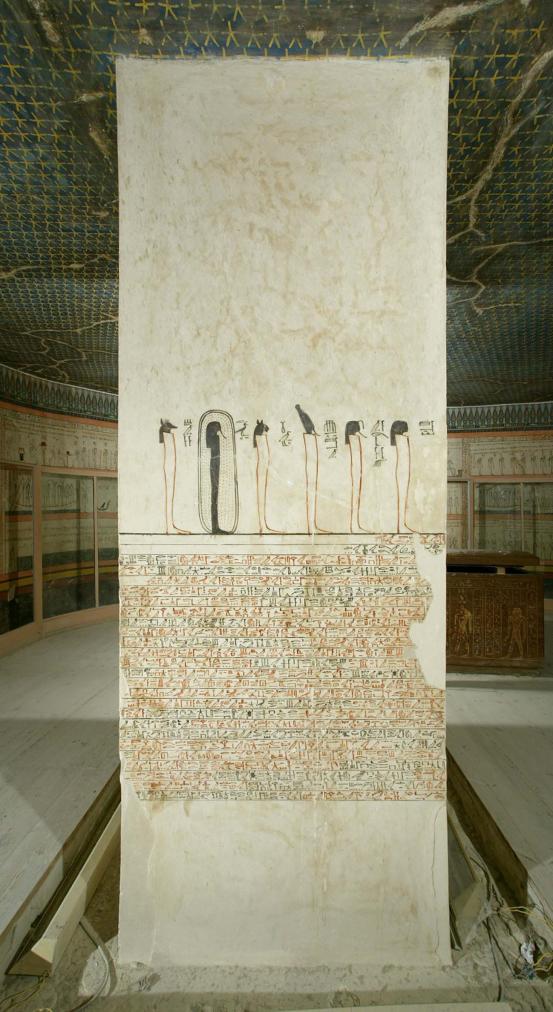
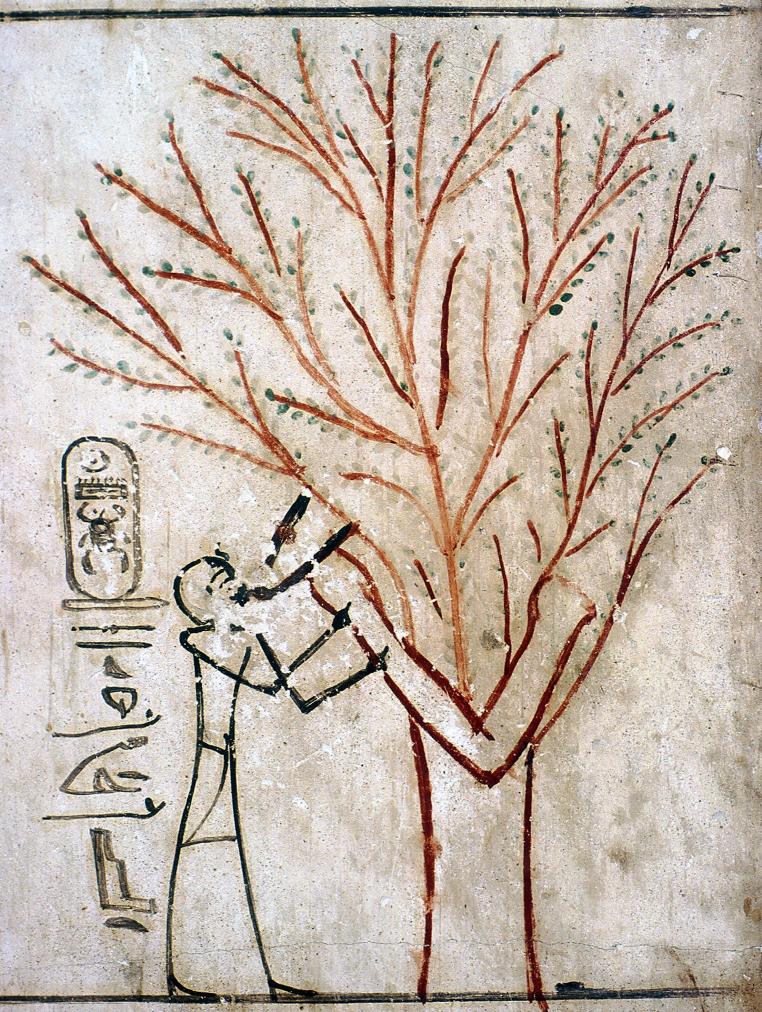
Thutmes III suckling
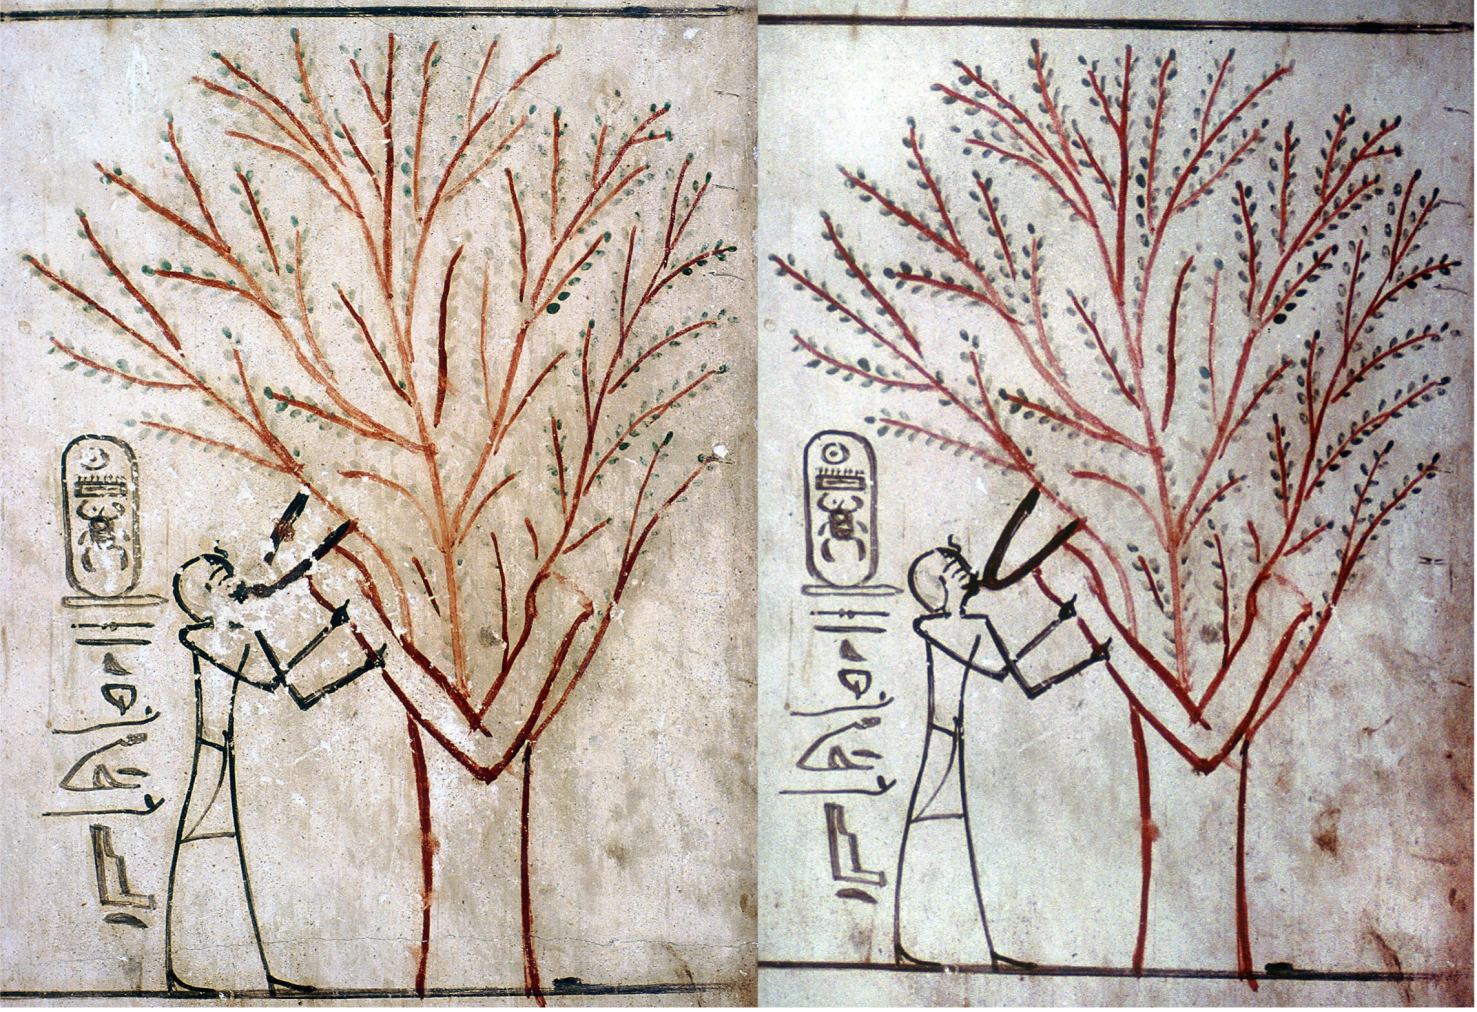
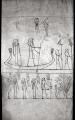
Comparison over time of of Thutmes III suckling scene in Burial Chamber J
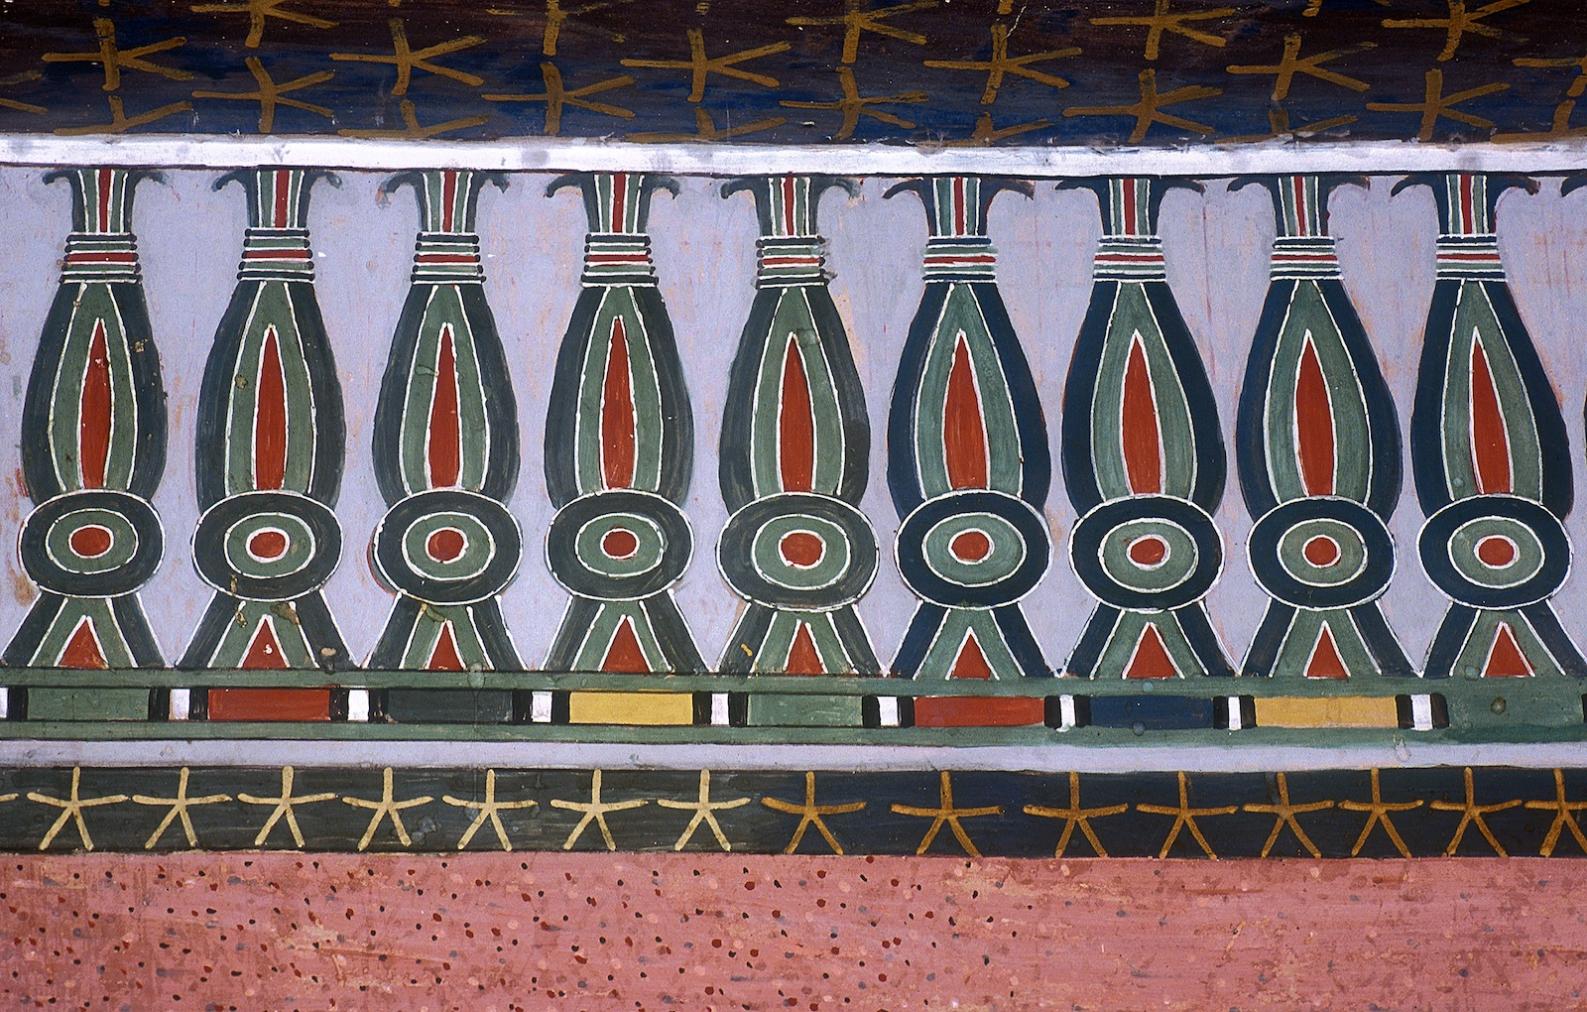
Star pattern; kheker frieze (detail).
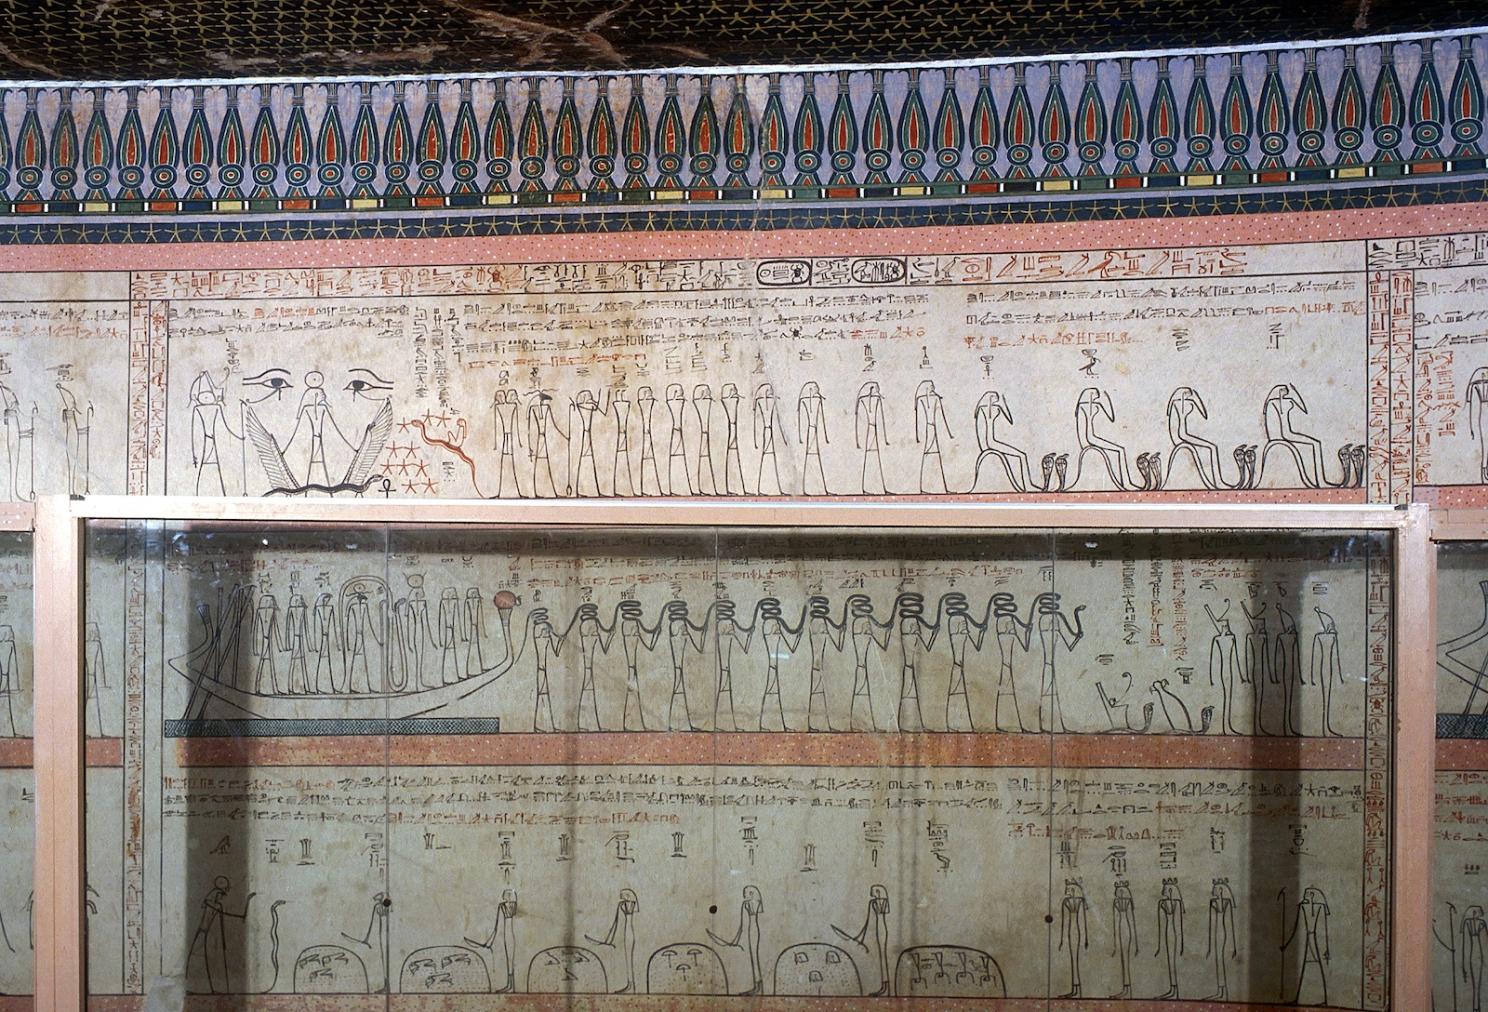
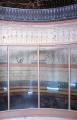
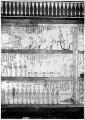
Star pattern; kheker frieze; Imydwat, eleventh hour; protective glass paneling.
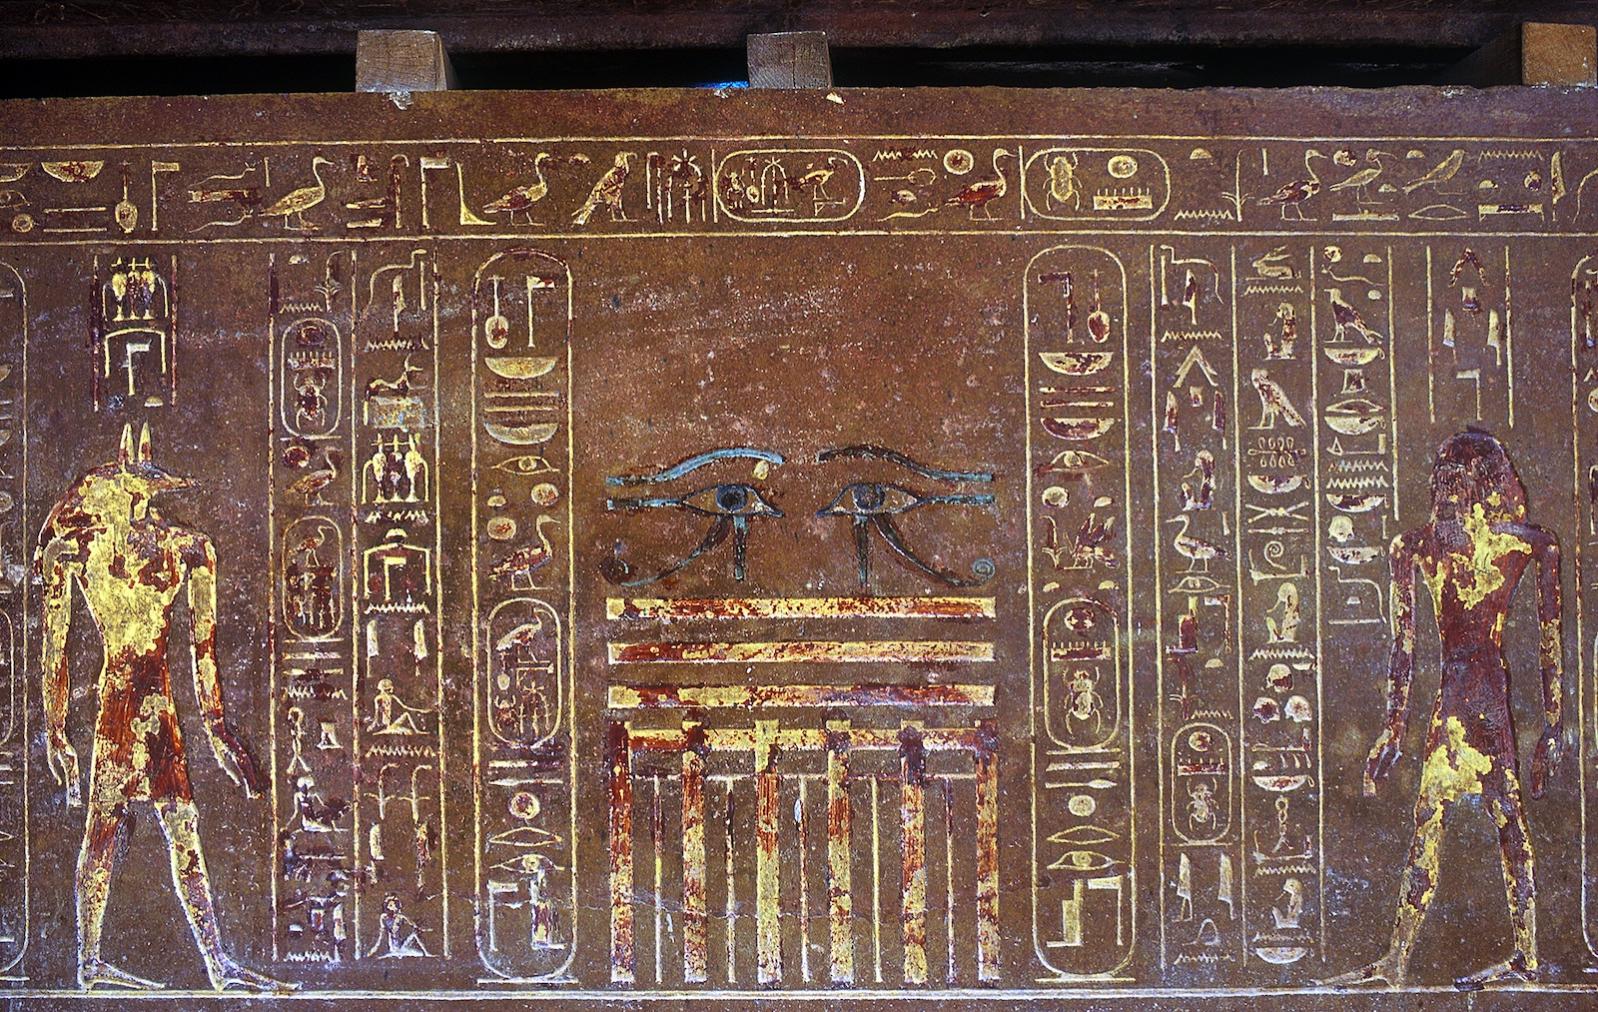
Anubis, eye panel and Hapy on sarcophagus.
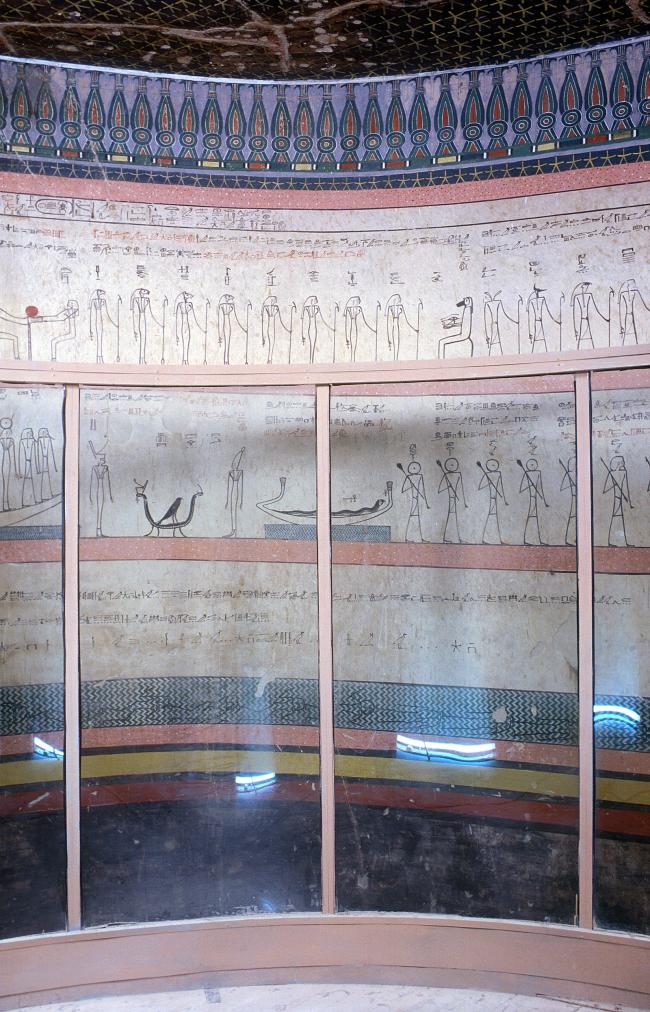
Star pattern; kheker frieze; Imydwat, tenth hour; modern glass panels installed to protect painted surface.
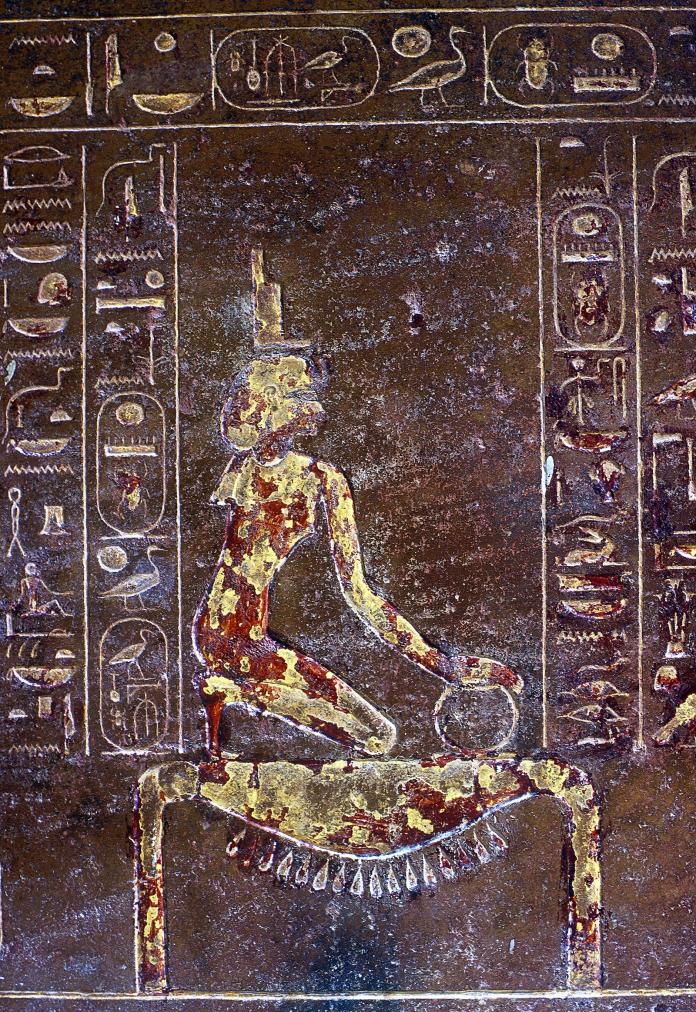
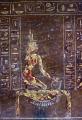
Isis kneeling on gold symbol (detail).
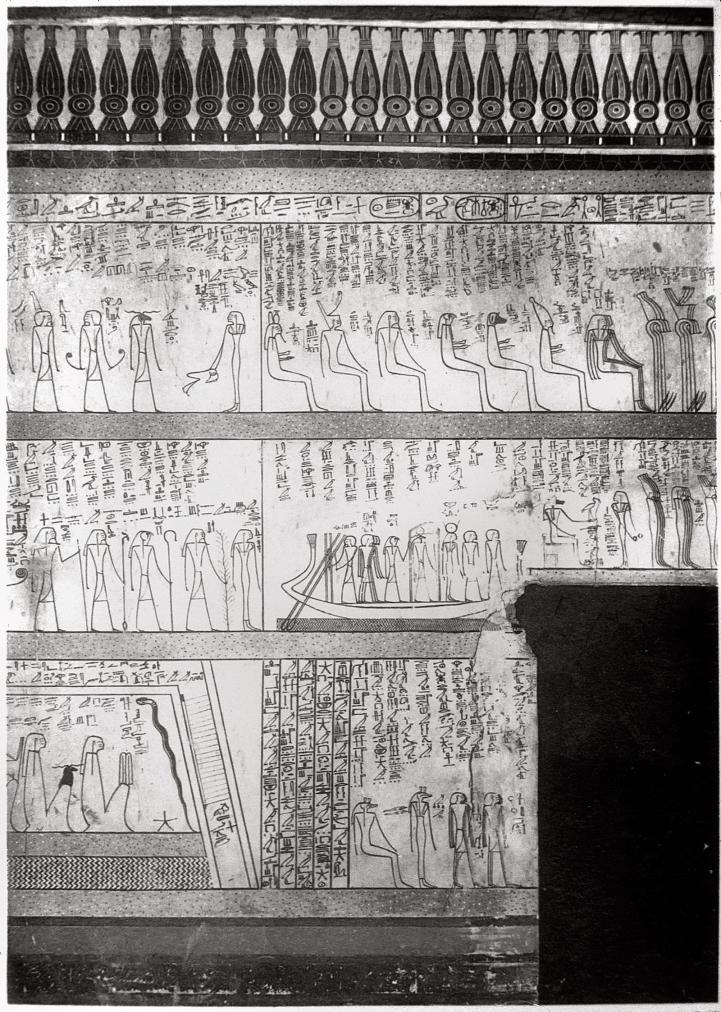
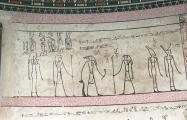
Kheker frieze; Imydwat, fifth and sixth hours.
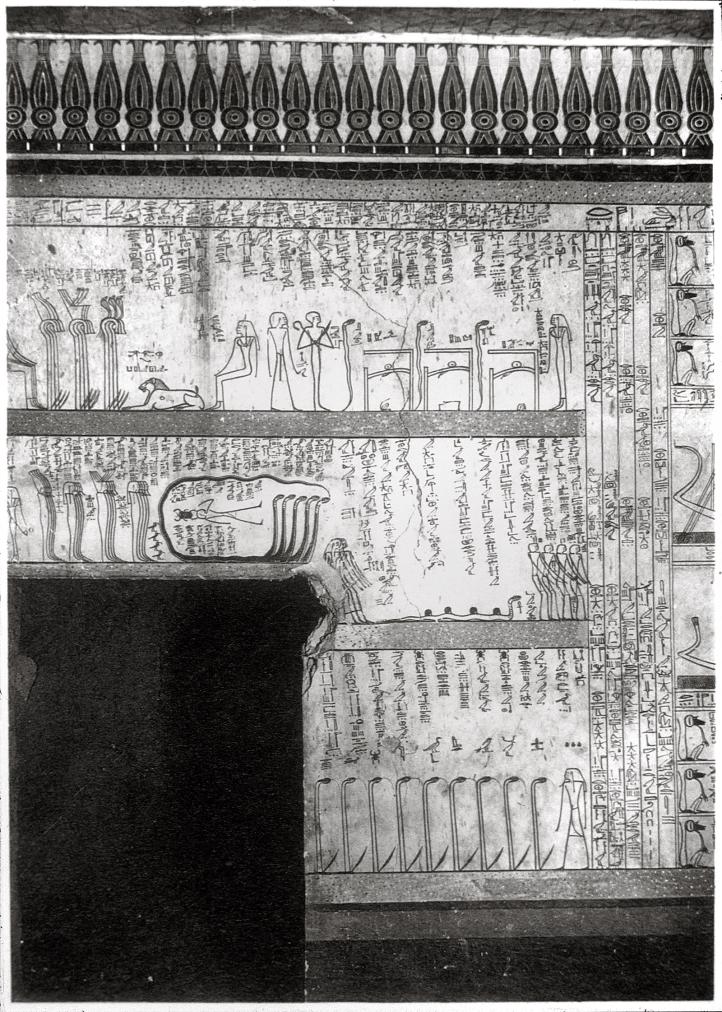
Kheker frieze; Imydwat, sixth hour.
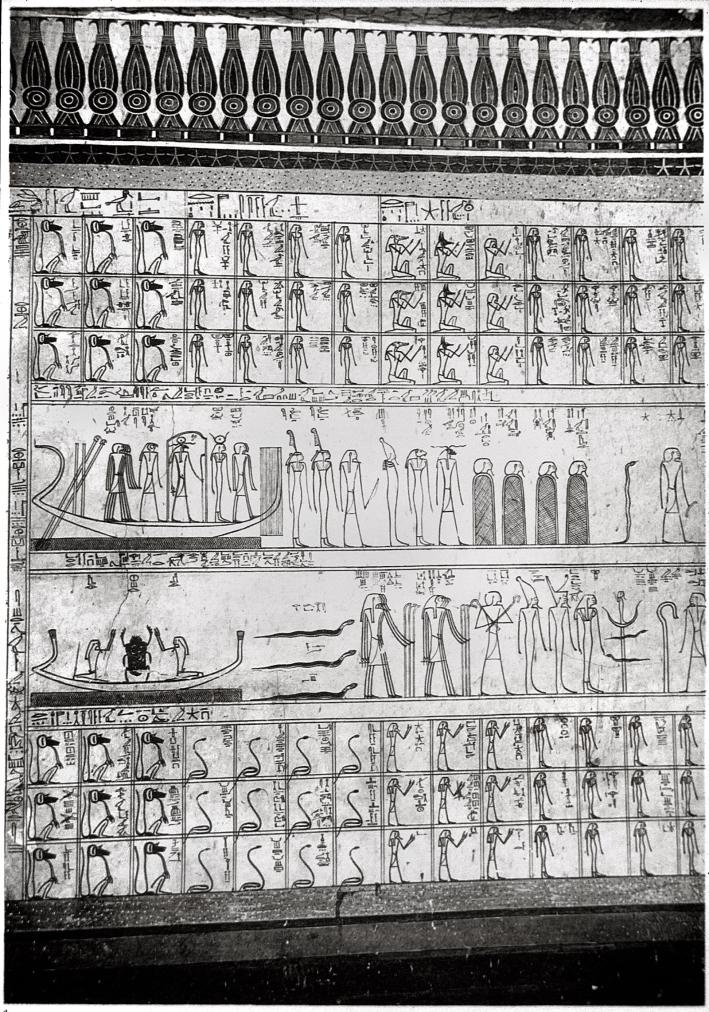
Kheker frieze; Imydwat, first hour.
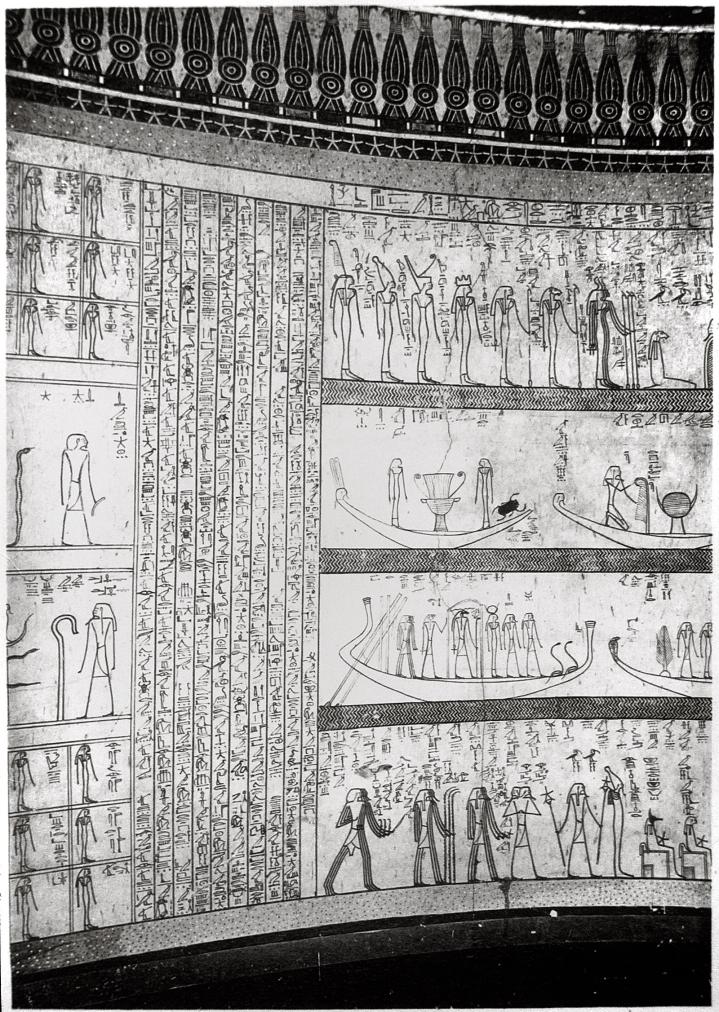
Kheker frieze; Imydwat, first and second hours.
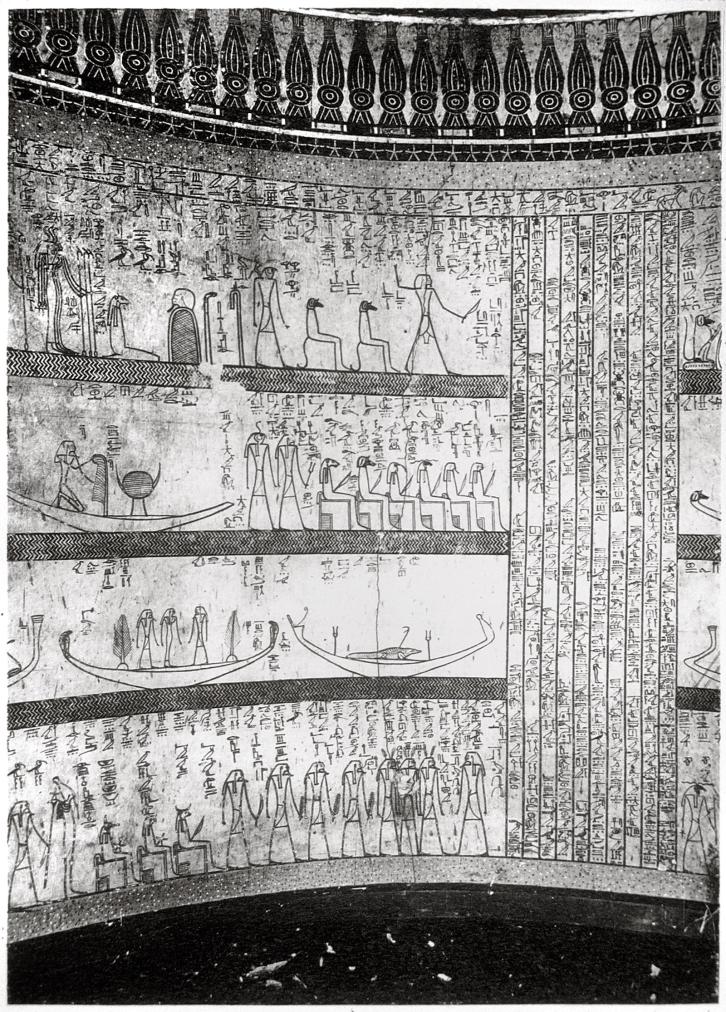
Kheker frieze; Imydwat, second hour.
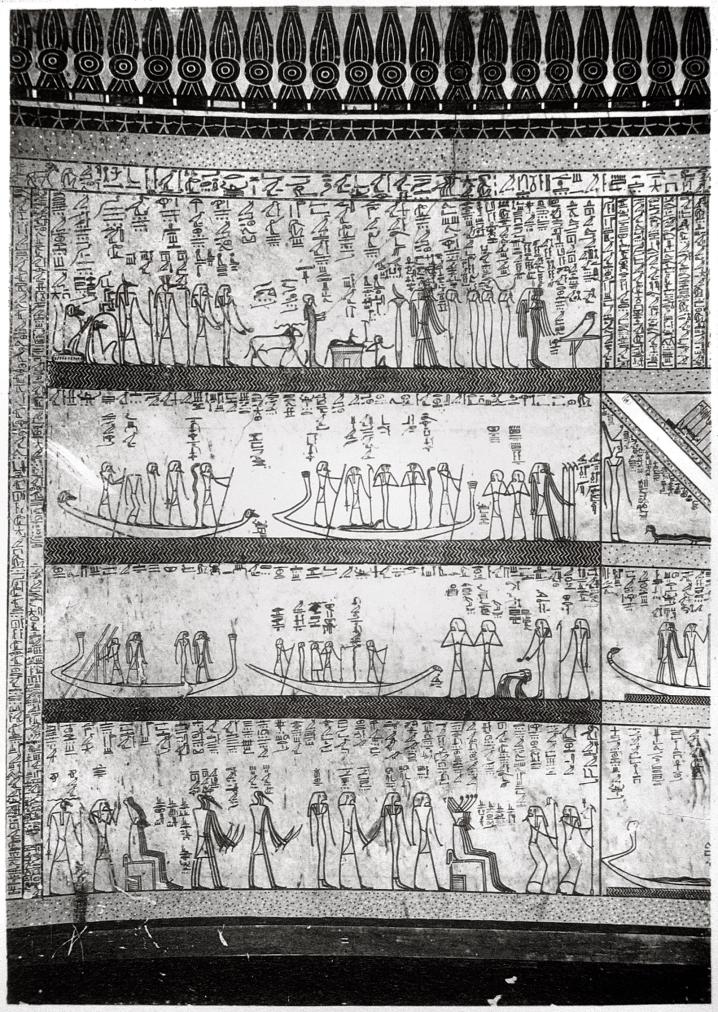
Kheker frieze; Imydwat, third hour.
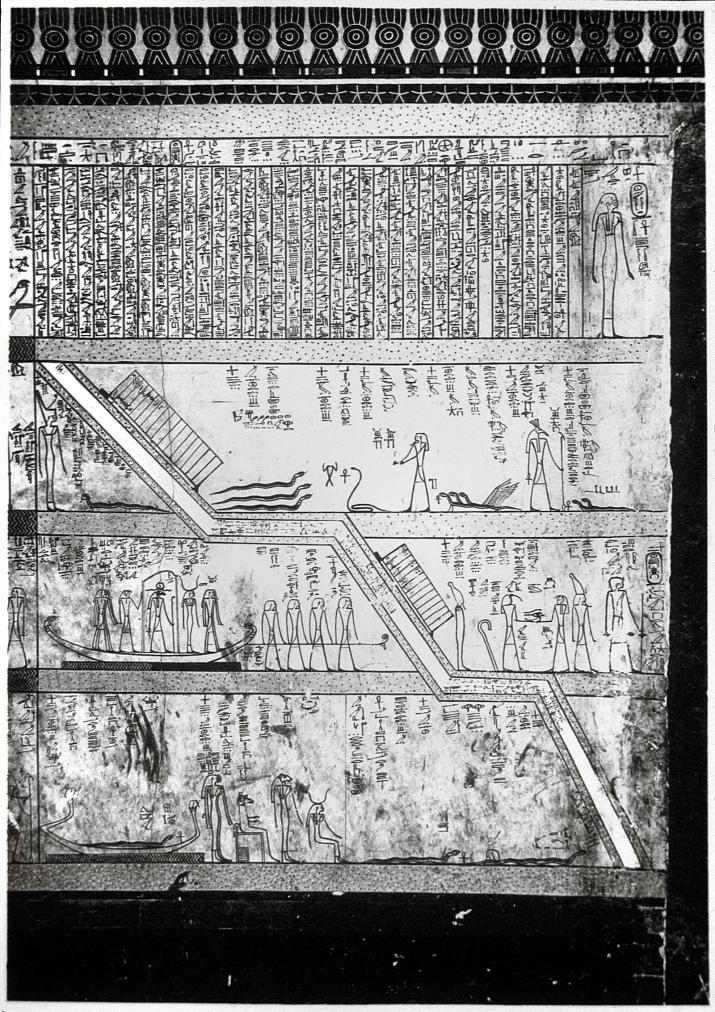
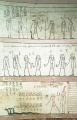
Imydwat, fourth hour.
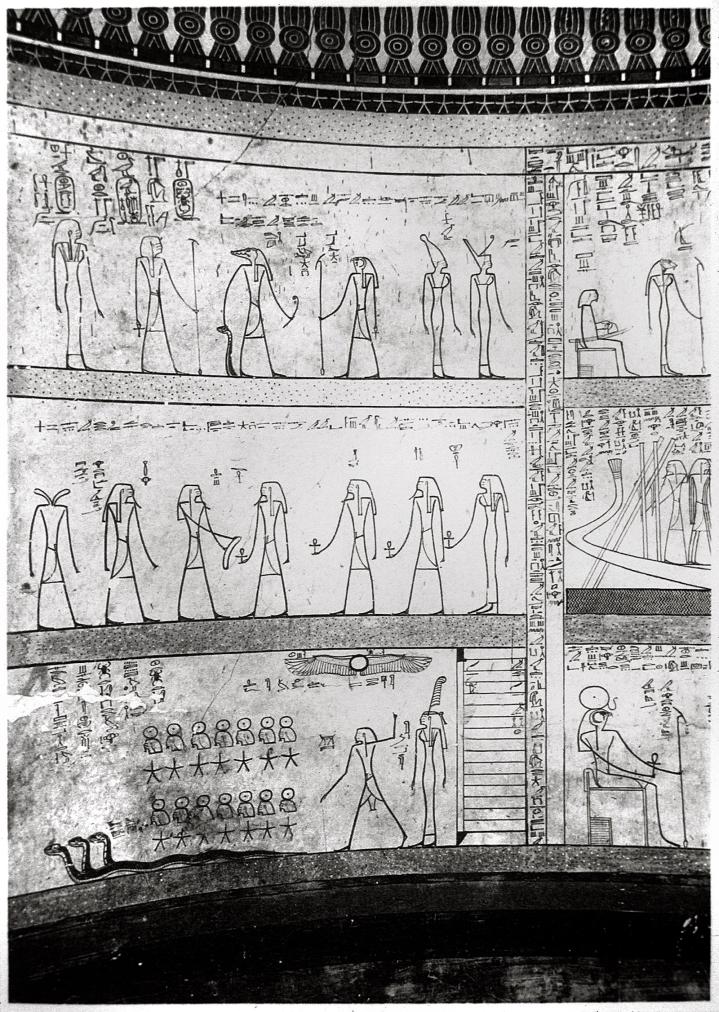
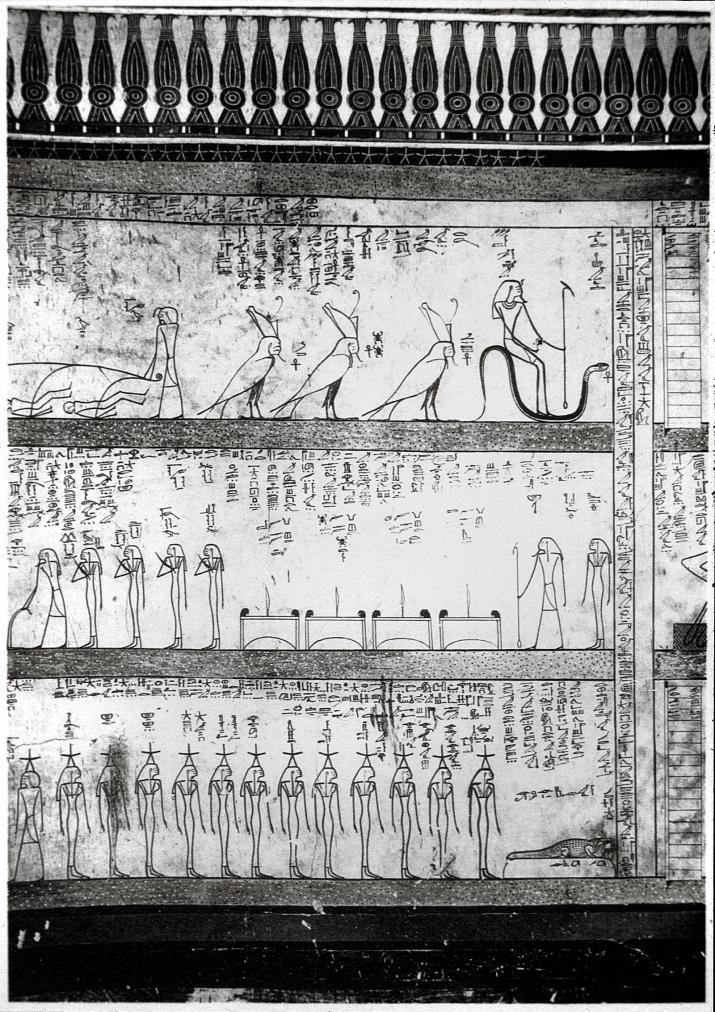
Imydwat, fourth and seventh hours.
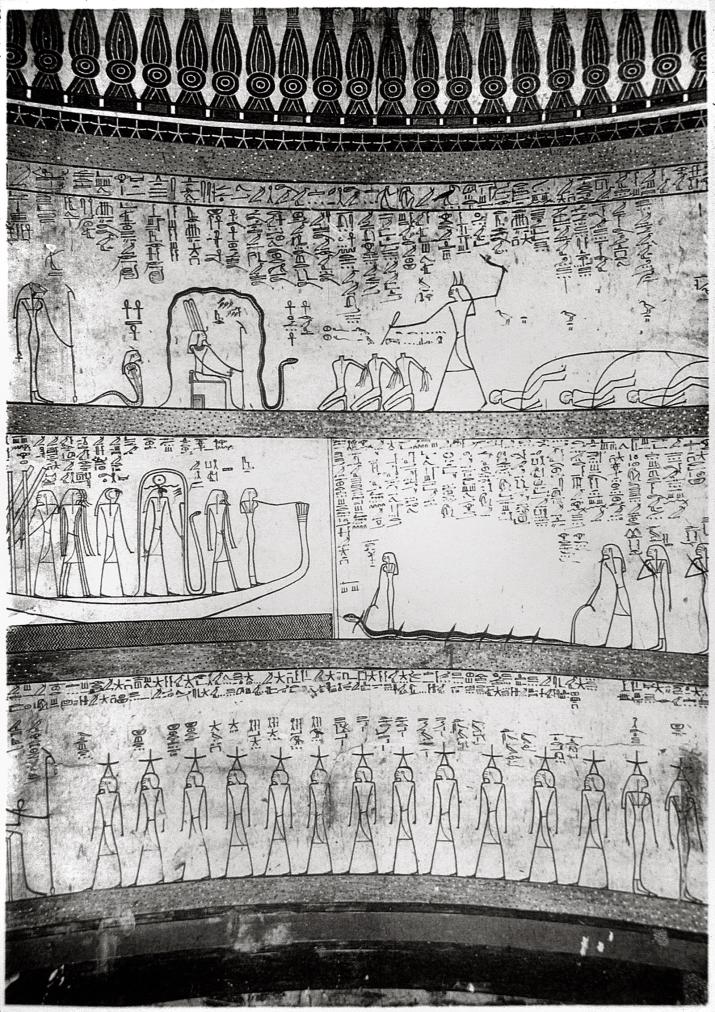
Kheker frieze; Imydwat, seventh hour.
Kheker frieze; Imydwat, seventh hour.
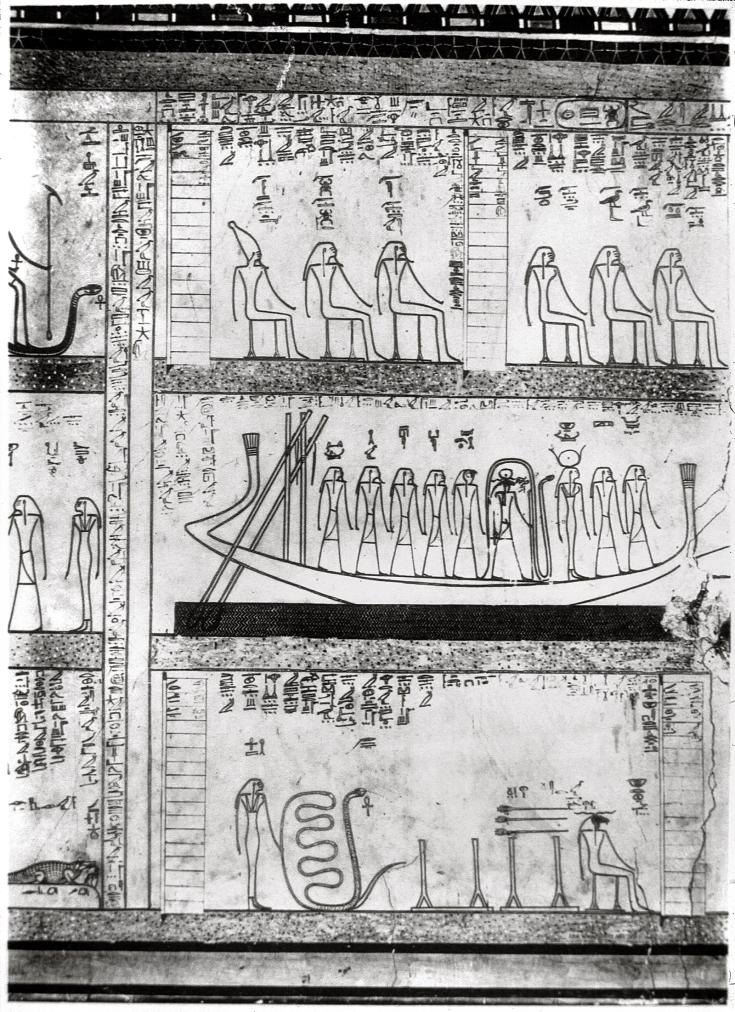
Imydwat, eighth hour.
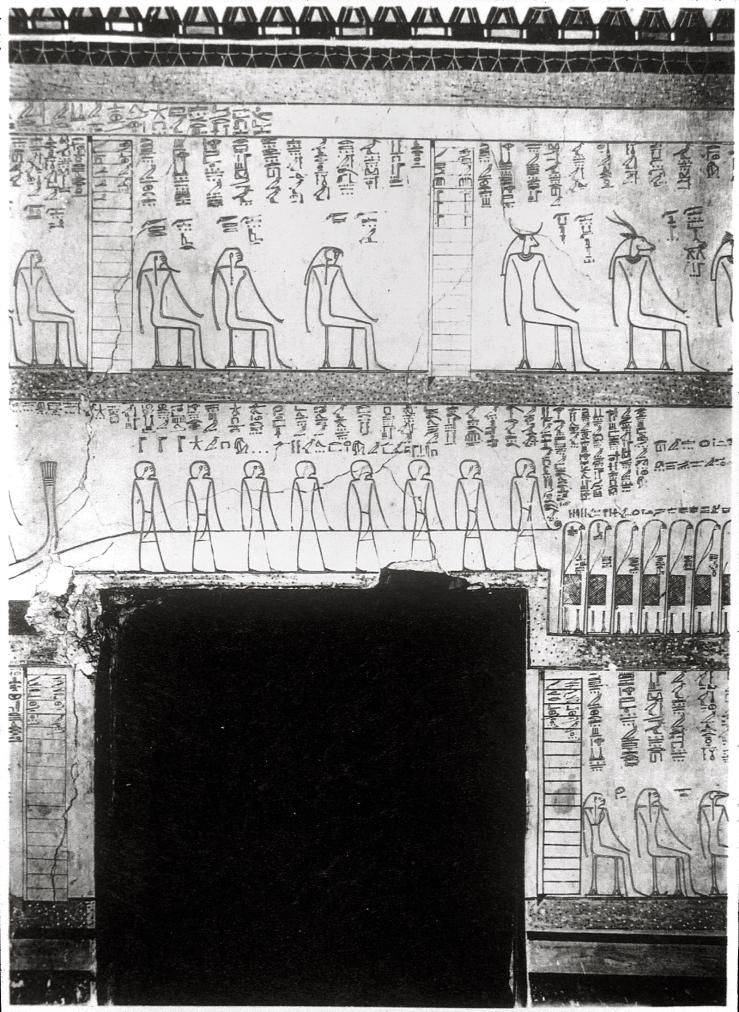
Imydwat, eighth hour.
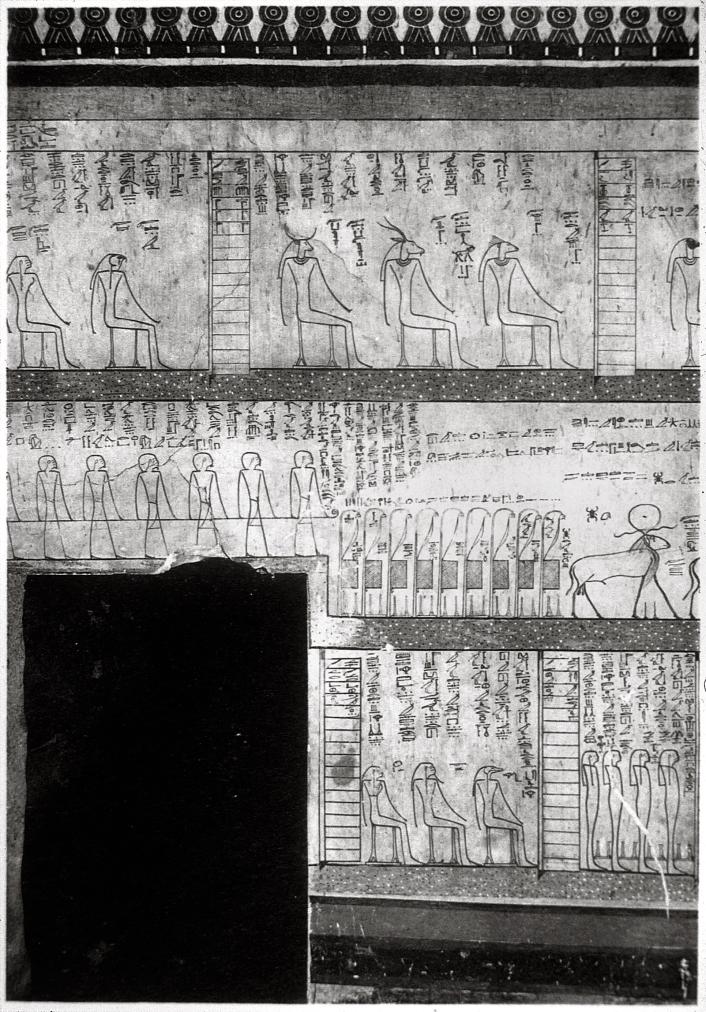
Imydwat, eighth hour.
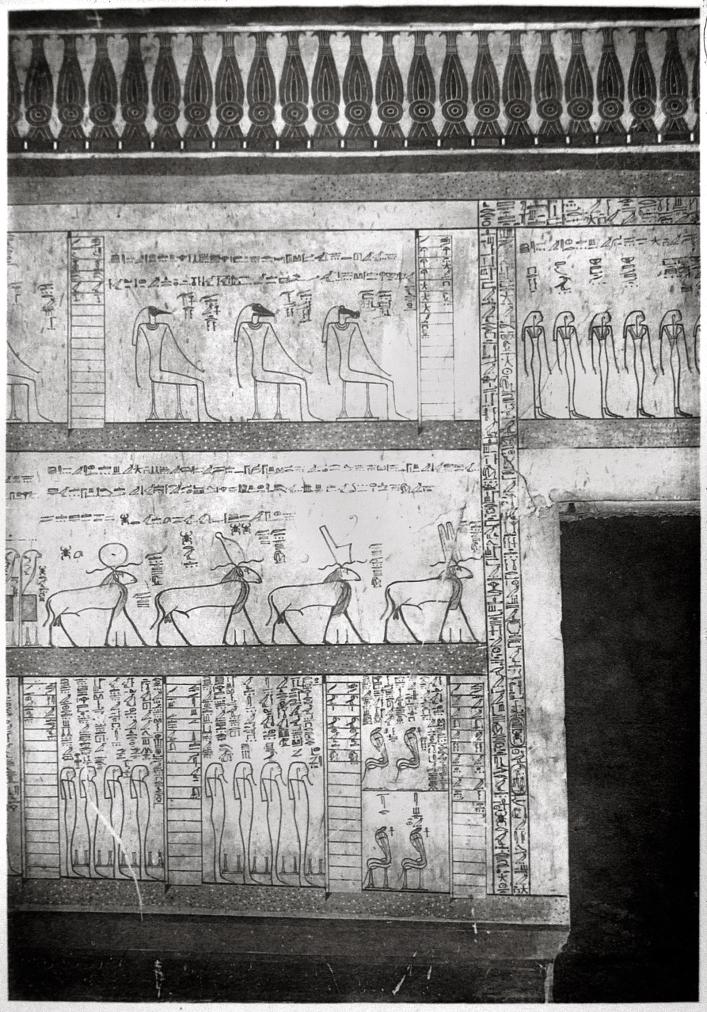
Kheker frieze; Imydwat, eighth and ninth hours.
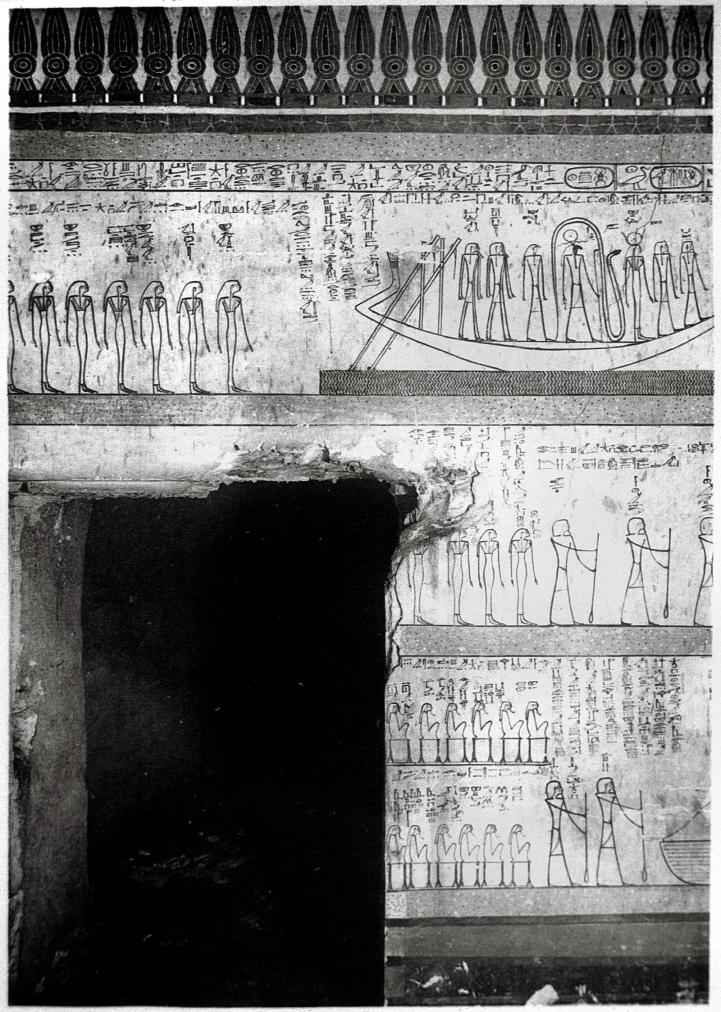
Kheker frieze; Imydwat, ninth hour.
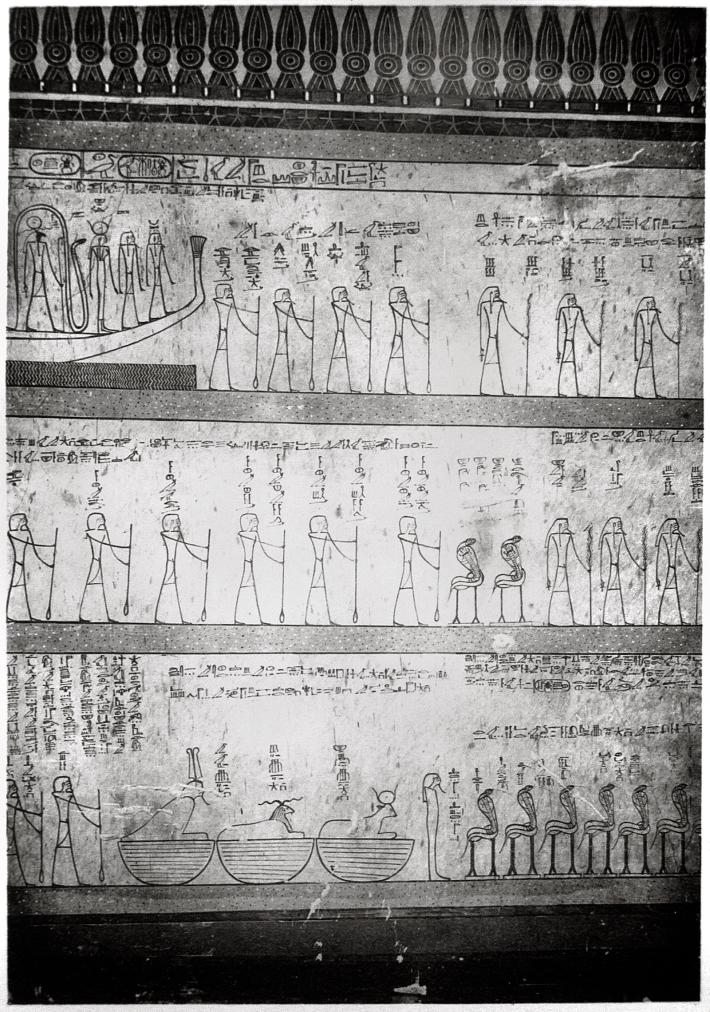
Kheker frieze; Imydwat, ninth hour.
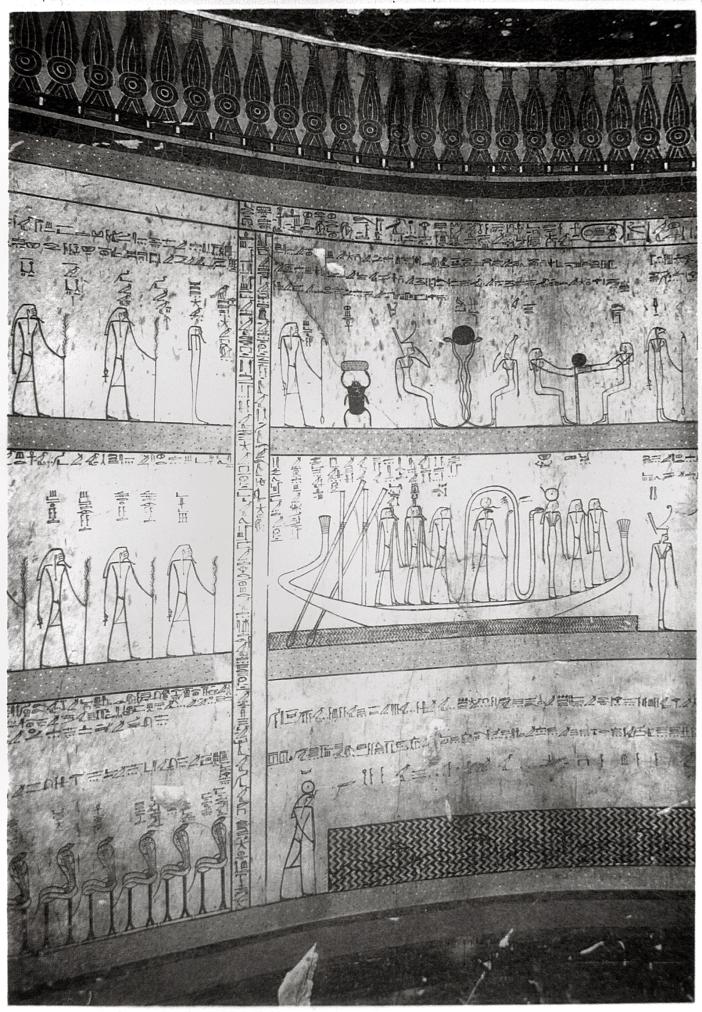
Kheker frieze; Imydwat, ninth and tenth hours.
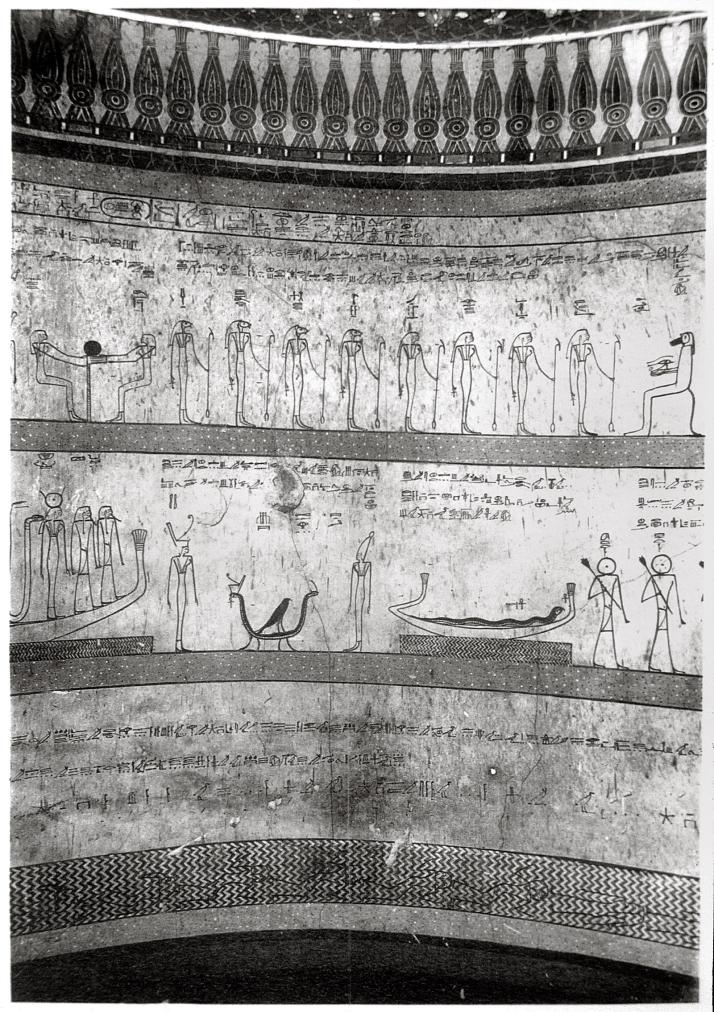
Kheker frieze; Imydwat, tenth hour.
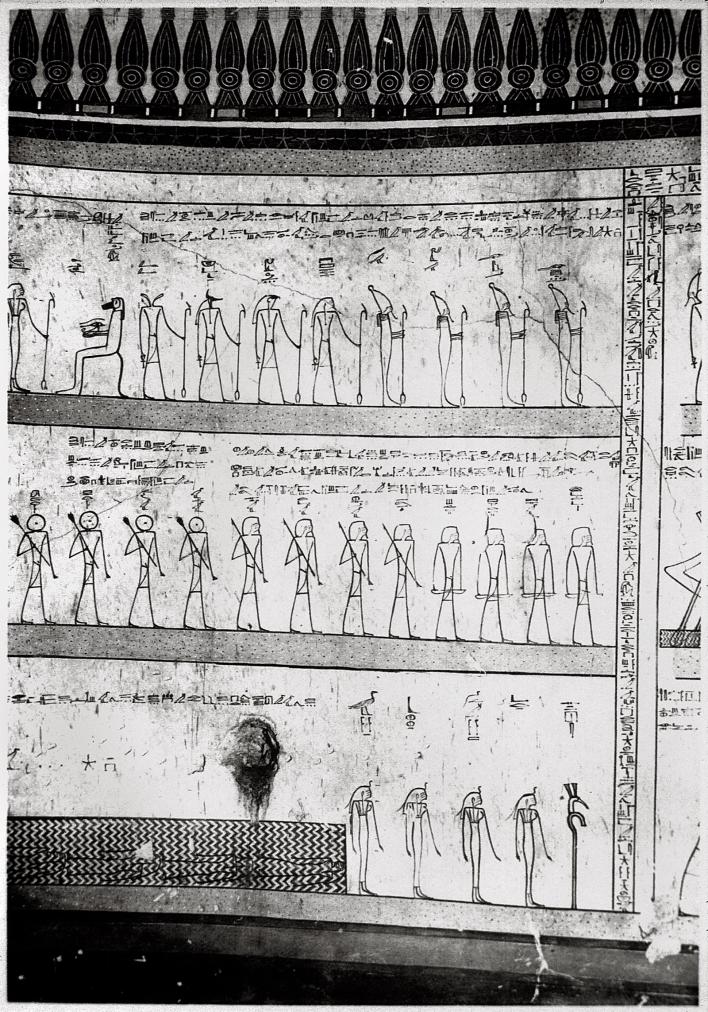
Kheker frieze; Imydwat, tenth hour.
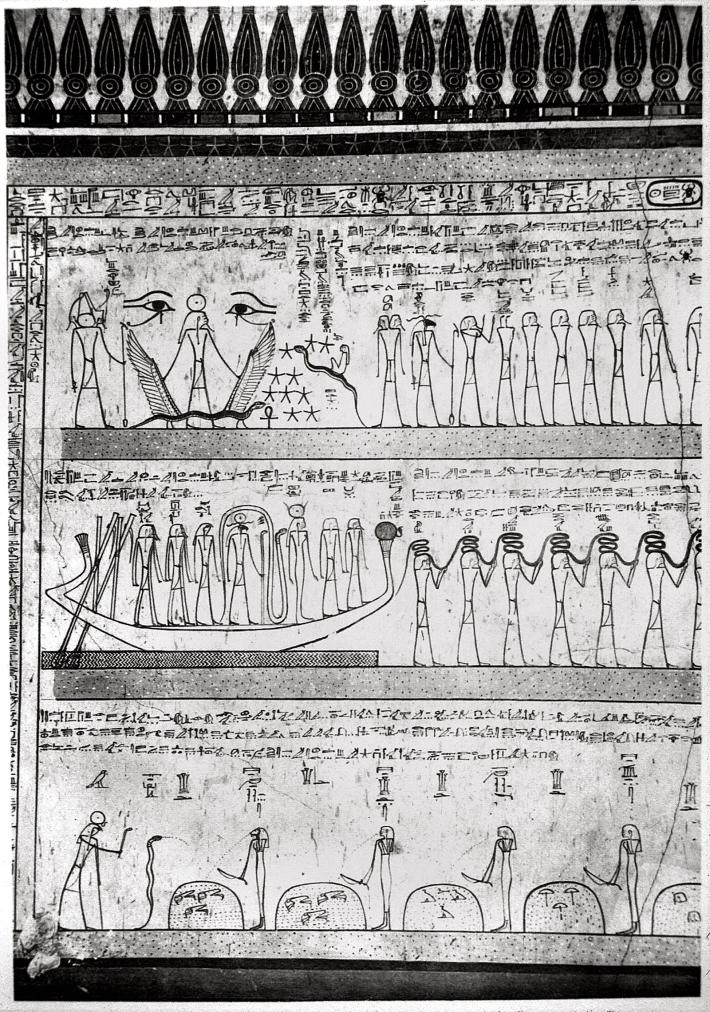
Imydwat, eleventh hour.
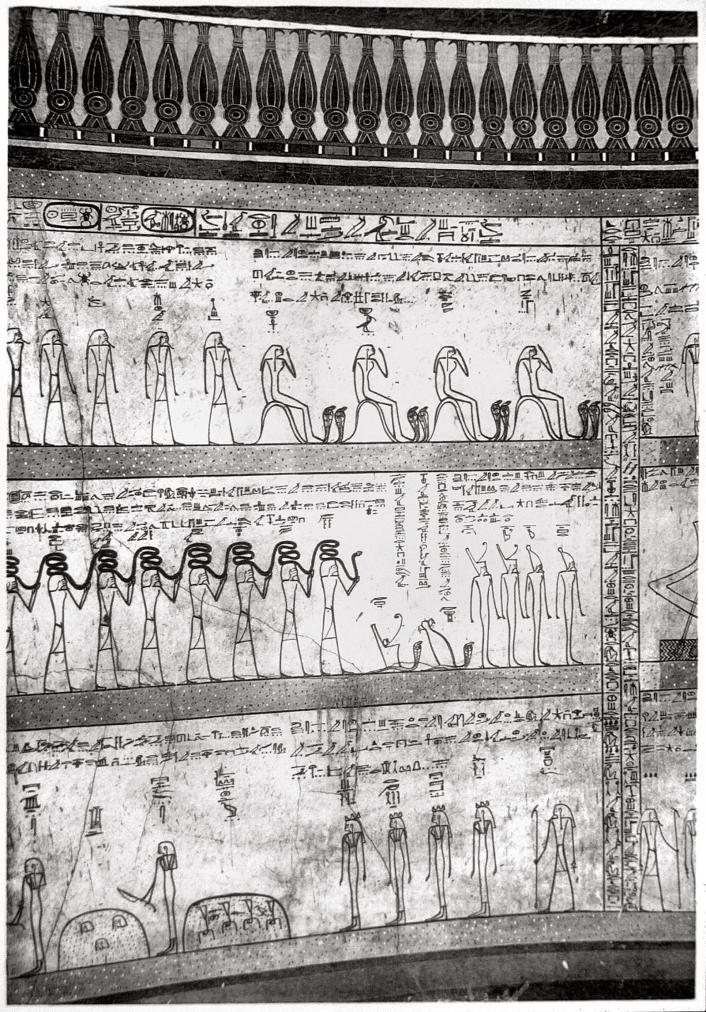
Kheker frieze; Imydwat, eleventh hour.
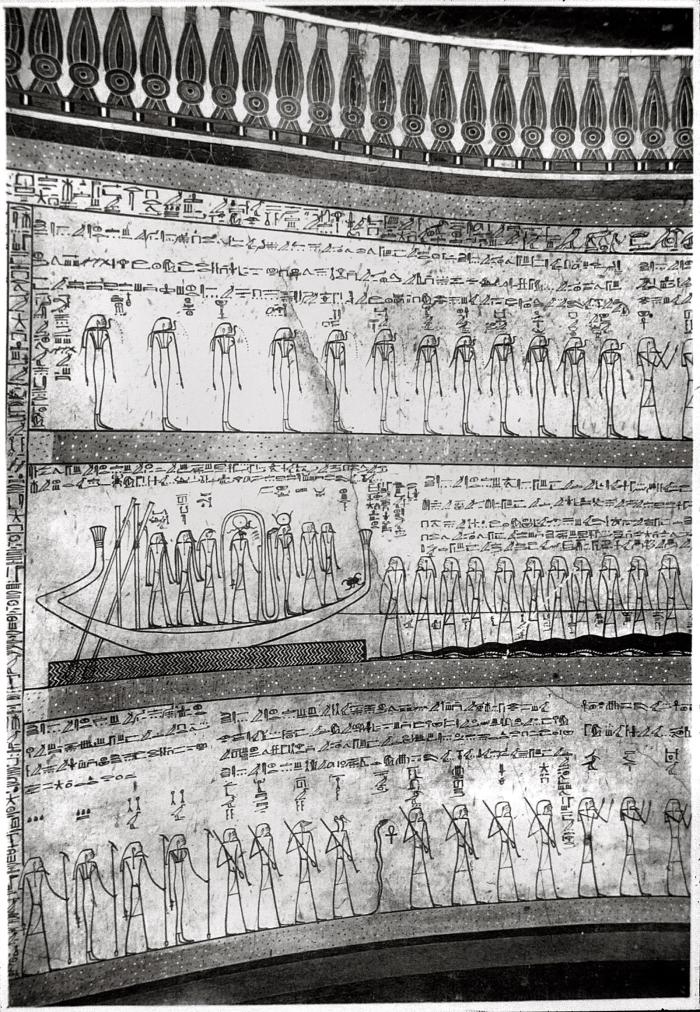
Kheker frieze; Imydwat, twelfth hour.
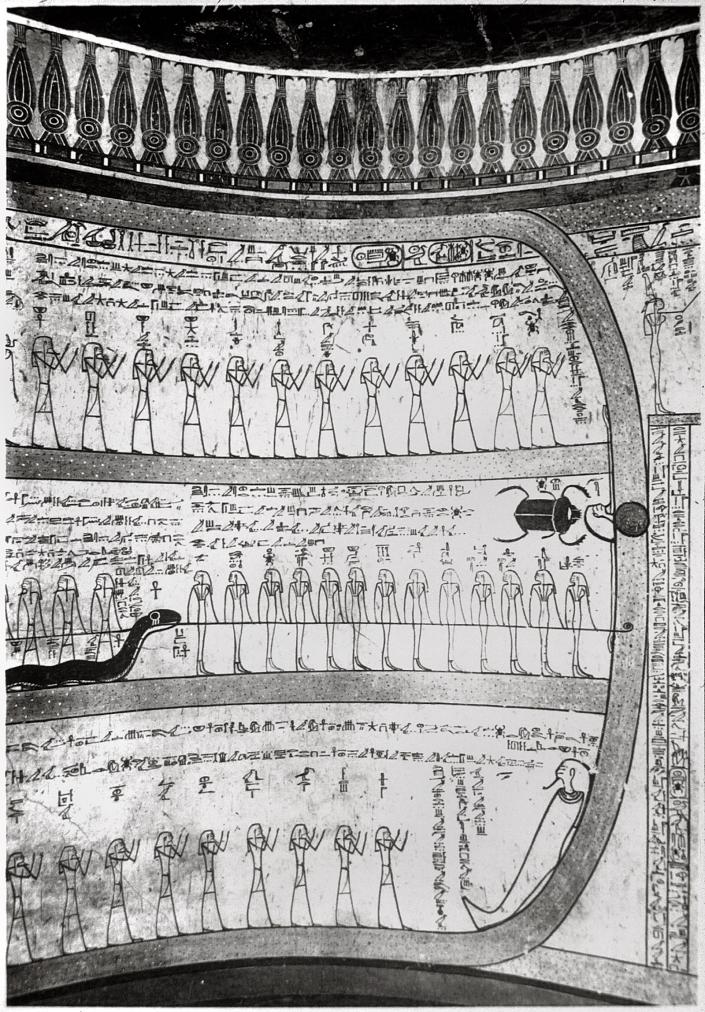
Kheker frieze; Imydwat, twelfth hour.
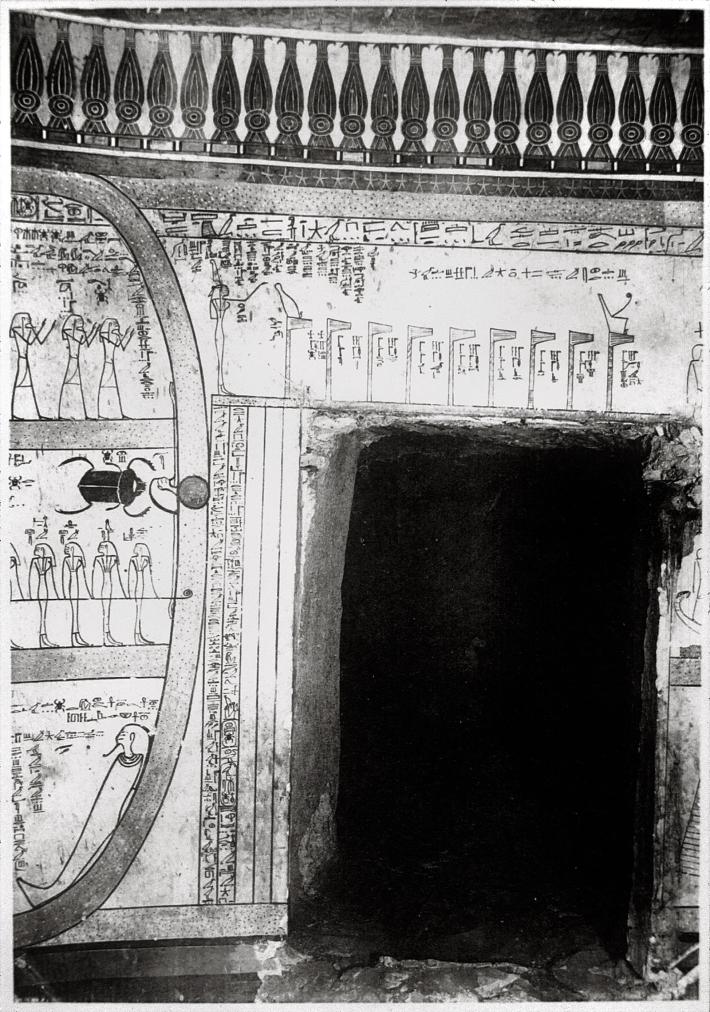
Kheker frieze; Imydwat, twelfth hour (end), fifth hour (beginning of upper register).
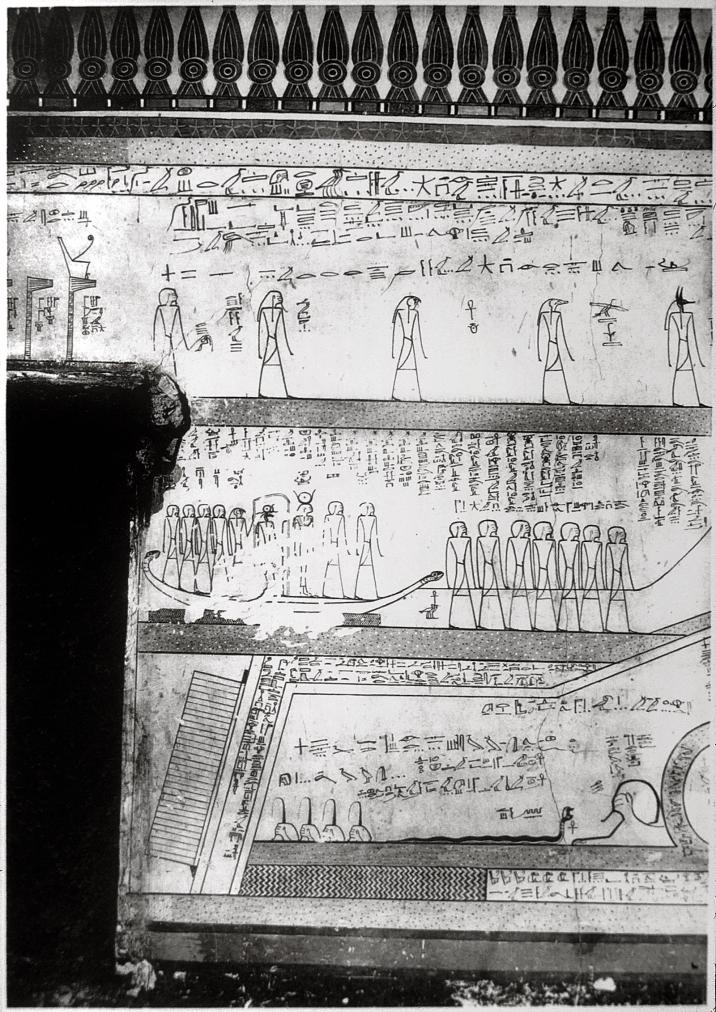
Kheker frieze; Imydwat, fifth hour.
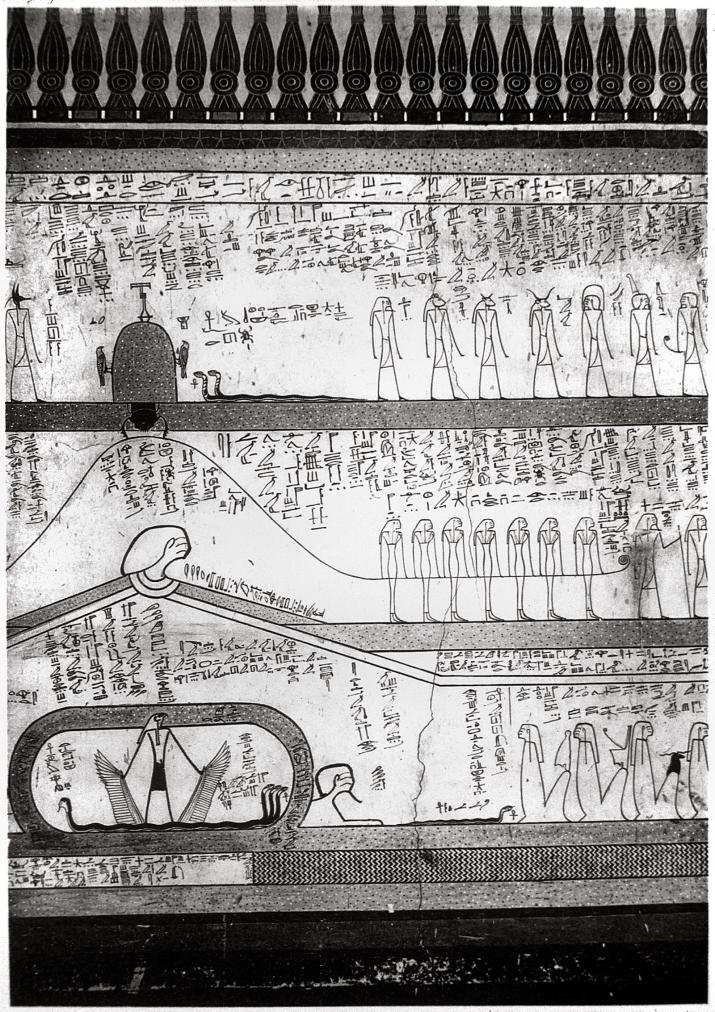
Imydwat, fifth hour.
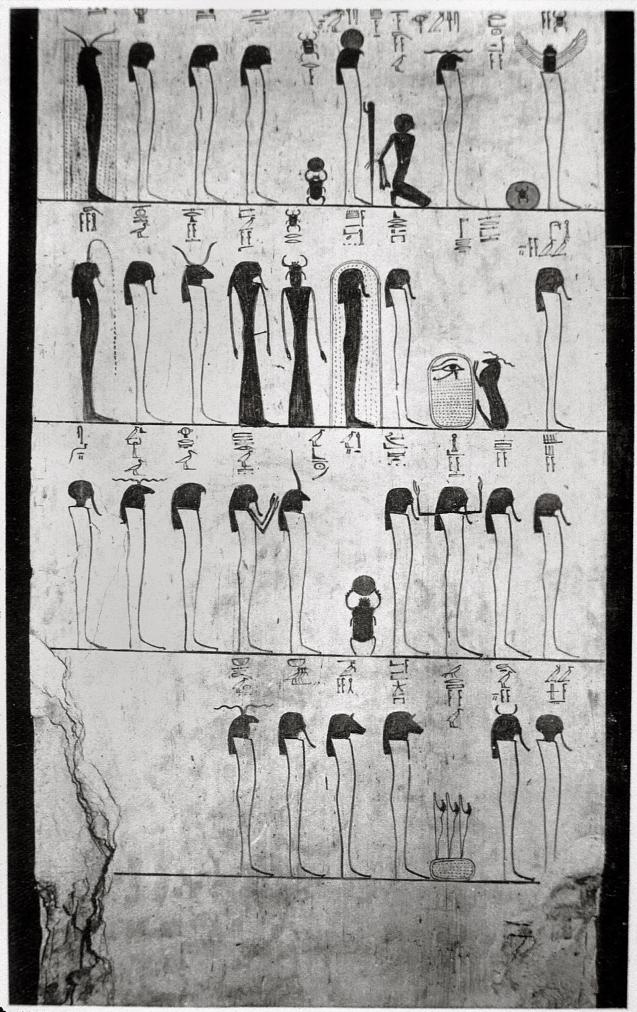
Litany of Ra: forms of Ra.
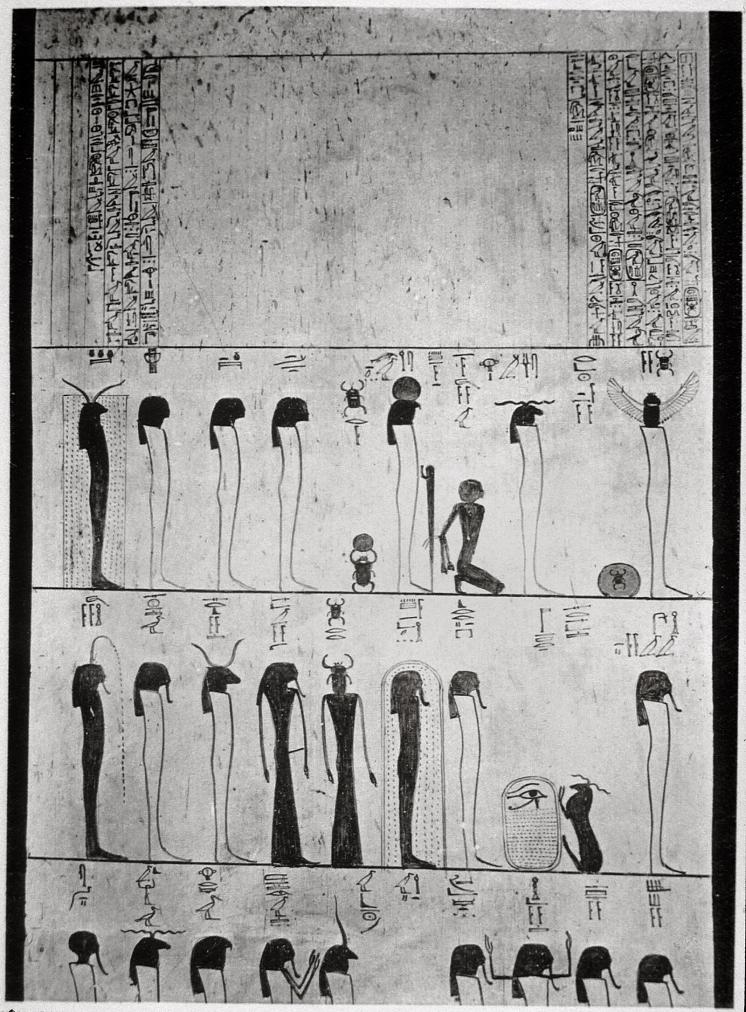
Litany of Ra, text and forms of Ra.
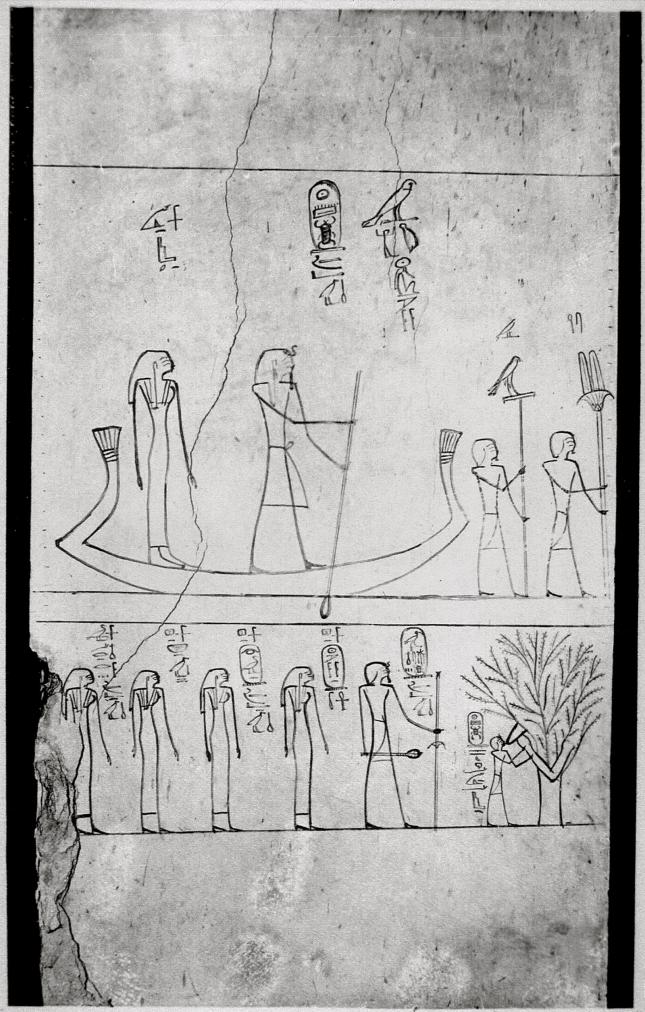
Thutmes III and his mother Isis in a boat; Thutmes IIII followed by Queens Merytre, Hatshepsut, Sitioh, and Nebtu, and Princess Nefertere; Thutmes III suckled by goddess Isis as sycamore tree.
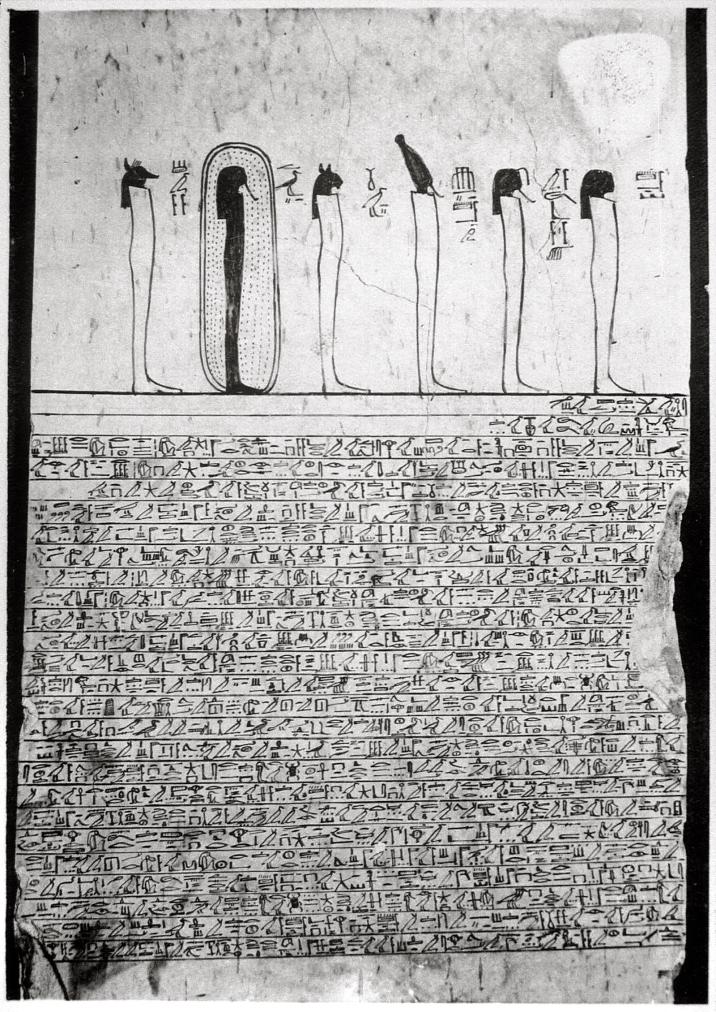
Litany of Ra: forms of Ra; Imydwat, abridged version, first part.
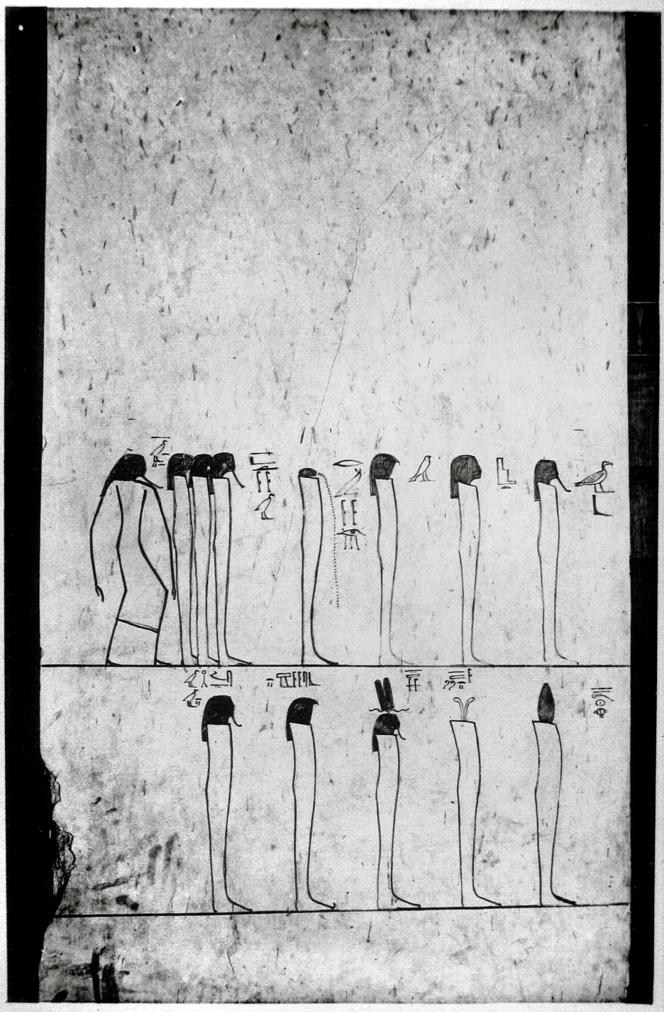
Litany of Ra: forms of Ra.
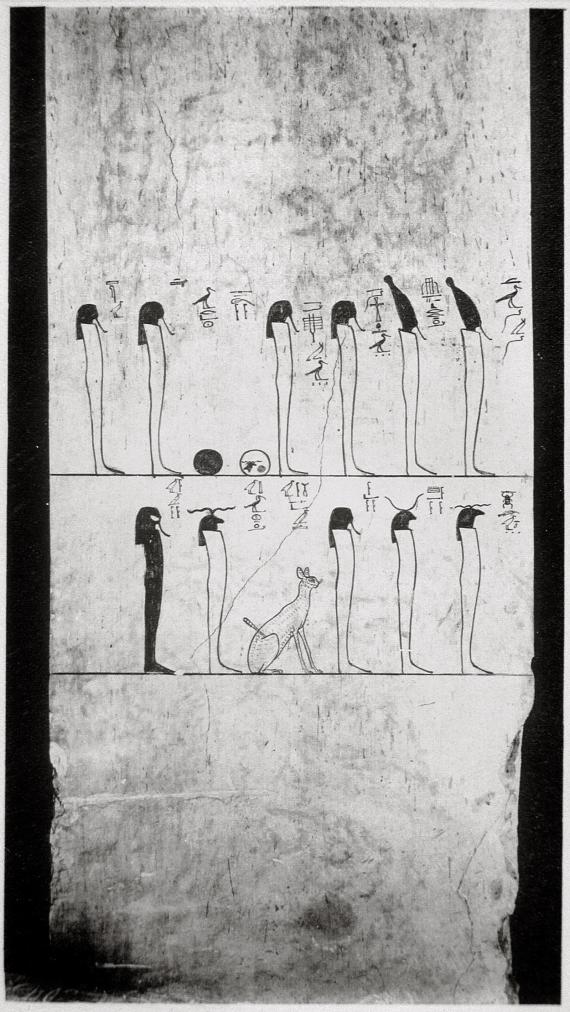
Litany of Ra: forms of Ra.
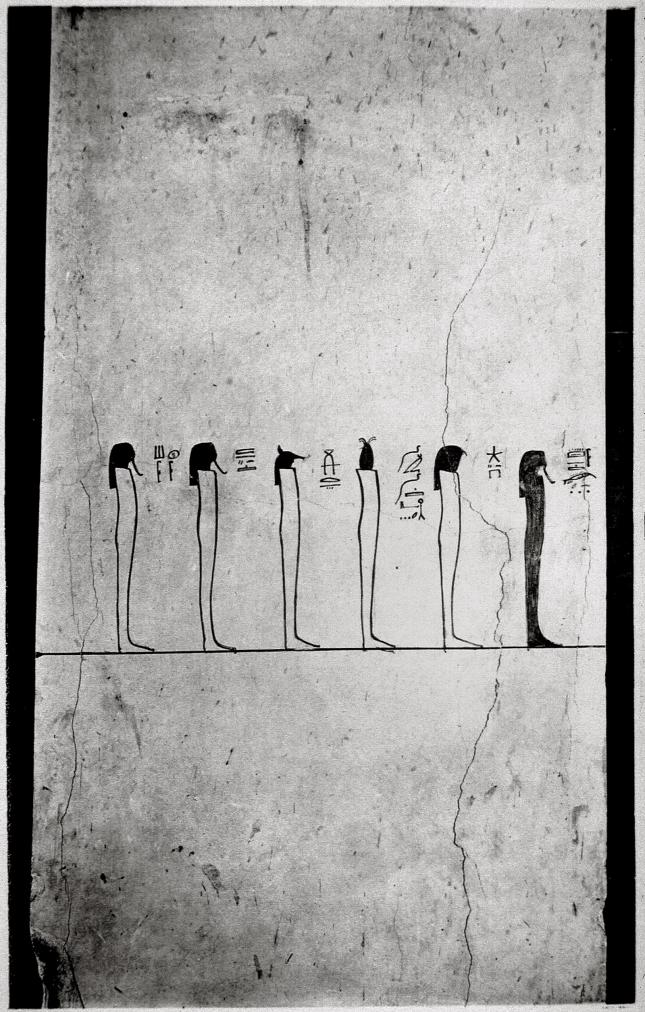
Litany of Ra: forms of Ra.
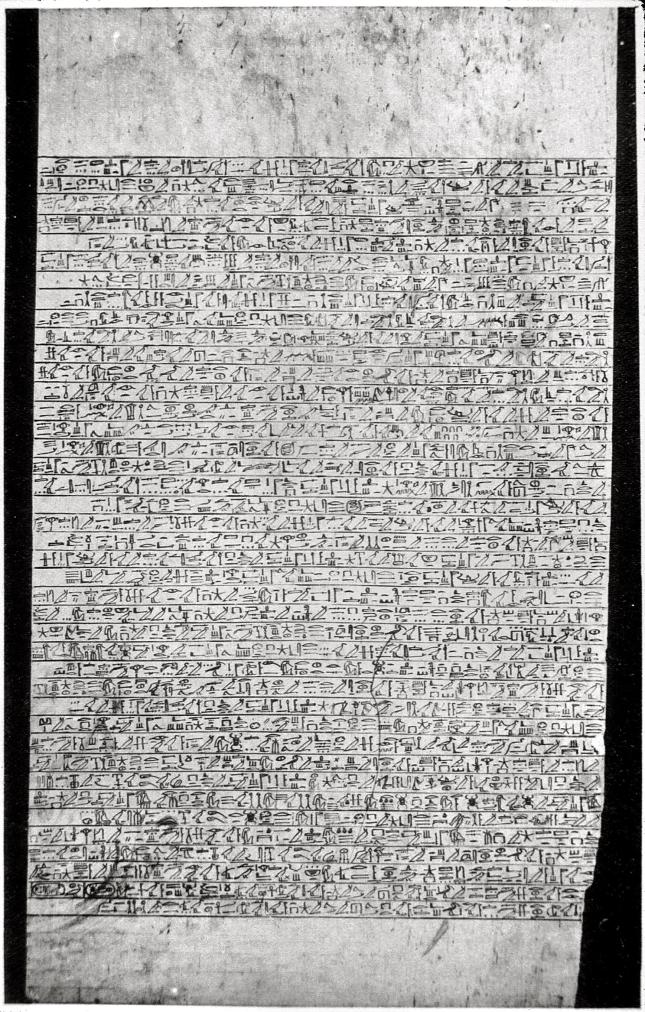
Imydwat, abridged version, second part.
View of descent F and Gate J from Burial Chamber J. Courtesy of Uni Dia Verlag; Uni Dia Image Nr. 35027.
View of Gate J and the Northwest corner of Burial Chamber J with the 4th and 7th hours of the Imydwat. Courtesy of Uni Dia Verlag; Uni Dia Image Nr. 35028.
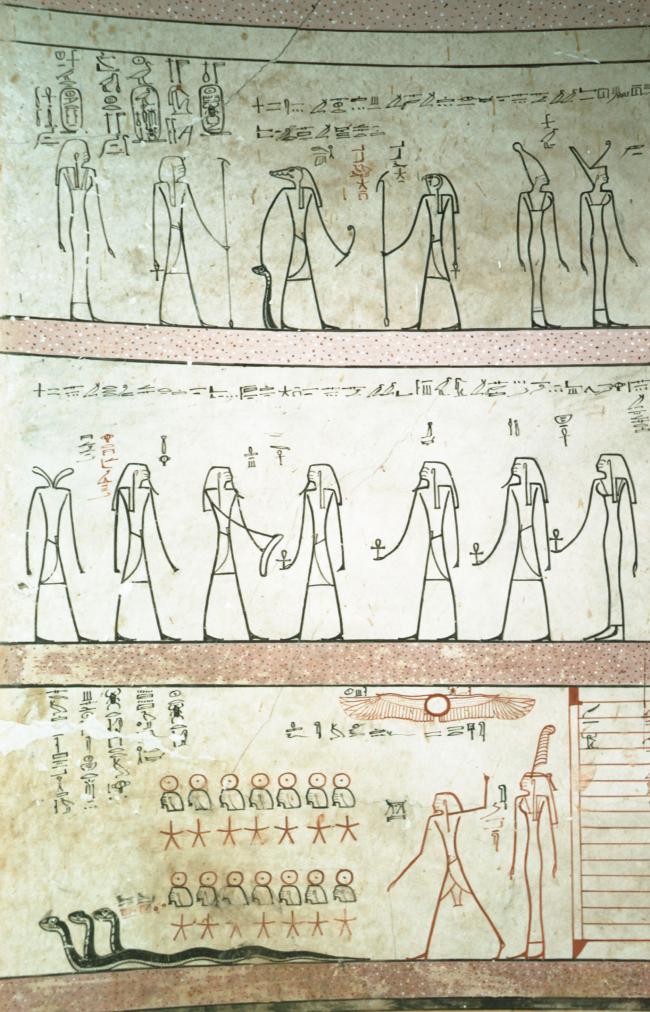
End of the 4th hour of the Imydwat. Courtesy of Uni Dia Verlag; Uni Dia Image Nr. 35029.
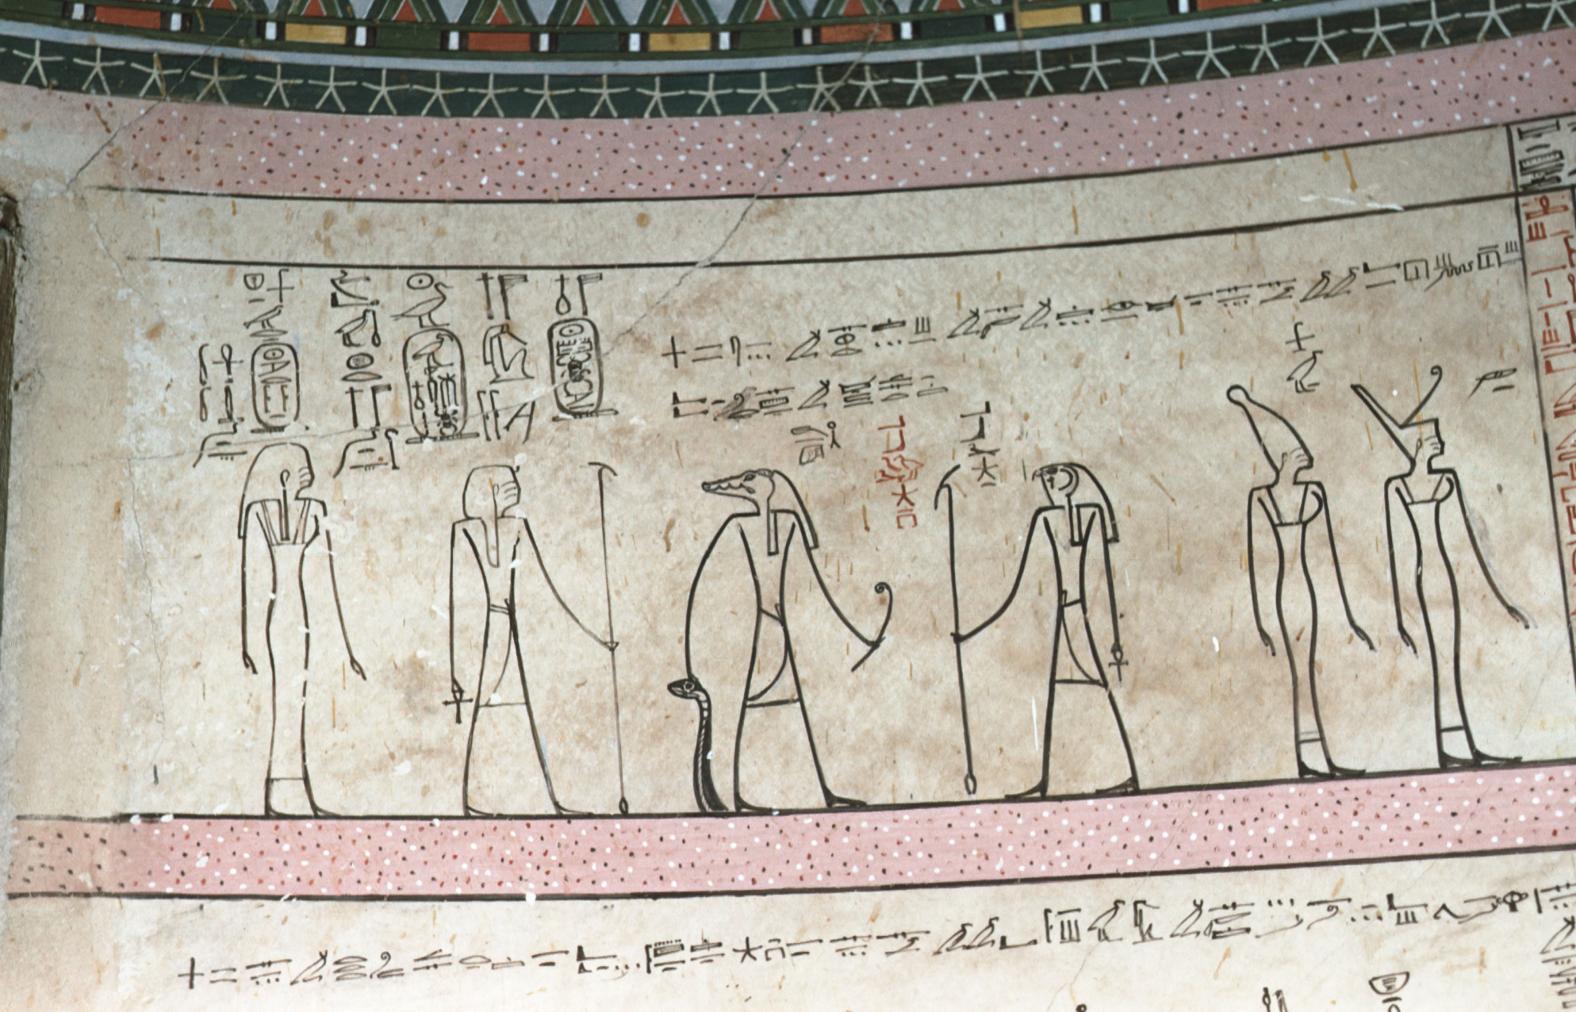
The King with his Consort and Demons, end of the 4th Hour of the Imydwat. Courtesy of Uni Dia Verlag; Uni Dia Image Nr. 35030.
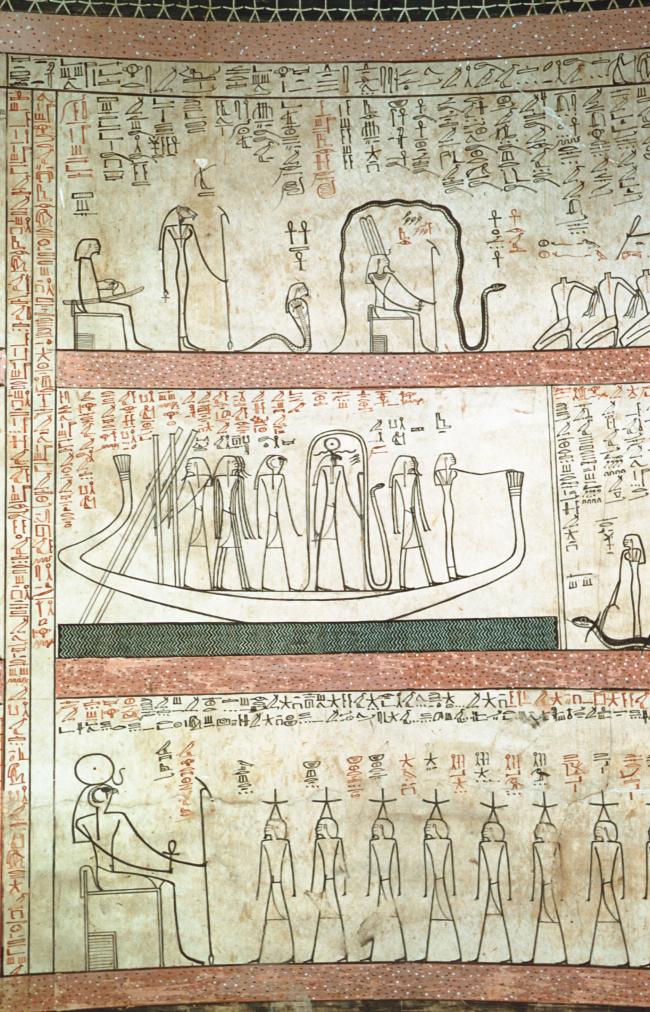
Beginning of the 7th hour of the Imydwat. Courtesy of Uni Dia Verlag; Uni Dia Image Nr. 35031.
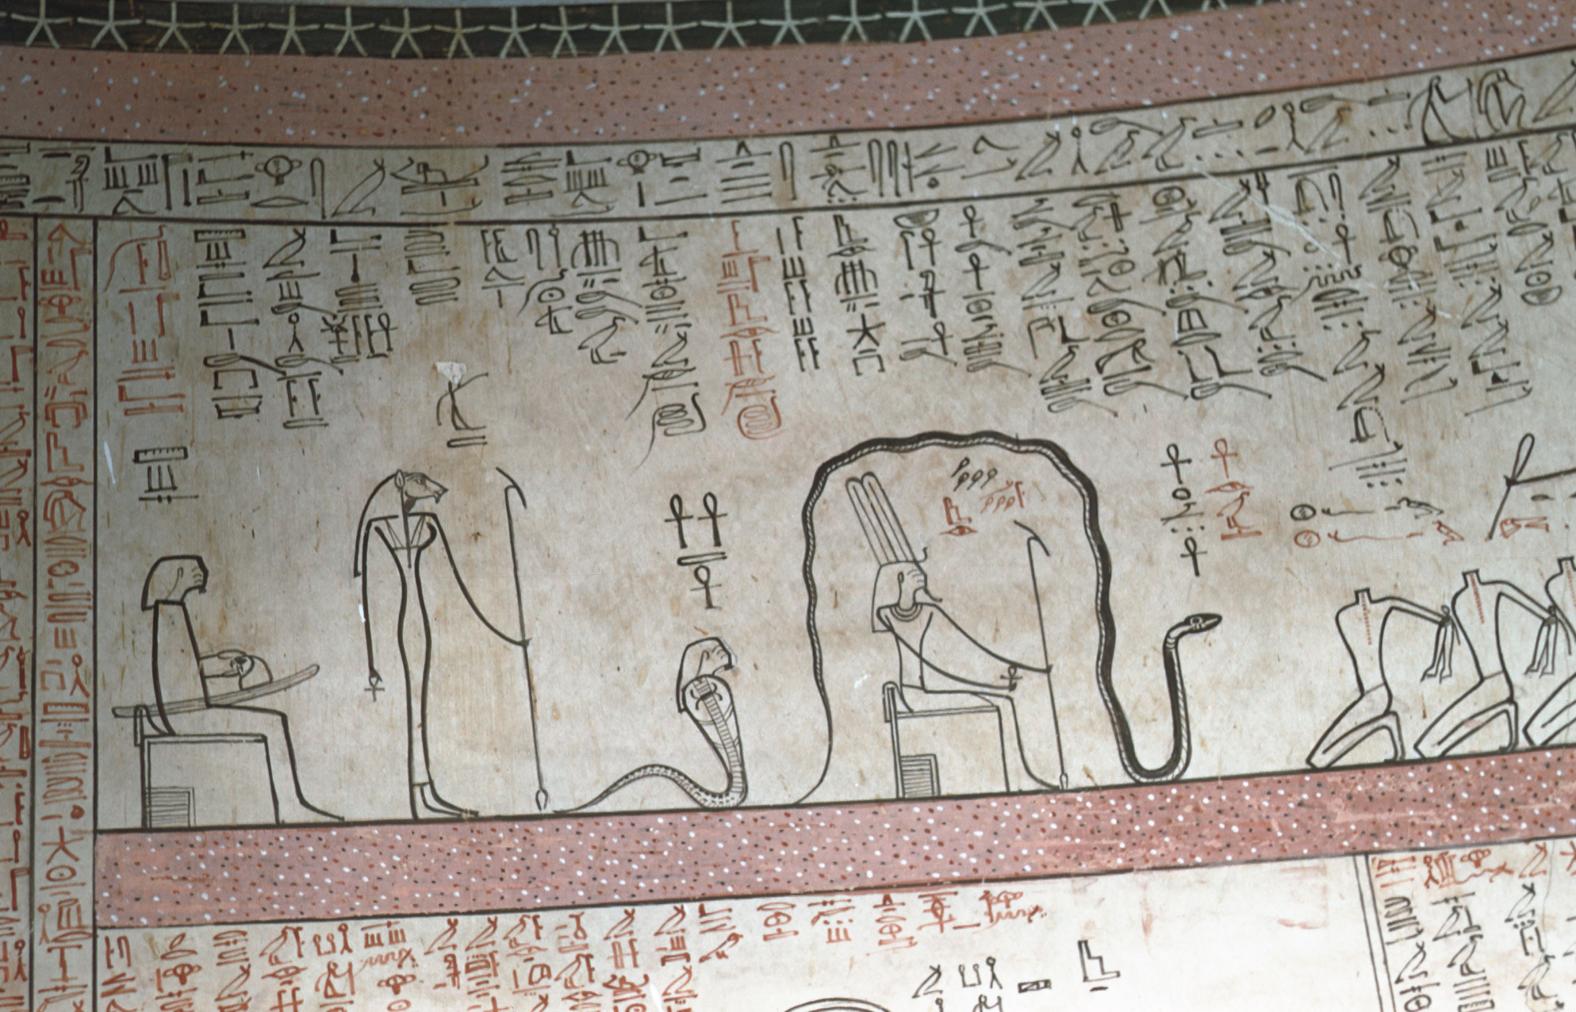
Detail of the 7th Hour of the Imydwat. Courtesy of Uni Dia Verlag; Uni Dia Image Nr. 35032.
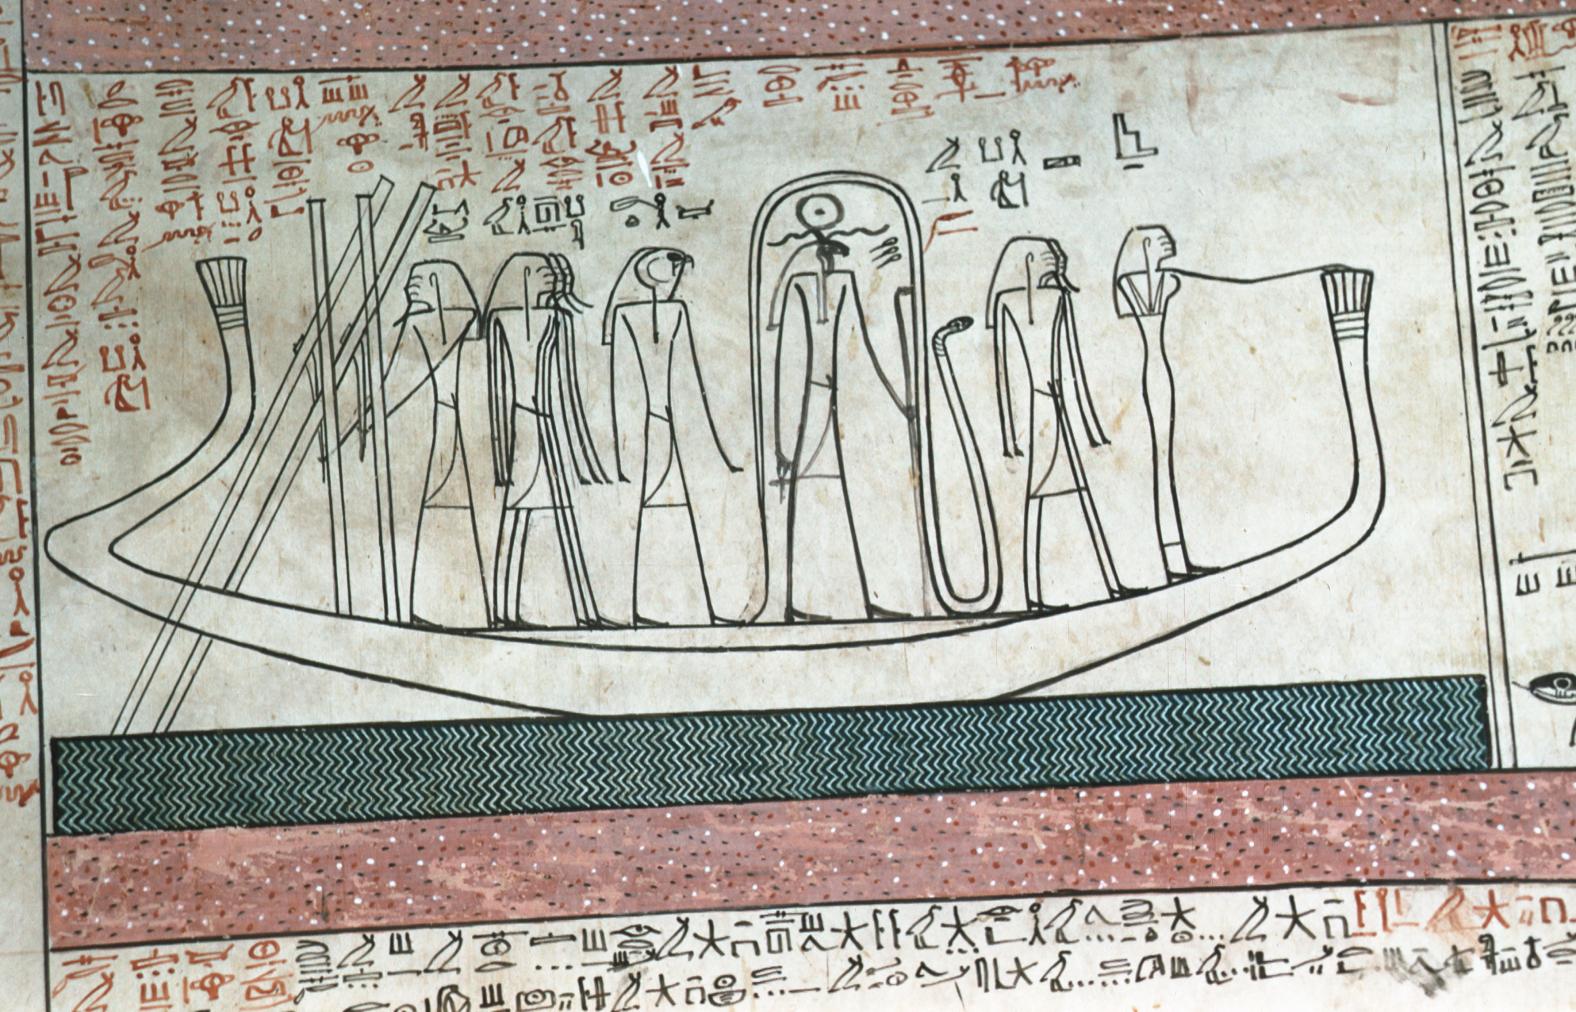
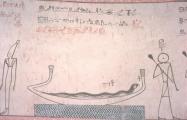
Barque of the Gods (Isis standing at the bow), detail of the 7th Hour of the Imydwat. Courtesy of Uni Dia Verlag; Uni Dia Image Nr. 35033.
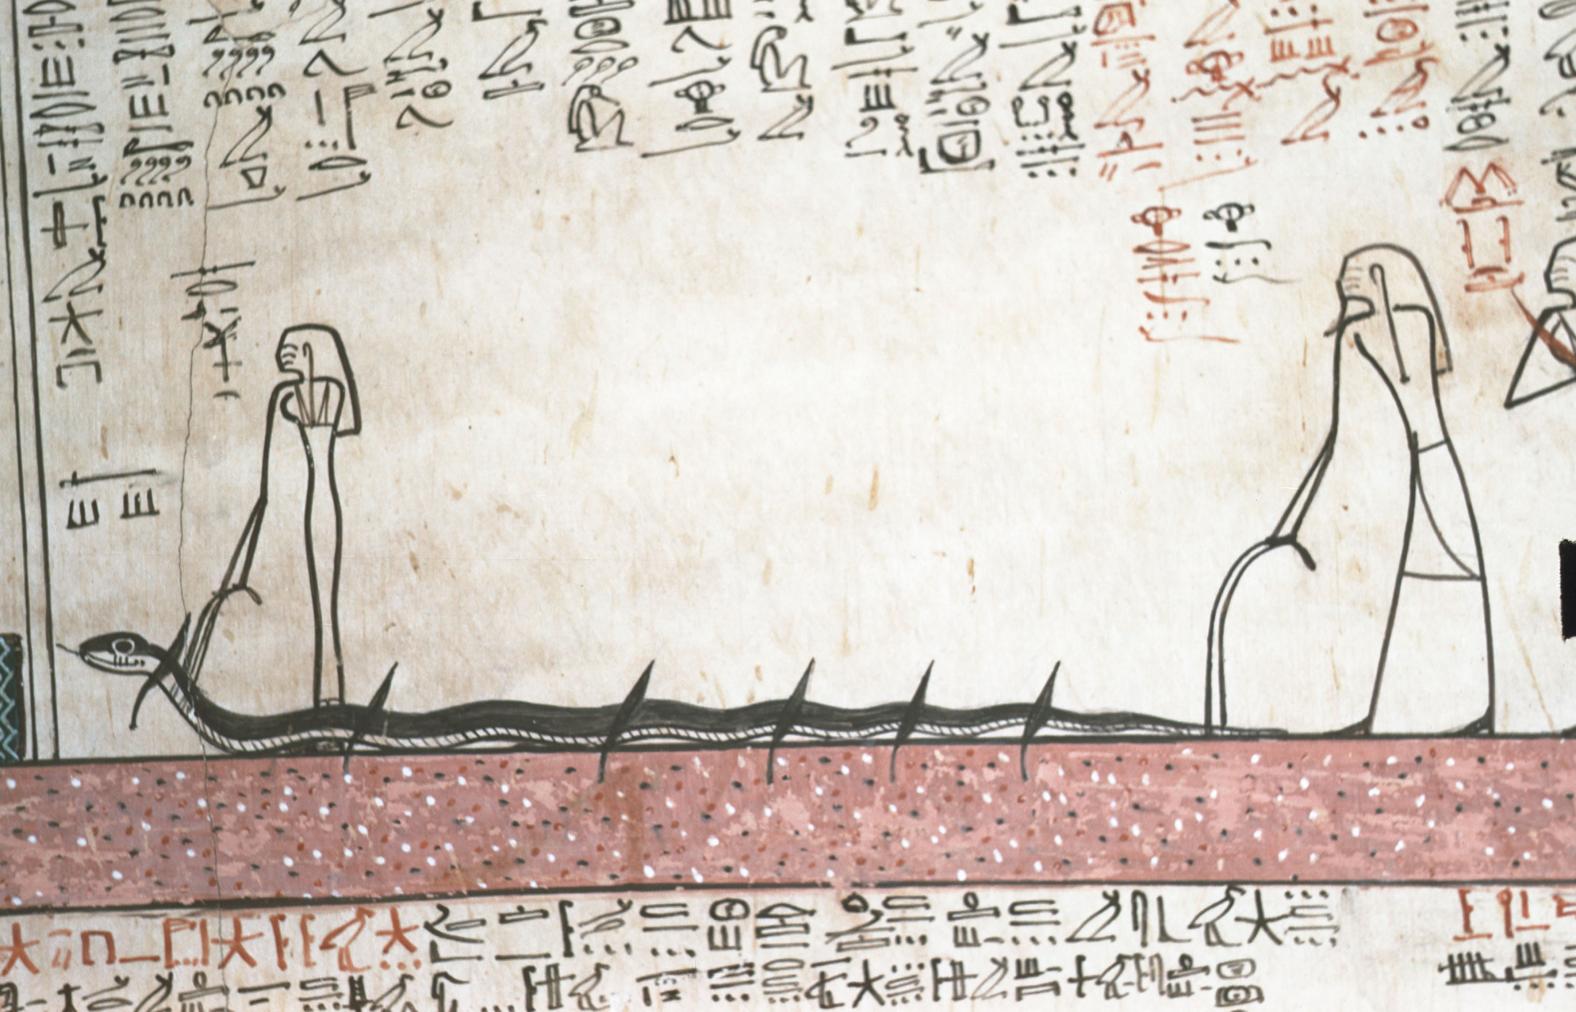
Demons and Serpent in the 7th Hour of the Imydwat. Courtesy of Uni Dia Verlag; Uni Dia Image Nr. 35034.
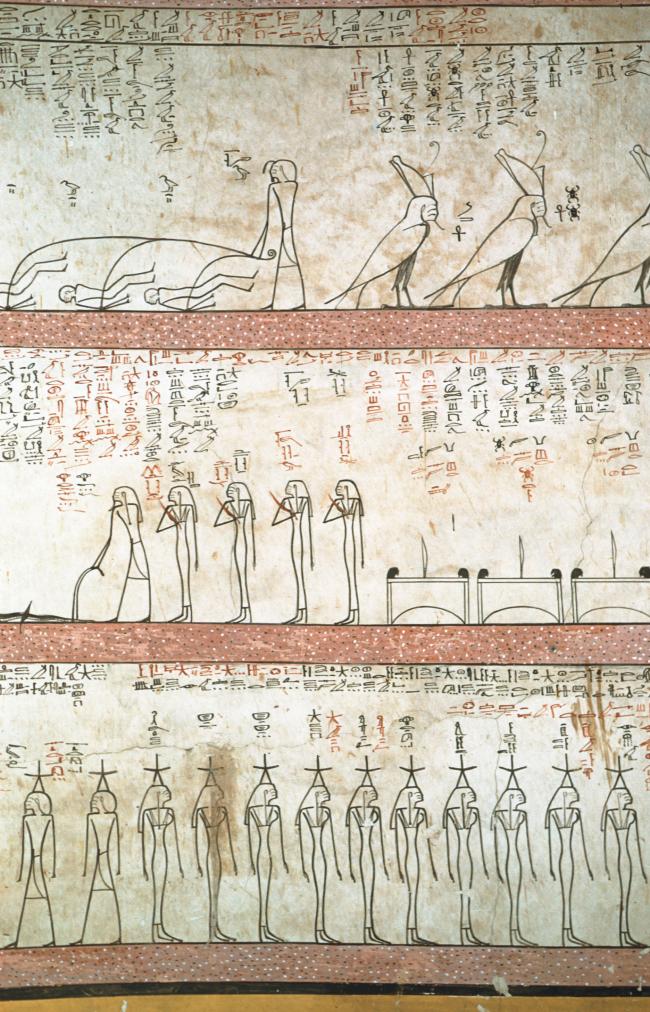
7th hour of the Imydwat. Courtesy of Uni Dia Verlag; Uni Dia Image Nr. 35035.
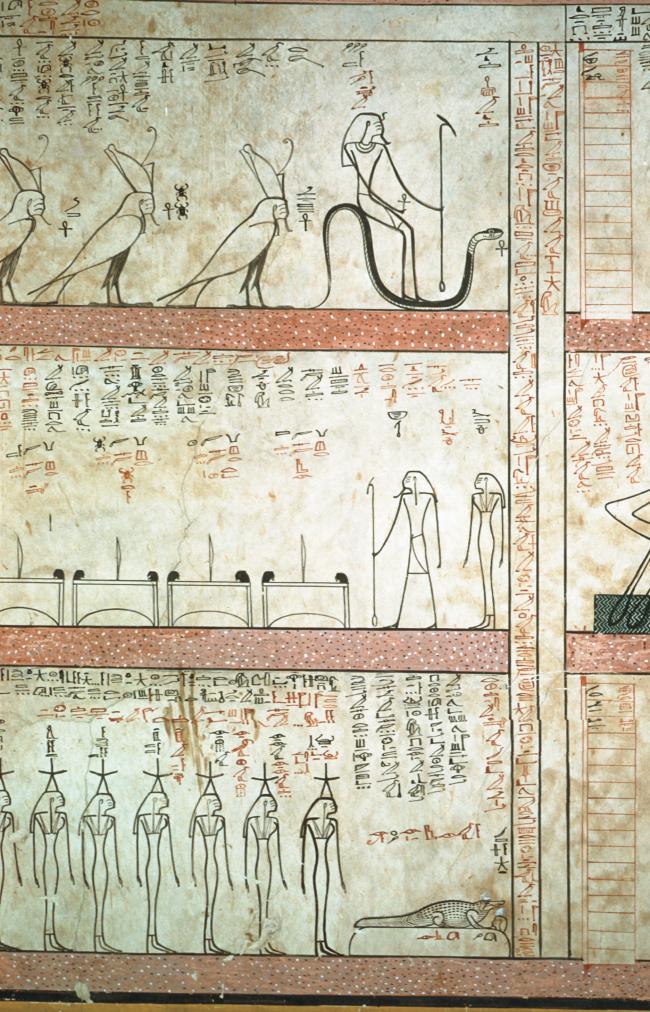
End of the 7th hour of the Imydwat. Courtesy of Uni Dia Verlag; Uni Dia Image Nr. 35036.
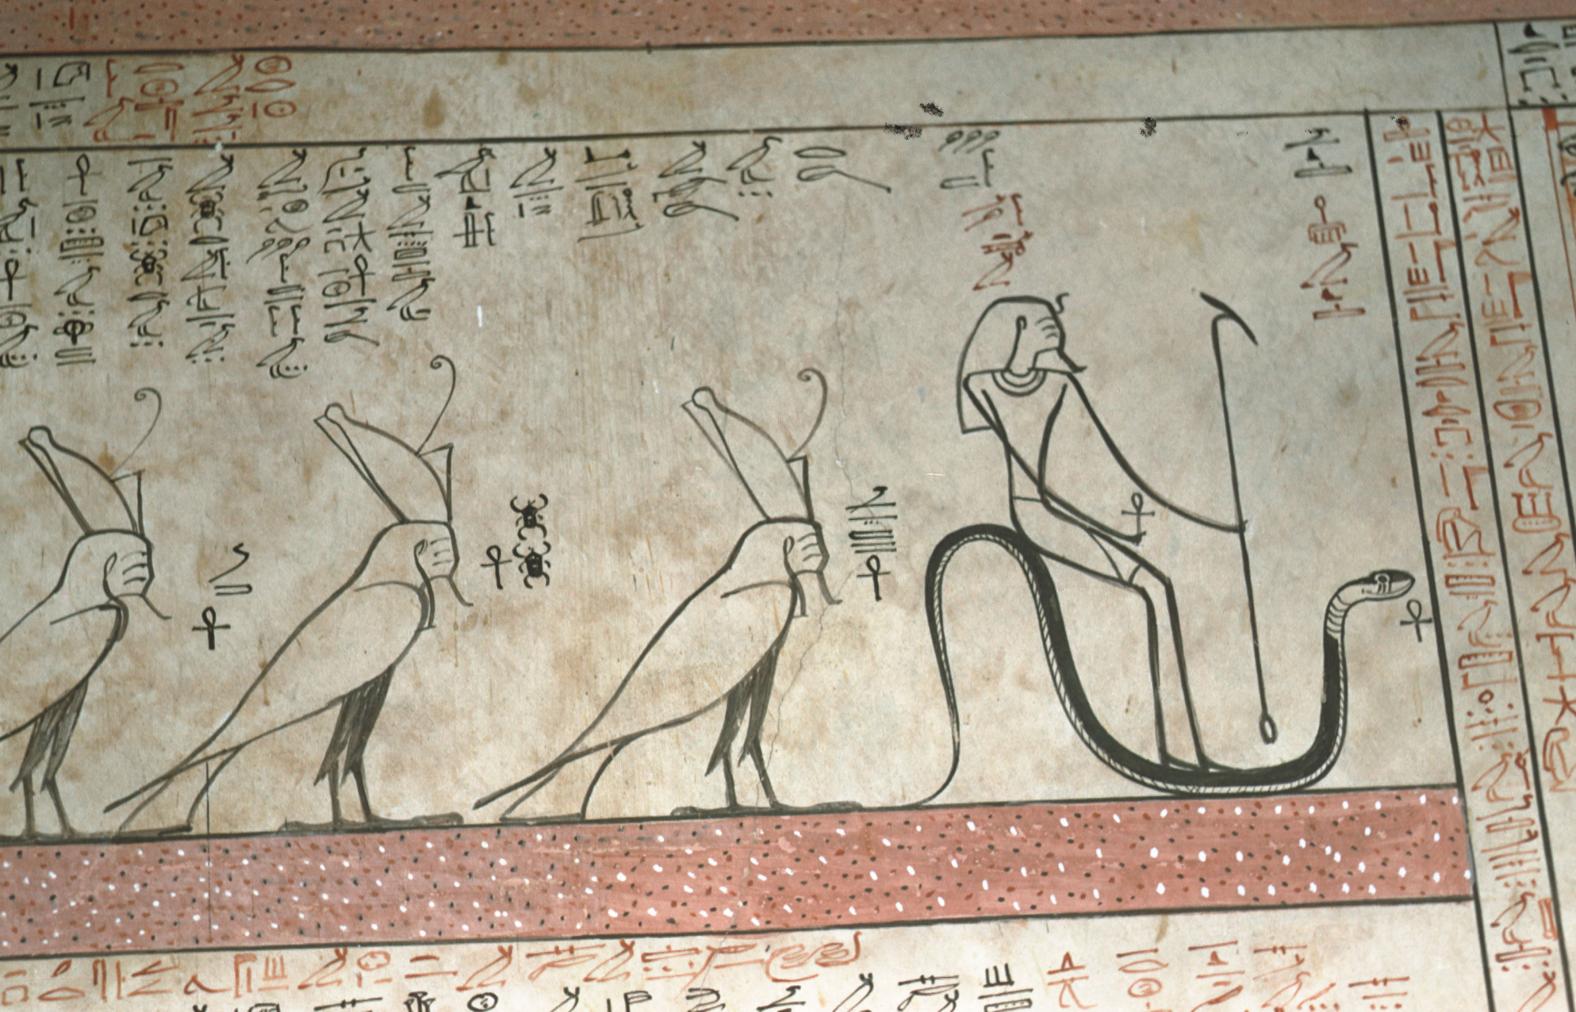
Detail from the end of the 7th hour of the Imydwat. Courtesy of Uni Dia Verlag; Uni Dia Image Nr. 35037.
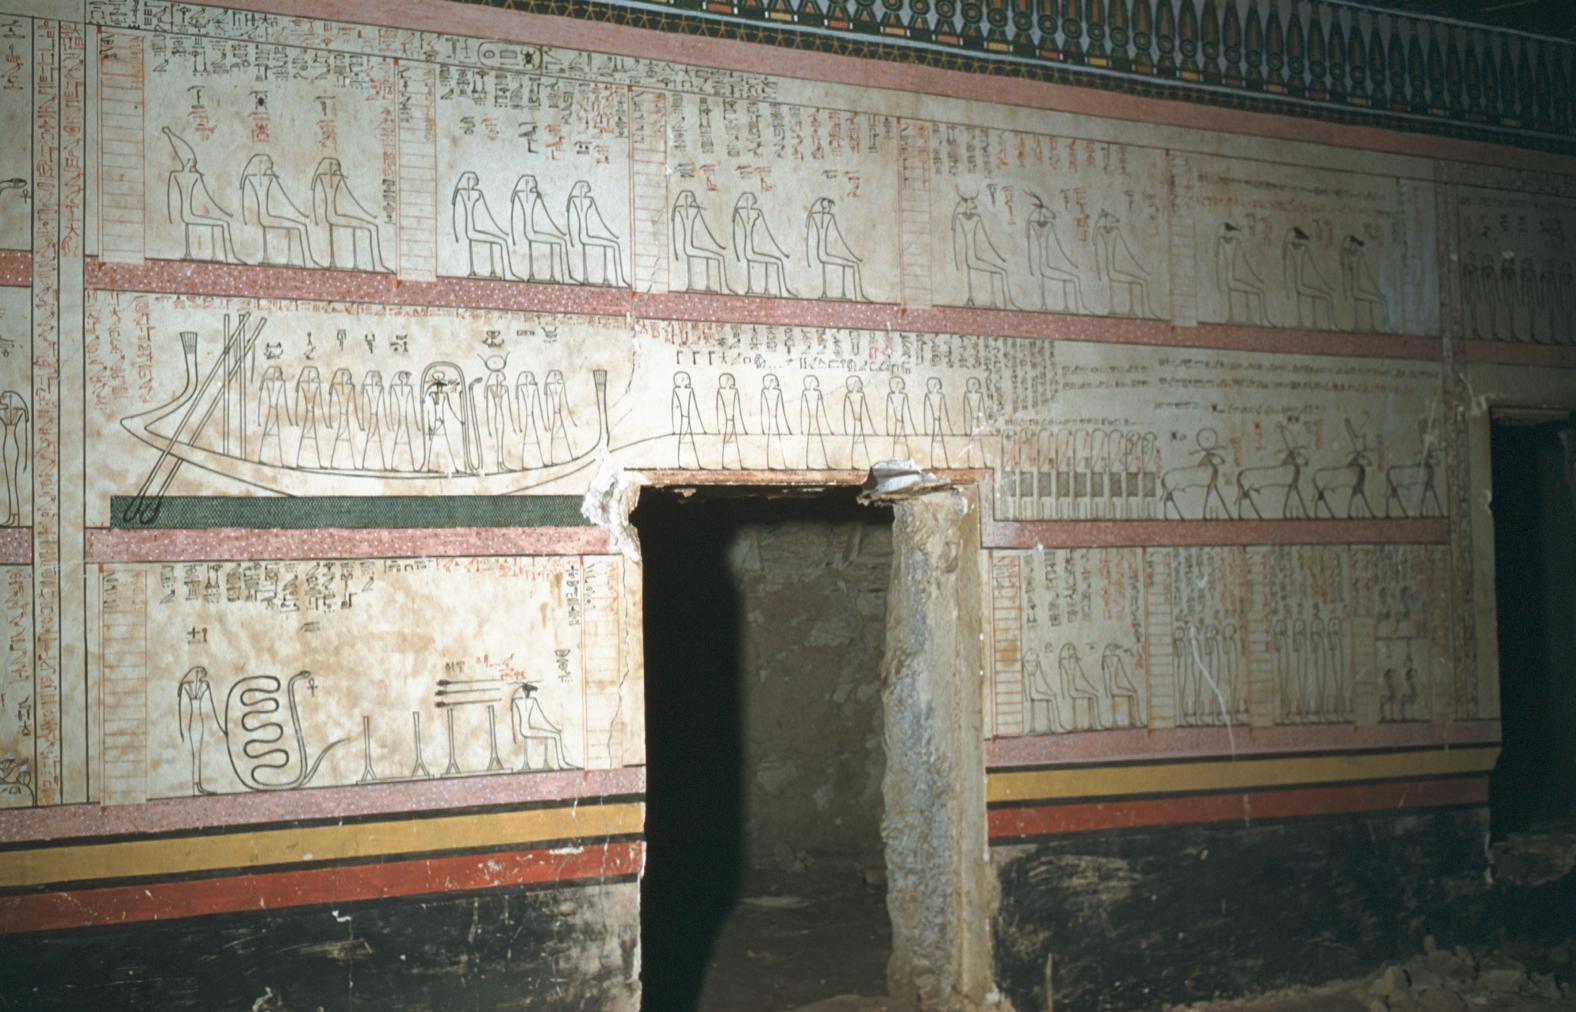
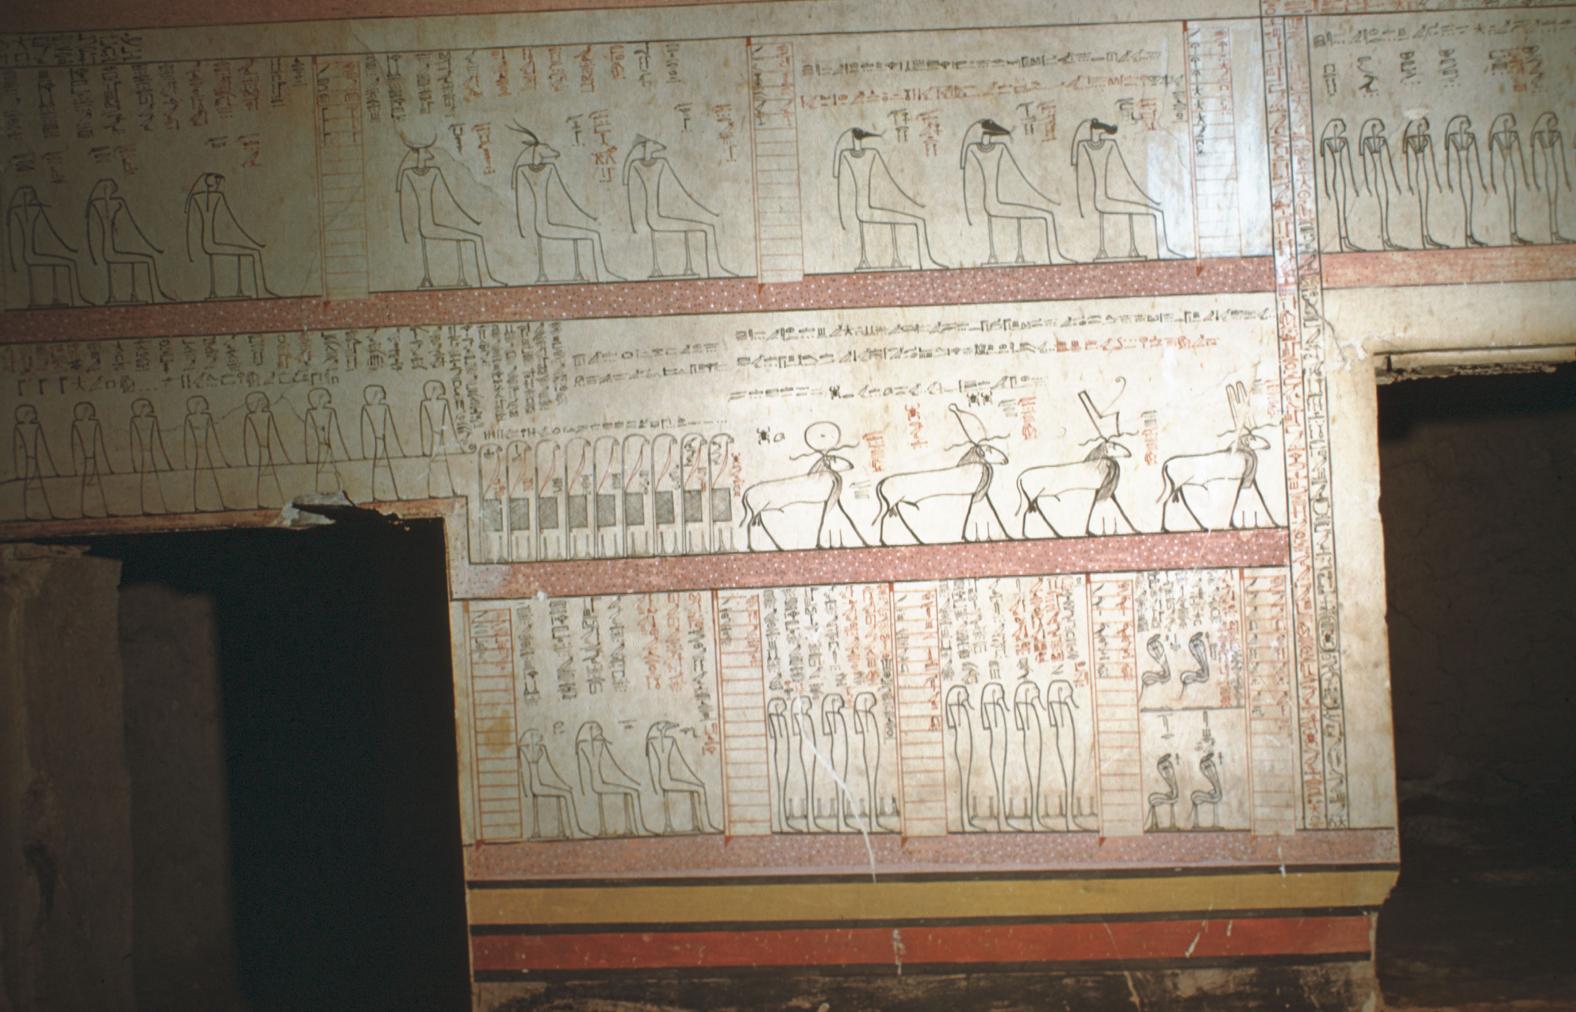
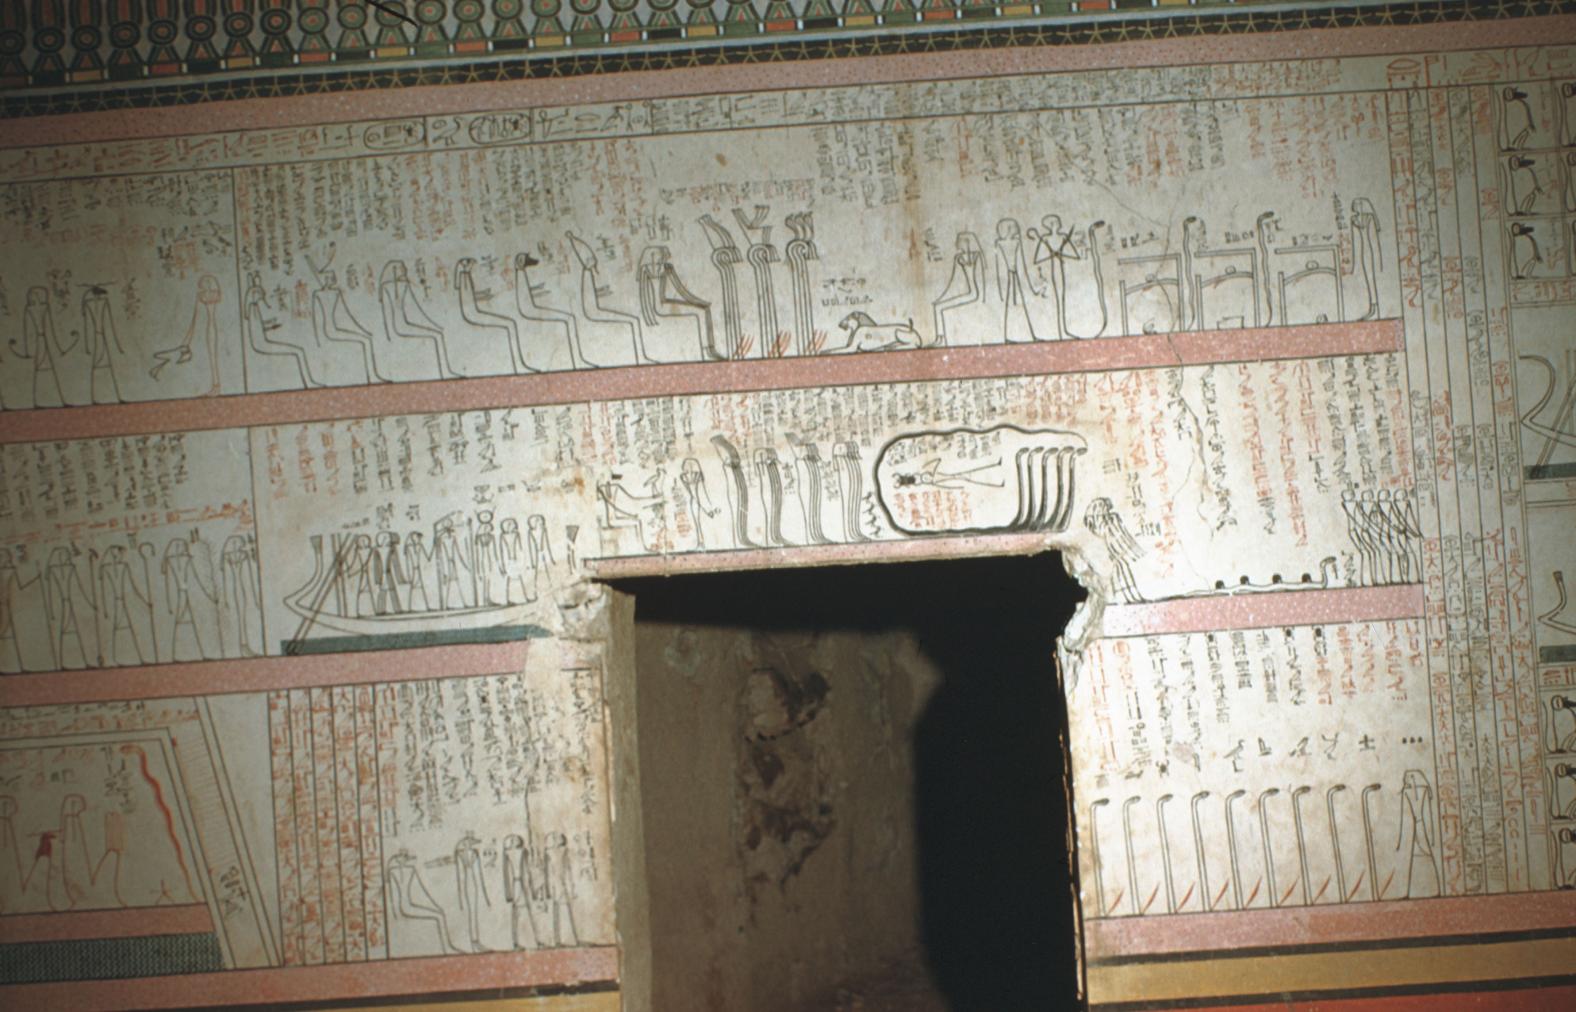
The 8th hour of the Imydwat and the entrance to side chambers Ja and Jb. Courtesy of Uni Dia Verlag; Uni Dia Image Nr. 35038.
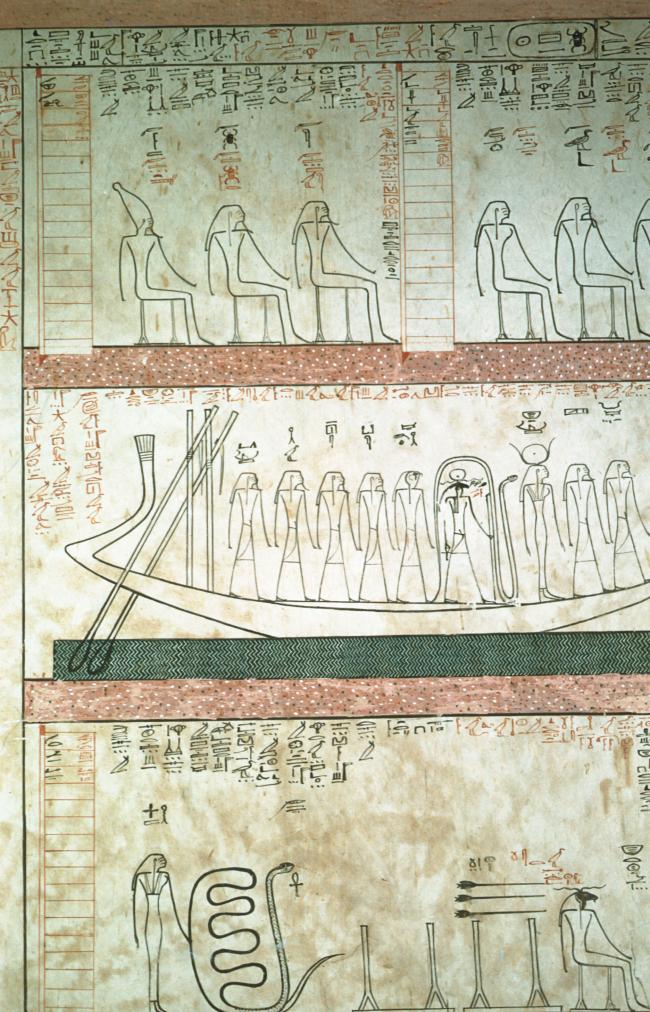
At the beginning of the 8th hour of the Imydwat. Courtesy of Uni Dia Verlag; Uni Dia Image Nr. 35039.
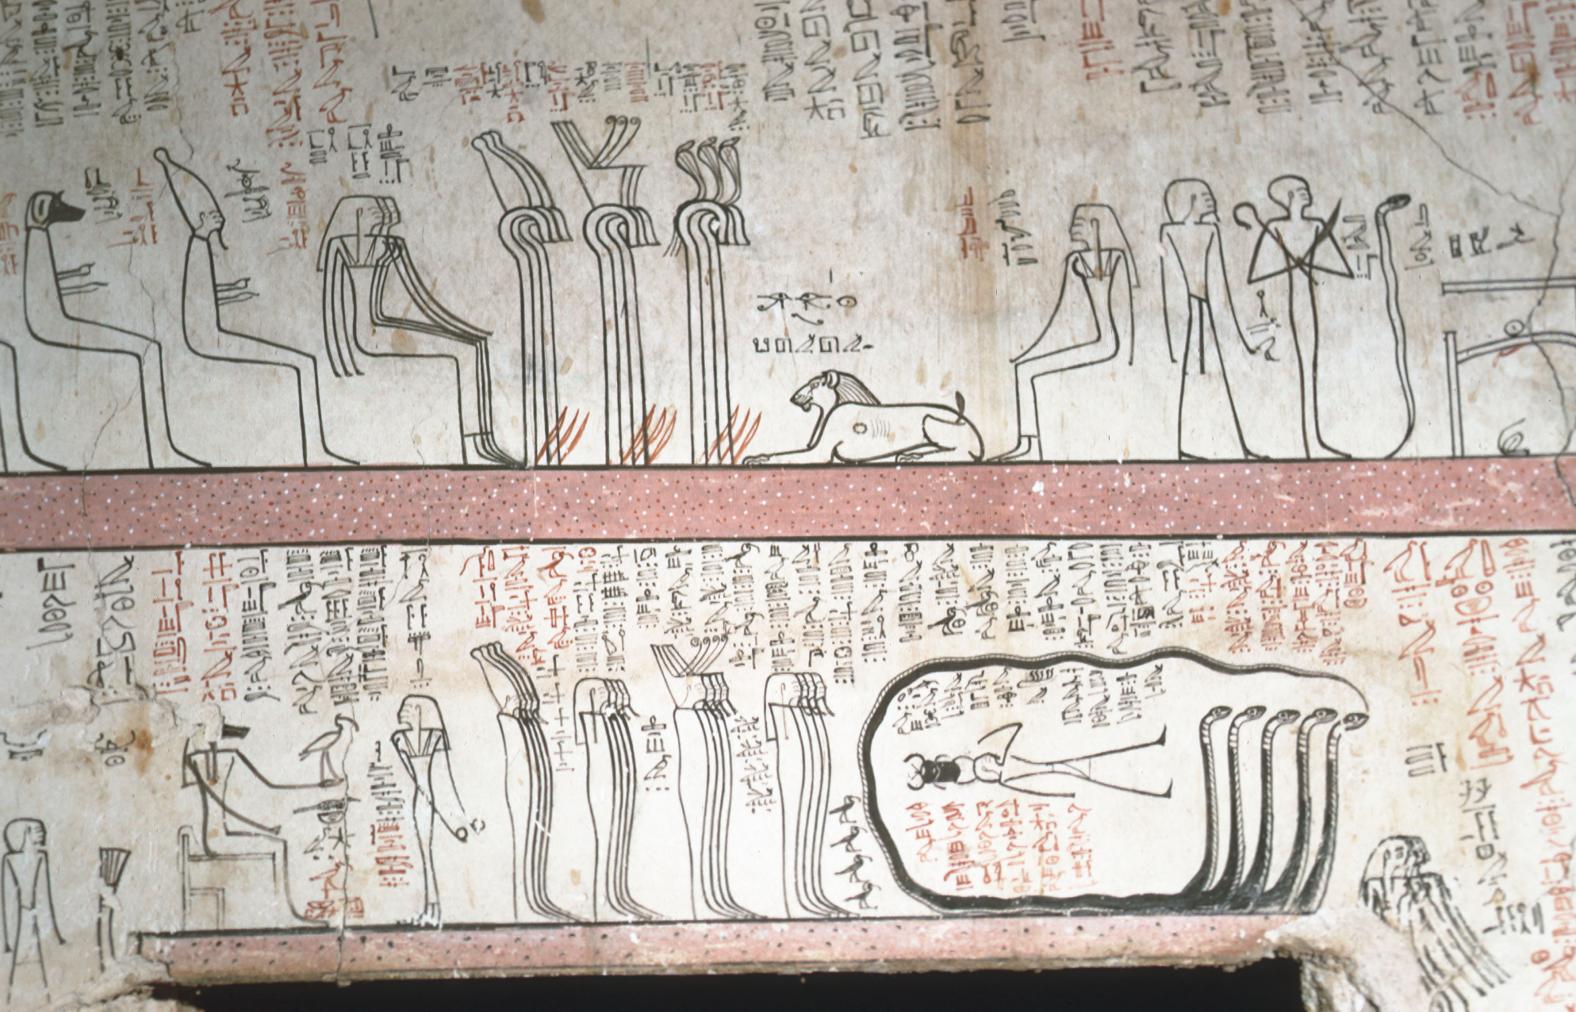
Continuation of the 8th hour of the Imydwat above the door to side chamber Ja. Courtesy of Uni Dia Verlag; Uni Dia Image Nr. 35040.
At the end of the 8th hour of the Imydwat between two side chambers Ja and Jb. Courtesy of Uni Dia Verlag; Uni Dia Image Nr. 35041.
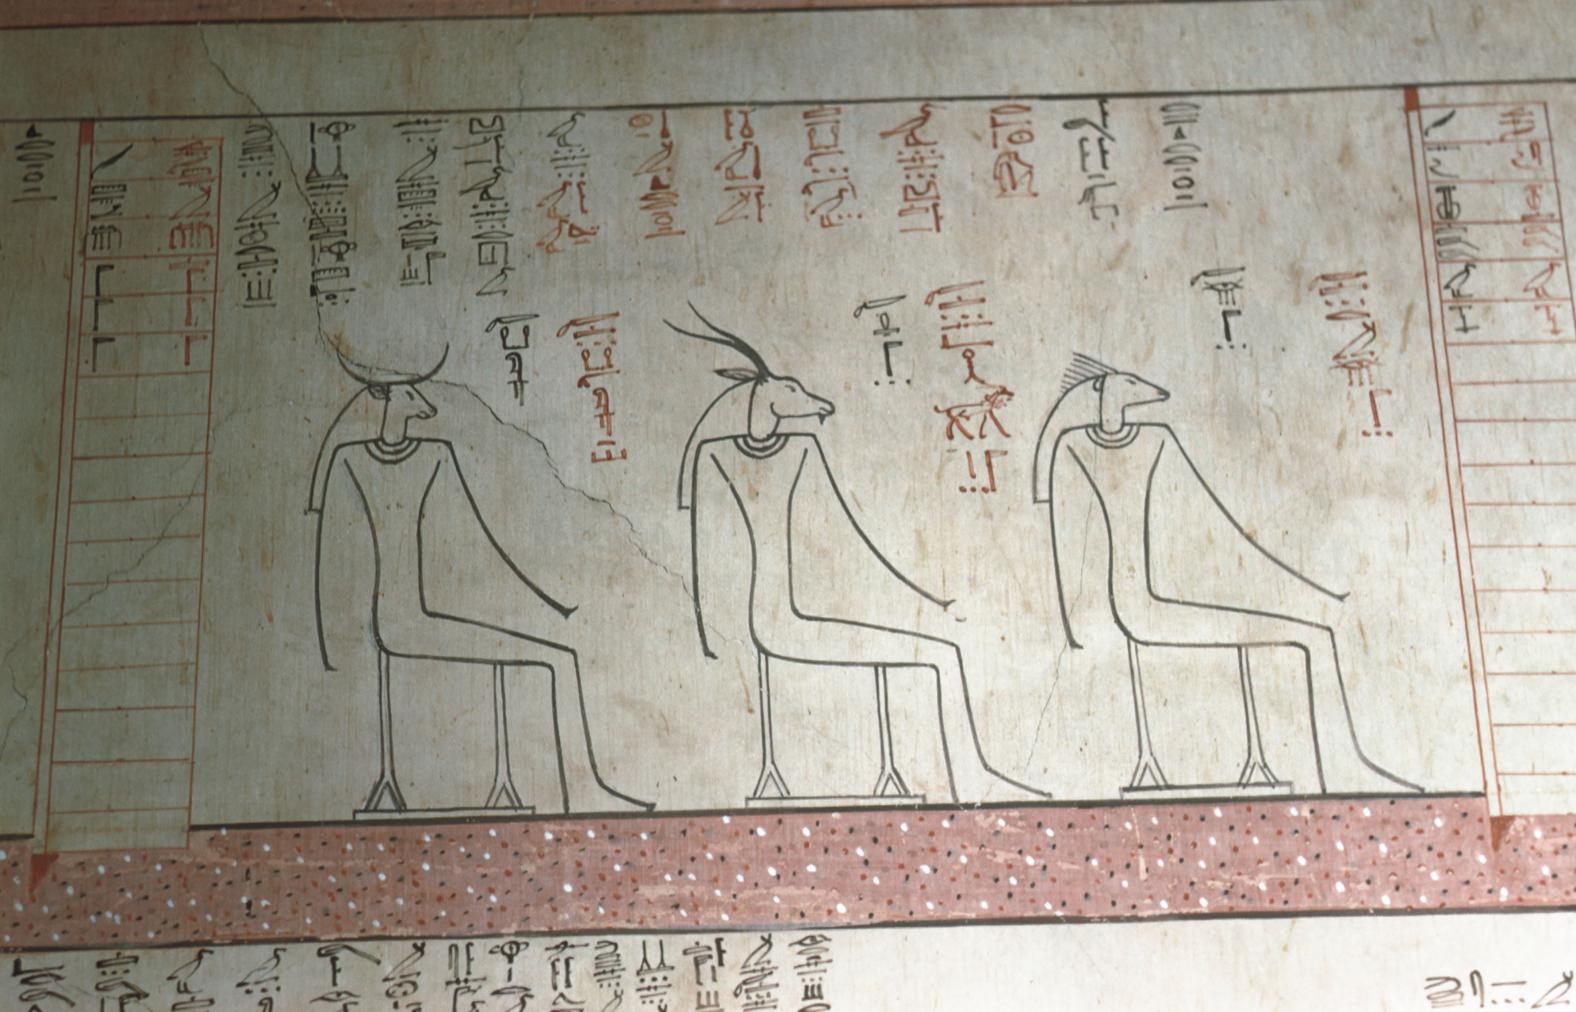
Demons in 8th Hour of the Imydwat. Courtesy of Uni Dia Verlag; Uni Dia Image Nr. 35042.
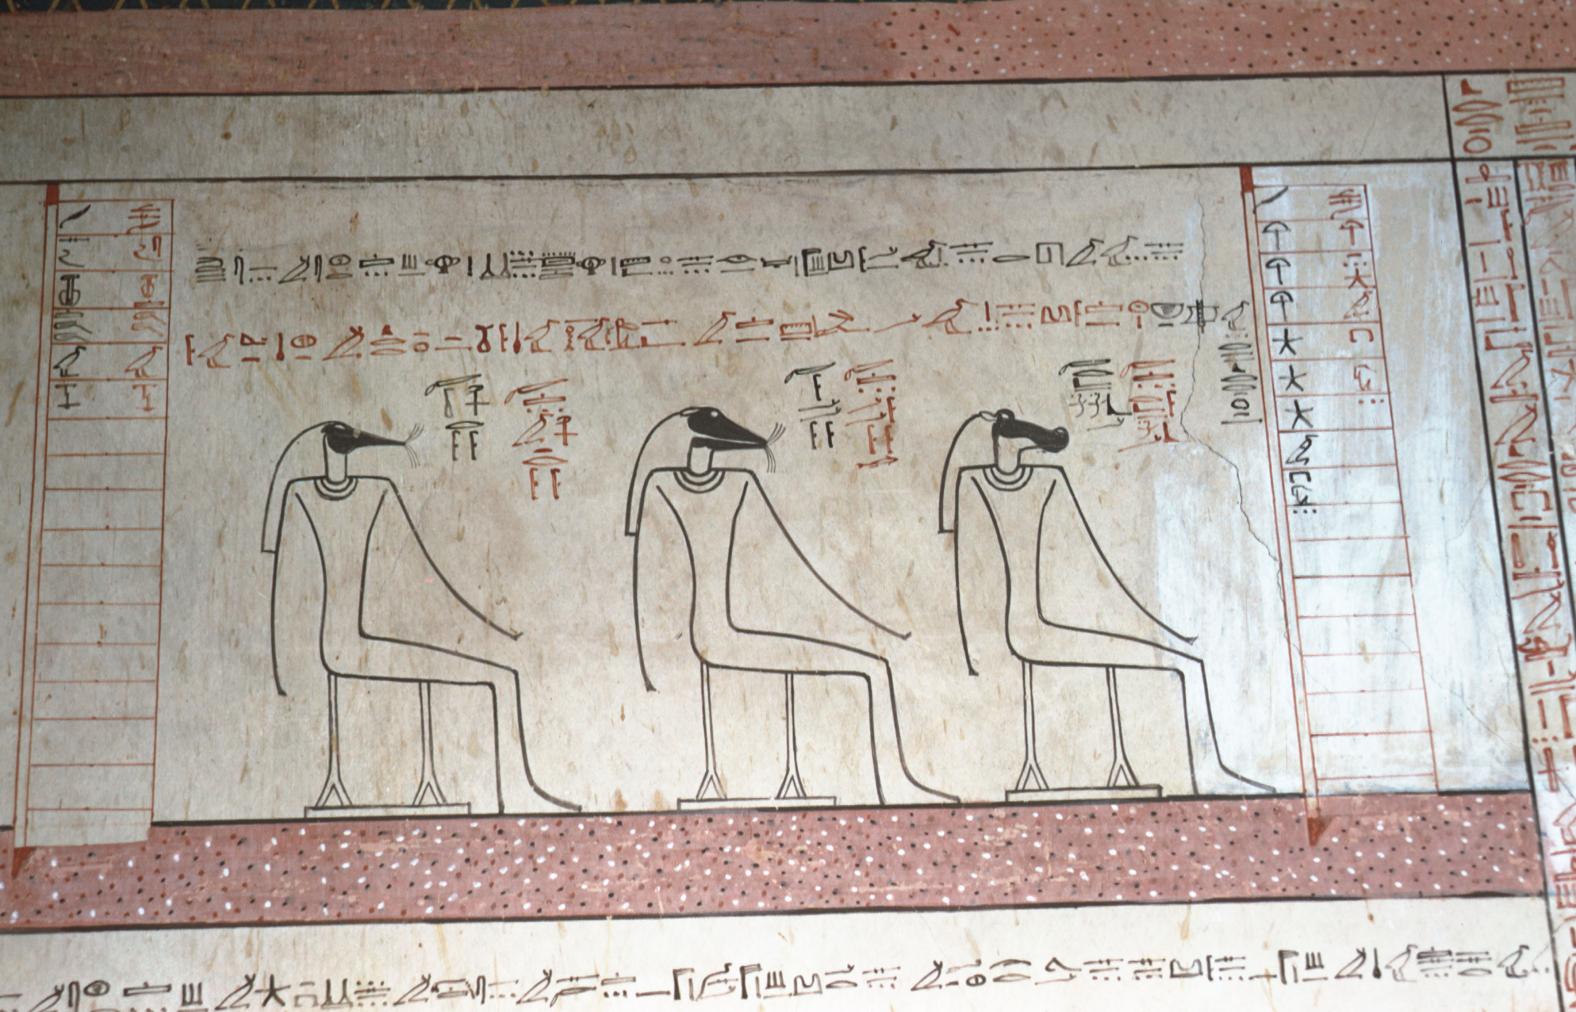
Demons in 8th Hour of the Imydwat. Courtesy of Uni Dia Verlag; Uni Dia Image Nr. 35043.
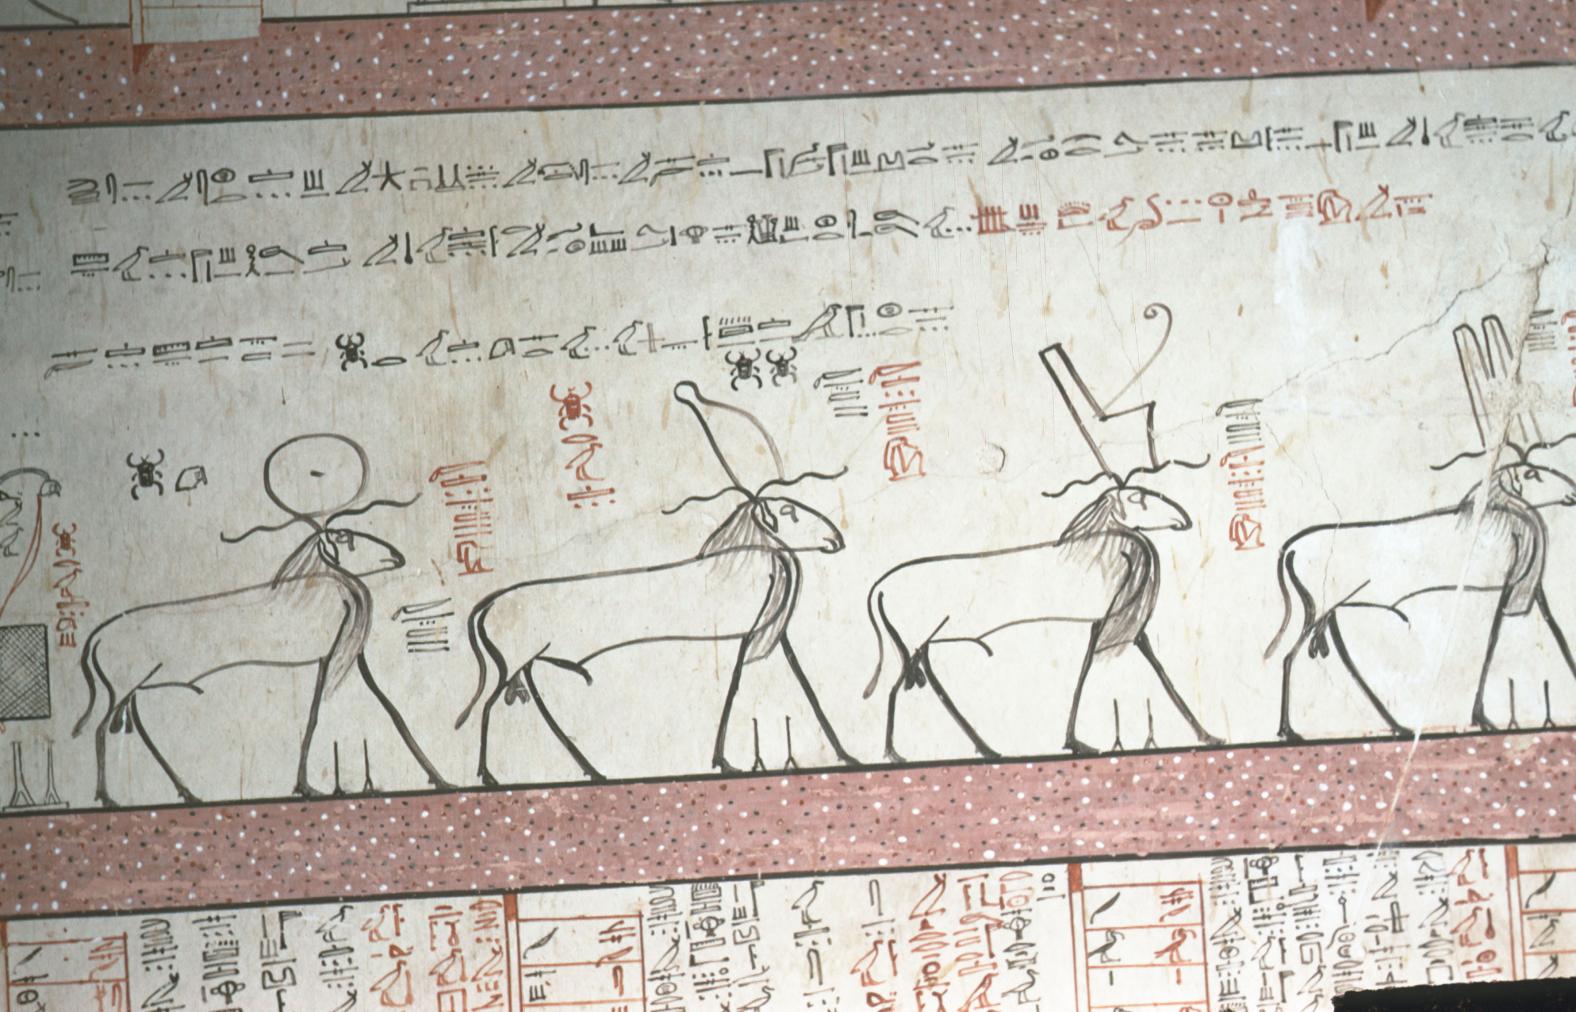
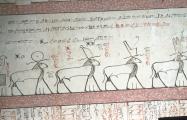
Crowned Rams in the 8th Hour of the Imydwat. Courtesy of Uni Dia Verlag; Uni Dia Image Nr. 35044.
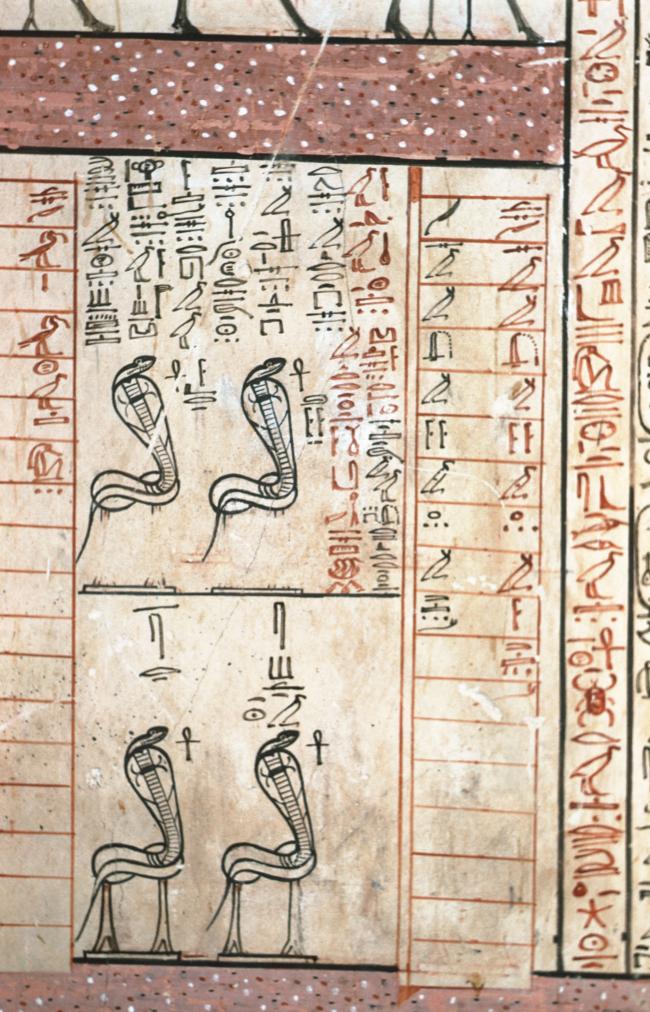
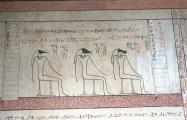
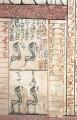
Four Cobras in the 8th Hour of the Imydwat. Courtesy of Uni Dia Verlag; Uni Dia Image Nr. 35045.
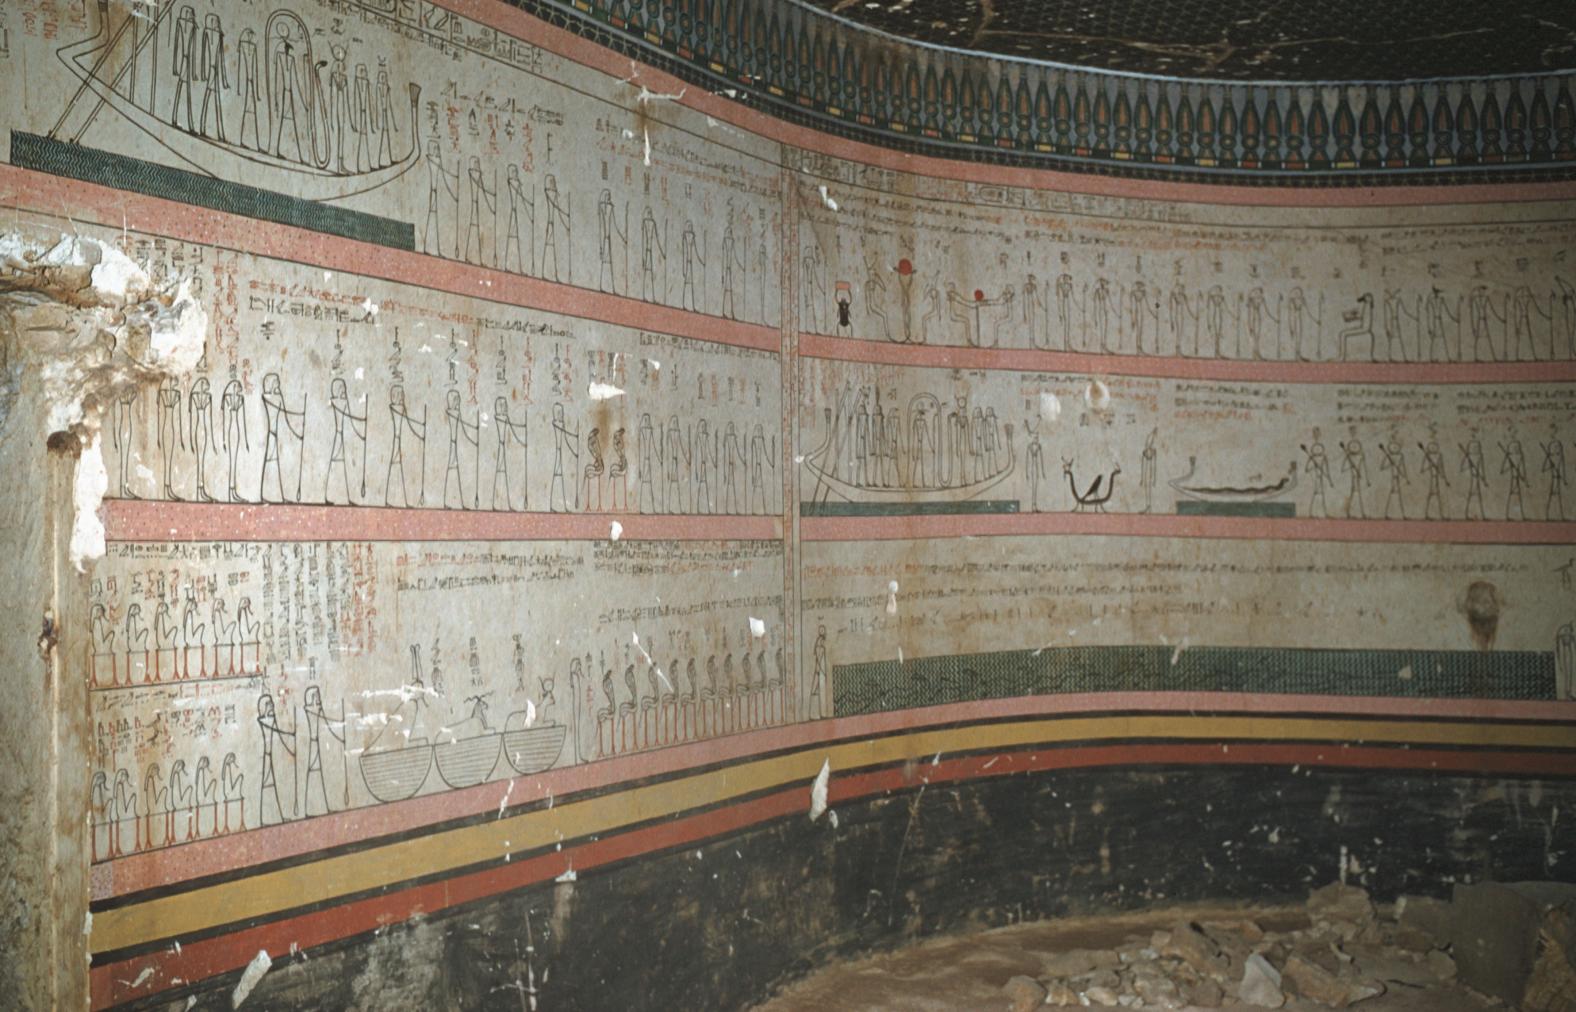
Northeast corner of the burial chamber with 9th and 10th hours of the Imydwat. Corner of Gate Jb visible on the left hand side. Courtesy of Uni Dia Verlag; Uni Dia Image Nr. 35046.
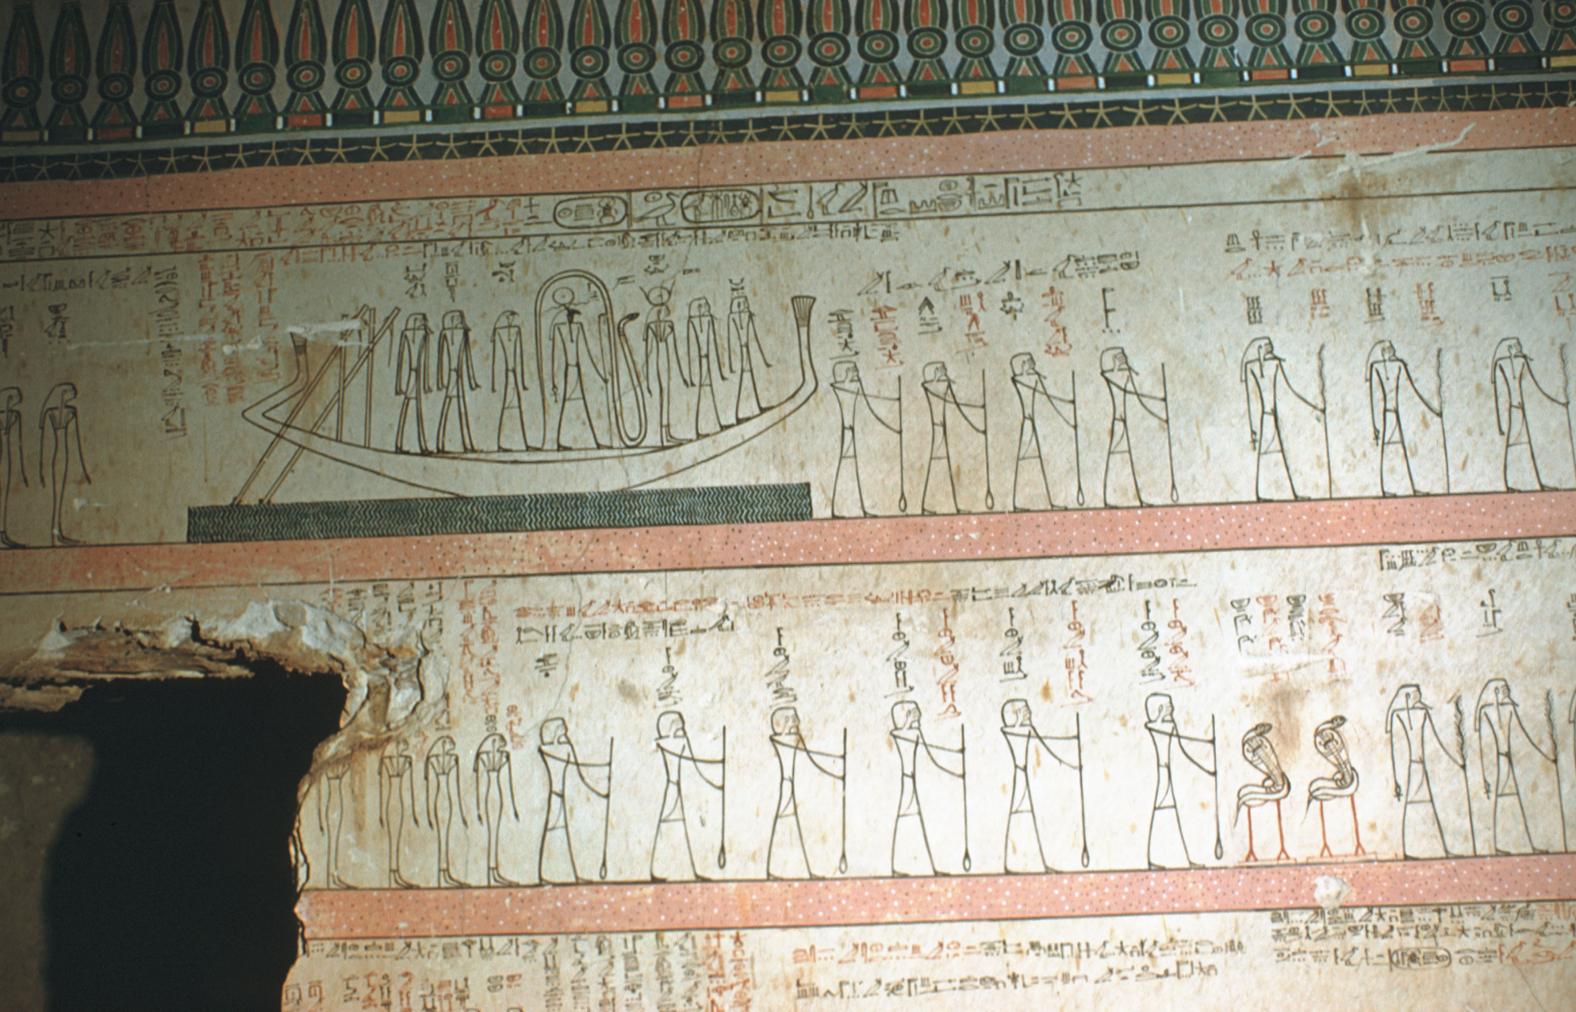
Solar Bark in the 9th hour of the Imydwat and top right corner of Gate Jb. Courtesy of Uni Dia Verlag; Uni Dia Image Nr. 35047.
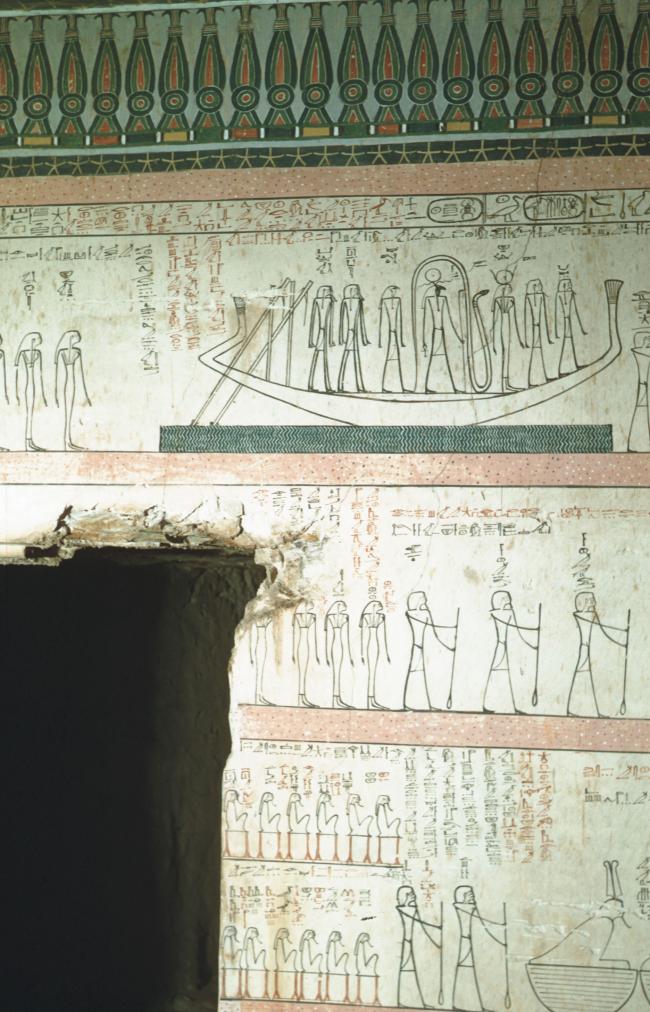
9th Hour of the Imydwat and corner of gate Jb. Courtesy of Uni Dia Verlag; Uni Dia Image Nr. 35048.
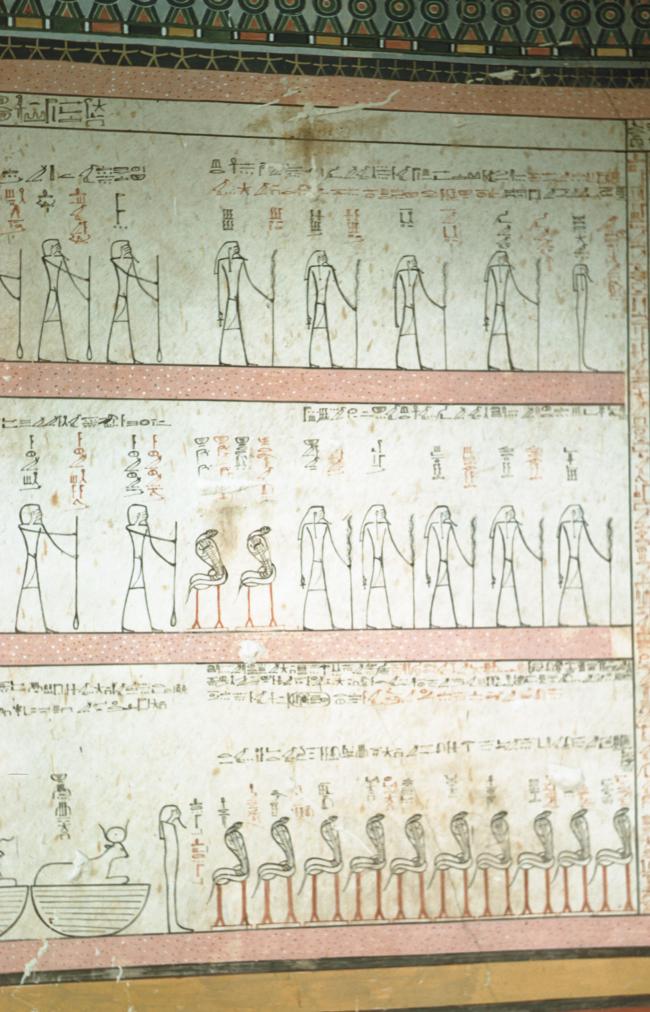
At the end of the 9th hour of the Imydwat. Courtesy of Uni Dia Verlag; Uni Dia Image Nr. 35049.
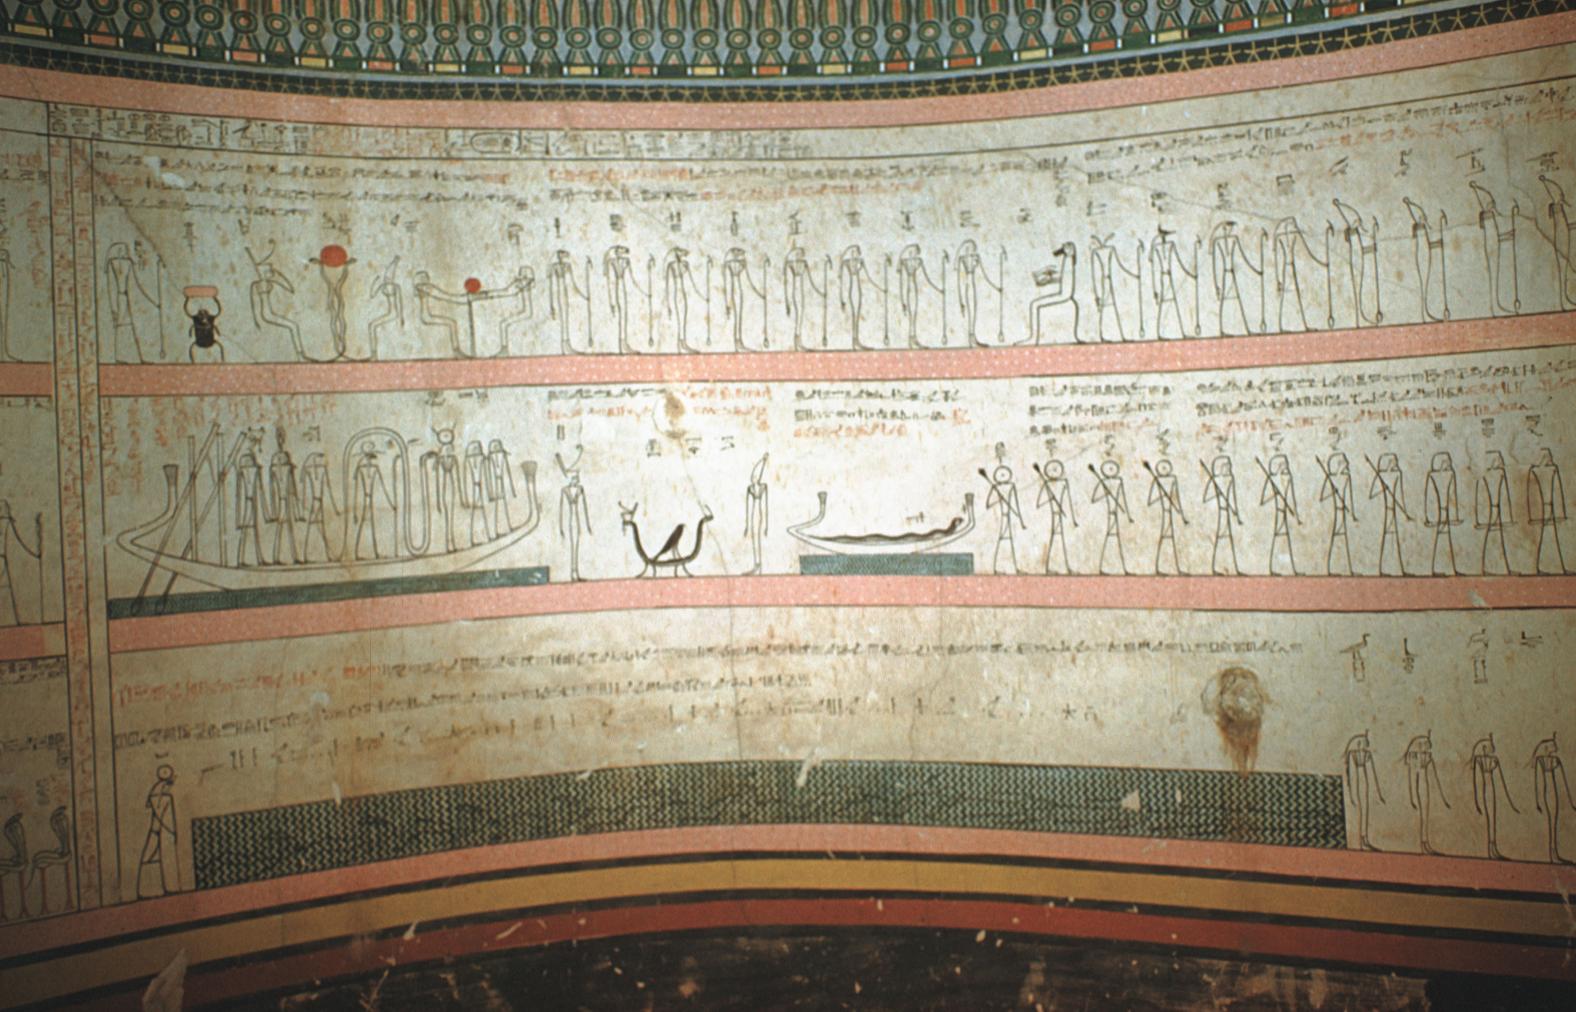
10th hour of the Imydwat in the northeast corner of the burial chamber. Courtesy of Uni Dia Verlag; Uni Dia Image Nr. 35050.
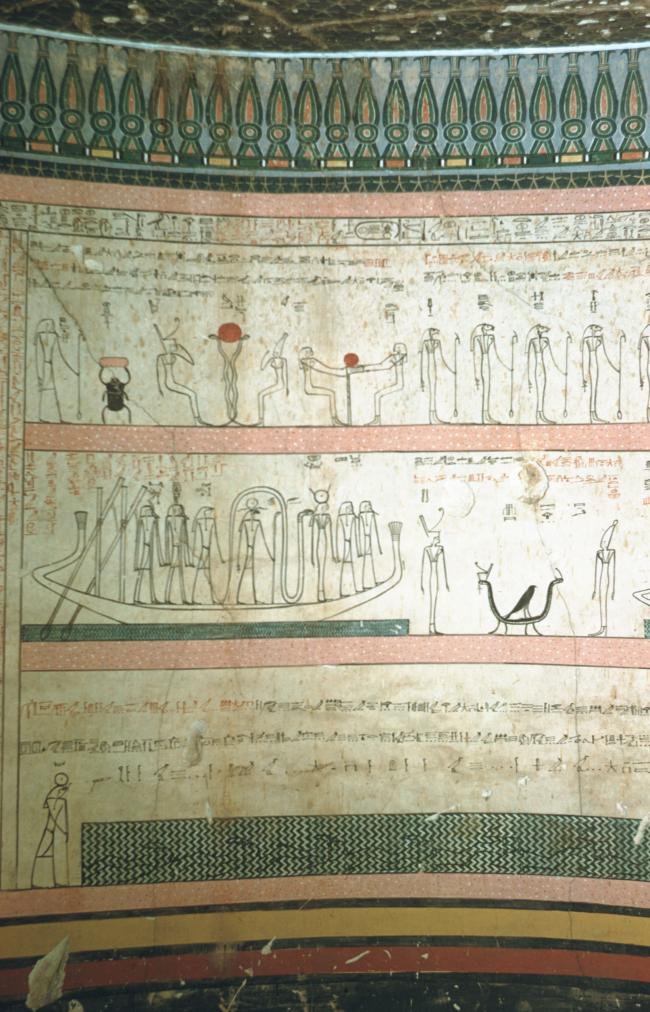
10th Hour of the Imydwat. Courtesy of Uni Dia Verlag; Uni Dia Image Nr. 35051.
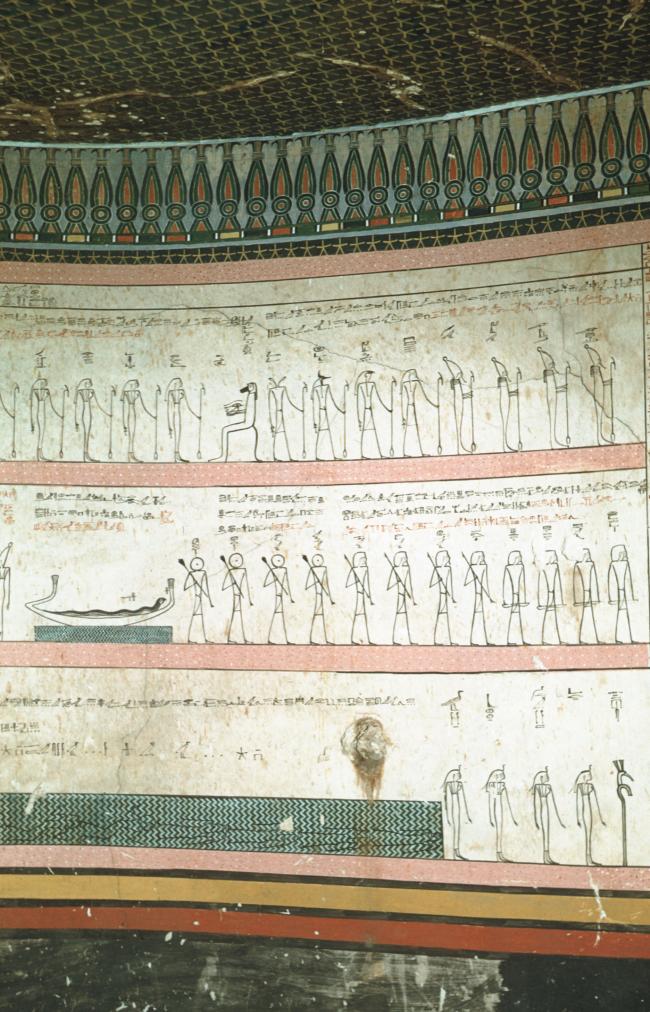
Gods, demons, and bark with snake in 10th Hour of the Imydwat. Courtesy of Uni Dia Verlag; Uni Dia Image Nr. 35052.
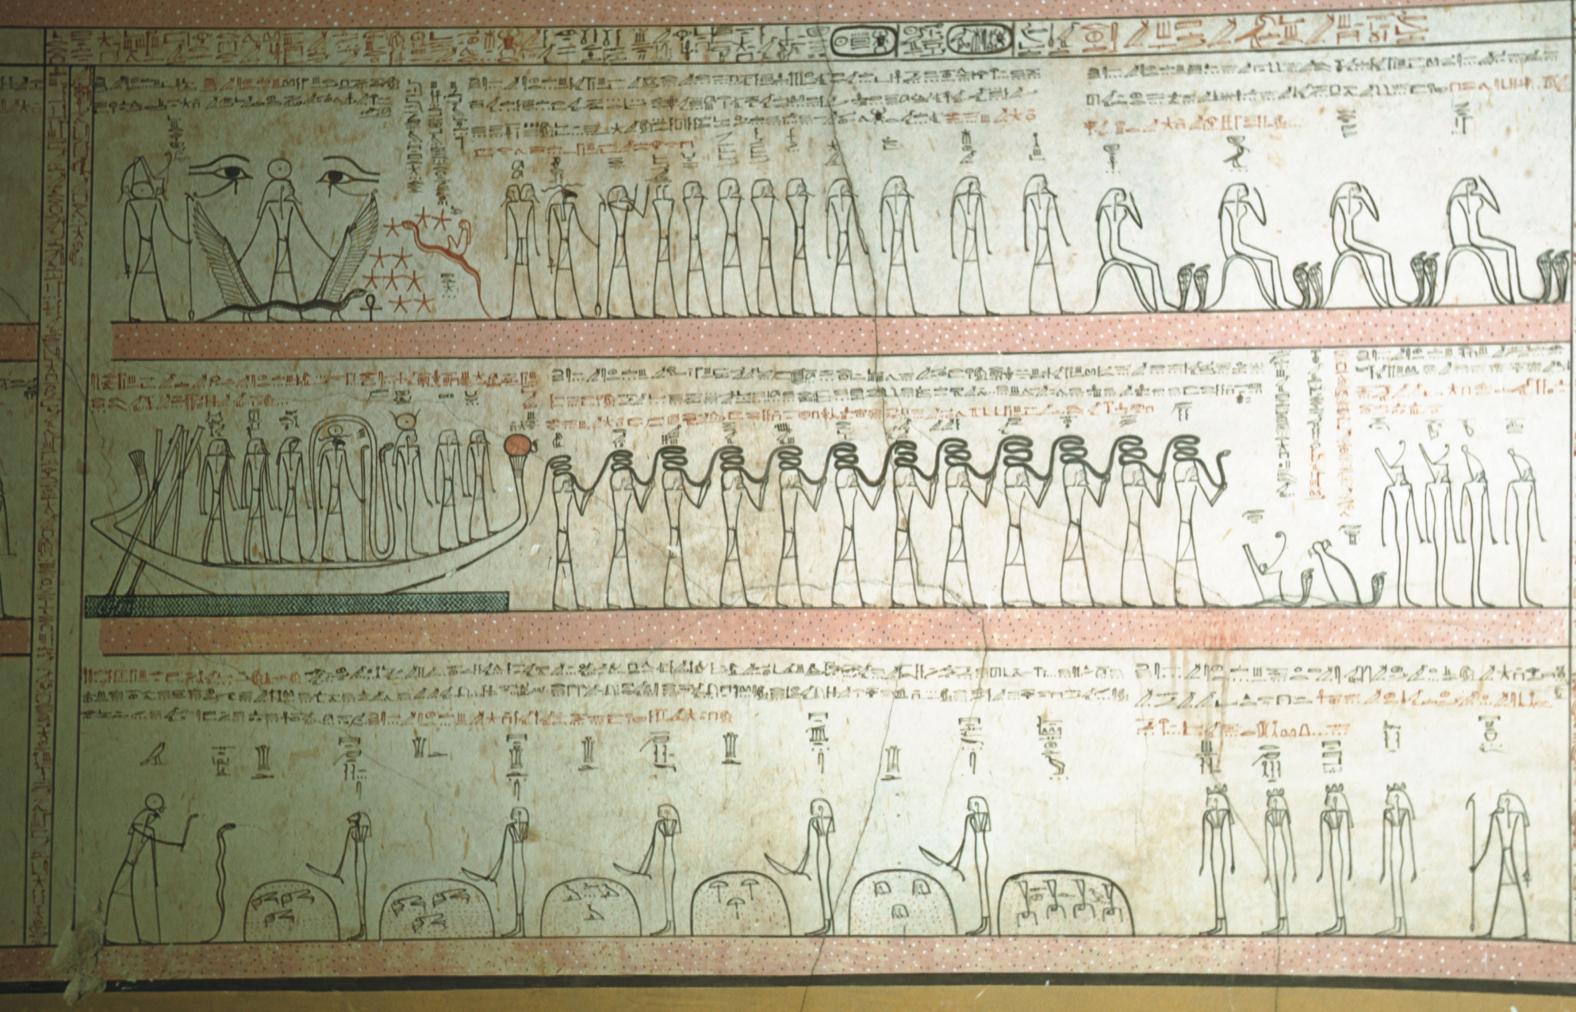
The 11th hour of the Imydwat. Courtesy of Uni Dia Verlag; Uni Dia Image Nr. 35053.
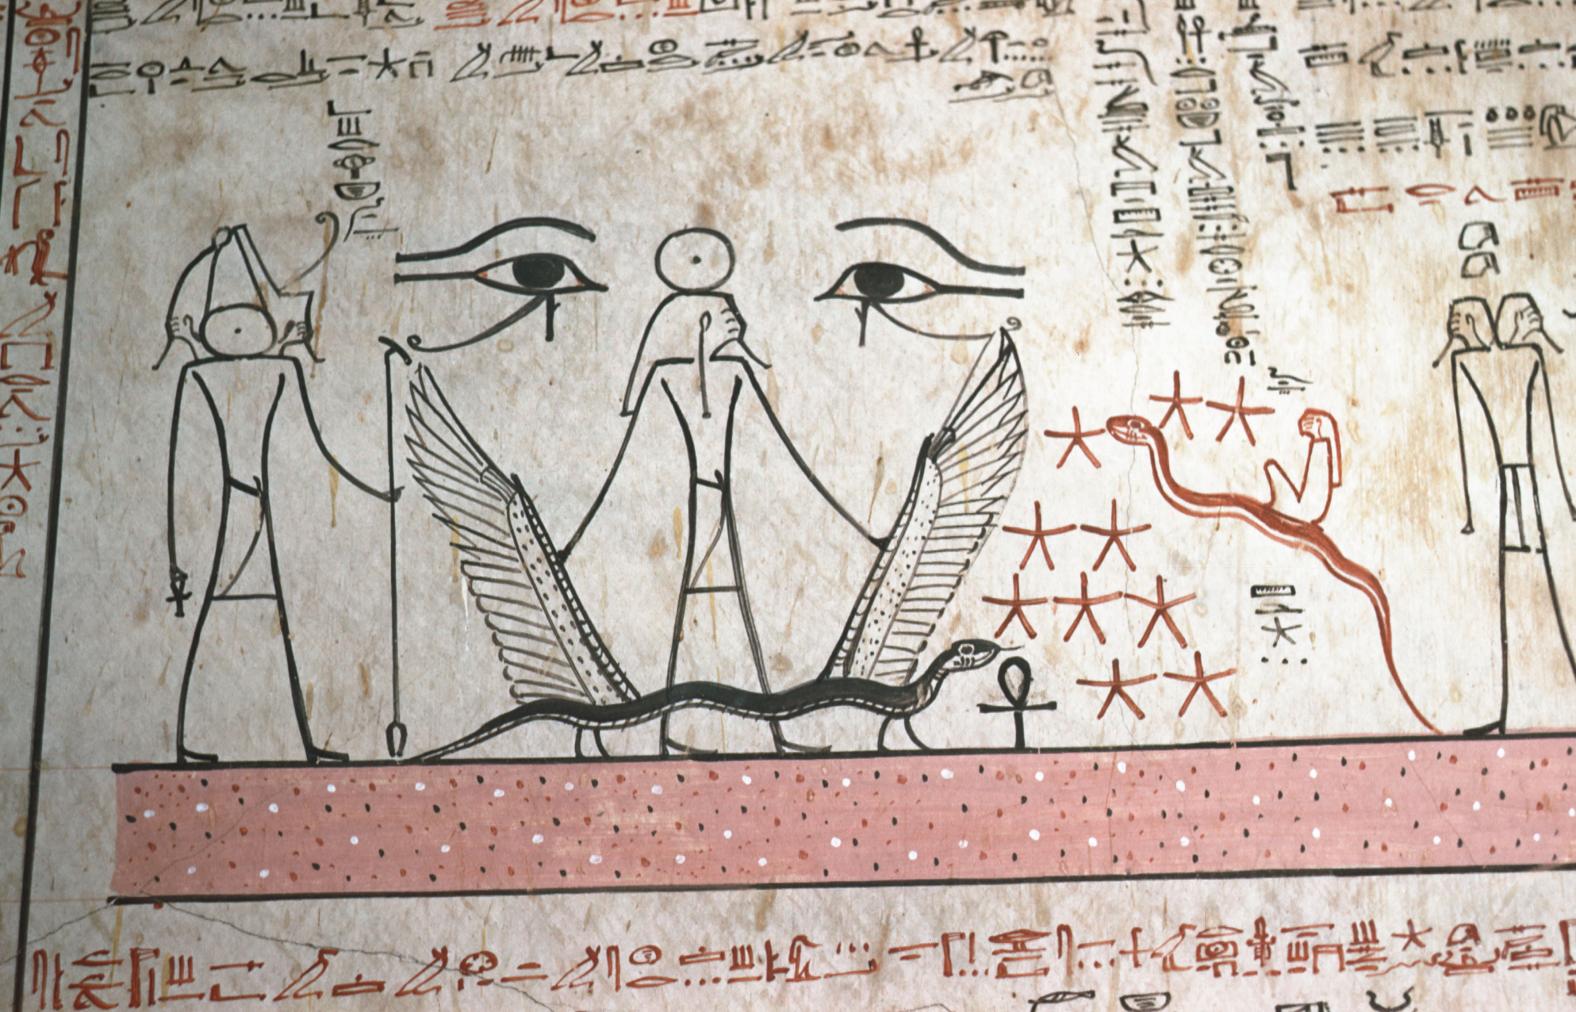
Detail from the 11th Hour of the Imydwat. Courtesy of Uni Dia Verlag; Uni Dia Image Nr. 35054.
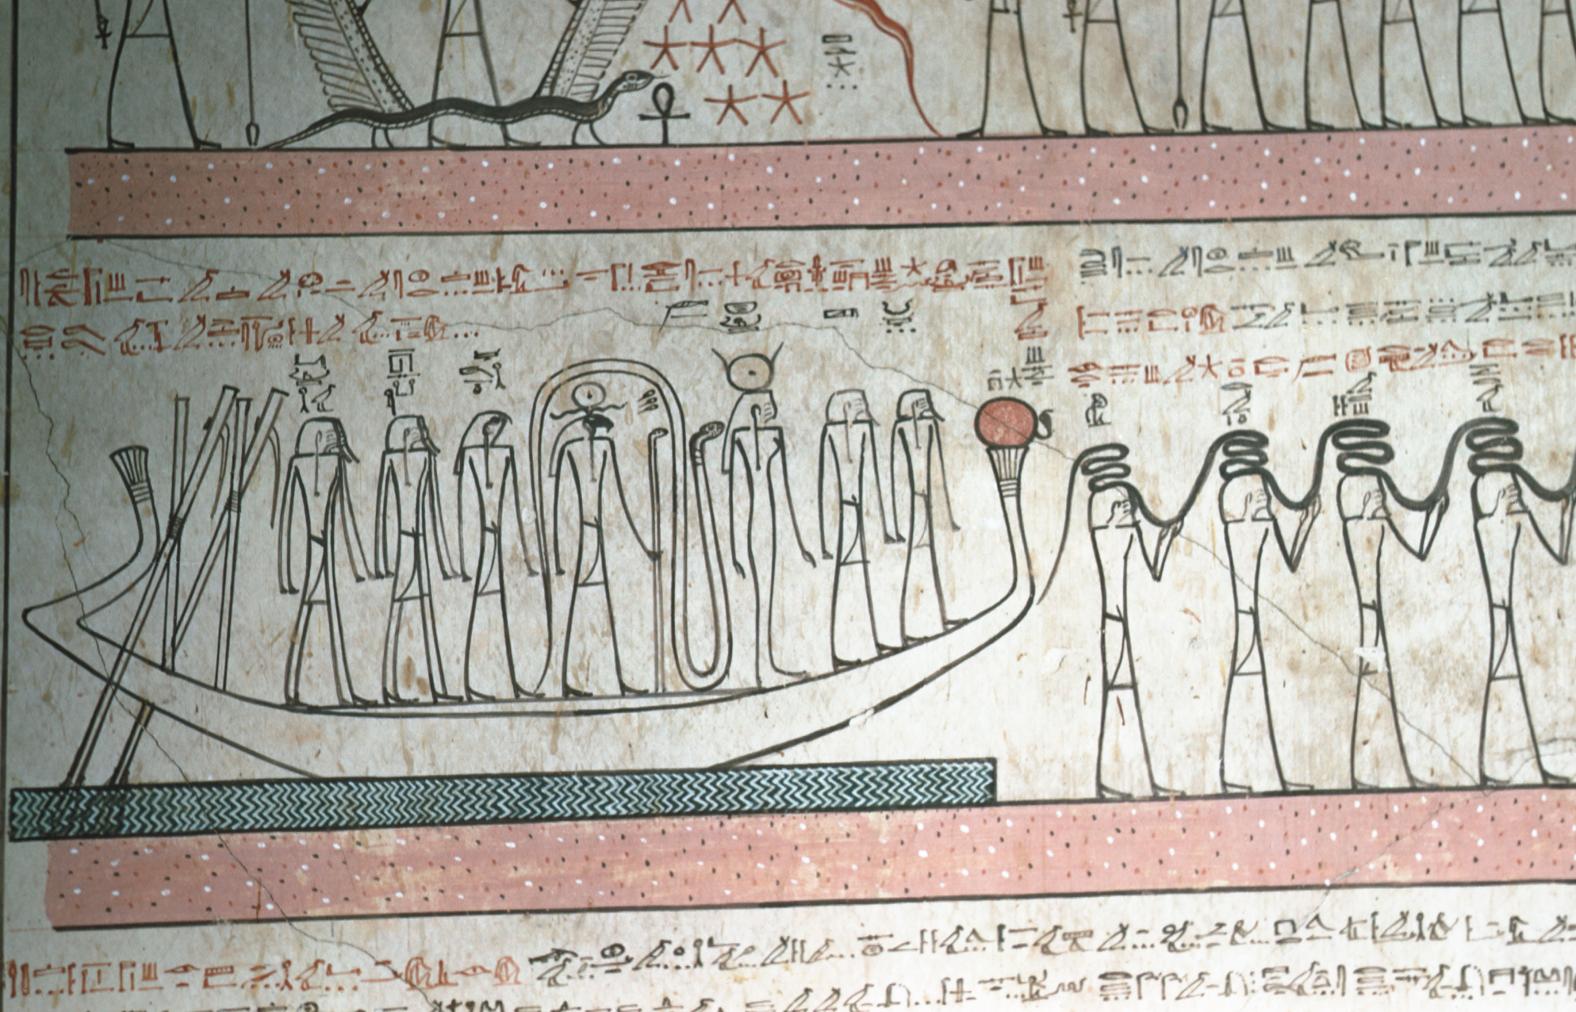
Solar Bark in the 11th Hour of the Imydwat. Courtesy of Uni Dia Verlag; Uni Dia Image Nr. 35055.
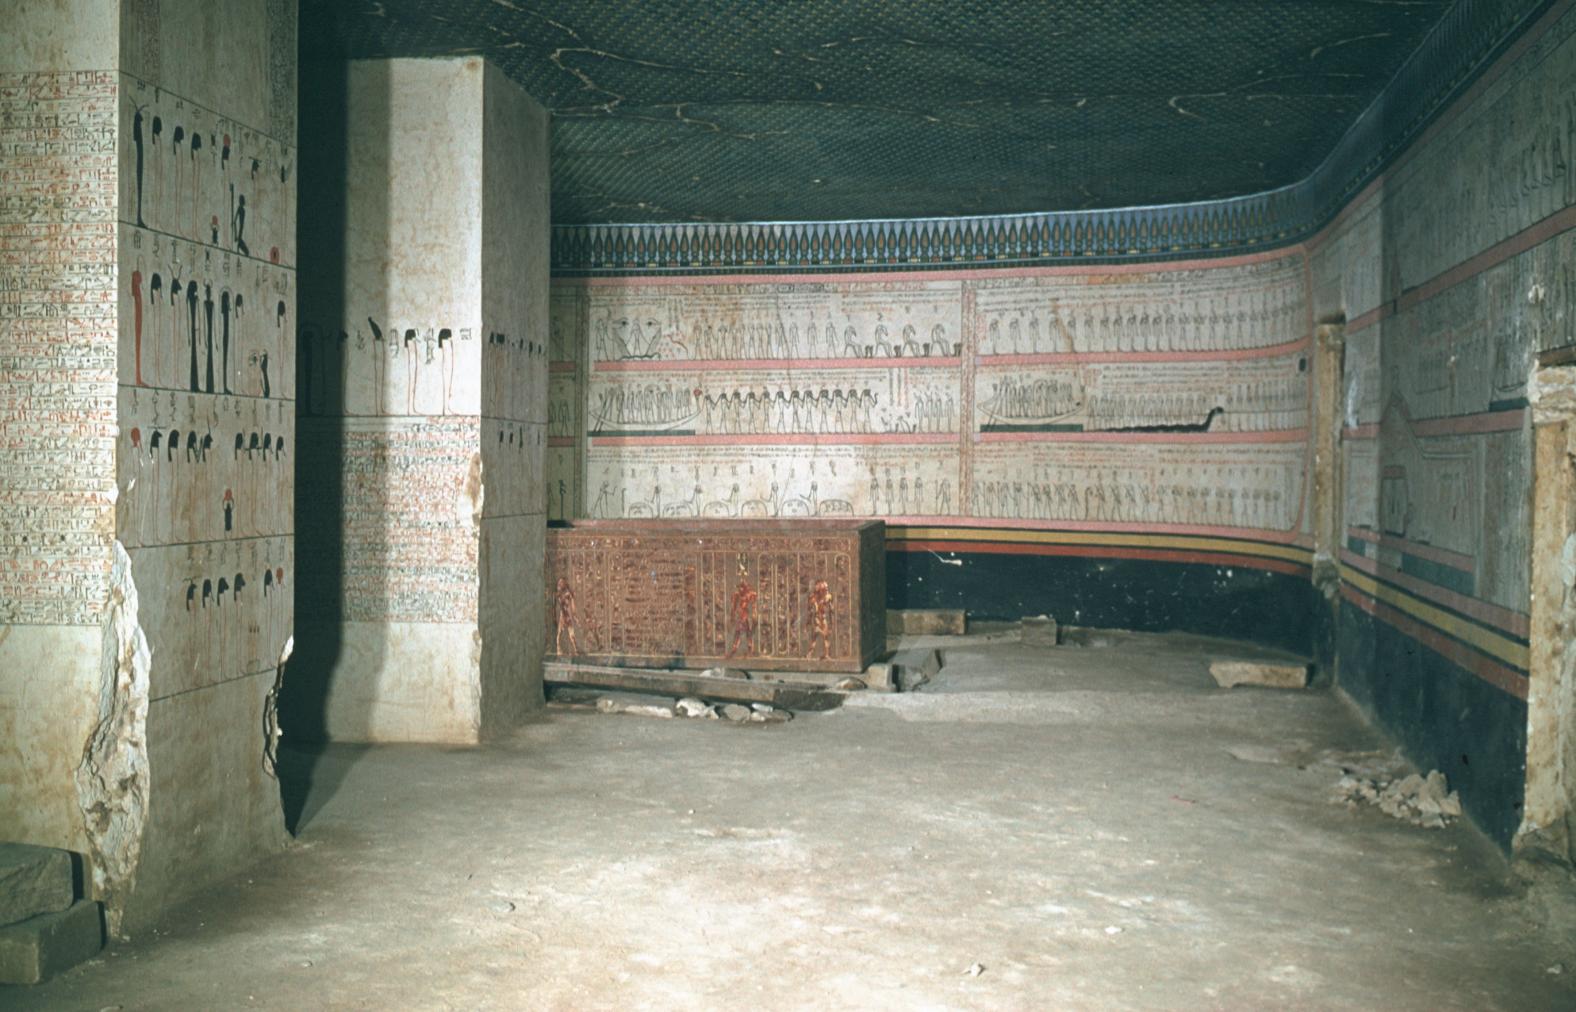
View into the southeast corner of Burial Chamber J with king's sarcophagus. Courtesy of Uni Dia Verlag; Uni Dia Image Nr. 35056.
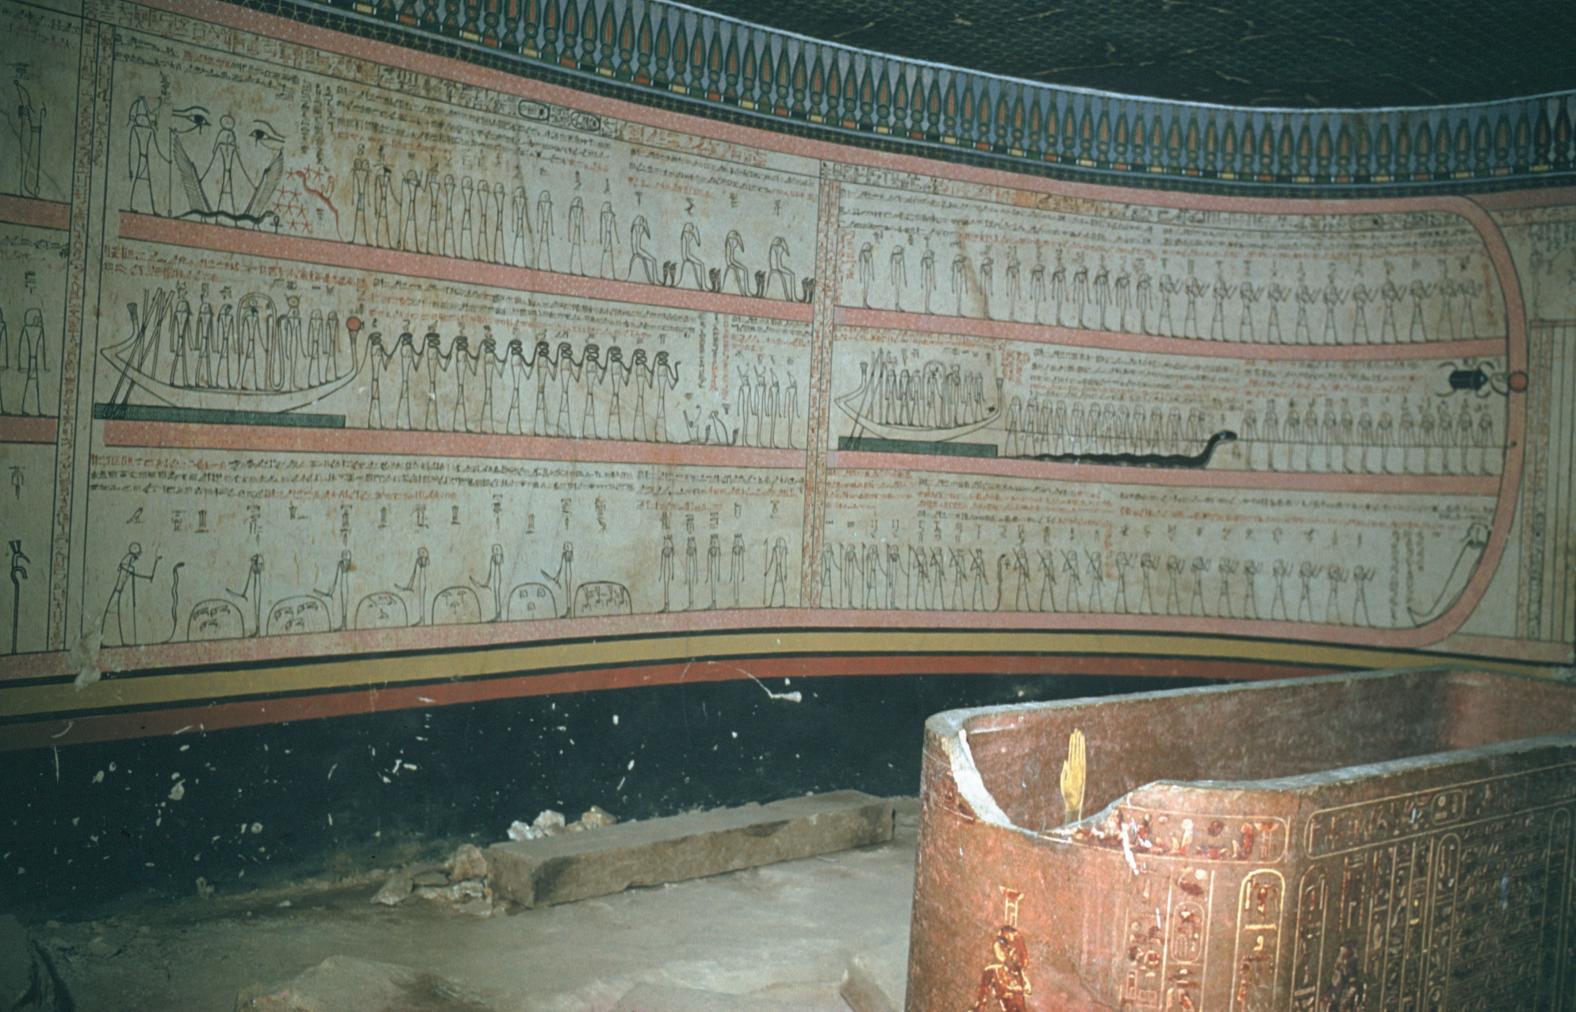
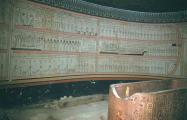
The quartzite sarcophagus in front of the east wall, 11th and 12th hours of the Imydwat. Courtesy of Uni Dia Verlag; Uni Dia Image Nr. 35057.
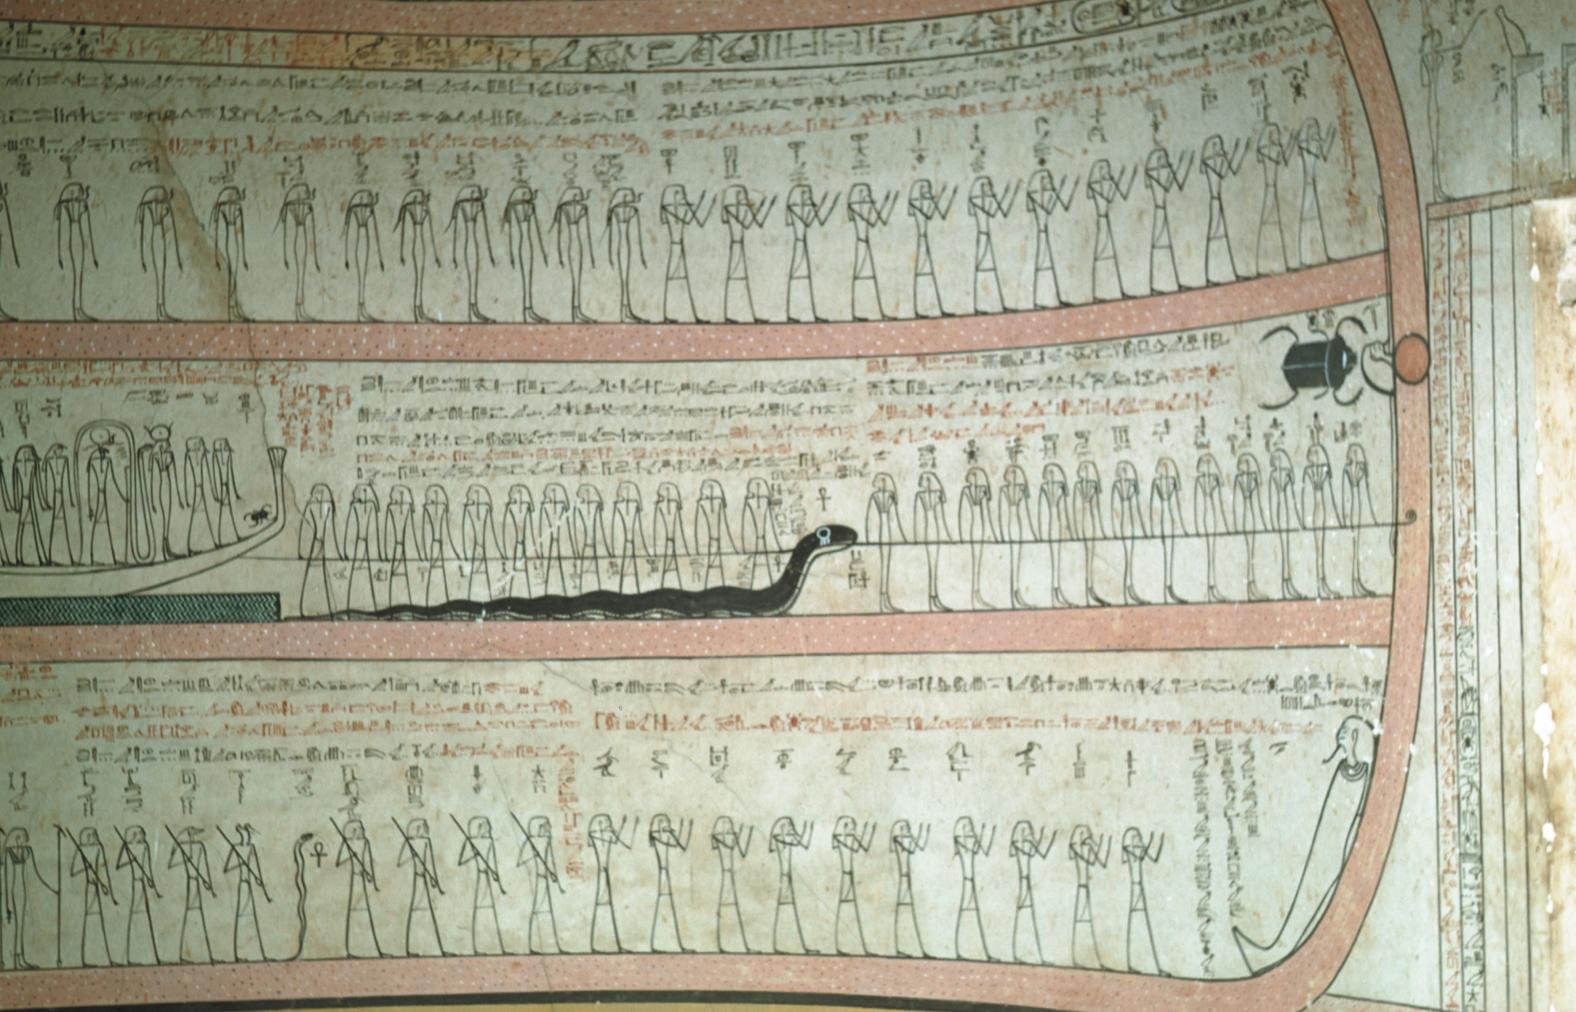
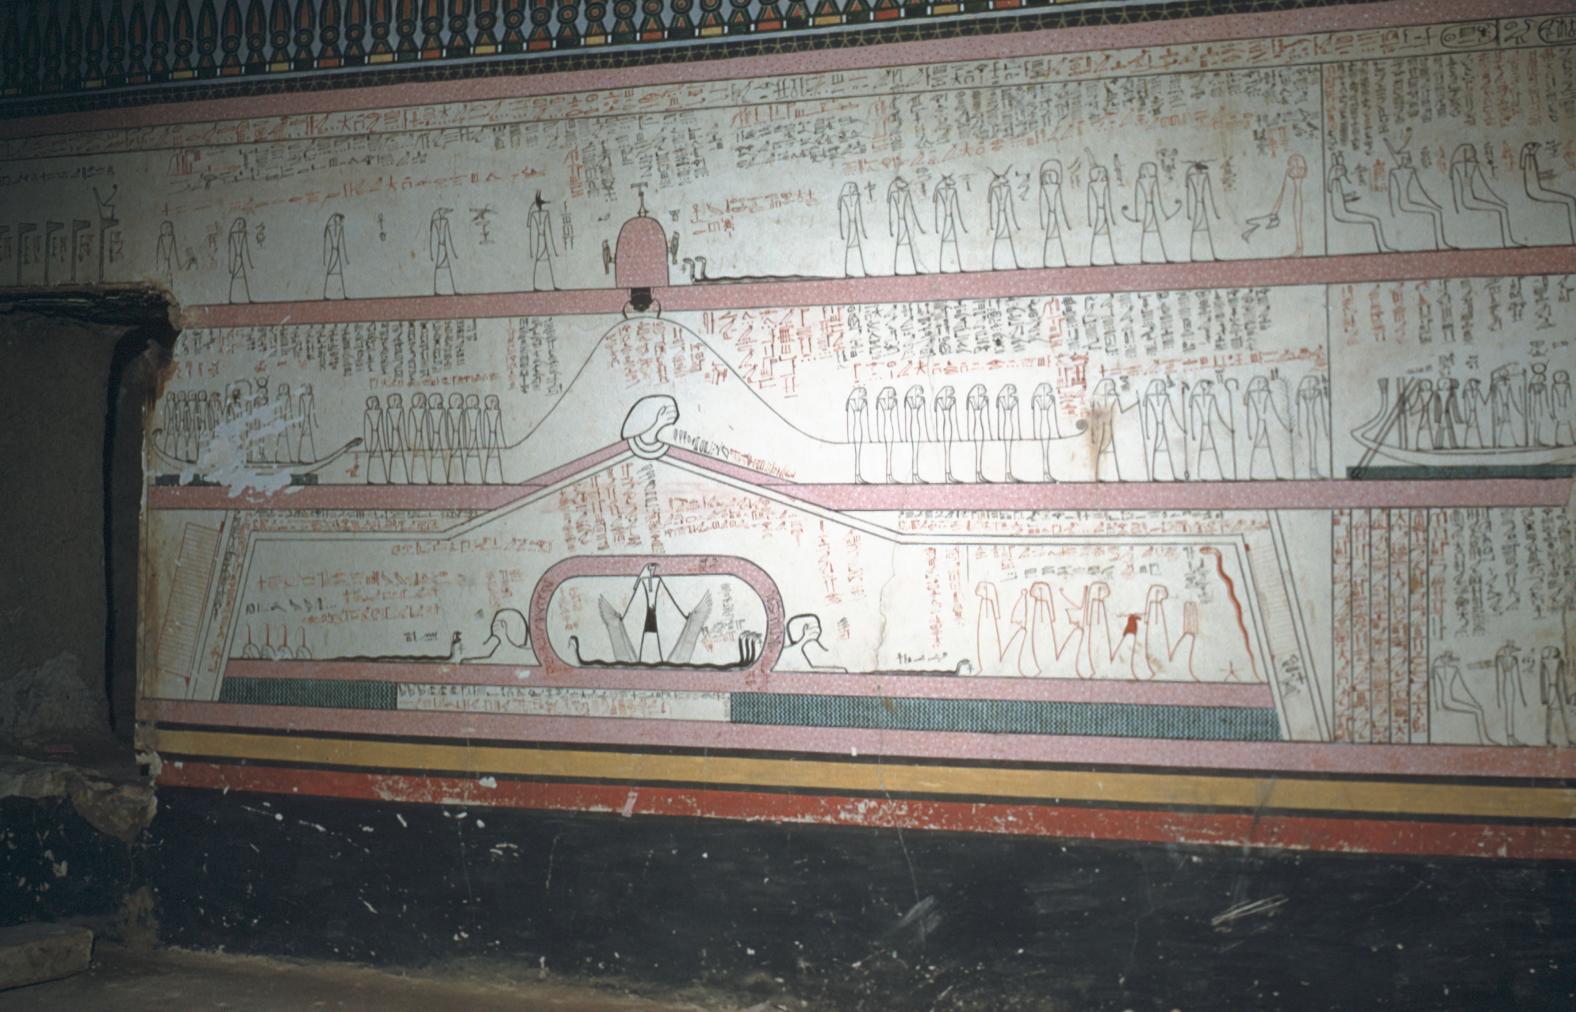
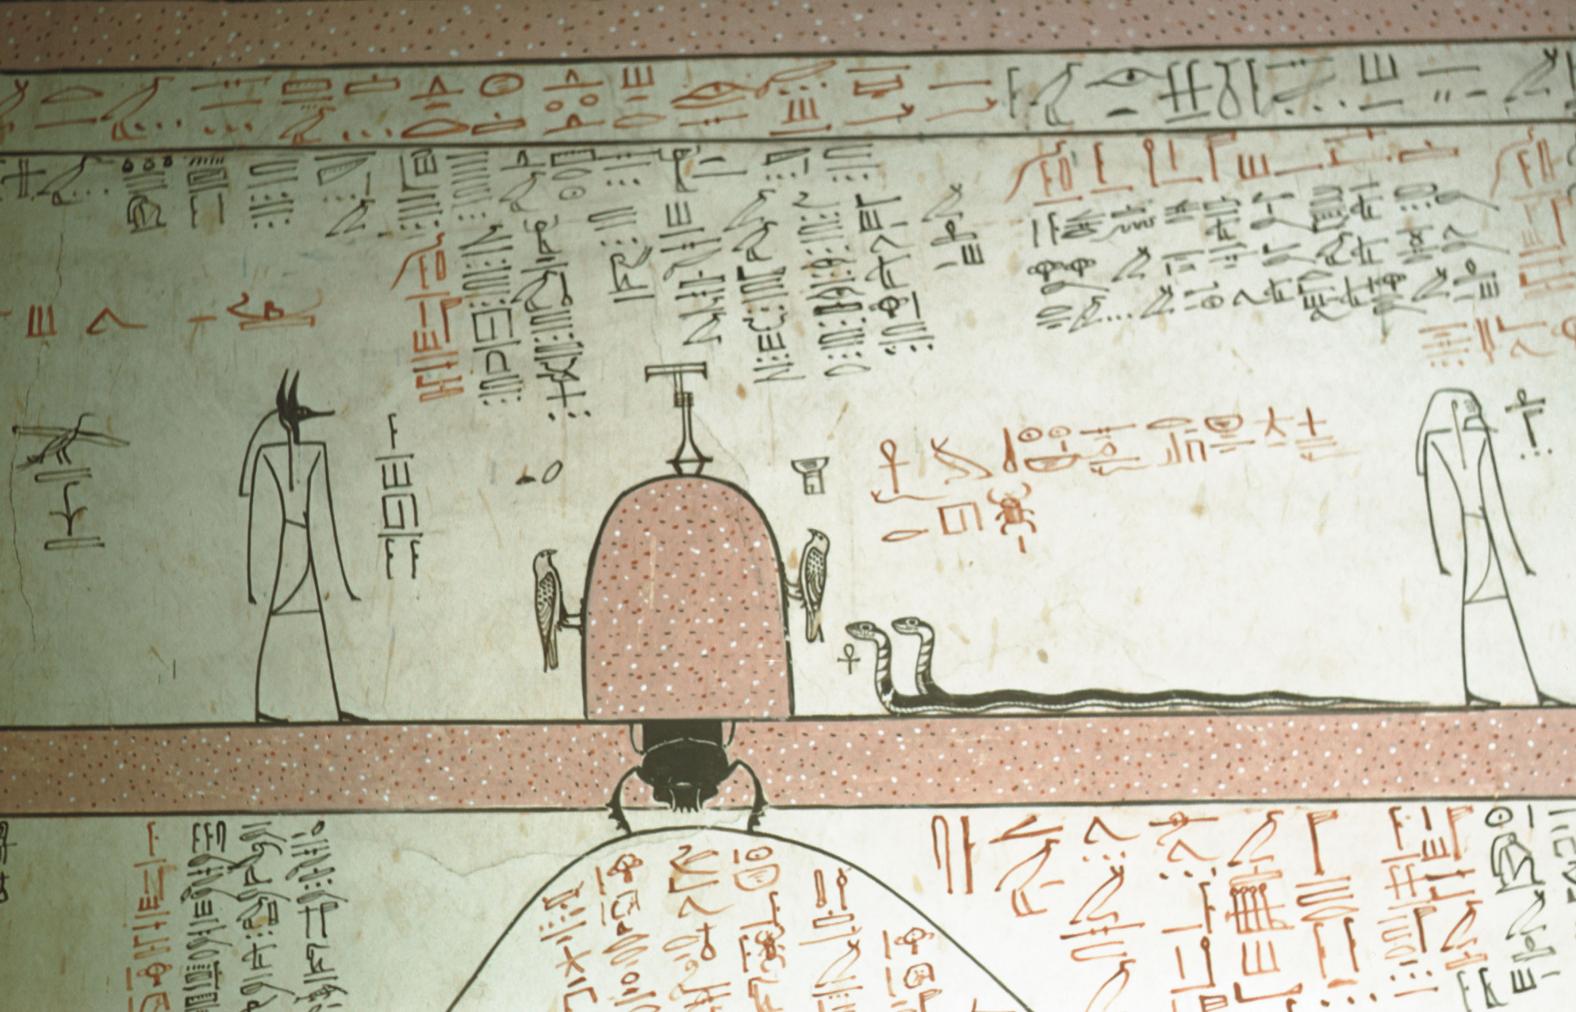
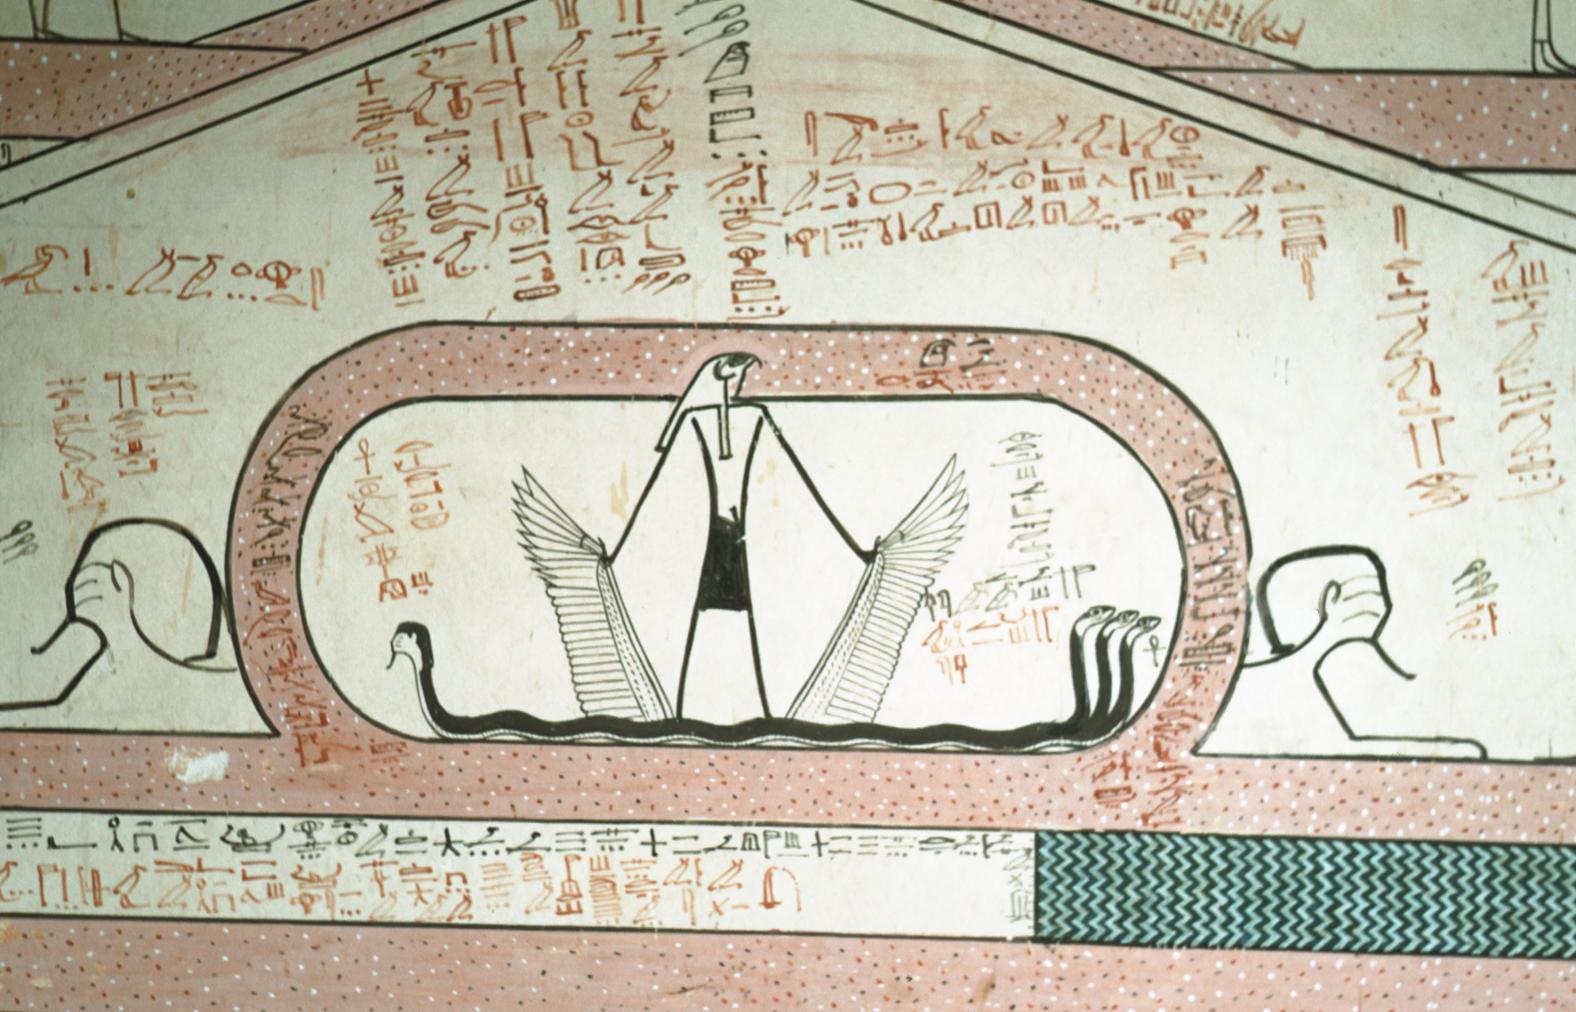
The 12th hour of the Imydwat. Courtesy of Uni Dia Verlag; Uni Dia Image Nr. 35058.
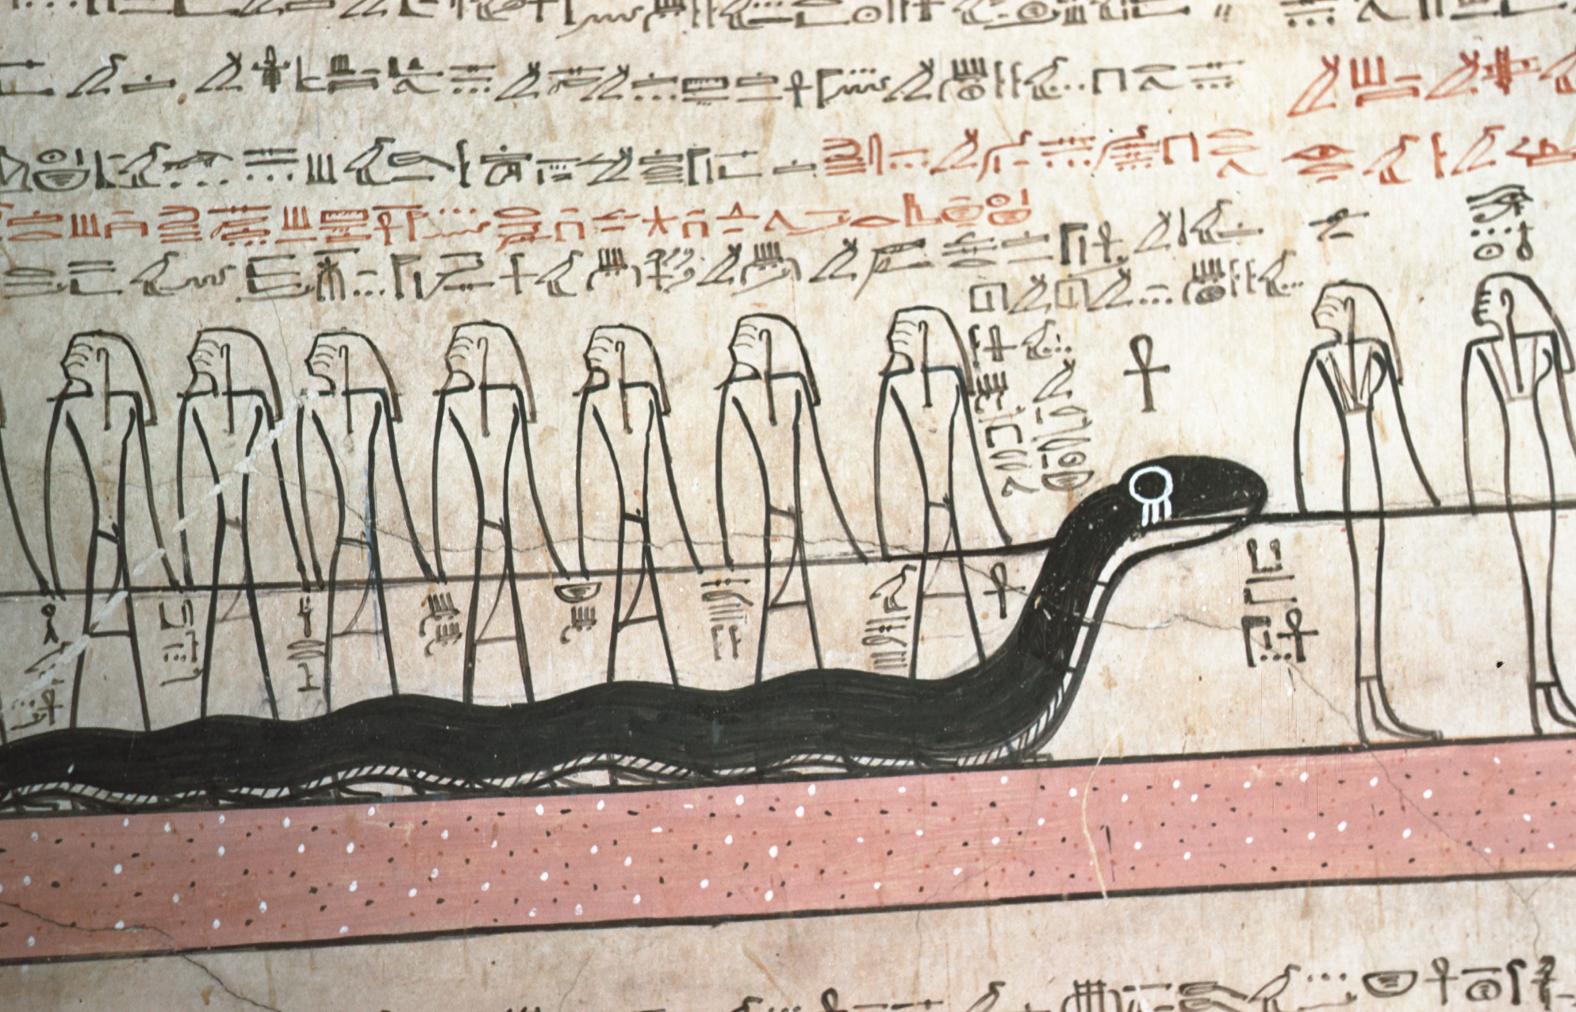
Detail of 12th Hour of the Imydwat. Courtesy of Uni Dia Verlag; Uni Dia Image Nr. 35059.
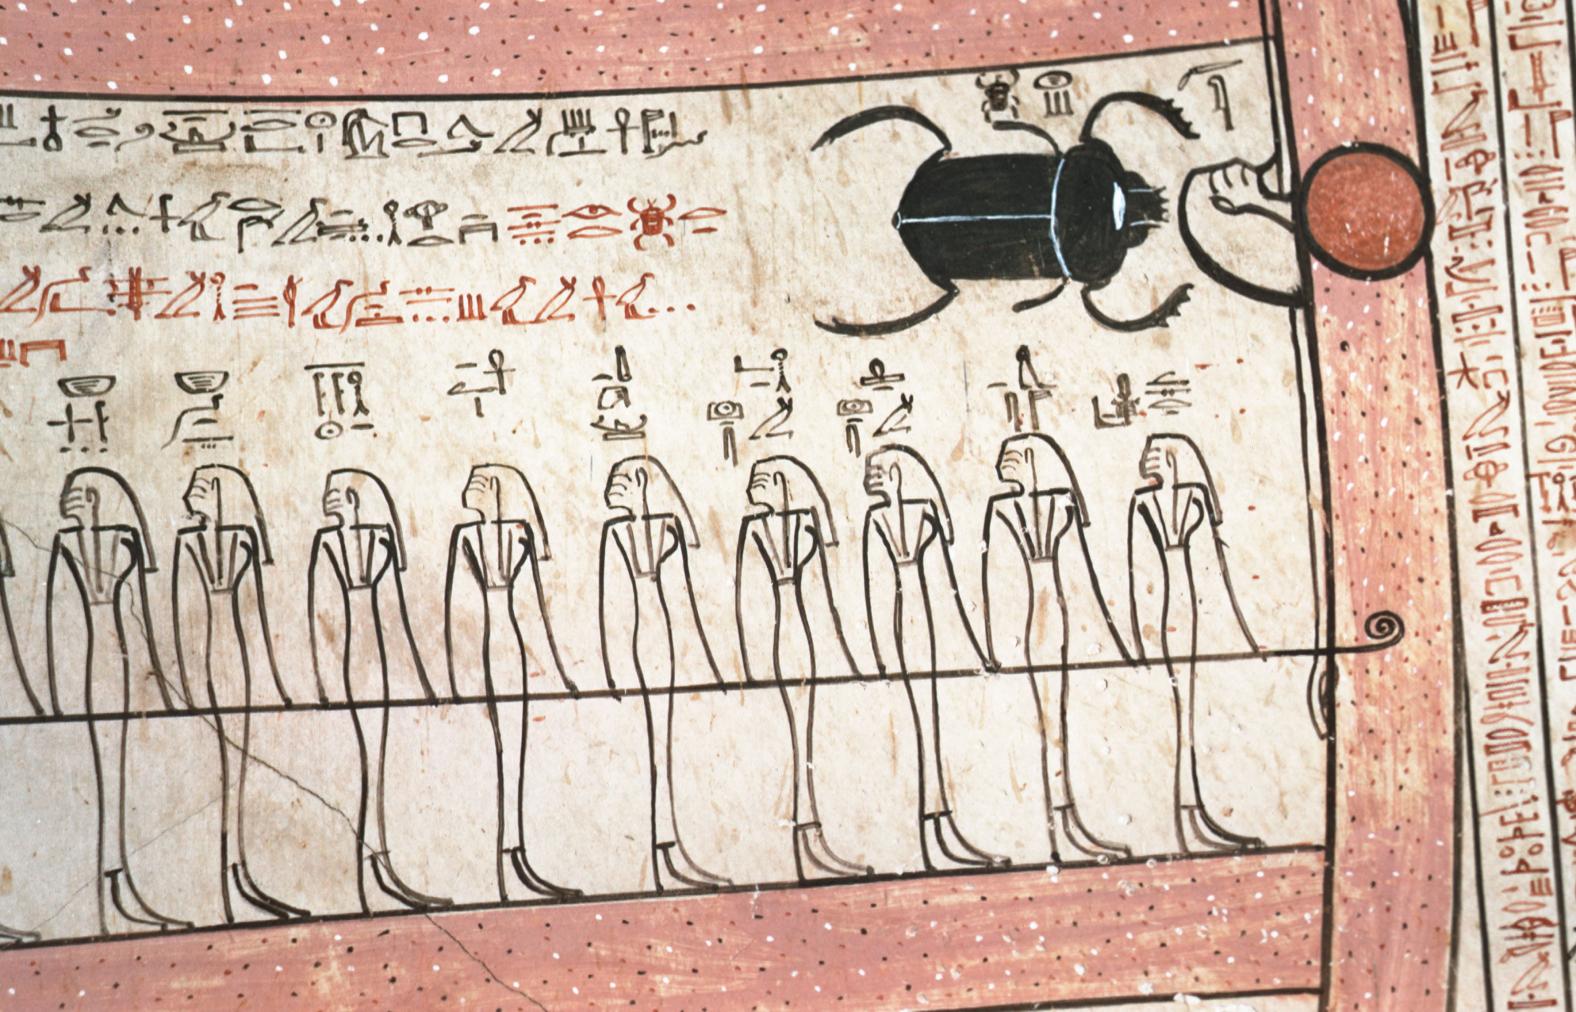
Detail of 12th Hour of the Imydwat. Courtesy of Uni Dia Verlag; Uni Dia Image Nr. 35060.
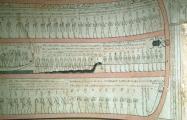
5th hour of the Imydwat between side chambers Jc and Jd. Courtesy of Uni Dia Verlag; Uni Dia Image Nr. 35061.
Detail of the 5th Hour of the Imydwat. Courtesy of Uni Dia Verlag; Uni Dia Image Nr. 35062.
Detail of the 5th Hour of the Imydwat. Courtesy of Uni Dia Verlag; Uni Dia Image Nr. 35063.
6th hour of the Imydwat around the entrance to side chamber Jd. Courtesy of Uni Dia Verlag; Uni Dia Image Nr. 35064.
Detail of the 6th Hour of the Imydwat. Courtesy of Uni Dia Verlag; Uni Dia Image Nr. 35065.
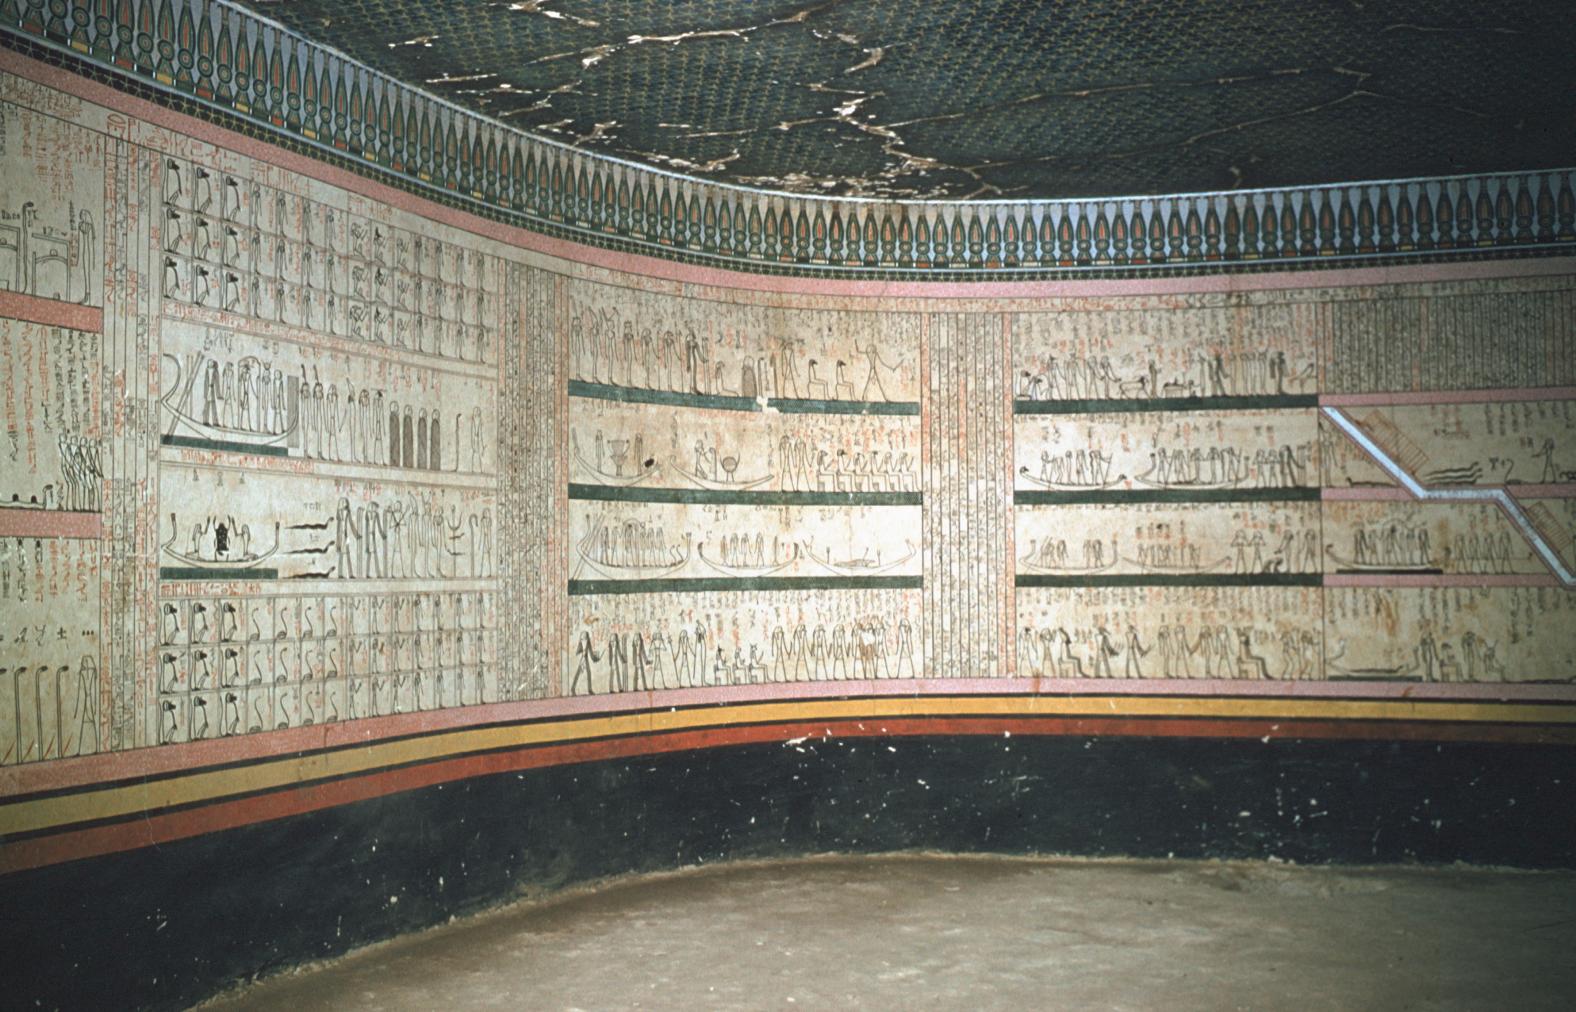
Southwest corner of Burial Chamber J with the 1st-4th Hours of the Imydwat. Courtesy of Uni Dia Verlag; Uni Dia Image Nr. 35066.
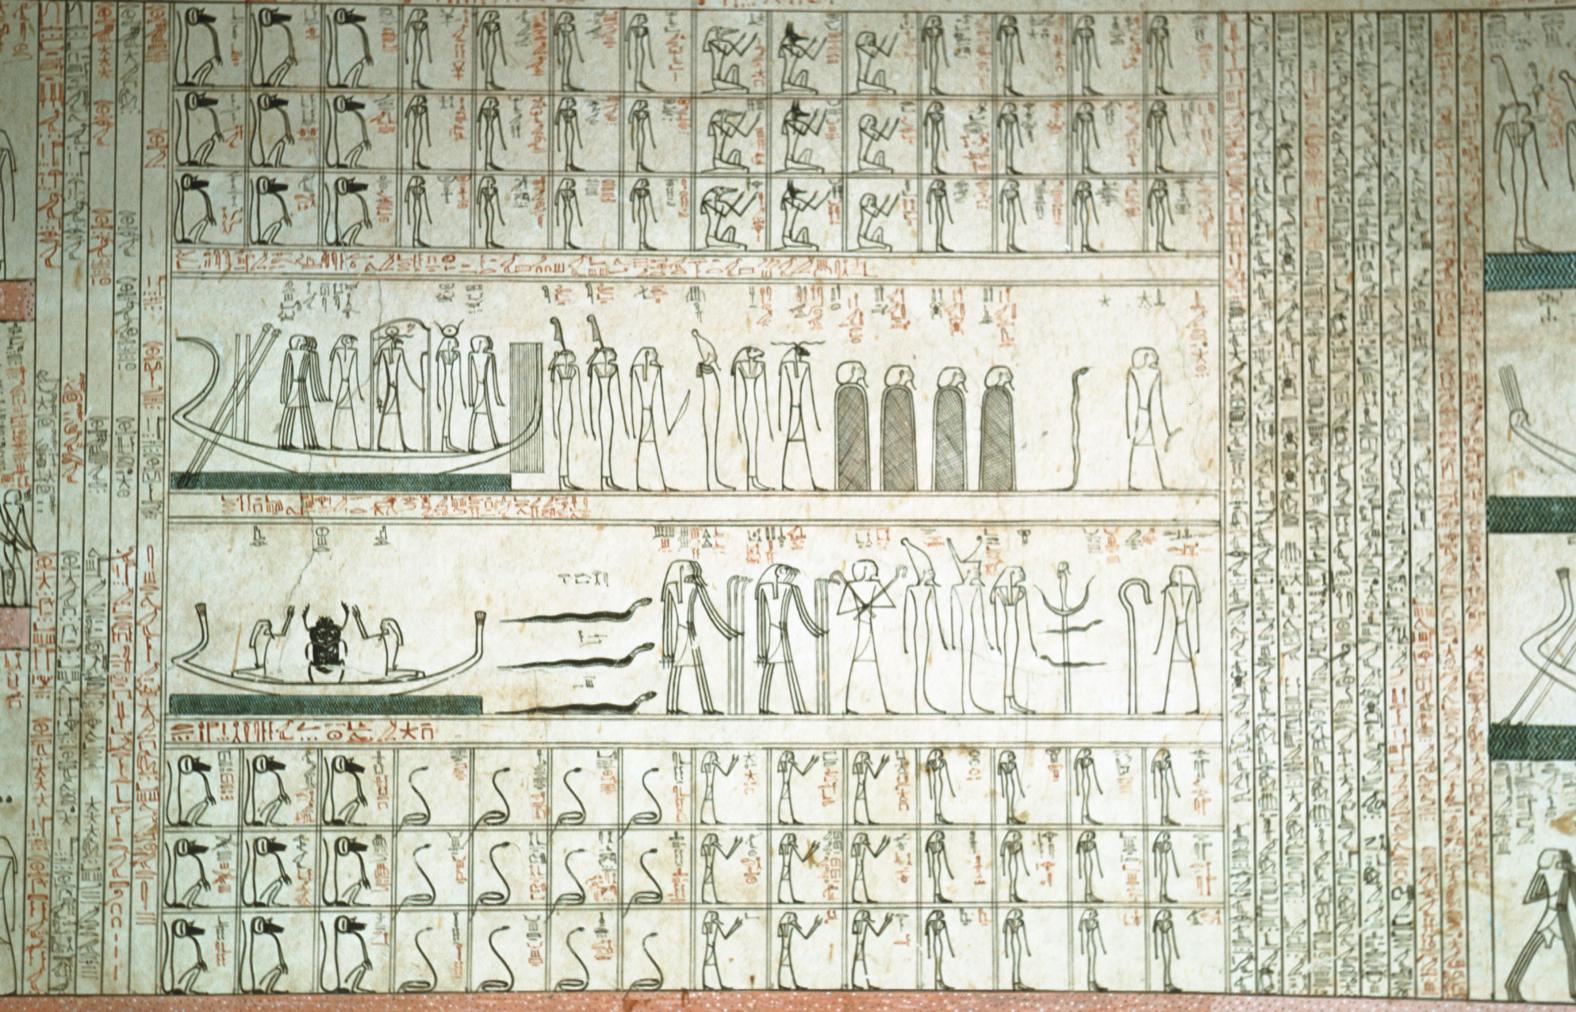
Title and 1st hour of the Imydwat. Courtesy of Uni Dia Verlag; Uni Dia Image Nr. 35067.
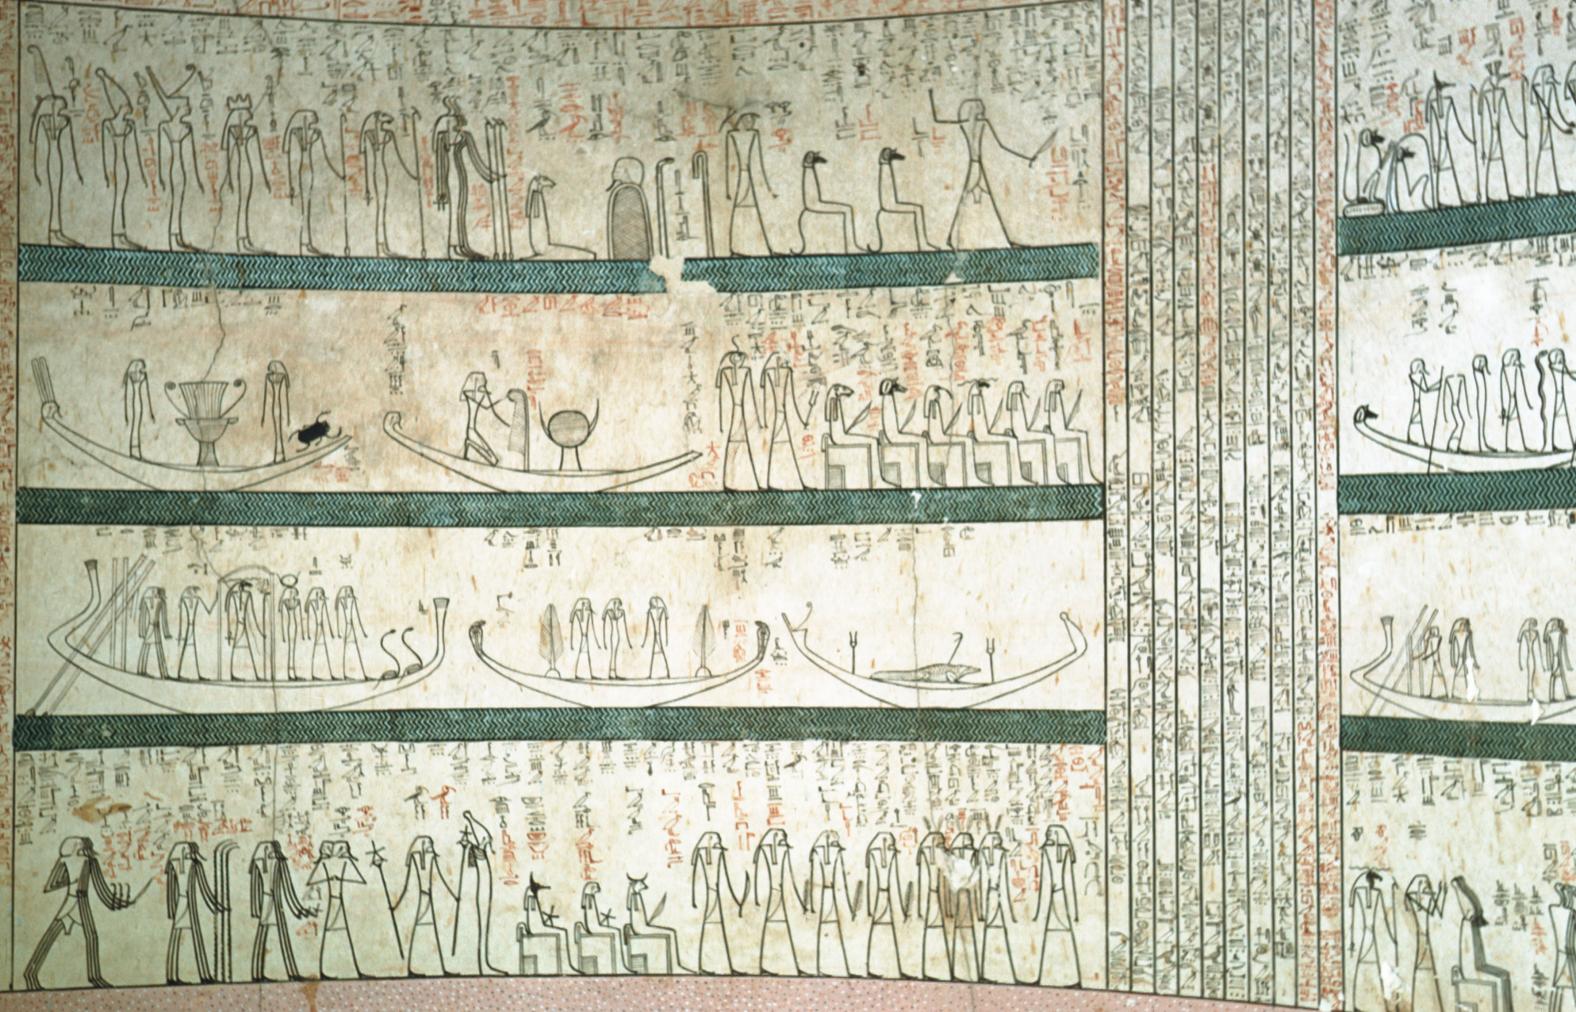
2nd hour and beginning of the 3rd hour of the Imydwat. Courtesy of Uni Dia Verlag; Uni Dia Image Nr. 35068.
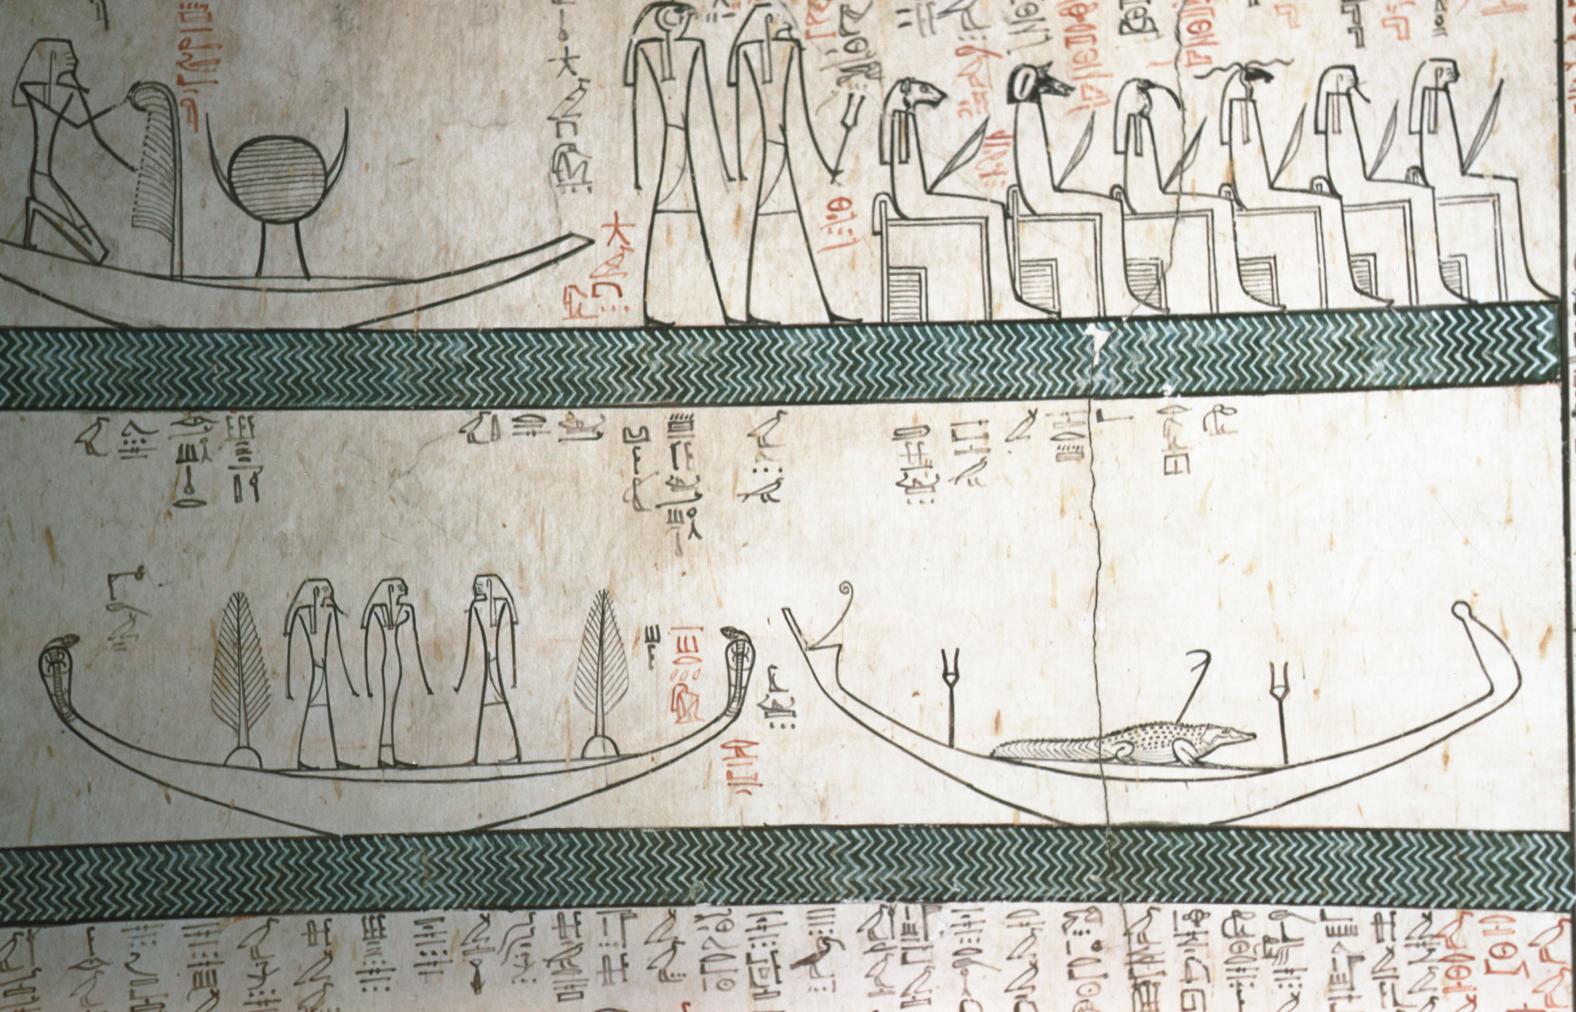
Detail of 2nd hour of the Imydwat. Courtesy of Uni Dia Verlag; Uni Dia Image Nr. 35069.
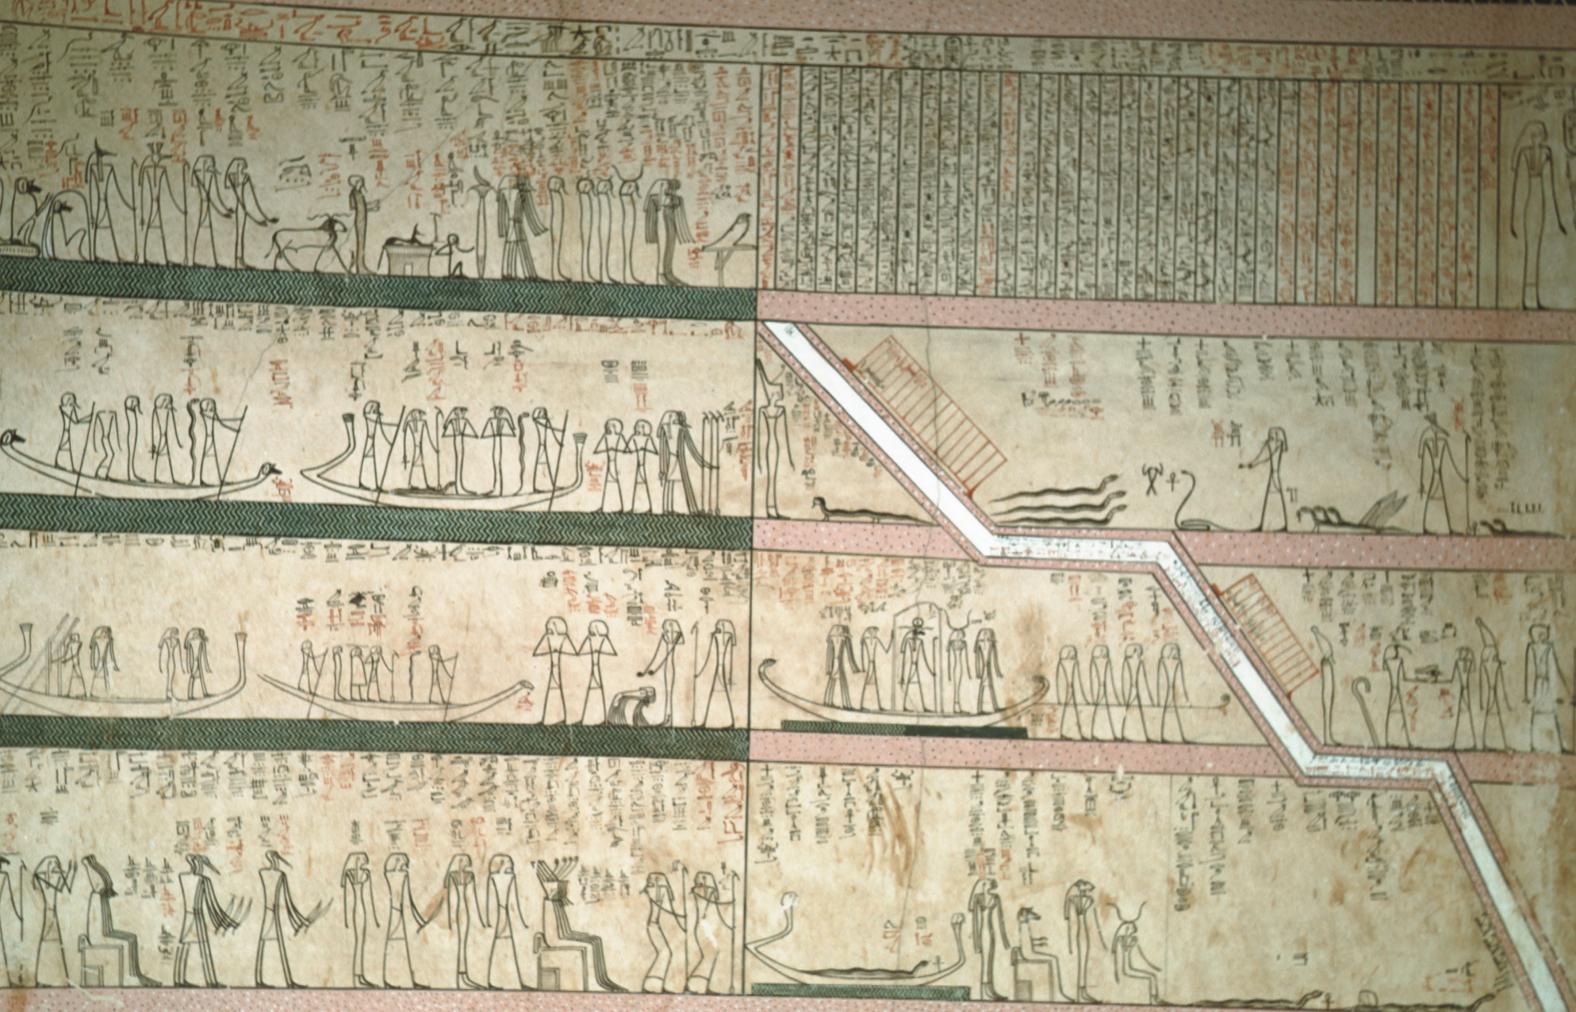
3rd and 4th hours of the Imydwat. Courtesy of Uni Dia Verlag; Uni Dia Image Nr. 35070.
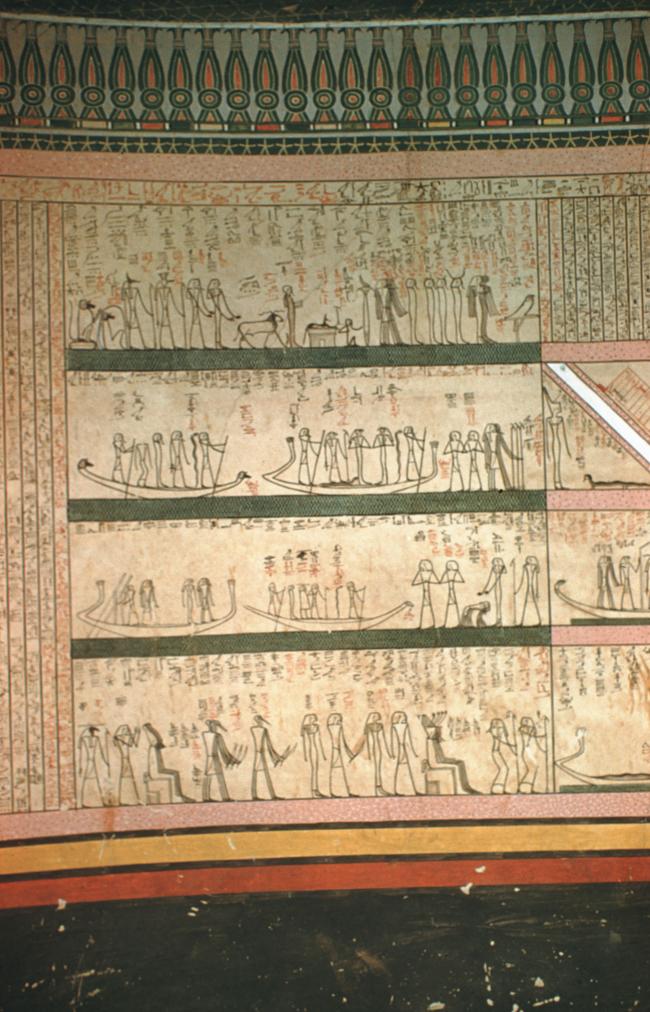
The 3rd hour of the Imydwat. Courtesy of Uni Dia Verlag; Uni Dia Image Nr. 35071.
Detail of the 3rd hour of the Imydwat. Courtesy of Uni Dia Verlag; Uni Dia Image Nr. 35072.
Detail of the 3rd hour of the Imydwat. Courtesy of Uni Dia Verlag; Uni Dia Image Nr. 35073.
Detail of the 3rd hour of the Imydwat. Courtesy of Uni Dia Verlag; Uni Dia Image Nr. 35074.
Detail of the 3rd hour of the Imydwat. Courtesy of Uni Dia Verlag; Uni Dia Image Nr. 35075.
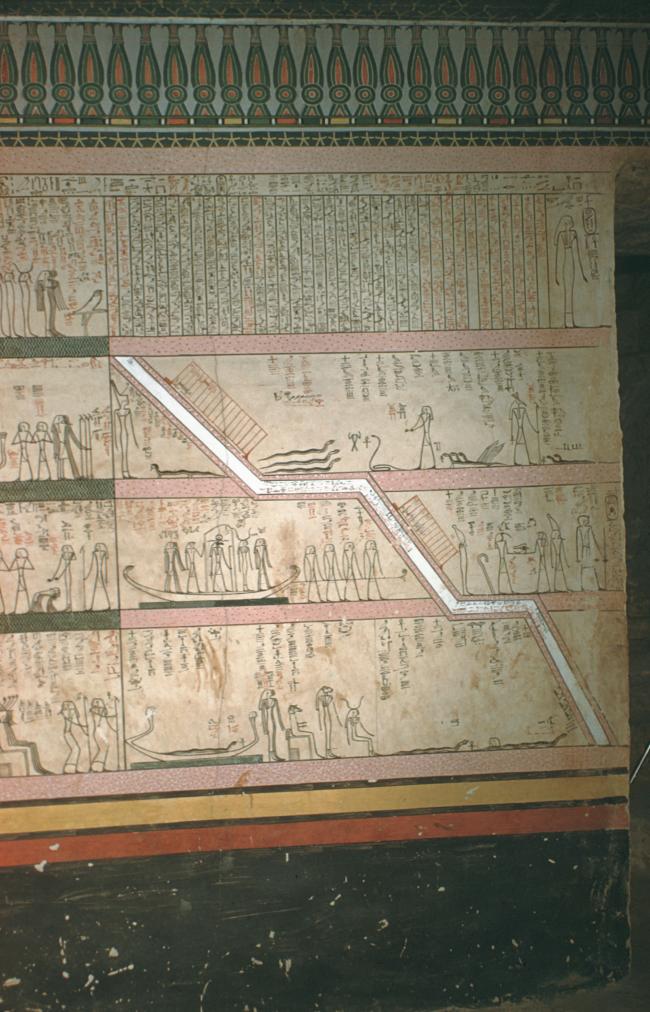
The 4th hour of the Imydwat. Courtesy of Uni Dia Verlag; Uni Dia Image Nr. 35076.
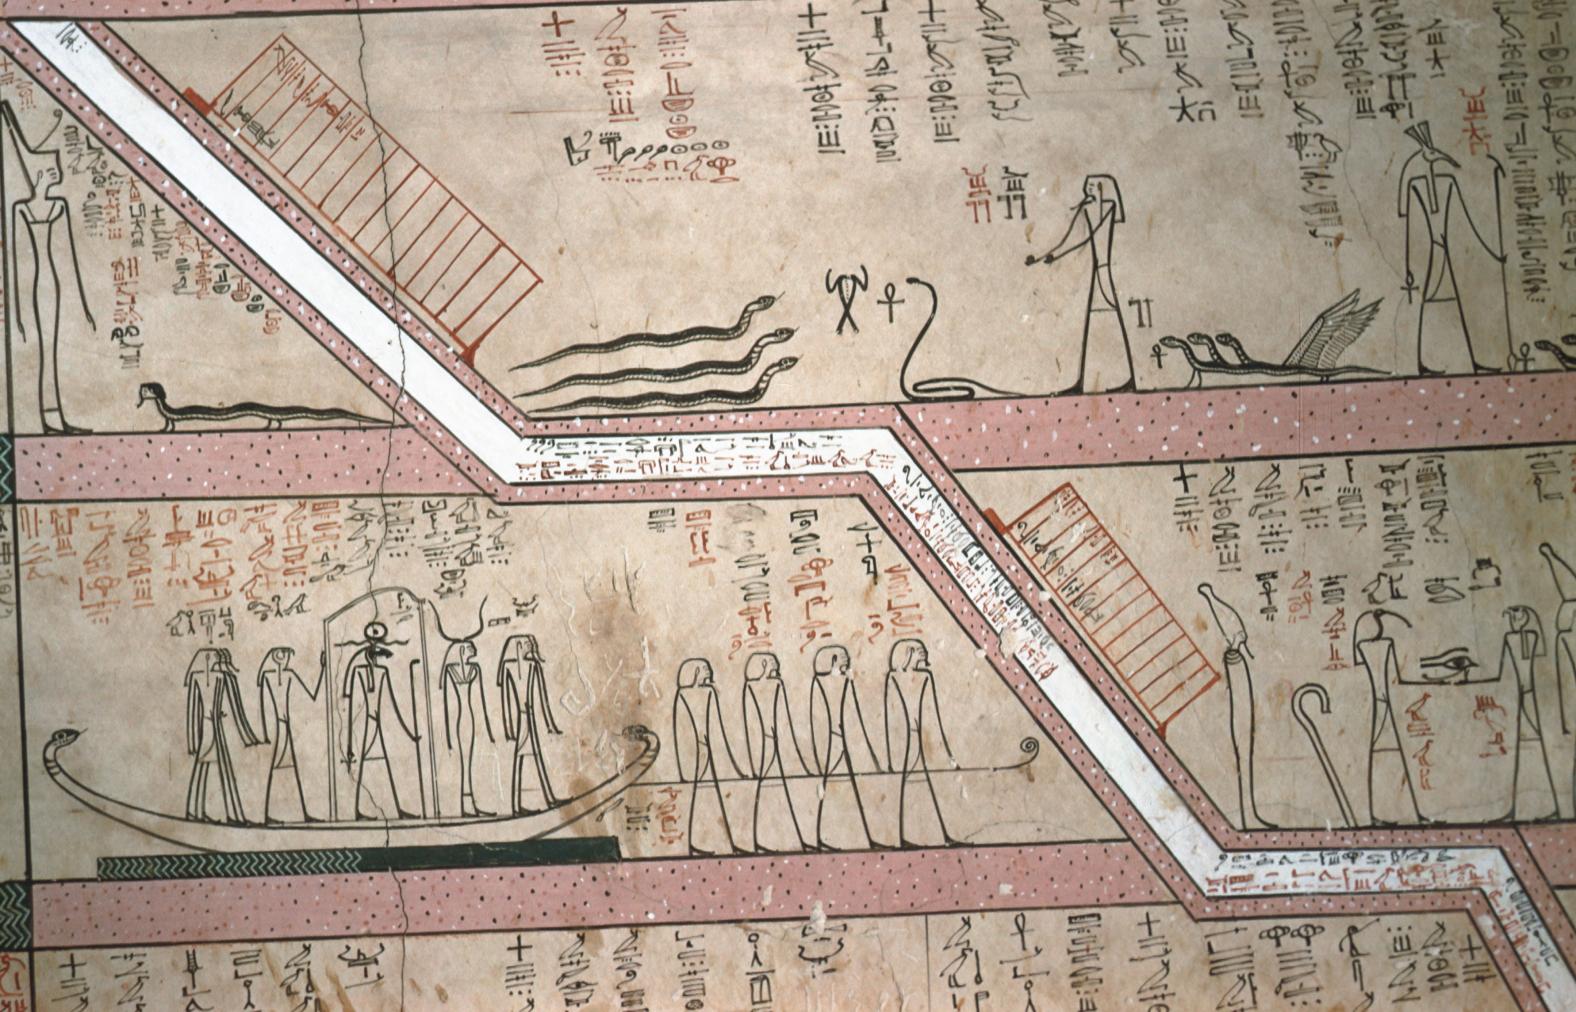
Detail of the 4th Hour of the Imydwat. Courtesy of Uni Dia Verlag; Uni Dia Image Nr. 35077.
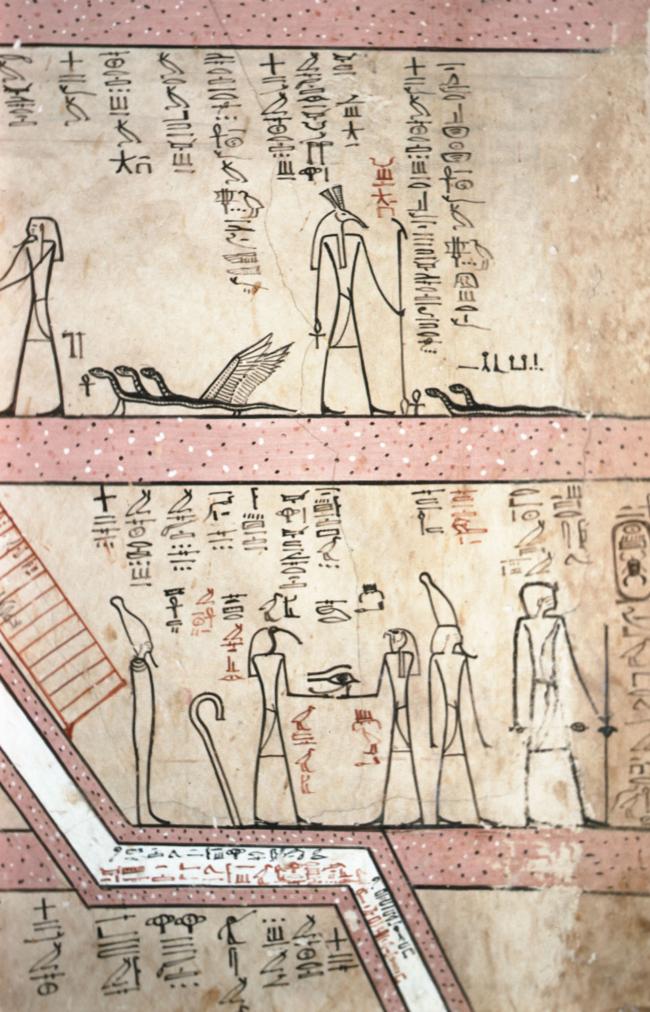
Detail of the 4th Hour of the Imydwat. Courtesy of Uni Dia Verlag; Uni Dia Image Nr. 35078.
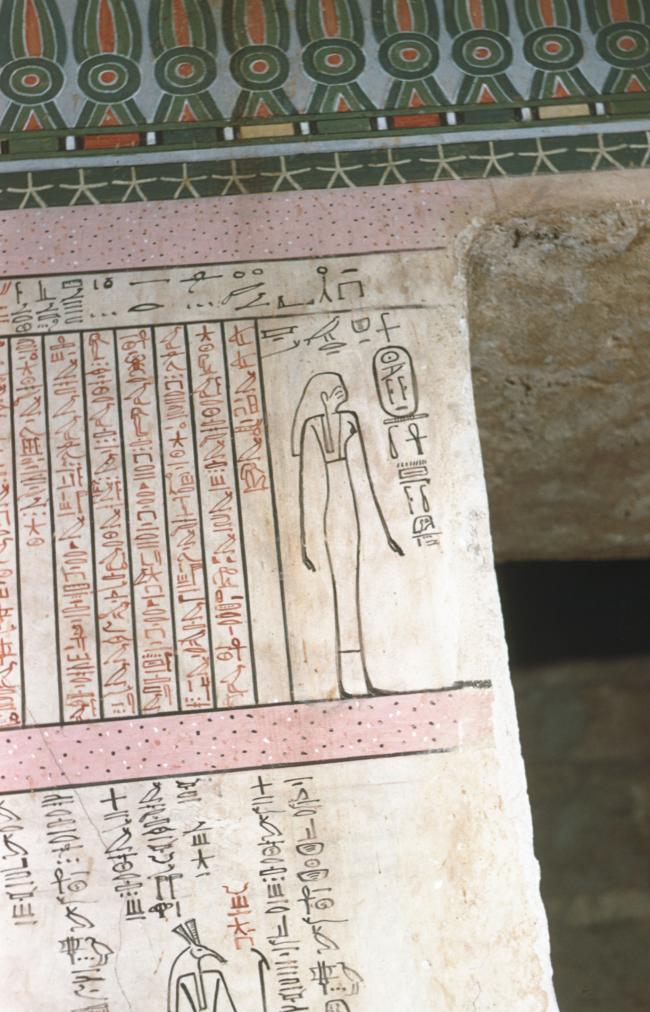
Detail of the 4th Hour of the Imydwat. Courtesy of Uni Dia Verlag; Uni Dia Image Nr. 35079.
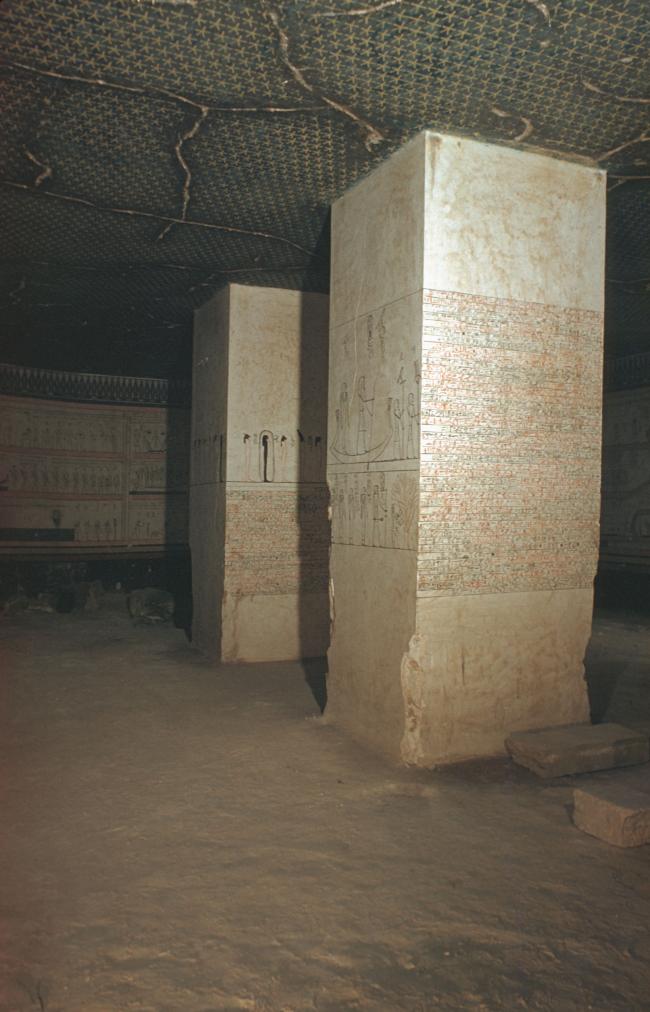
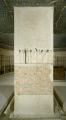
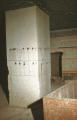
The two pillars in the middle of Burial Chamber J. Courtesy of Uni Dia Verlag; Uni Dia Image Nr. 35080.
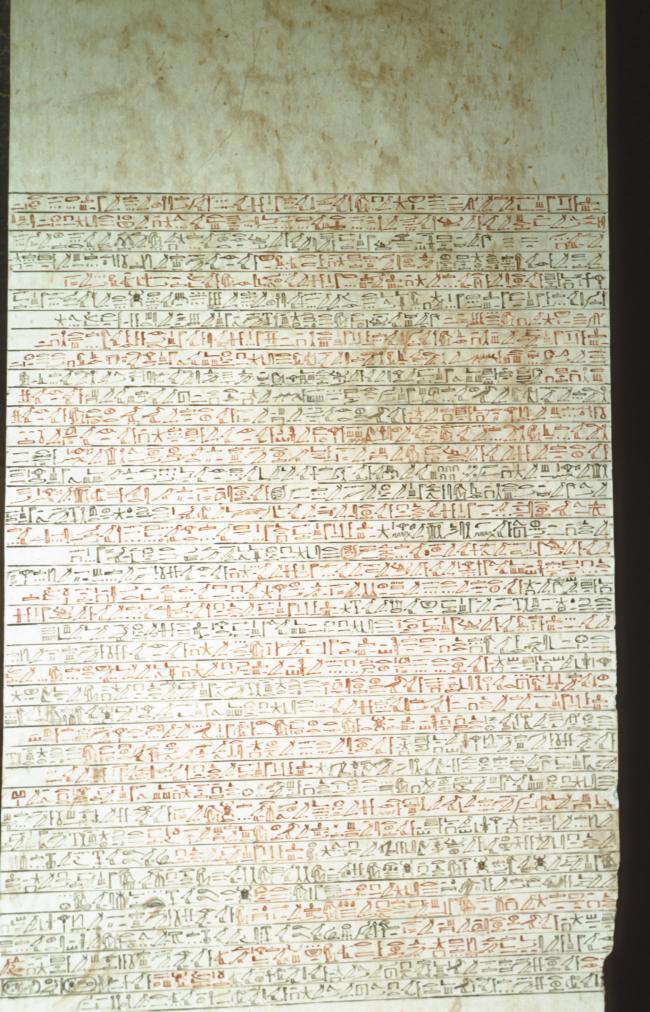
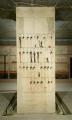
Litany of Re, pillar in the Burial Chamber. Courtesy of Uni Dia Verlag; Uni Dia Image Nr. 35081.
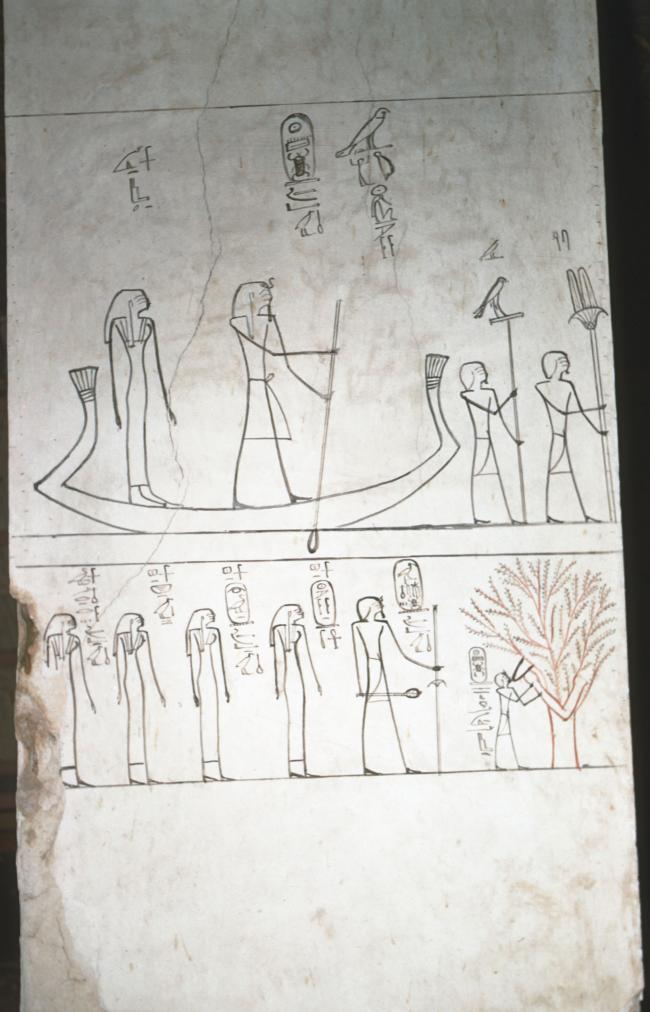
Deceased with deities, king nursed by a divine tree goddess labeled "Isis", and with wives and daughters; left (Northwest) pillar 1. Courtesy of Uni Dia Verlag; Uni Dia Image Nr. 35082.
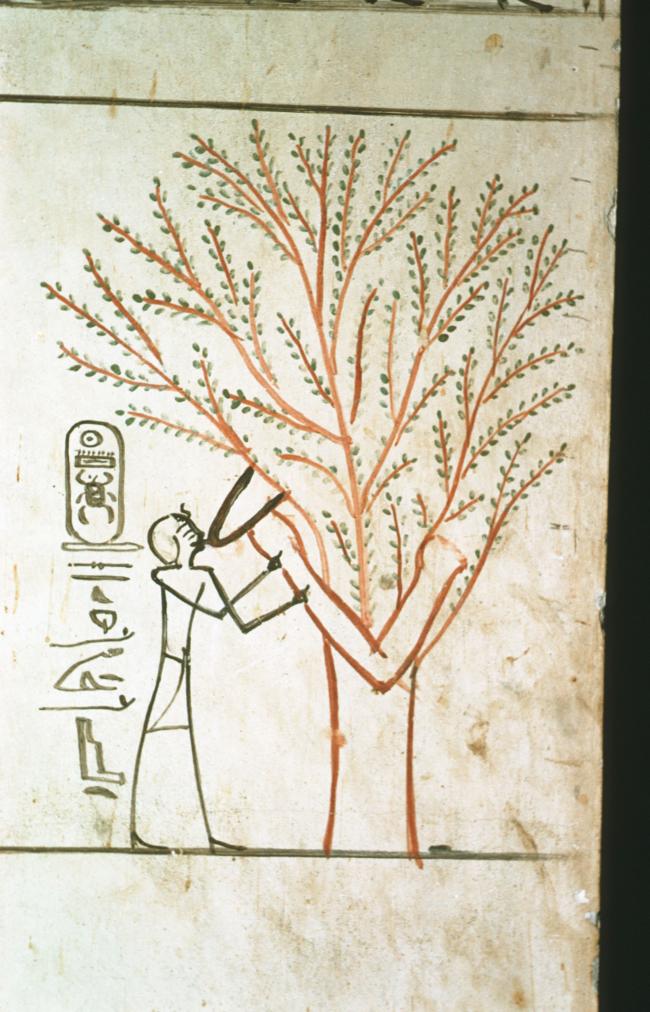
Detail of the king nursed by a divine tree goddess labeled "Isis"; (Northwest) pillar 1. Courtesy of Uni Dia Verlag; Uni Dia Image Nr. 35083.
Litany of Re. Courtesy of Uni Dia Verlag; Uni Dia Image Nr. 35084.
Litany of Re. Courtesy of Uni Dia Verlag; Uni Dia Image Nr. 35085.
Detail of Litany of Re. Courtesy of Uni Dia Verlag; Uni Dia Image Nr. 35086.
Litany of Re. Courtesy of Uni Dia Verlag; Uni Dia Image Nr. 35087.
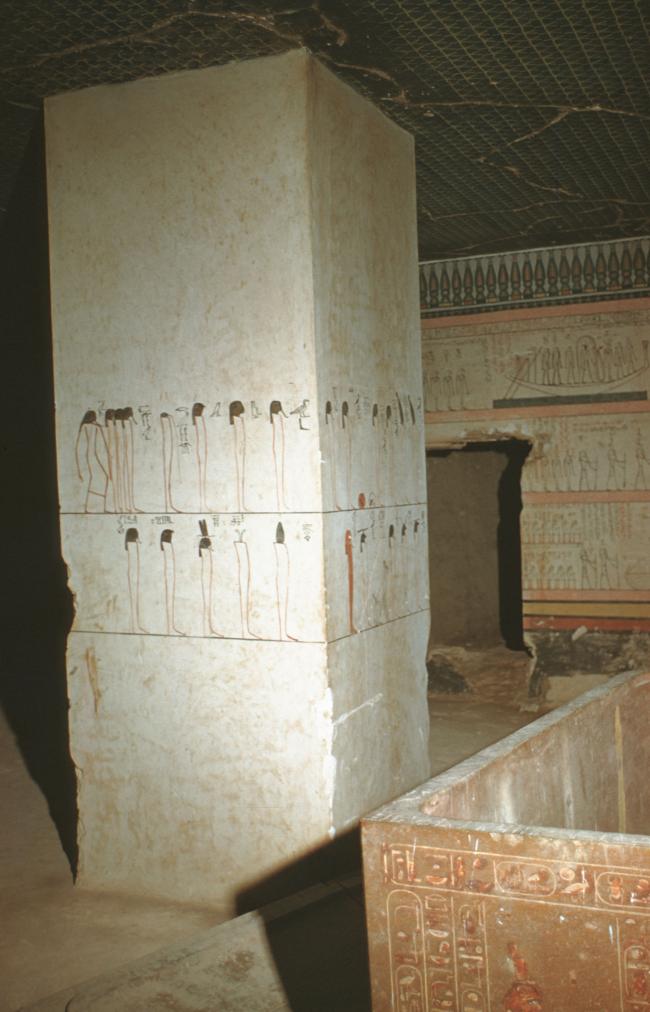
Corner of the sarcophagus and northeast pillar. Courtesy of Uni Dia Verlag; Uni Dia Image Nr. 35088.
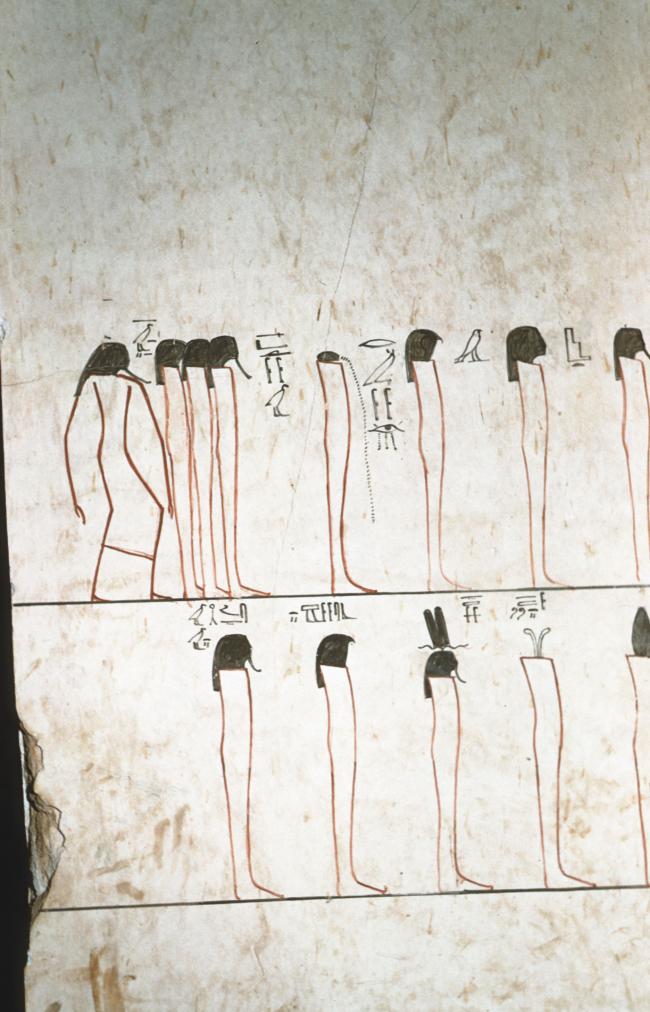
Litany of Re. Courtesy of Uni Dia Verlag; Uni Dia Image Nr. 35089.
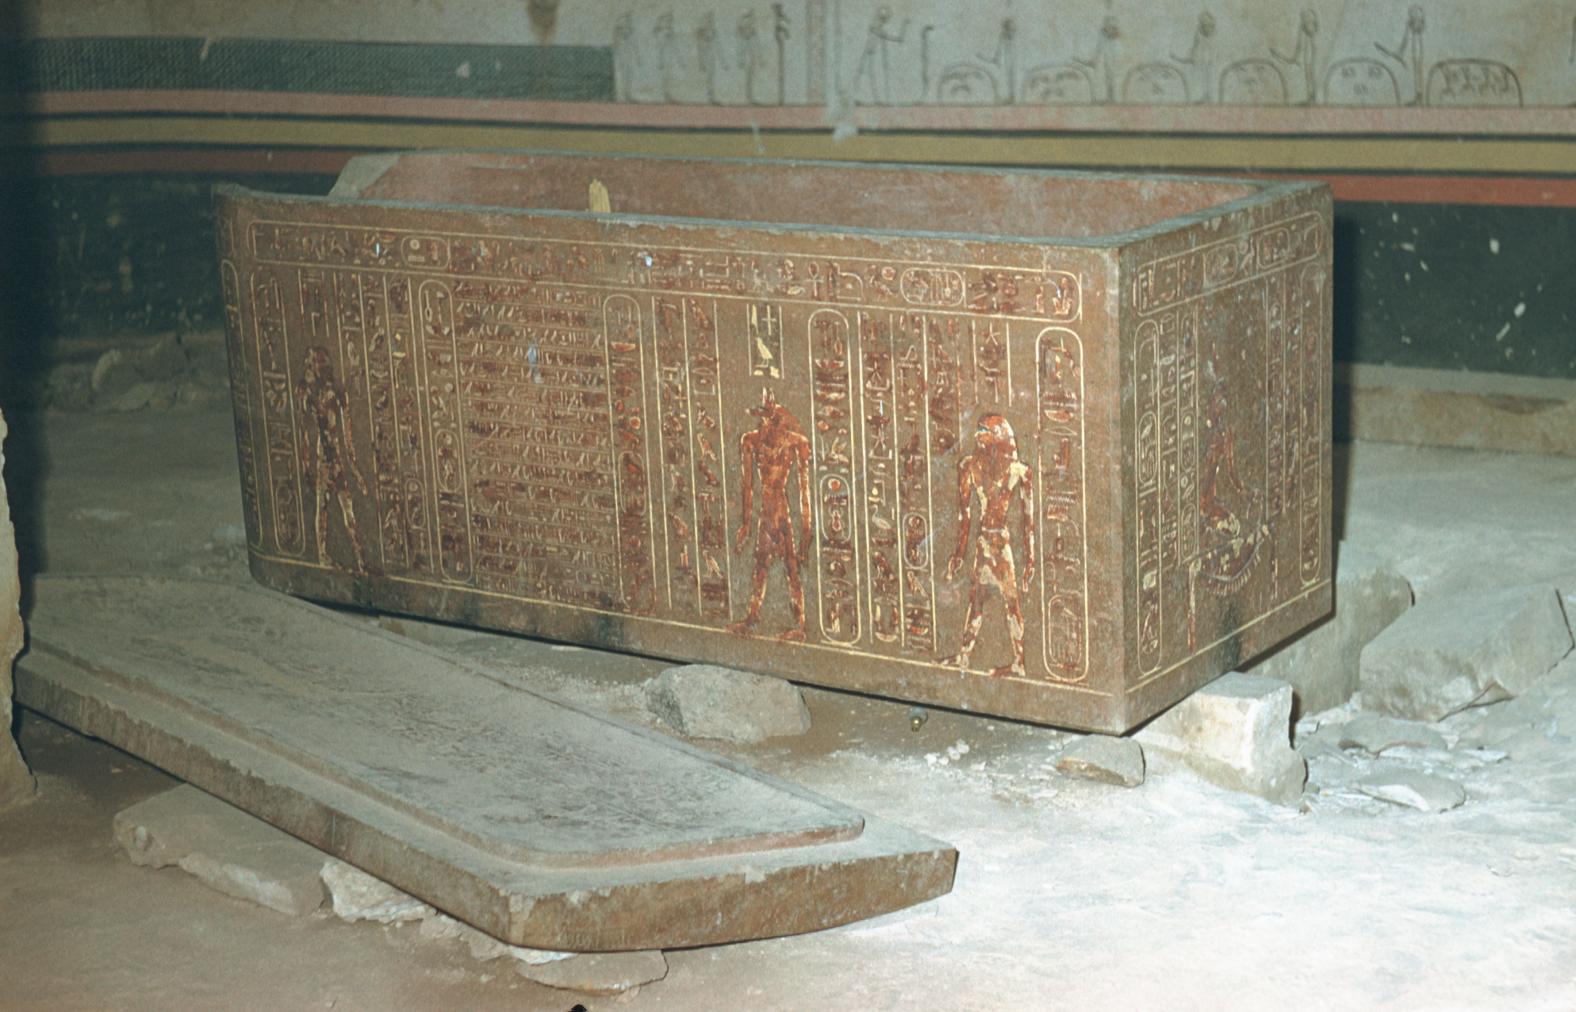
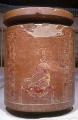
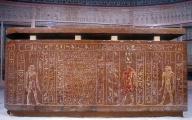
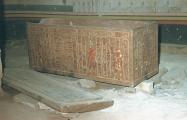
The quartzite sarcophagus with lid on floor. Courtesy of Uni Dia Verlag; Uni Dia Image Nr. 35090.
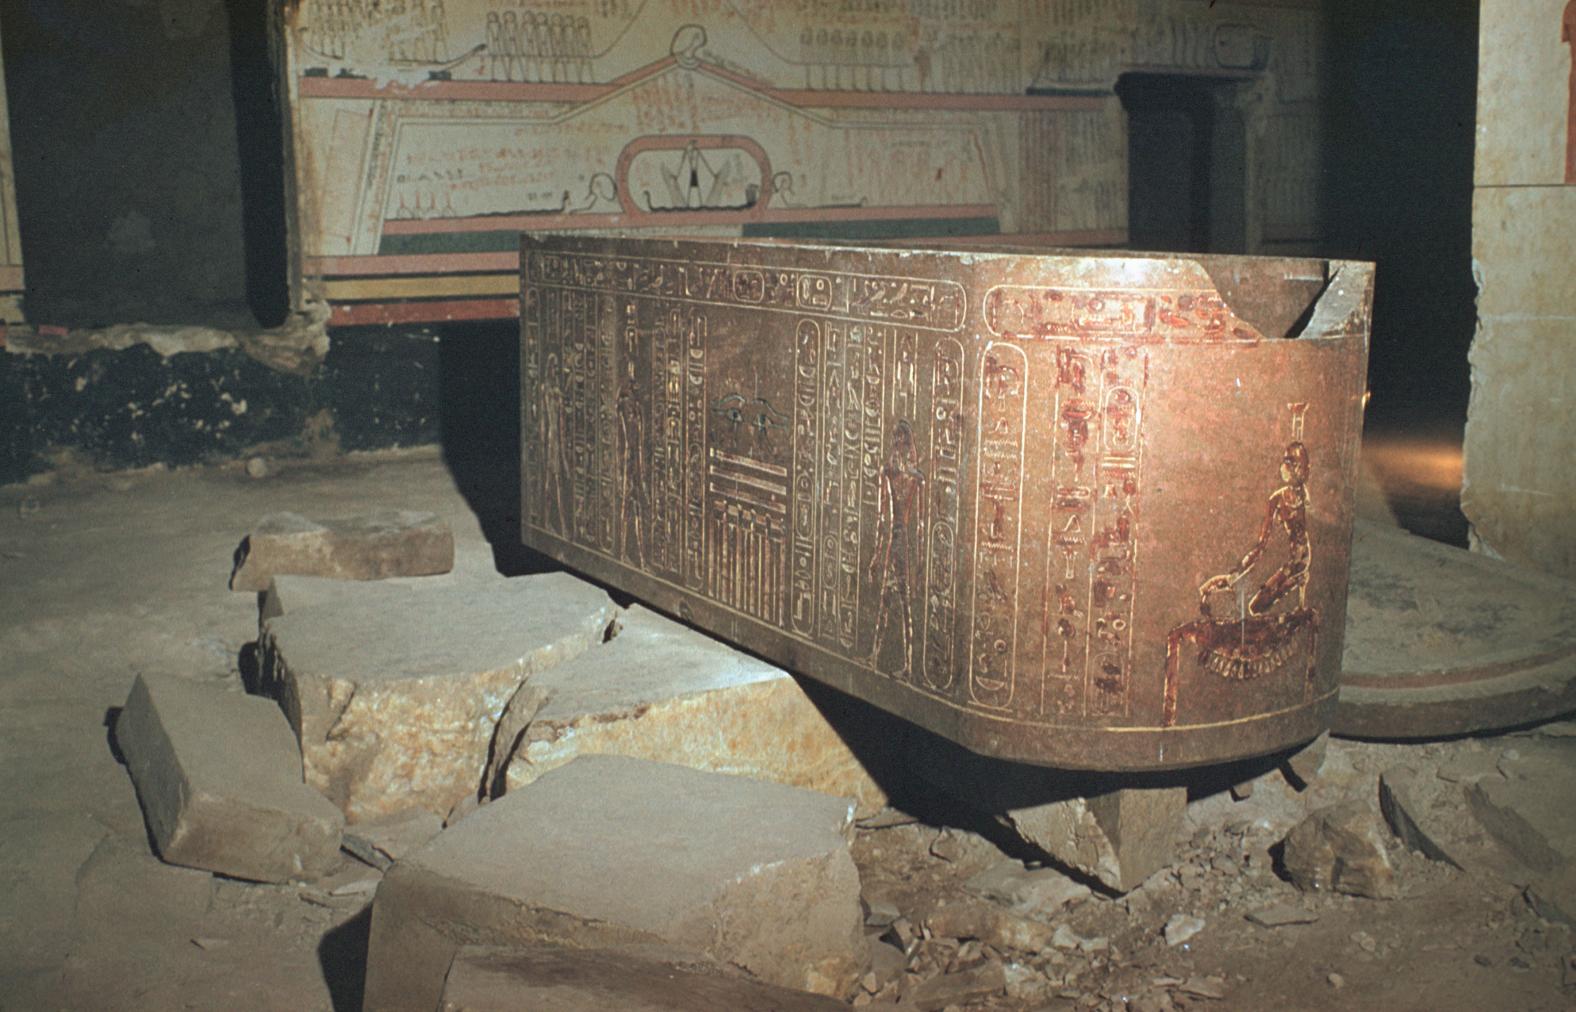
The quartzite sarcophagus with lid on floor. Courtesy of Uni Dia Verlag; Uni Dia Image Nr. 35091.
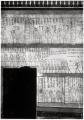
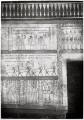
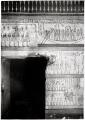
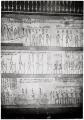
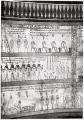
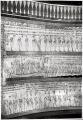
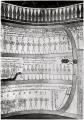
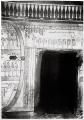
Gate Ja
See entire tombThere is a door bolt hole in the left (southwest) thickness of this gate.
Side chamber Ja
See entire tombThis trapezoidal side chamber lies to the left (northwest) of burial chamber J.
Gate Jb
See entire tombThe threshold of this gate is raised above the floor level of burial chamber J. There is a door bolt hole in the left (southwest) thickness of the gate.
Side chamber Jb
See entire tombThis trapezoidal side chamber lies to the left (northwest) of burial chamber J. The floor is raised above the floor level of burial chamber J.
Gate Jc
See entire tombThe floor level of gate Jc is approximately 70 cm (27.5 inches) above that of burial chamber J. There is a door bolt hole in the left (northeast) thickness of the gate.
Side chamber Jc
See entire tombThis roughly cut trapezoidal side chamber lies beyond the left (southeast) wall of burial chamber J and its floor is approximately 70 cm (27.5 inches) above that of the burial chamber.
Side chamber Jd
See entire tombThis roughly cut side chamber lies beyond the right (southeast) wall of burial chamber J.
Gate Jd
See entire tombThere is a door bolt hole in the left (northeast) thickness of the gate and a lintel beam slot at the top of each thickness.
About
About
The tomb of Thutmes III, KV 34, was cut into the base of a water-worn cleft above the cliff face at the head of the southernmost Wadi in the Valley of the Kings. The architecture of KV 34 represents a transition in royal tomb design. A steep entryway (A) gives access to a corridor (B), a chamber with central descent (C), and a second corridor (D), leading to a well chamber (E). The trapezoidal chamber F beyond the well has two central pillars and a stairwell at the northern end that descends to burial chamber J.
The long axis is perpendicular to that of the corridors above. The axis of the descent and the burial chamber is at less than a right angle (72.64°) to that of the preceding corridors. This chamber is rectangular with rounded corners, resembling a Cartouche, and four side chambers (Ja-Jd). The pillared chamber is decorated with scenes from the Imydwat. The burial chamber is decorated with the Imydwat and scenes from the Litany of Ra.
Noteworthy features:
Well chamber E is an innovation, which is found in the tombs of Thutmes III's successors. The cartouche-shaped burial chamber J is unique, with the first complete version of the Imydwat and the earliest version of the Litany of Ra on its walls.
Site History
According to Romer (see bibliography), the tomb was constructed in nine phases, some of which included the completion or repair of decoration following the king's burial. Gates C, D and F were enlarged in an attempt to emplace the larger items of funerary furniture. The decoration in burial chamber J was probably not applied until after the death of the king, when the burial preparations were in progress. Before the closure of the tomb, the decoration of well chamber F, which had been damaged when the doorways were enlarged, was repainted.
The tomb was plundered in antiquity, and the Sarcophagus, as well as many of the remaining objects, were found damaged. It appears that two of the side chambers were anciently cleared of their original contents. Some have theorized that this may indicate that they served as temporary caches for mummies as was done in KV 35. The badly damaged mummy of Thutmes III, which was removed and rewrapped during Dynasty 21, was found in its original outer Coffin in the Dayr al Bahri cache, TT 320, in 1881. Two damaged mummies found in KV 34 were also disturbed, indicating that the tomb was entered again after their burial.
Dating
This site was used during the following period(s):
Exploration
Conservation
Conservation History
The Supreme Council of Antiquities has installed glass panels along the burial chamber walls to prevent tourists from touching them, and wooden flooring to protect the stone floors and aid in preventing dust accumulation. It has moved the sarcophagus box to its ancient position over a plinth of calcite blocks and placed the repaired lid on the box. Fans have been installed in the lower chambers in an attempt to reduce the build-up of humid air.
Site Condition
Water entered the tomb in the 1994 flooding and collected in the bottom of the well, where it was absorbed by unexcavated debris and increased the humidity level in the tomb.
Hieroglyphs
Thutmes III
 King of Upper and Lower Egypt, Established is the Manifestation of Ra, Son of Ra, Born of Thoth, Beautiful of Manifestations
niswt-bity mn-xpr-Raw sA-Raw 9Hwty-ms nfr-xprw
Imydwat, tenth hour; modern glass panels installed to protect painted surface.
Isis on the foot end of the sarcophagus.
Nephthys.
Imydwat, tenth and eleventh hours: list of deities.
Imydwat, tenth hour, upper register, scene 3, figure 701; scene 2, figure 696; scene 1, figure 693.
Imydwat, eleventh hour, scene 4, figure 761; scene 2, figures 755-756; scene 3 figures 757-758; scene 9, figure 802: list of deities.
Imsety, Anubis, and Duamutef.
Qebehsenuef, Anubis and eye-panel.
Anubis, eye-panel and Hapy.
Star pattern; kheker frieze; Imydwat, eleventh hour, upper register, scenes 1-3, figures 754-758.
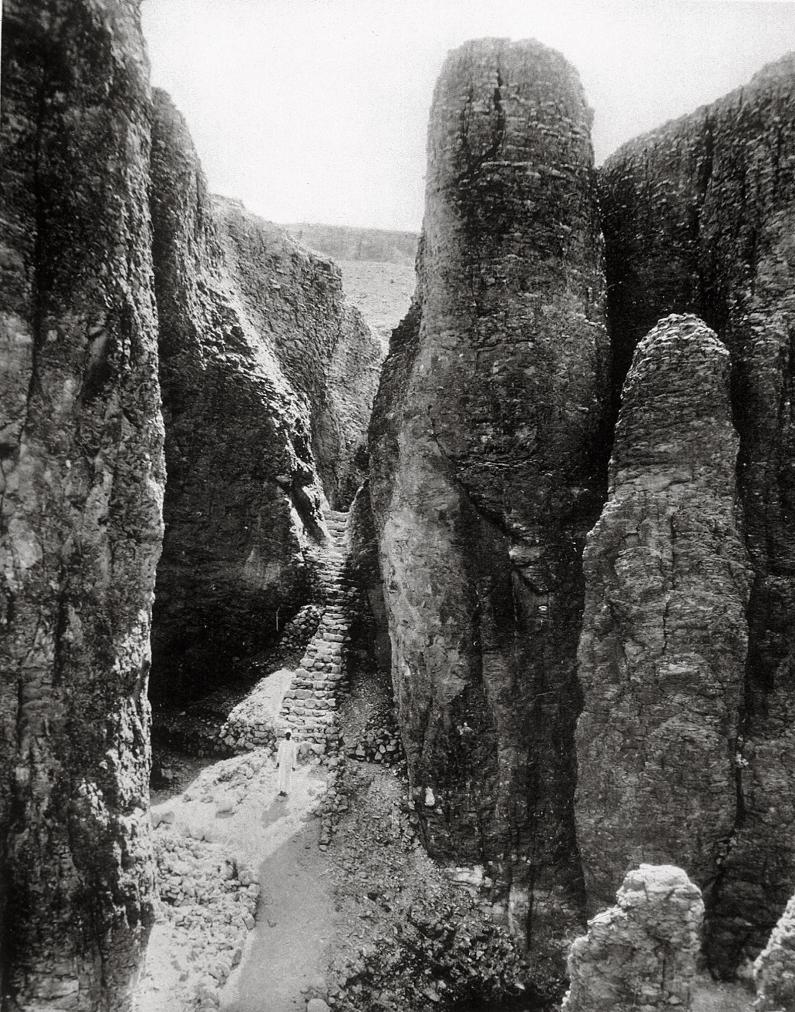
Rubble ramp and steps leading to tomb entrance, ca. 1910.
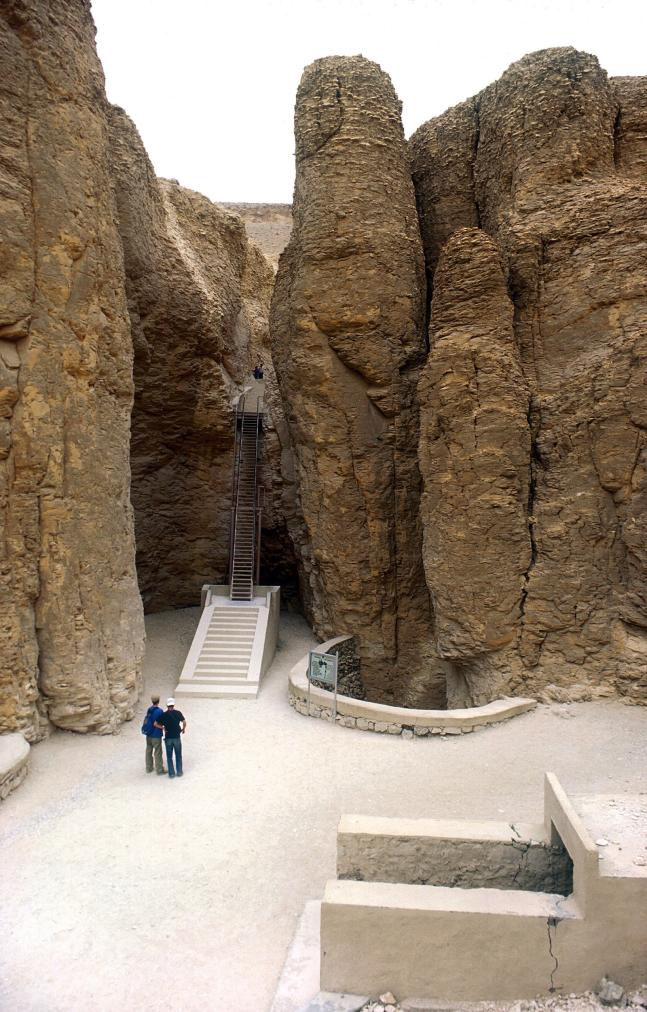
Modern steps leading to KV 34 entrance; entrances to KV 32 and KV 42.
Thutmes III with his mother Isis in boat; Thutmes III and royal women; Thutmes III suckled by the goddess Isis in the form of a sycamore tree.
Litany of Ra: forms of Ra.
Imydwat, sixth hour, middle register: solar bark.
Imydwat, first hour, middle and lower registers.
Imydwat, first hour, lower register, scenes 6-8, figures 89-109.
Imydwat, fifth and sixth hours: list of deities.
Imydwat, sixth hour, scene 11, figure 472: Four Sons of Horus.
Imydwat, seventh hour, scene 10, figures 553-555.
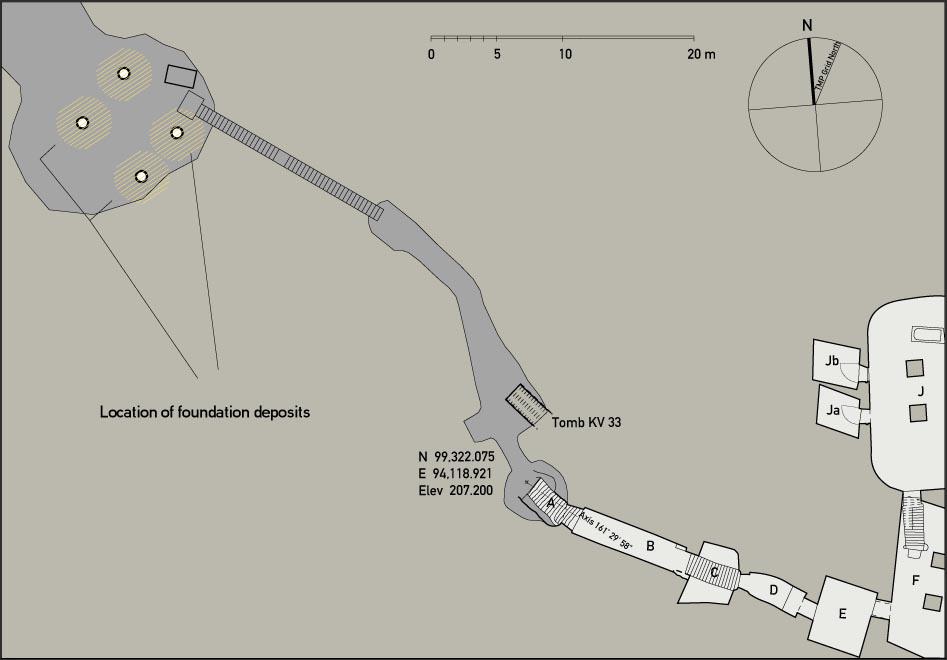
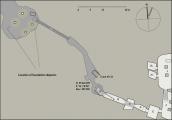
Foundation deposits.
Imydwat, tenth hour: detail.
Imydwat, twelfth hour: detail.
Imydwat, twelfth hour.
Imydwat, first hour: detail.
Tomb entrance.
Imydwat, tenth hour: two-headed snake.
Well Chamber E, tomb of Thutmes III.
Thutmes III suckling
Comparison over time of of Thutmes III suckling scene in Burial Chamber J
Star pattern; kheker frieze (detail).
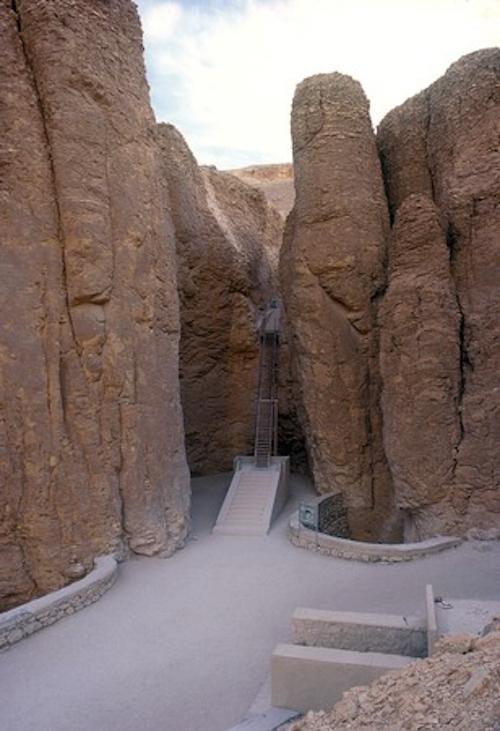
Modern Stairway leading to KV 34, with KV 32 modern entry at lower right (entrances to KV 37 and KV 42 to left and right behind walls).
Star pattern; kheker frieze; Imydwat, twelfth hour: grid with stars and incense burners.
Kheker freize (detail)
Star pattern; kheker frieze; Imydwat, eleventh hour; protective glass paneling.
Anubis, eye panel and Hapy on sarcophagus.
Star pattern; kheker frieze (detail).
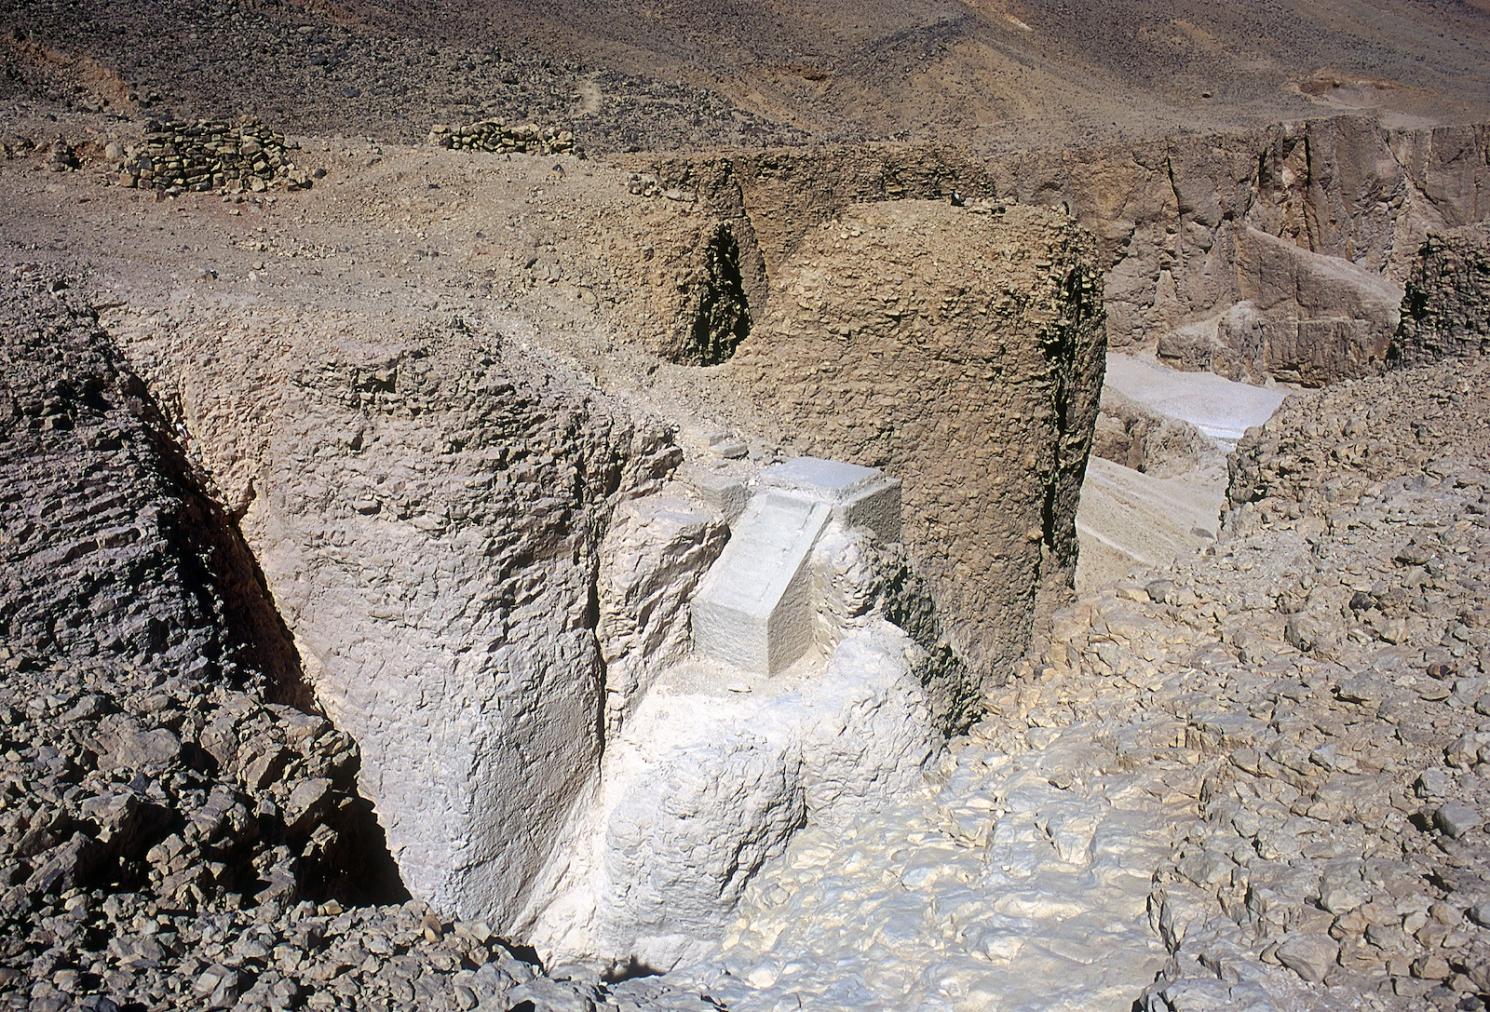
Cement foundations of previous modern stairway descending to tomb entrance from cliffs above.
Star pattern; kheker frieze; Imydwat, tenth hour; modern glass panels installed to protect painted surface.
Isis kneeling on gold symbol (detail).
Imydwat,sixth hour, scene 13, figure 475 (detail).
Imydwat, sixth hour: star and incense burner in list of deities (detail)
Kheker frieze; Imydwat, fifth and sixth hours.
Kheker frieze; Imydwat, sixth hour.
Kheker frieze; Imydwat, first hour.
Kheker frieze; Imydwat, first and second hours.
Kheker frieze; Imydwat, second hour.
Kheker frieze; Imydwat, third hour.
Imydwat, fourth hour.
Imydwat, fourth and seventh hours.
Kheker frieze; Imydwat, seventh hour.
Kheker frieze; Imydwat, seventh hour.
Imydwat, eighth hour.
Imydwat, eighth hour.
Imydwat, eighth hour.
Kheker frieze; Imydwat, eighth and ninth hours.
Kheker frieze; Imydwat, ninth hour.
Kheker frieze; Imydwat, ninth hour.
Kheker frieze; Imydwat, ninth and tenth hours.
Kheker frieze; Imydwat, tenth hour.
Kheker frieze; Imydwat, tenth hour.
Imydwat, eleventh hour.
Kheker frieze; Imydwat, eleventh hour.
Kheker frieze; Imydwat, twelfth hour.
Kheker frieze; Imydwat, twelfth hour.
Kheker frieze; Imydwat, twelfth hour (end), fifth hour (beginning of upper register).
Kheker frieze; Imydwat, fifth hour.
Imydwat, fifth hour.
Litany of Ra: forms of Ra.
Litany of Ra, text and forms of Ra.
Thutmes III and his mother Isis in a boat; Thutmes IIII followed by Queens Merytre, Hatshepsut, Sitioh, and Nebtu, and Princess Nefertere; Thutmes III suckled by goddess Isis as sycamore tree.
Litany of Ra: forms of Ra; Imydwat, abridged version, first part.
Litany of Ra: forms of Ra.
Litany of Ra: forms of Ra.
Litany of Ra: forms of Ra.
Imydwat, first hour: list of deities.
Imydwat, first hour: list of deities.
Imydwat, first hour: list of deities.
Imydwat, first and second hours: list of deities.
Imydwat, second hour: list of deities.
Imydwat, second hour: list of deities.
Imydwat, third hour: list of deities.
Imydwat, third and fourth hours: list of deities.
Imydwat, fourth and fifth hours: list of deities.
Imydwat, fifth hour: list of deities.
Imydwat, fifth and sixth hours: list of deities.
Imydwat, sixth hour: list of deities.
Imydwat, sixth and seventh hours: list of deities.
Imydwat, seventh and eighth hours: list of deities.
Imydwat, eighth hour: list of deities.
Imydwat, eighth and ninth hours: list of deities.
Imydwat, ninth hour: list of deities.
Imydwat, ninth and tenth hours: list of deities.
Imydwat, tenth and eleventh hours: list of deities.
Imydwat, eleventh and twelfth hours: list of deities.
Imydwat, twelfth hour: list of deities.
Imydwat, twelfth hour: list of deities.
Kheker frieze; Imydwat, first and second hours: list of deities.
Imydwat, abridged version, second part.
View from in front of the tomb entrance towards the East valley. Courtesy of Uni Dia Verlag; Uni Dia Image Nr. 35003
Entrance stairs to the tomb. Courtesy of Uni Dia Verlag; Uni Dia Image Nr. 35004
View of Pillared Chamber F, lists 741 divinities of the Imydwat. Courtesy of Uni Dia Verlag; Uni Dia Image Nr. 35005.
The Gods of the 12th hour (catalog of gods). Courtesy of Uni Dia Verlag; Uni Dia Image Nr. 35006
The Gods of the 11th Hour (catalog of gods). Courtesy of Uni Dia Verlag; Uni Dia Image Nr. 35007
The Gods of the 10th and 11th hours (catalog of gods). Courtesy of Uni Dia Verlag; Uni Dia Image Nr. 35008
The Gods of the 10th Hour (catalog of gods). Courtesy of Uni Dia Verlag; Uni Dia Image Nr. 35009.
View into the Northeast corner, Catalog of Gods. Courtesy of Uni Dia Verlag; Uni Dia Image Nr. 35010
The Gods of the 8th and 9th Hours (catalog of gods). Courtesy of Uni Dia Verlag; Uni Dia Image Nr. 35011
The Gods of the 7th and 8th Hours (catalog of gods). Courtesy of Uni Dia Verlag; Uni Dia Image Nr. 35012.
The Gods of the 6th and 7th hours (catalog of gods). Courtesy of Uni Dia Verlag; Uni Dia Image Nr. 35013.
View of the Southeast corner (catalog of gods). Courtesy of Uni Dia Verlag; Uni Dia Image Nr. 35014.
The Gods of the 5th and 6th hours (catalog of gods). Courtesy of Uni Dia Verlag; Uni Dia Image Nr. 35015.
The Gods of the 4th and 5th Hours (catalog of gods). Courtesy of Uni Dia Verlag; Uni Dia Image Nr. 35016.
View of the central part of the south (rear) wall (catalog of gods). Courtesy of Uni Dia Verlag; Uni Dia Image Nr. 35017.
The Gods of the 4th hour (catalog of gods). Courtesy of Uni Dia Verlag; Uni Dia Image Nr. 35018.
The Gods of the 3rd Hour (catalog of gods). Courtesy of Uni Dia Verlag; Uni Dia Image Nr. 35019.
The Gods of the 2nd Hour (catalog of gods). Courtesy of Uni Dia Verlag; Uni Dia Image Nr. 35020.
View into the Southwest corner (catalog of gods). Courtesy of Uni Dia Verlag; Uni Dia Image Nr. 35021.
The Gods of the 2nd Hour (catalog of gods). Courtesy of Uni Dia Verlag; Uni Dia Image Nr. 35022.
The Gods of the 2nd Hour (catalog of gods). Courtesy of Uni Dia Verlag; Uni Dia Image Nr. 35023.
The Gods of the 1st Hour (catalog of gods). Courtesy of Uni Dia Verlag; Uni Dia Image Nr. 35024.
View of Northwest Corner and Gods of the 1st Hour (catalog of gods). Courtesy of Uni Dia Verlag; Uni Dia Image Nr. 35025.
View into the Northeast corner and descent to the burial chamber. Courtesy of Uni Dia Verlag; Uni Dia Image Nr. 35026.
View of descent F and Gate J from Burial Chamber J. Courtesy of Uni Dia Verlag; Uni Dia Image Nr. 35027.
View of Gate J and the Northwest corner of Burial Chamber J with the 4th and 7th hours of the Imydwat. Courtesy of Uni Dia Verlag; Uni Dia Image Nr. 35028.
End of the 4th hour of the Imydwat. Courtesy of Uni Dia Verlag; Uni Dia Image Nr. 35029.
The King with his Consort and Demons, end of the 4th Hour of the Imydwat. Courtesy of Uni Dia Verlag; Uni Dia Image Nr. 35030.
Beginning of the 7th hour of the Imydwat. Courtesy of Uni Dia Verlag; Uni Dia Image Nr. 35031.
Detail of the 7th Hour of the Imydwat. Courtesy of Uni Dia Verlag; Uni Dia Image Nr. 35032.
Barque of the Gods (Isis standing at the bow), detail of the 7th Hour of the Imydwat. Courtesy of Uni Dia Verlag; Uni Dia Image Nr. 35033.
Demons and Serpent in the 7th Hour of the Imydwat. Courtesy of Uni Dia Verlag; Uni Dia Image Nr. 35034.
7th hour of the Imydwat. Courtesy of Uni Dia Verlag; Uni Dia Image Nr. 35035.
End of the 7th hour of the Imydwat. Courtesy of Uni Dia Verlag; Uni Dia Image Nr. 35036.
Detail from the end of the 7th hour of the Imydwat. Courtesy of Uni Dia Verlag; Uni Dia Image Nr. 35037.
The 8th hour of the Imydwat and the entrance to side chambers Ja and Jb. Courtesy of Uni Dia Verlag; Uni Dia Image Nr. 35038.
At the beginning of the 8th hour of the Imydwat. Courtesy of Uni Dia Verlag; Uni Dia Image Nr. 35039.
Continuation of the 8th hour of the Imydwat above the door to side chamber Ja. Courtesy of Uni Dia Verlag; Uni Dia Image Nr. 35040.
At the end of the 8th hour of the Imydwat between two side chambers Ja and Jb. Courtesy of Uni Dia Verlag; Uni Dia Image Nr. 35041.
Demons in 8th Hour of the Imydwat. Courtesy of Uni Dia Verlag; Uni Dia Image Nr. 35042.
Demons in 8th Hour of the Imydwat. Courtesy of Uni Dia Verlag; Uni Dia Image Nr. 35043.
Crowned Rams in the 8th Hour of the Imydwat. Courtesy of Uni Dia Verlag; Uni Dia Image Nr. 35044.
Four Cobras in the 8th Hour of the Imydwat. Courtesy of Uni Dia Verlag; Uni Dia Image Nr. 35045.
Northeast corner of the burial chamber with 9th and 10th hours of the Imydwat. Corner of Gate Jb visible on the left hand side. Courtesy of Uni Dia Verlag; Uni Dia Image Nr. 35046.
Solar Bark in the 9th hour of the Imydwat and top right corner of Gate Jb. Courtesy of Uni Dia Verlag; Uni Dia Image Nr. 35047.
9th Hour of the Imydwat and corner of gate Jb. Courtesy of Uni Dia Verlag; Uni Dia Image Nr. 35048.
At the end of the 9th hour of the Imydwat. Courtesy of Uni Dia Verlag; Uni Dia Image Nr. 35049.
10th hour of the Imydwat in the northeast corner of the burial chamber. Courtesy of Uni Dia Verlag; Uni Dia Image Nr. 35050.
10th Hour of the Imydwat. Courtesy of Uni Dia Verlag; Uni Dia Image Nr. 35051.
Gods, demons, and bark with snake in 10th Hour of the Imydwat. Courtesy of Uni Dia Verlag; Uni Dia Image Nr. 35052.
The 11th hour of the Imydwat. Courtesy of Uni Dia Verlag; Uni Dia Image Nr. 35053.
Detail from the 11th Hour of the Imydwat. Courtesy of Uni Dia Verlag; Uni Dia Image Nr. 35054.
Solar Bark in the 11th Hour of the Imydwat. Courtesy of Uni Dia Verlag; Uni Dia Image Nr. 35055.
View into the southeast corner of Burial Chamber J with king's sarcophagus. Courtesy of Uni Dia Verlag; Uni Dia Image Nr. 35056.
The quartzite sarcophagus in front of the east wall, 11th and 12th hours of the Imydwat. Courtesy of Uni Dia Verlag; Uni Dia Image Nr. 35057.
The 12th hour of the Imydwat. Courtesy of Uni Dia Verlag; Uni Dia Image Nr. 35058.
Detail of 12th Hour of the Imydwat. Courtesy of Uni Dia Verlag; Uni Dia Image Nr. 35059.
Detail of 12th Hour of the Imydwat. Courtesy of Uni Dia Verlag; Uni Dia Image Nr. 35060.
5th hour of the Imydwat between side chambers Jc and Jd. Courtesy of Uni Dia Verlag; Uni Dia Image Nr. 35061.
Detail of the 5th Hour of the Imydwat. Courtesy of Uni Dia Verlag; Uni Dia Image Nr. 35062.
Detail of the 5th Hour of the Imydwat. Courtesy of Uni Dia Verlag; Uni Dia Image Nr. 35063.
6th hour of the Imydwat around the entrance to side chamber Jd. Courtesy of Uni Dia Verlag; Uni Dia Image Nr. 35064.
Detail of the 6th Hour of the Imydwat. Courtesy of Uni Dia Verlag; Uni Dia Image Nr. 35065.
Southwest corner of Burial Chamber J with the 1st-4th Hours of the Imydwat. Courtesy of Uni Dia Verlag; Uni Dia Image Nr. 35066.
Title and 1st hour of the Imydwat. Courtesy of Uni Dia Verlag; Uni Dia Image Nr. 35067.
2nd hour and beginning of the 3rd hour of the Imydwat. Courtesy of Uni Dia Verlag; Uni Dia Image Nr. 35068.
Detail of 2nd hour of the Imydwat. Courtesy of Uni Dia Verlag; Uni Dia Image Nr. 35069.
3rd and 4th hours of the Imydwat. Courtesy of Uni Dia Verlag; Uni Dia Image Nr. 35070.
The 3rd hour of the Imydwat. Courtesy of Uni Dia Verlag; Uni Dia Image Nr. 35071.
Detail of the 3rd hour of the Imydwat. Courtesy of Uni Dia Verlag; Uni Dia Image Nr. 35072.
Detail of the 3rd hour of the Imydwat. Courtesy of Uni Dia Verlag; Uni Dia Image Nr. 35073.
Detail of the 3rd hour of the Imydwat. Courtesy of Uni Dia Verlag; Uni Dia Image Nr. 35074.
Detail of the 3rd hour of the Imydwat. Courtesy of Uni Dia Verlag; Uni Dia Image Nr. 35075.
The 4th hour of the Imydwat. Courtesy of Uni Dia Verlag; Uni Dia Image Nr. 35076.
Detail of the 4th Hour of the Imydwat. Courtesy of Uni Dia Verlag; Uni Dia Image Nr. 35077.
Detail of the 4th Hour of the Imydwat. Courtesy of Uni Dia Verlag; Uni Dia Image Nr. 35078.
Detail of the 4th Hour of the Imydwat. Courtesy of Uni Dia Verlag; Uni Dia Image Nr. 35079.
The two pillars in the middle of Burial Chamber J. Courtesy of Uni Dia Verlag; Uni Dia Image Nr. 35080.
Litany of Re, pillar in the Burial Chamber. Courtesy of Uni Dia Verlag; Uni Dia Image Nr. 35081.
Deceased with deities, king nursed by a divine tree goddess labeled "Isis", and with wives and daughters; left (Northwest) pillar 1. Courtesy of Uni Dia Verlag; Uni Dia Image Nr. 35082.
Detail of the king nursed by a divine tree goddess labeled "Isis"; (Northwest) pillar 1. Courtesy of Uni Dia Verlag; Uni Dia Image Nr. 35083.
Litany of Re. Courtesy of Uni Dia Verlag; Uni Dia Image Nr. 35084.
Litany of Re. Courtesy of Uni Dia Verlag; Uni Dia Image Nr. 35085.
Detail of Litany of Re. Courtesy of Uni Dia Verlag; Uni Dia Image Nr. 35086.
Litany of Re. Courtesy of Uni Dia Verlag; Uni Dia Image Nr. 35087.
Corner of the sarcophagus and northeast pillar. Courtesy of Uni Dia Verlag; Uni Dia Image Nr. 35088.
Litany of Re. Courtesy of Uni Dia Verlag; Uni Dia Image Nr. 35089.
Articles
Historical Development of the Valley of the Kings
History of the Valley of the Kings: Third Intermediate Period to the Byzantine Period
Development of Tombs in the Valley of the Kings
Bibliography
Bucher, P. Les Textes des Tombes de Thoutmosis III et d'Aménophis II (= Mémoires publiés par les members de l’Institut français d’archéologie orientale du Cairo, 60). Cairo, 1932.
Cavillier, Giacomo. Progetto Kay. Richerche Italiane e Scavi in Egitto 6 (2013): 29-31
Daressy, Georges. Fouilles de la Vallée des Rois, 1898-1899 (Cairo, 1902): 281-298.
Dunham, Dows. A Fragment from the Mummy Wrappings of Tuthomsis III. Journal of Egyptian Archaeology. London. 17 (1931): 209-210.
Fornari, Annamaria and Mario Tosi. Nella sede della verità: Deir el Medina e l’ipogeo di Thutmosi III. Milan: Franco Maria Ricci, 1987.
Hayes, William C. Royal Sarcophagi of the XVIIIth Dynasty (= Princeton Monographs in Art and Archaeology, Quarto Series, 19). Priceton, 1935. Pp. 22-23, 51-52, 110-113, 165-167, 183-204.
Helck, Wolfgang. Königsgräbertal. Wolfgang Helk, Ebrnart Otto and Wolfhart Westendorf (eds.). elck, Evbermnart Lexikon der Ägyptologie, 3. Wiesbaden: Harrassowitz, 1980. Pp. 520.
Hornung, Erik. The Tomb of Thutmosis III. In: Kent R. Weeks (ed.). The Treasures of the Valley of the Kings: Tombs and Temples of the Theban West Bank in Luxor. Vercelli: WhiteStar, 2001; Cairo: American University in Cairo Press, 2001. Pp. 136-139.
Loret, Victor. Le tombeau de Thoutmes III à Biban el-Molouk. Bulletin de l’Institut d’Égypte. Cairo. (3 ser.) 9 (1899): 91-97.