KV 43
Thutmes IV
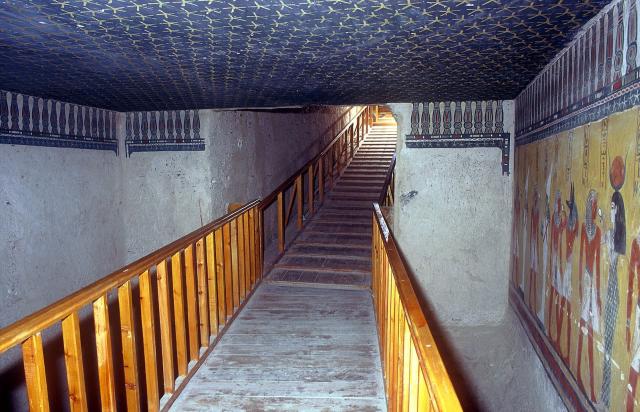
Well chamber, with unfinished decoration, and staircase leading toward tomb entrance beyond.

Entryway A
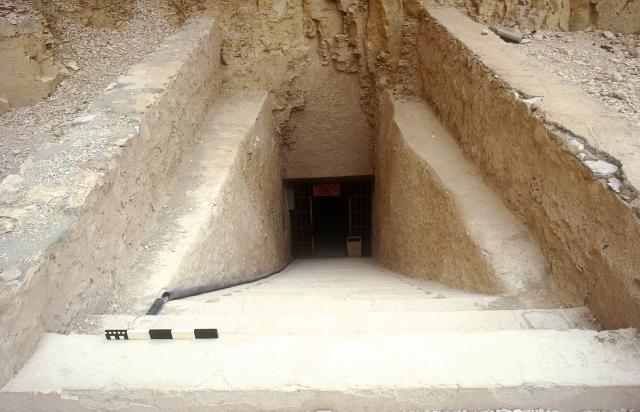
See entire tombA roughly cut, unfinished rock-cut stairway descends from an opening cut into the mountainside and leads directly to corridor B. A pair of beam holes lie near the bottom of the stairway. There is no evidence of a lintel or jambs between entryway A and corridor B.
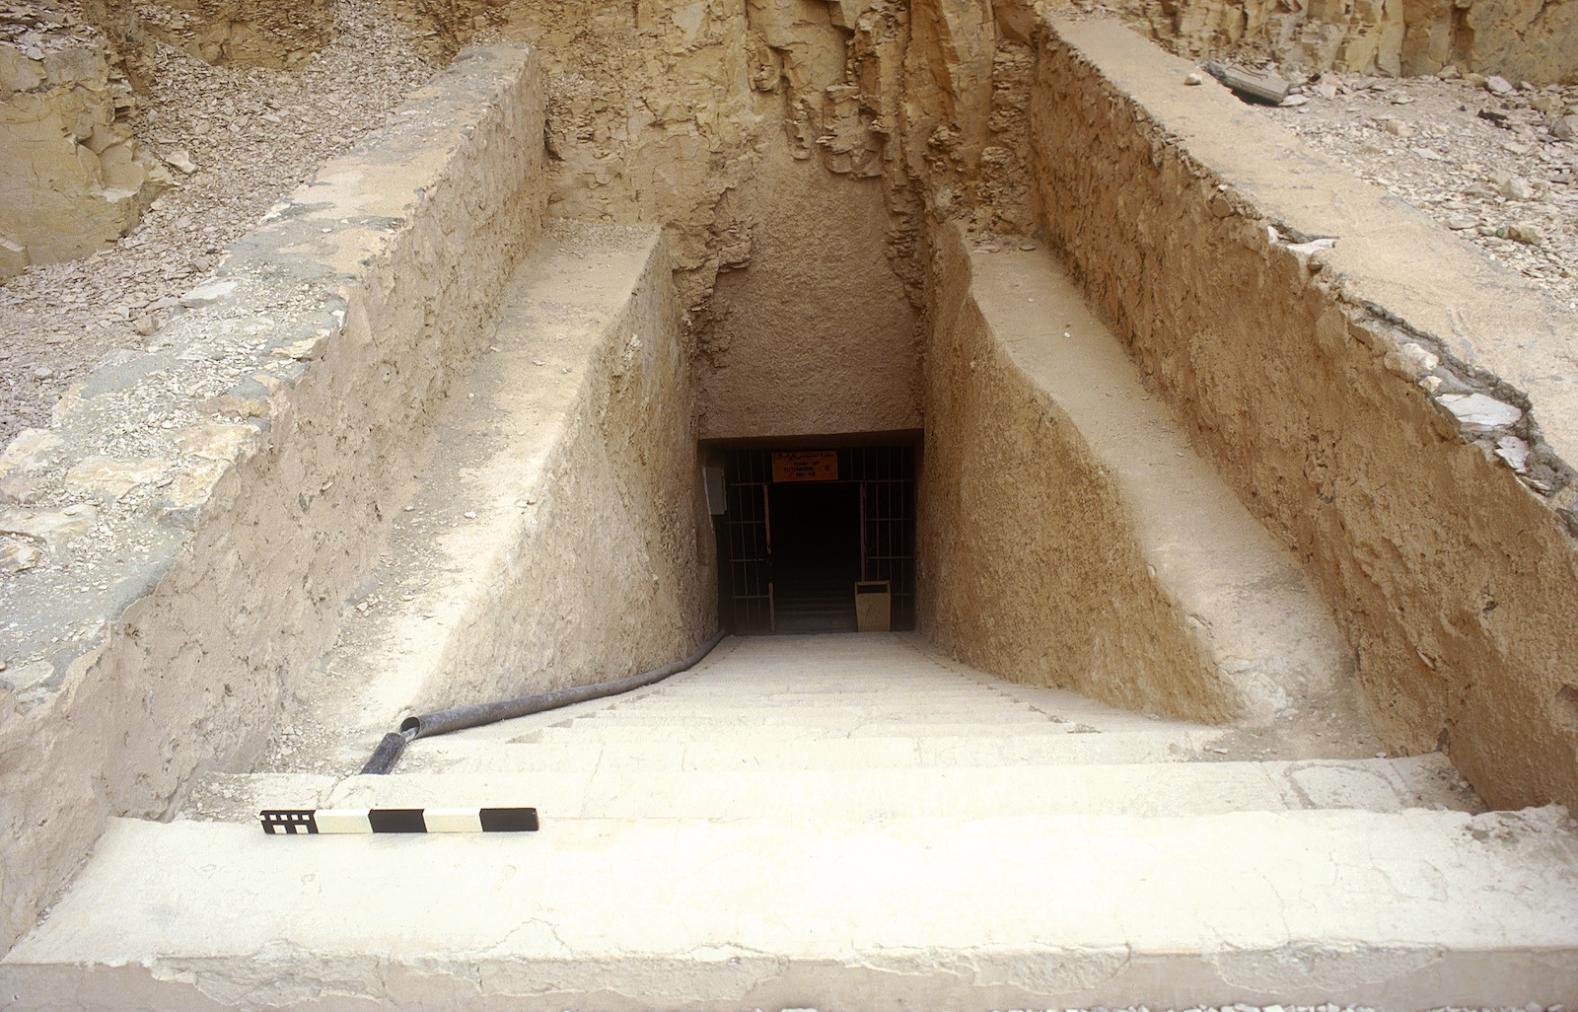
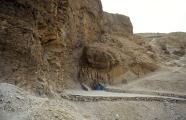
Entrance to tomb of Thutmes IV with modern steps.
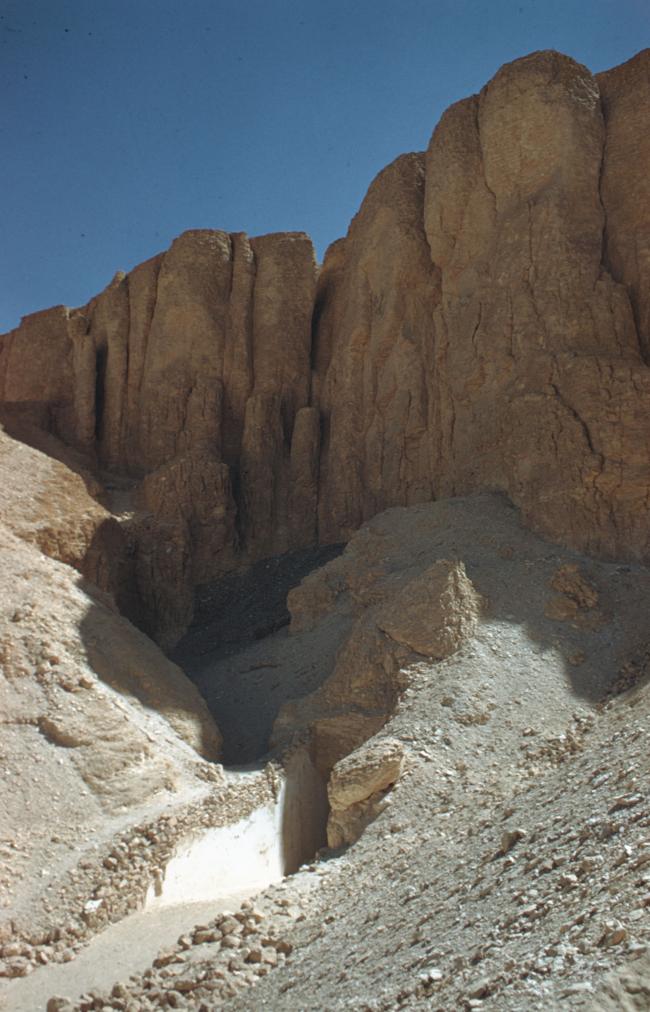
Tomb entrance. Courtesy of Uni Dia Verlag; Uni Dia Image Nr. 35201.
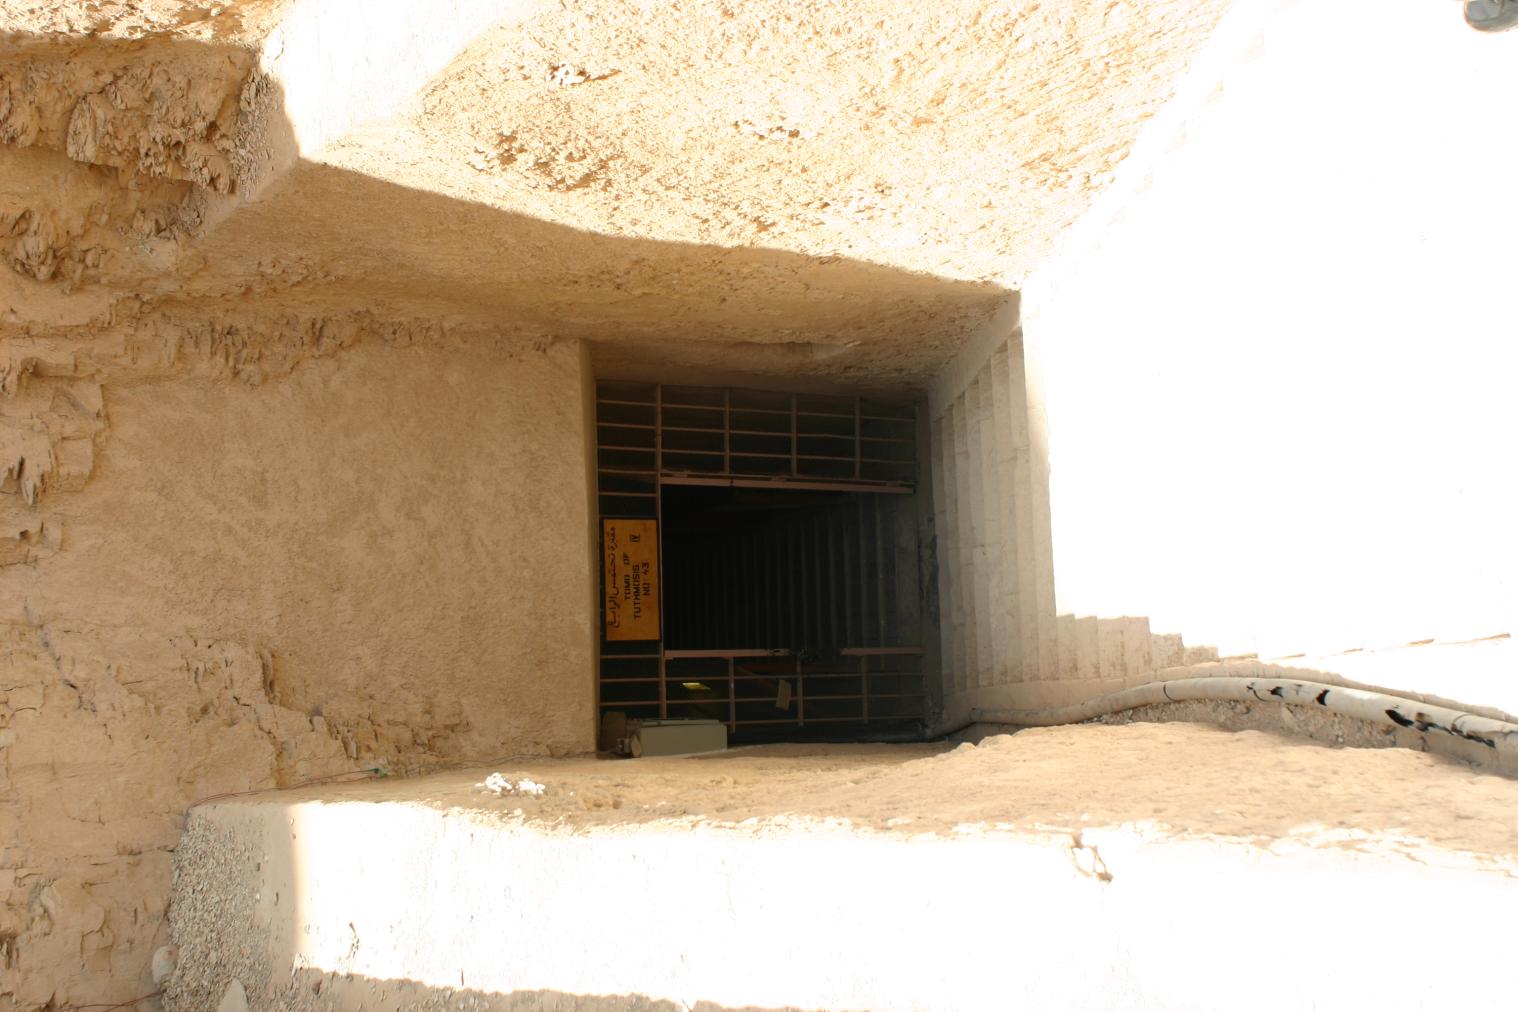
View of Entryway A. Courtesy of Richard Sellicks.
Corridor B
See entire tombThis long, narrow corridor is not preceded by a gate.
Porter and Moss designation:
Gate C
See entire tombThe stairway in this gate continues through stairwell C. The left (east) jamb was cut back.
Stairwell C
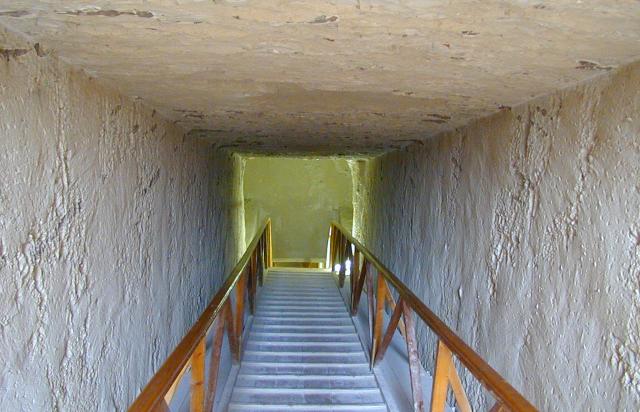
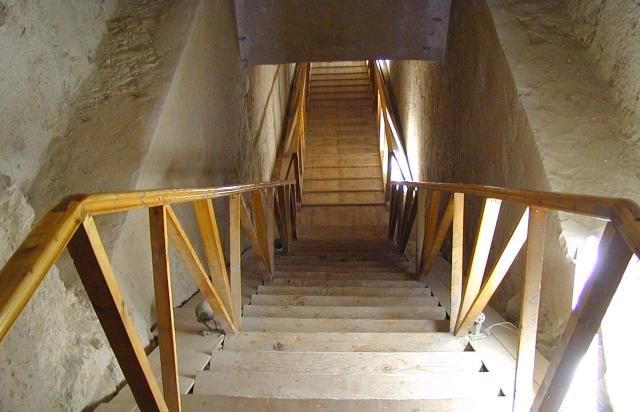
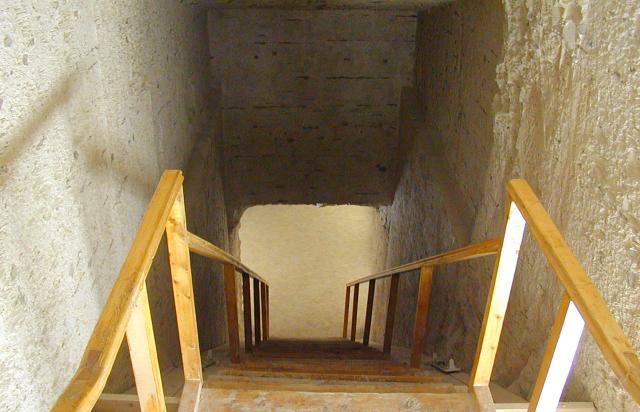
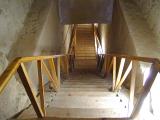
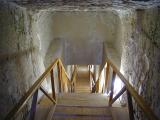
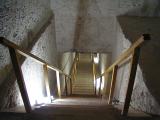
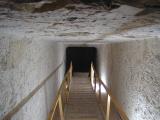
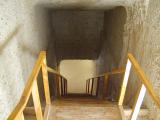
See entire tombThe stairwell leads from corridor B to gate D. On either side, narrow recesses have been cut into the tops of the walls. The original steps are badly damaged.
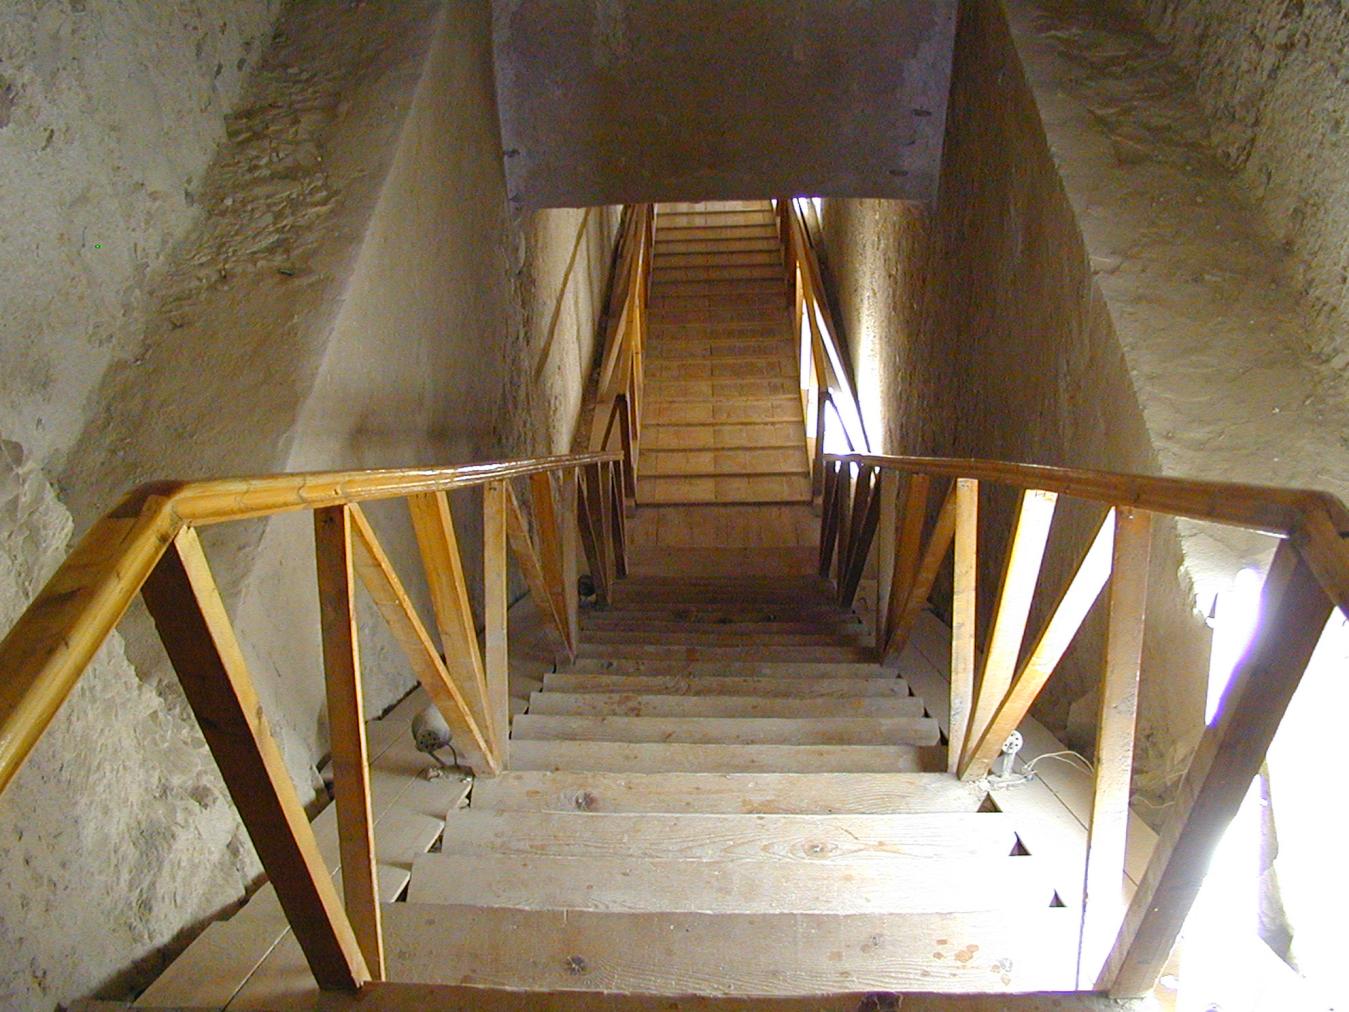
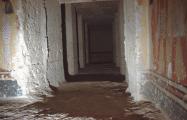
View of Stairwell C. Courtesy of Richard Sellicks.
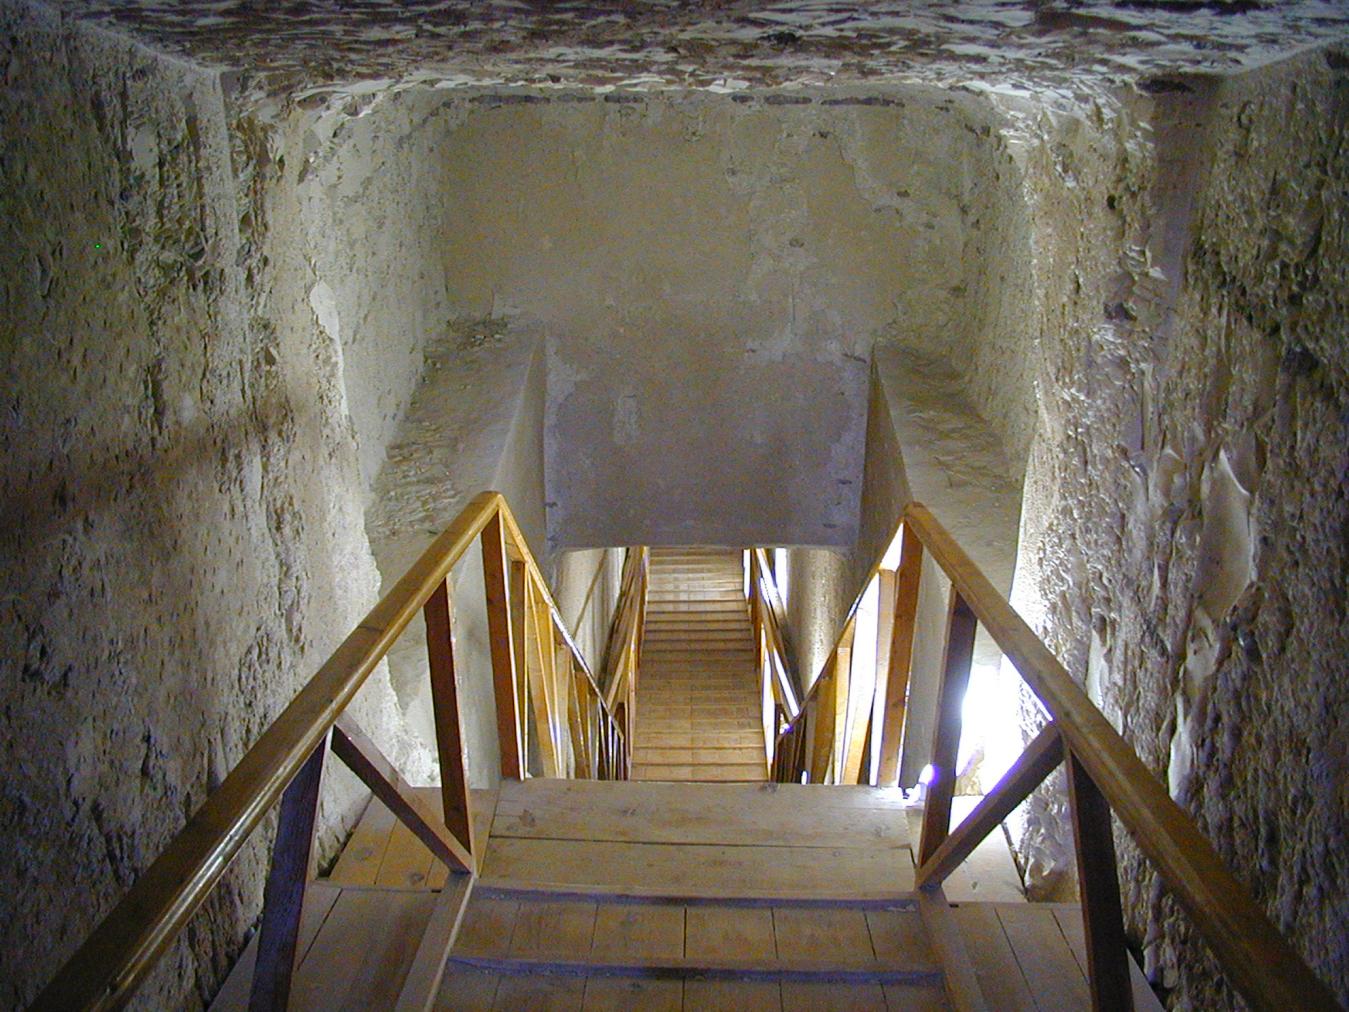
View of Stairwell C. Courtesy of Richard Sellicks.
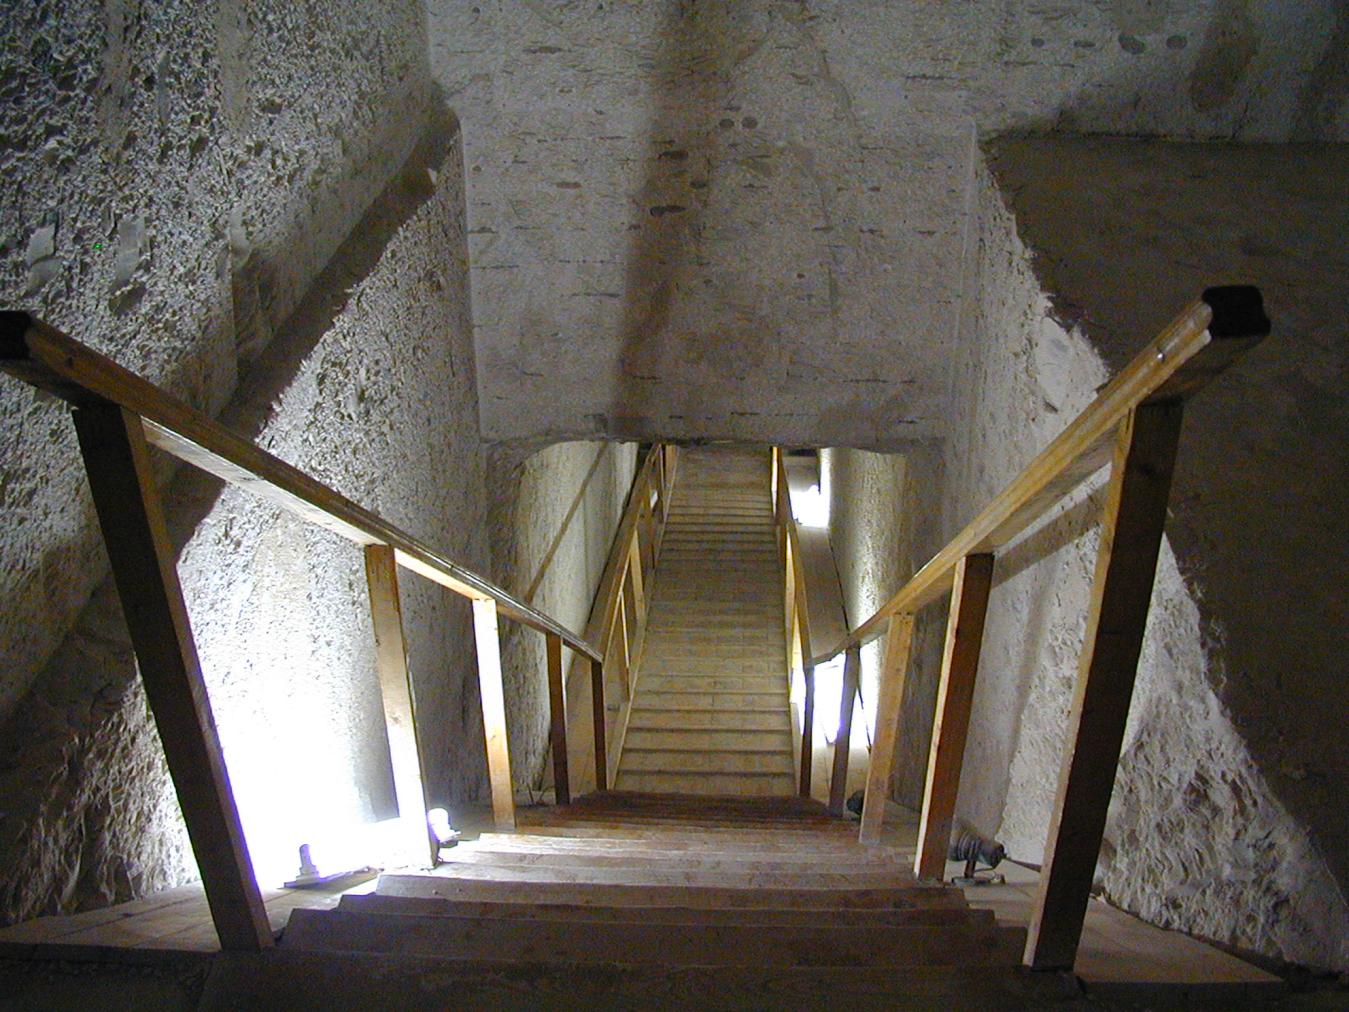
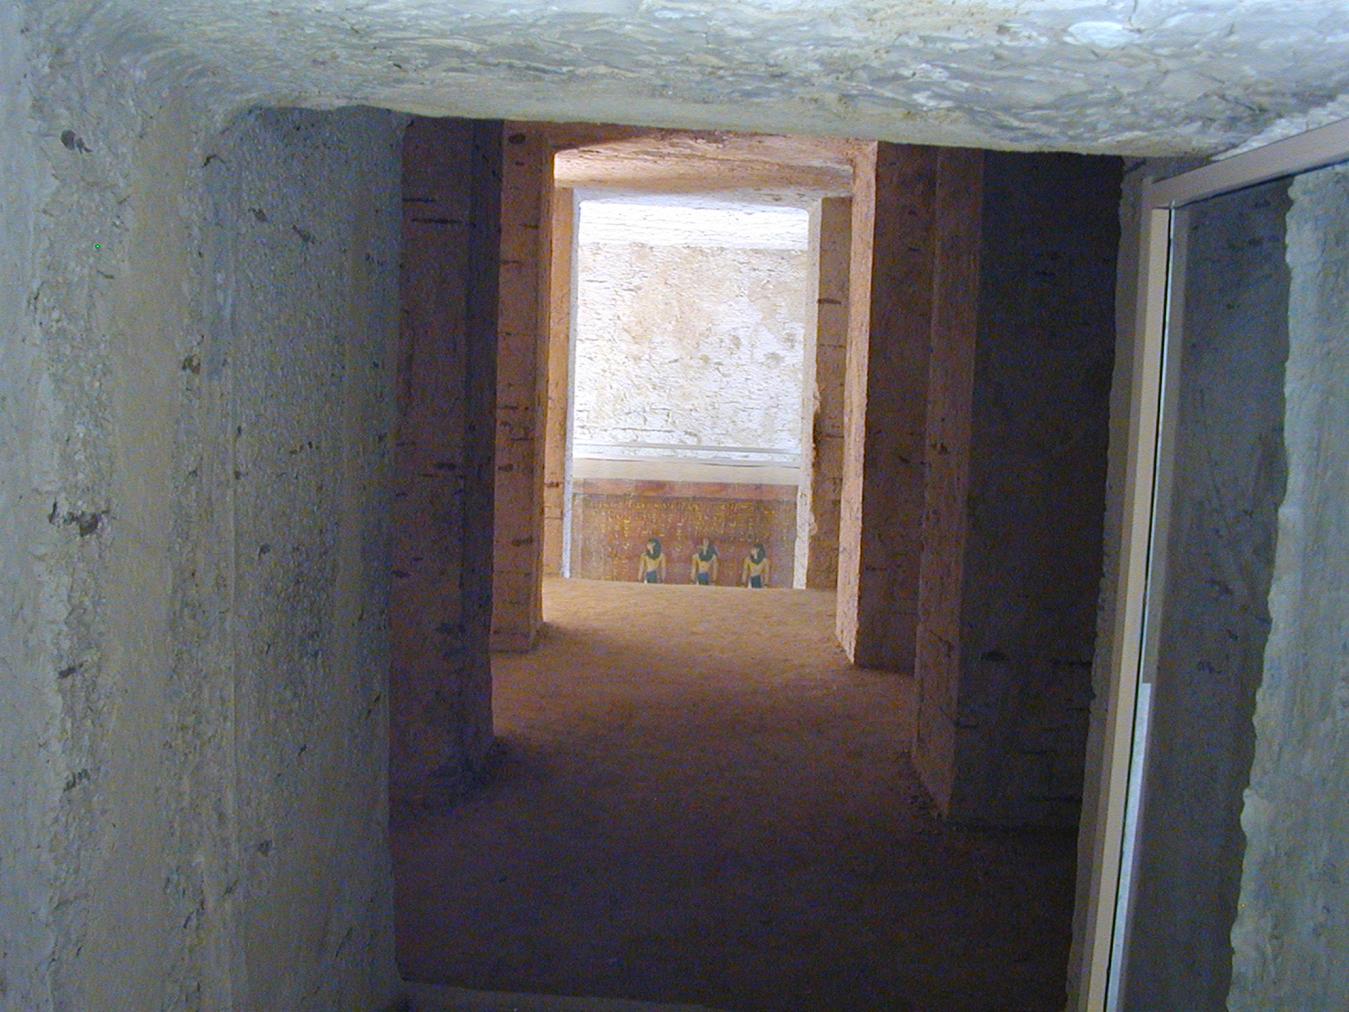
View from Stairwell C into Corridor D. Courtesy of Richard Sellicks.
Gate D
See entire tombBoth jambs of gate D have been cut back.
Porter and Moss designation:
Corridor D
See entire tombThis long, narrow corridor has a sloping floor and ceiling.
Porter and Moss designation:
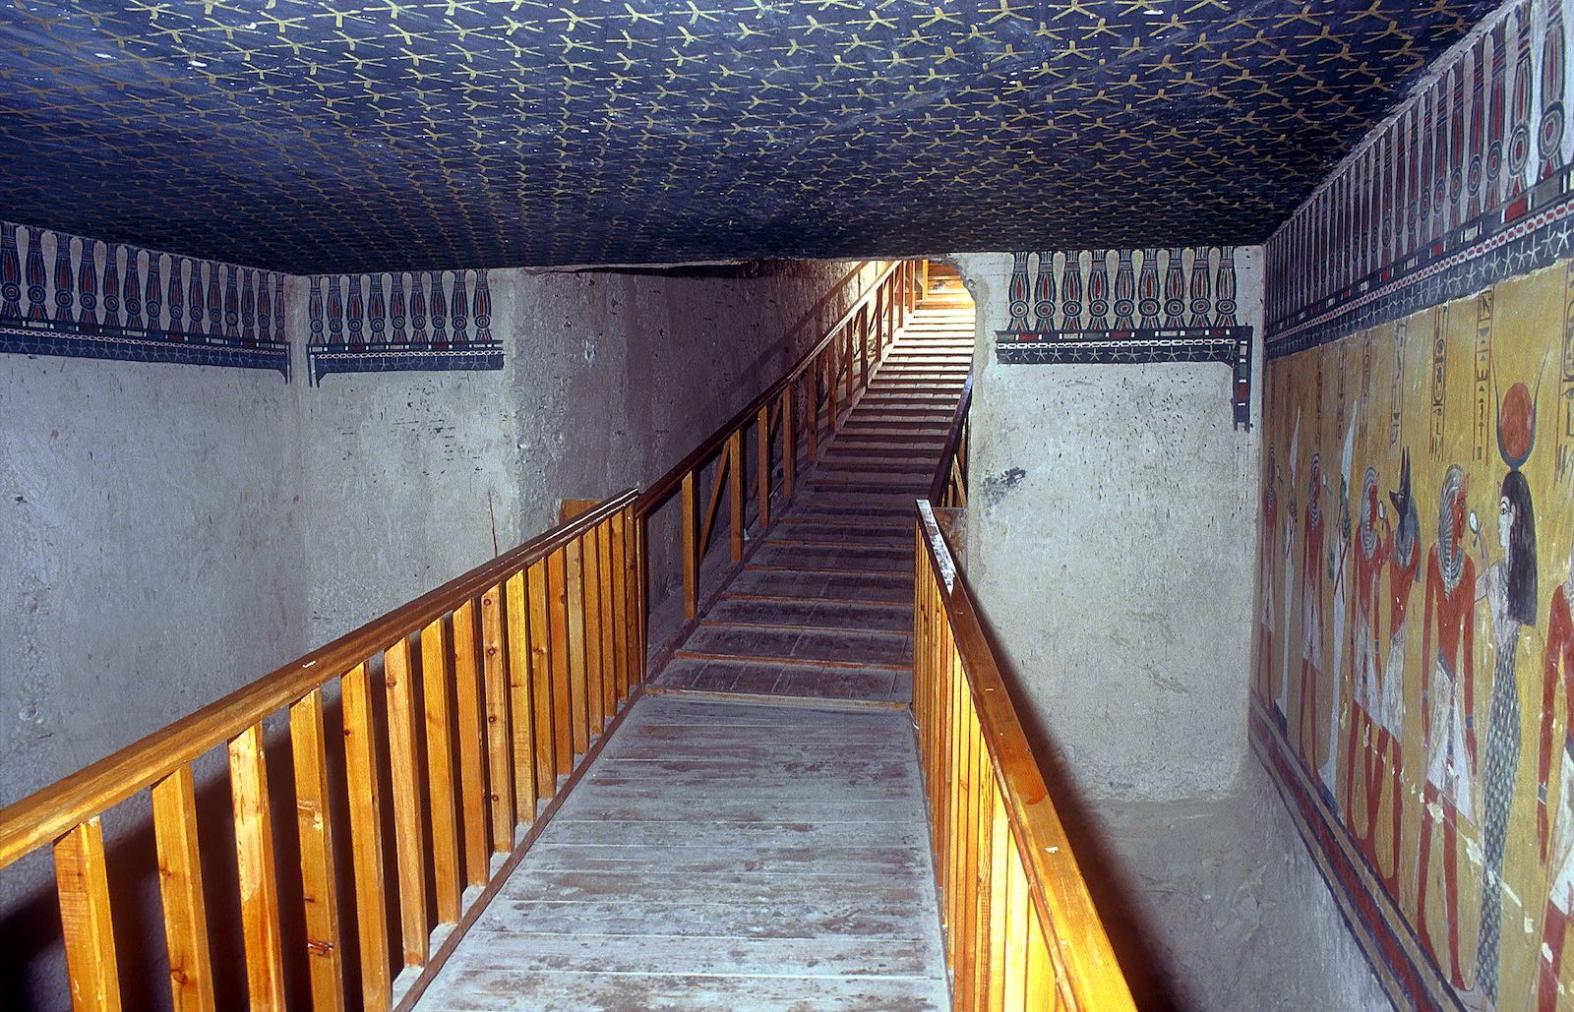
Well chamber, with unfinished decoration, and staircase leading toward tomb entrance beyond.
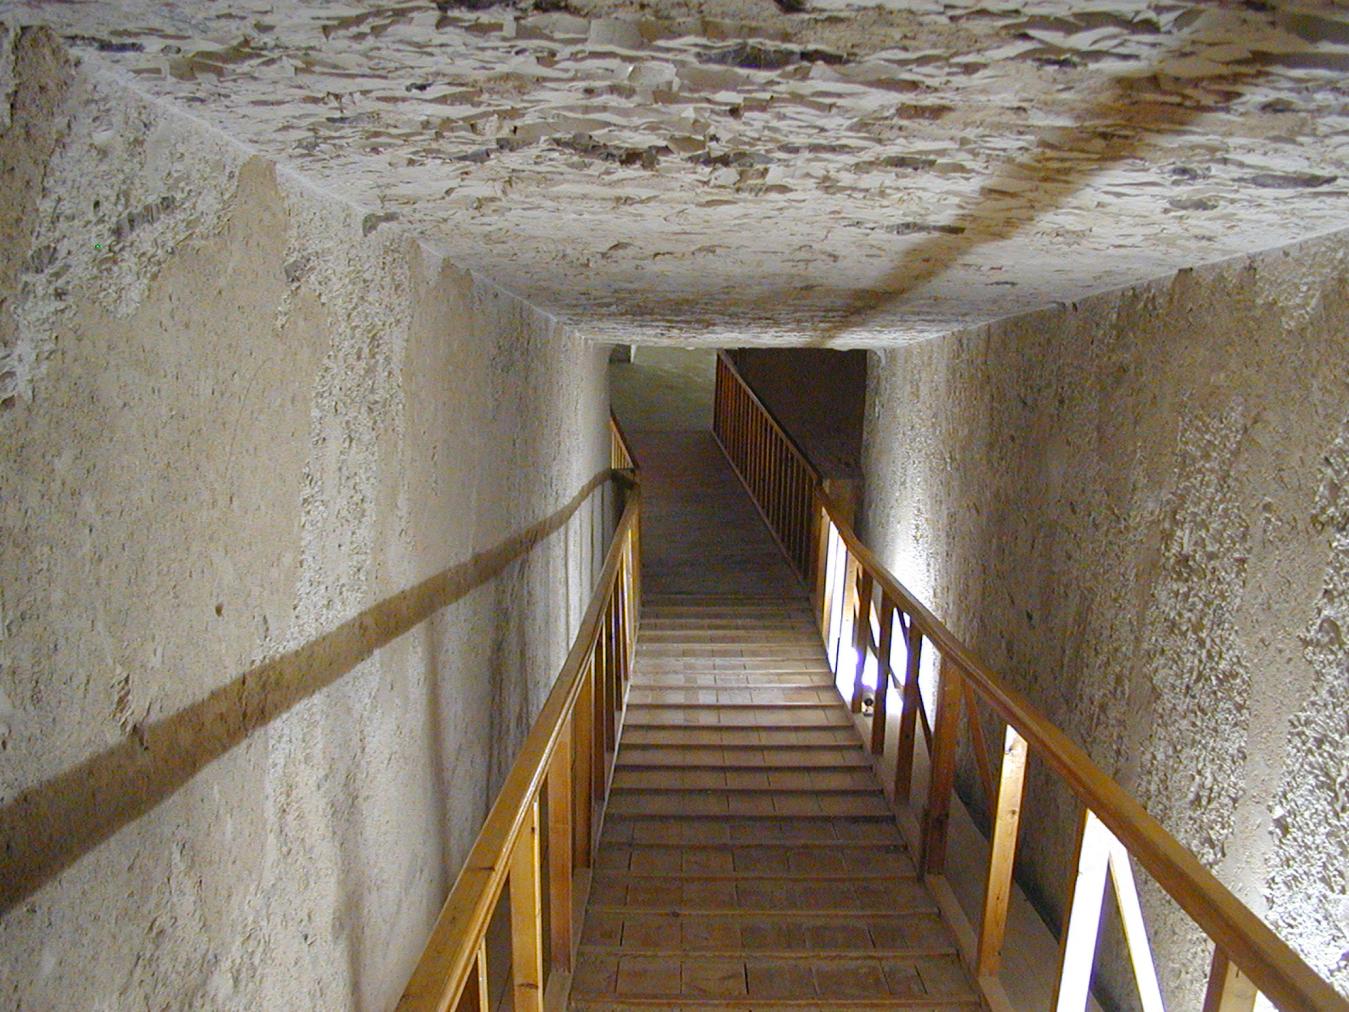
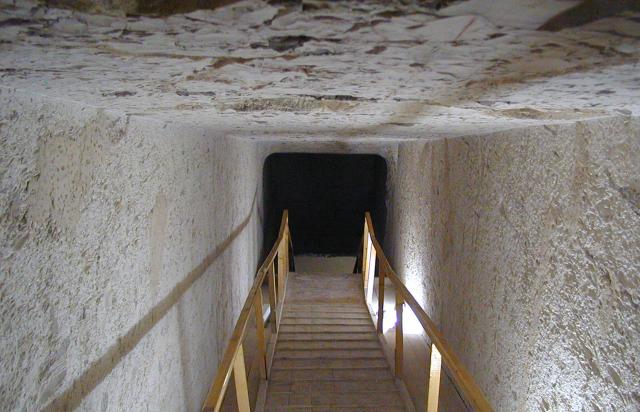
View of Corridor D into Pillared chamber F. Courtesy of Richard Sellicks.
Gate E
See entire tombThis gate was sealed with plaster in antiquity. When Carter first entered the tomb, he noted that this barrier had been broken through. The jambs are cut back, the threshold is sloped, and the soffit is level.
Porter and Moss designation:
Well chamber, with unfinished decoration, and staircase leading toward tomb entrance beyond.
Well chamber E
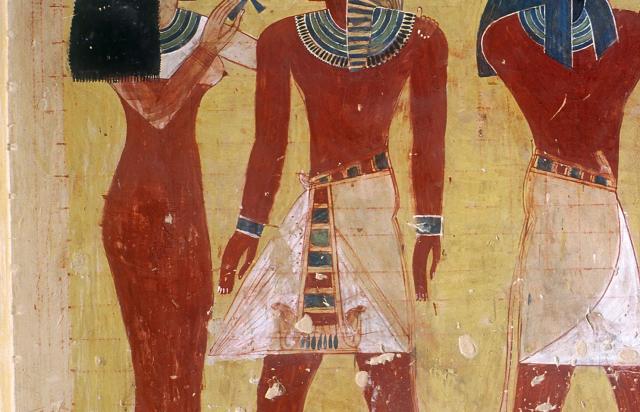
See entire tombBoth the entrance and the exit to this chamber had been sealed in antiquity. The decoration here appears to have been hastily completed. There are scenes of the king before various deities: those on the rear (south) wall were continued on the blocking of gate E, and were lost when tomb robbers broke through it. The well shaft was cut into the floor of this chamber, and Carter noted a chamber to the south at the bottom of the shaft. Traces of the original floor level before the well was dug can be seen immediately inside the chamber by gate E.
Porter and Moss designation:
Well chamber, with unfinished decoration, and staircase leading toward tomb entrance beyond.
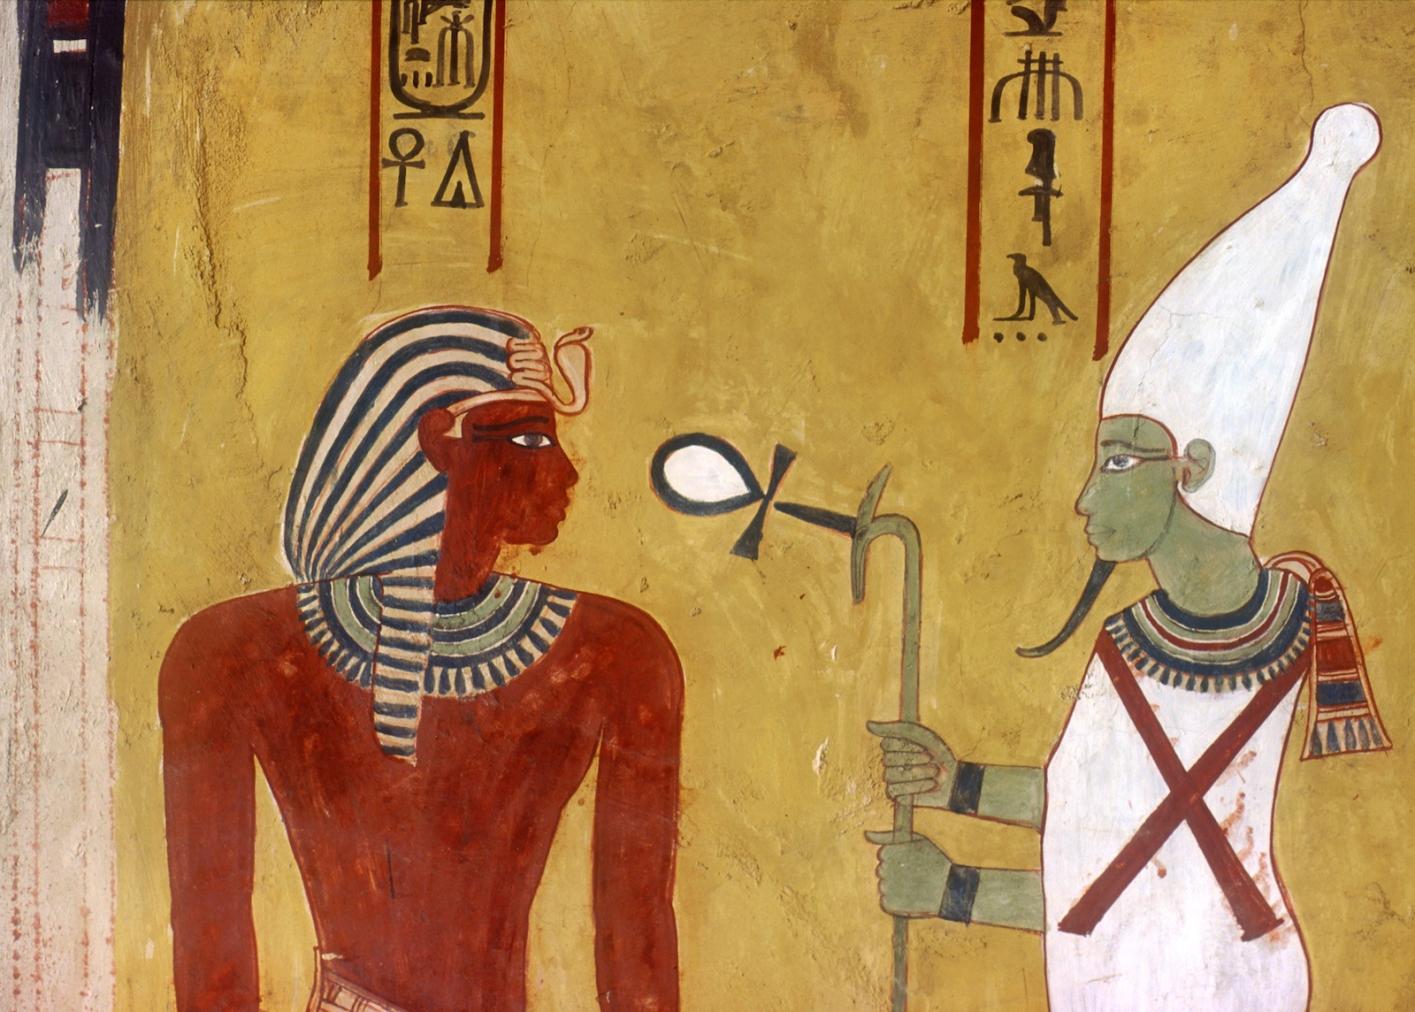
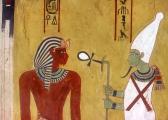
Thutmes IV receiving life from Osiris (detail), with unfinished painting of vertical border on left.
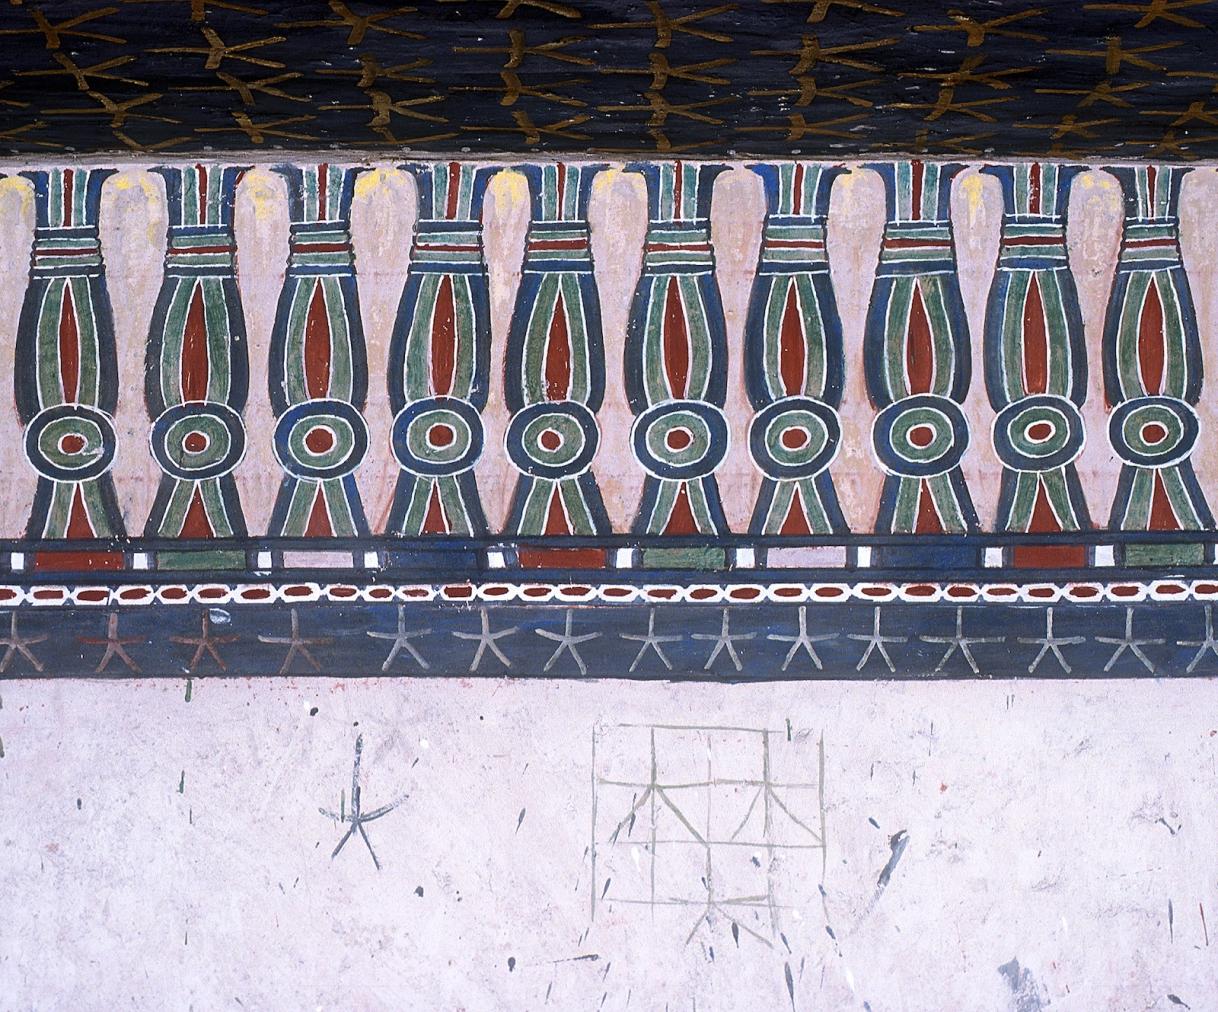
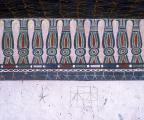
Star pattern; kheker frieze; sketch for layout of star pattern for ceiling.
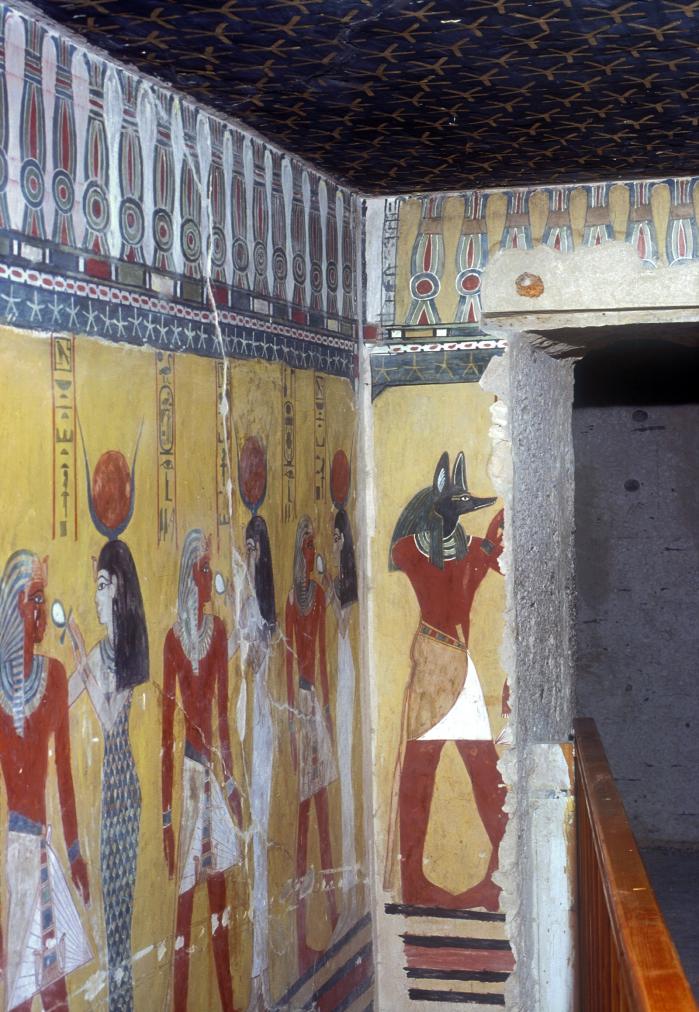
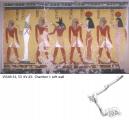
Thutmes IV with three forms of Hathor; Anubis [with Thutmes IV].
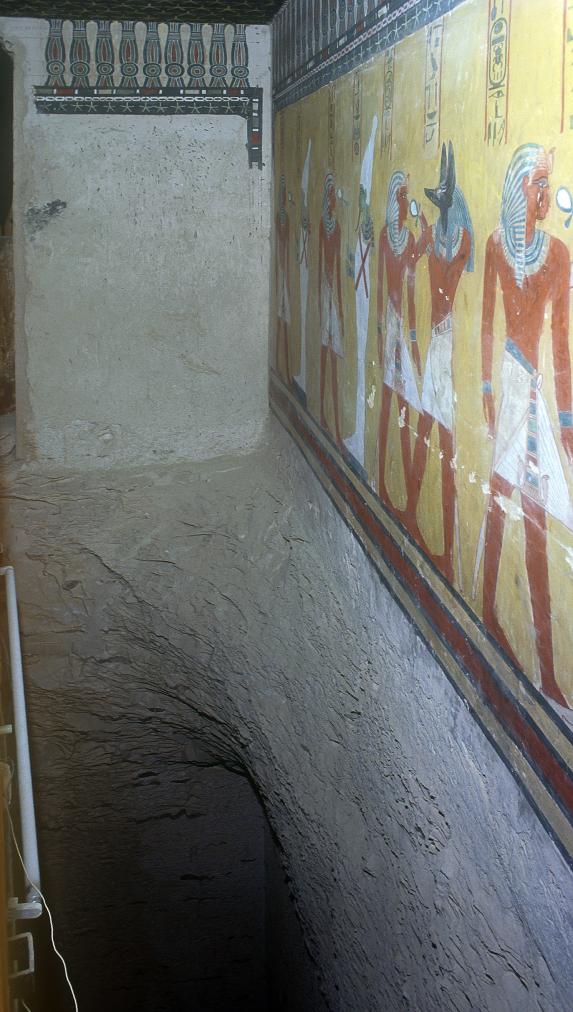
Unfinished kheker frieze; Thutmes IV with gods; well.
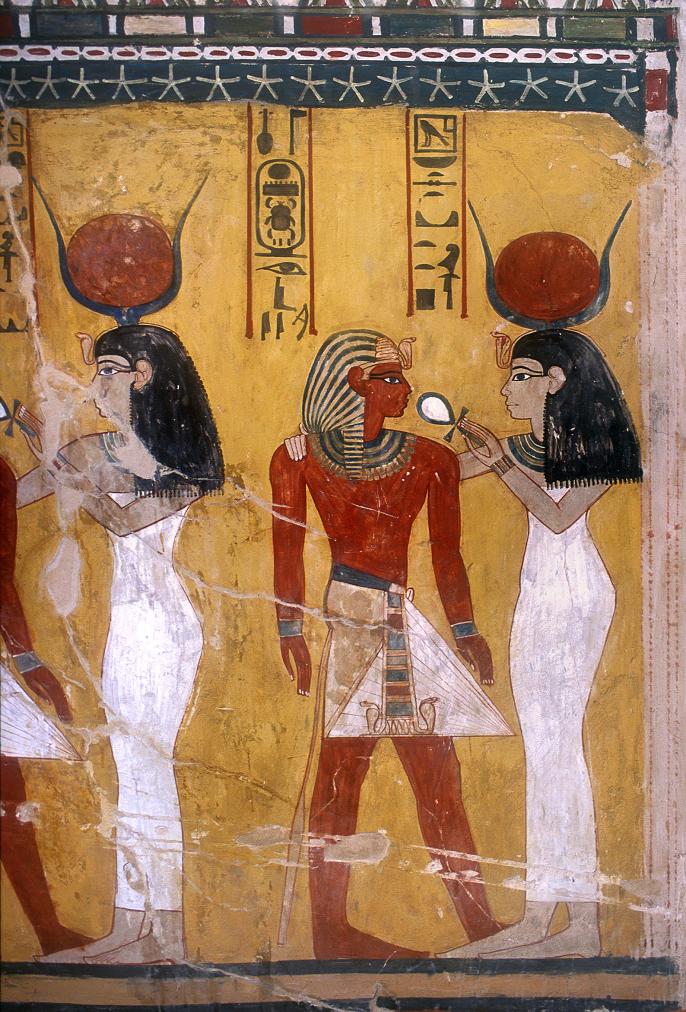
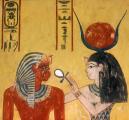
Thutmes IV receiving life from Hathor.
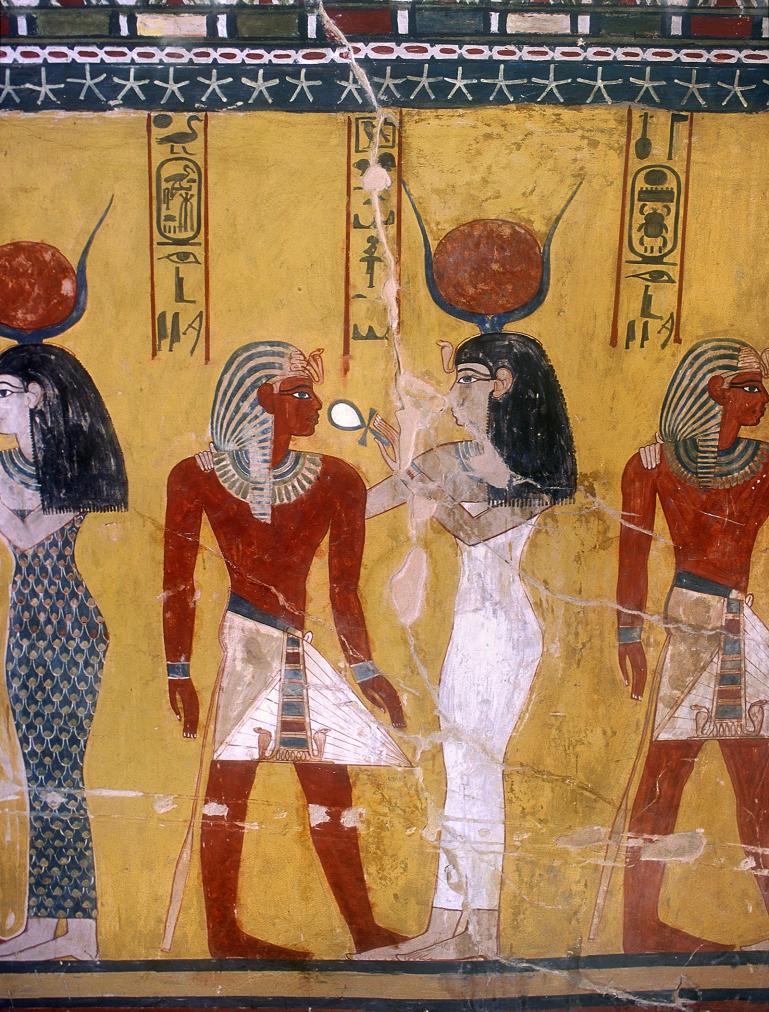
Thutmes IV receiving life from Hathor.
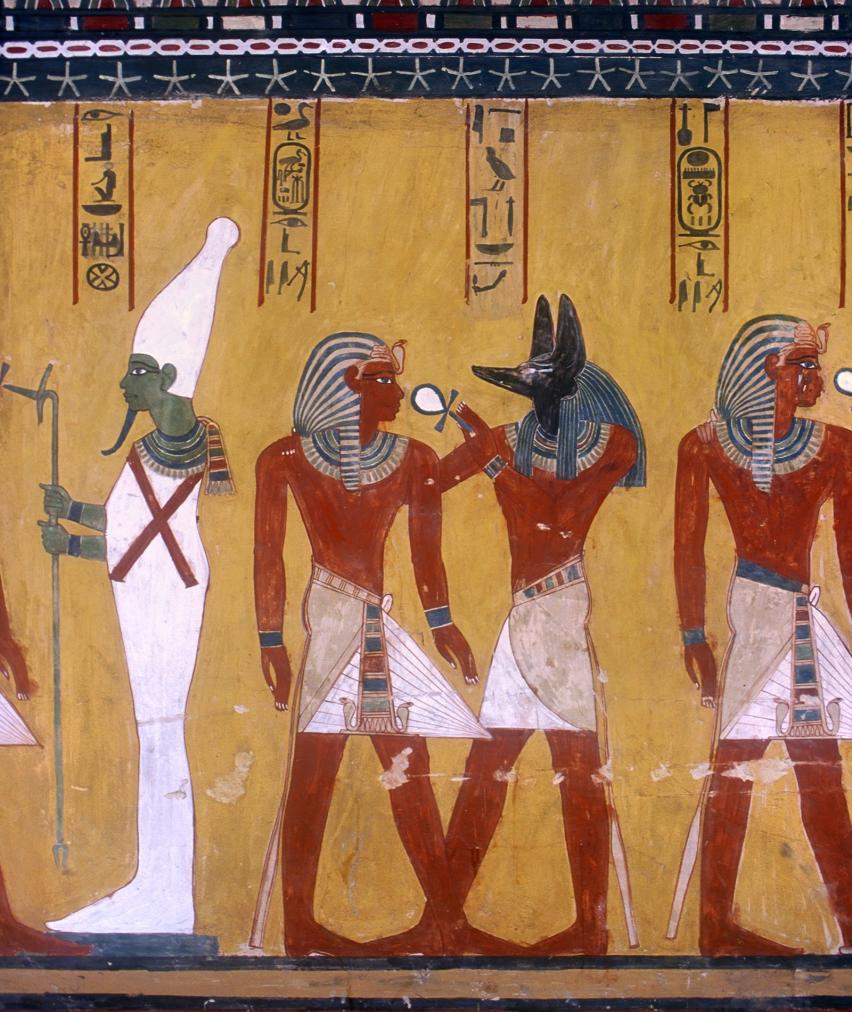
Thutmes IV receiving life from Anubis and Osiris.
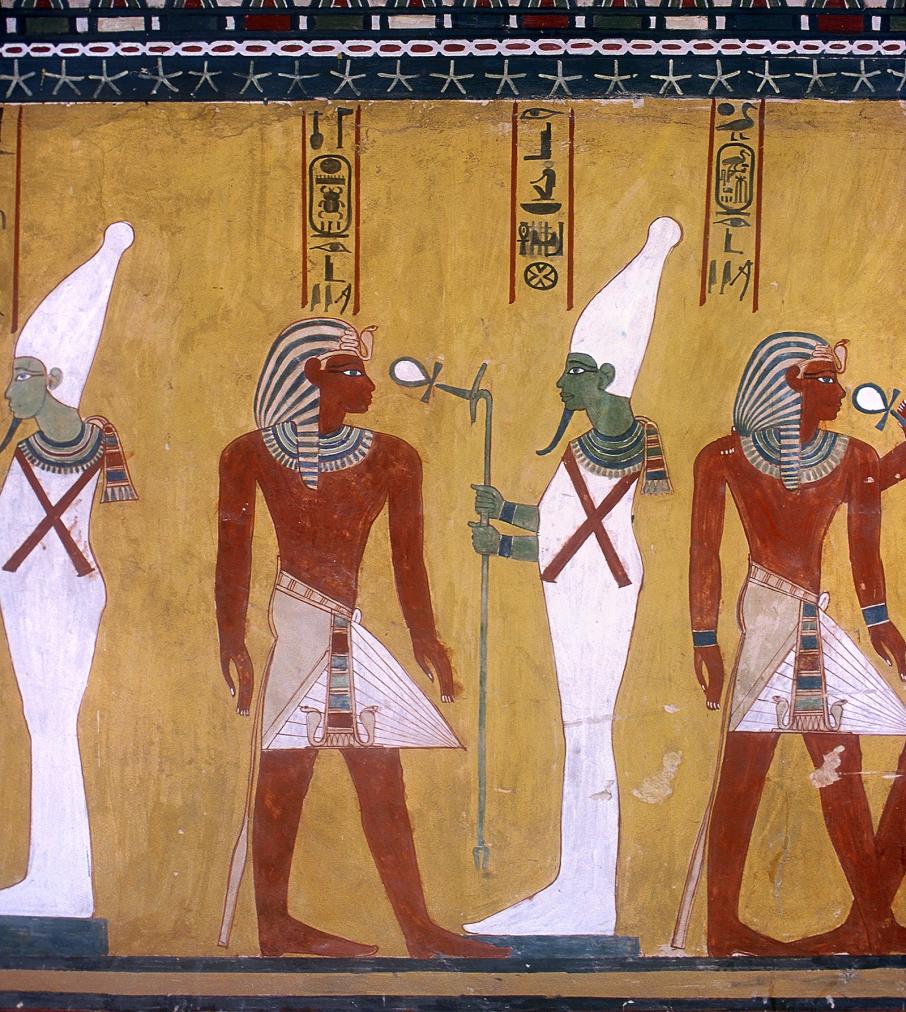
Thutmes IV receiving life from Osiris.
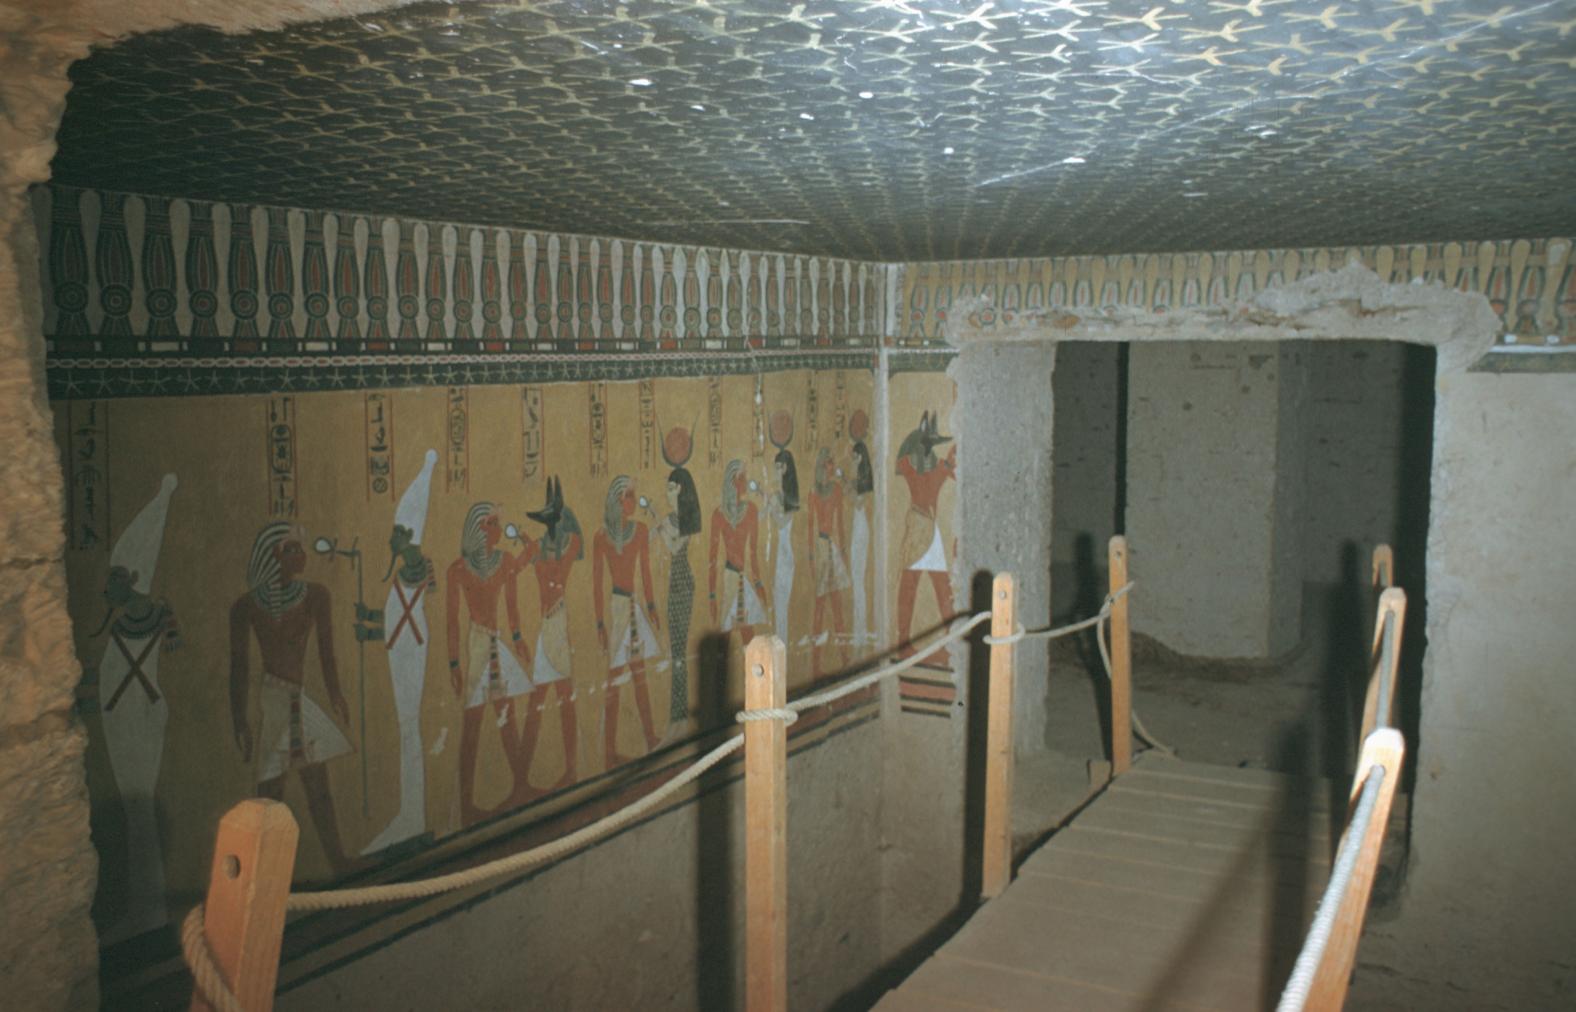
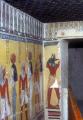
View of Well chamber E. Courtesy of Uni Dia Verlag; Uni Dia Image Nr. 35202.
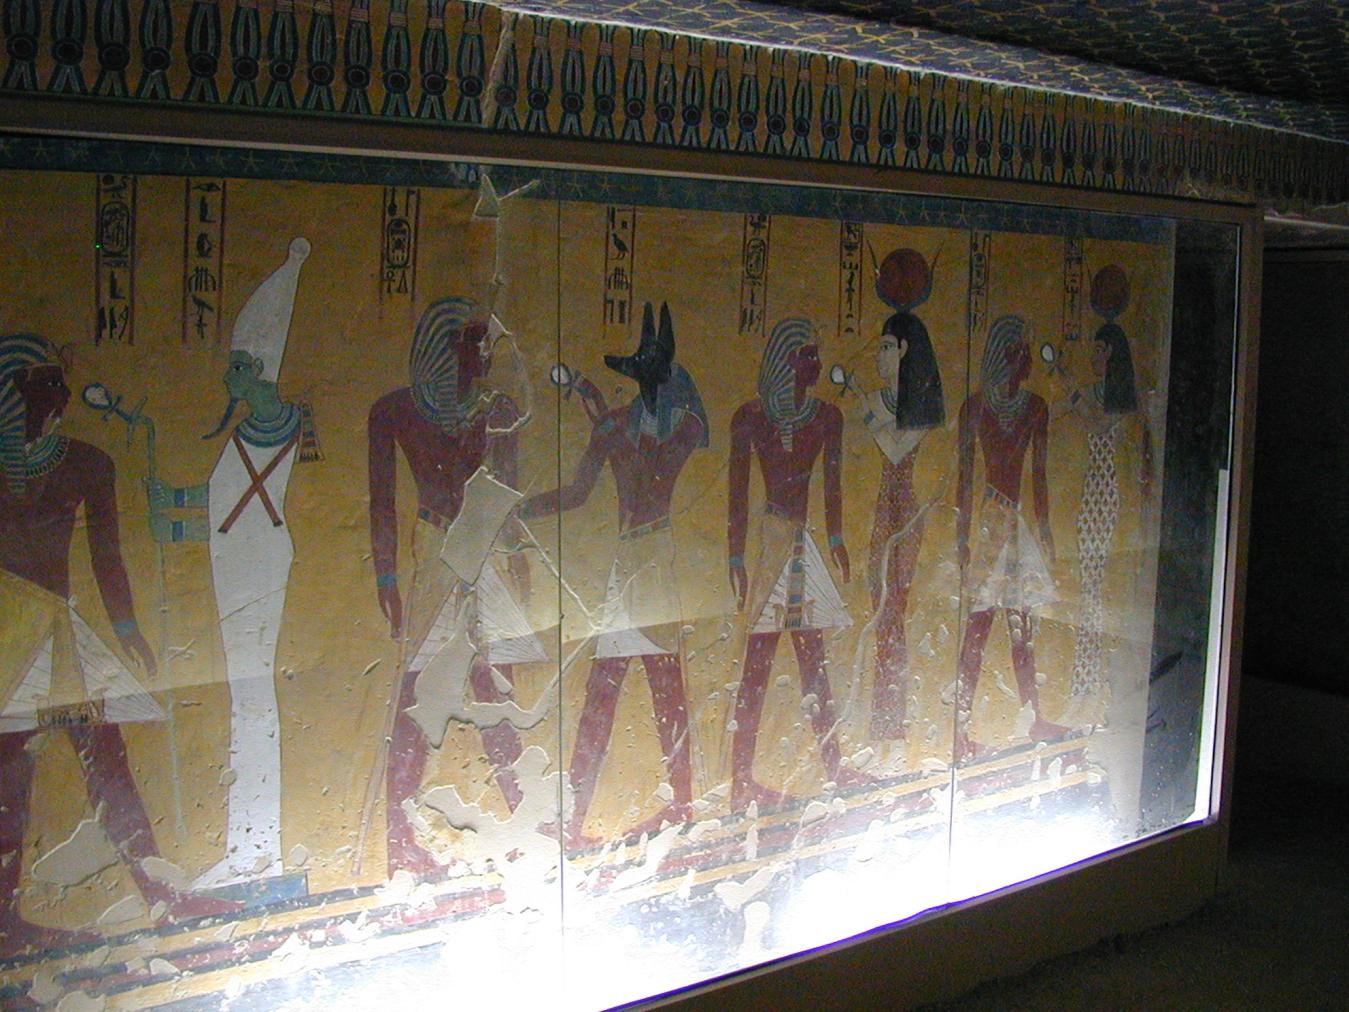
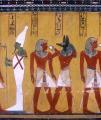
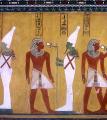
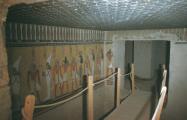
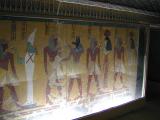
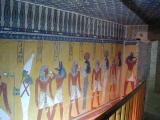
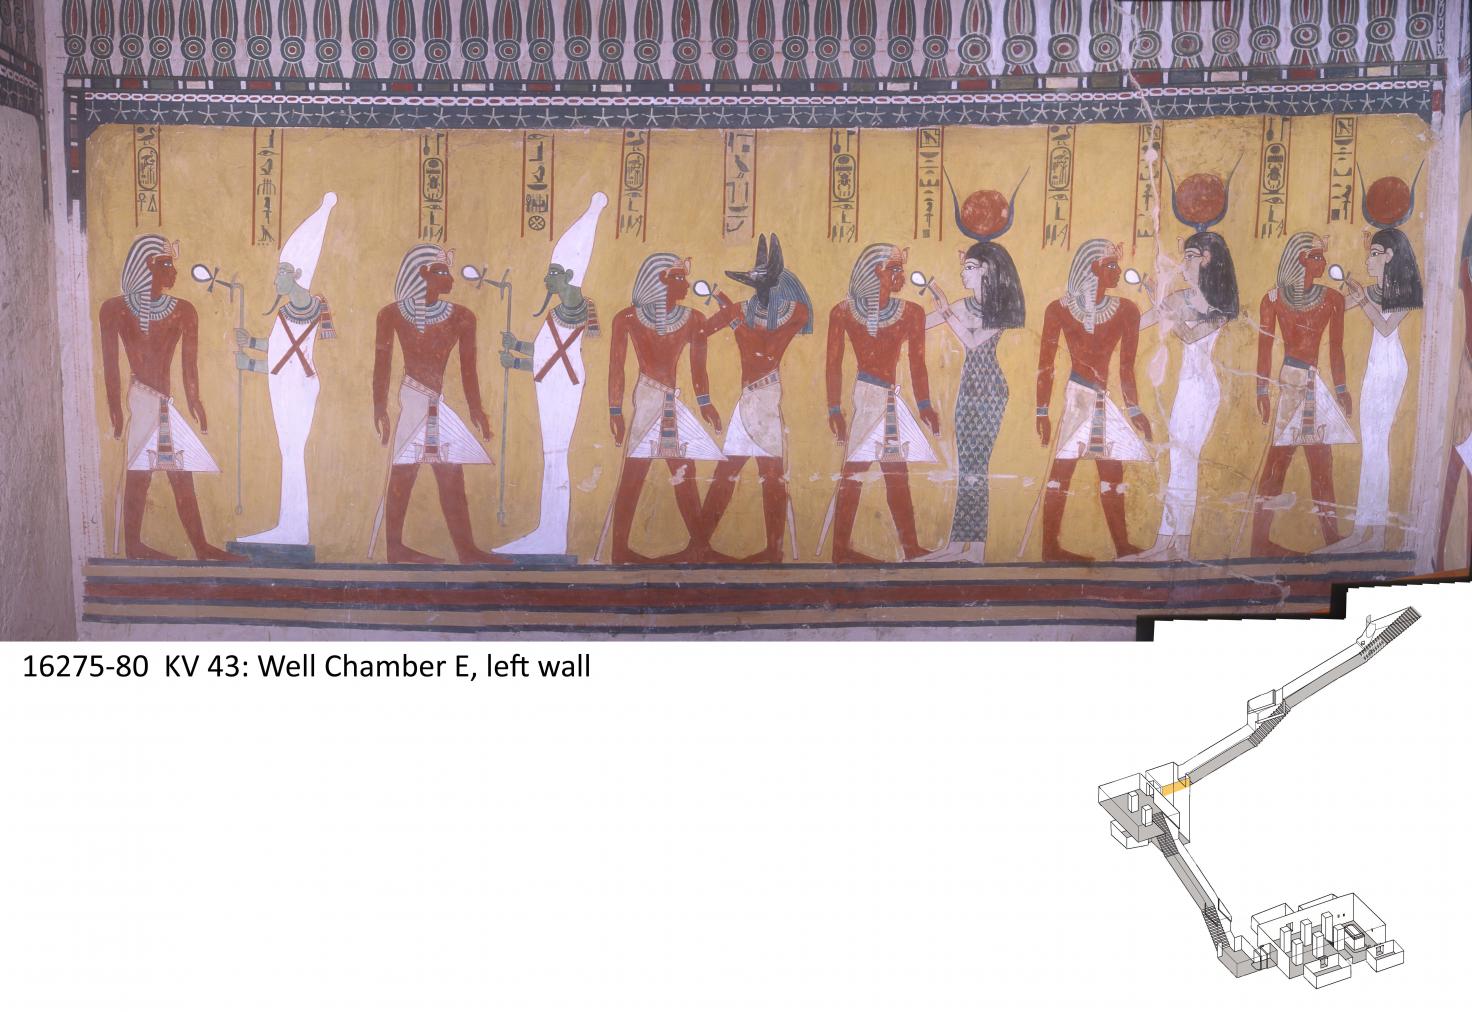
Well chamber E, left wall. Deceased before the deities Osiris, Anubis, and Hathor. Courtesy of Richard Sellicks.
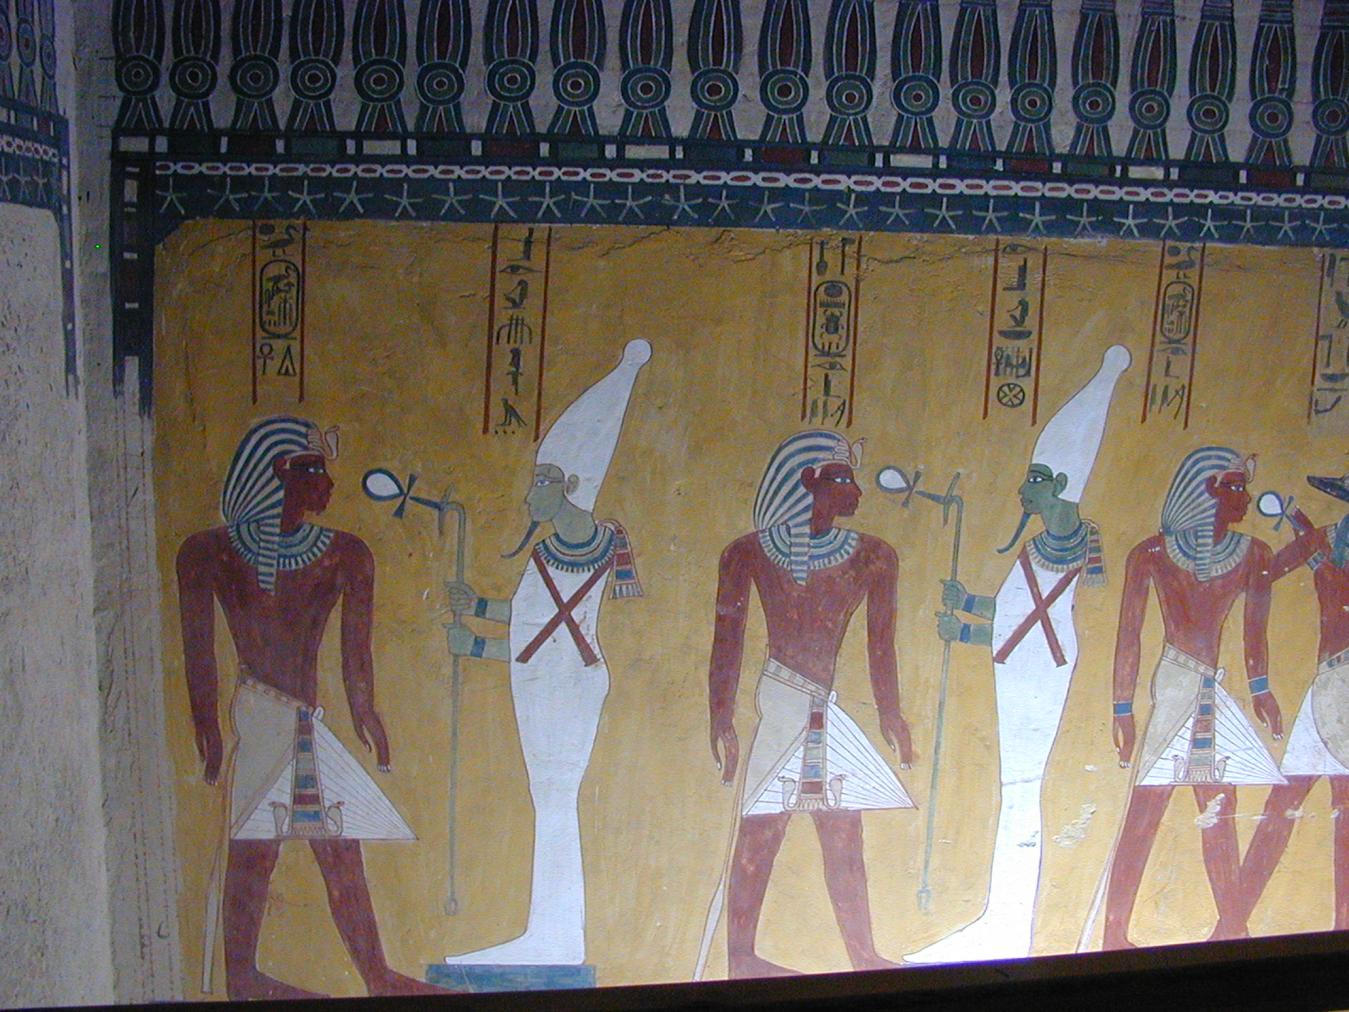
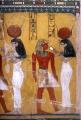
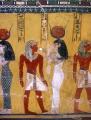
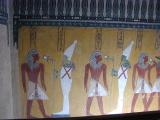
Well chamber E., left wall, left part. Thutmes IV receives eternal life (ankh) from two forms of the deity Osiris. Courtesy of Richard Sellicks.
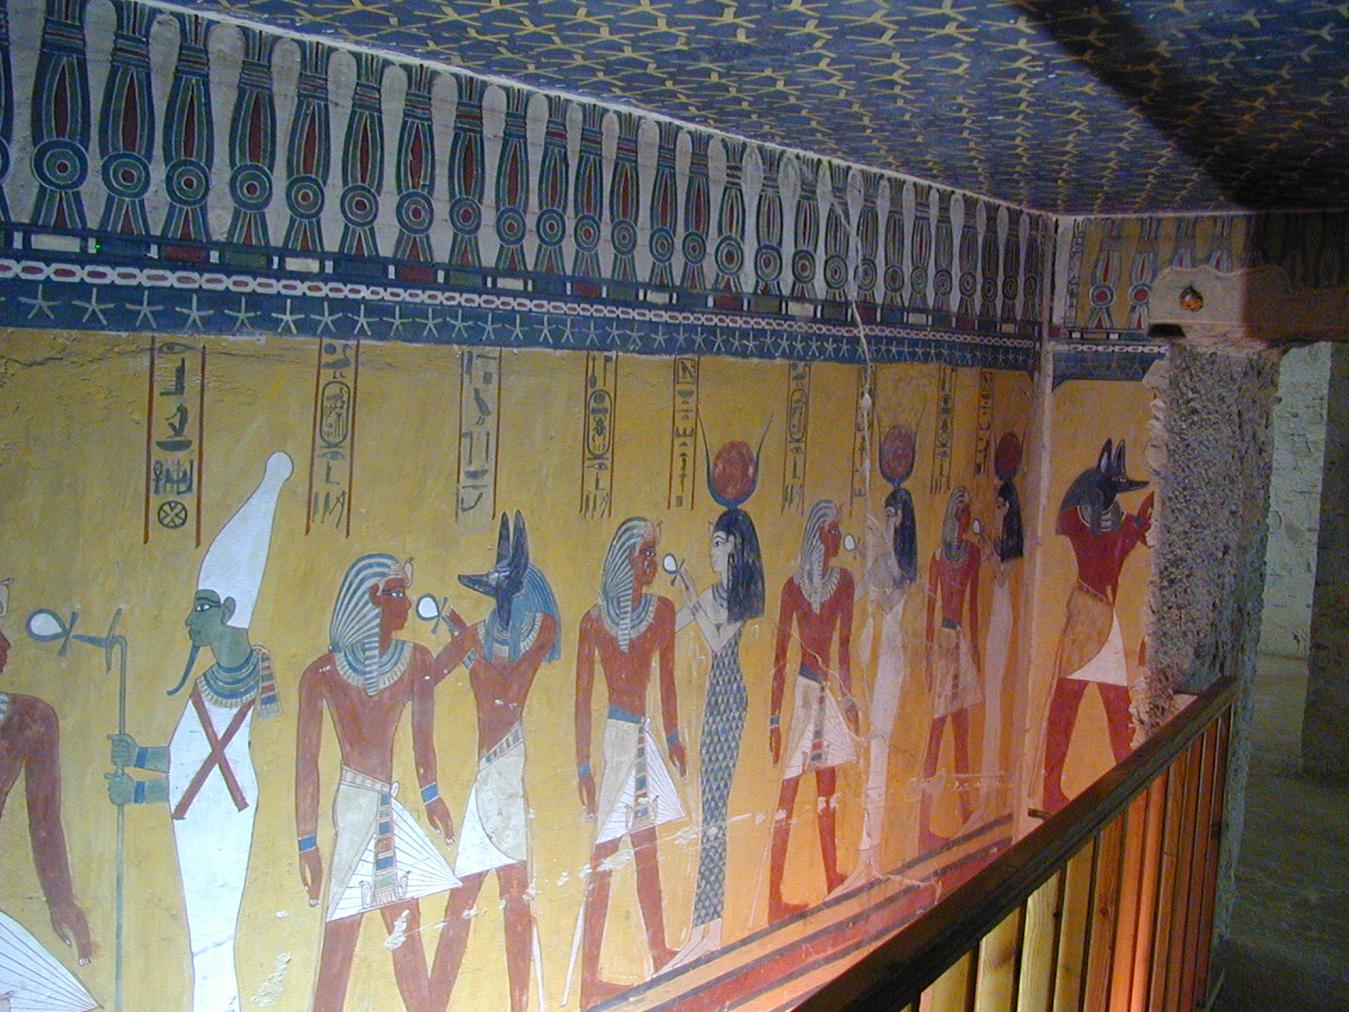
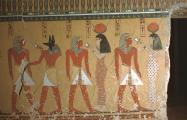
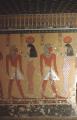
Well chamber E, left wall, right part. Thutmes IV receives eternal life (ankh) from forms of the deities Osiris, Anubis, and Hathor. Courtesy of Richard Sellicks.
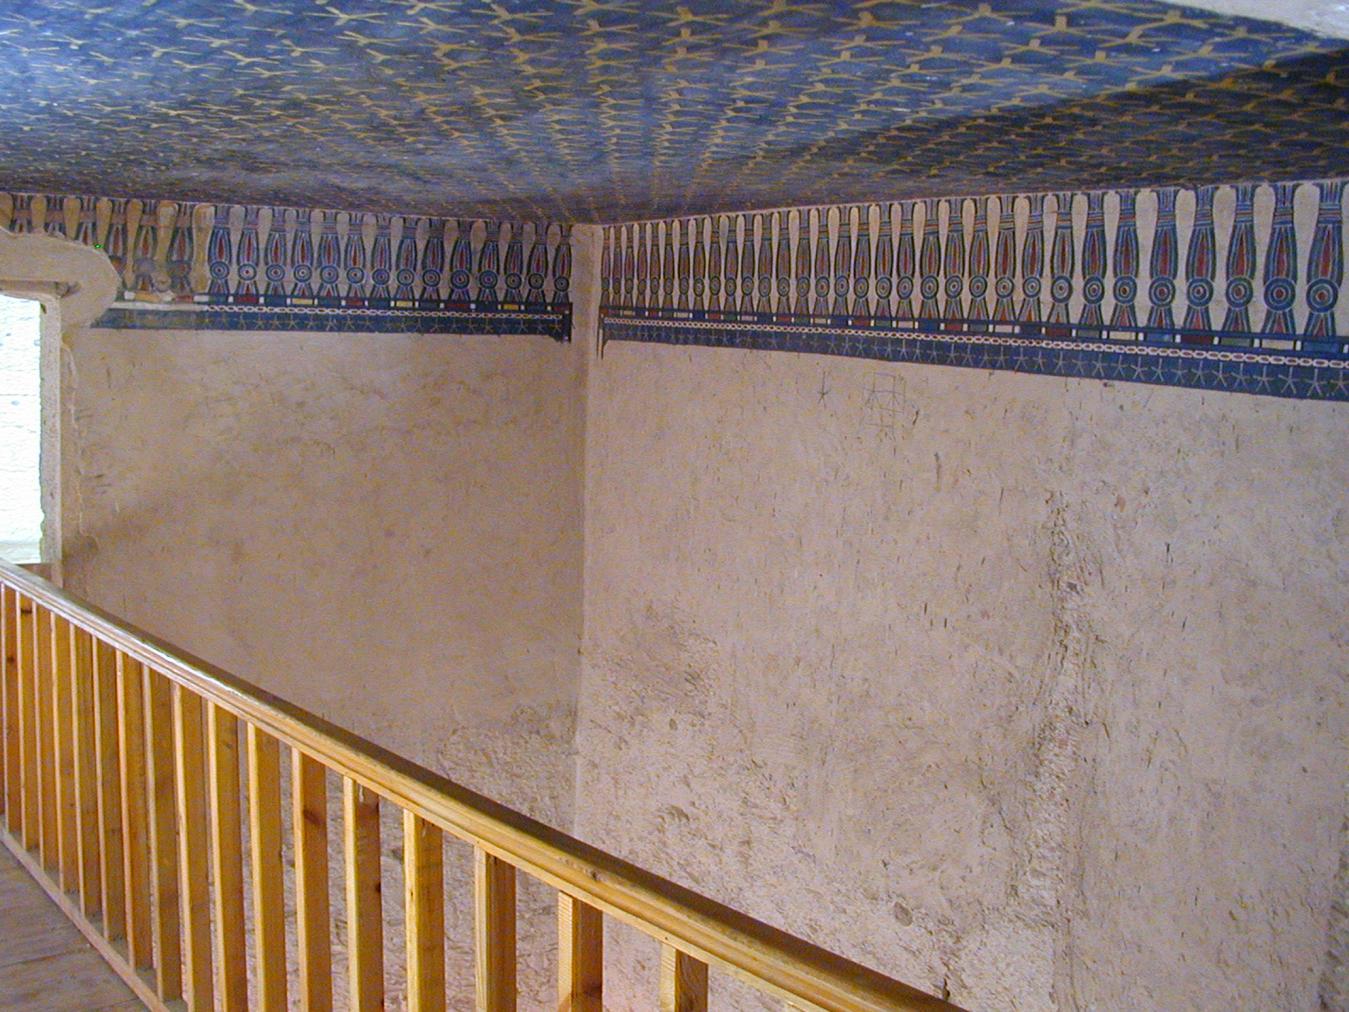
Well chamber E, northeast corner. Kheker-frieze and star-spangled ceiling motifs. Courtesy of Richard Sellicks.
Side chamber Ea
See entire tombThis well shaft chamber was noted by Carter, but it is now inaccessible because debris fills the bottom of the well.
Gate Ea
See entire tombThe gate leads into the side chamber of the well chamber.
Gate F
See entire tombThis gate was sealed in antiquity. When Carter first entered the tomb, he noted that this barrier had been broken through. There is a step up in the gate.
Porter and Moss designation:
Pillared chamber F
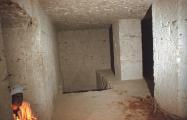
See entire tombTwo pillars stand in the center of this undecorated pillared chamber. The chamber marks a ninety degree angle shift to the east in the axis of the tomb. There is a stepped descent in its left (east) wall.
Porter and Moss designation:
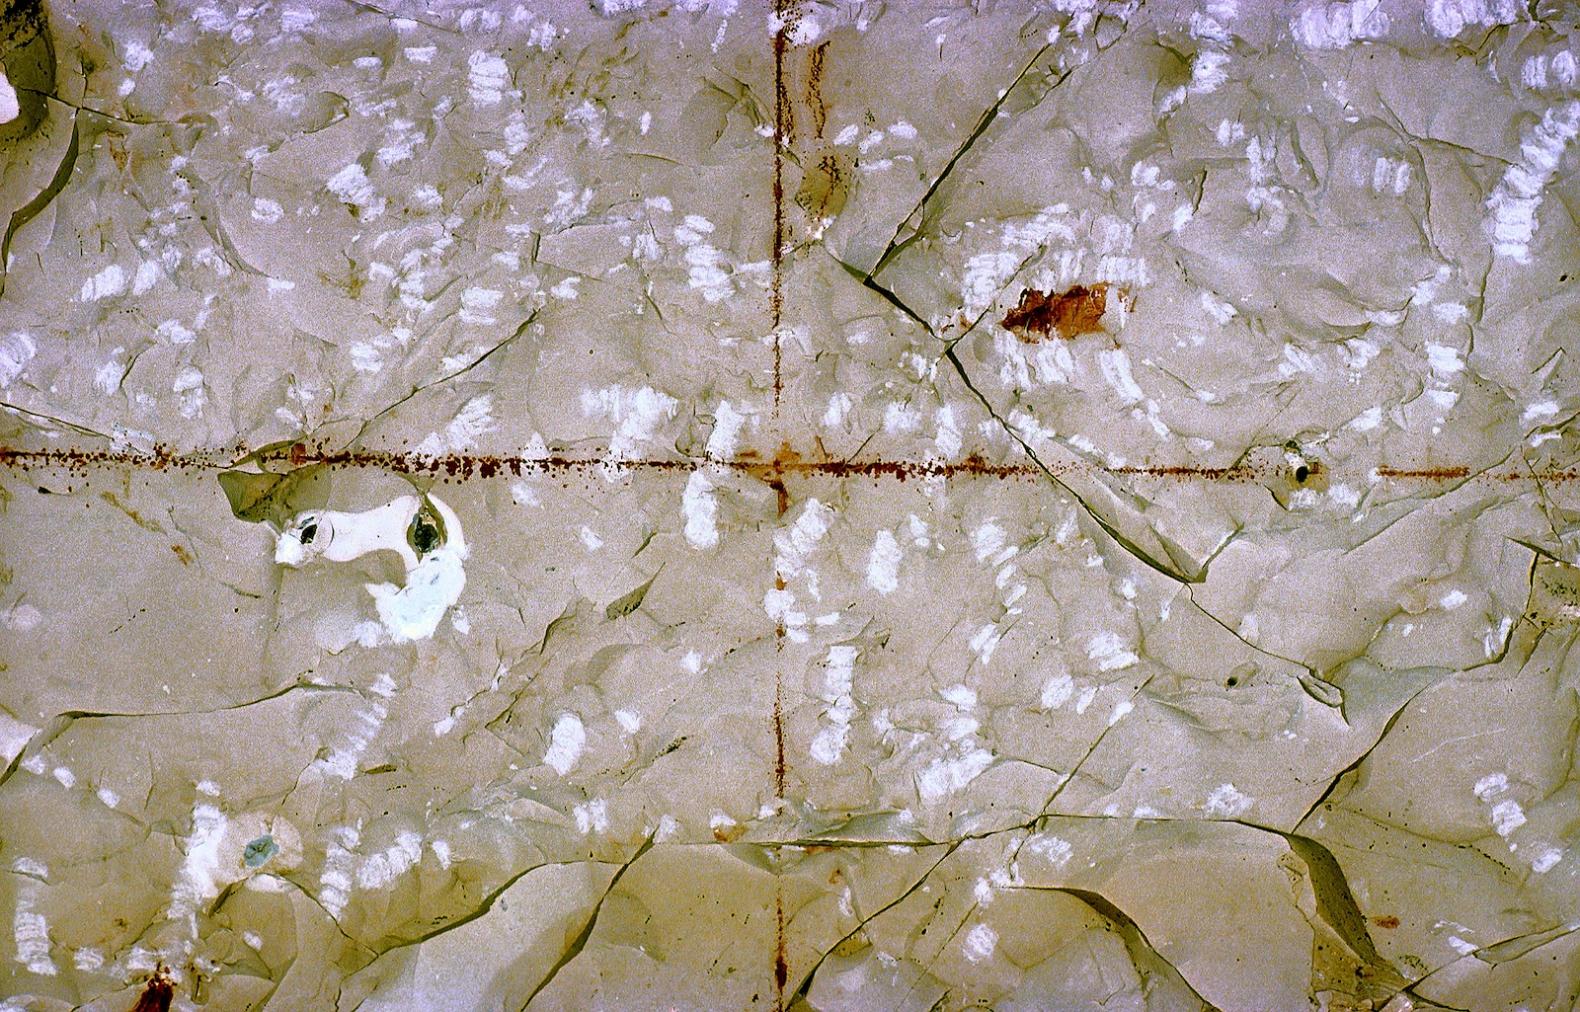
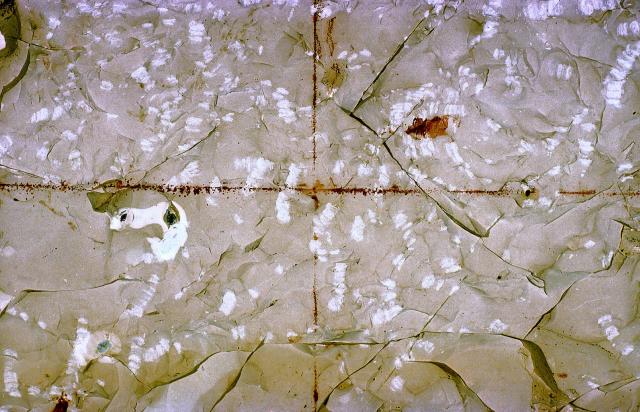
Mason's guidelines in red paint marking axes.
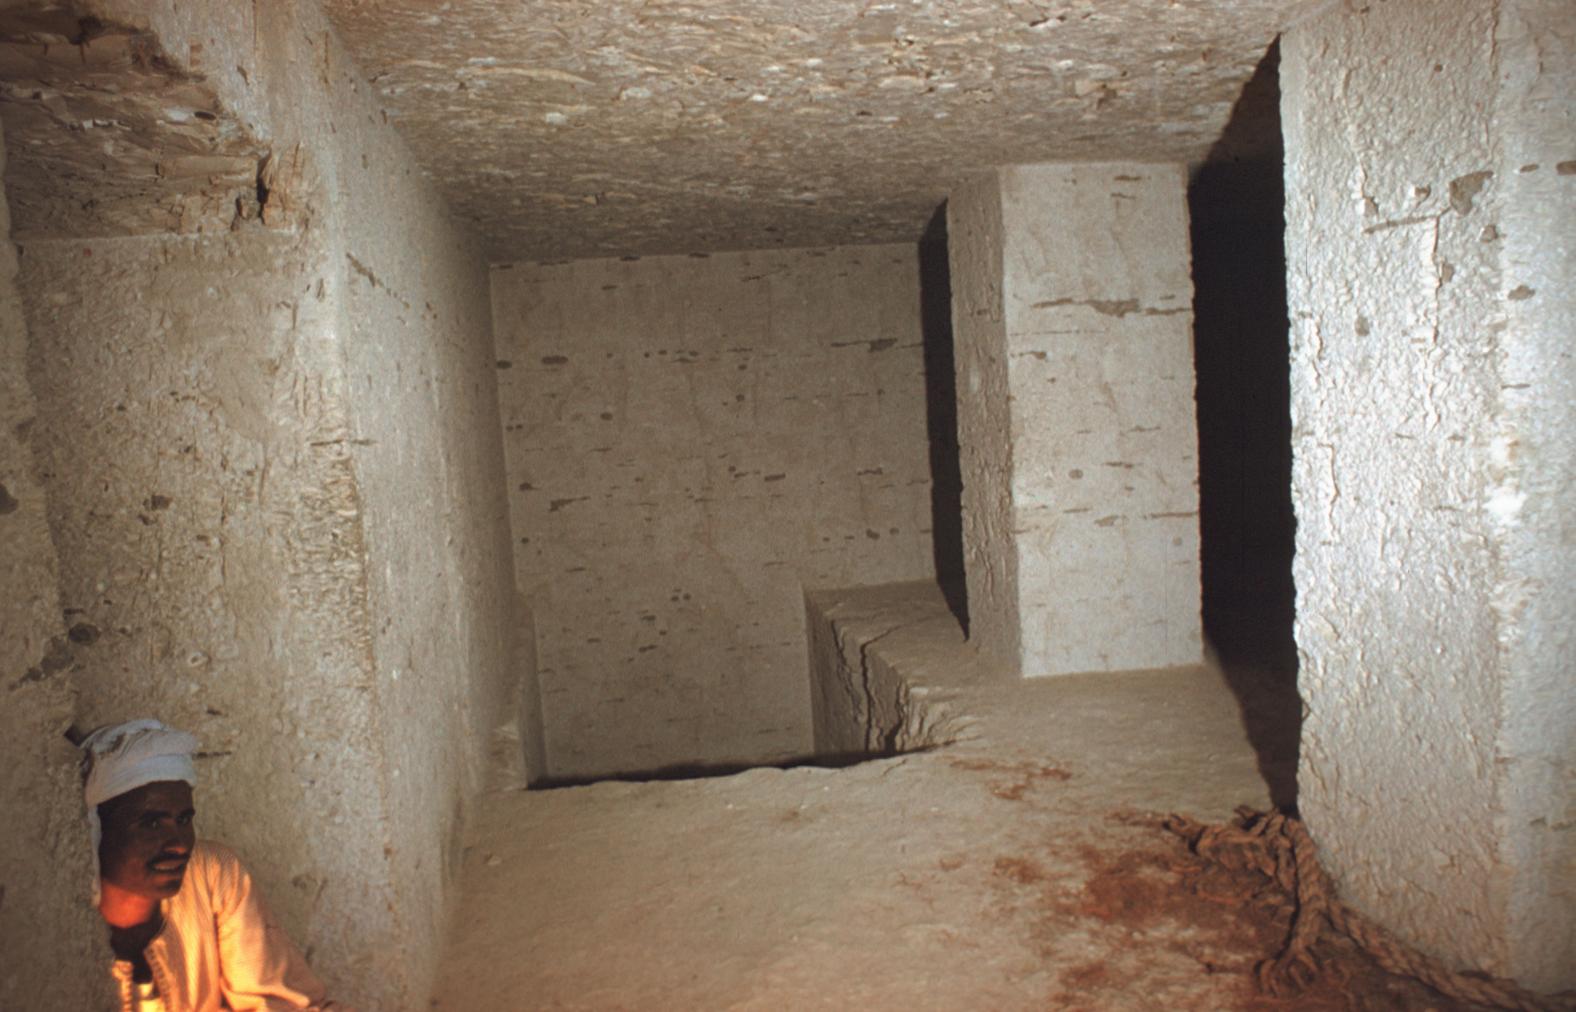
View of Pillared chamber F. Courtesy of Uni Dia Verlag; Uni Dia Image Nr. 35203.
Descent F
See entire tombThe stepped descent is located on the left (north) side of the left (east) wall of chamber F. The original steps are badly damaged.
Porter and Moss designation:
Gate G
See entire tombThe jambs of gate G have been cut back.
Porter and Moss designation:
Corridor G
See entire tombThis long narrow corridor slopes down from gate G to stairwell H.
Porter and Moss designation:
Stairwell H
See entire tombThe badly damaged stairway leads from corridor G to gate I. On either side, narrow recesses have been cut into the walls.
Gate H
See entire tombThe stairs of stairwell H start inside this gate.The lintel and the jambs were cut back. The original steps are badly damaged.
Gate I
See entire tombThe jambs of gate I have been cut back.
Porter and Moss designation:
Chamber I
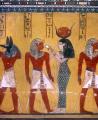
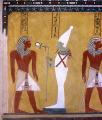
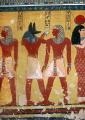
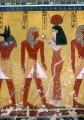
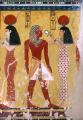
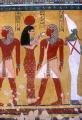
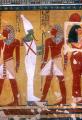
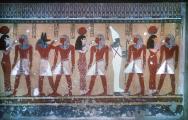
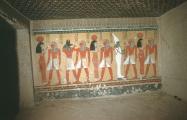
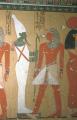
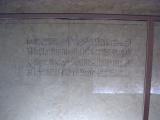
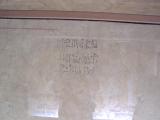
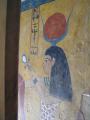
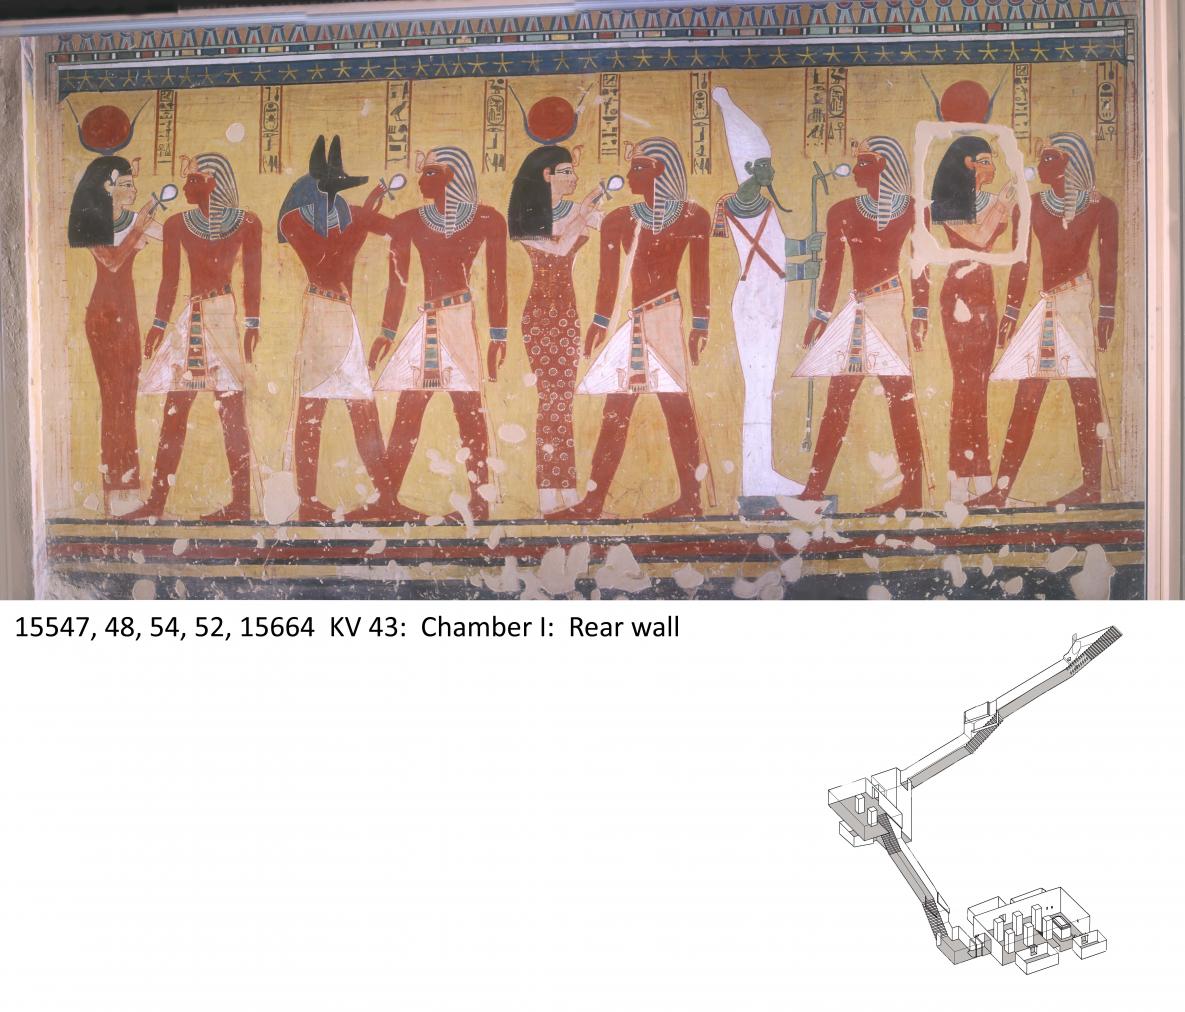
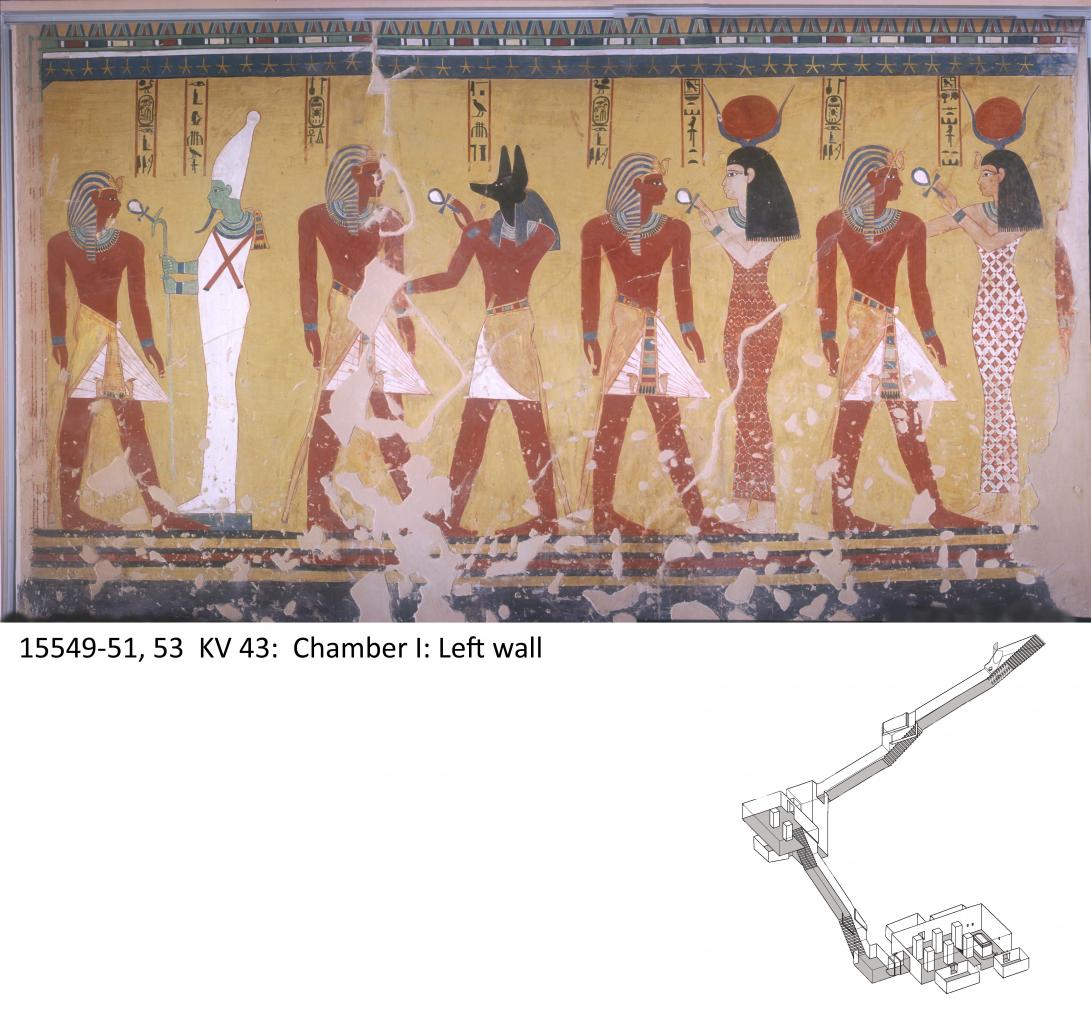
See entire tombChamber I is an antechamber leading into the burial chamber. It is the last chamber on the west-east axis. The decoration appears to have been hastily completed. The walls were plastered and painted, and show the king before Osiris, Anubis and Hathor. There are two hieratic graffiti from the reign of Horemheb recording a tour of inspection and restoration.
Porter and Moss designation:
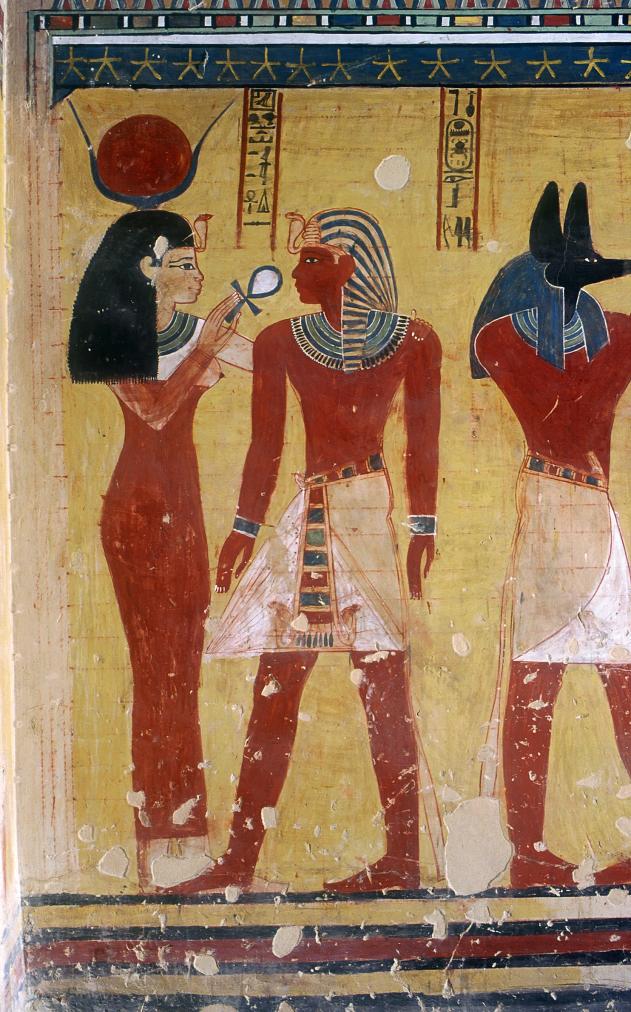
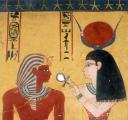
Unfinished scene of Hathor presenting life to Thutmes IV with artists' grid under the background paint.
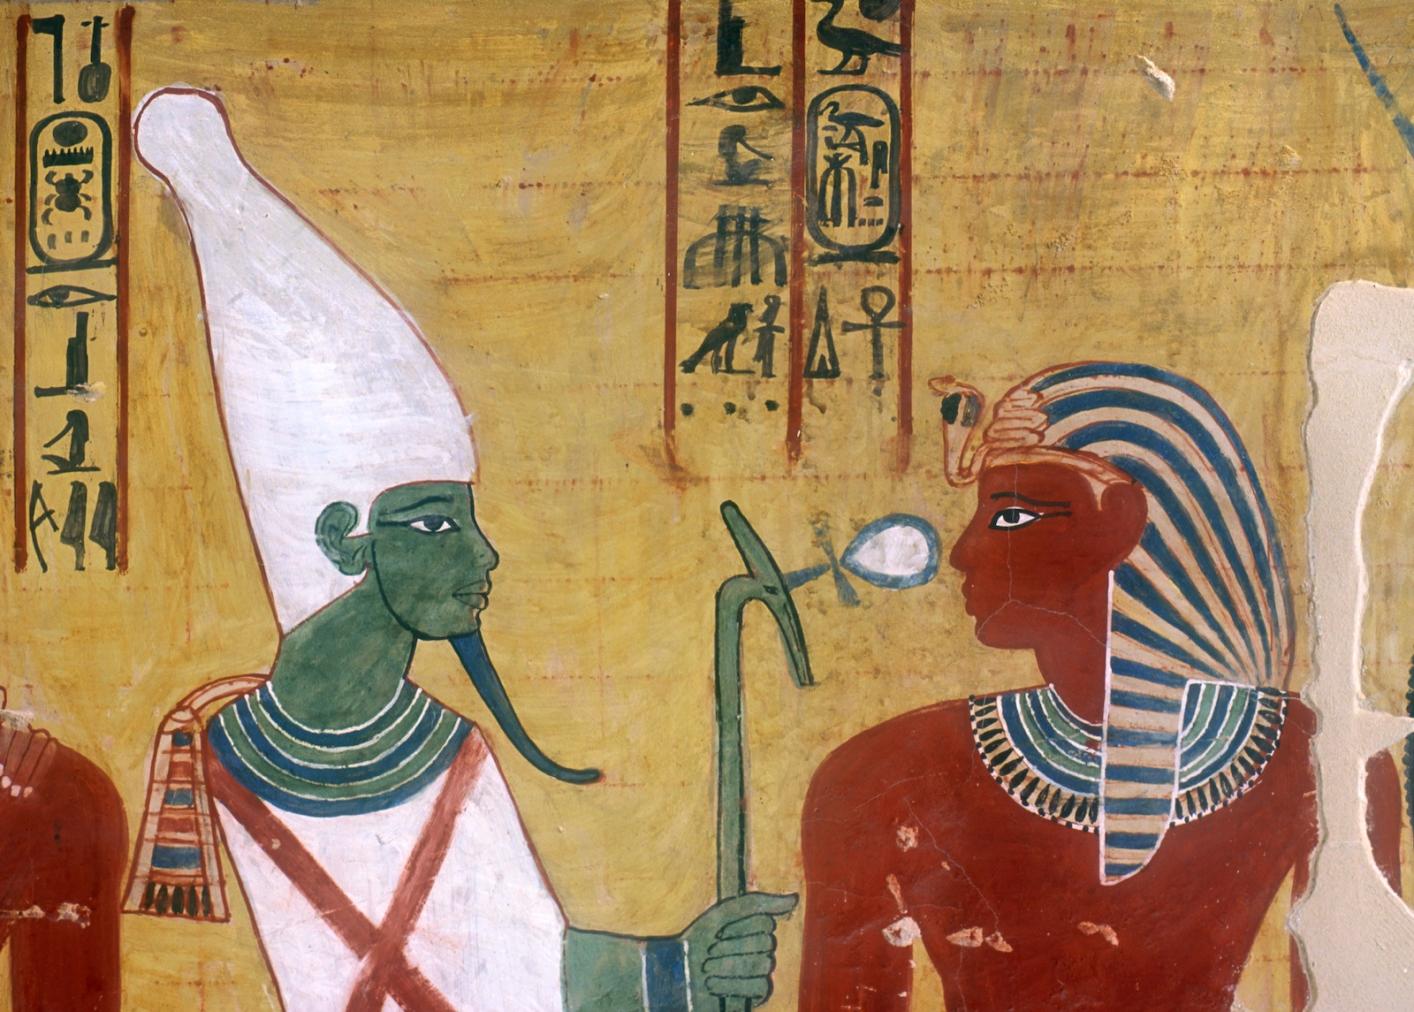
Osiris presenting life to Thutmes IV (detail), with artists' grid under background paint.
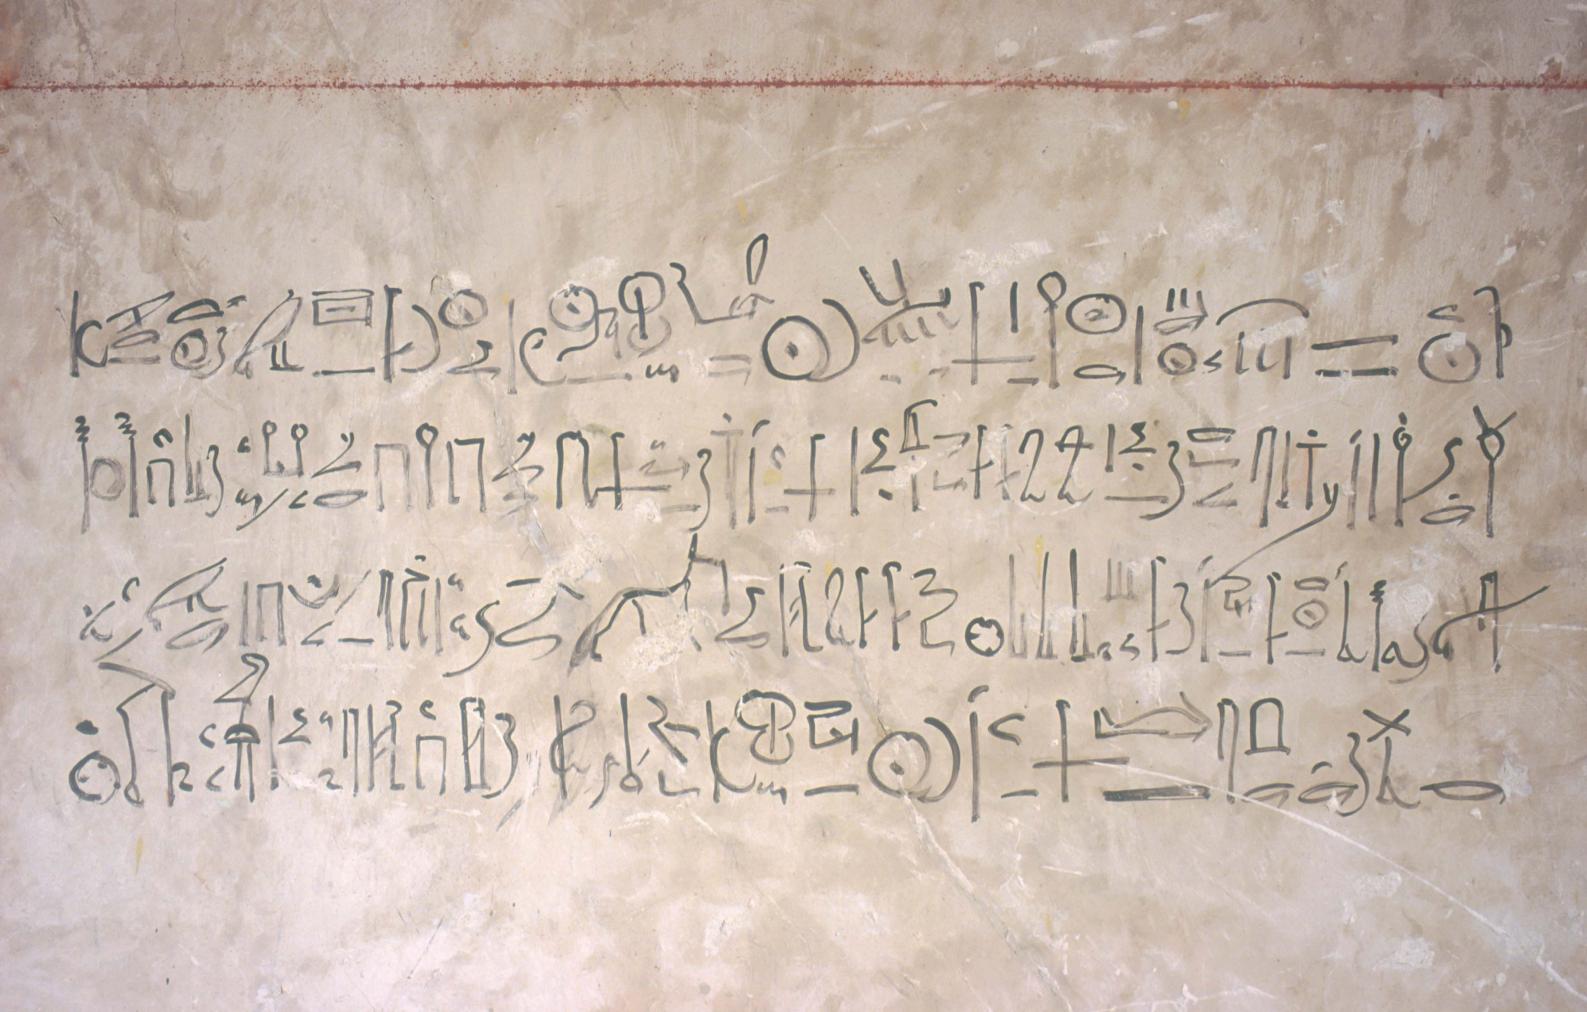
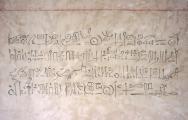
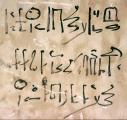
Hieratic graffito dated to regnal year 8 of Horemheb, recording restoration of the burial of Thutmes IV by chief treasurer Maya.
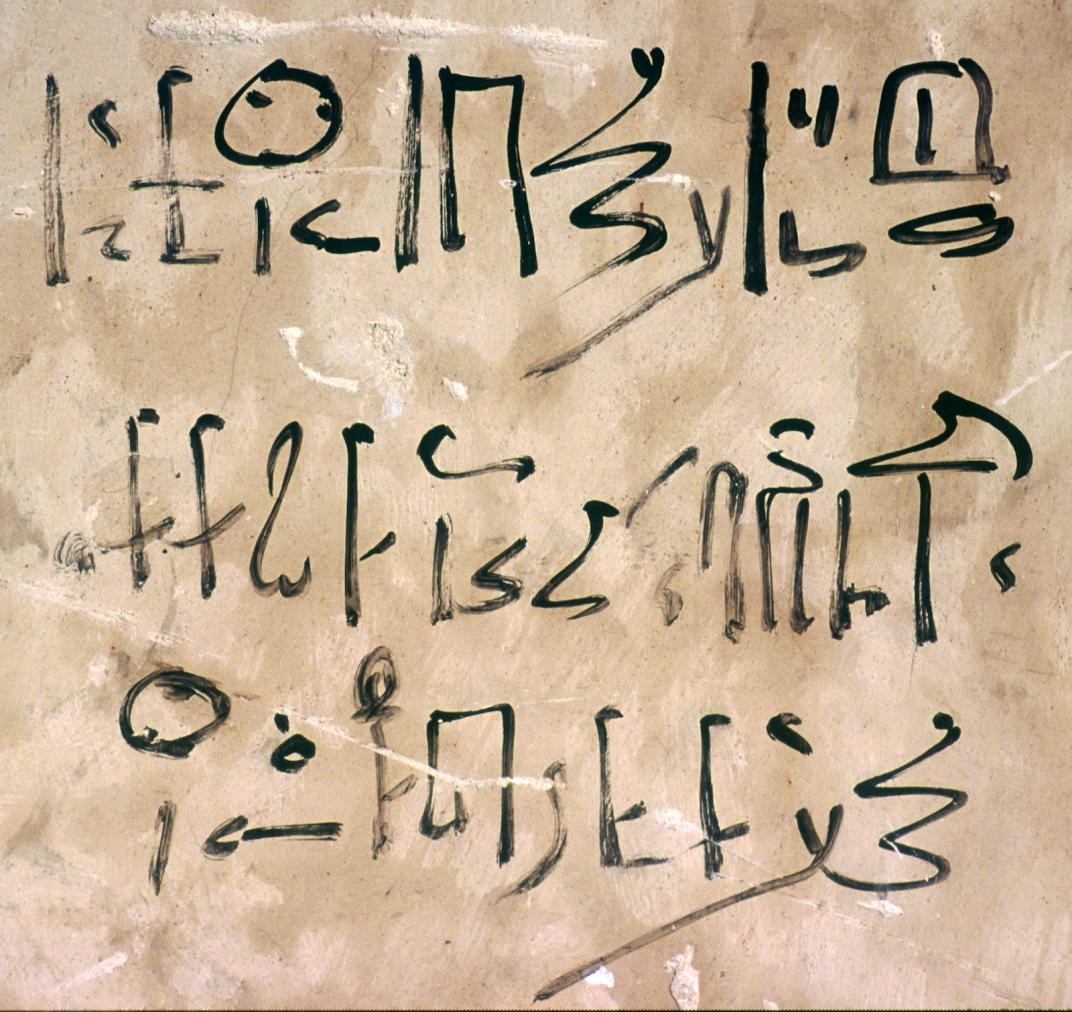
Hieratic graffito naming the Steward of the Southern City (Thebes) Djehutymes, who assisted in the restoration of the burial of Thutmes IV in regnal year 8 of Horemheb.
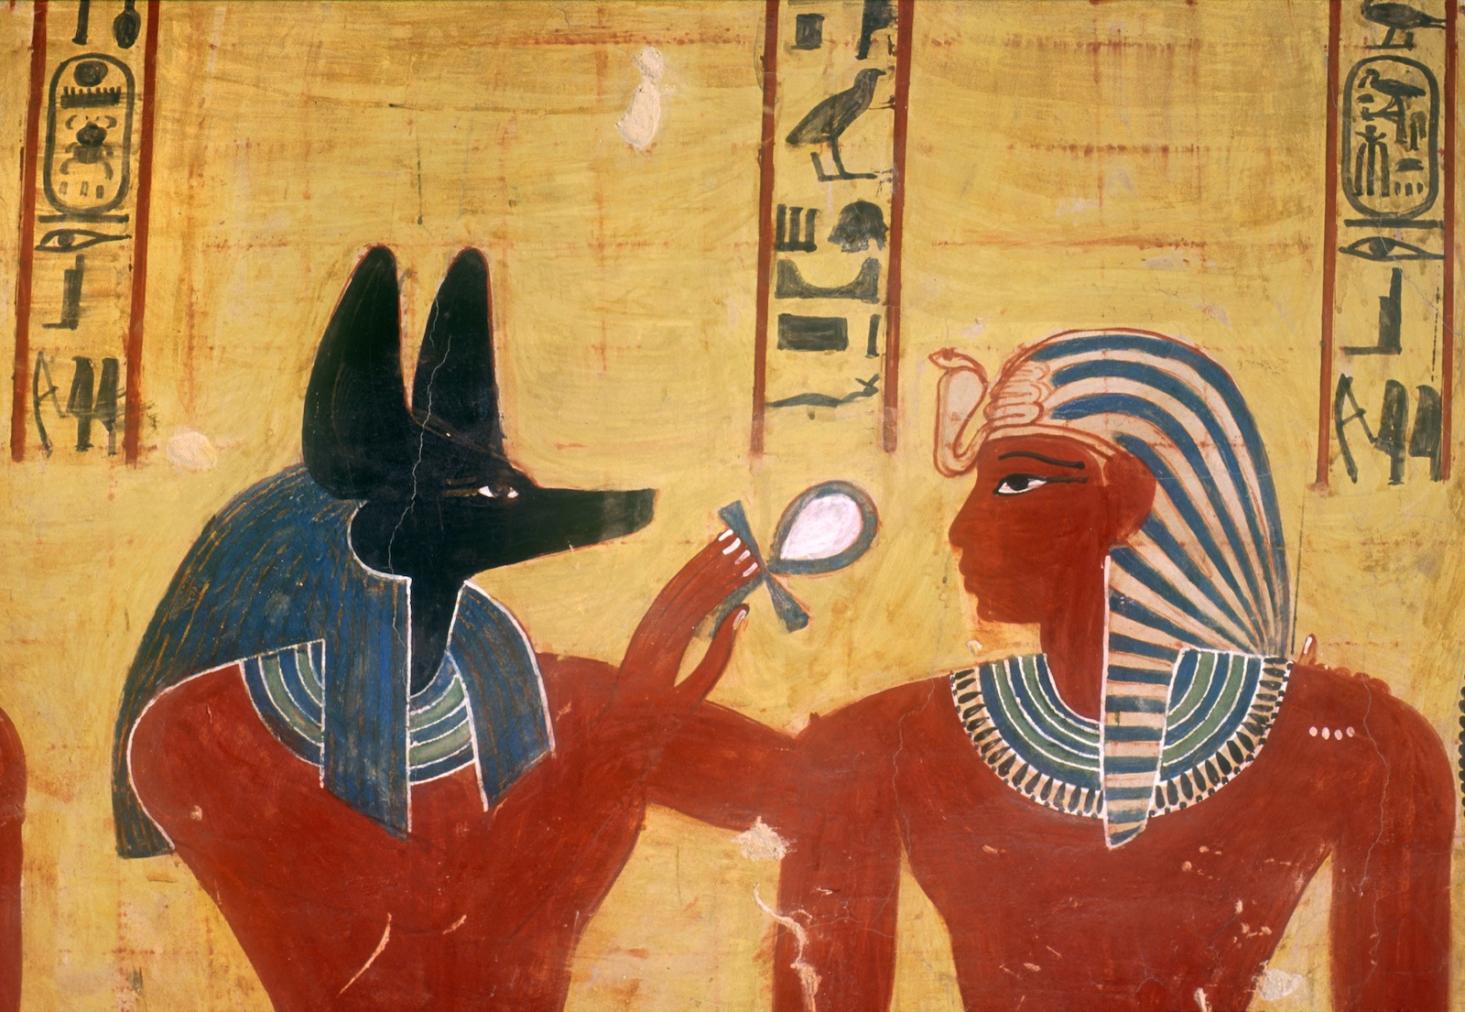
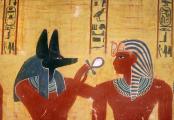
Anubis presenting life to Thutmes IV: detail, with artists' grid under background paint (detail)
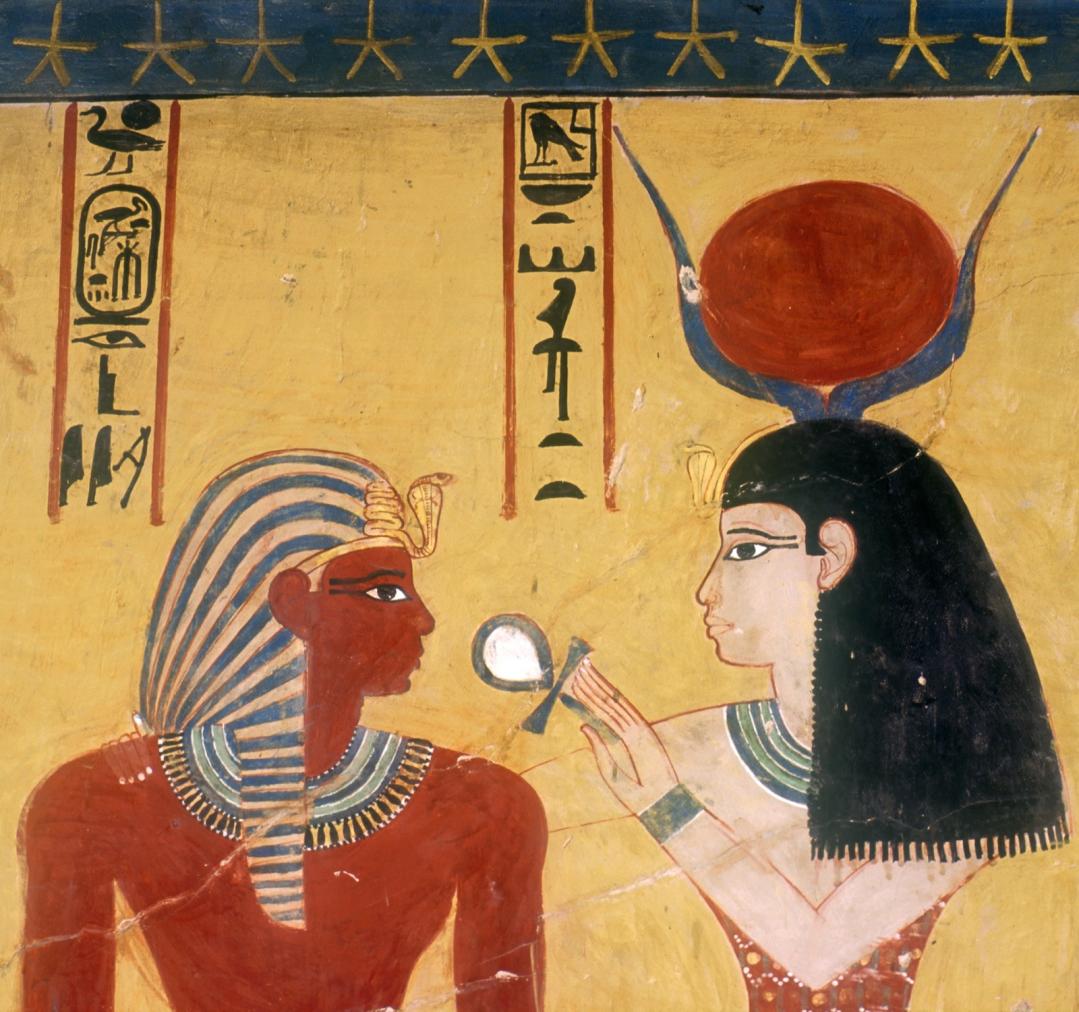
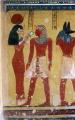
Thutmes IV receiving life from Hathor (detail).
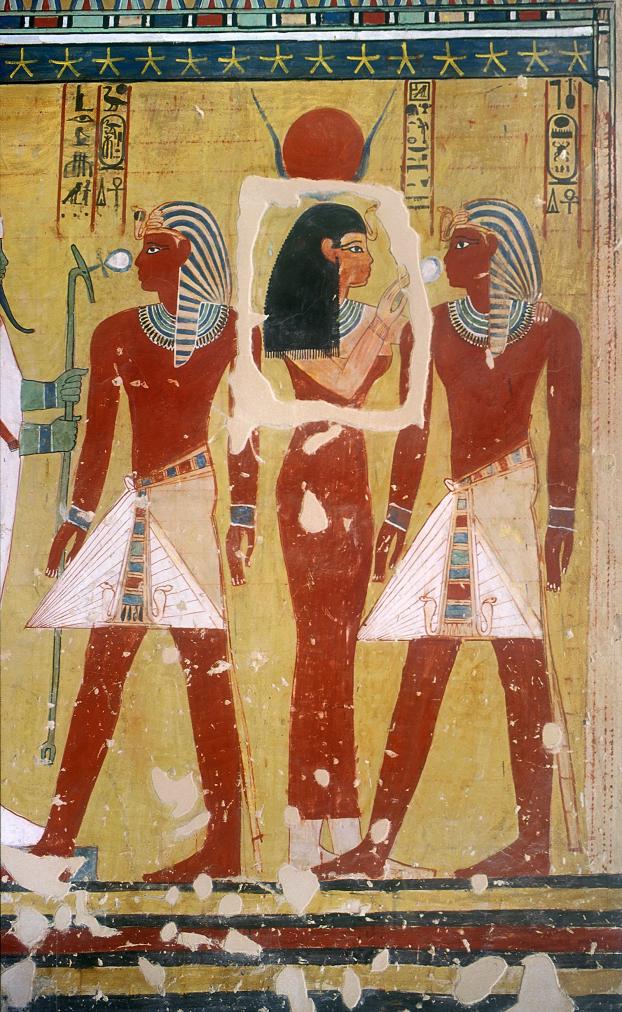
Thutmes IV receiving life from Osiris and Hathor, with recent vandals' attempt to remove head of goddess (detail).
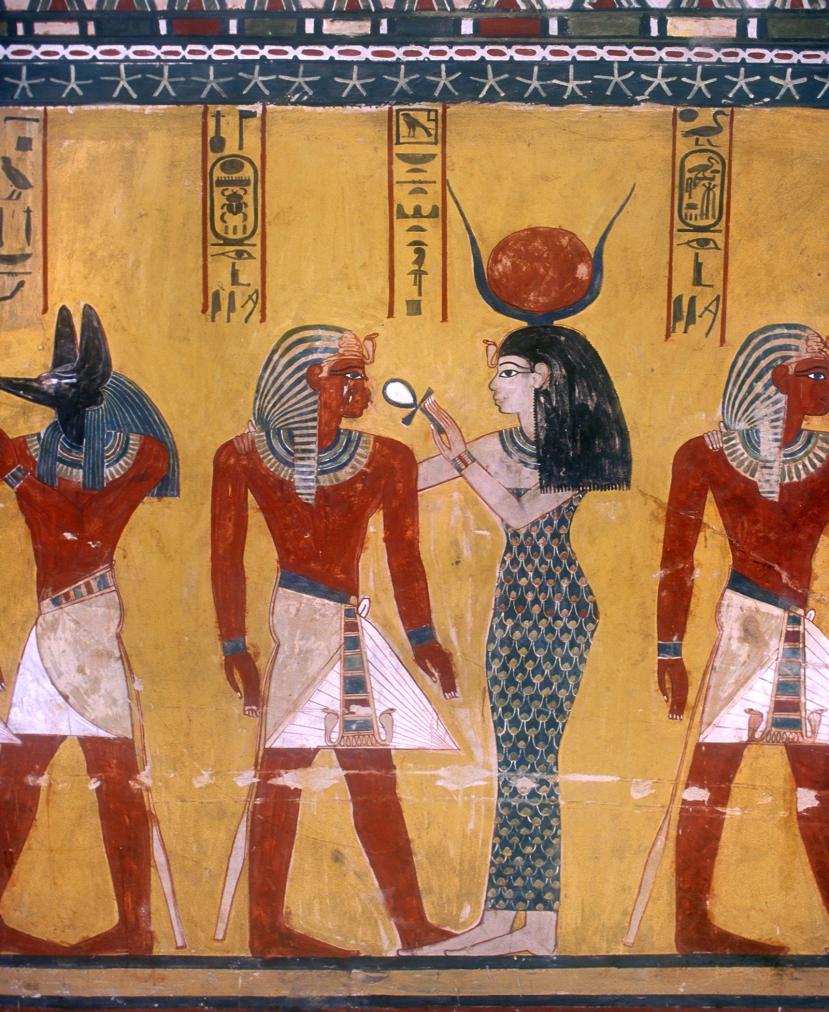
Thutmes IV receiving life from Hathor (detail).
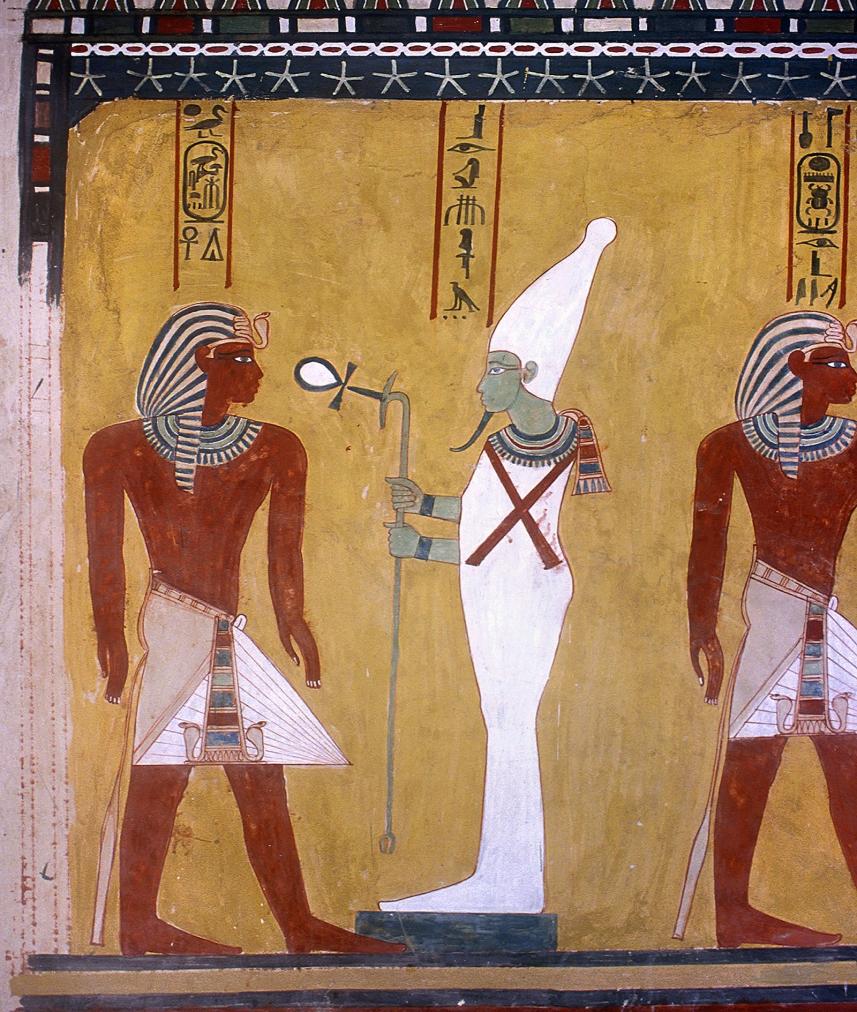
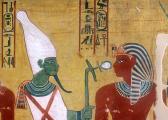
Thutmes IV receiving life from Osiris (detail).
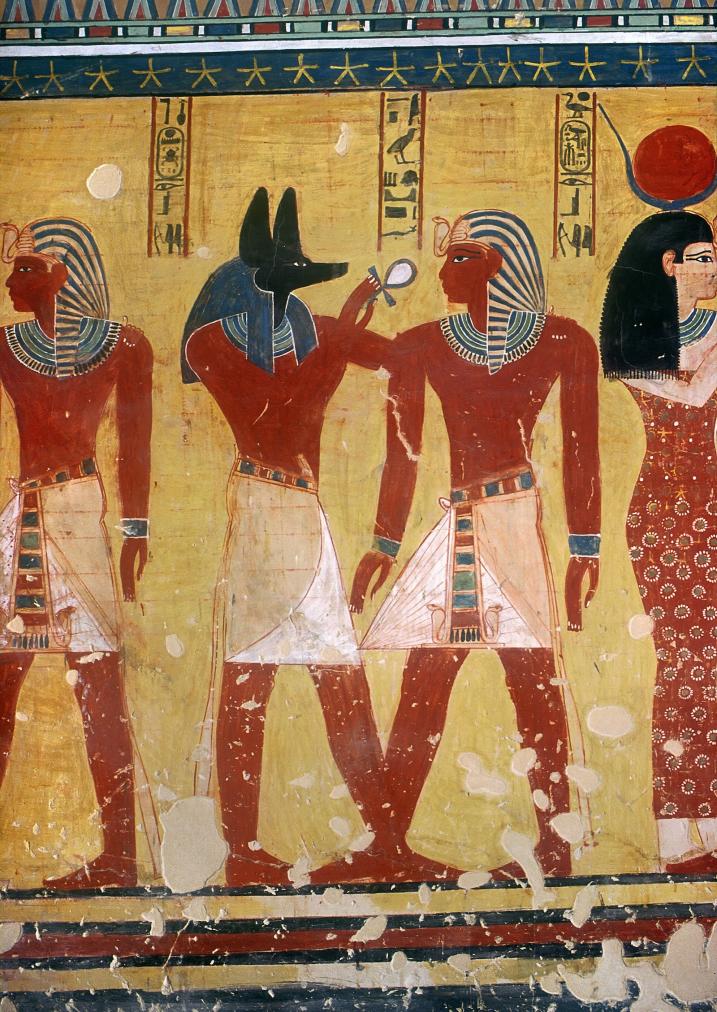
Anubis presenting life to Thutmes IV, with artist's grid behind the background paint.
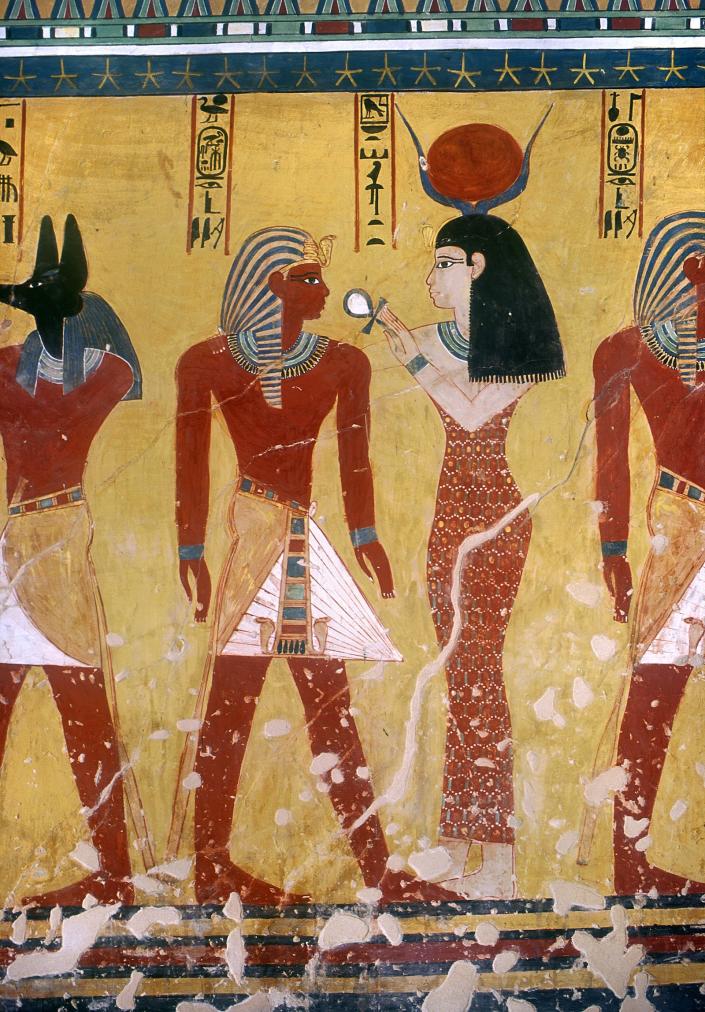
Thutmes IV receiving life from Hathor.
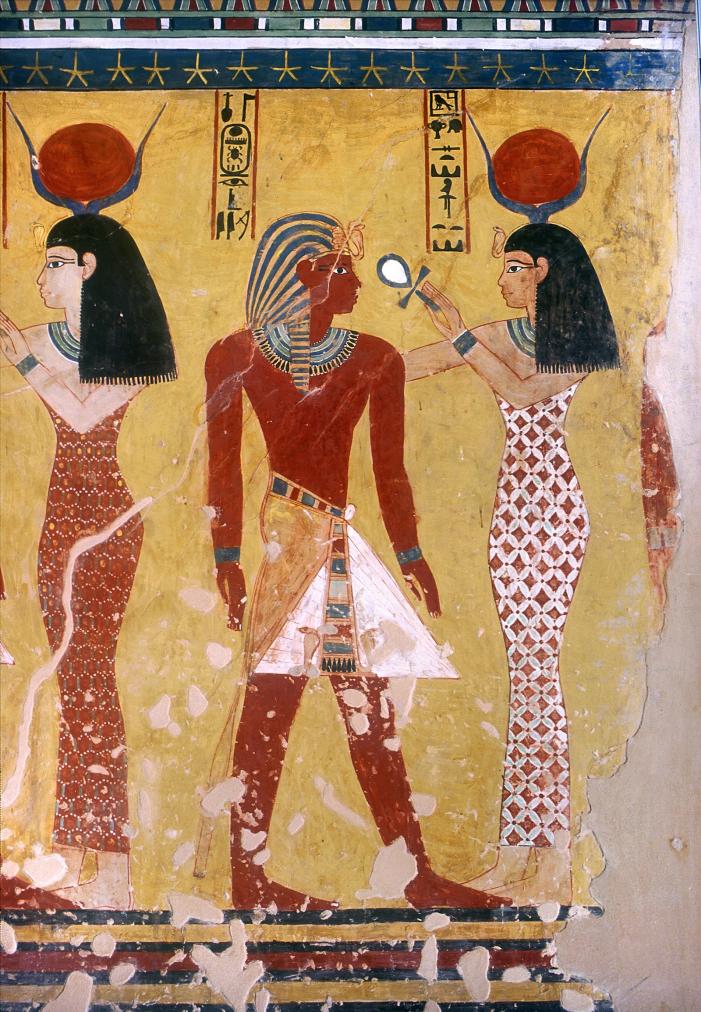
Thutmes IV receiving life from Hathor.
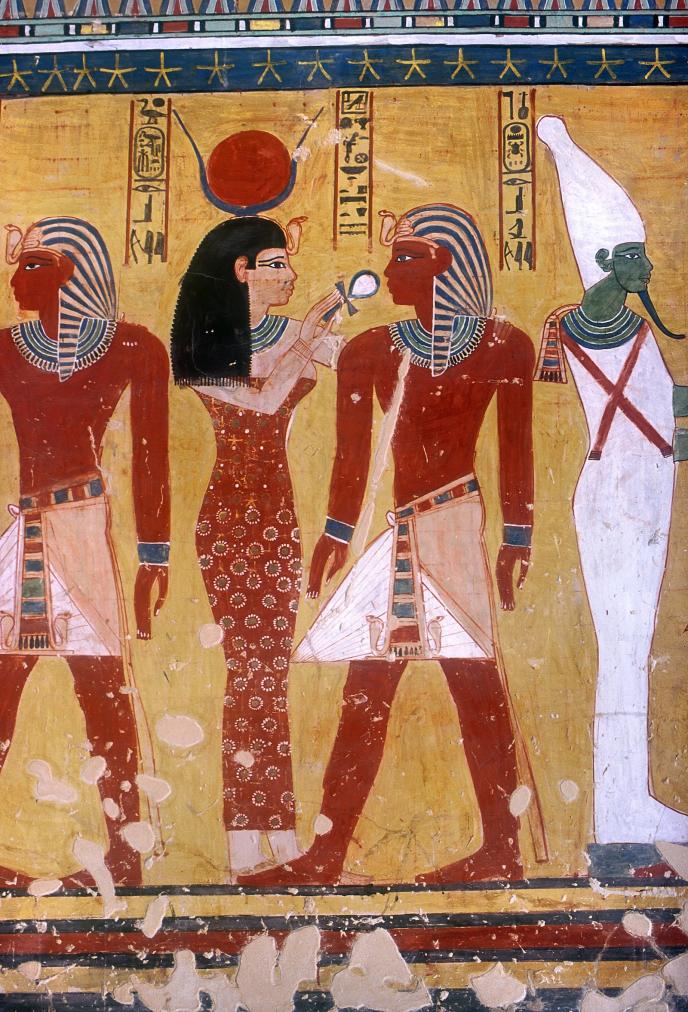
Hathor presenting life to Thutmes IV.
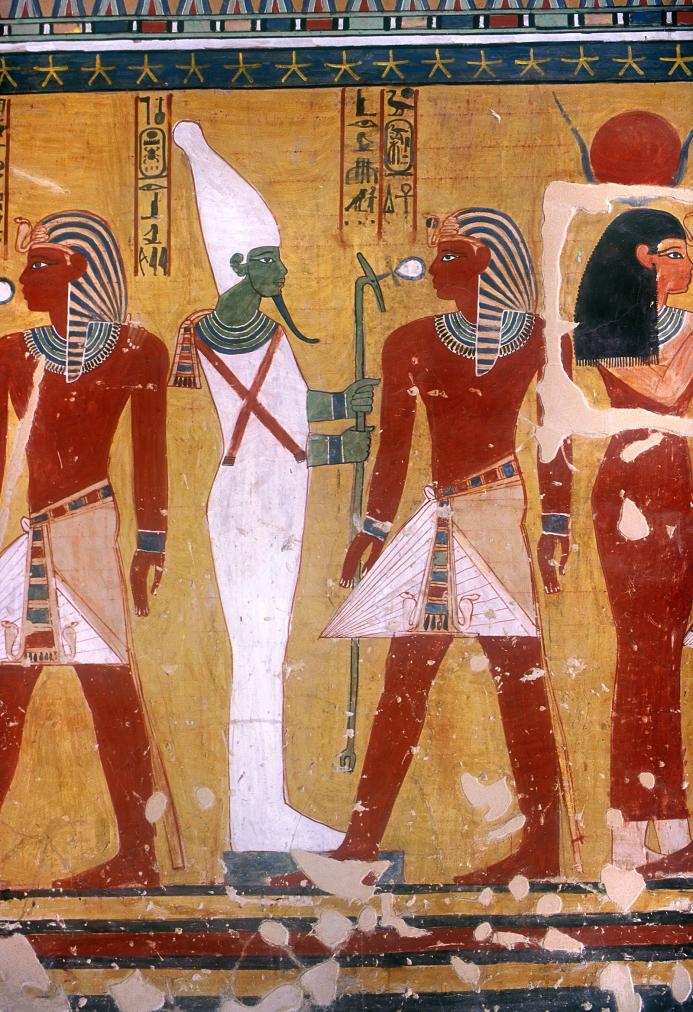
Osiris presenting life to Thutmes IV.
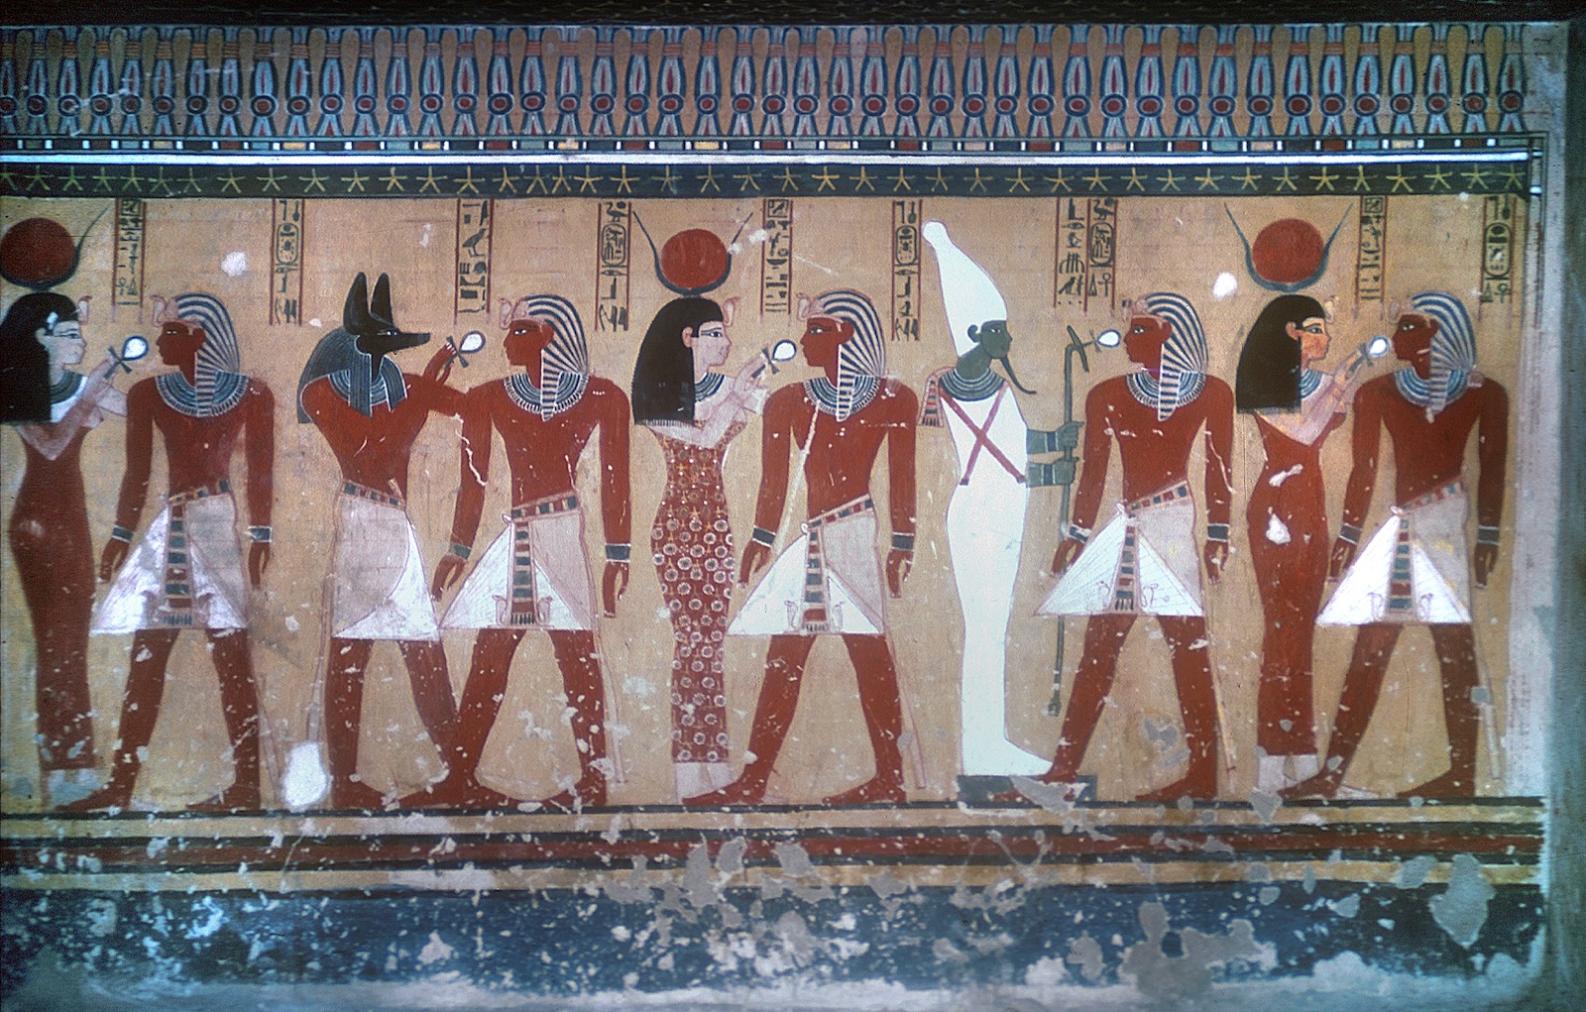
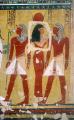
Thutmes IV with Anubis, Osiris, and three forms of Hathor (reconstruction).
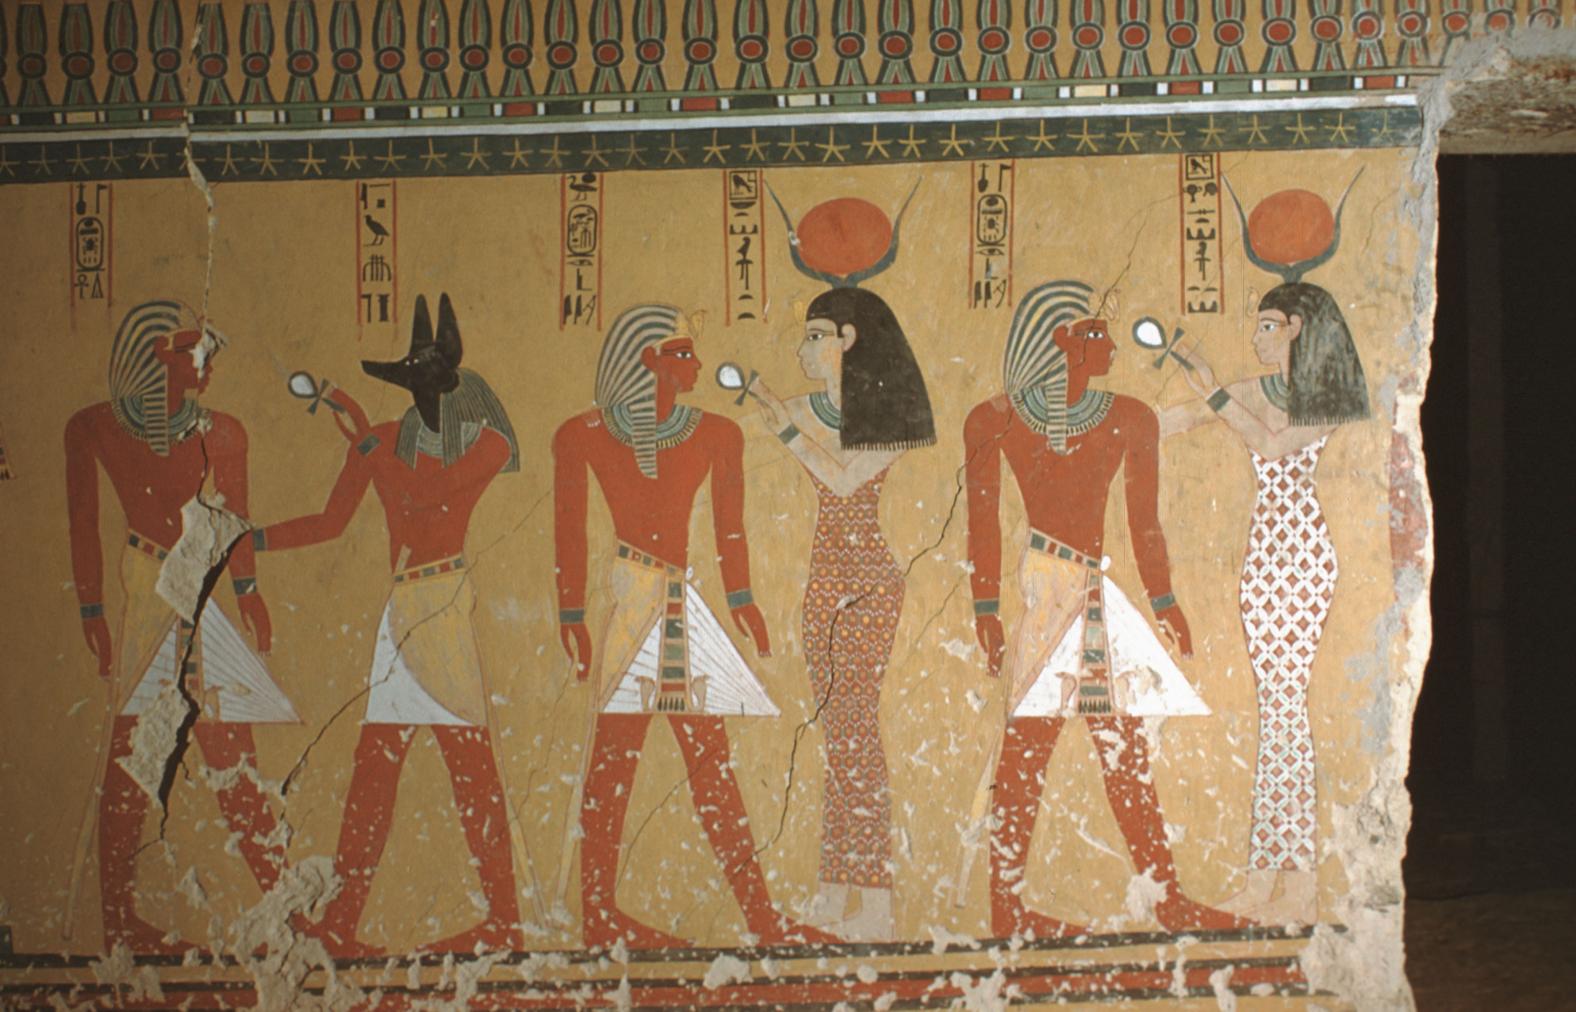
2 forms of Hathor and Anubis giving the King life. Courtesy of Uni Dia Verlag; Uni Dia Image Nr. 35204.
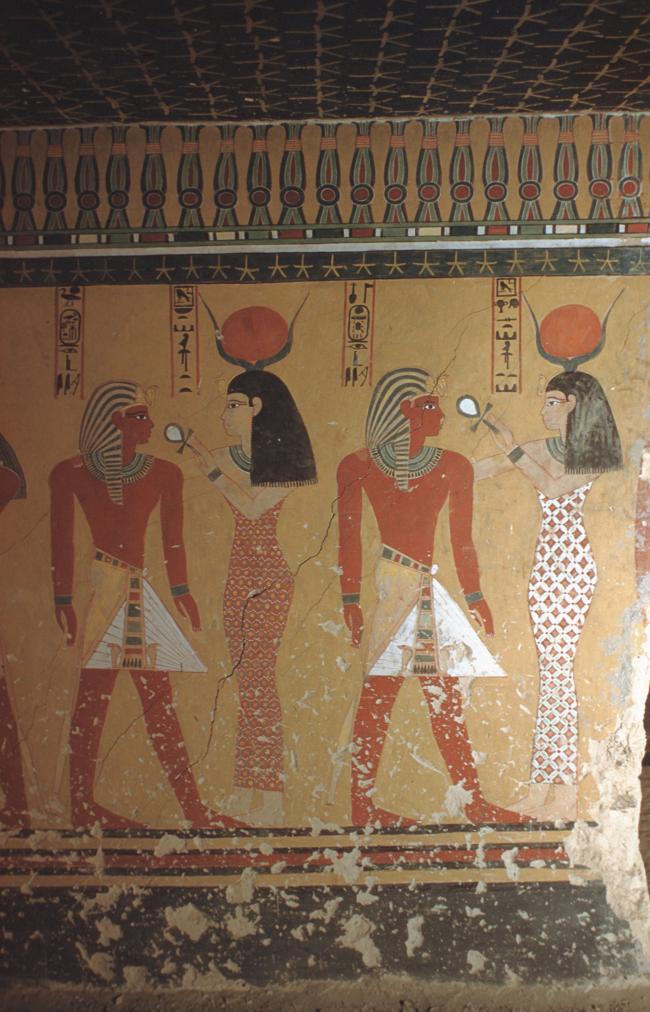
Detail of 2 forms of Hathor giving the King life. Courtesy of Uni Dia Verlag; Uni Dia Image Nr. 35205.
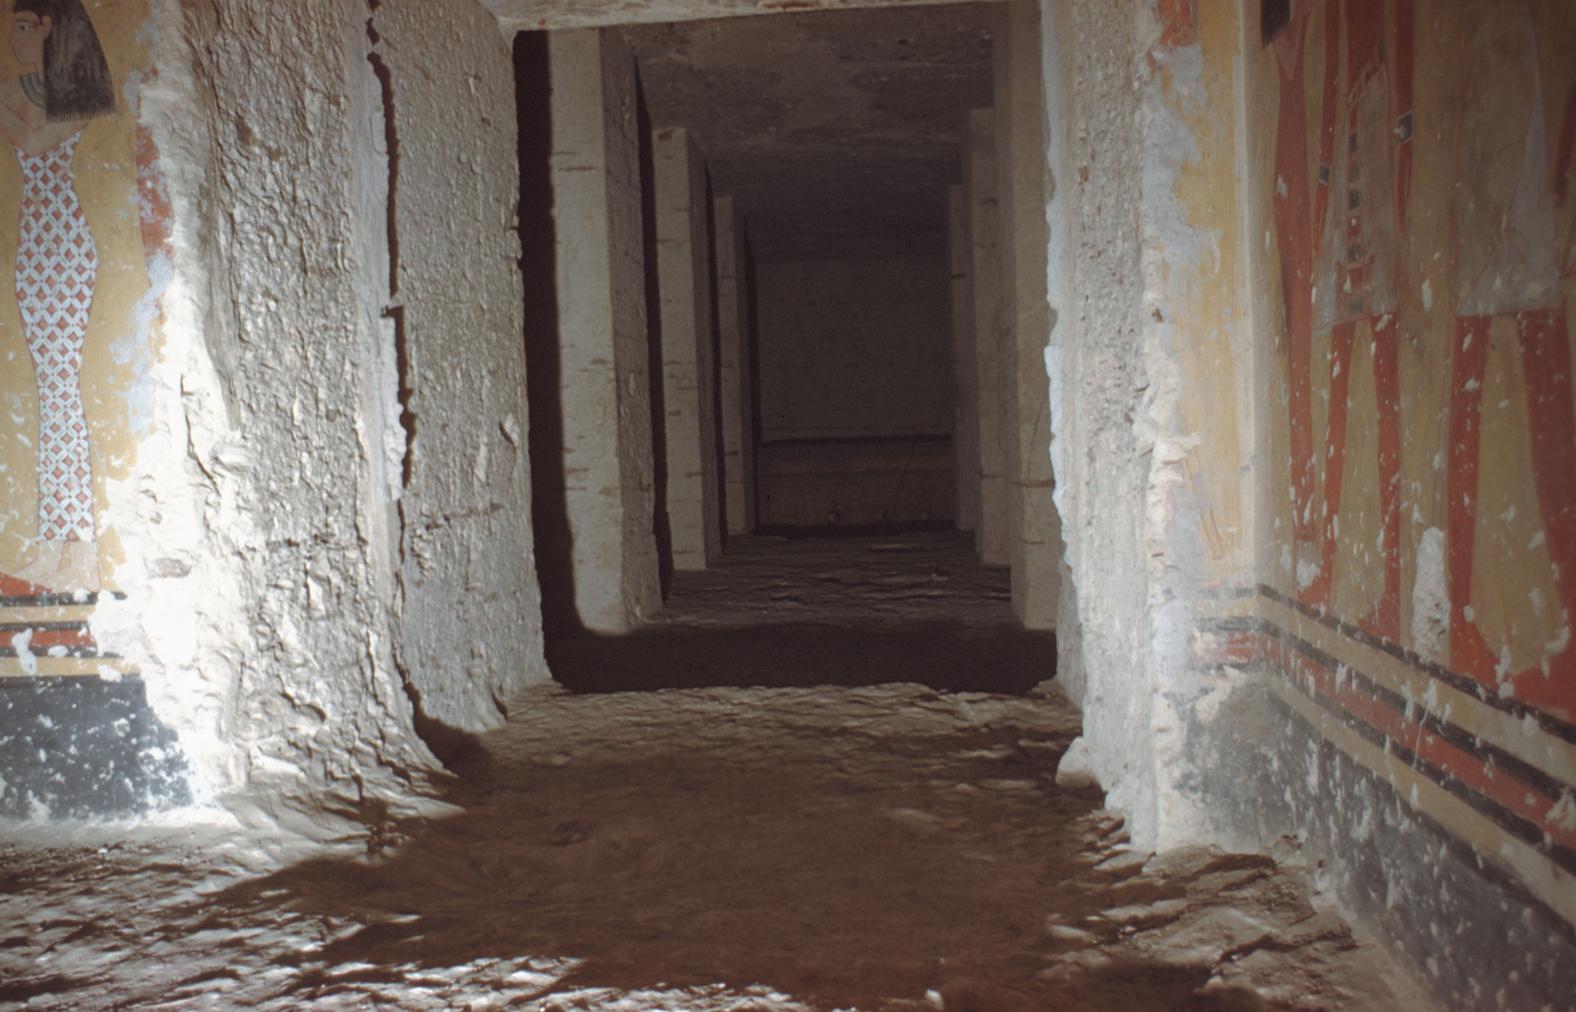
View from Chamber I into Burial Chamber J. Courtesy of Uni Dia Verlag; Uni Dia Image Nr. 35206.
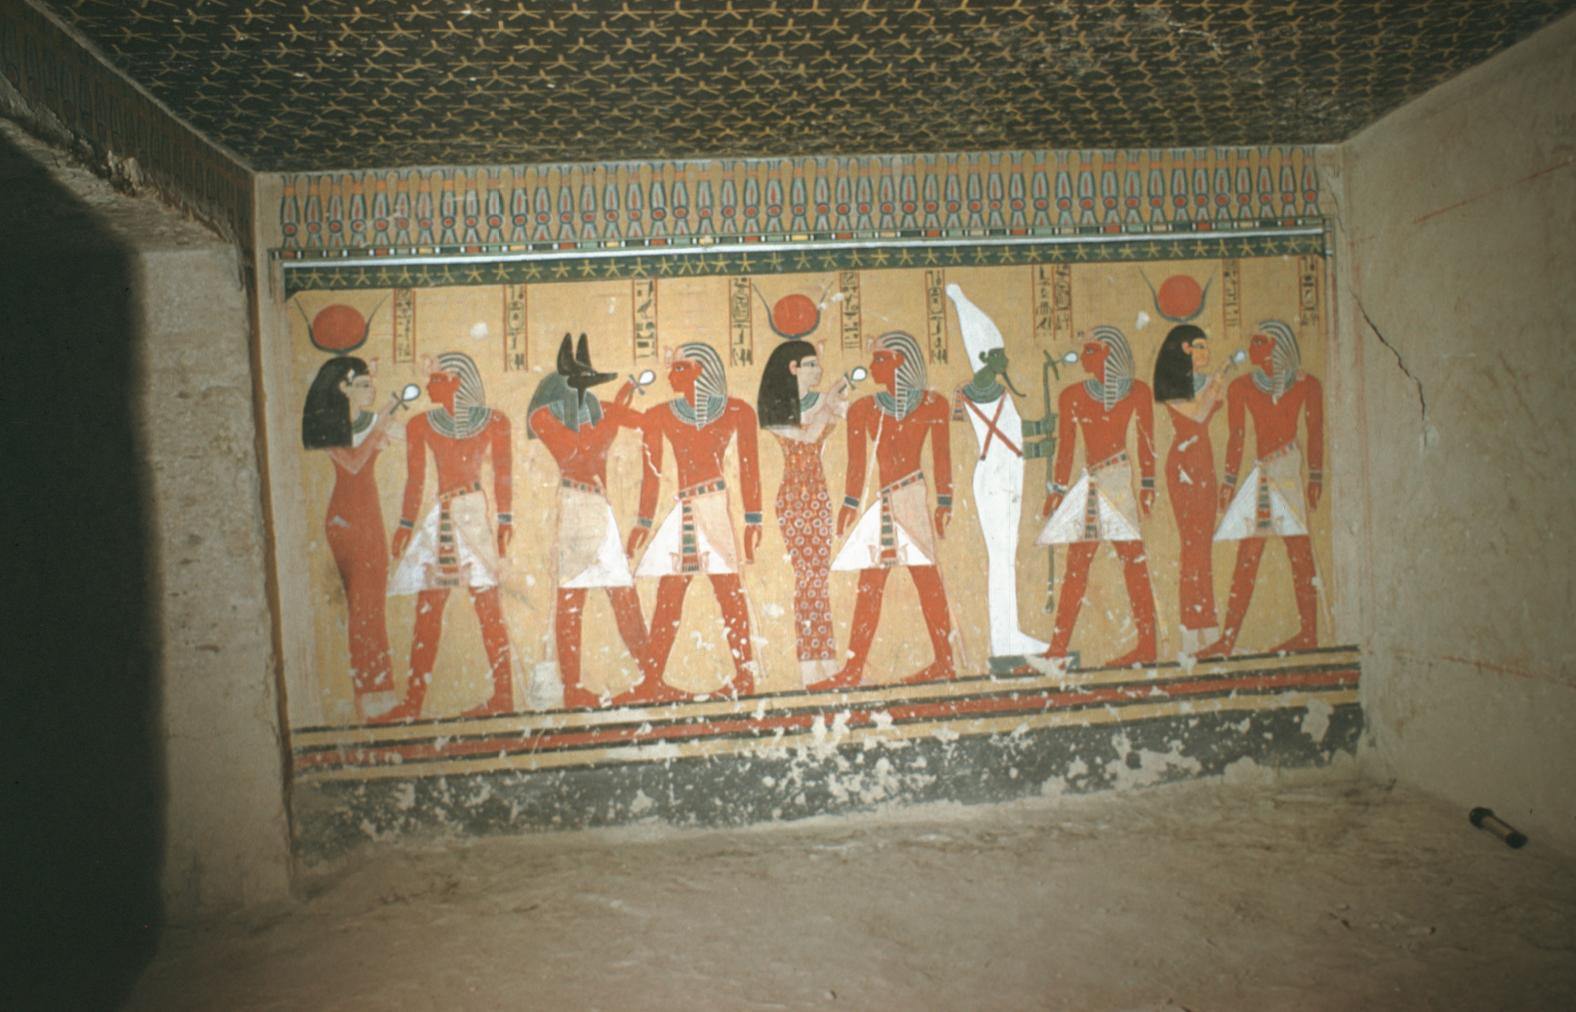
3 forms of Hathor, Anubis, and Osiris giving life to the King. Courtesy of Uni Dia Verlag; Uni Dia Image Nr. 35207.
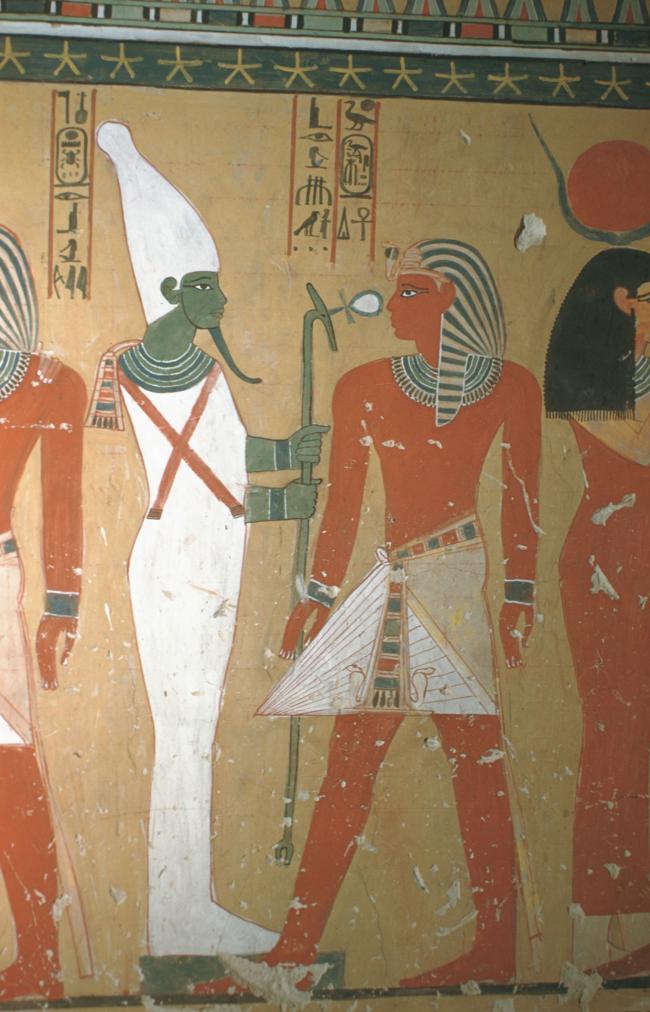
Detail of Osiris giving life to the King. Courtesy of Uni Dia Verlag; Uni Dia Image Nr. 35208.
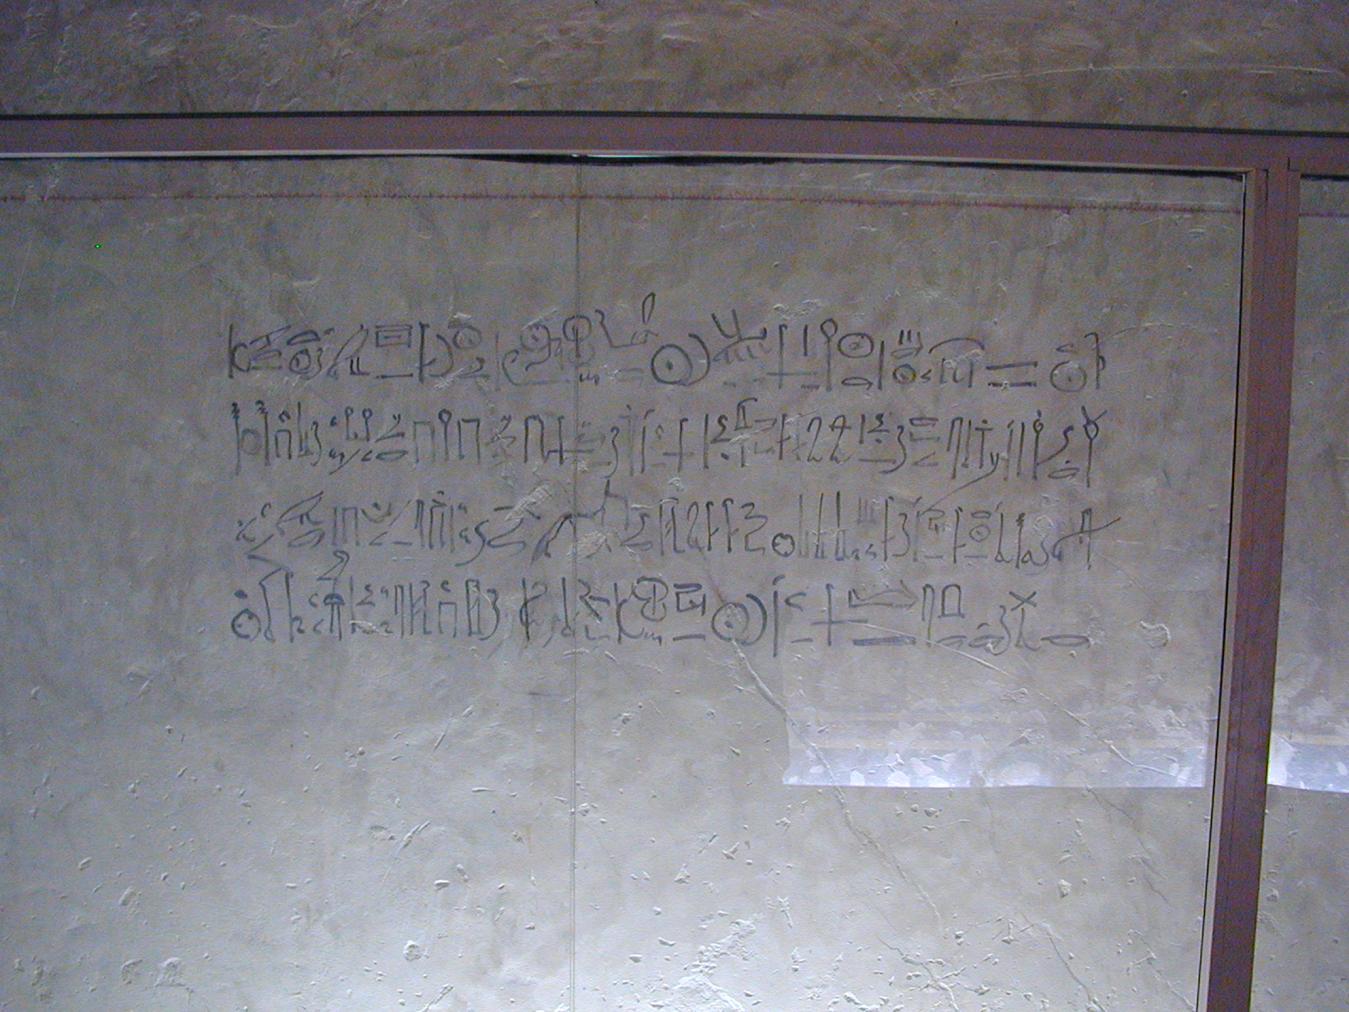
Chamber I, right wall. Hieratic graffito dated to regnal year 8 of Horemheb, recording the restoration of the burial of Thutmes IV by the chief treasurer Maya.
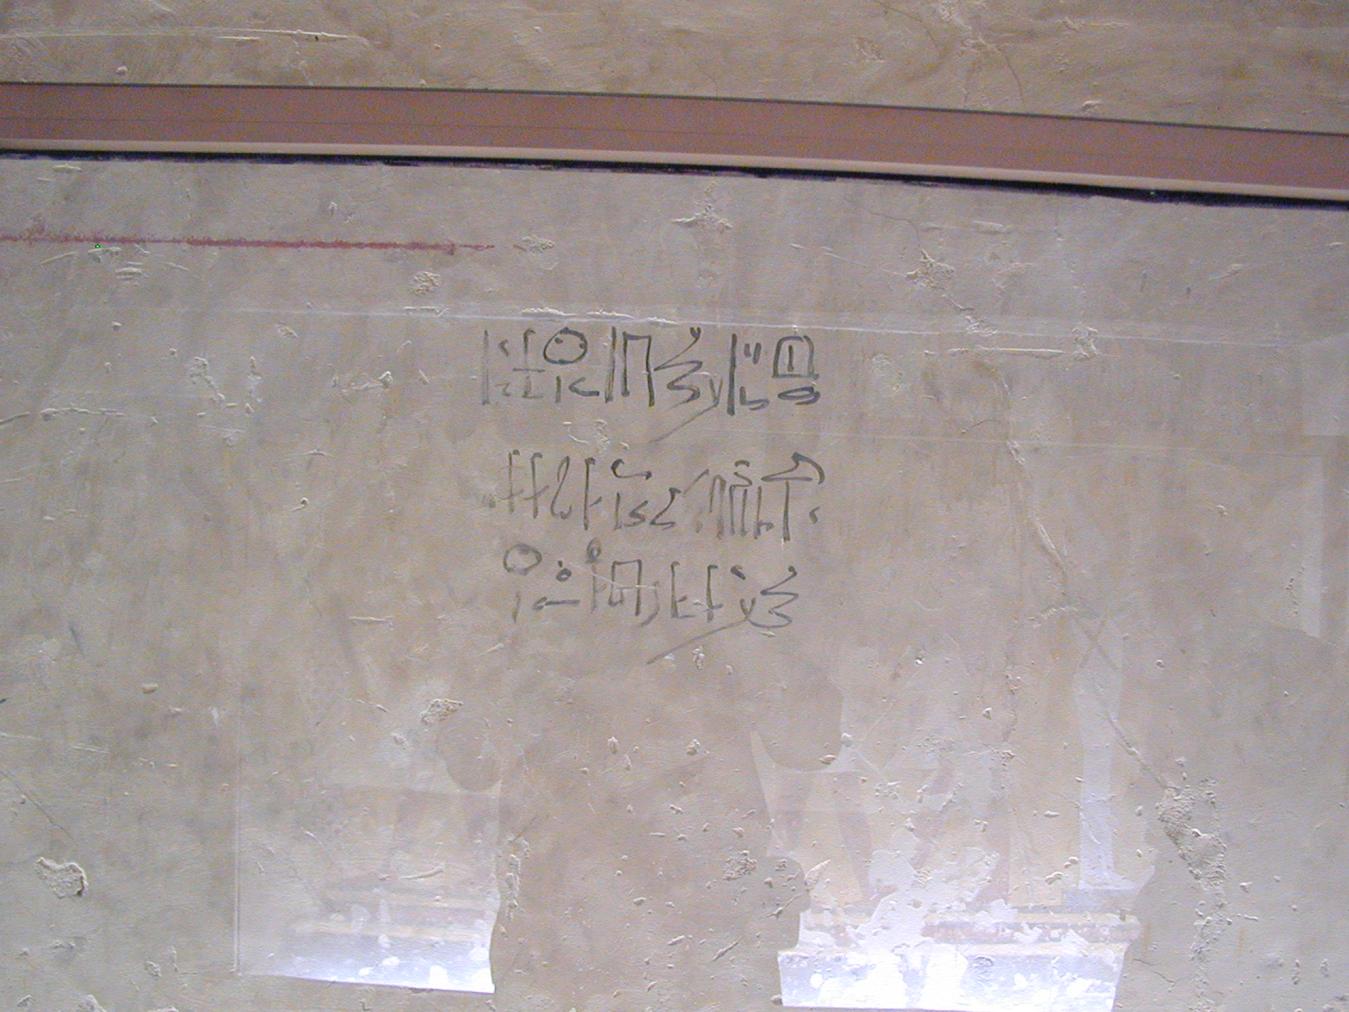
Chamber I, right wall. Hieratic graffito naming the Steward of the Southern City (Thebes; modern-day Luxor) Djehutymes, who assisted in the restoration of the burial of Thutmes IV in regnal year 8 of Horemheb.
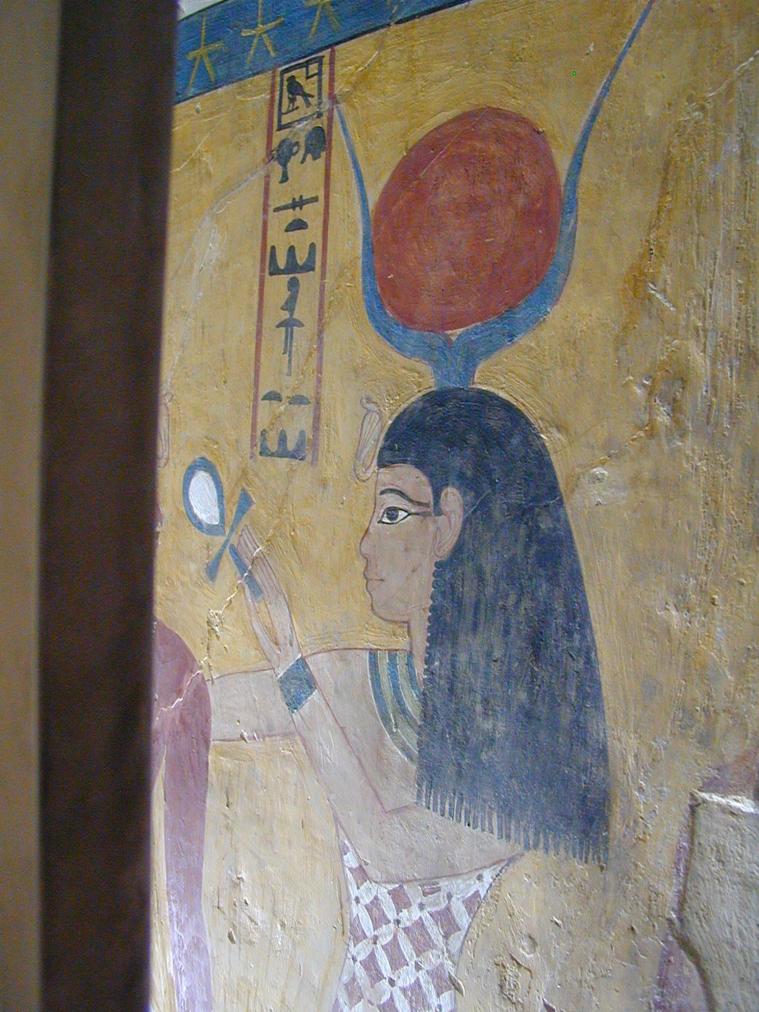
Chamber I, left wall. Thutmes IV receives eternal life (ankh) from the deity Hathor. Courtesy of Richard Sellicks.
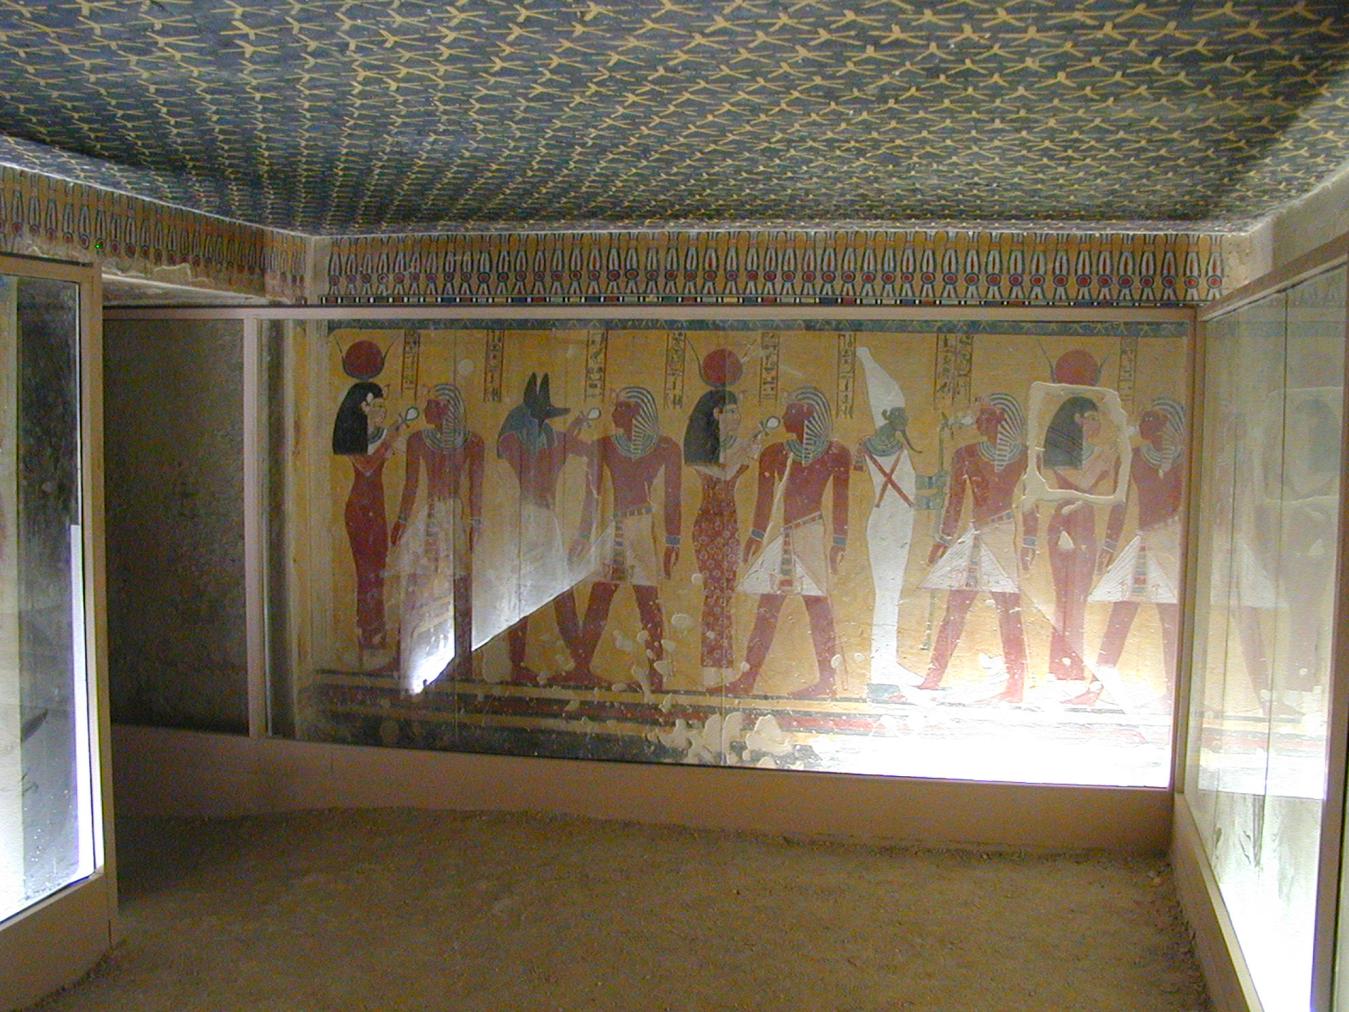
Chamber I, rear wall. Thutmes IV with the deities Anubis, Osiris, and three forms of Hathor (reconstruction). Courtesy of Richard Sellicks.
Gate J
See entire tombThere are beam slots in the lintel of the gate. It was originally closed with a single leaf wooden door. Afterwards, it was blocked and plastered to prevent entry. From this point on, the tomb continues on a south-north axis. There is a ramp cut through the gate. The left (west) jamb has been cut back.
Porter and Moss designation:
Burial chamber J
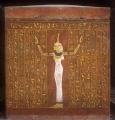
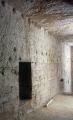
See entire tombThe burial chamber is divided into two sections: an upper pillared level and a lower level where the sarcophagus was placed. On the upper level stand three pairs of pillars. A stepped descent, cut between the last pair of pillars, leads to the lower level. Four side chambers lie beyond the undecorated walls of the chamber. There are red mason's lines on the right (east) wall. There are conical lumps of plaster on the walls of the upper section of the burial chamber. A rectangle, outlined in black paint (ca. 50x30 cm wide), was painted on the right (west) side of the front (south) wall of the chamber.
Chamber plan:
RectangularRelationship to main tomb axis:
ParallelChamber layout:
Pillared front upper level, sunken rear lower levelFloor:
Two levelsCeiling:
Flat
Porter and Moss designation:
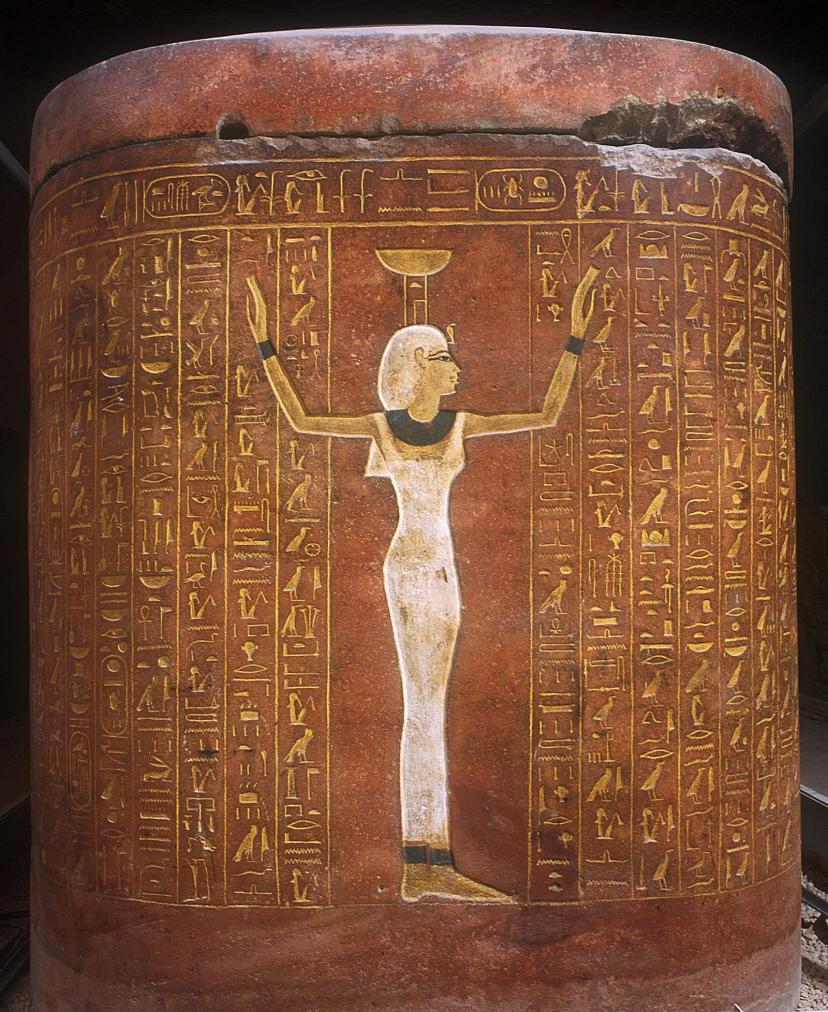
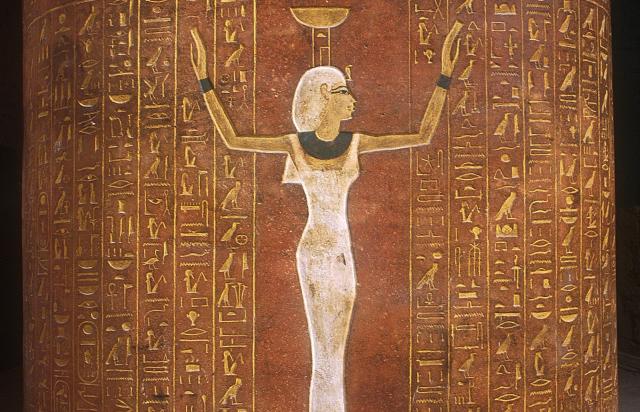
Nephthys.
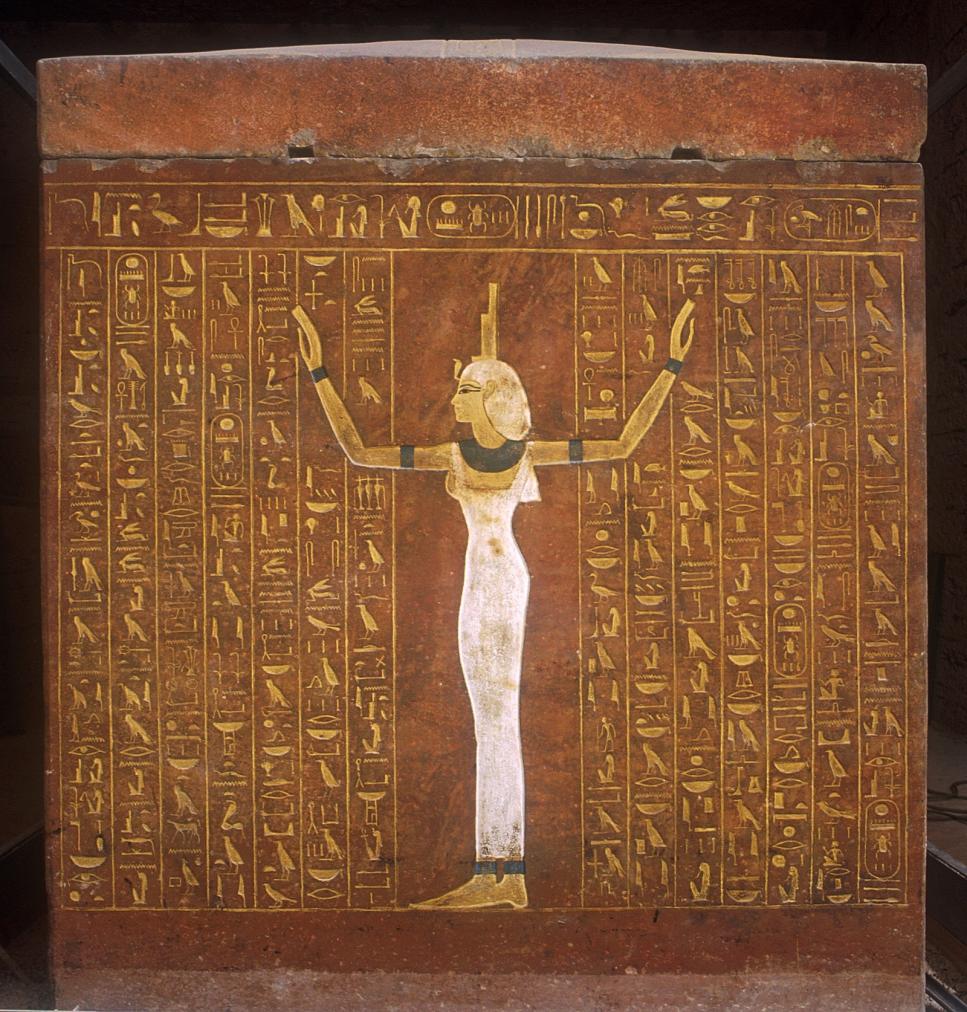
Isis.
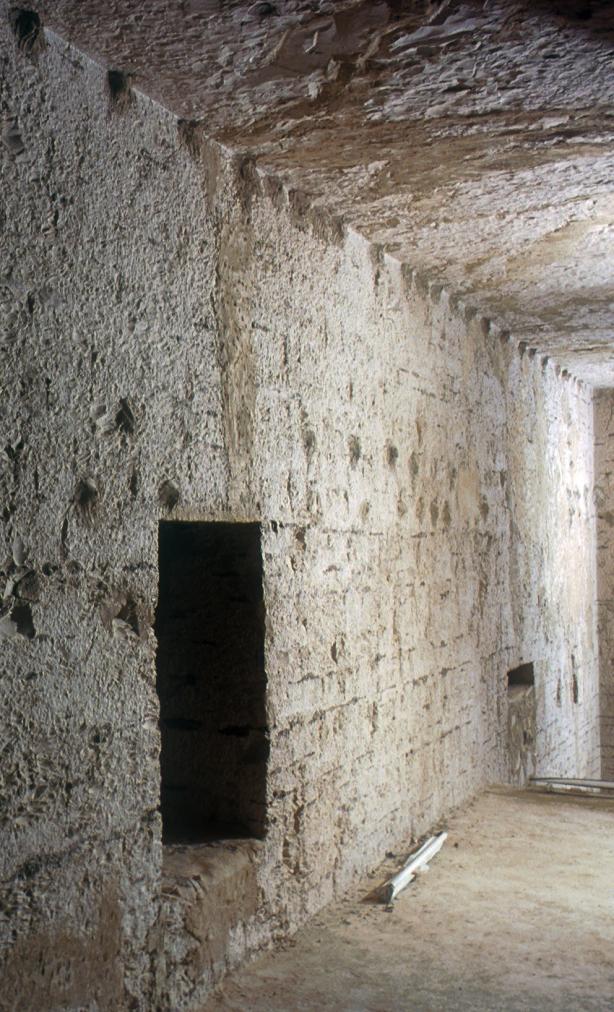
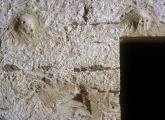
Plaster blobs which served as plumb line pins next to ceiling.
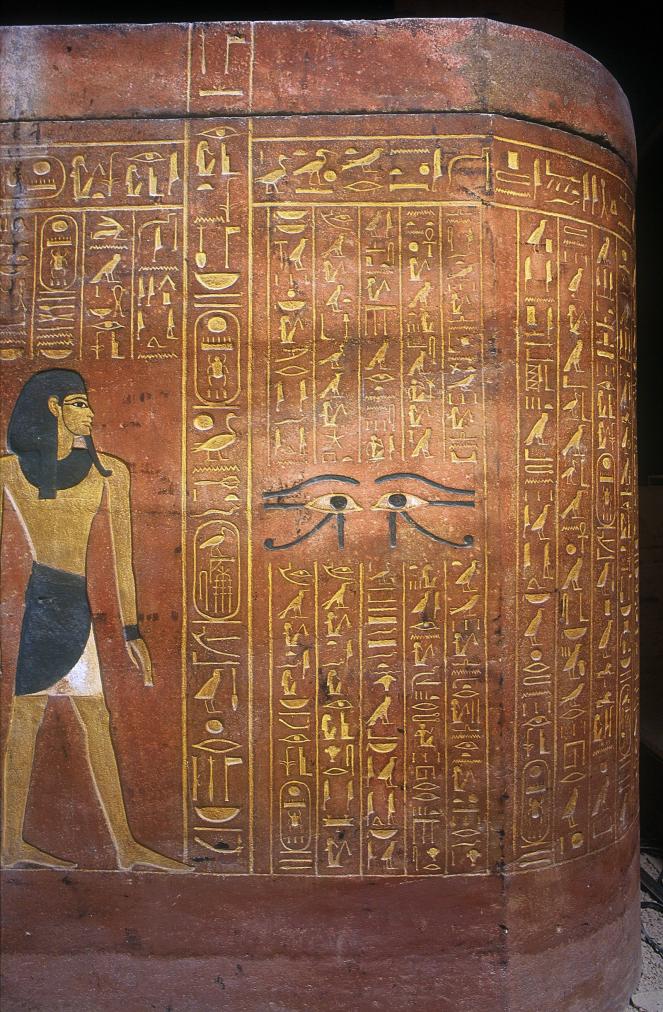
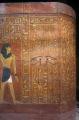
Imsety and eye panel.
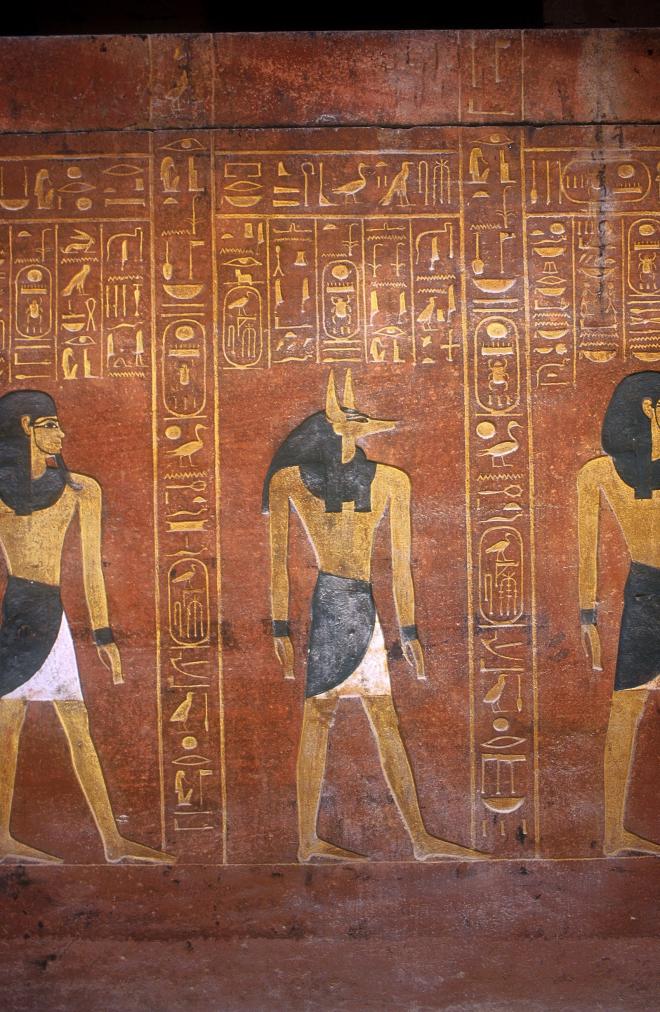
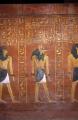
Qebehsenuef, Anubis and Imsety.
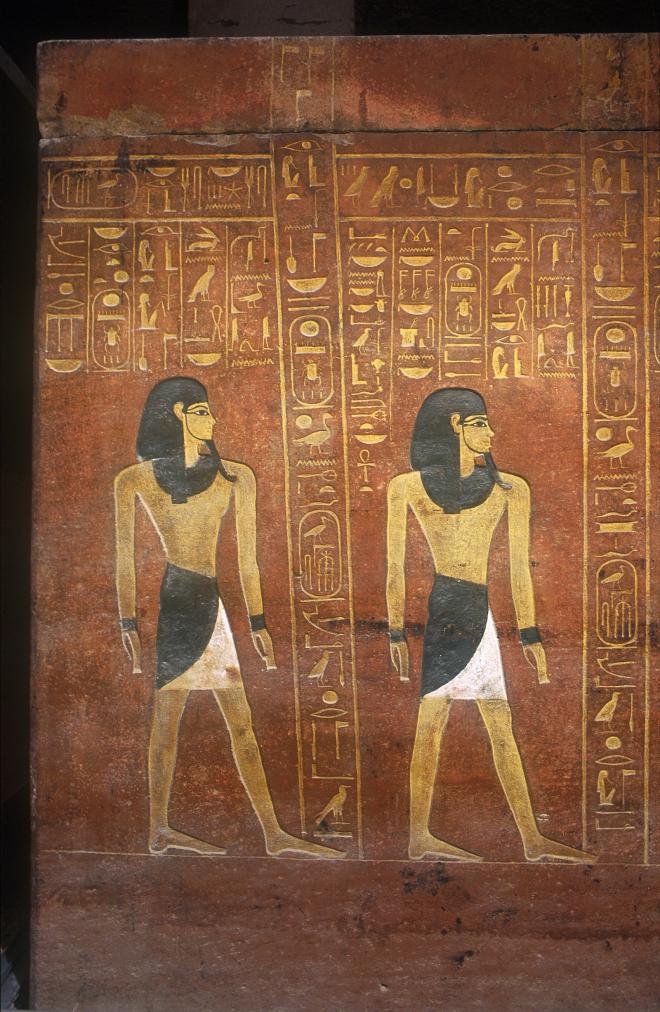
Geb and Qebehsenuef.
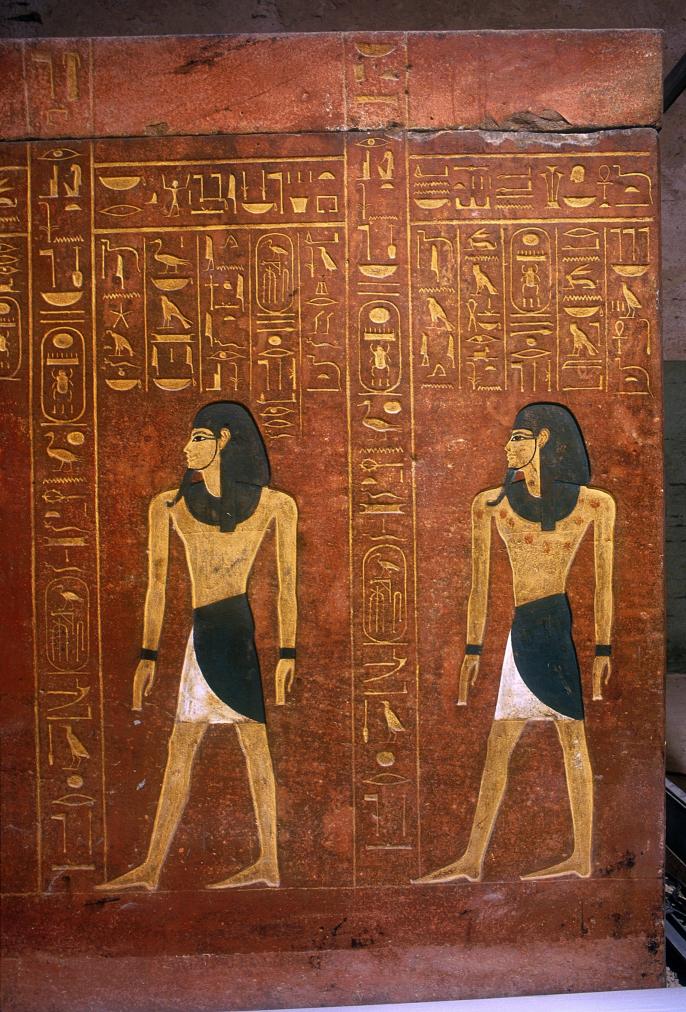
Duamutef and Horus.
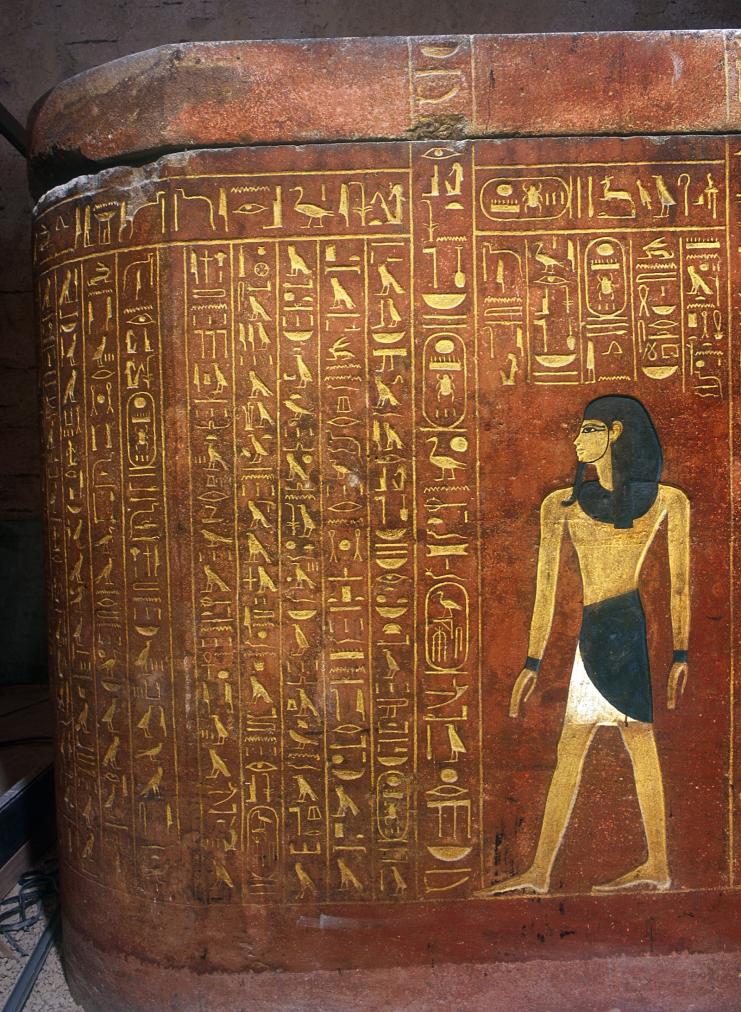
Hapy.
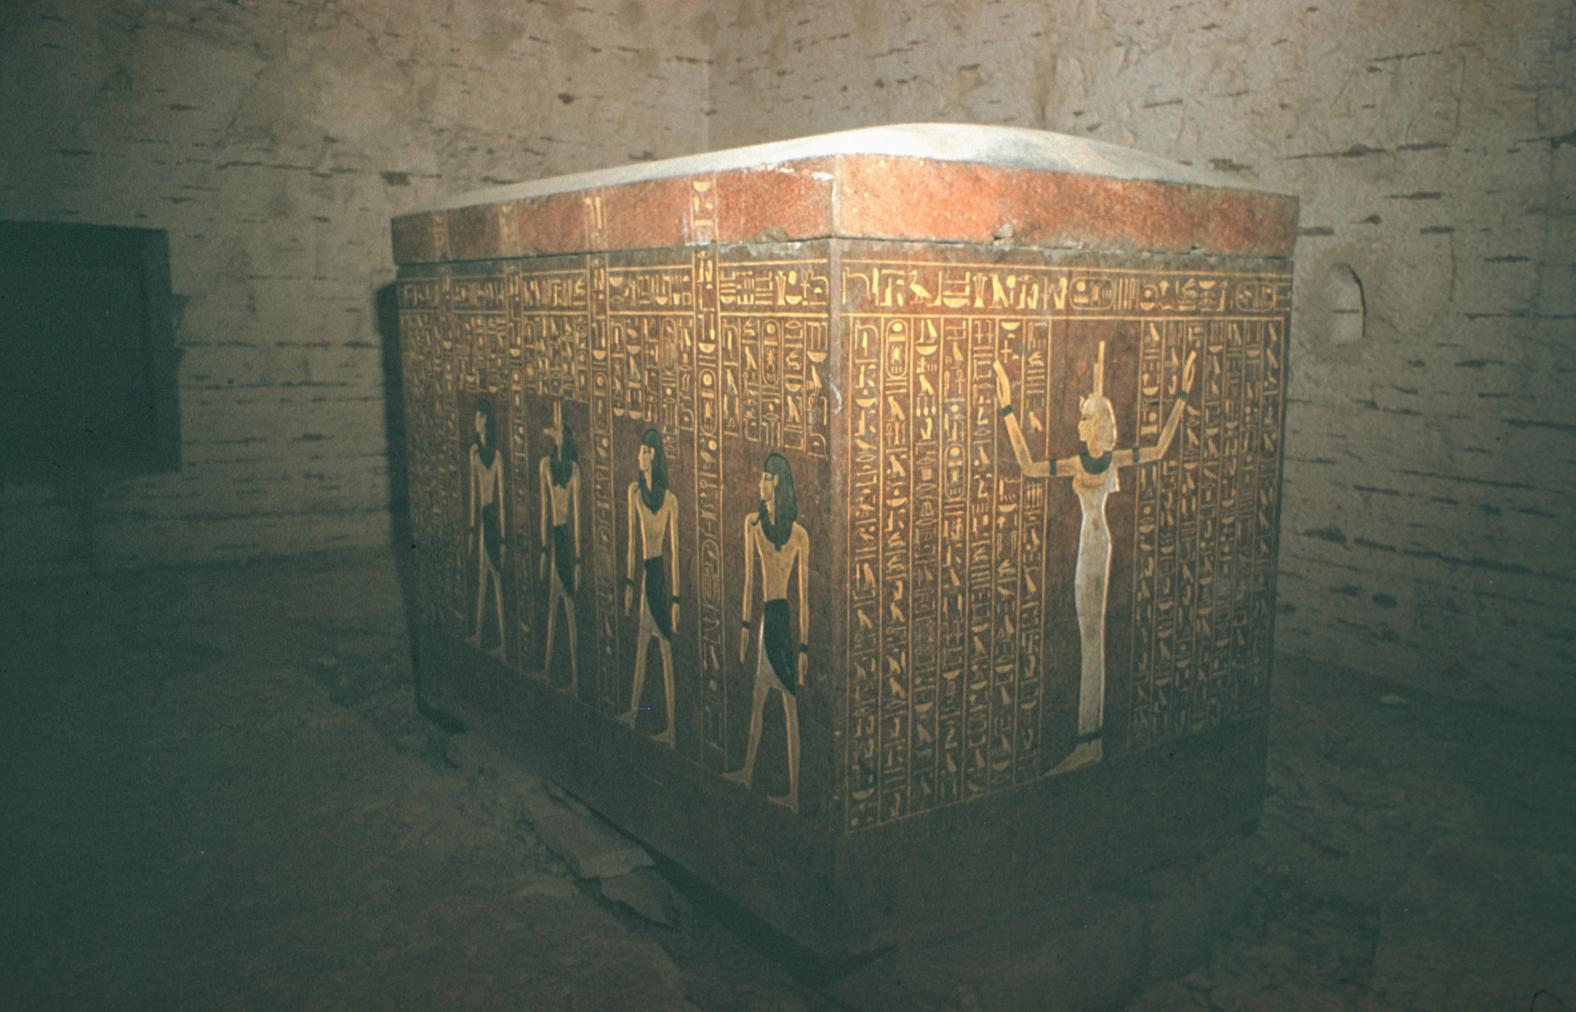
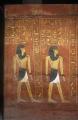
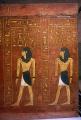
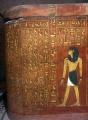
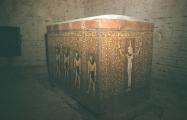
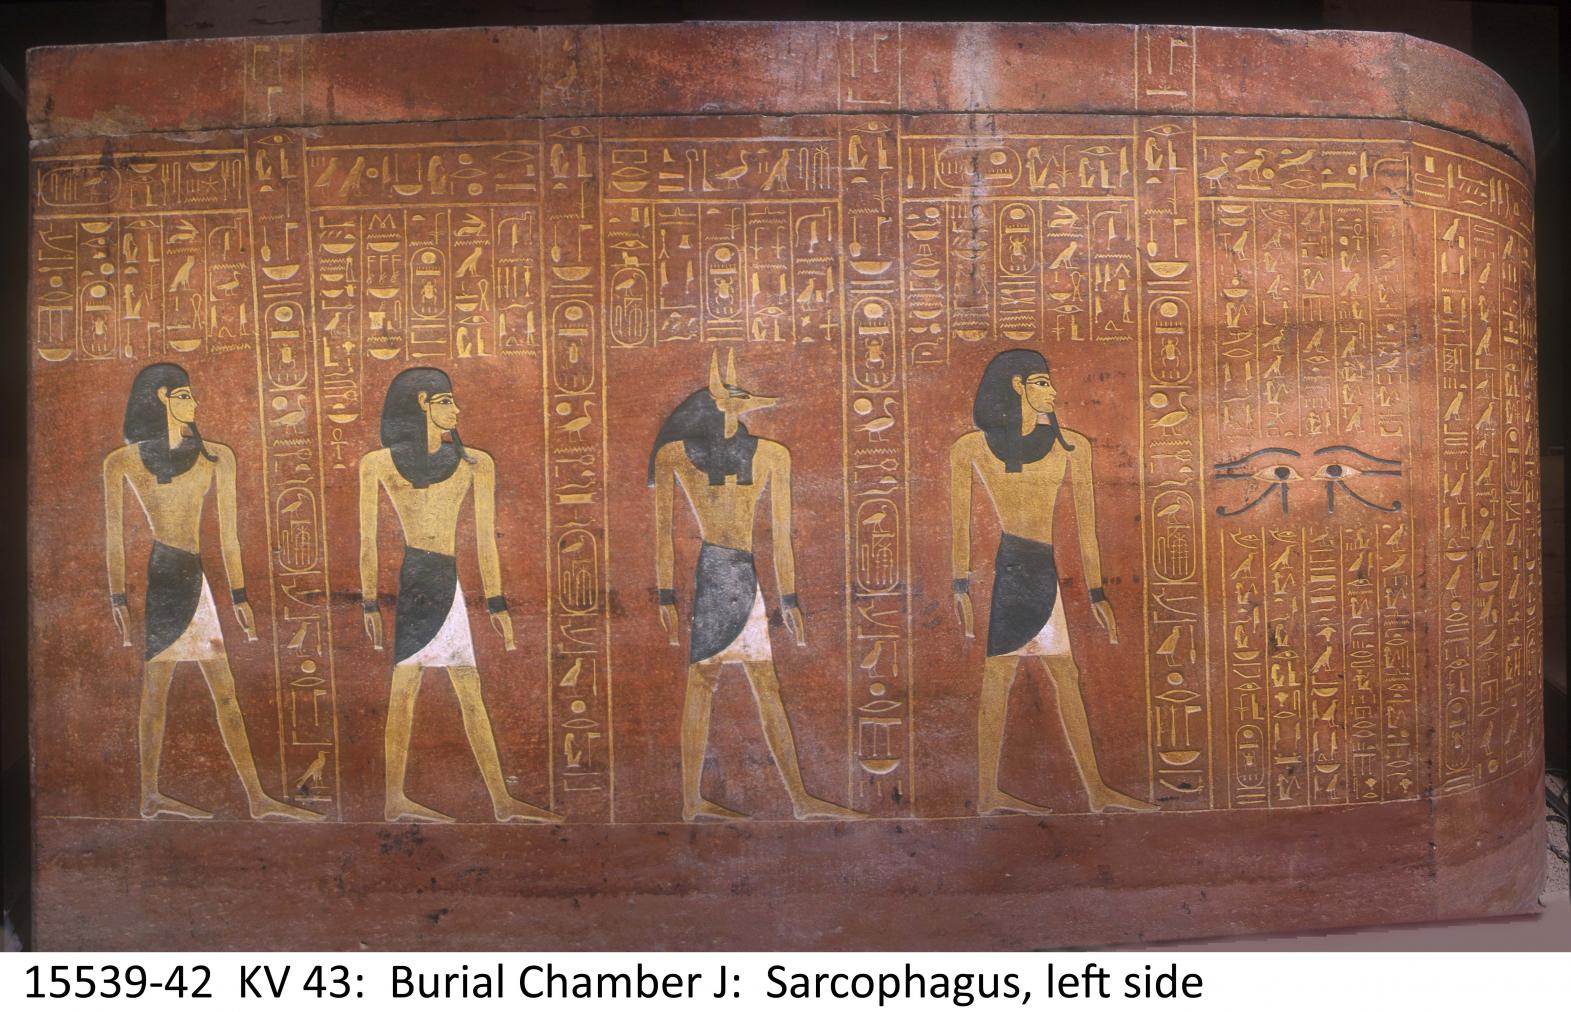
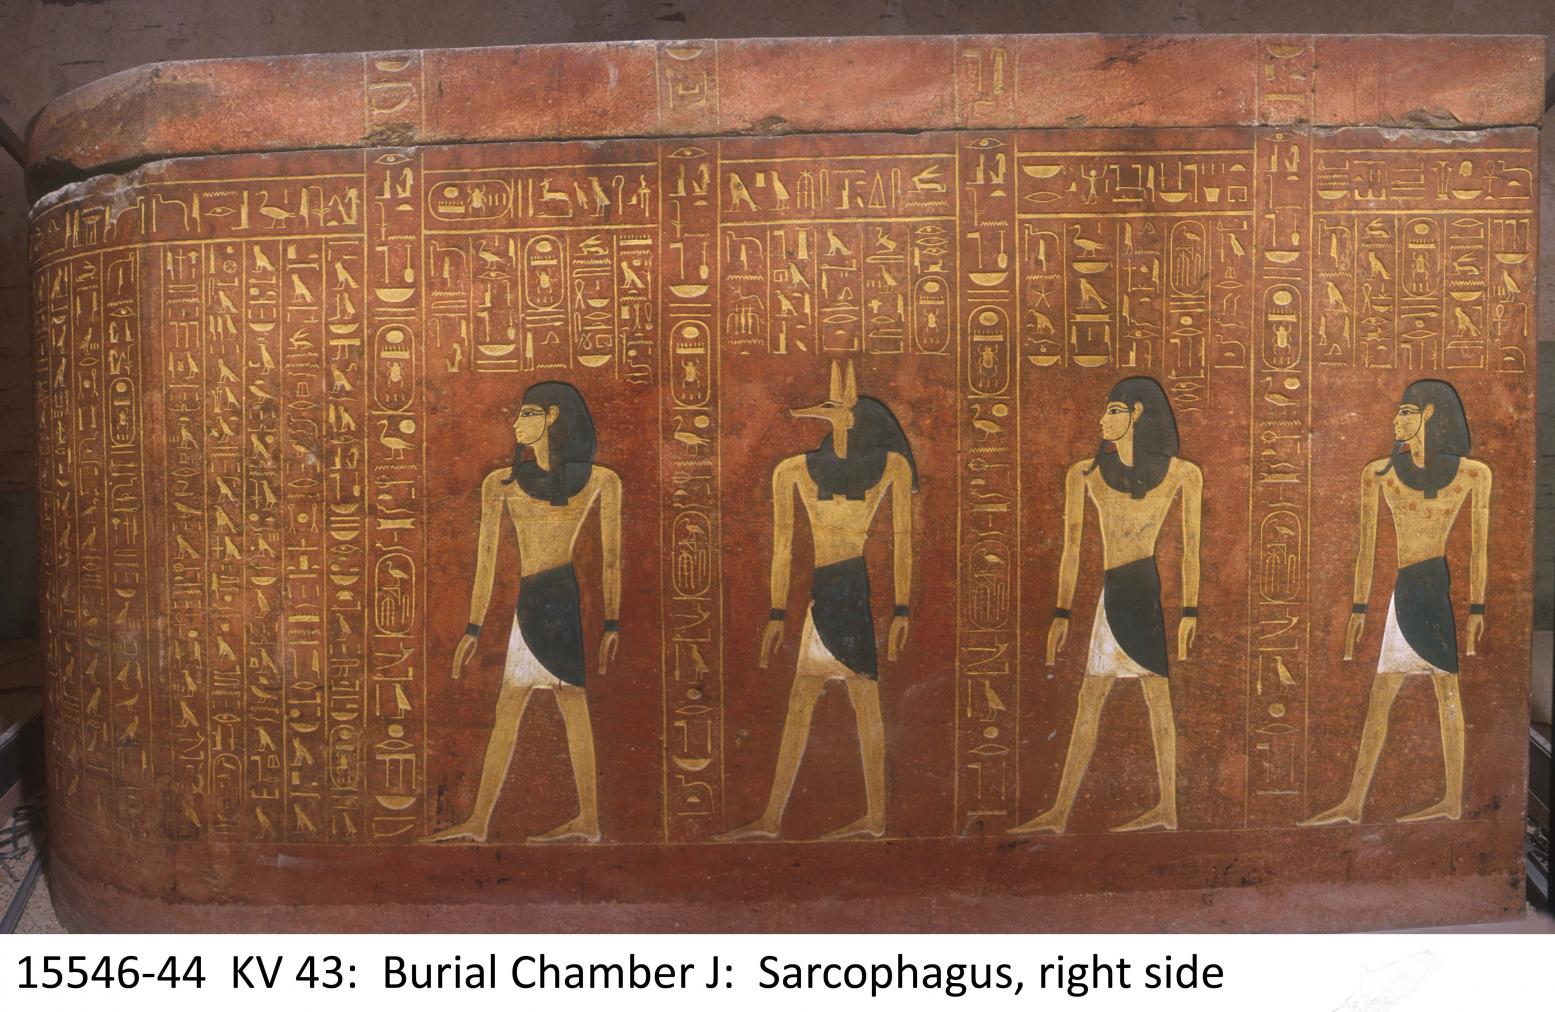
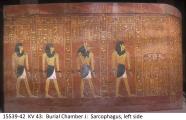
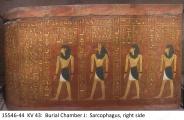
The King's sarcophagus. Courtesy of Uni Dia Verlag; Uni Dia Image Nr. 35209.
View of Burial chamber J and sarcophagus. Courtesy of Richard Sellicks.
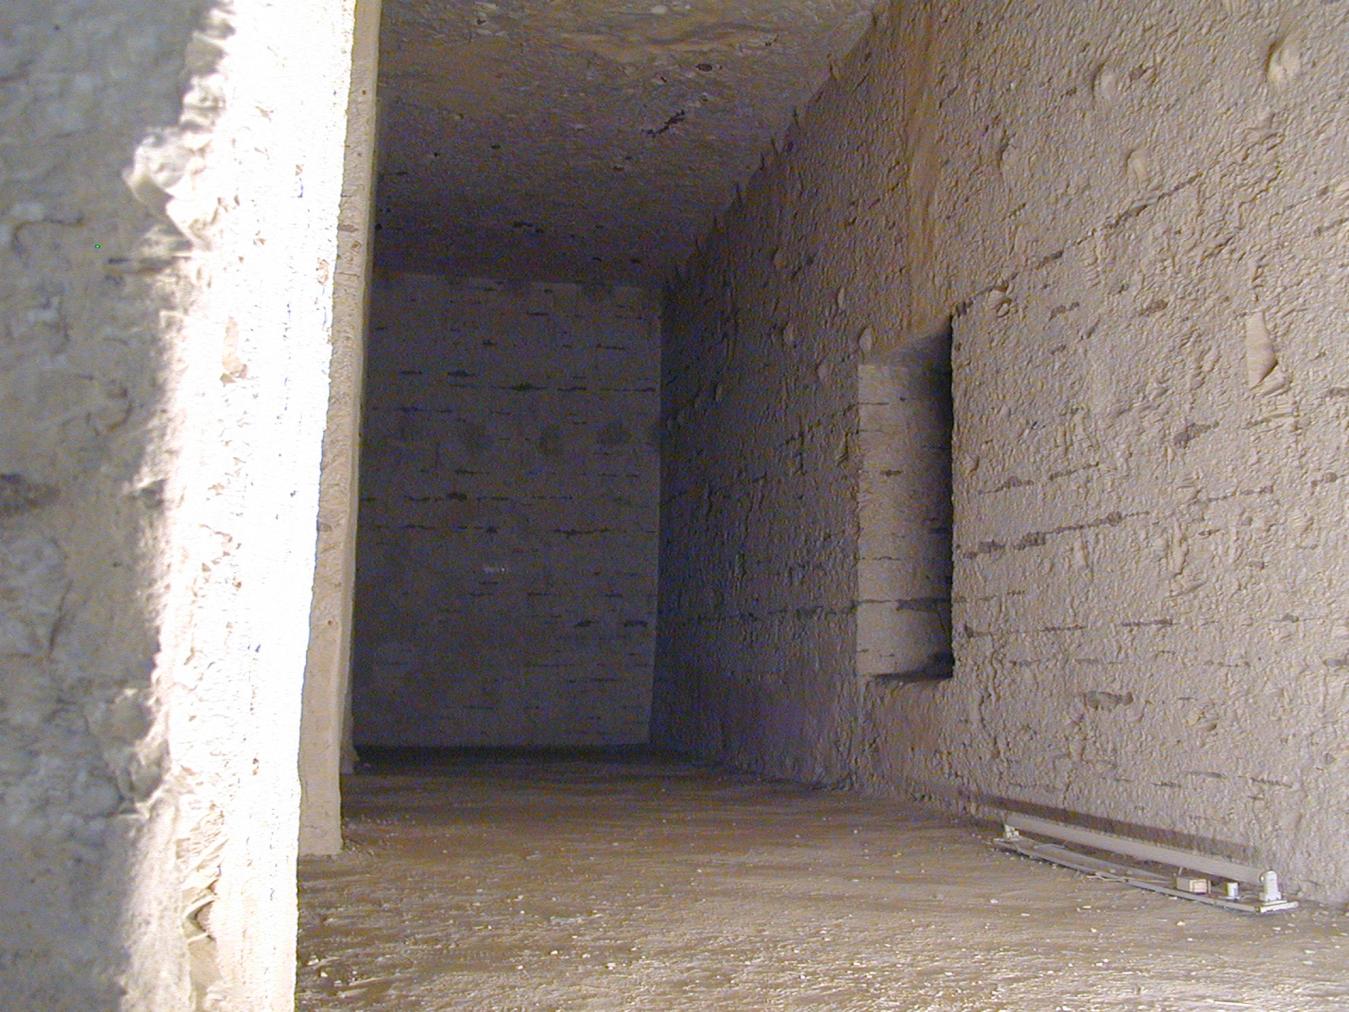
Burial chamber J, left wall (?). Courtesy of Richard Sellicks.
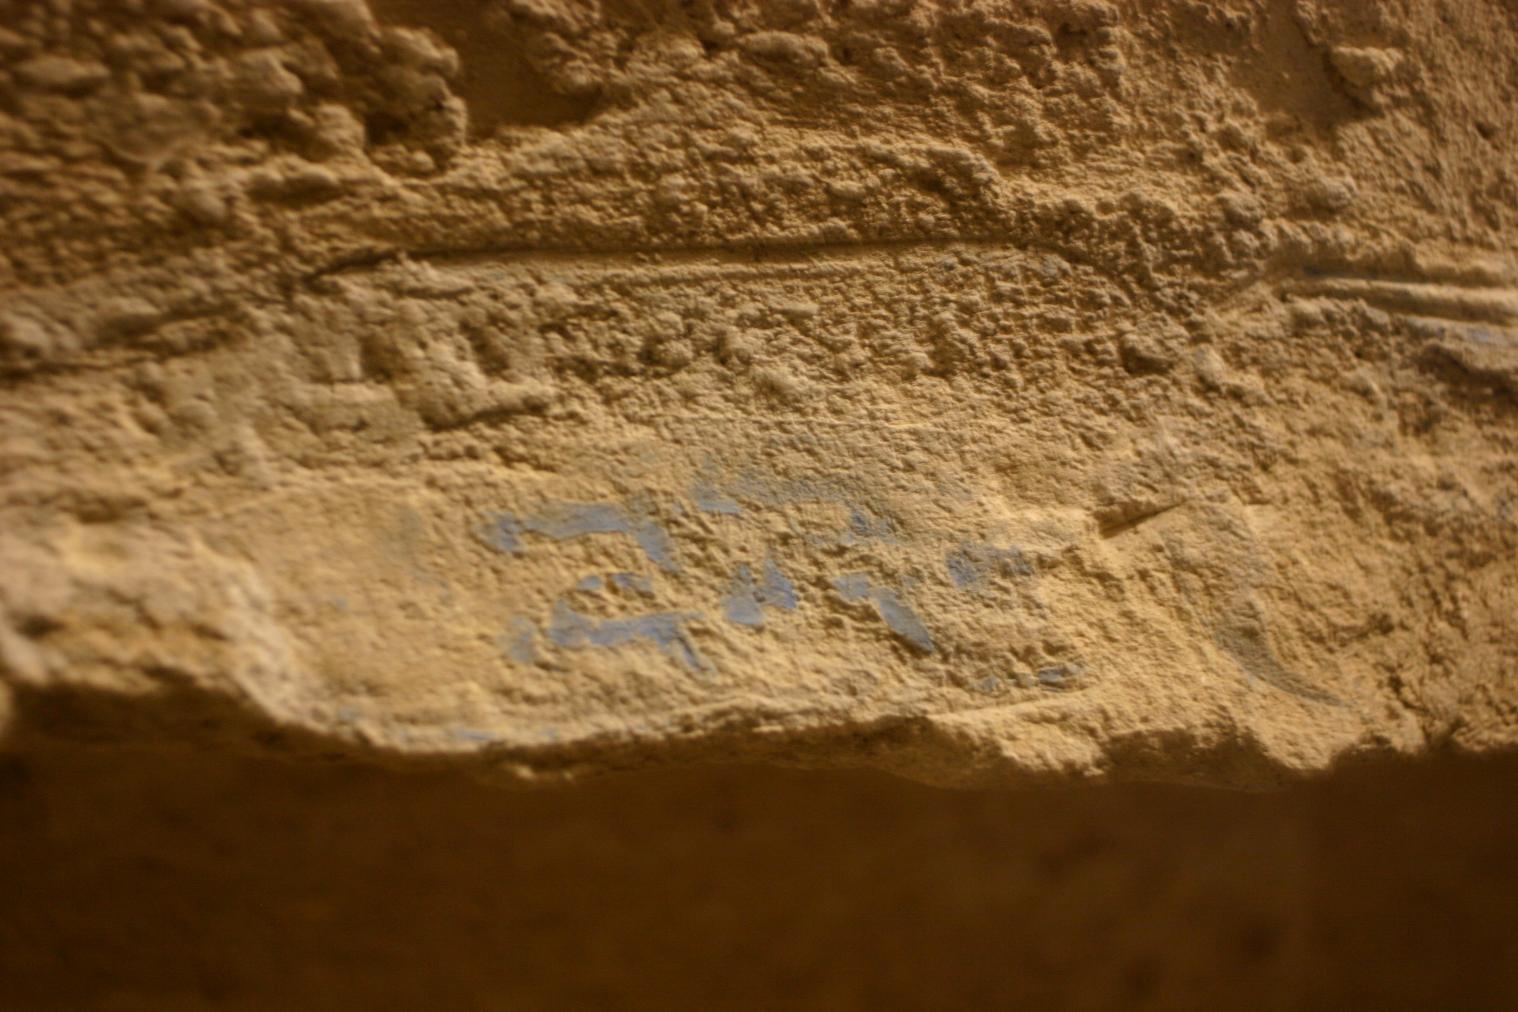
Hieratic graffito, mason's mark. Burial chamber J, east wall. Courtesy of Richard Sellicks.
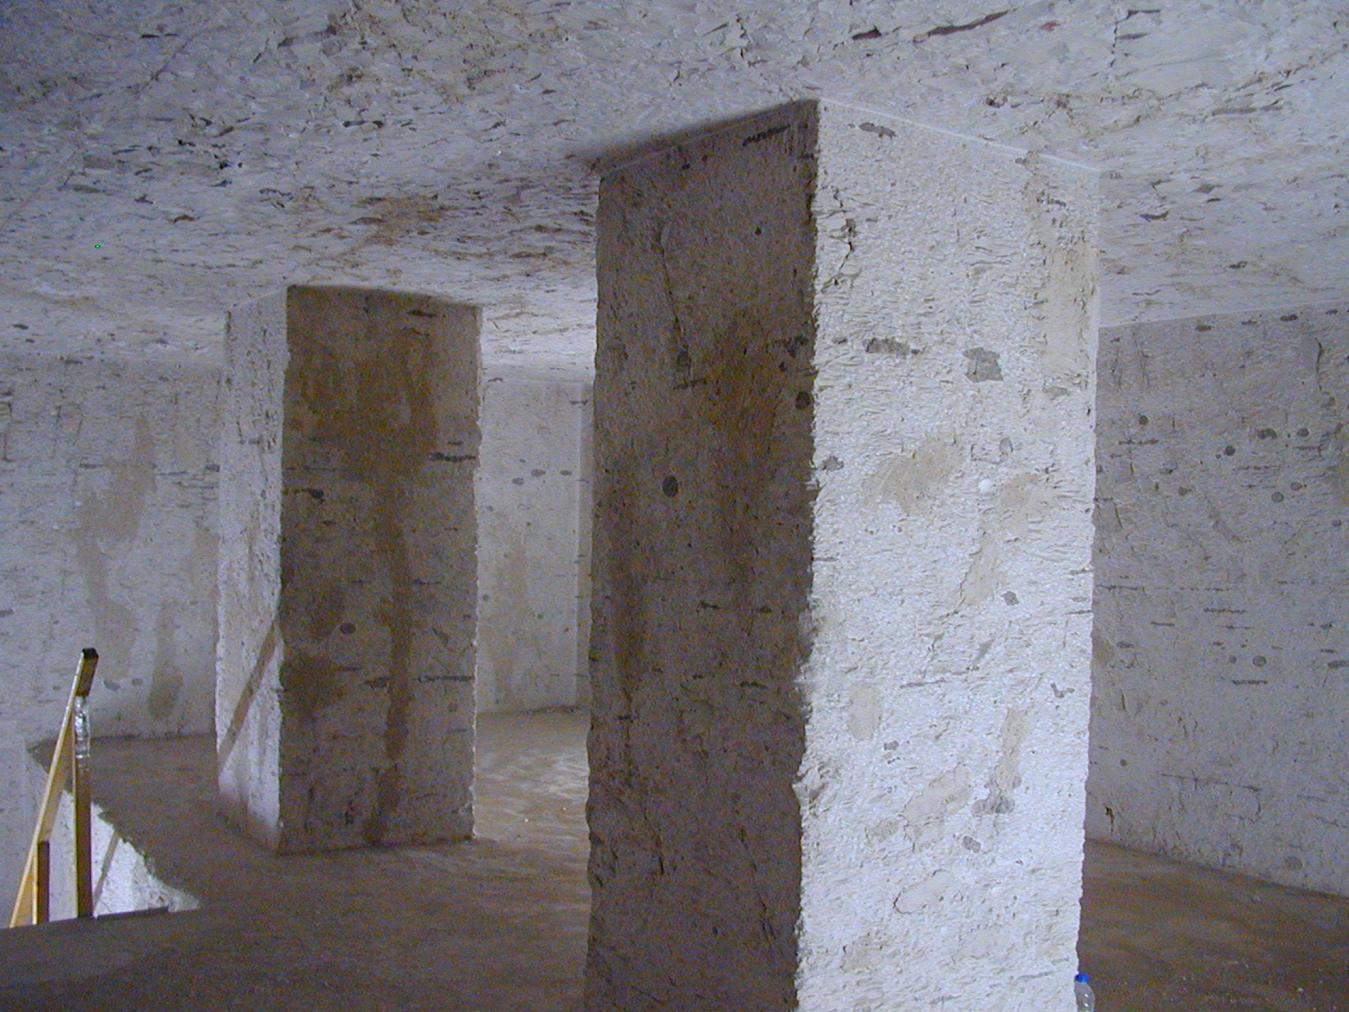
Burial chamber J, upper level, right section. Courtesy of Richard Sellicks.
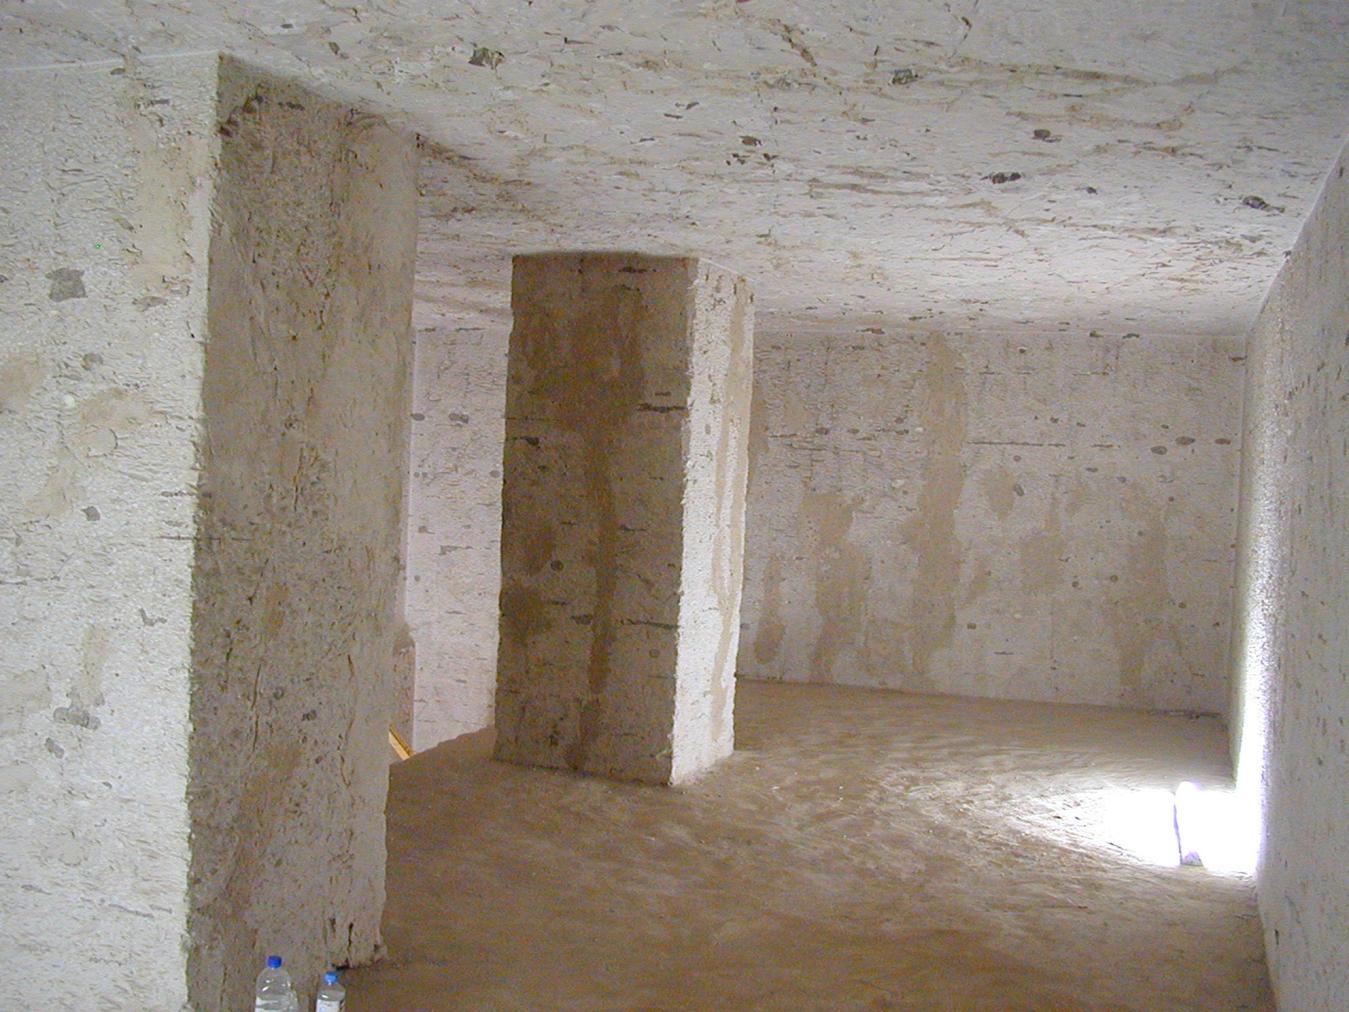
Burial chamber J, upper level, right section. Courtesy of Richard Sellicks.
Gate Ja
See entire tombSlots for a lintel beam are cut at the top of the jambs. The gate would have been closed with a single leaf wooden door.
Side chamber Ja
See entire tombThis undecorated side chamber lies to the left (west) of chamber J.
Gate Jb
See entire tombSlots for a lintel beam are cut at the top of the jambs. The gate would have been closed with a single leaf wooden door. A half-wall has been built across this gate to protect the remains of meat offerings in side chamber Jb from curious tourists.
Side chamber Jb
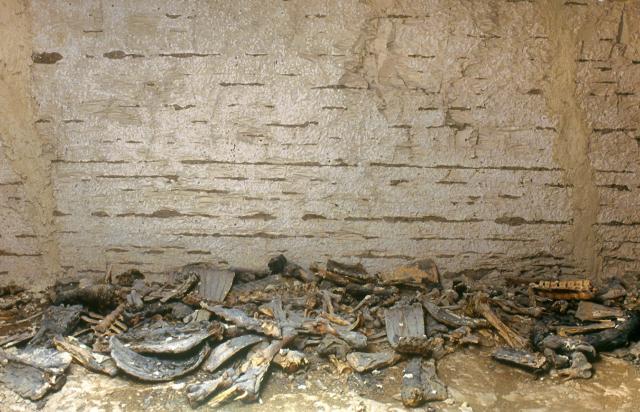
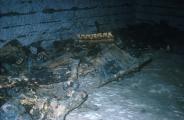
See entire tombThis undecorated side chamber lies to the left (west) of chamber J. Remains of meat offerings are strewn on the floor.
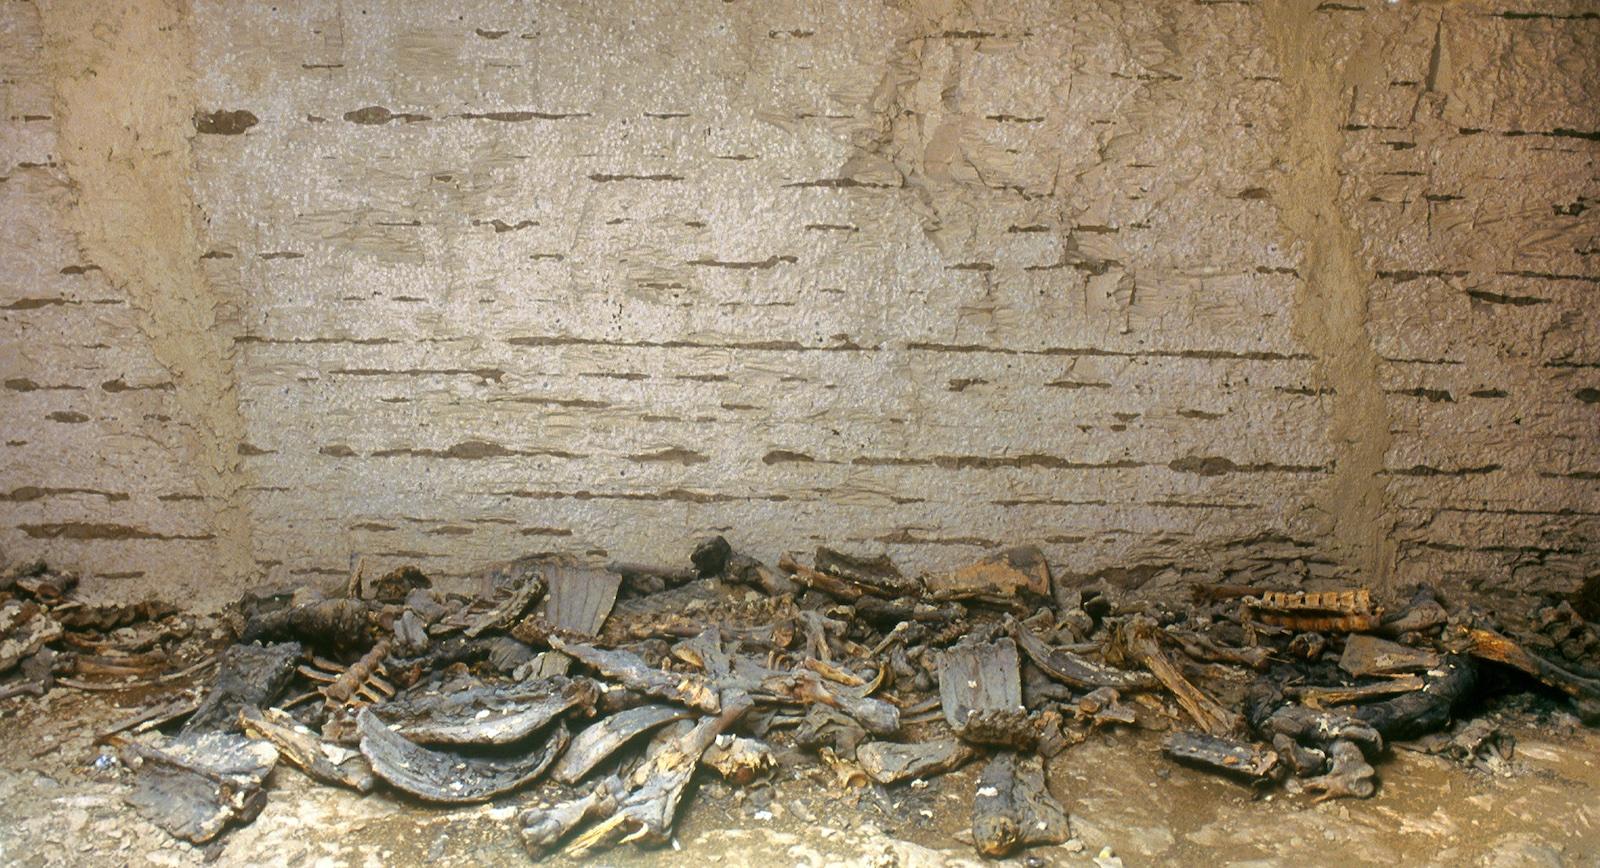
Remains of meat offerings.
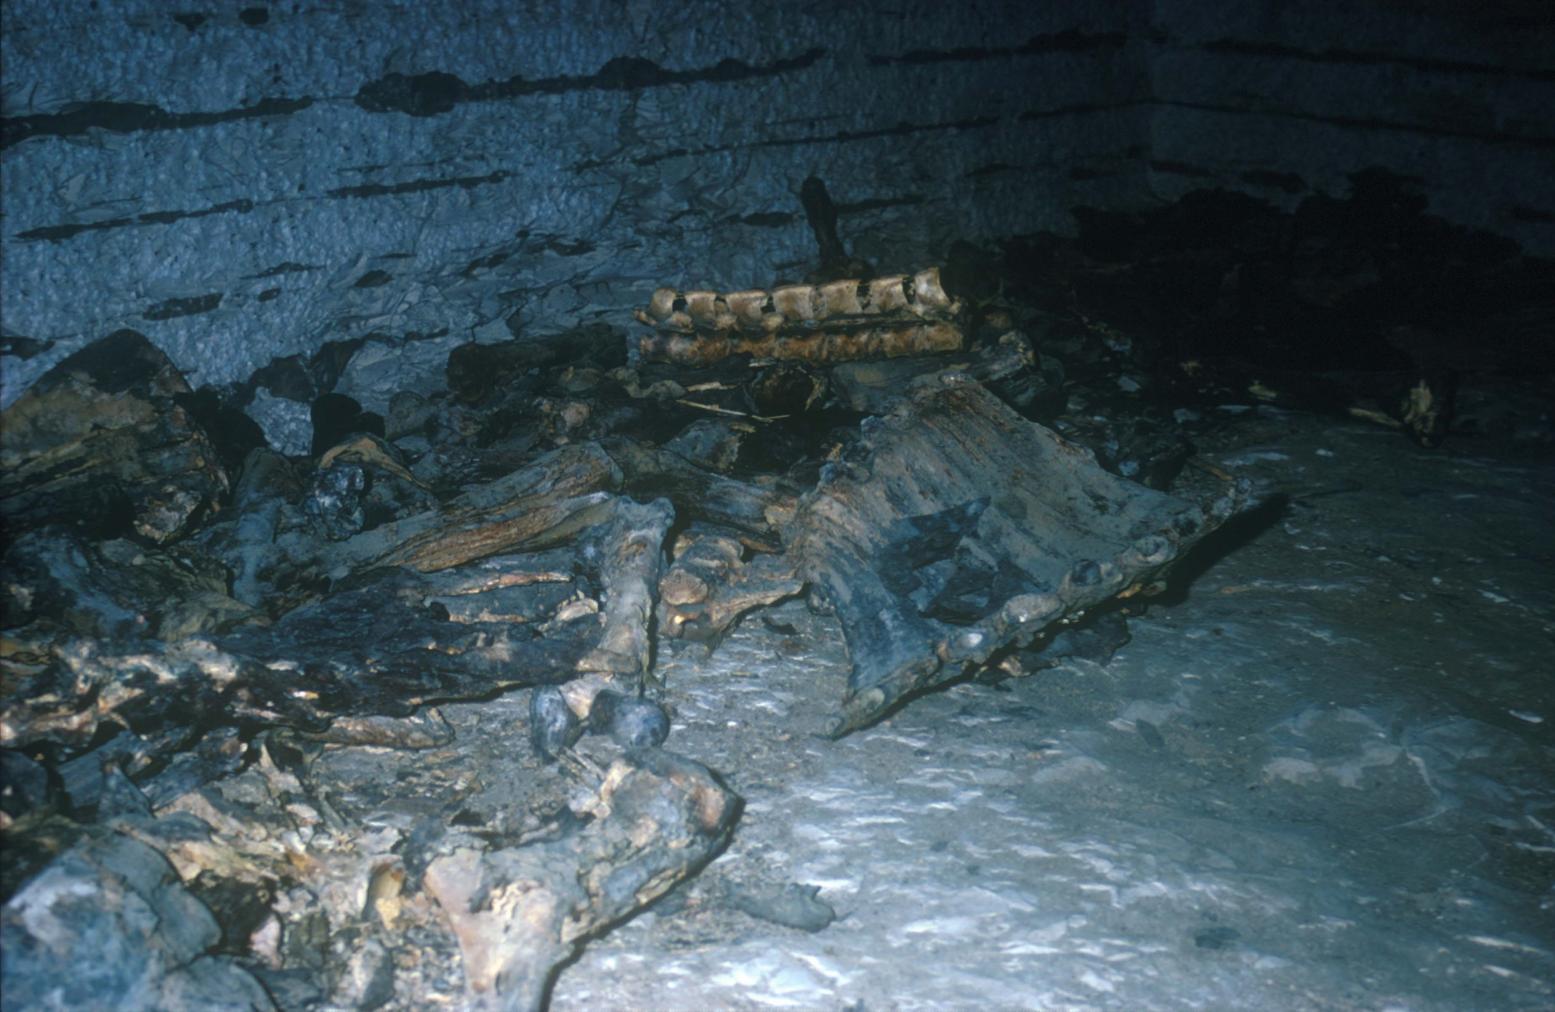
Remains of meat offerings.
Gate Jc
See entire tombSlots for a lintel beam are cut at the top of the jambs. The gate would have been closed with a single leaf wooden door.
Side chamber Jc
See entire tombThis undecorated side chamber lies to the right (east) of chamber J.
Gate Jd
See entire tombSlots for a lintel beam are cut at the top of the jambs. The gate would have been closed with a single leaf wooden door.
Side chamber Jd
See entire tombThis undecorated side chamber lies to the right (east) of chamber J.
About
About
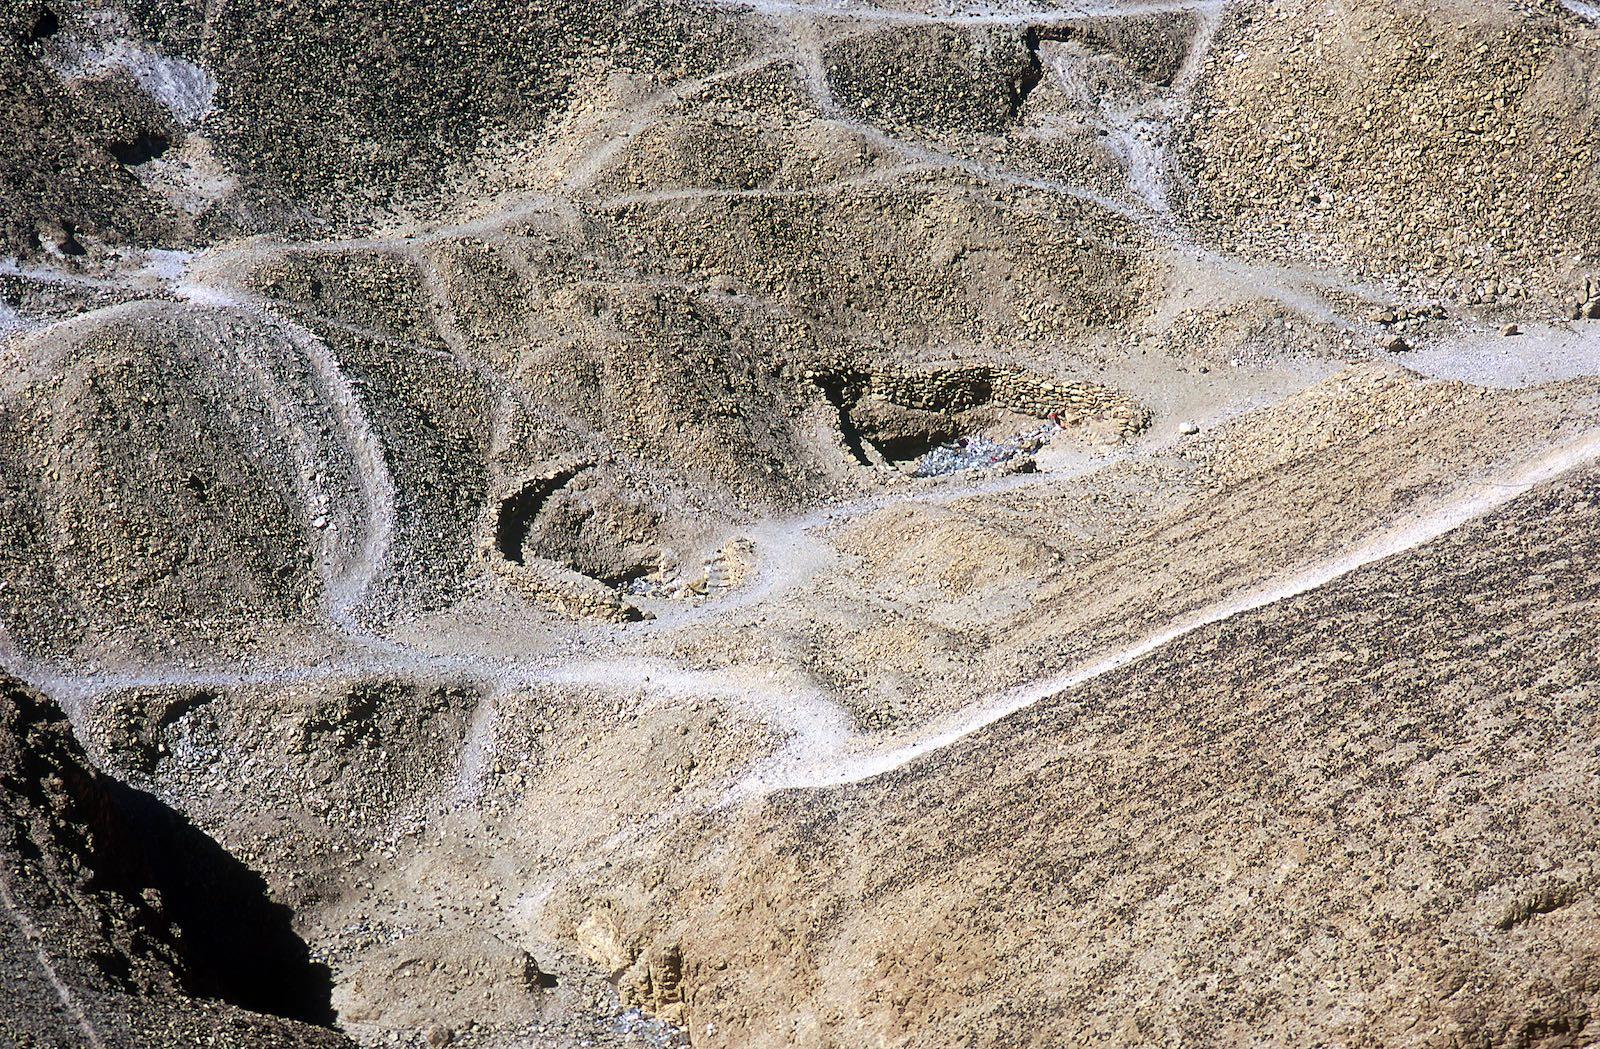
The entrance to KV 43 lies in the south branch of the southeast Wadi, high in the mountainside above and southeast of KV 19. Similar in plan to KV 35 (Amenhetep II), the first three corridors (B, C, D), the well chamber E and side chamber Ea follow a north-south axis. The side chamber Ea off the bottom of the shaft in well chamber E lies partly beneath pillared chamber F. At the latter chamber, the tomb axis turns ninety degrees to the left (east) and continues on a west-east axis to chamber I, after which it again turns ninety degrees to the left (north) to a south-north axis, giving access to burial chamber J and side chambers Ja-Jd. The tomb is decorated with representations of the king with various deities in well chamber E and chamber I.
Noteworthy features:
Graffiti in chamber I record the inspection and restoration of the tomb during the reign of Horemheb.
Site History
Hieratic graffiti in chamber I inform us that the tomb was entered during regnal year 8 of Horemheb for a renewal of the burial. After the removal of the mummy of Thutmes IV to KV 35 in Dynasty 21, the tomb was sealed with roughly-cut stones, covered by flood debris, and forgotten until its discovery by Carter in 1903.
Dating
This site was used during the following period(s):
Exploration
Conservation
Conservation History
Glass panels have been placed in front of the decorated walls in chamber I. In some areas here the painted plaster has cracked, particularly on the north (left) wall. At some time during the last twenty years of the twentieth century, an illegal attempt was made to remove the head of one of the figures of Hathor on the east (rear) wall. Access to side chamber Jb, where mummified meat offerings still remain, has been blocked by a rubble wall.
Site Condition
KV 43 has not suffered floodwater damage, and its painted decoration is well preserved.
Hieroglyphs
Thutmes IV
 King of Upper and Lower Egypt, Established are the Manifestations of Ra, Son of Ra, Born of Thoth, Radiant of Appearances
niswt-bity mn-xprw-Raw sA-Raw 9Hwty-ms xA-xAw
Entrance to tomb of Thutmes IV with modern steps.
Nephthys.
Isis.
Unfinished scene of Hathor presenting life to Thutmes IV with artists' grid under the background paint.
Osiris presenting life to Thutmes IV (detail), with artists' grid under background paint.
Hieratic graffito dated to regnal year 8 of Horemheb, recording restoration of the burial of Thutmes IV by chief treasurer Maya.
Hieratic graffito naming the Steward of the Southern City (Thebes) Djehutymes, who assisted in the restoration of the burial of Thutmes IV in regnal year 8 of Horemheb.
Remains of meat offerings.
Plaster blobs which served as plumb line pins next to ceiling.
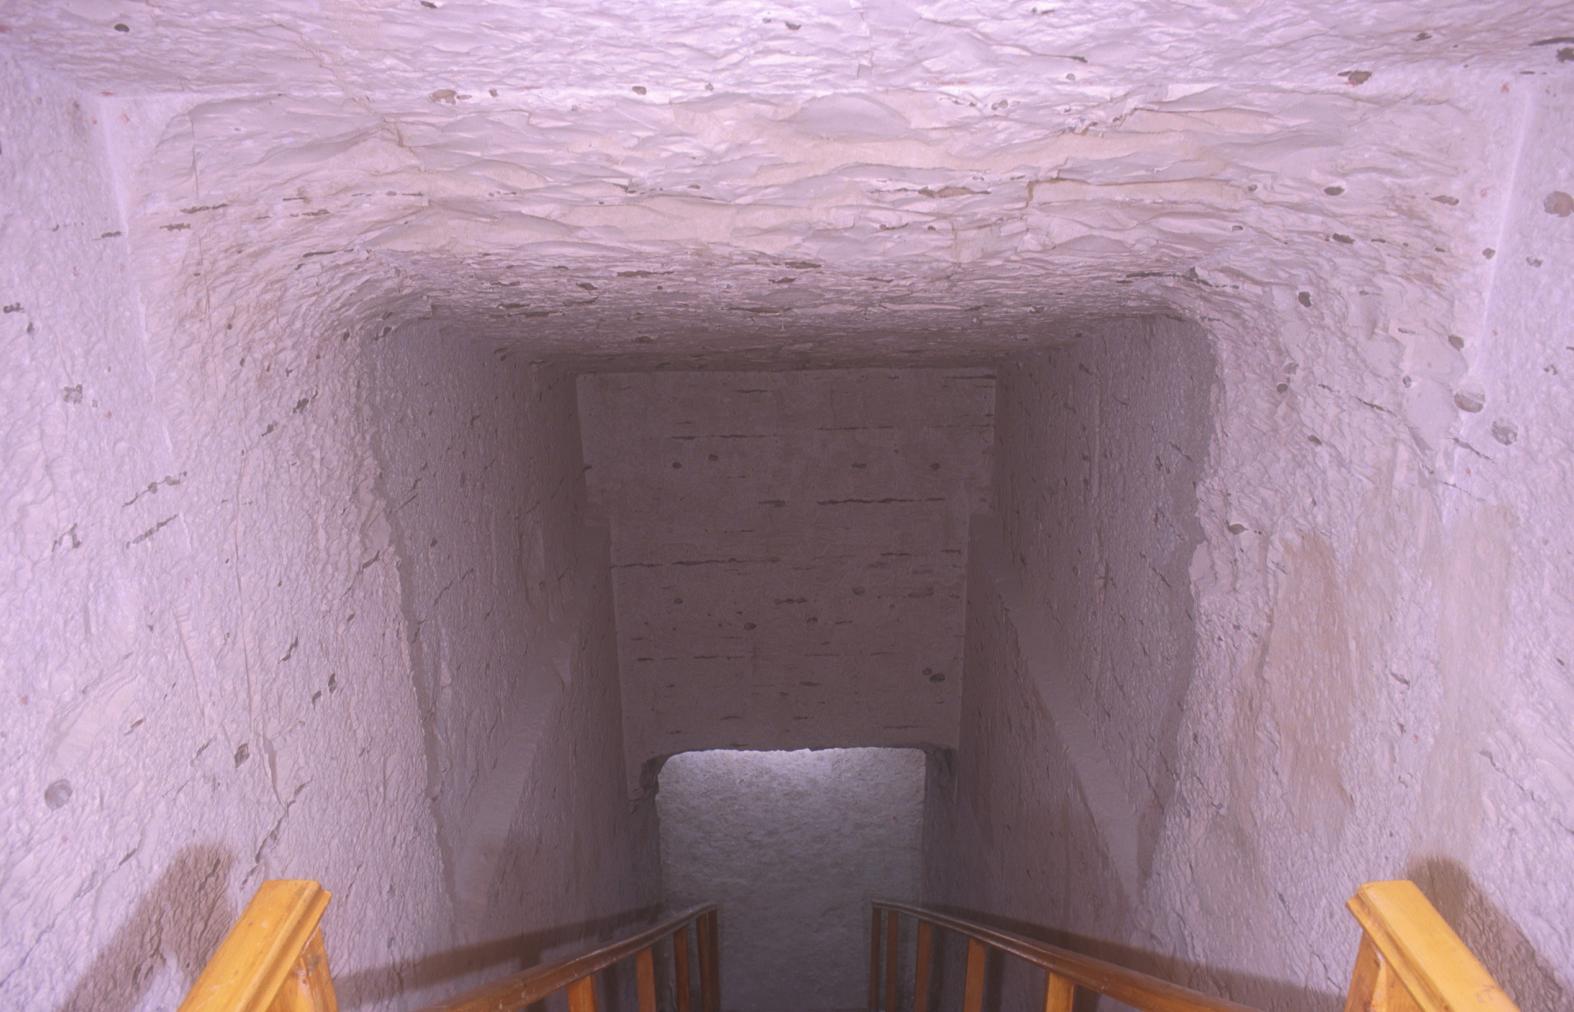
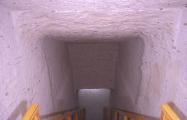
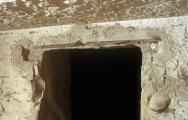
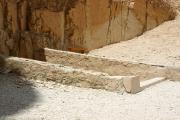
Cut back jambs and lintel of gate, with modern railings.
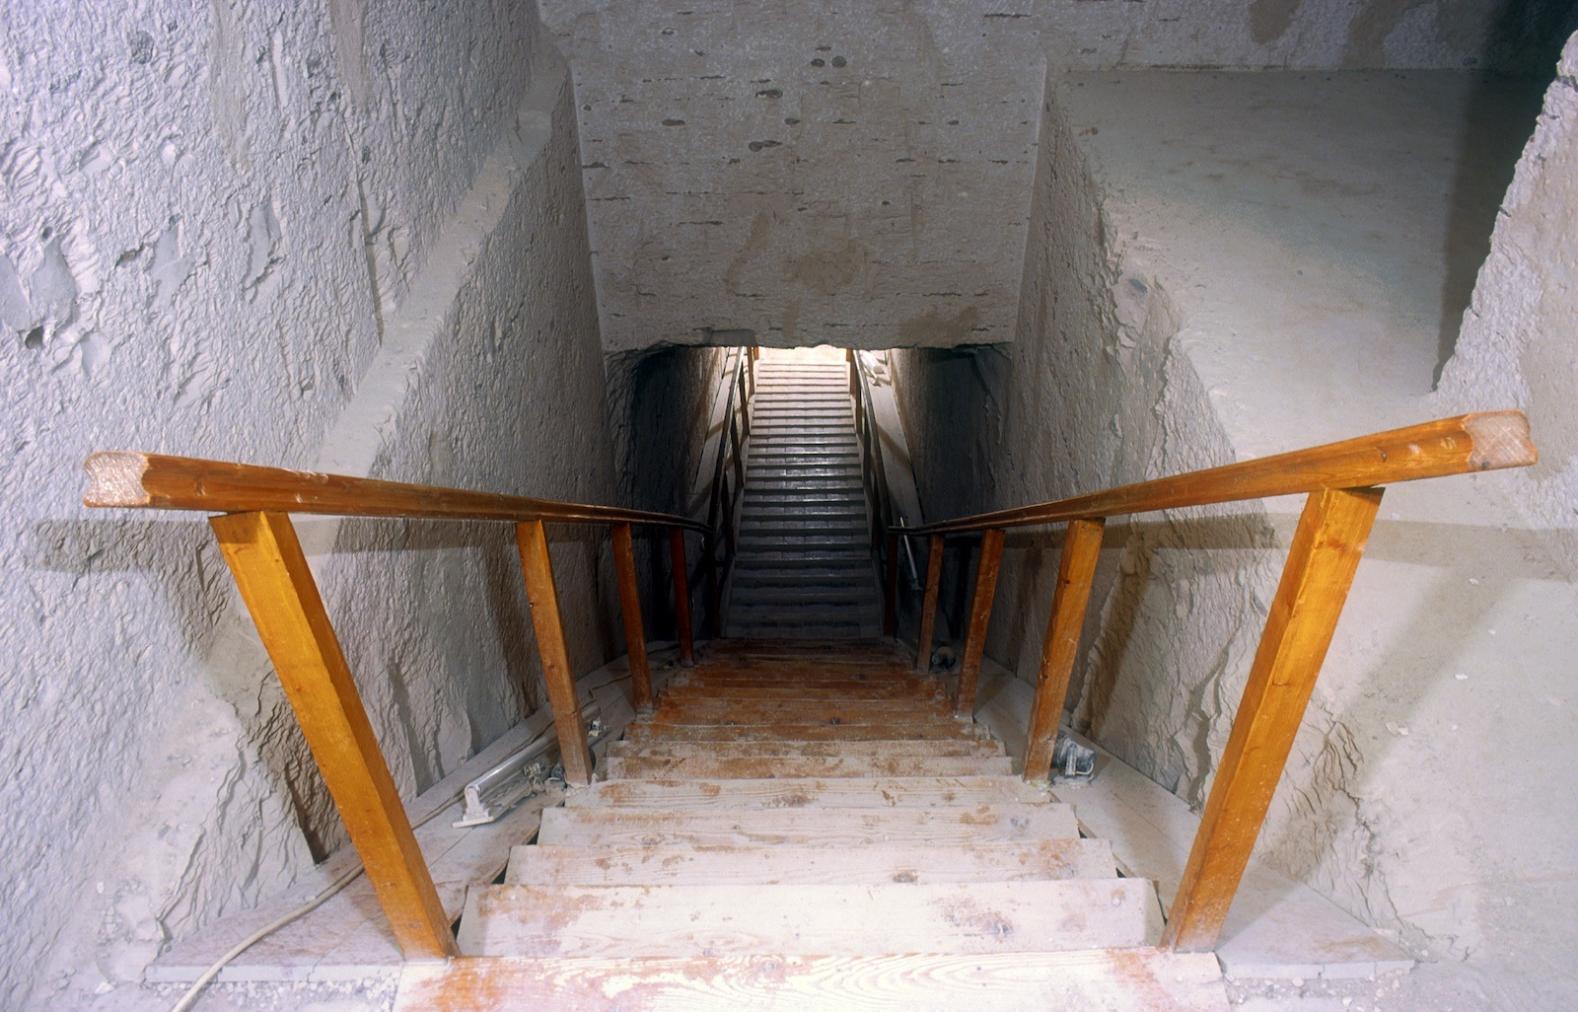
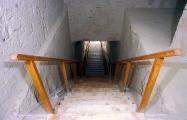
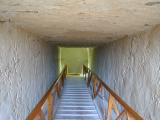
Staircase with modern steps and railings.
Mason's guidelines in red paint marking axes.
Well chamber, with unfinished decoration, and staircase leading toward tomb entrance beyond.
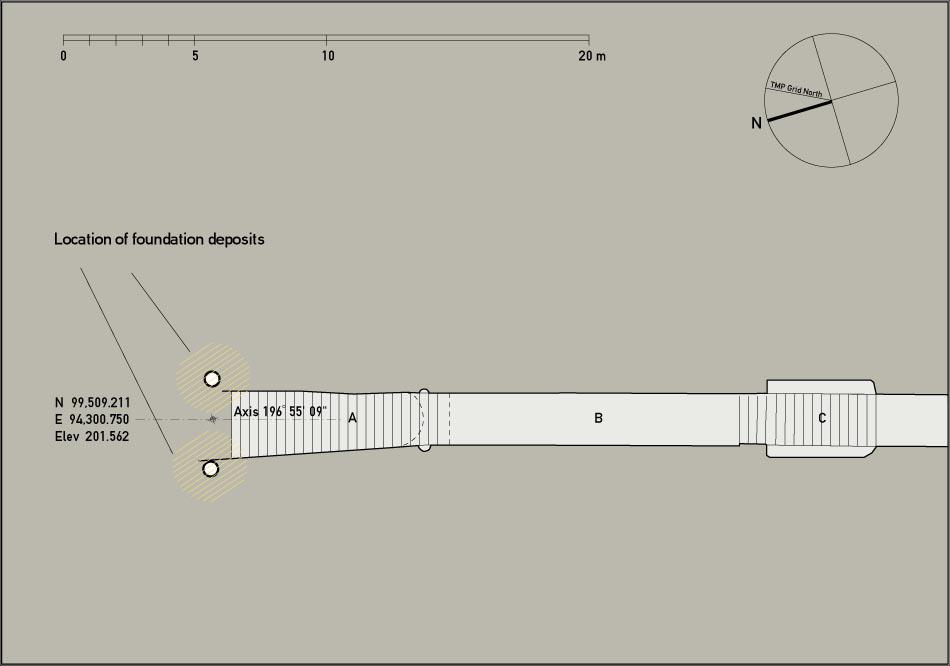
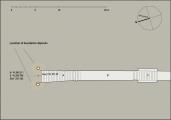
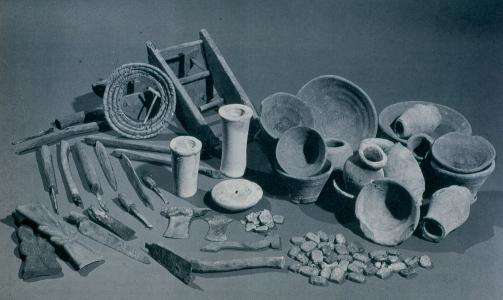
Foundation deposits.
Remains of meat offerings.
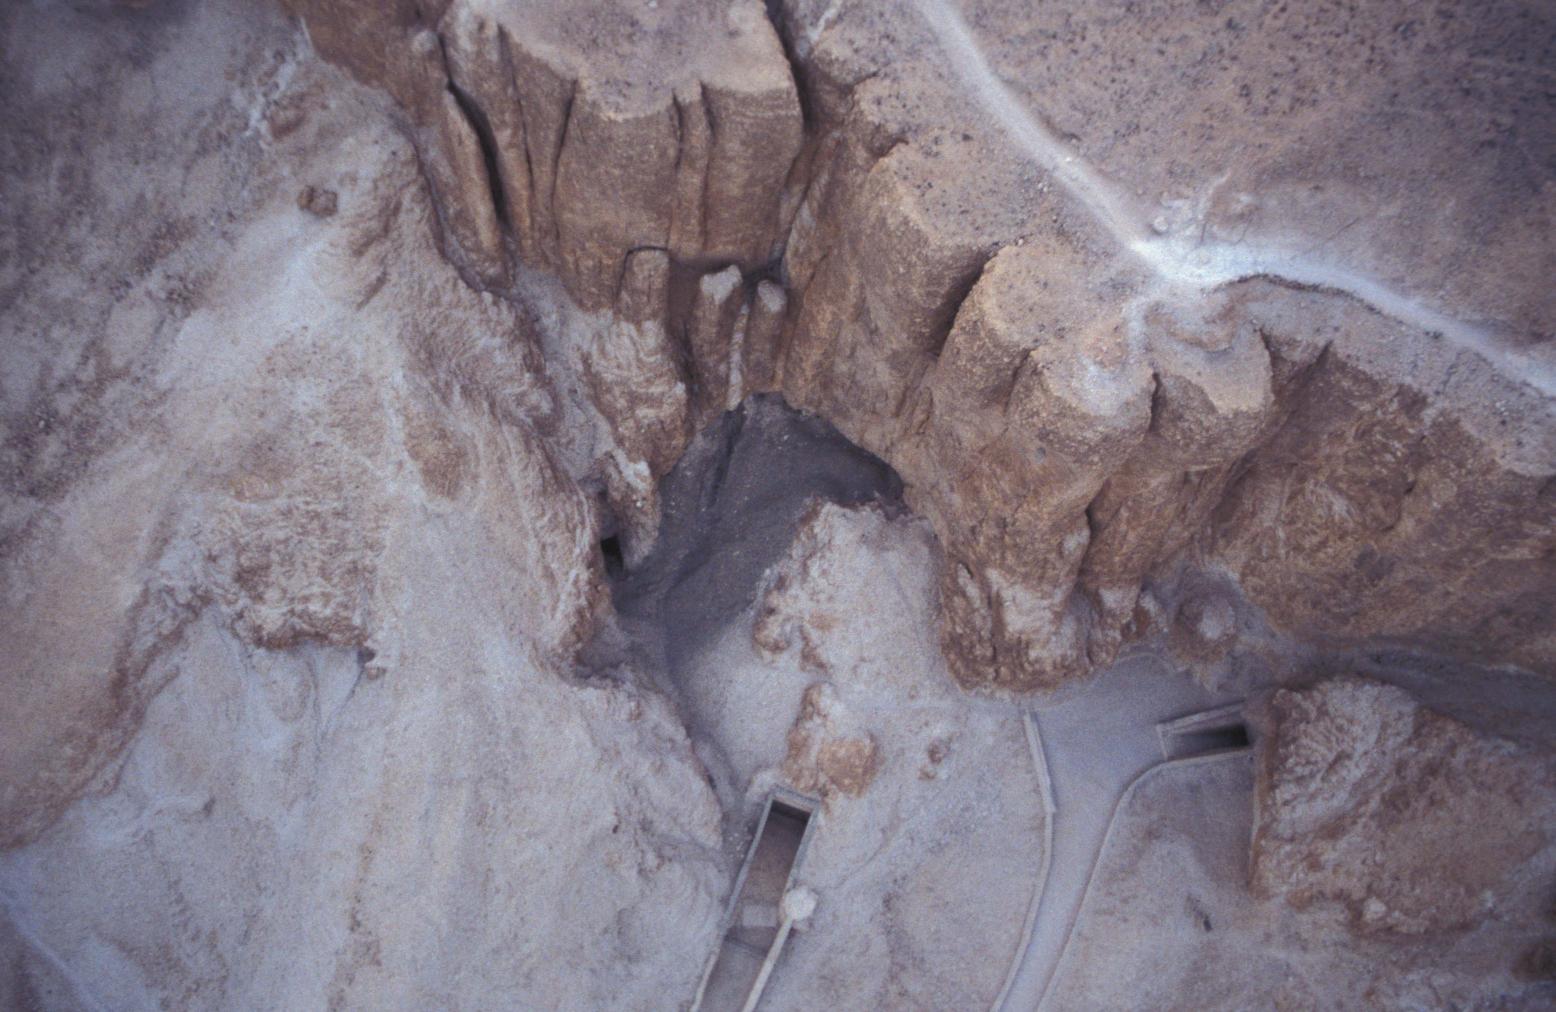
Entrances to KV 20, KV 19 and KV 43.
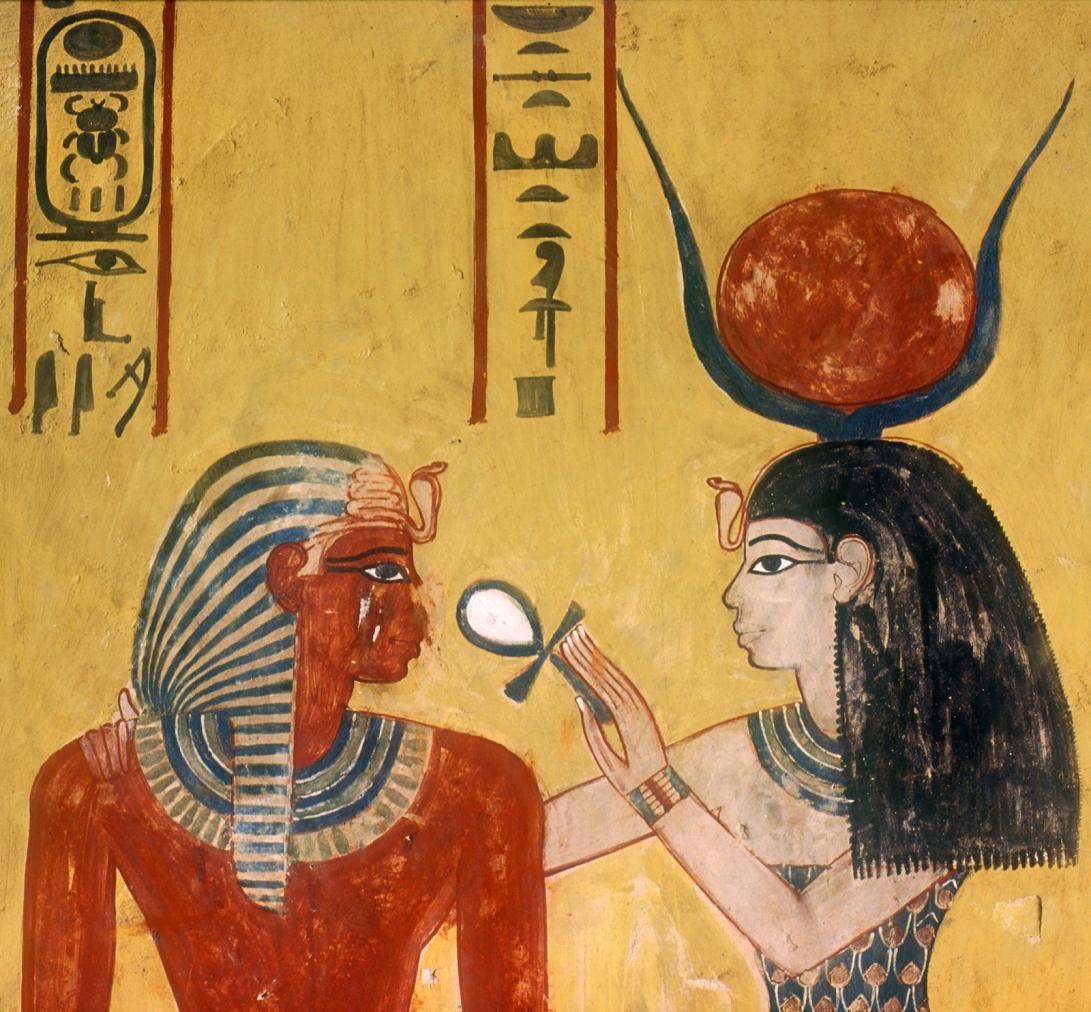
Thutmes IV receiving life from Hathor: detail. (KV43)
Anubis presenting life to Thutmes IV: detail, with artists' grid under background paint (detail)
Thutmes IV receiving life from Hathor (detail).
Imsety and eye panel.
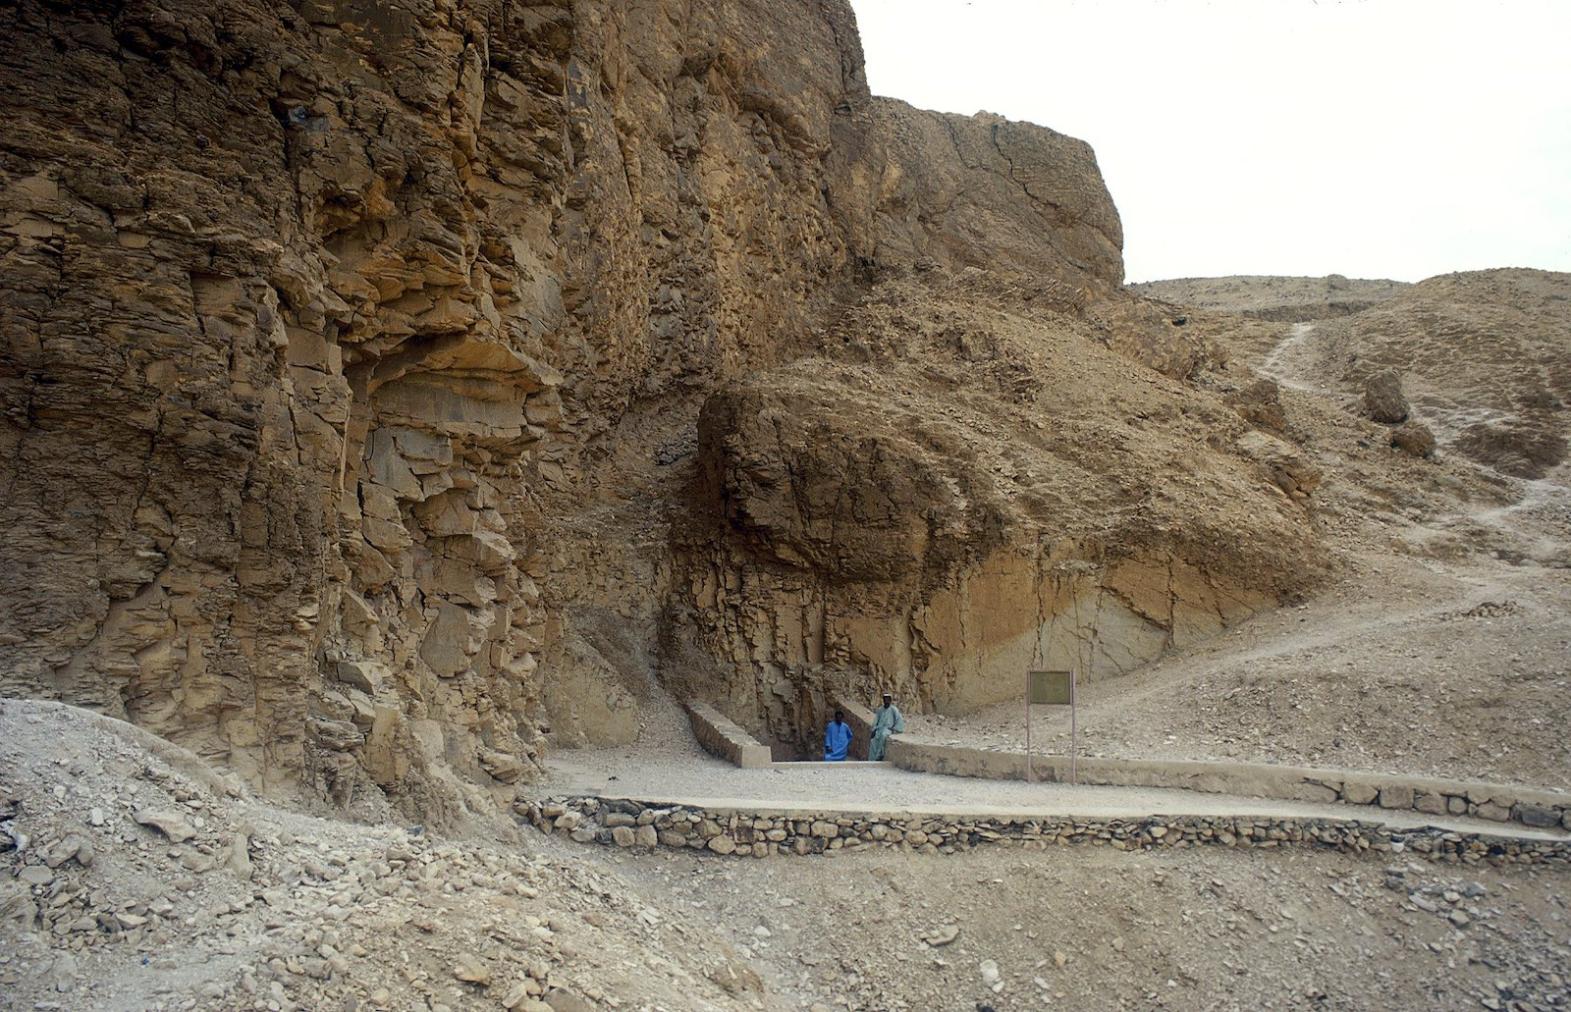
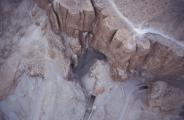
Tomb entrance and cliff face into which it was cut.
Thutmes IV receiving life from Osiris and Hathor, with recent vandals' attempt to remove head of goddess (detail).
Thutmes IV receiving life from Hathor (detail).
Thutmes IV receiving life from Osiris (detail).
Qebehsenuef, Anubis and Imsety.
Geb and Qebehsenuef.
Duamutef and Horus.
Hapy.
Anubis presenting life to Thutmes IV, with artist's grid behind the background paint.
Thutmes IV receiving life from Hathor.
Thutmes IV receiving life from Hathor.
Hathor presenting life to Thutmes IV.
Osiris presenting life to Thutmes IV.
Thutmes IV receiving life from Osiris (detail), with unfinished painting of vertical border on left.
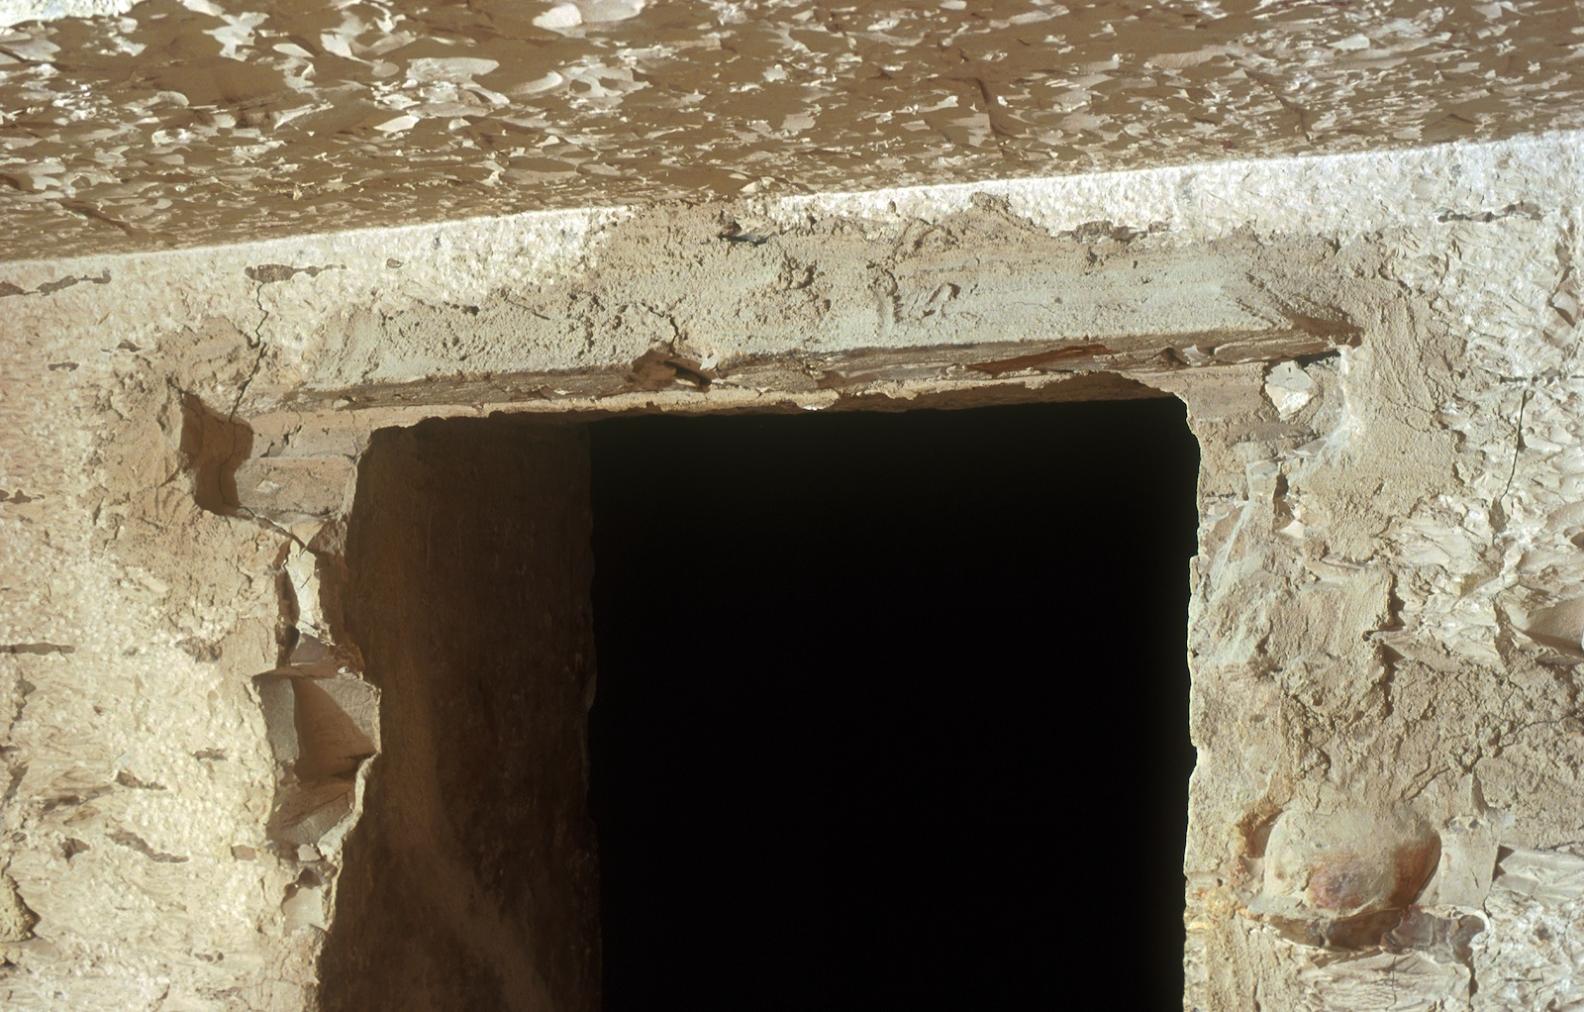
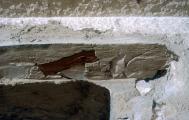
Lintel beam slot, which once contained a wooden beam as the support for an upper door pivot.
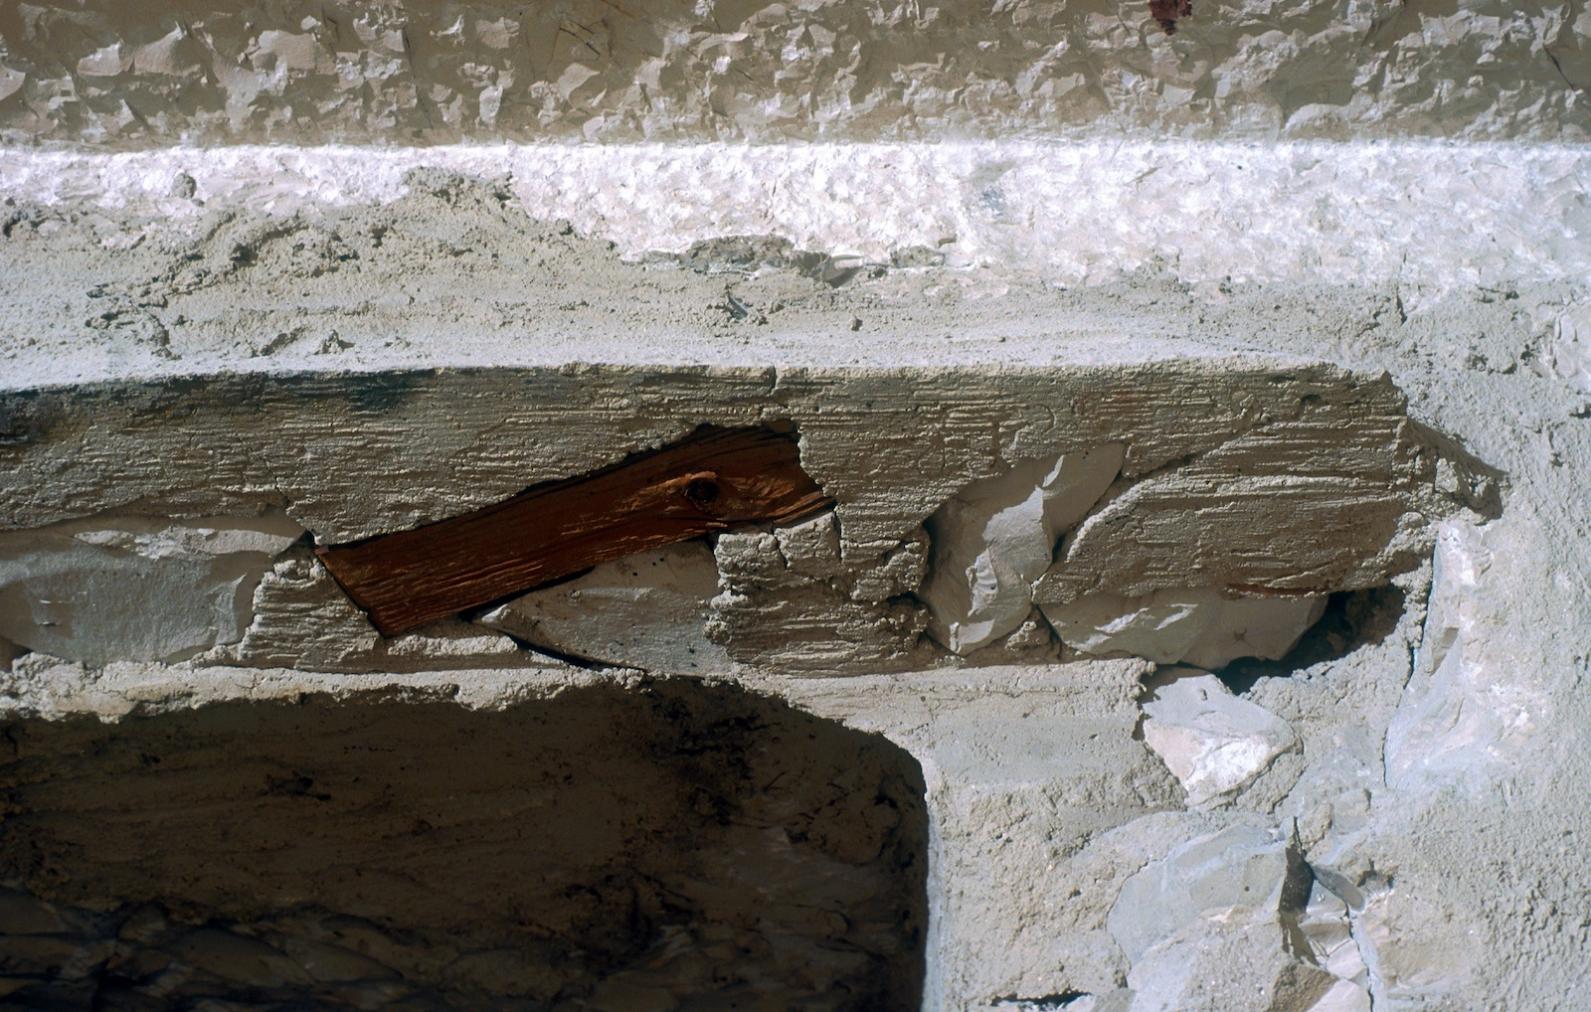
Lintel beam slot, with impression of wood in plaster fill (detail).
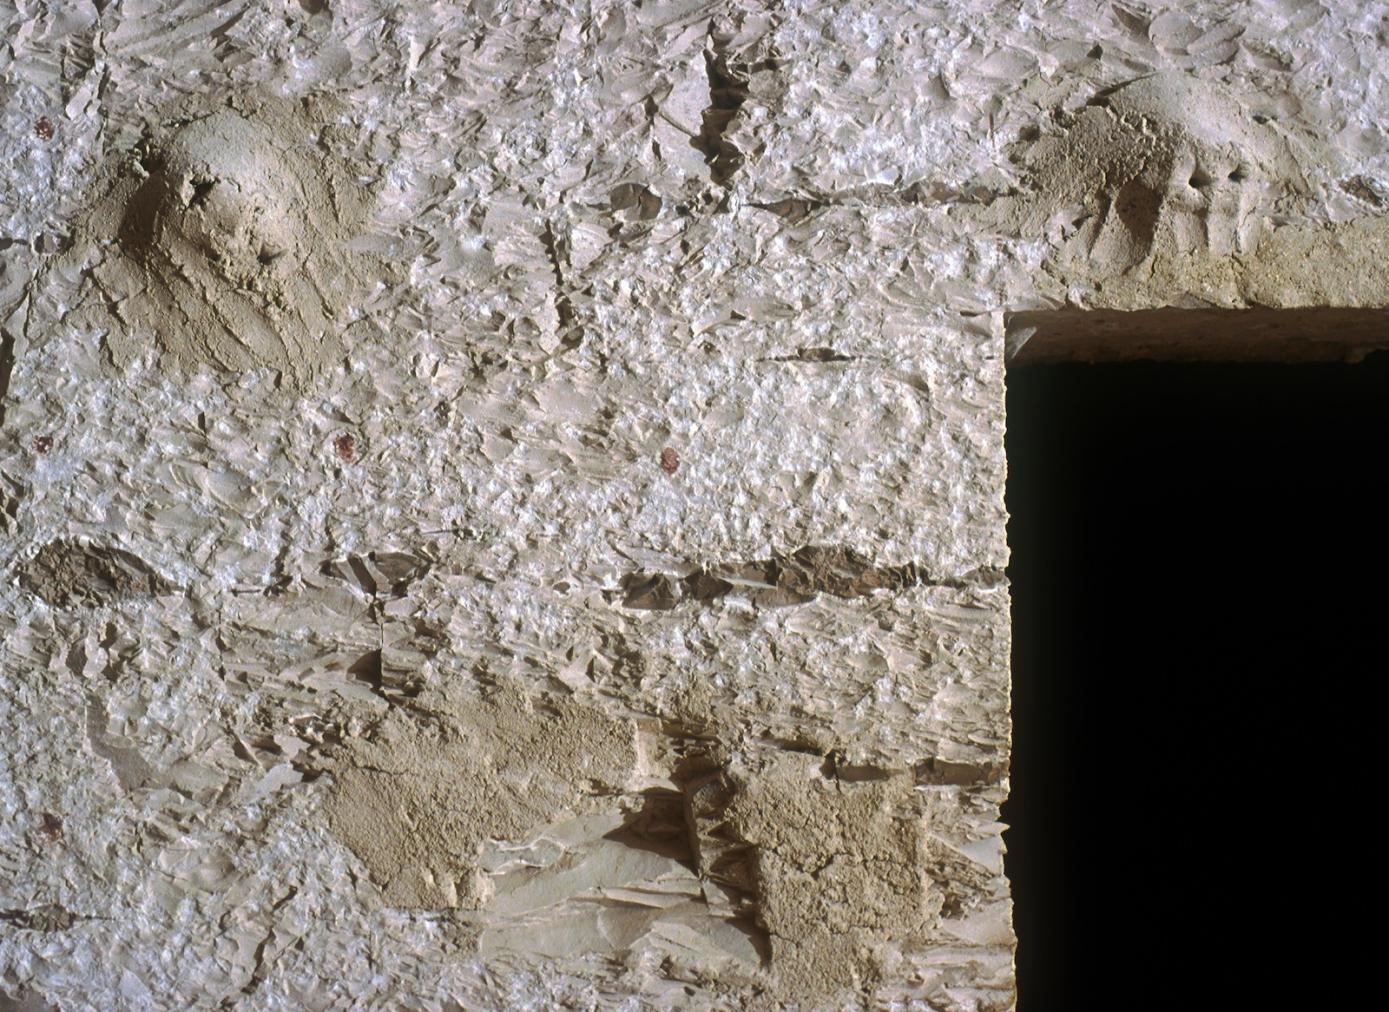
Plaster blobs which served as plumb line pins.
Star pattern; kheker frieze; sketch for layout of star pattern for ceiling.
Thutmes IV with three forms of Hathor; Anubis [with Thutmes IV].
Unfinished kheker frieze; Thutmes IV with gods; well.
Thutmes IV receiving life from Hathor.
Thutmes IV receiving life from Hathor.
Thutmes IV receiving life from Anubis and Osiris.
Thutmes IV receiving life from Osiris.
Thutmes IV with Anubis, Osiris, and three forms of Hathor (reconstruction).
Tomb entrance. Courtesy of Uni Dia Verlag; Uni Dia Image Nr. 35201.
View of Well chamber E. Courtesy of Uni Dia Verlag; Uni Dia Image Nr. 35202.
View of Pillared chamber F. Courtesy of Uni Dia Verlag; Uni Dia Image Nr. 35203.
2 forms of Hathor and Anubis giving the King life. Courtesy of Uni Dia Verlag; Uni Dia Image Nr. 35204.
Detail of 2 forms of Hathor giving the King life. Courtesy of Uni Dia Verlag; Uni Dia Image Nr. 35205.
View from Chamber I into Burial Chamber J. Courtesy of Uni Dia Verlag; Uni Dia Image Nr. 35206.
3 forms of Hathor, Anubis, and Osiris giving life to the King. Courtesy of Uni Dia Verlag; Uni Dia Image Nr. 35207.
Detail of Osiris giving life to the King. Courtesy of Uni Dia Verlag; Uni Dia Image Nr. 35208.
The King's sarcophagus. Courtesy of Uni Dia Verlag; Uni Dia Image Nr. 35209.
View of Stairwell C. Courtesy of Richard Sellicks.
View of Stairwell C. Courtesy of Richard Sellicks.
Chamber I, right wall. Hieratic graffito dated to regnal year 8 of Horemheb, recording the restoration of the burial of Thutmes IV by the chief treasurer Maya.
Chamber I, right wall. Hieratic graffito naming the Steward of the Southern City (Thebes; modern-day Luxor) Djehutymes, who assisted in the restoration of the burial of Thutmes IV in regnal year 8 of Horemheb.
Well chamber E, left wall. Deceased before the deities Osiris, Anubis, and Hathor. Courtesy of Richard Sellicks.
View of Burial chamber J and sarcophagus. Courtesy of Richard Sellicks.
Chamber I, left wall. Thutmes IV receives eternal life (ankh) from the deity Hathor. Courtesy of Richard Sellicks.
Burial chamber J, left wall (?). Courtesy of Richard Sellicks.
Hieratic graffito, mason's mark. Burial chamber J, east wall. Courtesy of Richard Sellicks.
Chamber I, rear wall. Thutmes IV with the deities Anubis, Osiris, and three forms of Hathor (reconstruction). Courtesy of Richard Sellicks.
Burial chamber J, upper level, right section. Courtesy of Richard Sellicks.
Burial chamber J, upper level, right section. Courtesy of Richard Sellicks.
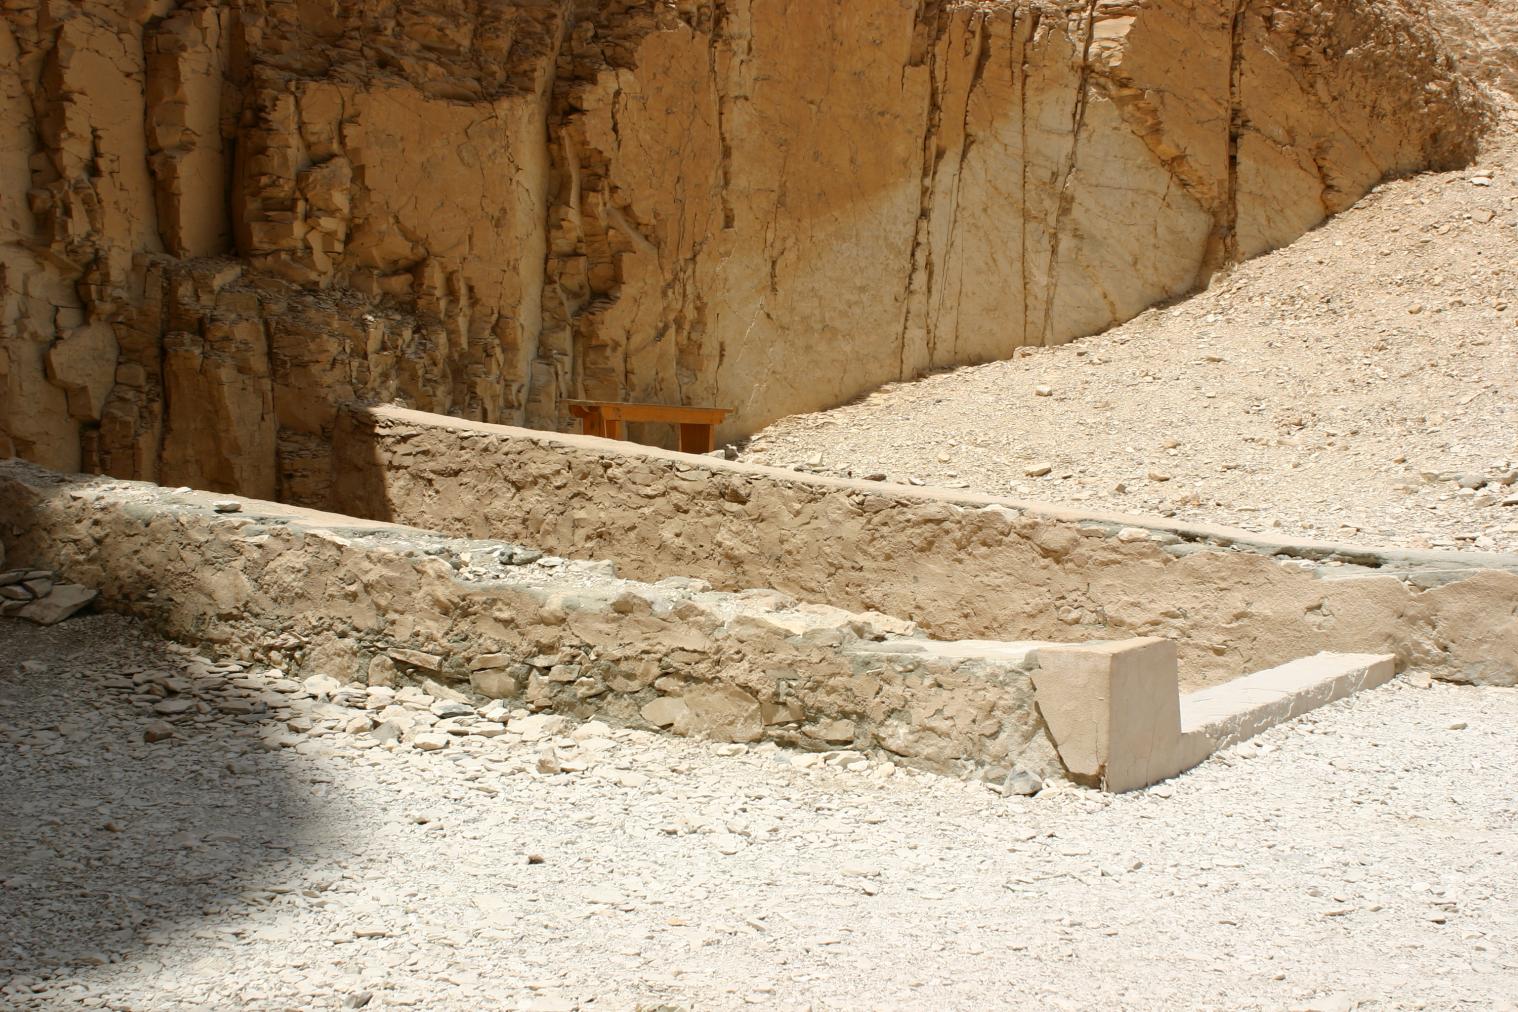
Entrance to the tomb. Courtesy of Richard Sellicks.
View of Entryway A. Courtesy of Richard Sellicks.
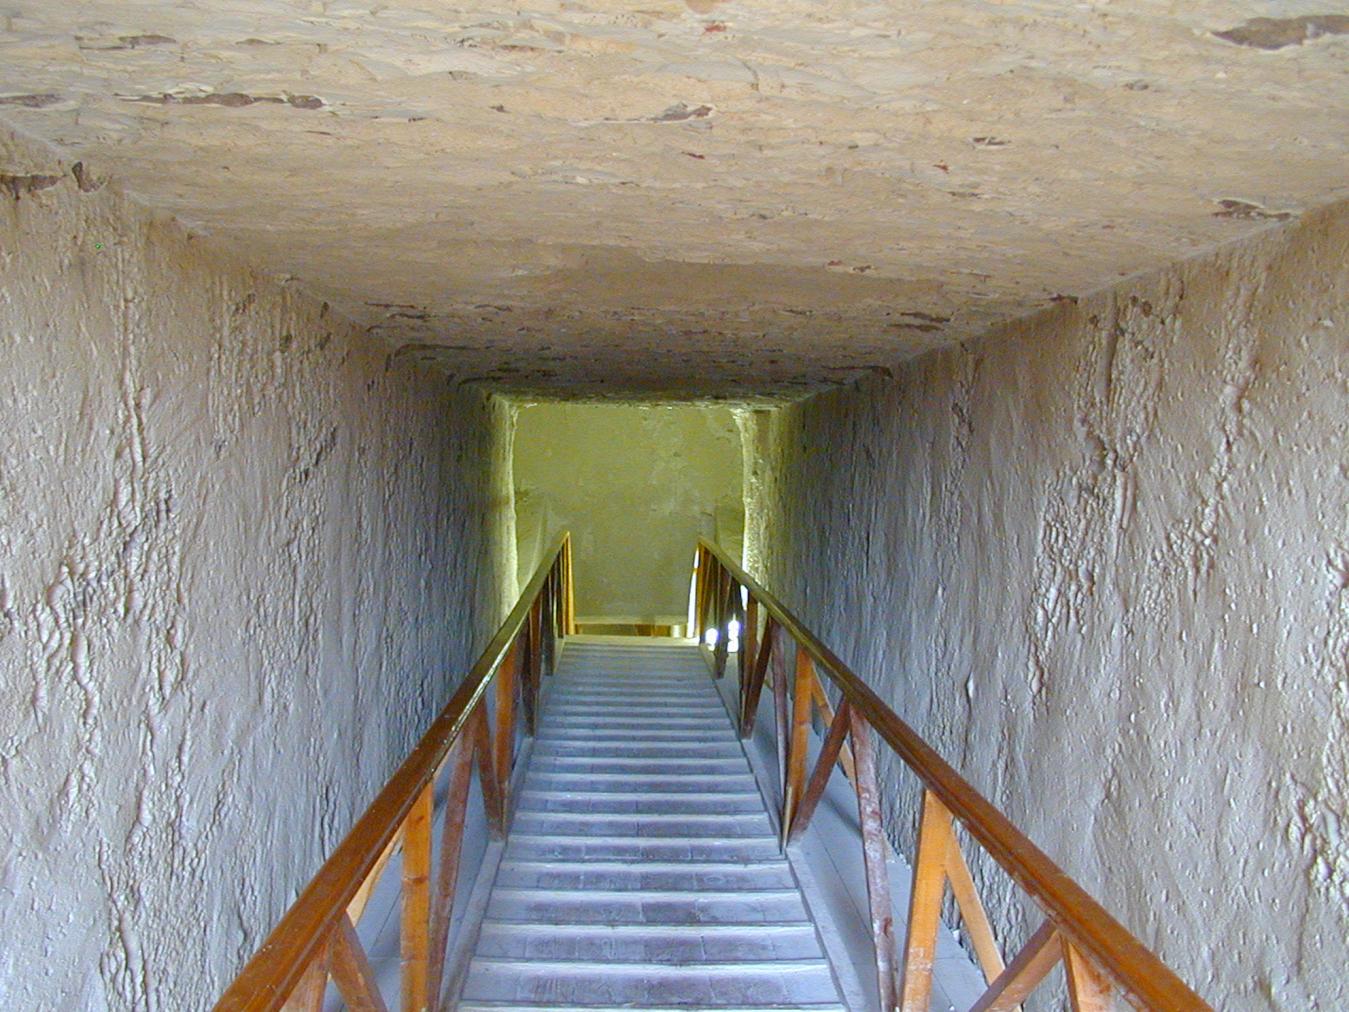
View of Corridor B. Courtesy of Richard Sellicks.
Well chamber E., left wall, left part. Thutmes IV receives eternal life (ankh) from two forms of the deity Osiris. Courtesy of Richard Sellicks.
Well chamber E, left wall, right part. Thutmes IV receives eternal life (ankh) from forms of the deities Osiris, Anubis, and Hathor. Courtesy of Richard Sellicks.
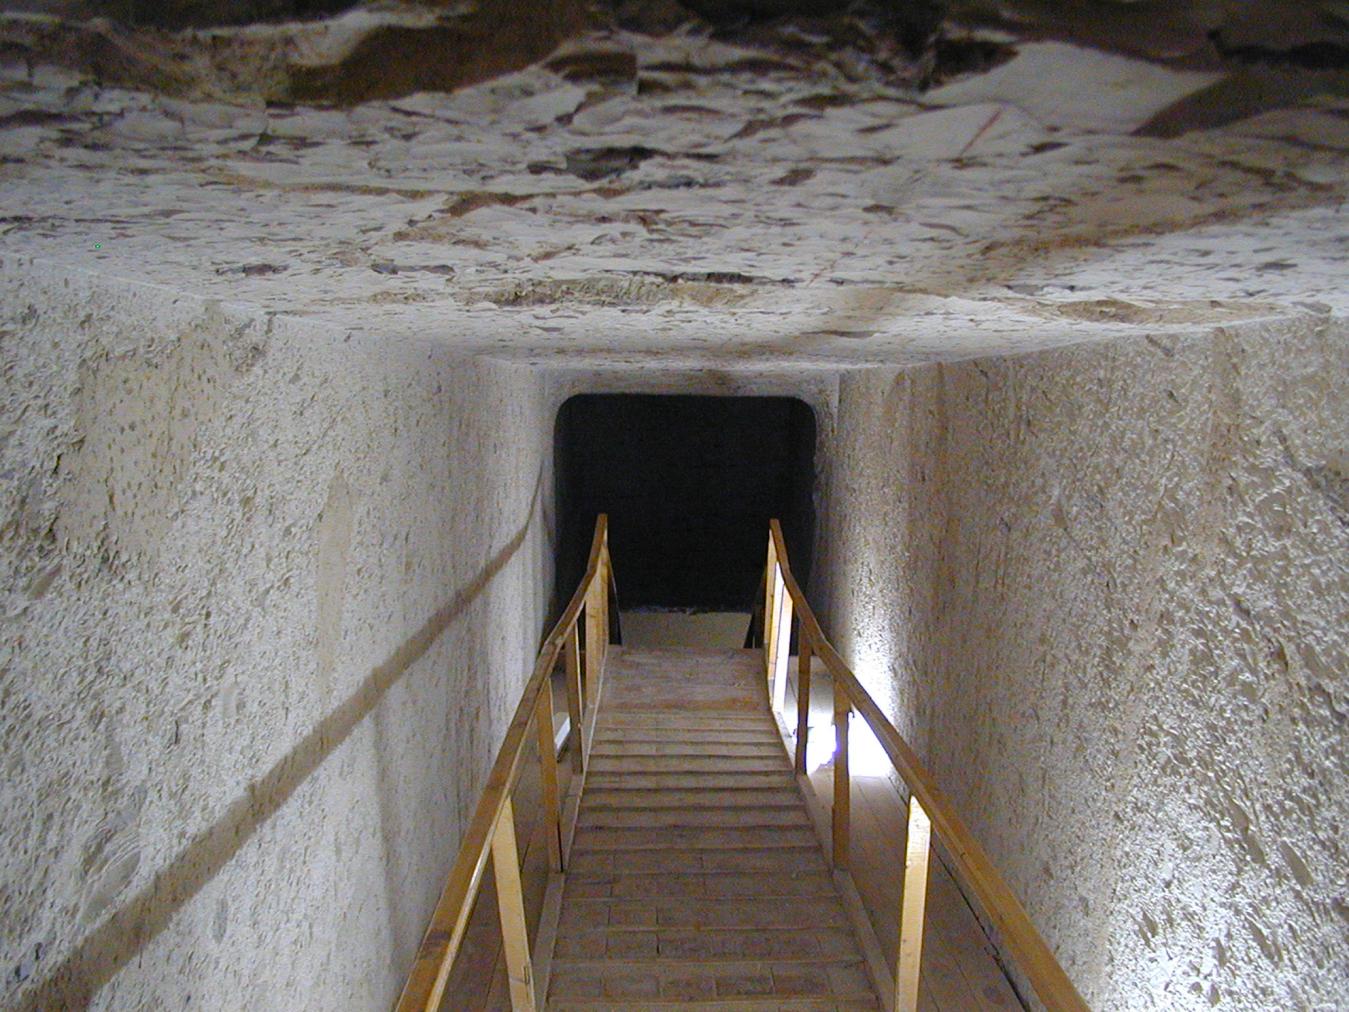
View of Corridor G. Courtesy of Richard Sellicks.
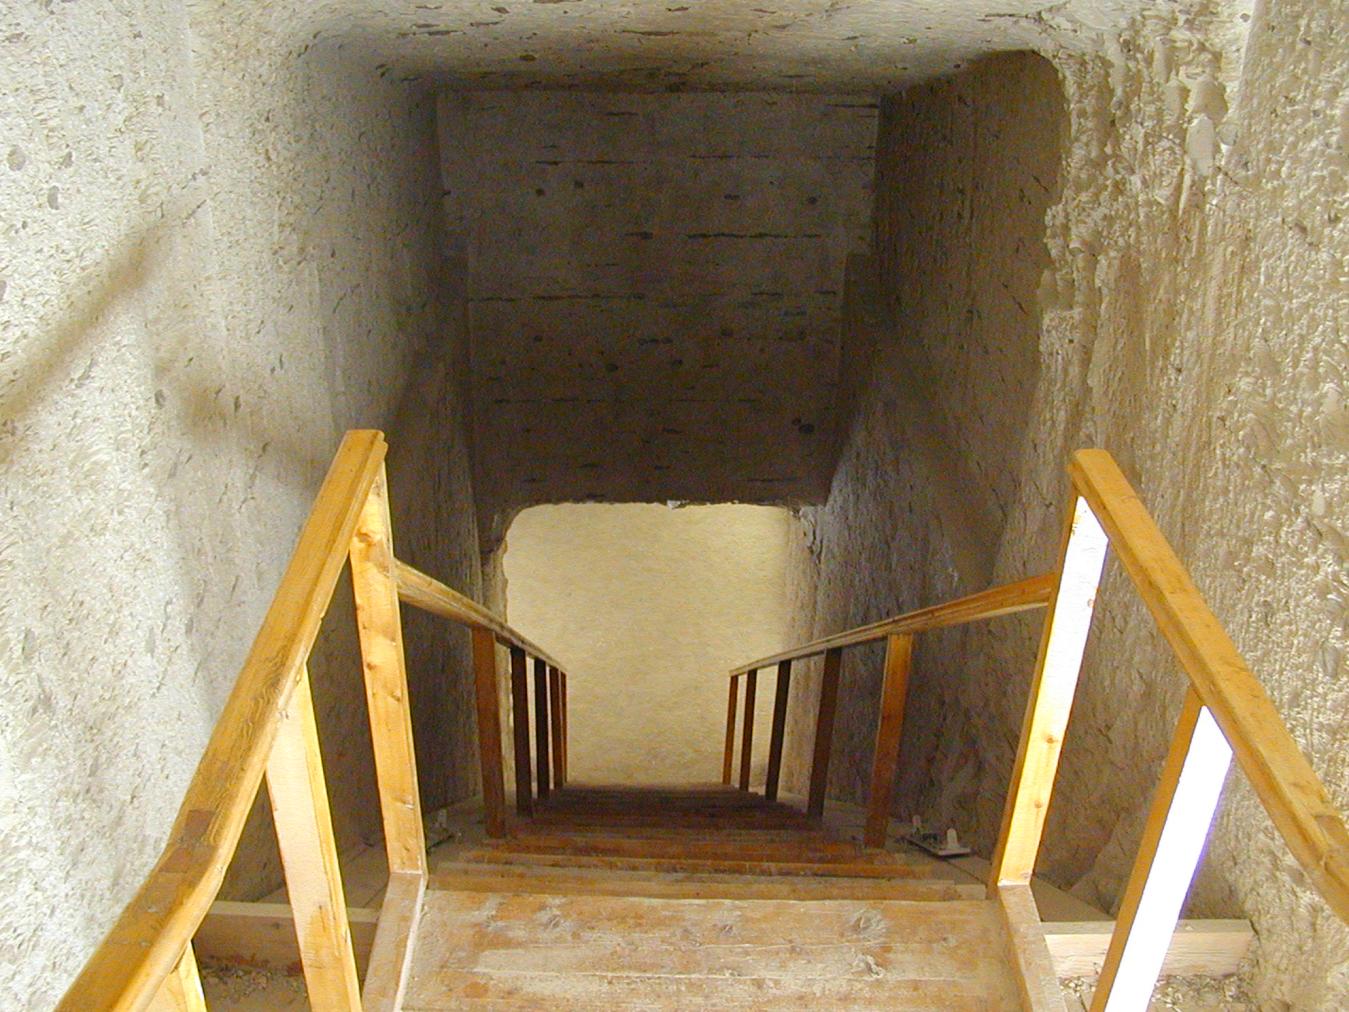
View of Stairwell H. Courtesy of Richard Sellicks.
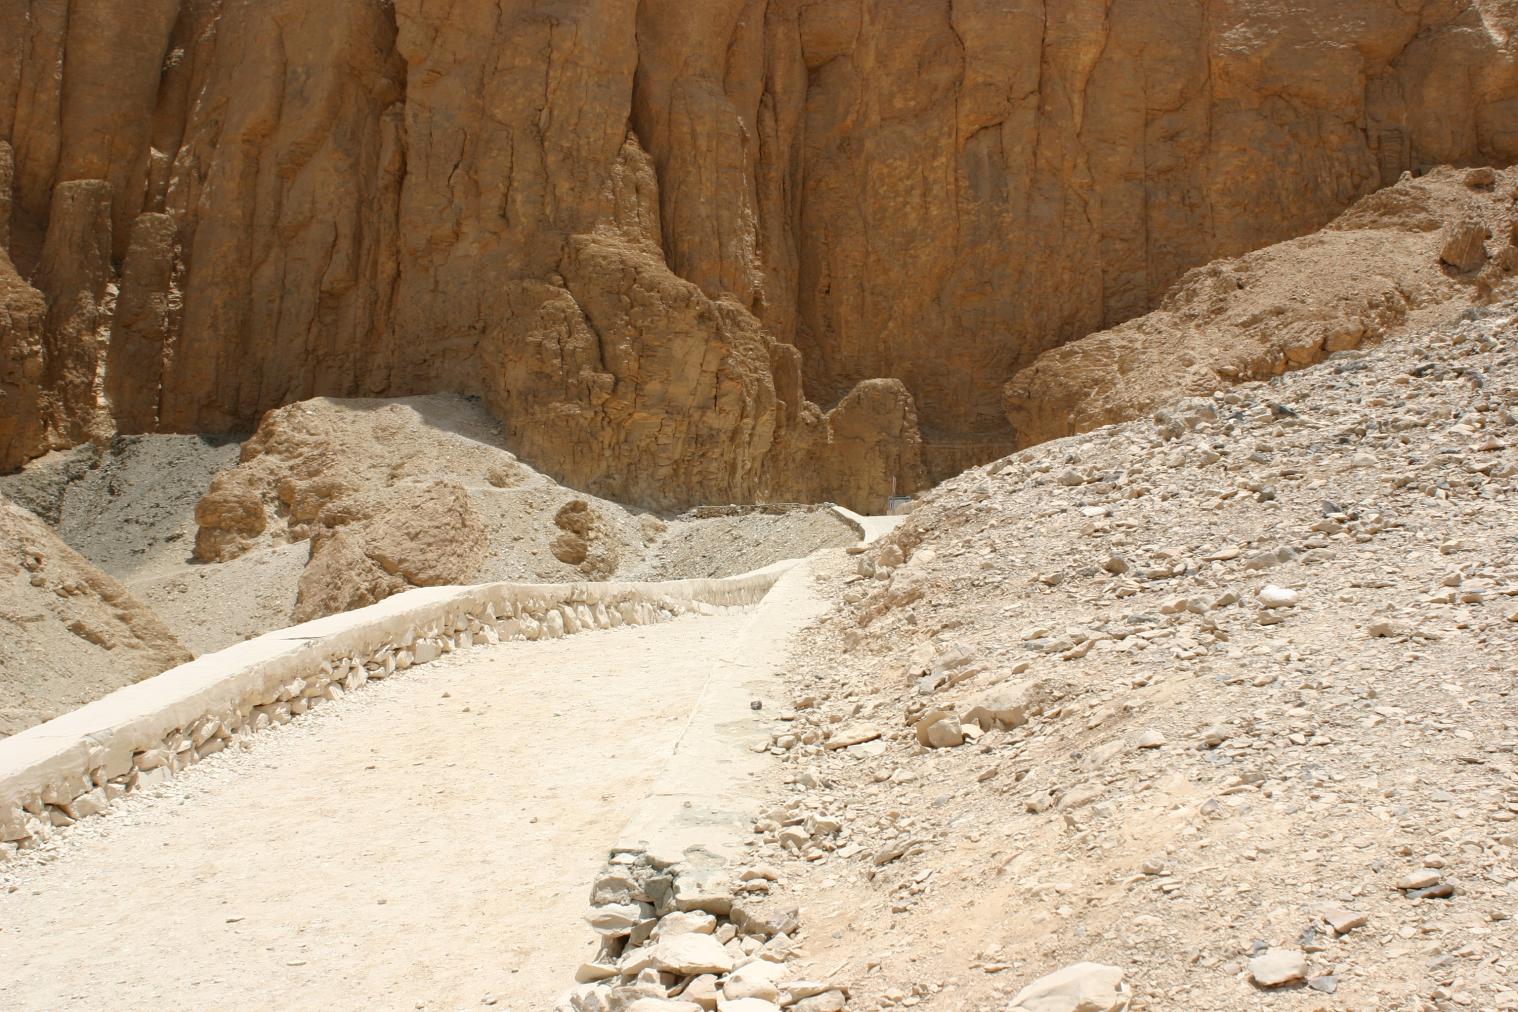
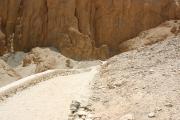
Road leading to Thutmes IV's tomb (KV 43). Courtesy of Richard Sellicks.
View of Corridor D into Pillared chamber F. Courtesy of Richard Sellicks.
View from Stairwell C into Corridor D. Courtesy of Richard Sellicks.
Well chamber E, northeast corner. Kheker-frieze and star-spangled ceiling motifs. Courtesy of Richard Sellicks.
Articles
Foundation Deposits
Bibliography
Weeks, Kent R. (ed.). Atlas of the Valley of the Kings (=Publications of the Theban Mapping Project, 1). Cairo: American University in Cairo Press, 2000. Map sheets 57-58.
Weeks, Kent R. The Treasures of Luxor and the Valley of the Kings. Vercelli: WhiteStar, 2005; Cairo: American University in Cairo Press, 2005. Available in English, Italian, Spanish, French, German, and Chinese. Pp. 246-247.
Weinstein, James M. Foundation Deposits in Ancient Egypt. Unpubl. Ph.D. Dissertation, University of Pennsylvania, 1973. Pp. 209-210.
Wilkinson, Richard H. and Carl Nicholas Reeves. The Complete Valley of the Kings. London: Thames and Hudson, 1996. Pp. 106-107.