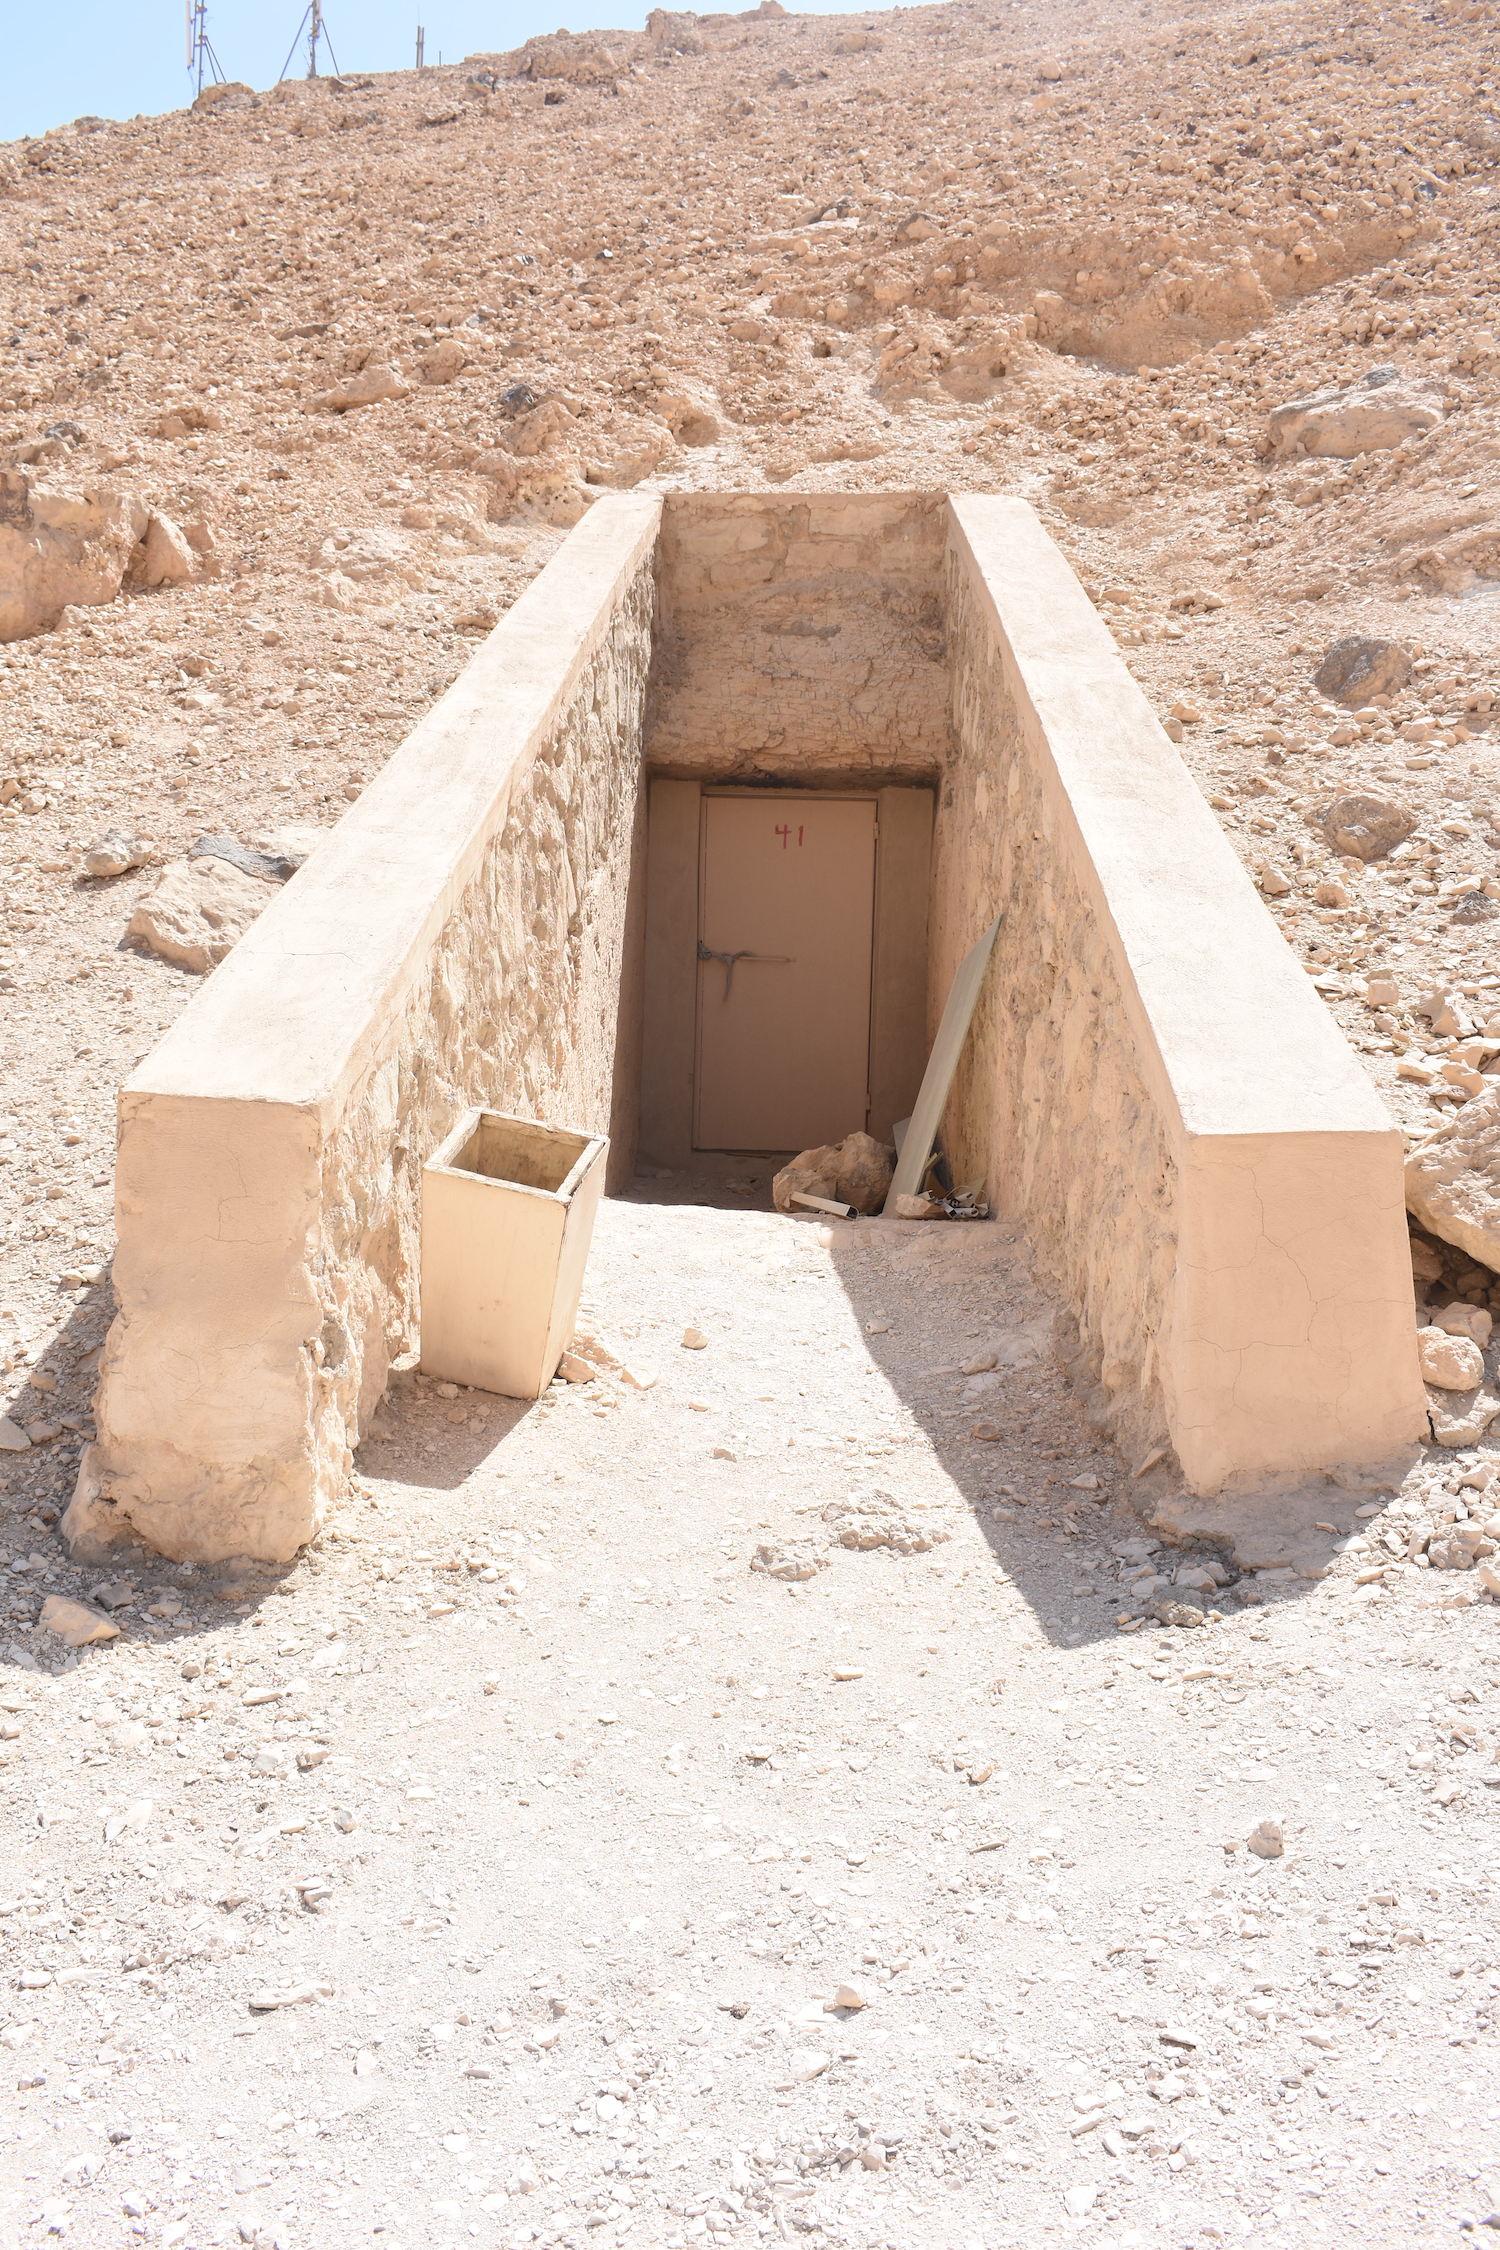
QV 40
Anonymous Queen


Entryway A
See entire tomb
Entrance to QV40

Entrance to QV40

Entrance to QV40


Gate B
See entire tombThis gate provides access to the tomb and has been completely reconstructed in fired brick and cement.
Pillared chamber B
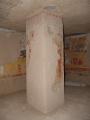
See entire tombThis pillared hall functions as the antechamber of the tomb and its floor is below that of the entry gate. It originally contained two constructed pillars, of which the westernmost pillar has collapsed and been partly reconstructed.
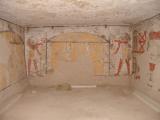
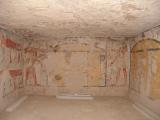
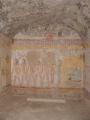
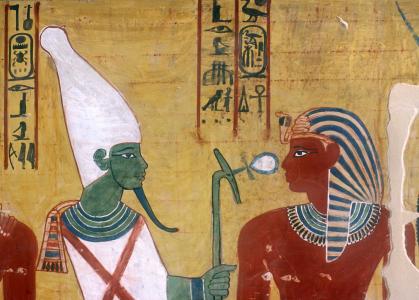
The decoration in this chamber consists of painted raised relief and, although damaged, is in surprisingly good condition, with the colors bright and vibrant. The iconography centers on the Queen offering to various deities in exchange for protection and being welcomed into the Netherworld.
Porter and Moss designation:
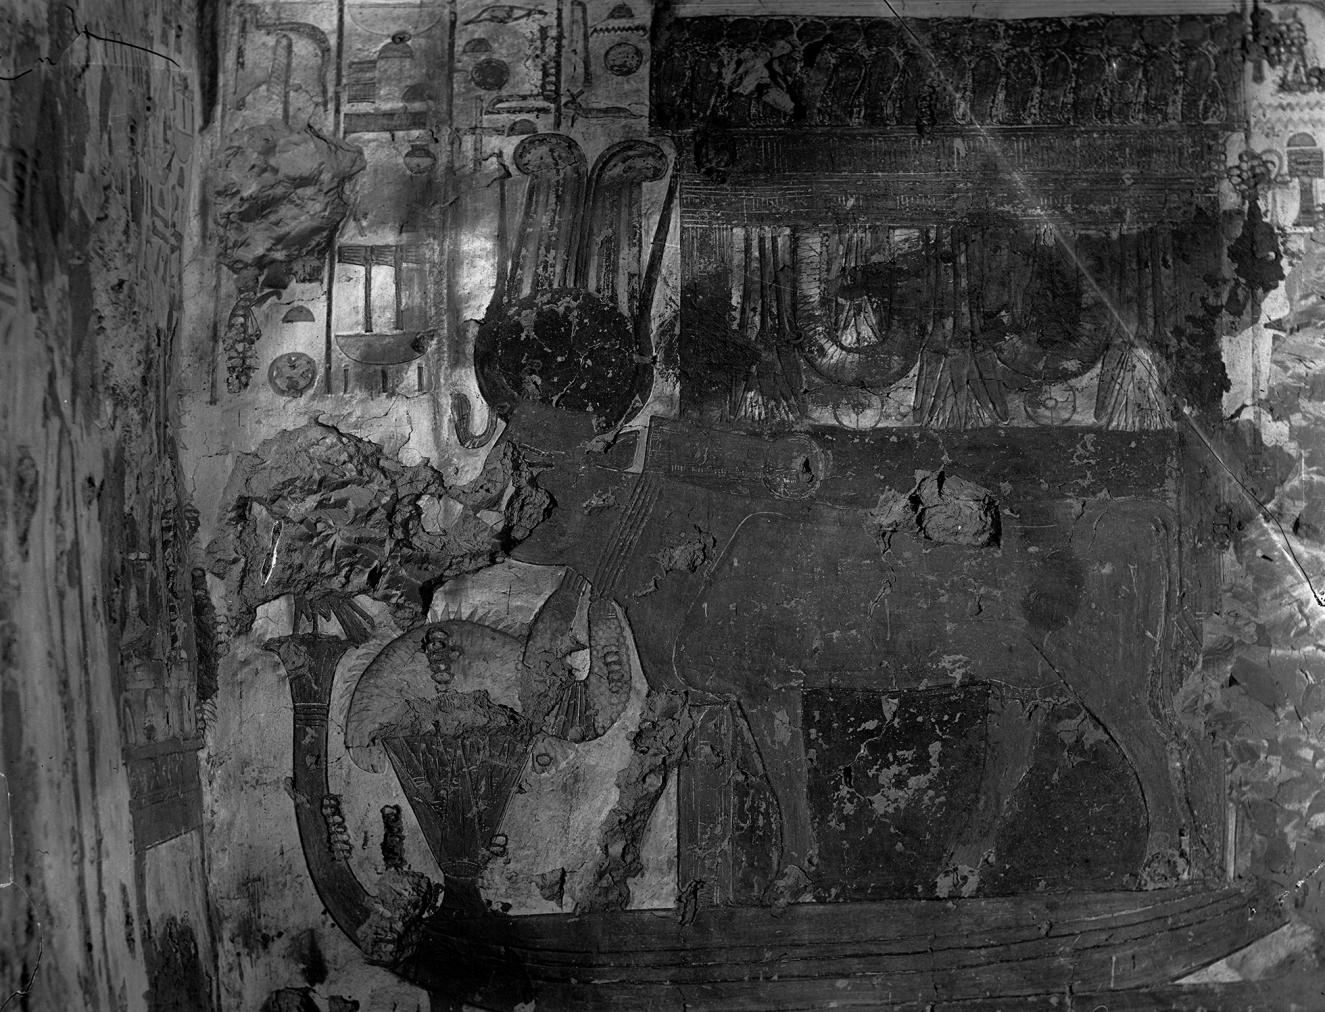
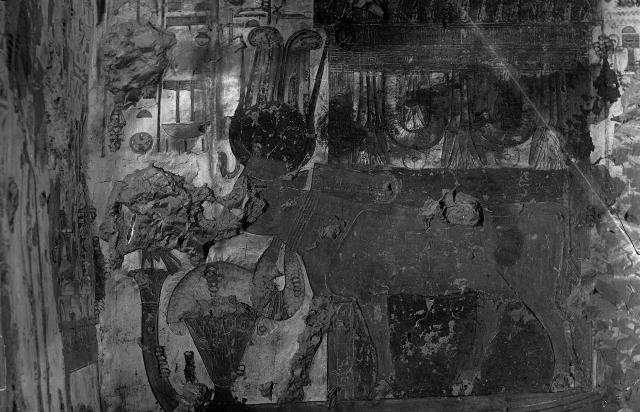
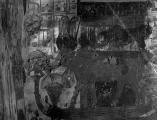
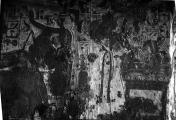
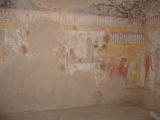
Badly preserved wall painting from the tomb of an anonymous Queen (QV 40), dating to the 19th Dynasty, photographed during Ernesto Schiaparelli's excavations. Italian Archaeological Expedition excavations. Courtesy of the Egyptian Museum in Turin.
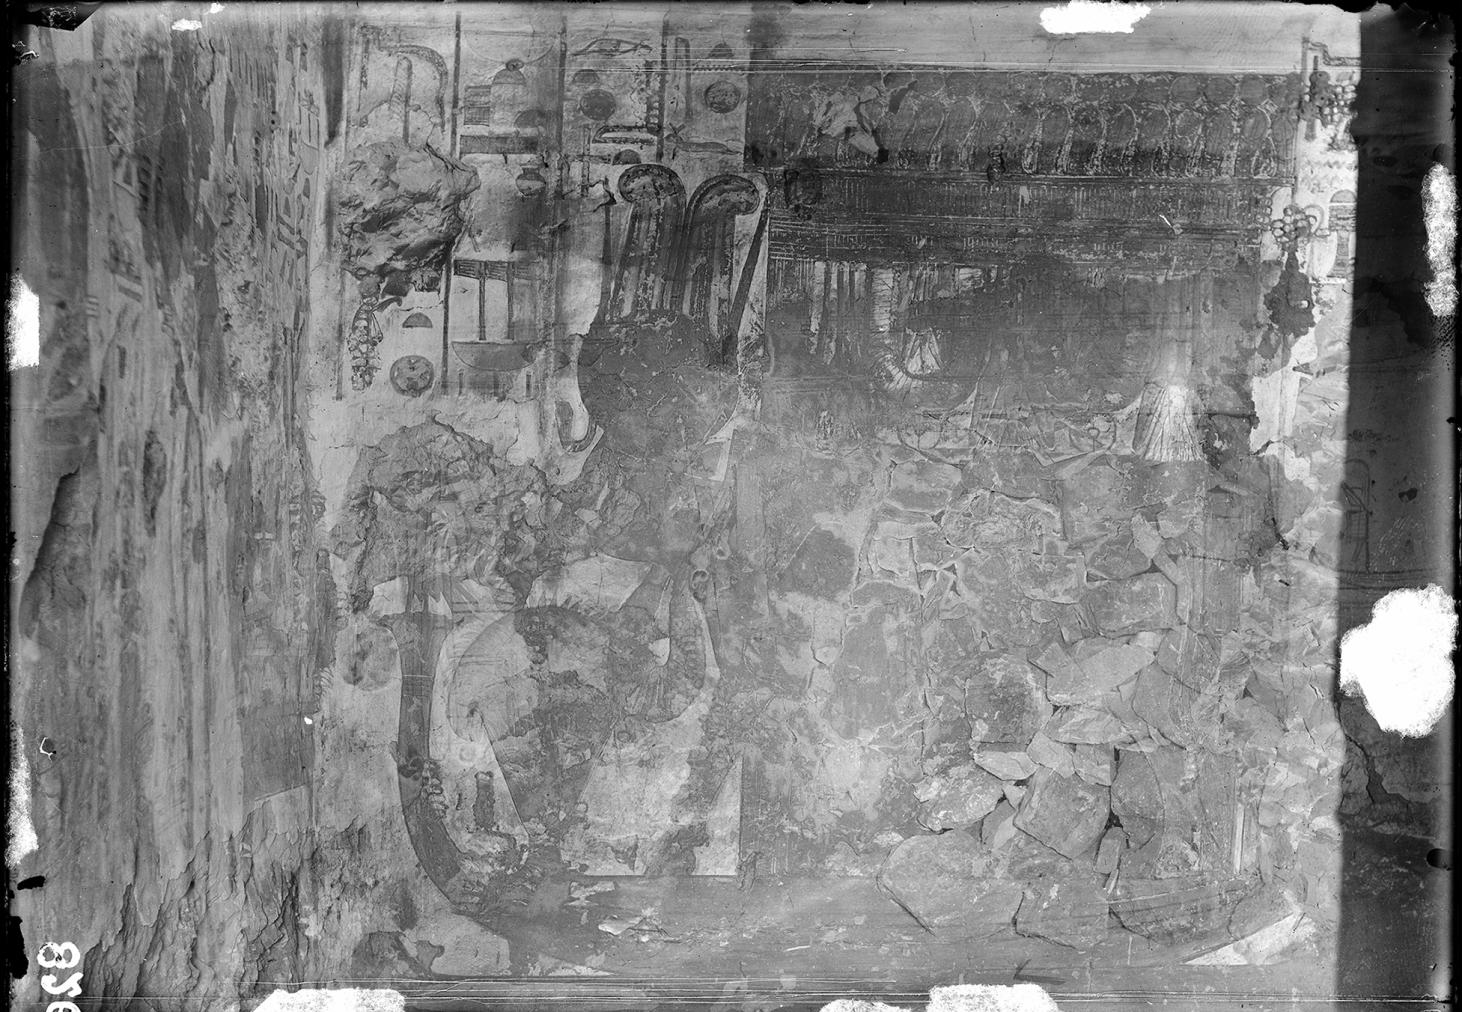
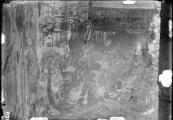
Double-exposed photograph taken during Ernesto Schiaparelli's excavations. Only one of the two images, however, is visible: a badly preserved wall painting from the tomb of an anonymous Queen (QV 40) dated to the 19th Dynasty. Italian Archaeological Expedition excavations. Courtesy of the Egyptian Museum in Turin.
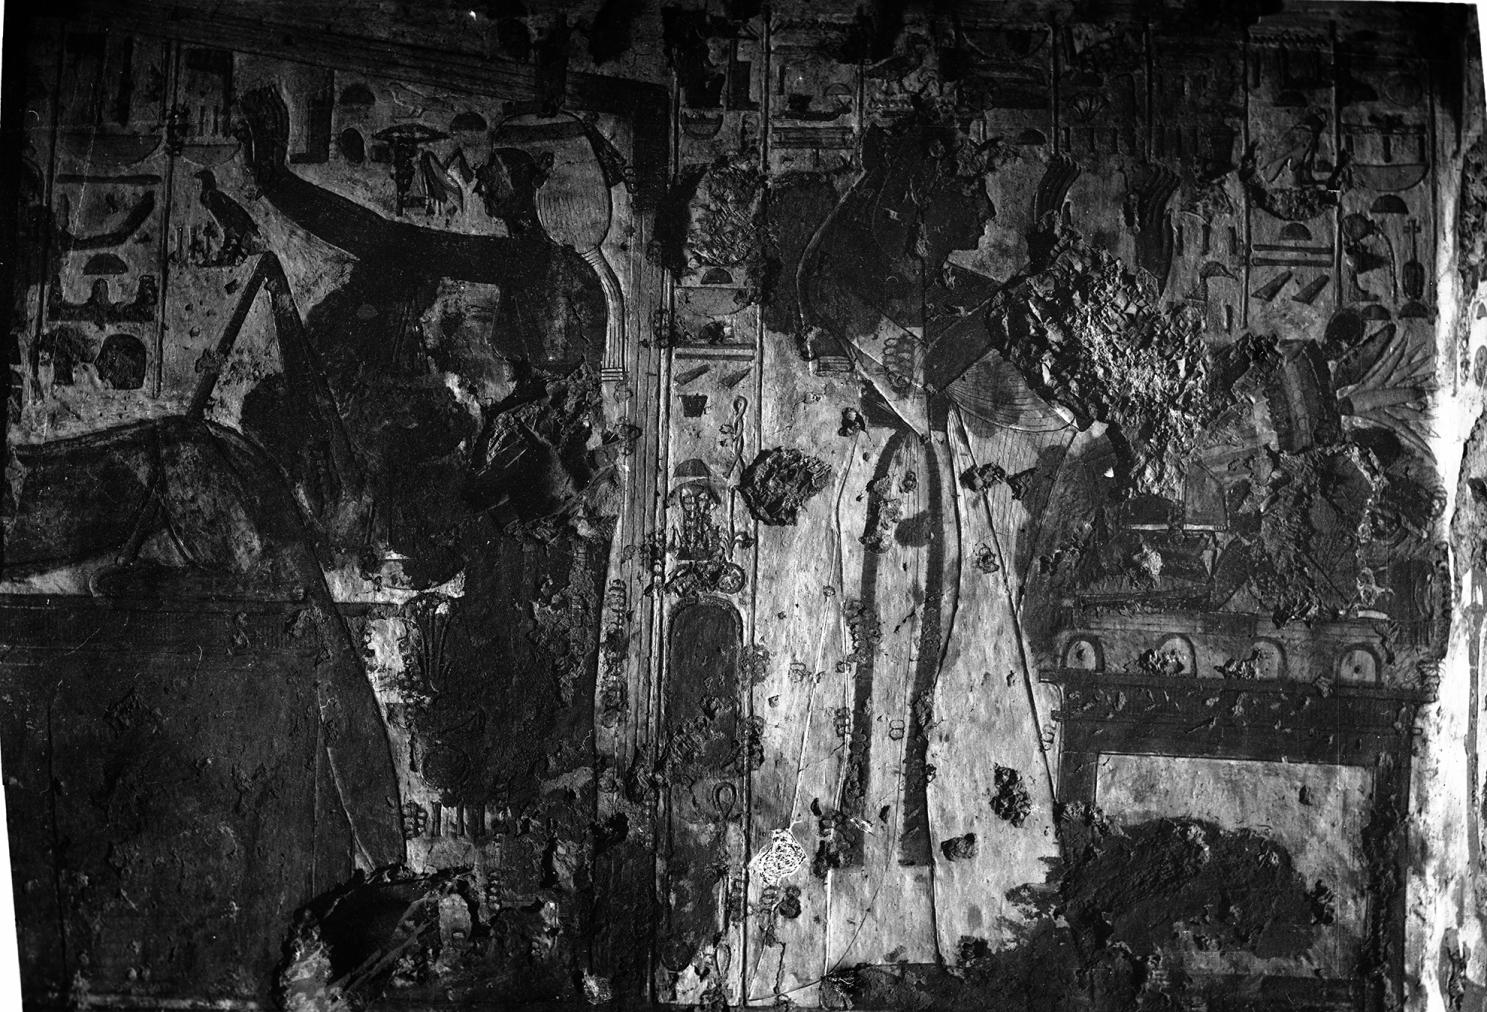
Badly preserved wall painting from the tomb of an anonymous Queen (QV 40), dating to the 19th Dynasty, photographed during Ernesto Schiaparelli's excavations. Italian Archaeological Expedition excavations. Courtesy of the Egyptian Museum in Turin.
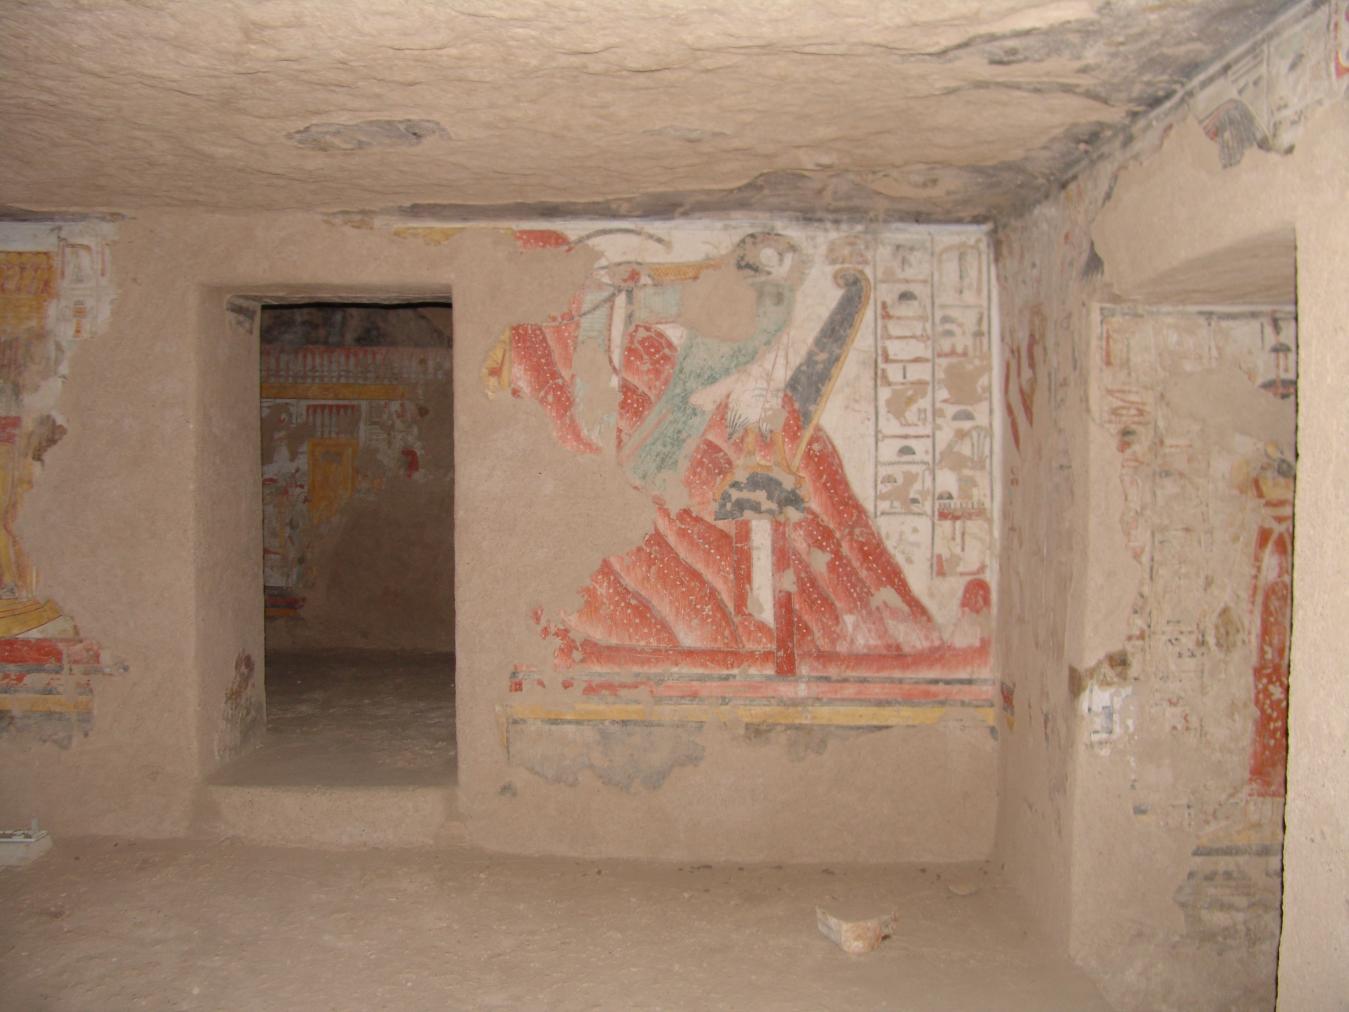
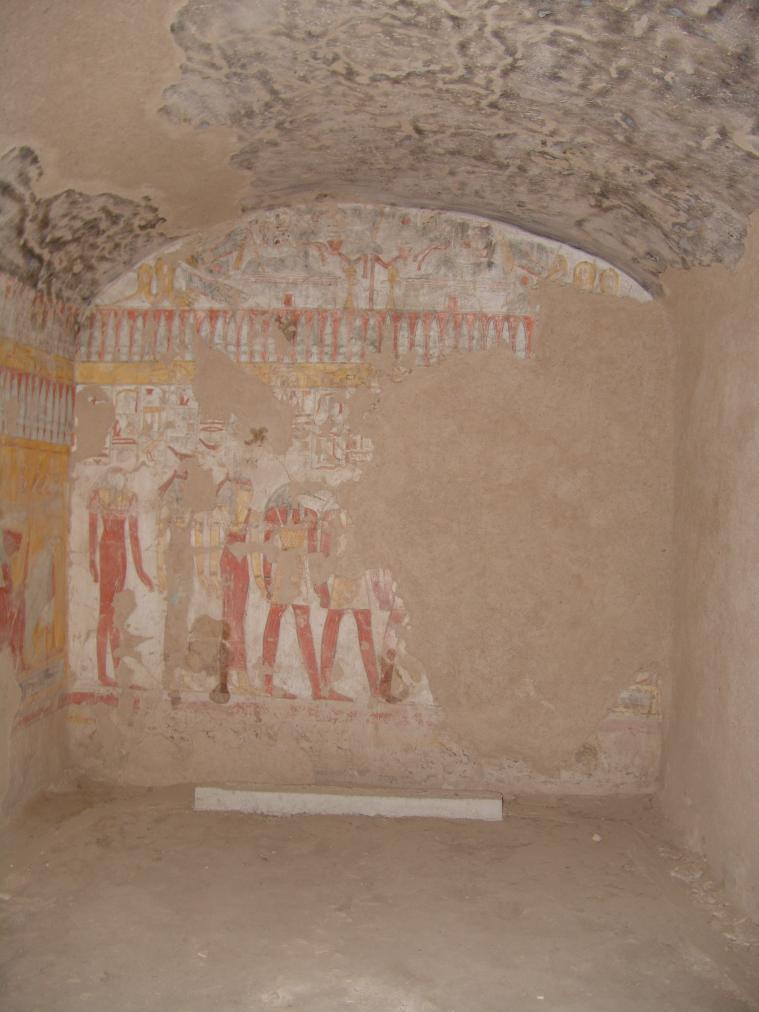
View of the south wall with Chamber C in background and Gate Ba on right. Re-Horakhty as falcon atop the western standard with Imentet as a winged eye emerging from the western mountain. © Getty Conservation Institute and the Ministry of Tourism and Antiquities.
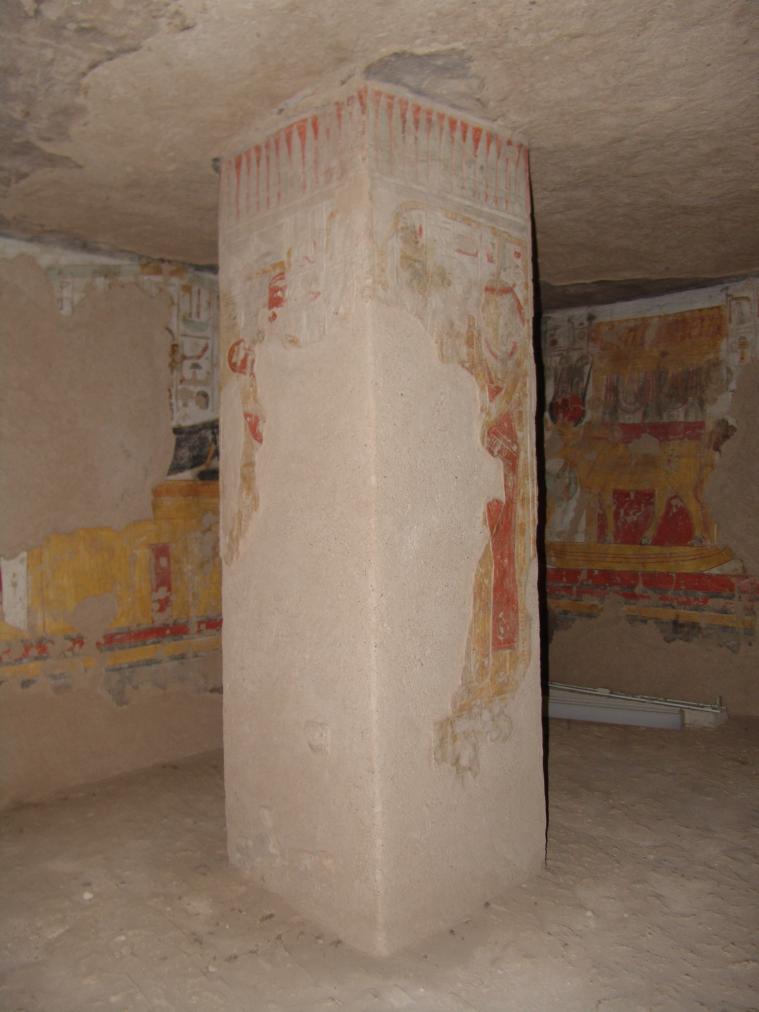
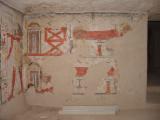
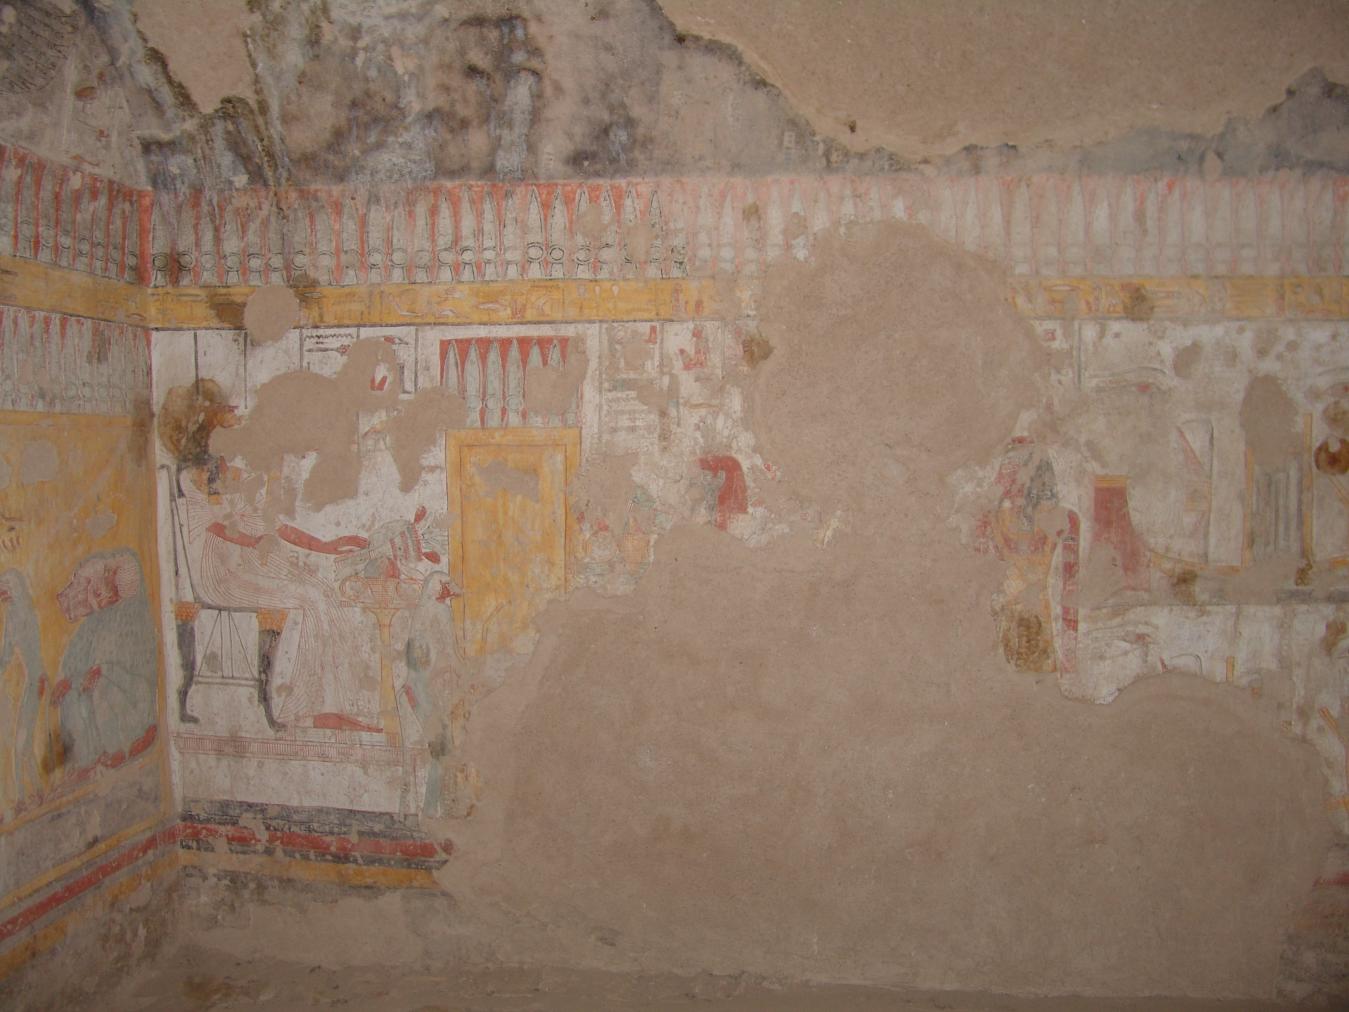
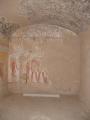
View of southeast corner with a remaining pillar in the foreground. Hathor as cow and Anubis on a chapel in the background. © Getty Conservation Institute and the Ministry of Tourism and Antiquities.
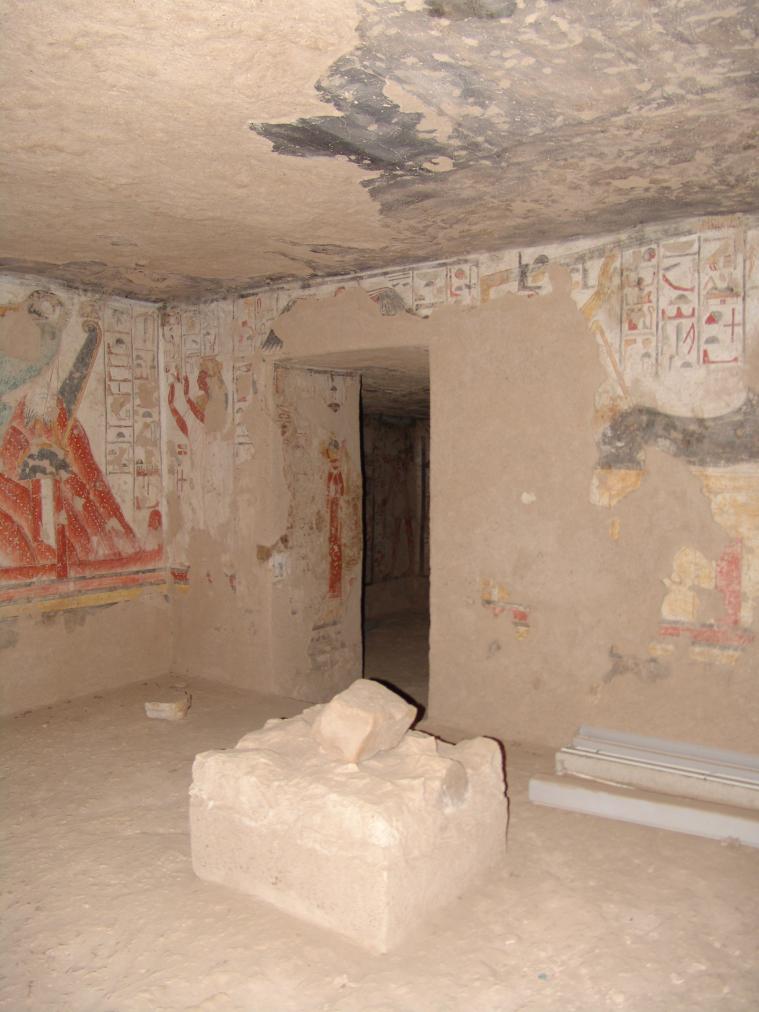
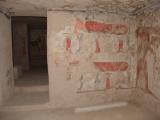
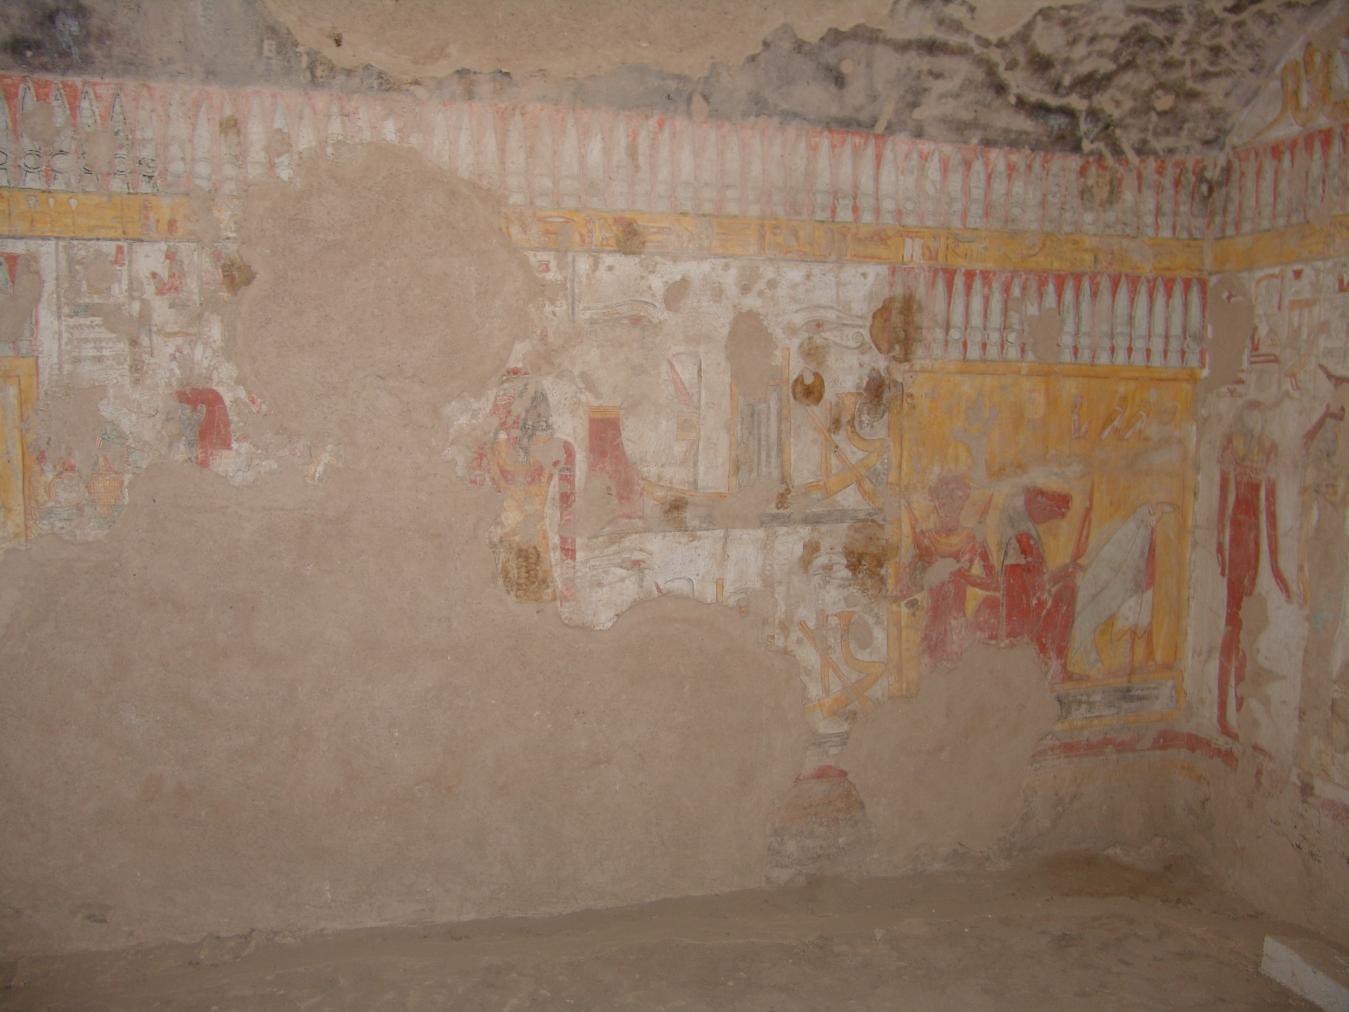
View of a collapsed pillar and the west wall with Gate Ba. Image of the Queen on the left side of Gate Ba and Anubis reclining on chapel on the right. © Getty Conservation Institute and the Ministry of Tourism and Antiquities.
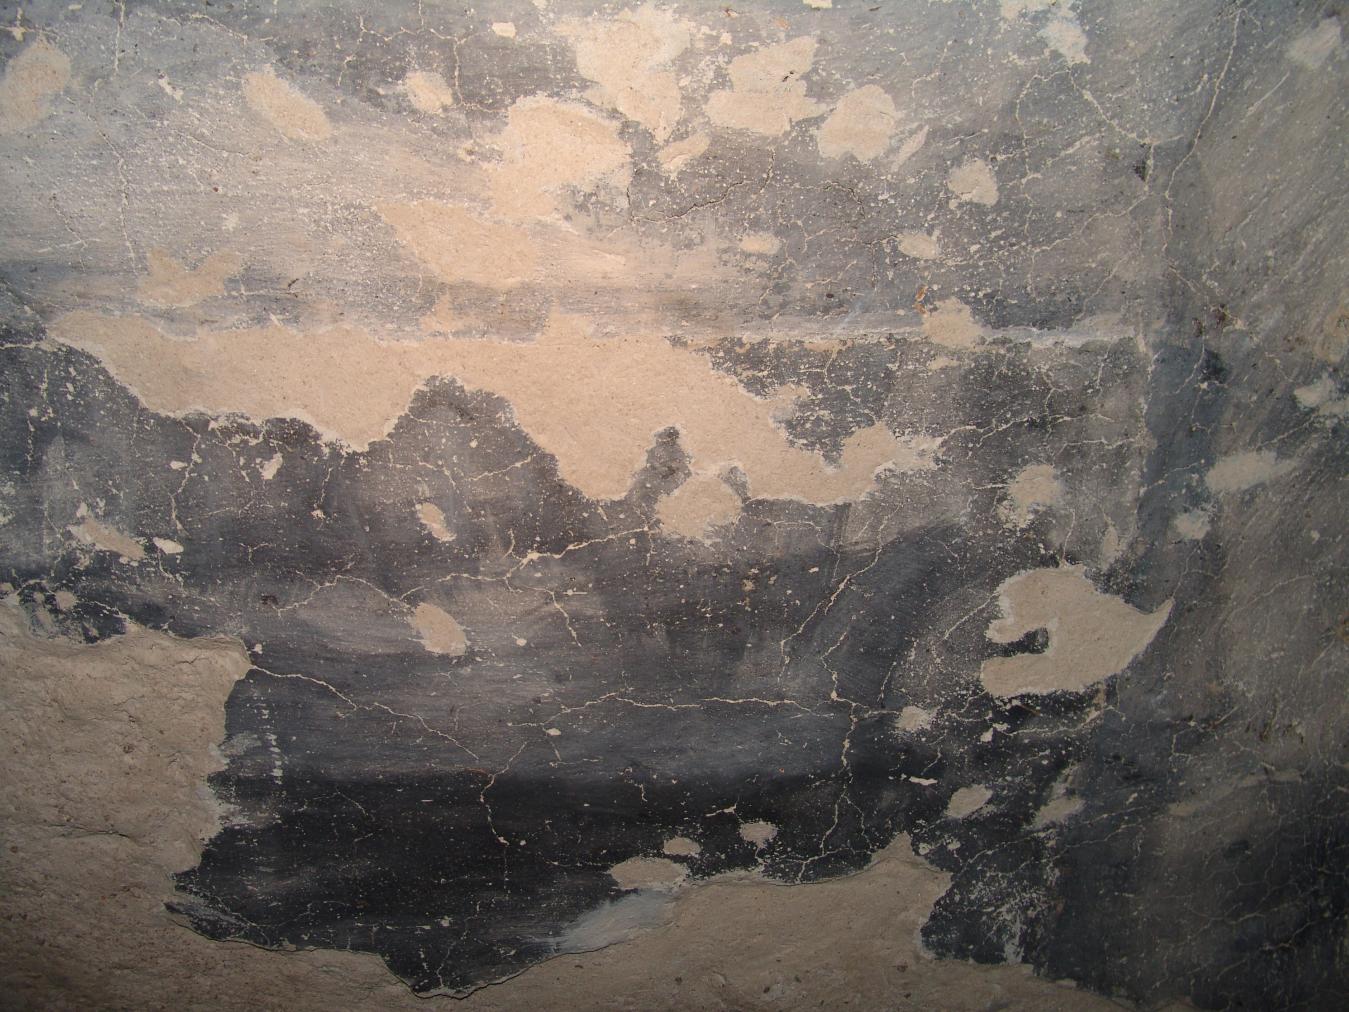
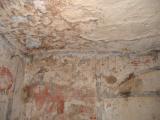
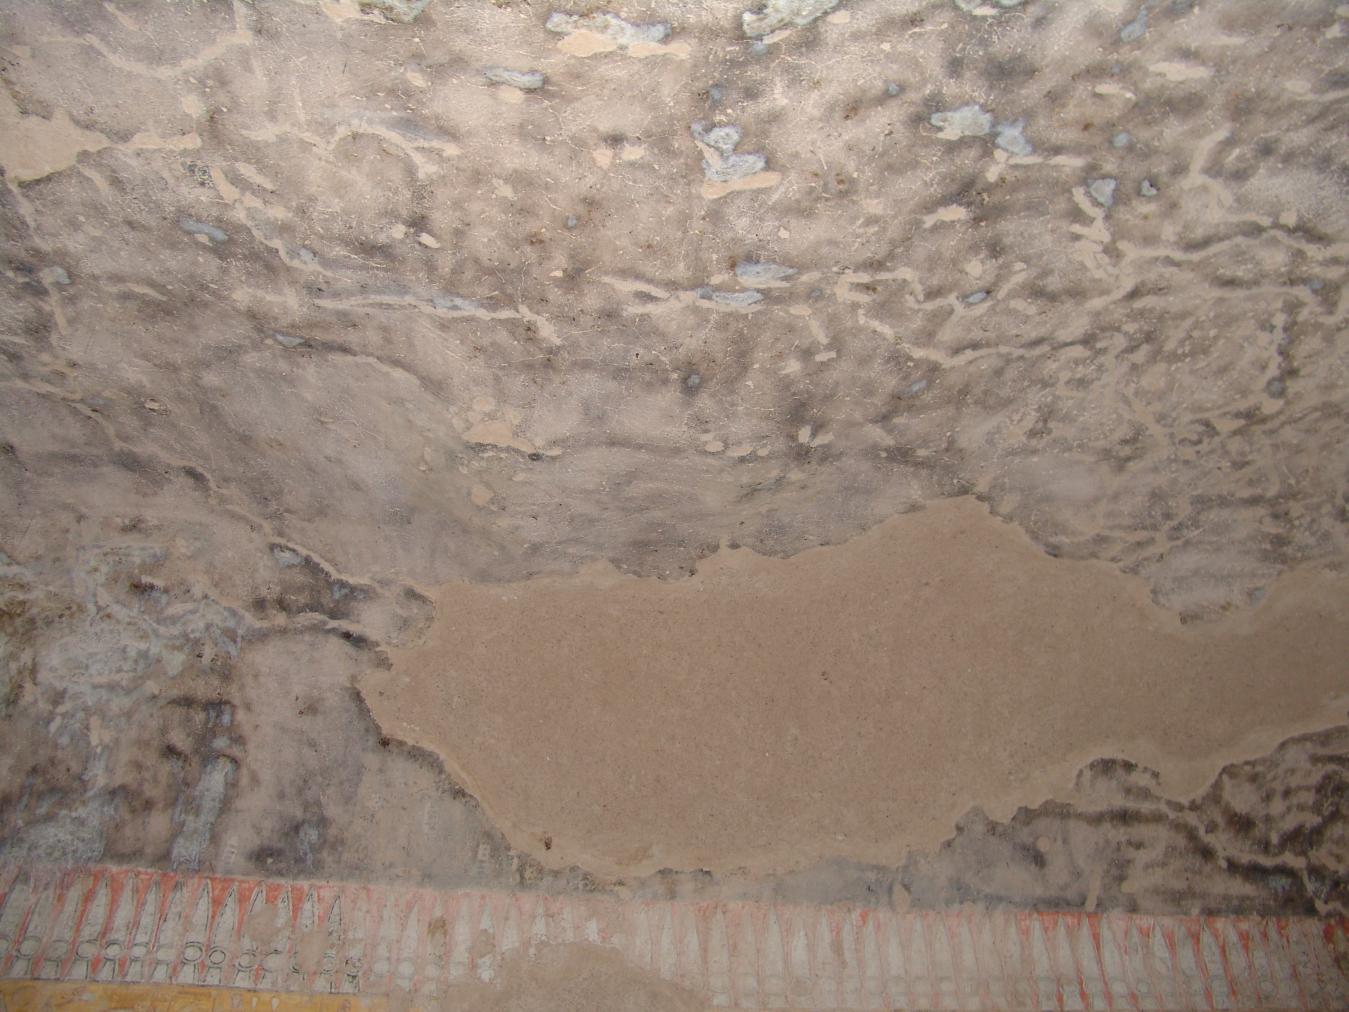
View of blackwashed ceiling. © Getty Conservation Institute and the Ministry of Tourism and Antiquities.
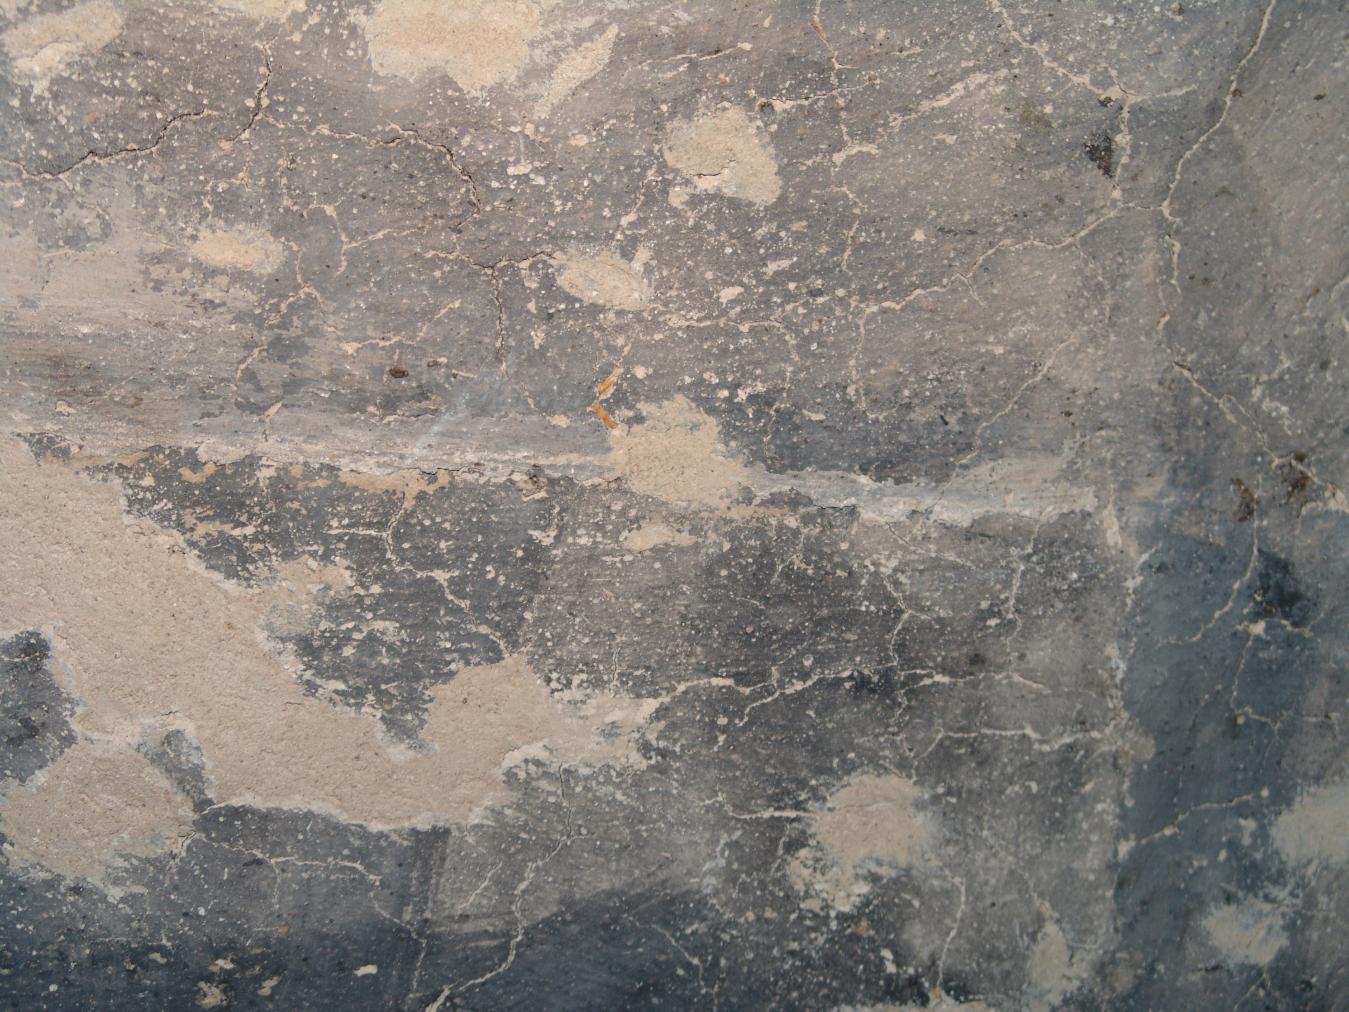
View of the blackwashed ceiling. © Getty Conservation Institute and the Ministry of Tourism and Antiquities.
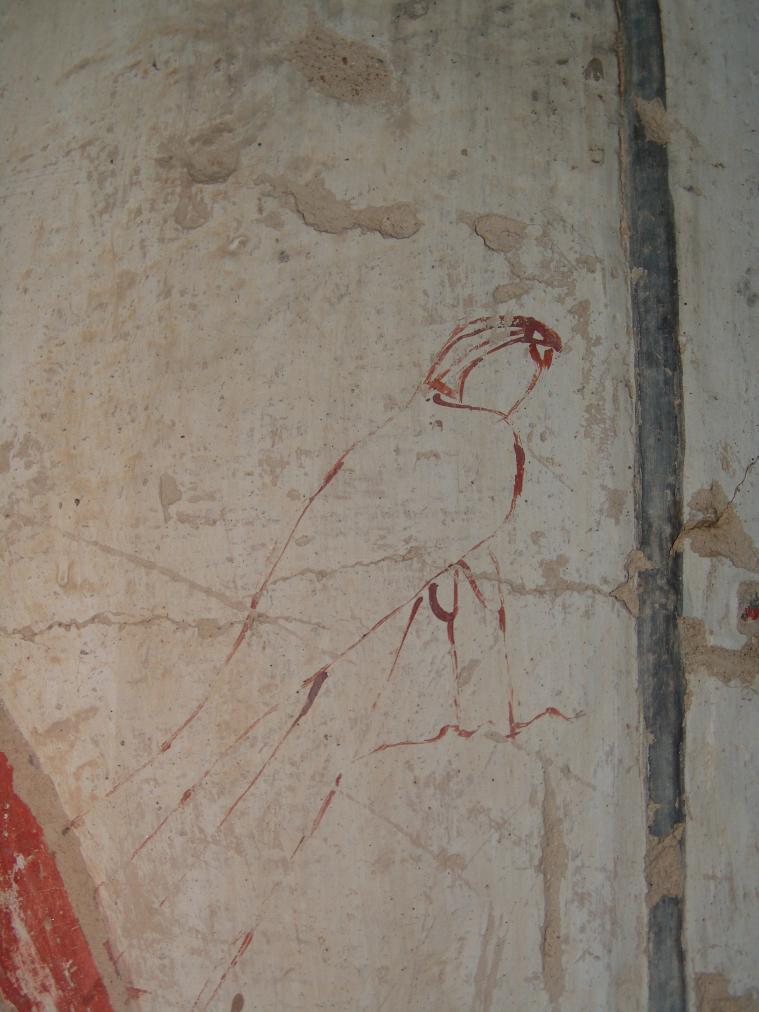
Detail of a falcon (graffiti). © Getty Conservation Institute and the Ministry of Tourism and Antiquities.
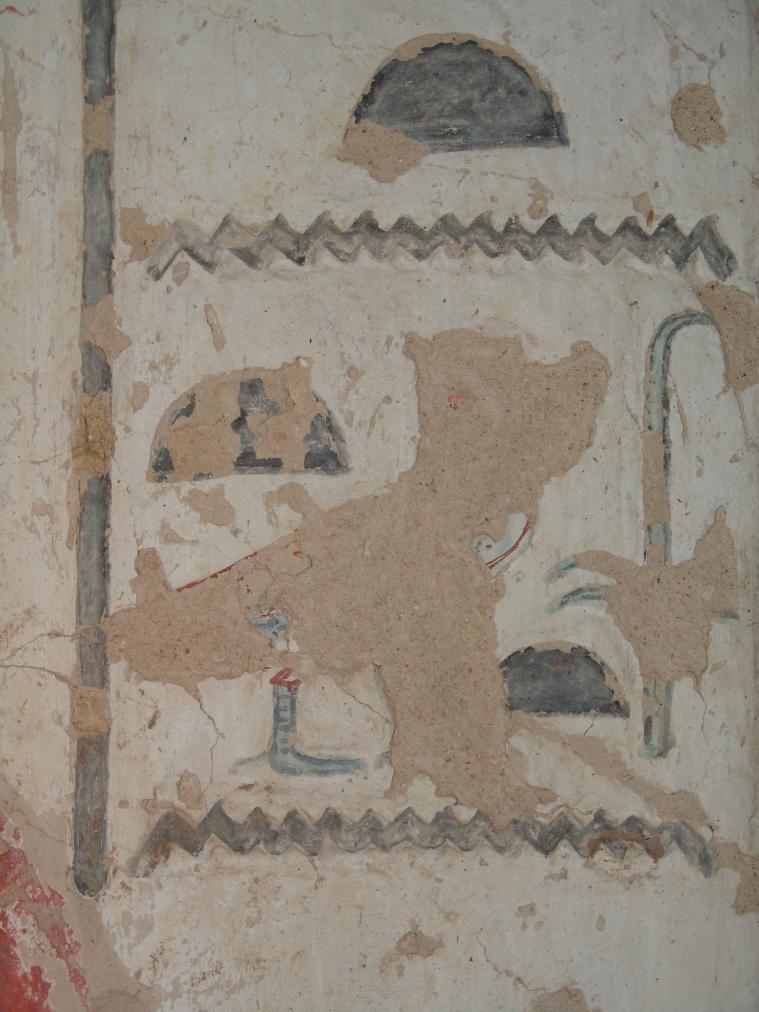
Detail of the queen's titles. © Getty Conservation Institute and the Ministry of Tourism and Antiquities.
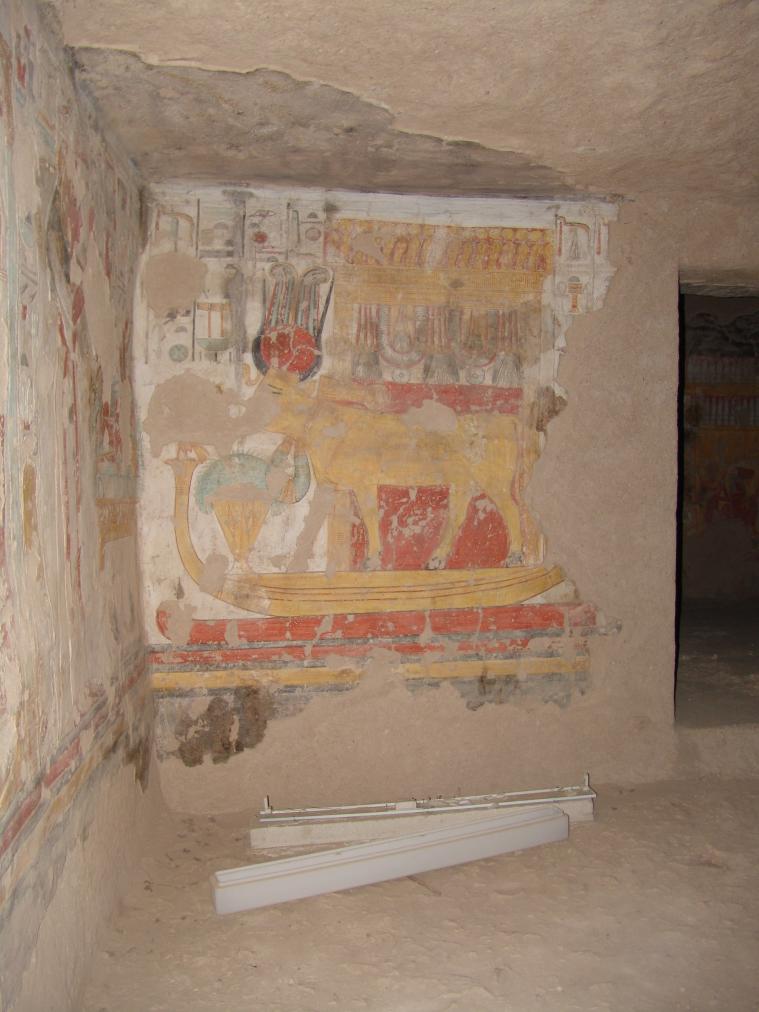
Hathor as a cow on a bark within a shrine (Hieratic text on body of Hathor). © Getty Conservation Institute and the Ministry of Tourism and Antiquities.
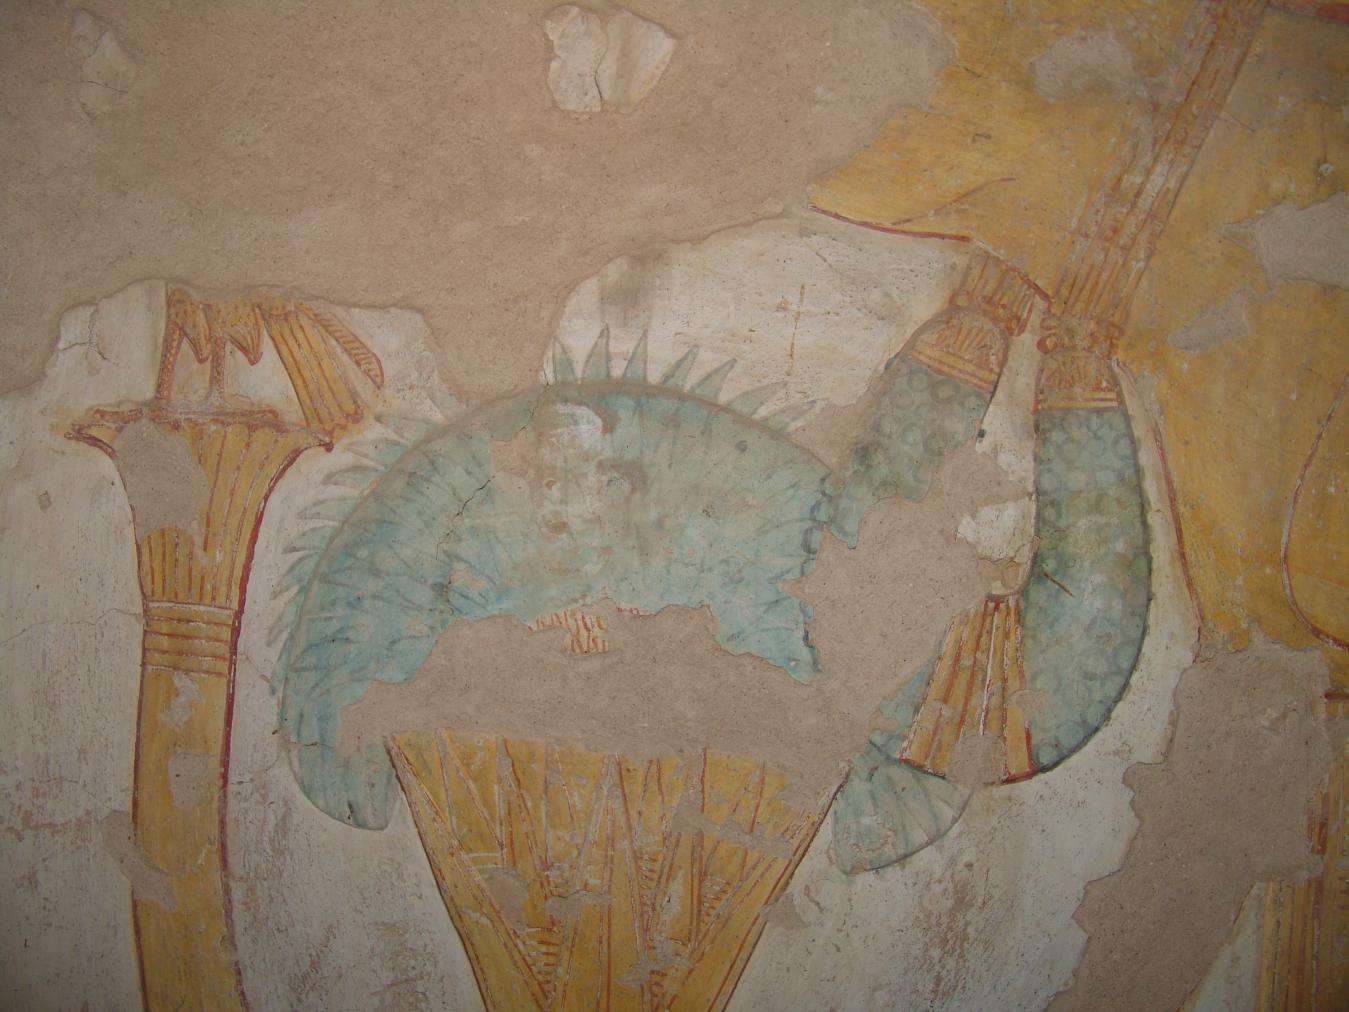
Detail of offerings and Hathor's menat necklace. © Getty Conservation Institute and the Ministry of Tourism and Antiquities.
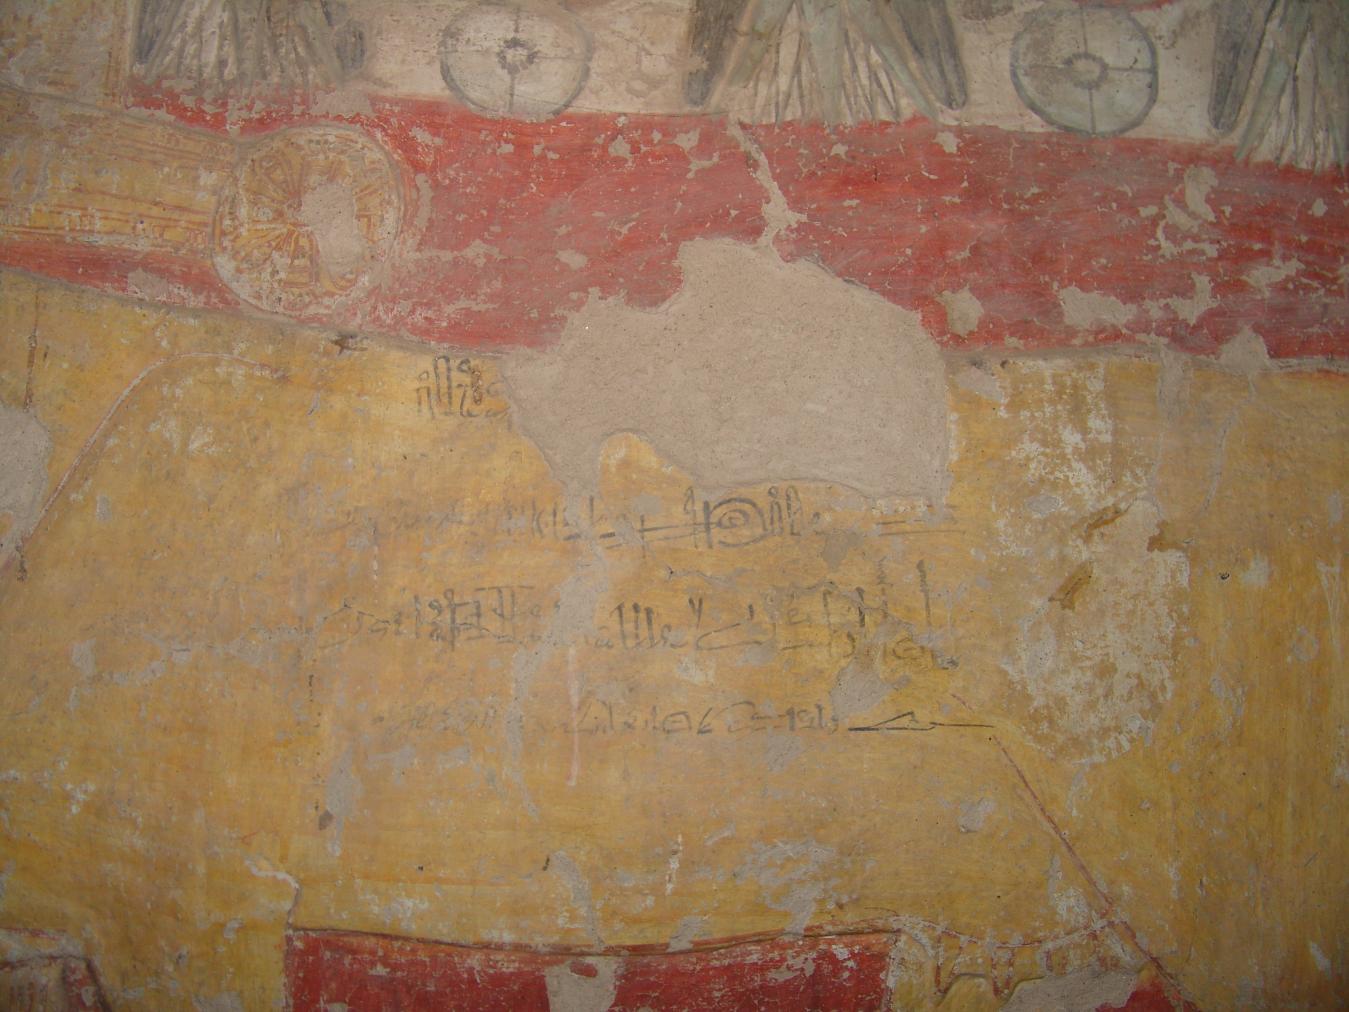
Detail of the hieratic text on the body of Hathor as a cow. © Getty Conservation Institute and the Ministry of Tourism and Antiquities.
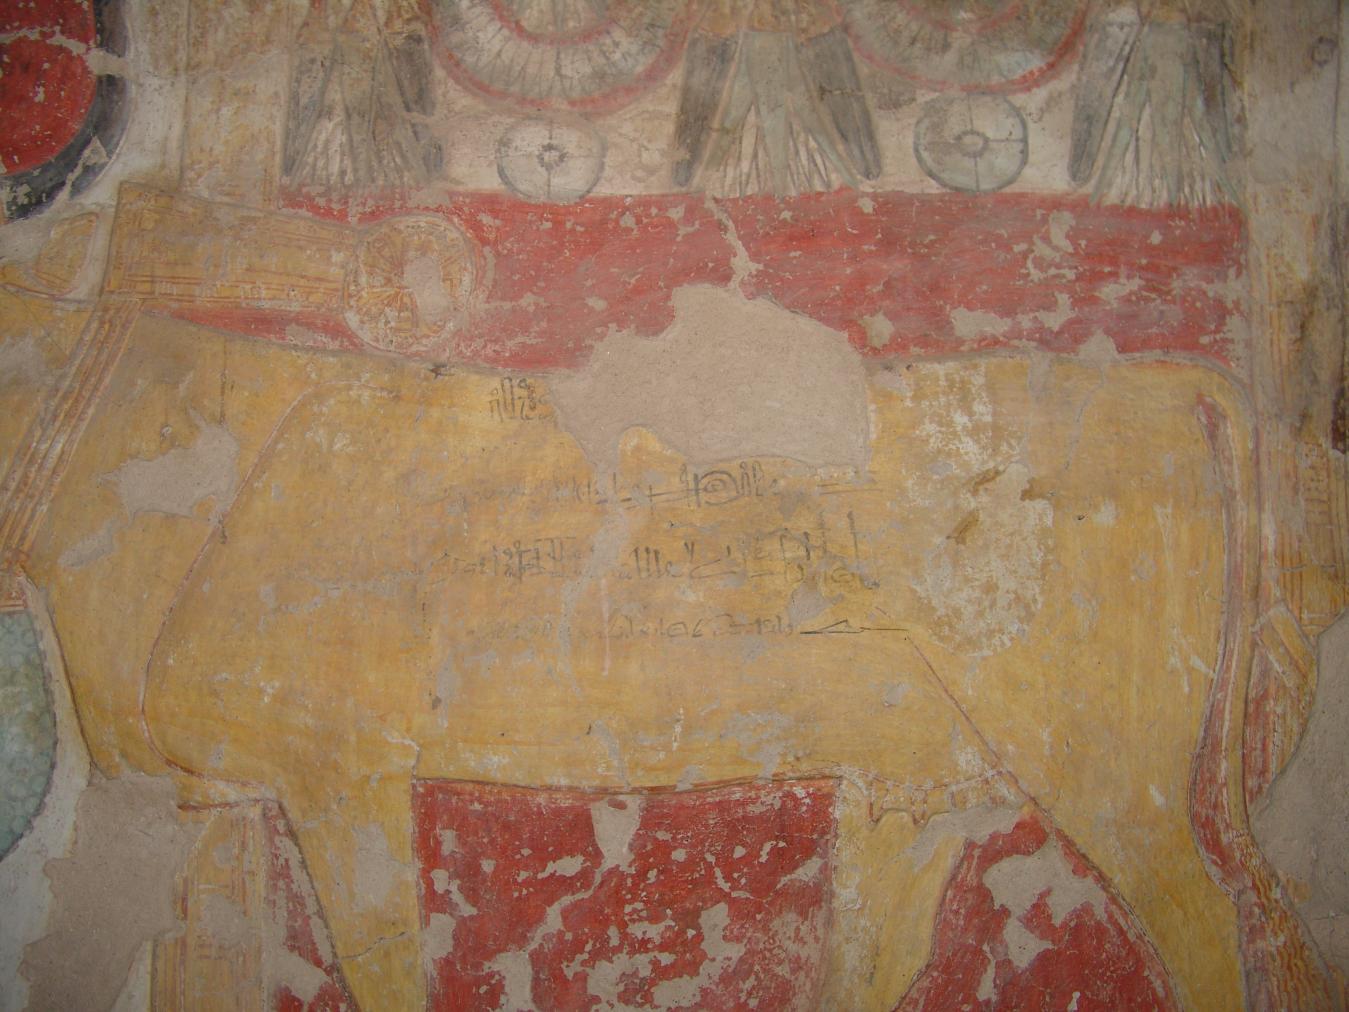
Detail of hieratic text on the body of Hathor as a cow. © Getty Conservation Institute and the Ministry of Tourism and Antiquities.
Pillar in foreground with the Queen censing before Anubis as jackal in shrine (flanked by Isis and Nephthys). © Getty Conservation Institute and the Ministry of Tourism and Antiquities.
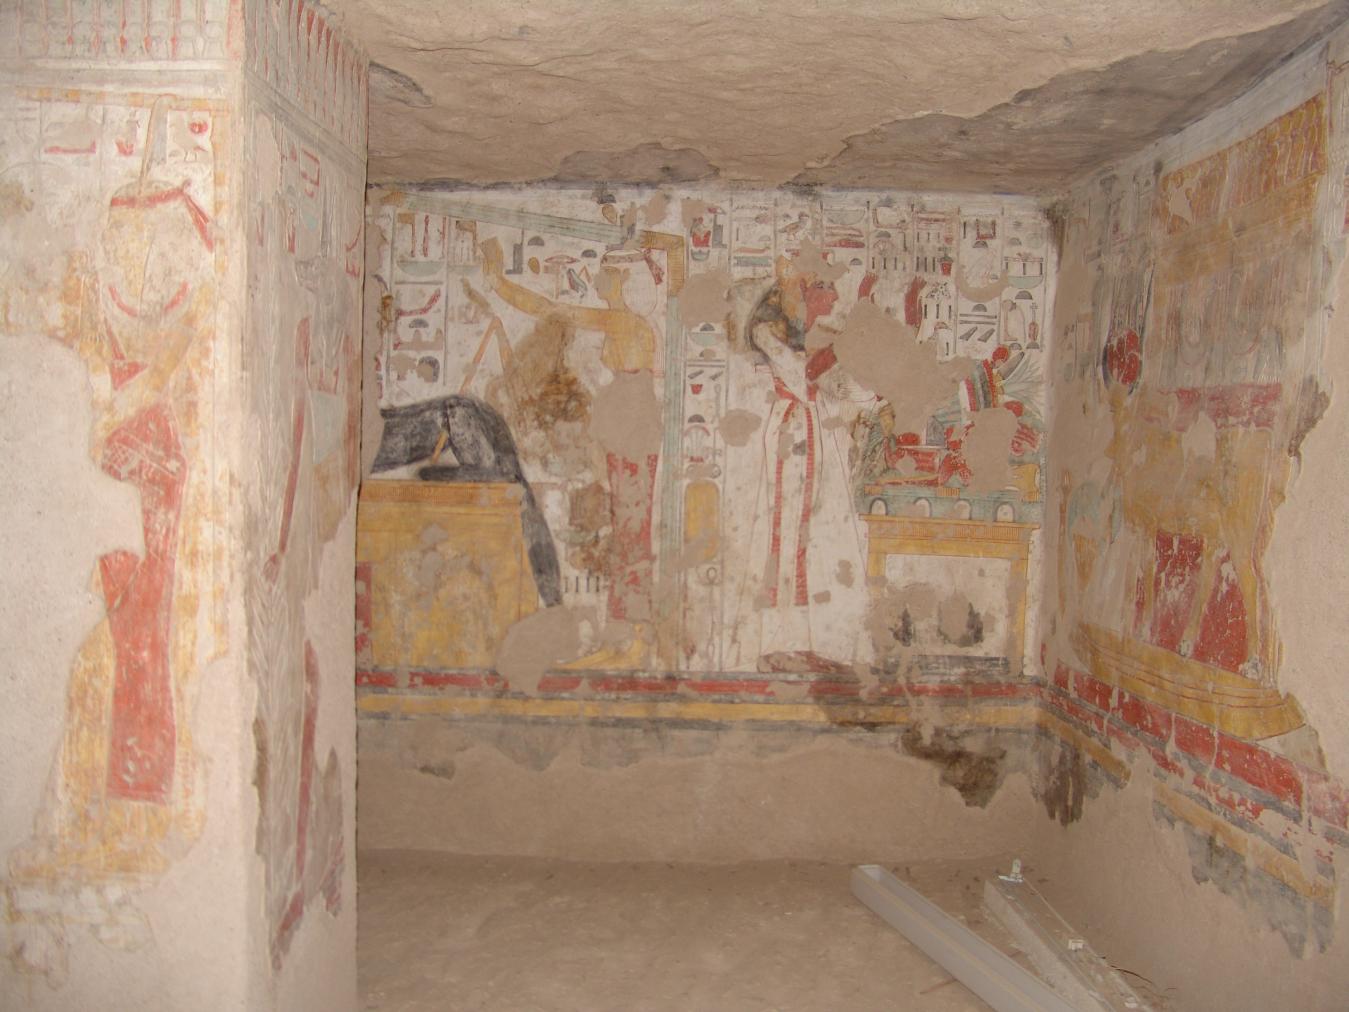
Pillar in foreground. Anubis as jackal in shrine flanked by Isis. The Queen offering to Hathor as a cow. © Getty Conservation Institute and the Ministry of Tourism and Antiquities.
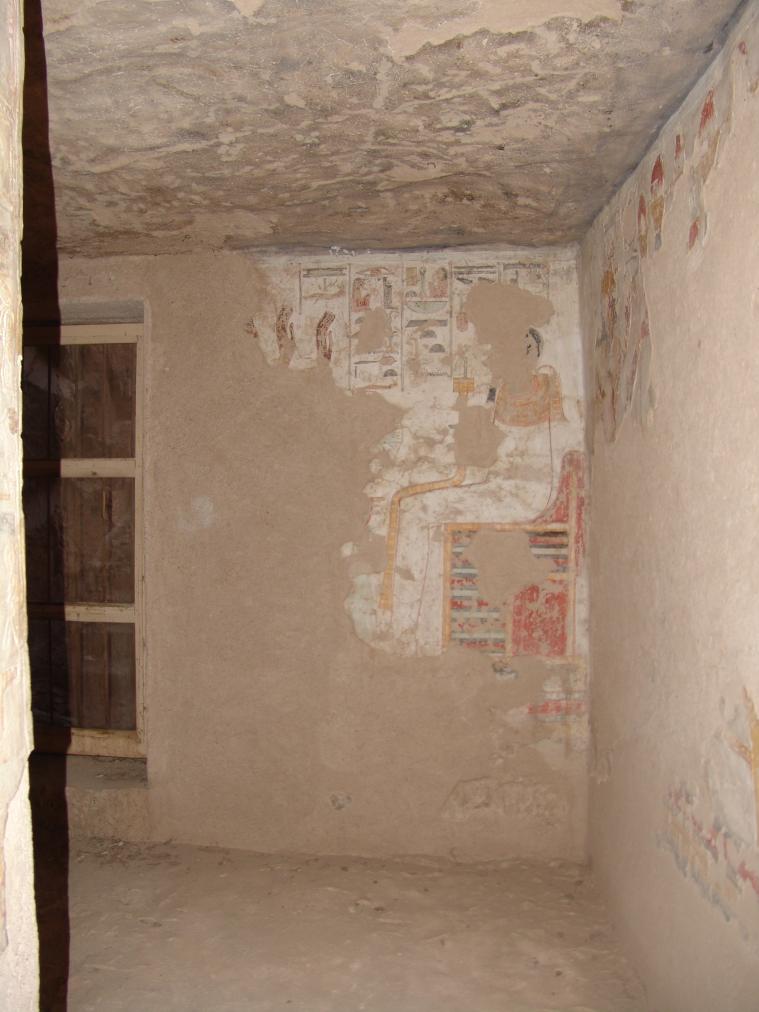
The Queen in adoration before a mummiform Ptah. © Getty Conservation Institute and the Ministry of Tourism and Antiquities.
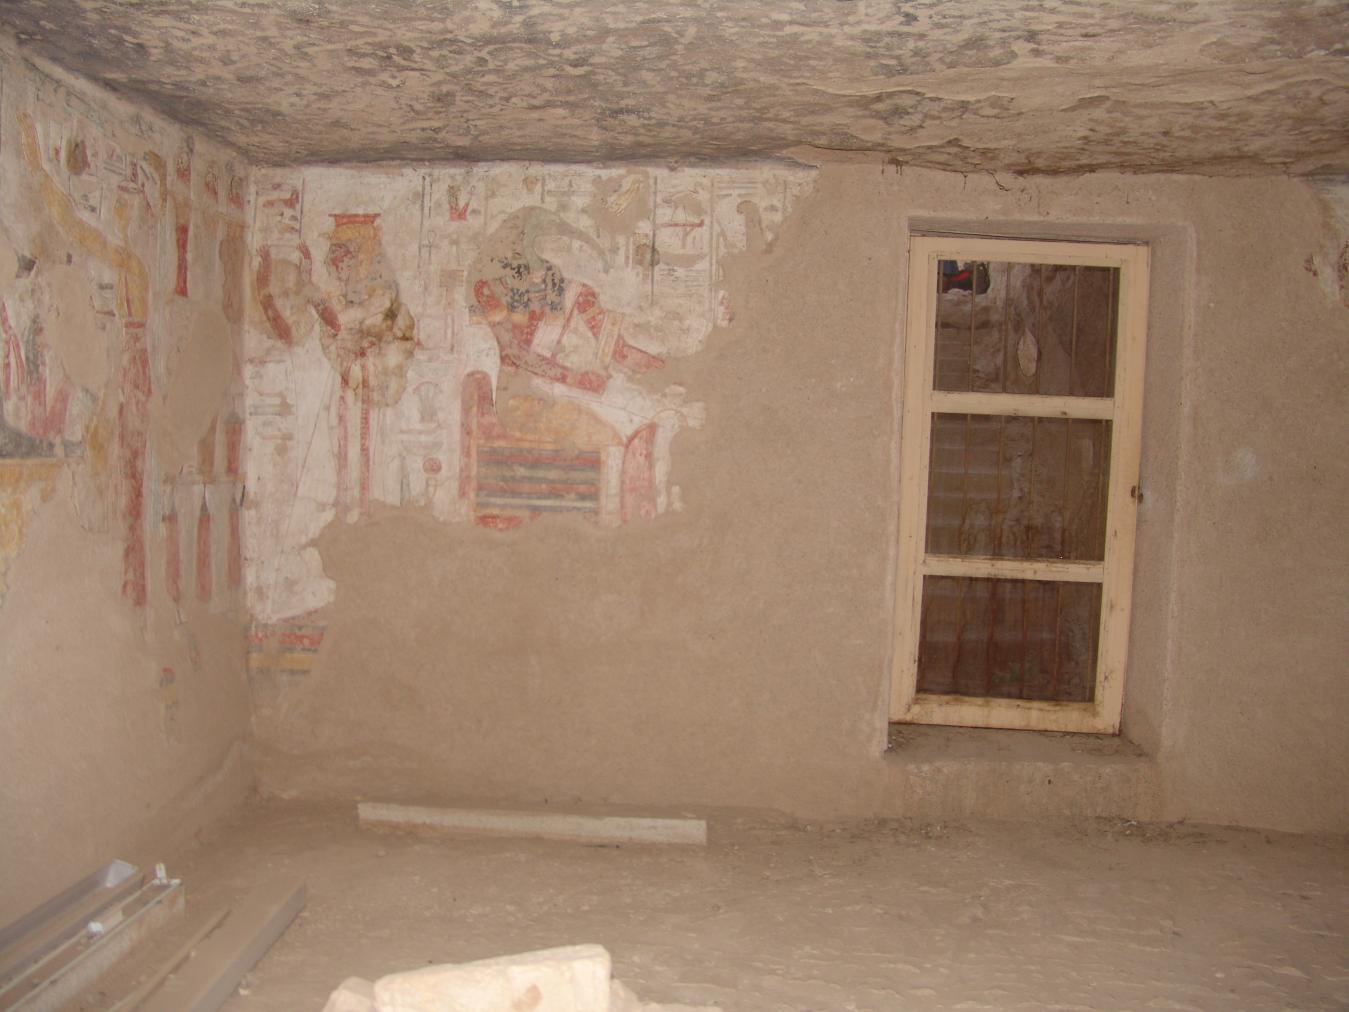
The Queen in adoration before Anubis as a jackal in a shrine flanked by Nephthys (shown on West wall) and the Queen in adoration before Thoth seated on a throne. © Getty Conservation Institute and the Ministry of Tourism and Antiquities.
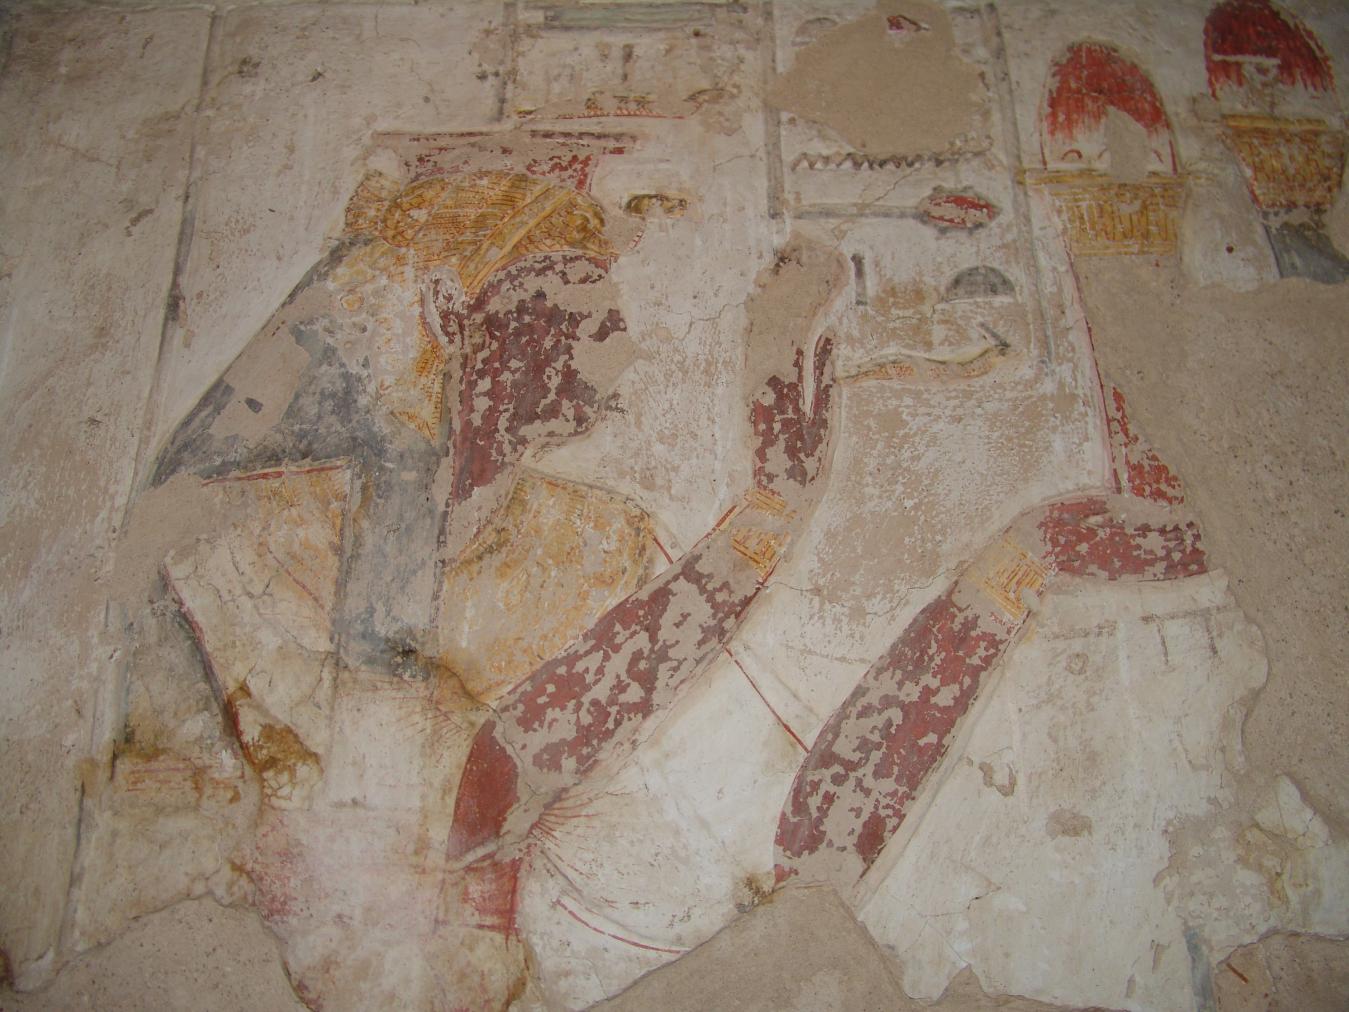
Detail of the Queen censing before Anubis on a shrine. © Getty Conservation Institute and the Ministry of Tourism and Antiquities.
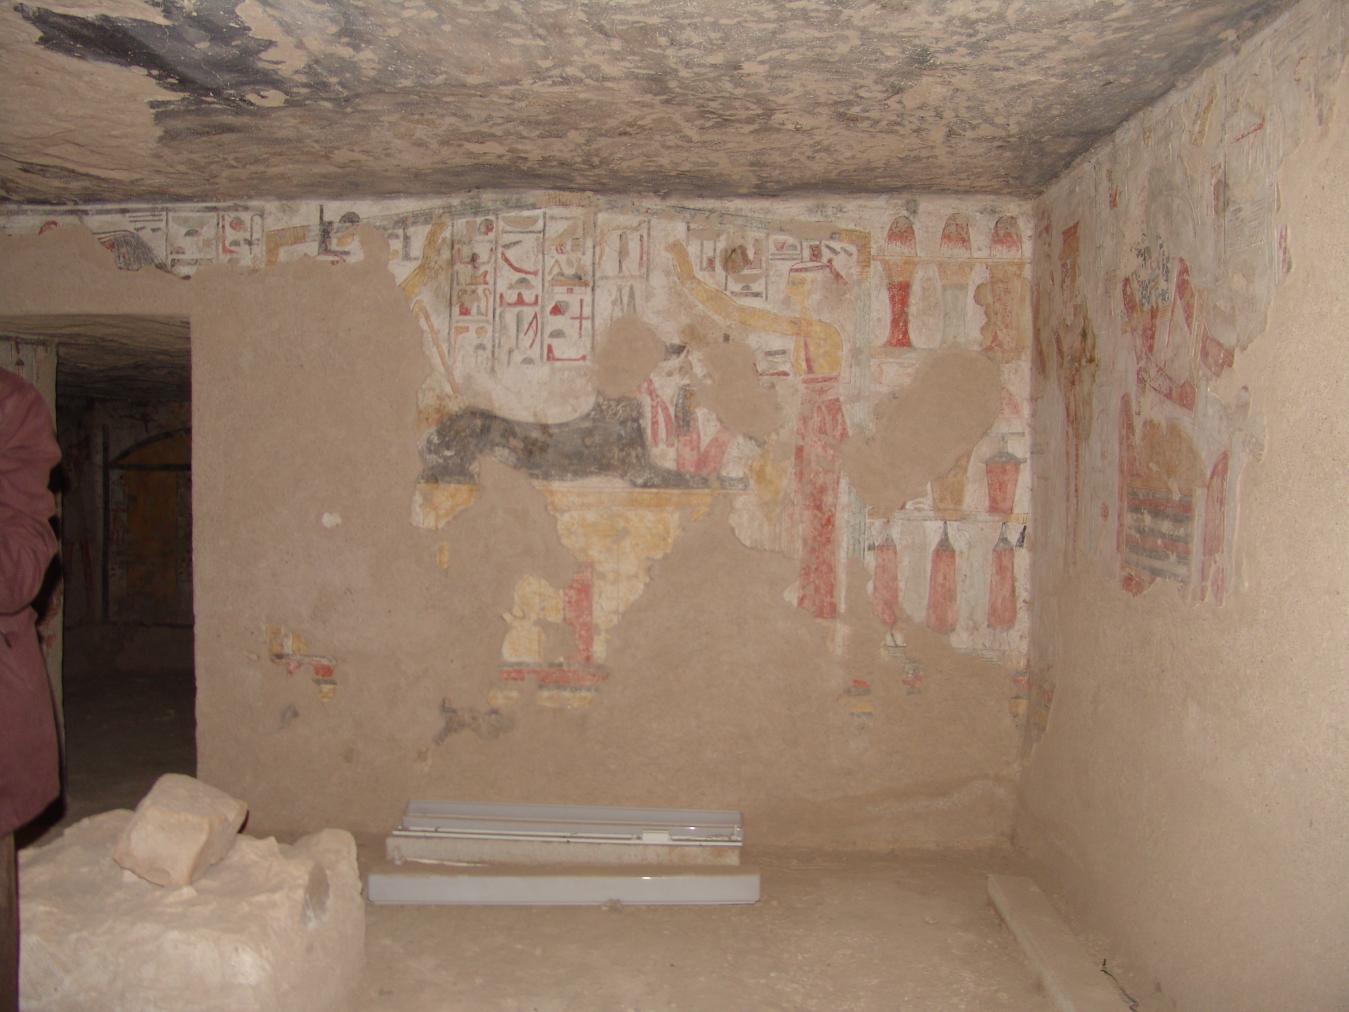
Collapsed pillar in the foreground. The Queen censes before Anubis as a jackal in a shrine flanked by Isis and Nephthys. © Getty Conservation Institute and the Ministry of Tourism and Antiquities.
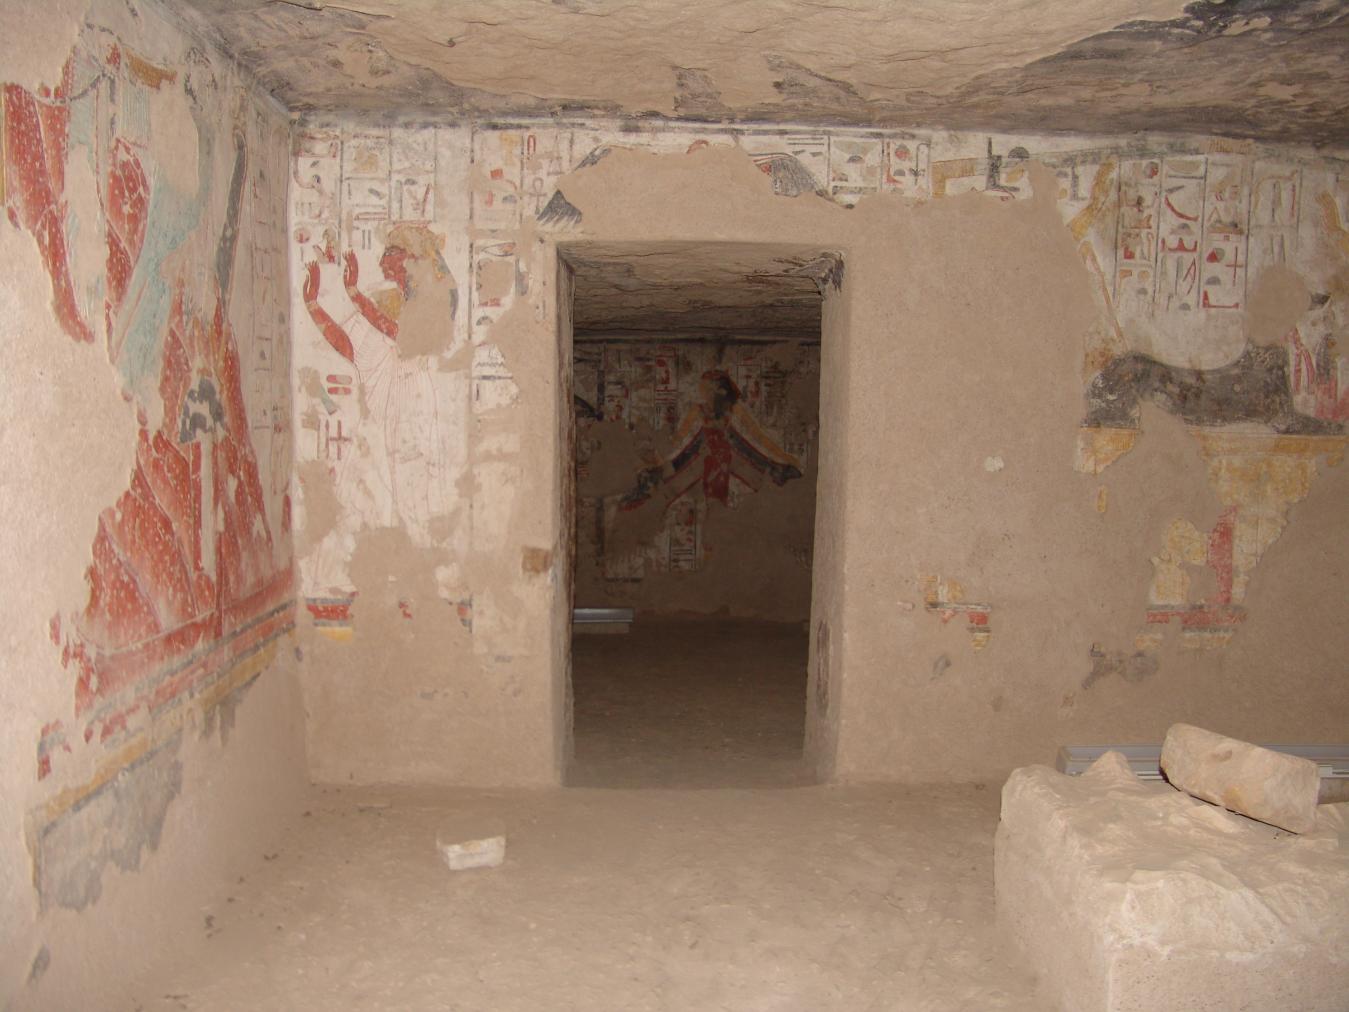
View of the west wall and Gate Ba. The Queen in adoration before Re-Horakhty and Imentet (on south wall). © Getty Conservation Institute and the Ministry of Tourism and Antiquities.
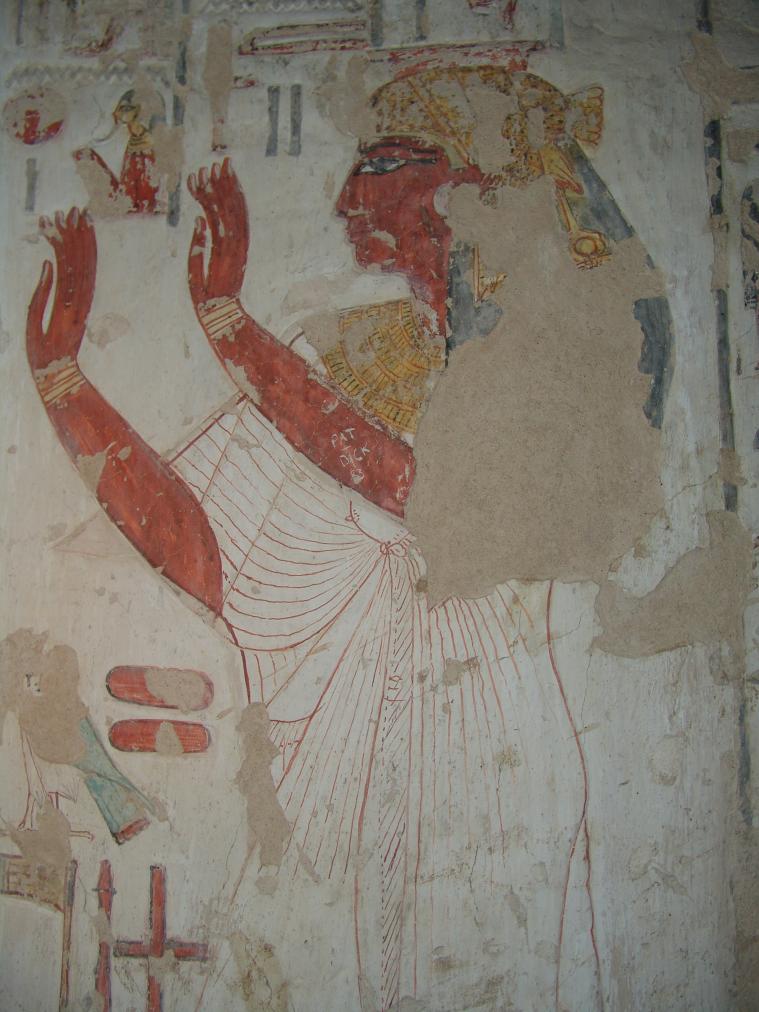
Detail of the Queen in adoration. © Getty Conservation Institute and the Ministry of Tourism and Antiquities.
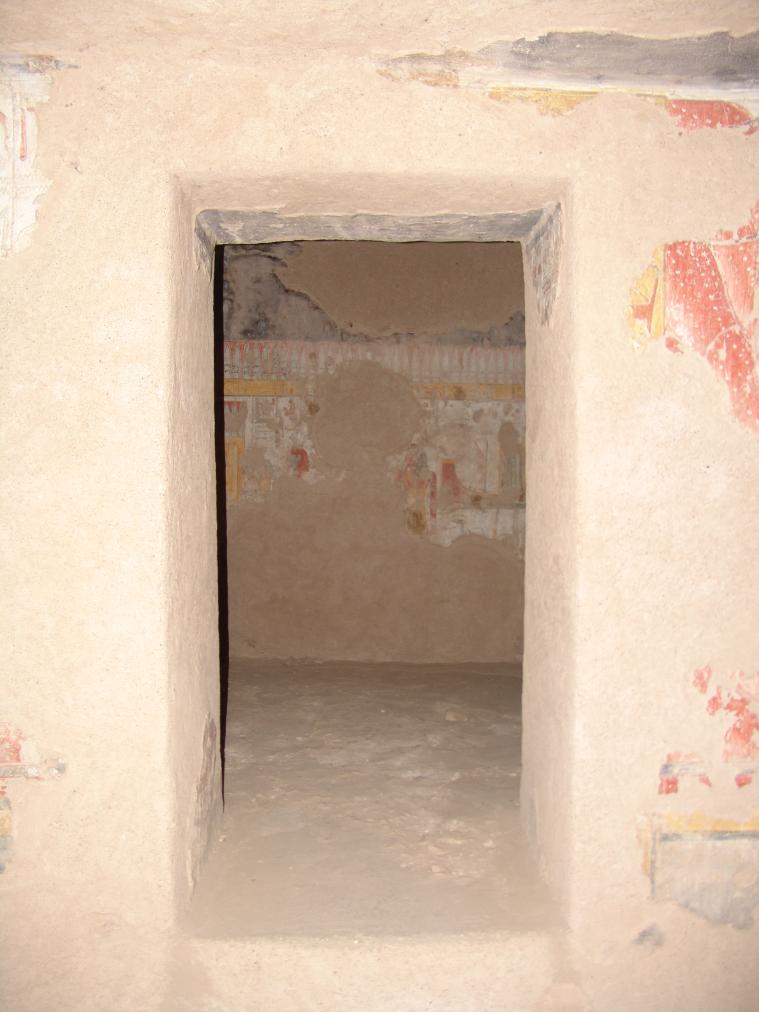
View of Gate C. © Getty Conservation Institute and the Ministry of Tourism and Antiquities.
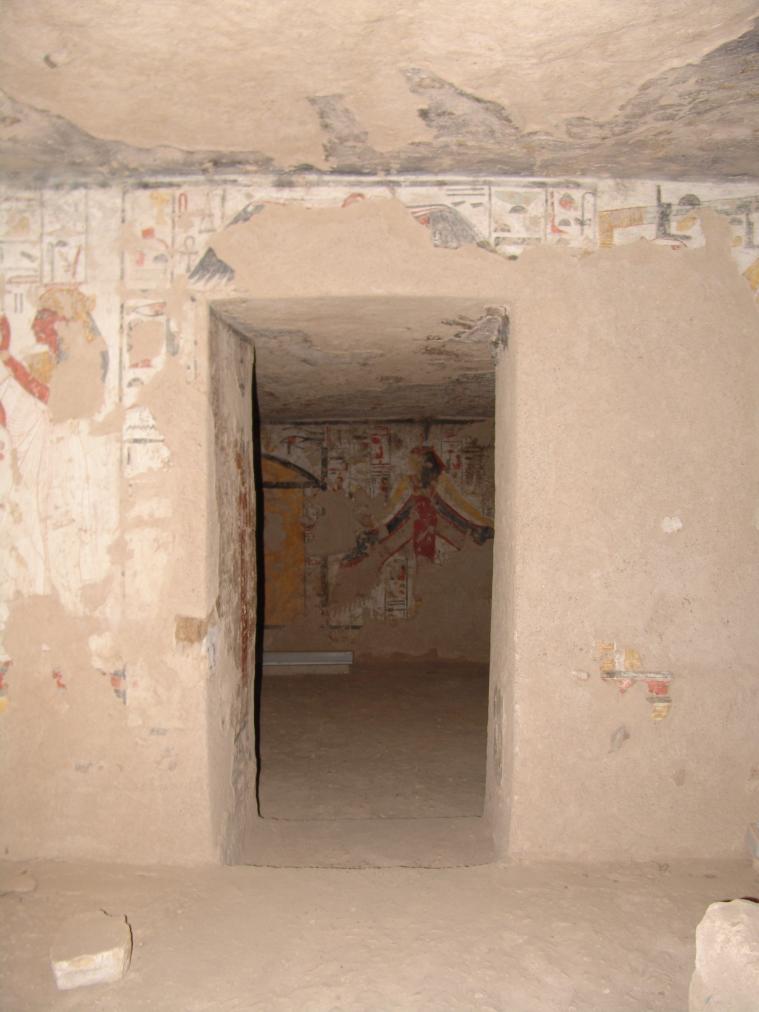
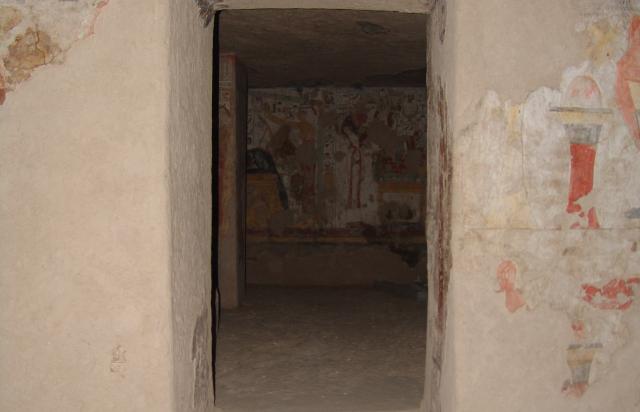
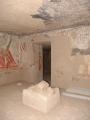
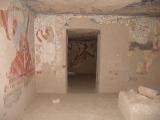
View of Gate Ba from Pillared Chamber B. © Getty Conservation Institute and the Ministry of Tourism and Antiquities.
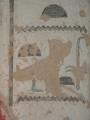
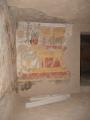
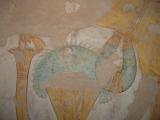
Gate Ba
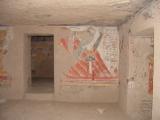
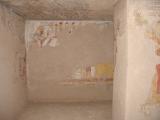
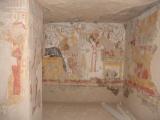
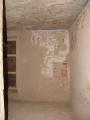
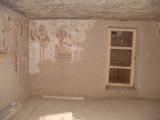
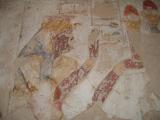
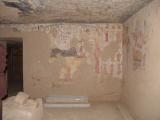
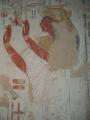
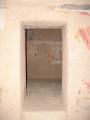
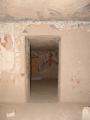
See entire tombThis gate is cut into the western wall of the pillared chamber and provides access to a side room. It has been largely reconstructed in fired brick and cement, although fragments of decoration are still in place. This consists of Meretseger as western goddess on the left thickness and texts on the left reveal.
Porter and Moss designation:
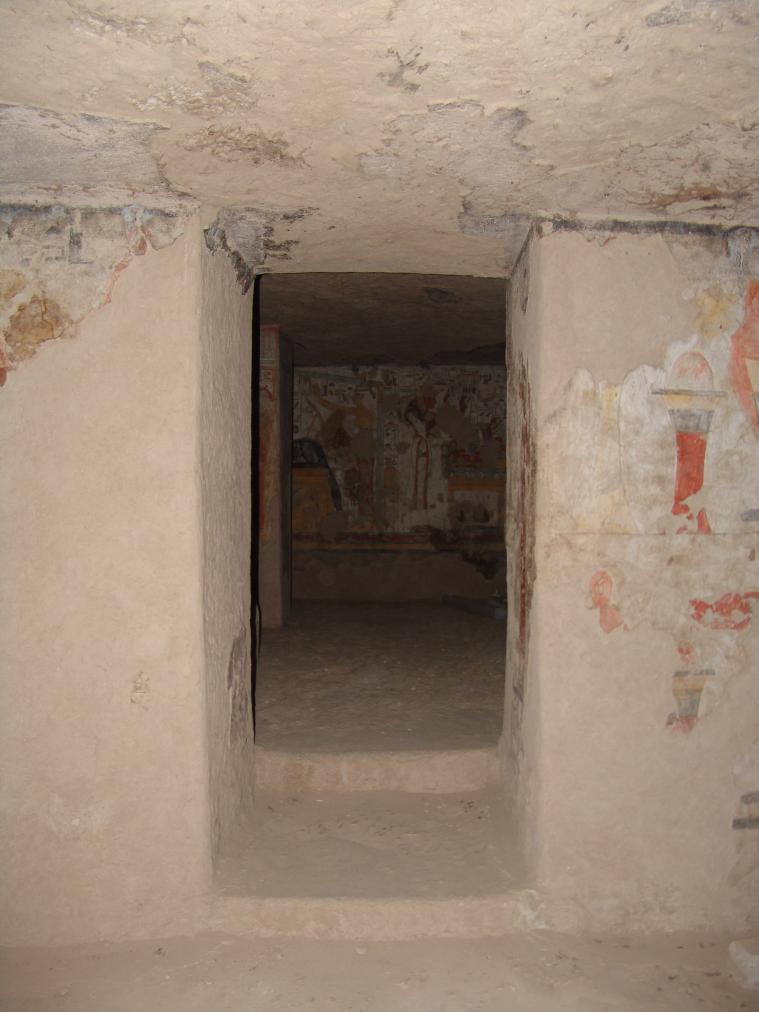
View of Gate Ba from Side Chamber Ba. © Getty Conservation Institute and the Ministry of Tourism and Antiquities.
View of Gate Ba from Pillared Chamber B. © Getty Conservation Institute and the Ministry of Tourism and Antiquities.
Side chamber Ba
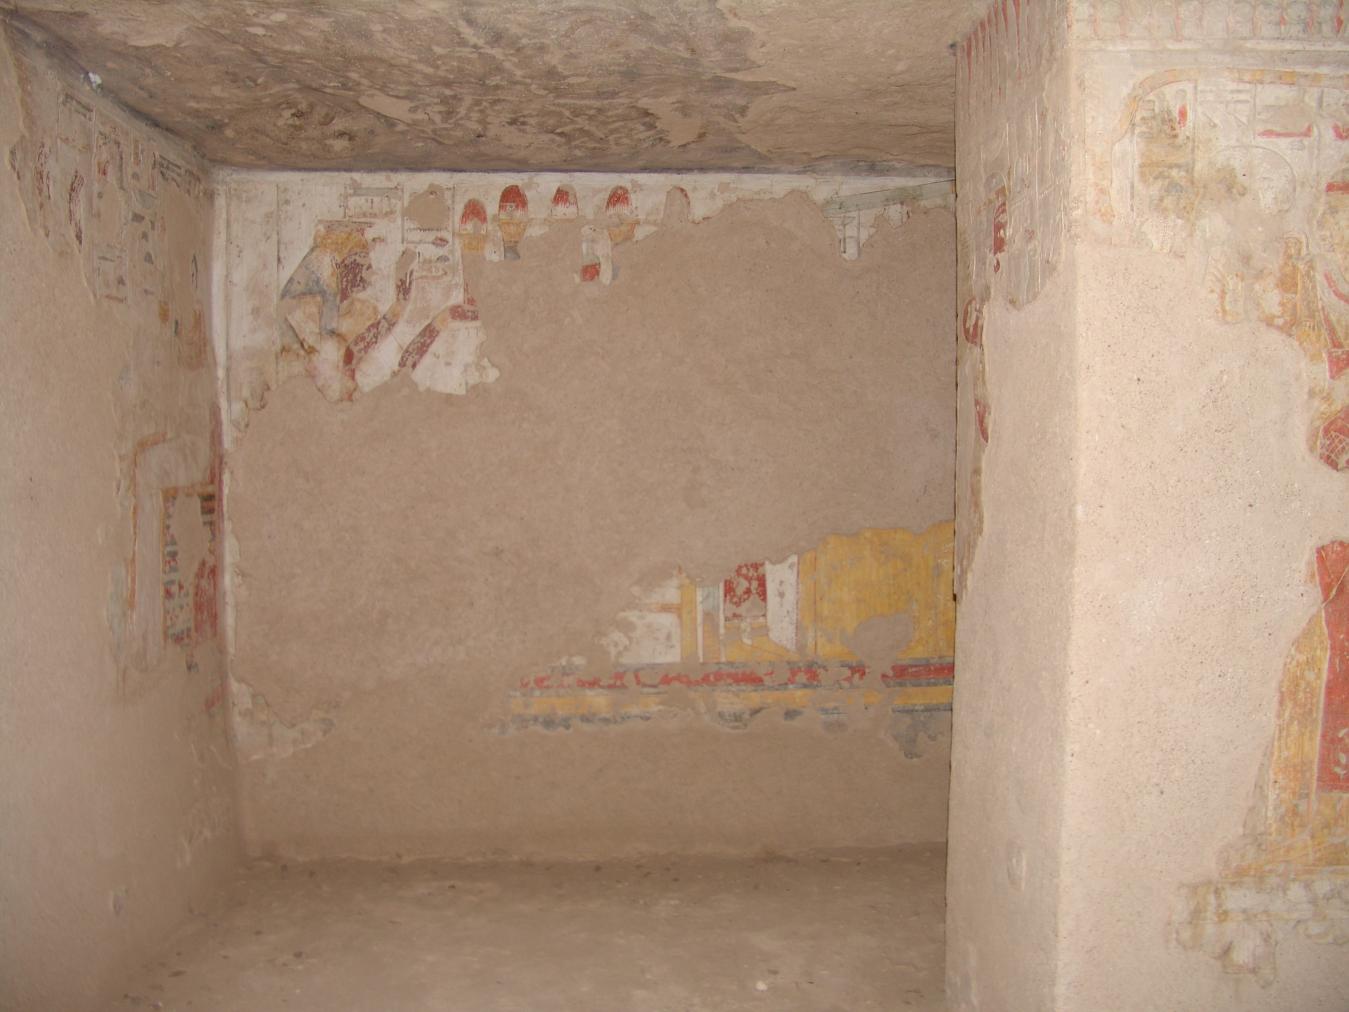
See entire tombThis side chamber is located on the western side of the pillared chamber. The decoration of the walls was painted on to the plaster and no evidence of relief carving is visible.
The iconography indicates that this chamber was used for the storage of the queen's burial equipment, particularly the canopic chests. Images of these chests are painted on to the north, south, and west walls and Book of the Dead Spell 161 accompanies the north and south depictions.
Porter and Moss designation:
View of Gate Ba from Side Chamber Ba. © Getty Conservation Institute and the Ministry of Tourism and Antiquities.
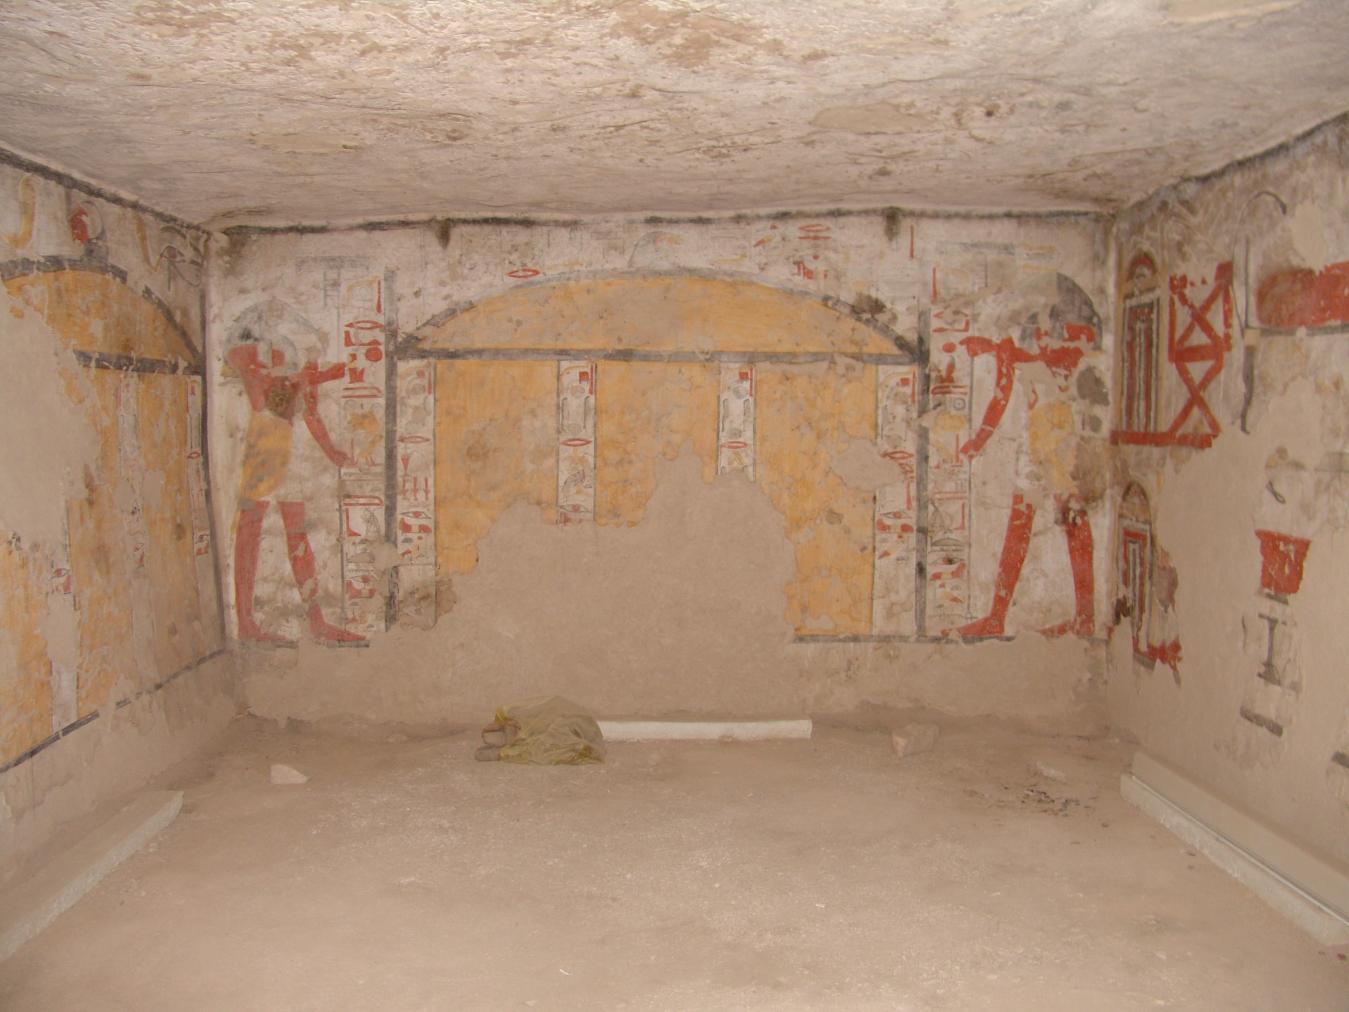
Book of the Dead Spell 161, two images of Thoth supporting the sky and flanking a large canopic chest. © Getty Conservation Institute and the Ministry of Tourism and Antiquities.
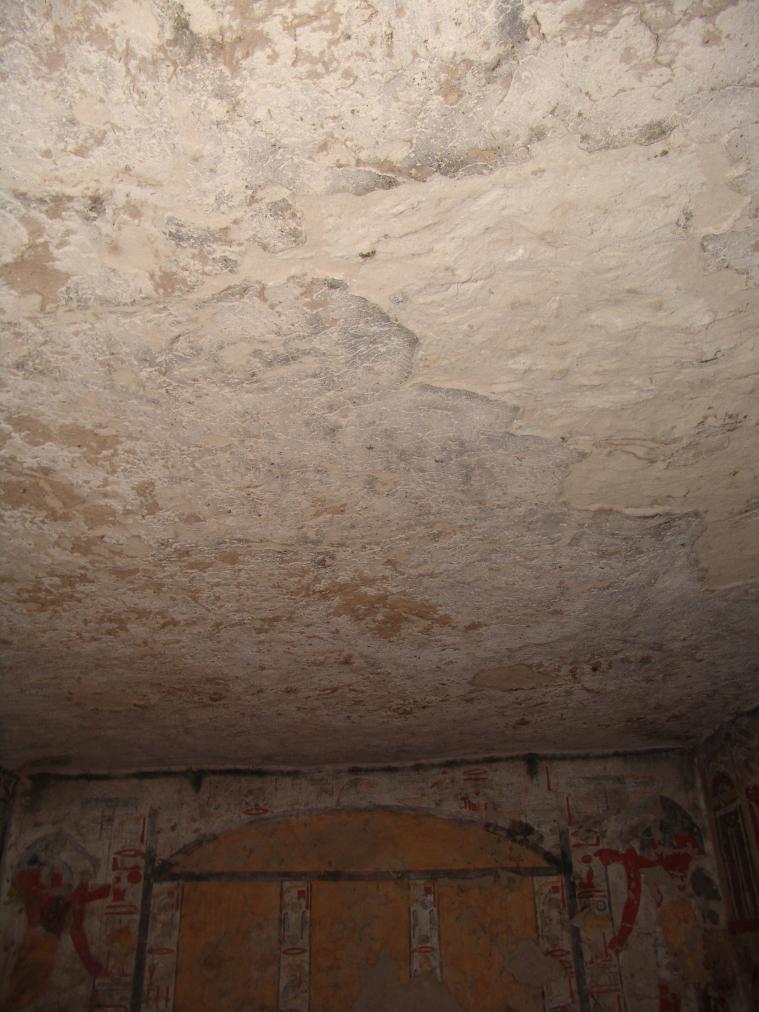
View of the ceiling. © Getty Conservation Institute and the Ministry of Tourism and Antiquities.
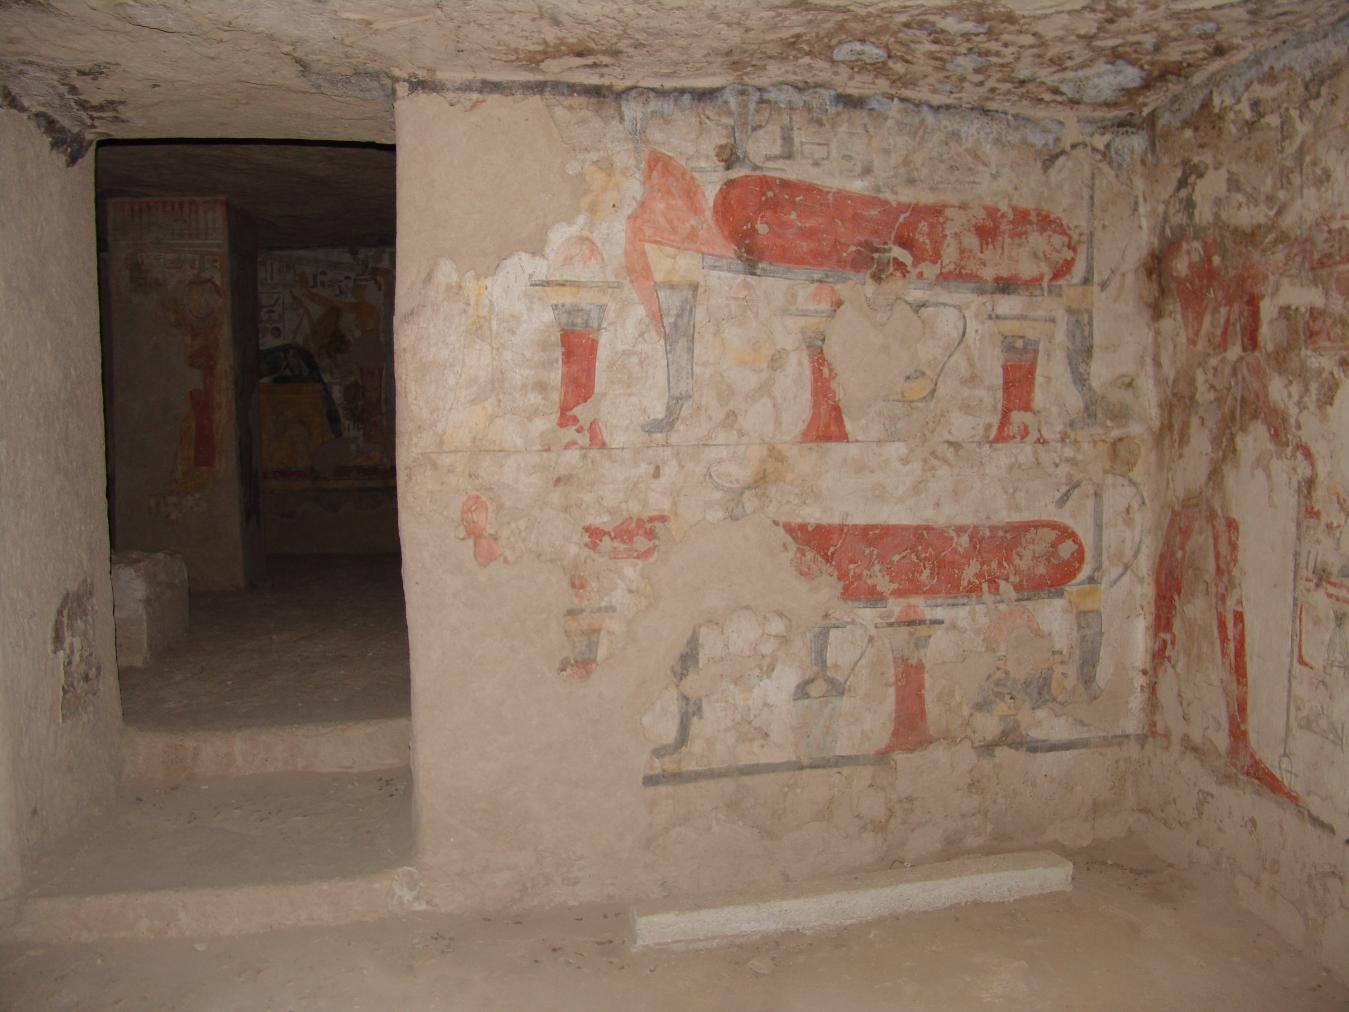
View of Gate Ba, two leonine beds with vessels underneath. © Getty Conservation Institute and the Ministry of Tourism and Antiquities.
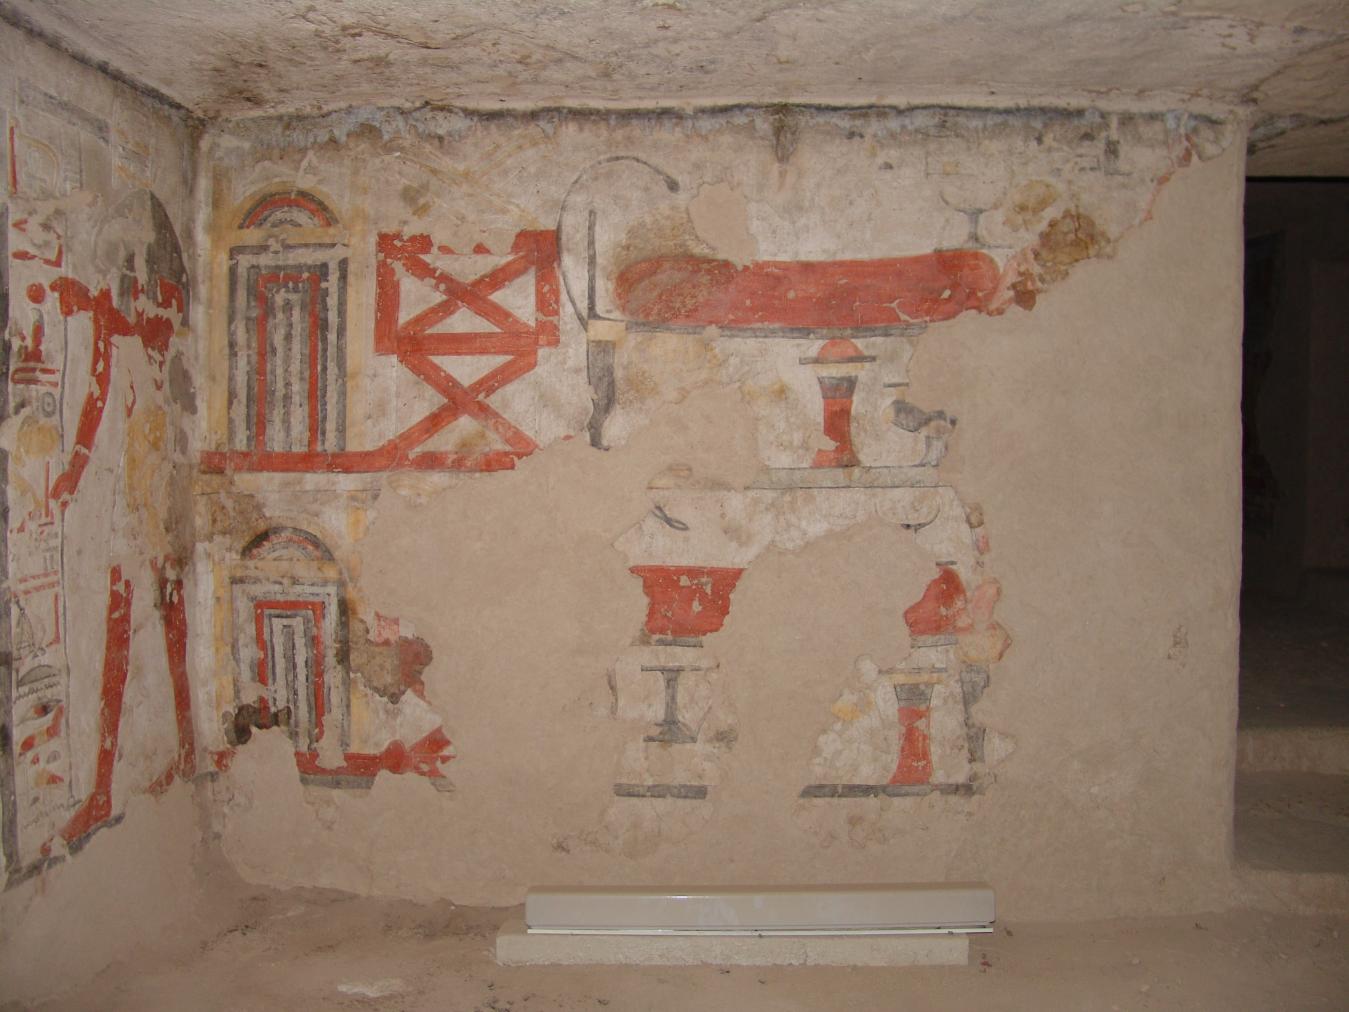
Two leonine beds with vessels underneath. © Getty Conservation Institute and the Ministry of Tourism and Antiquities.
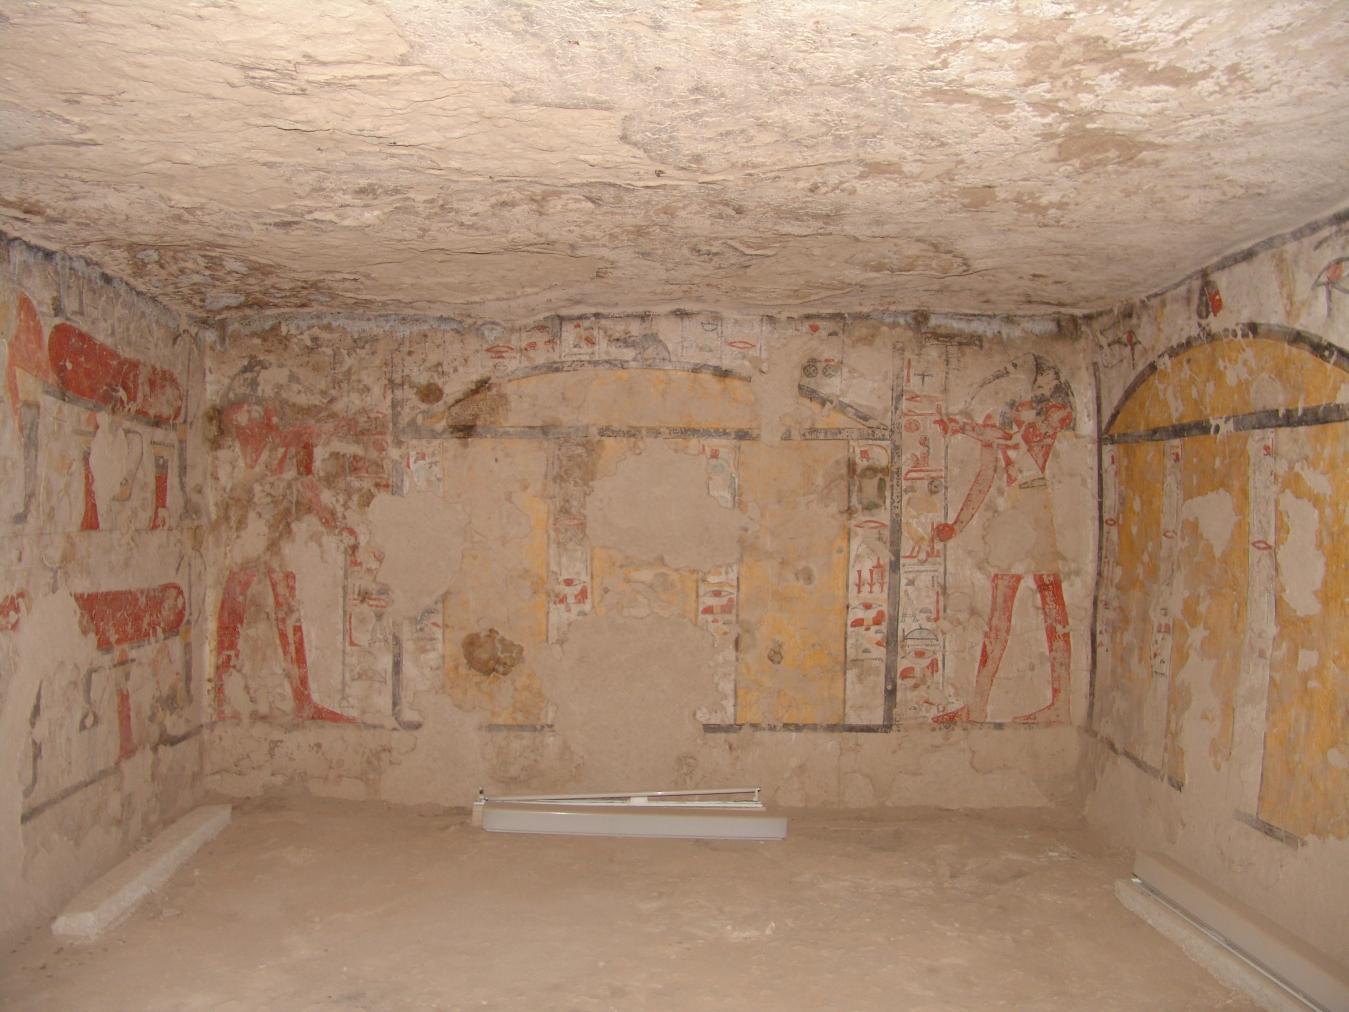
Book of the Dead Spell 161, two images of Thoth supporting the sky and flanking a large canopic chest. © Getty Conservation Institute and the Ministry of Tourism and Antiquities.
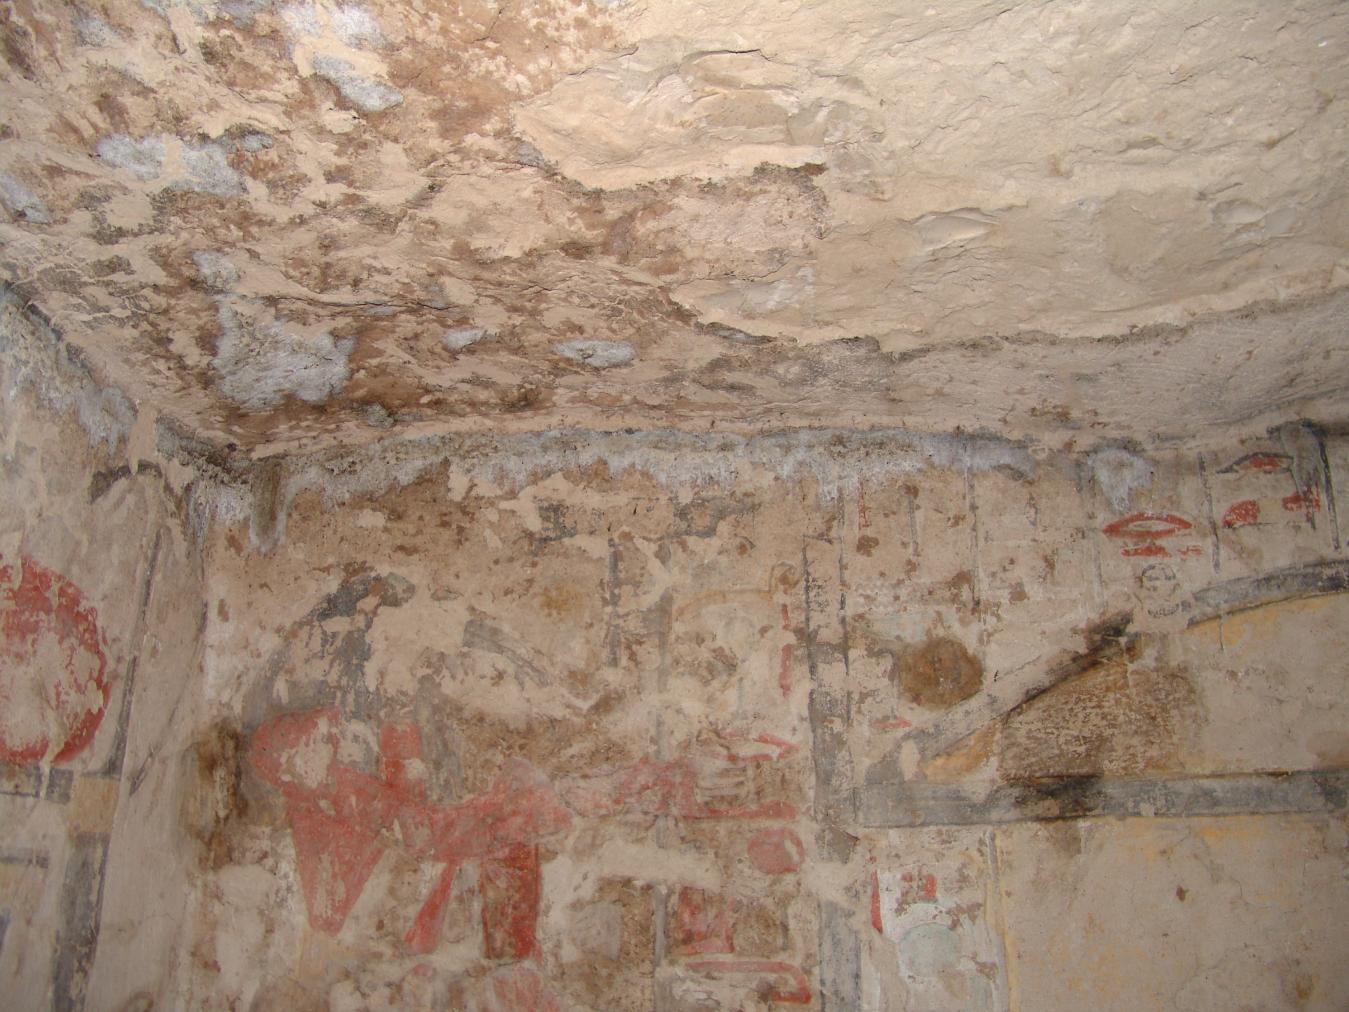
Detail of the upper left part of the south wall with salt efflorescence. © Getty Conservation Institute and the Ministry of Tourism and Antiquities.
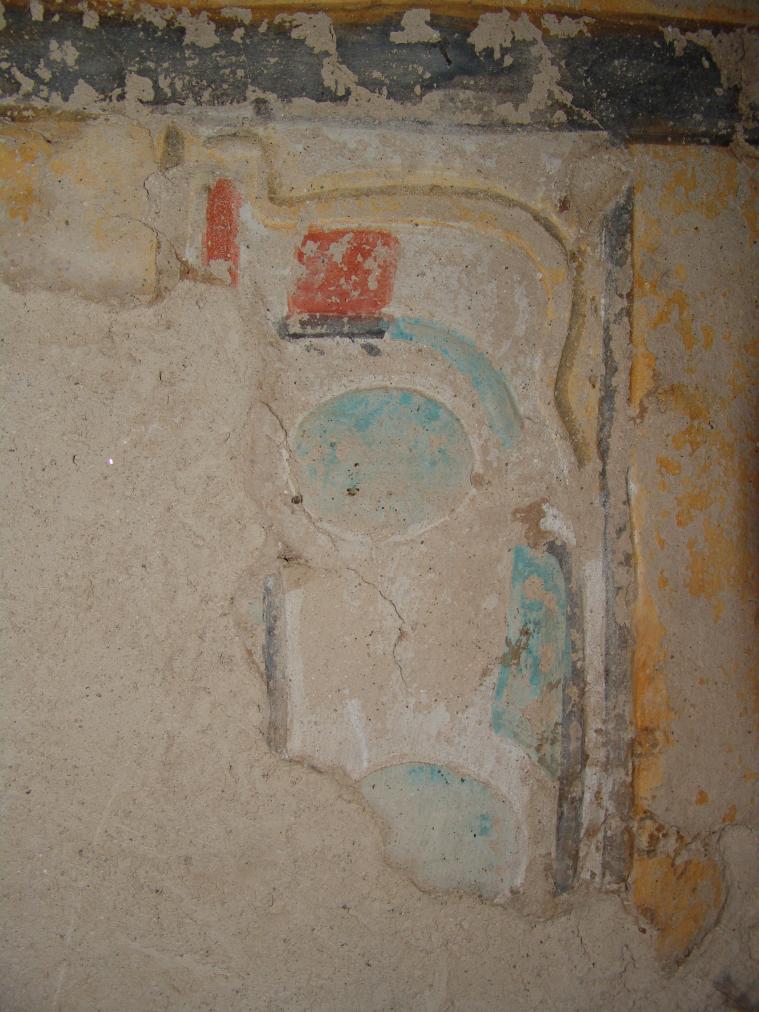
Detail of painted hieroglyphs. © Getty Conservation Institute and the Ministry of Tourism and Antiquities.
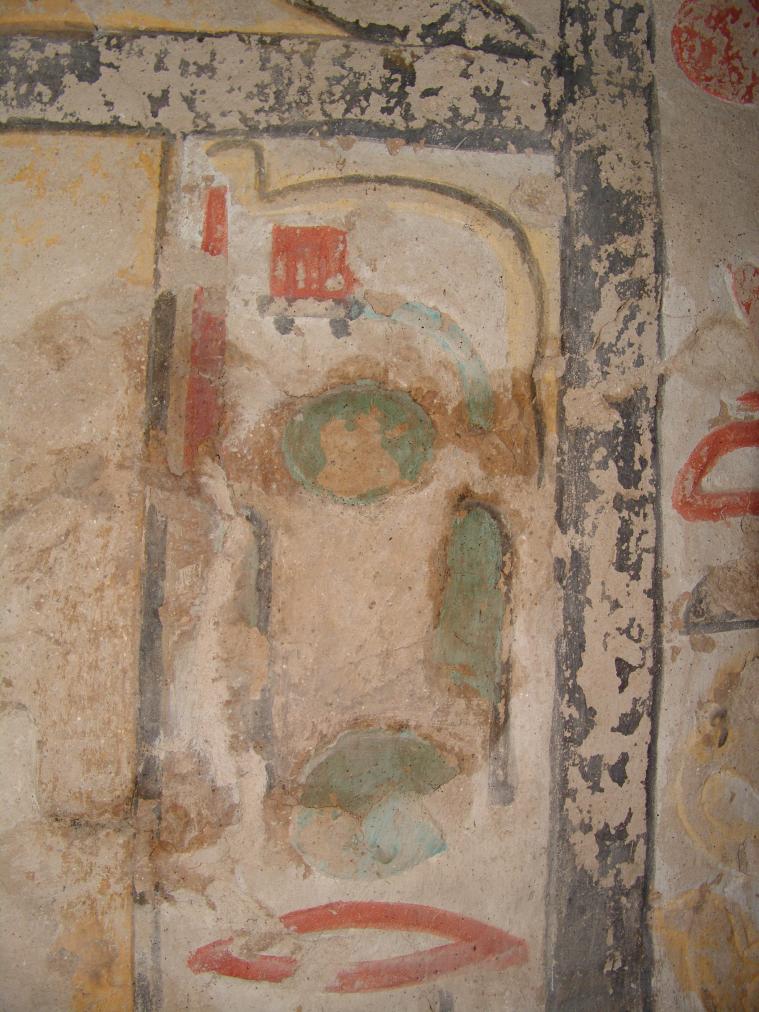
Detail of painted hieroglyphs. © Getty Conservation Institute and the Ministry of Tourism and Antiquities.
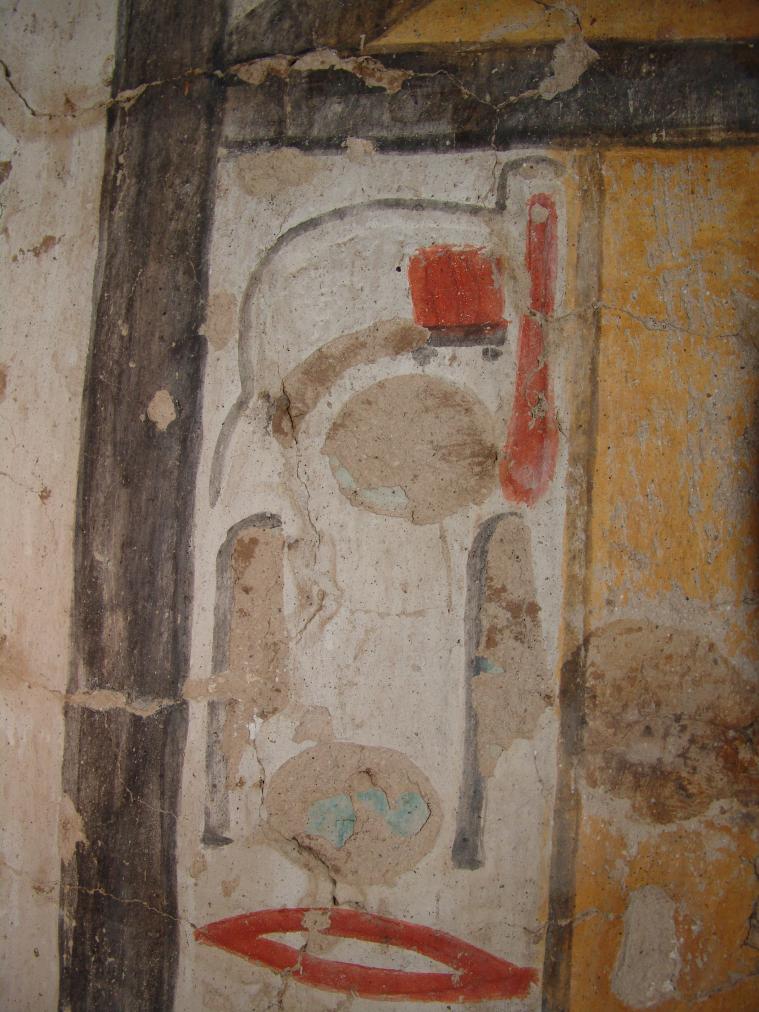
Detail of painted hieroglyphs. © Getty Conservation Institute and the Ministry of Tourism and Antiquities.
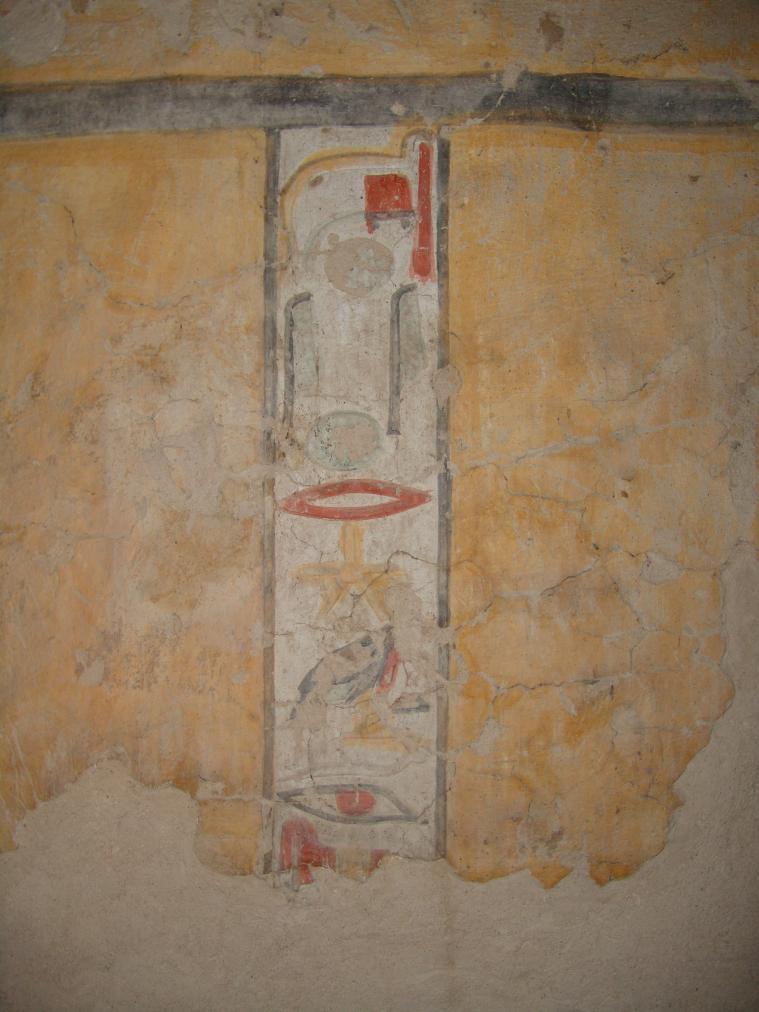
Detail of text on canopic chest. © Getty Conservation Institute and the Ministry of Tourism and Antiquities.
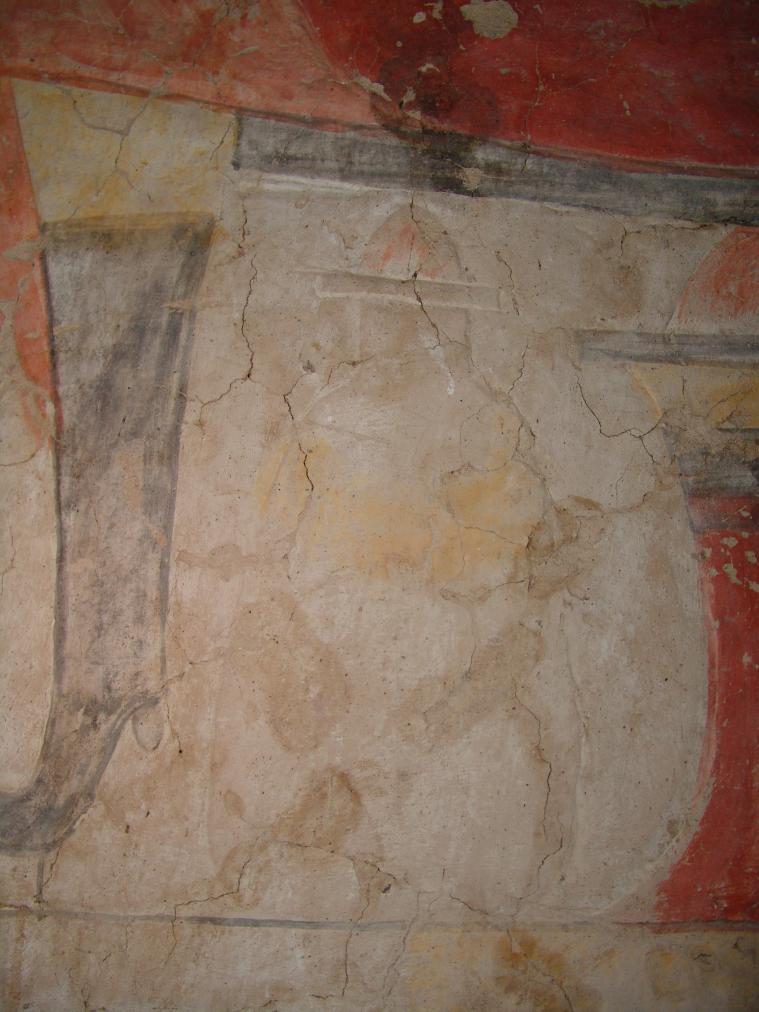
Detail of legs on leonine bed. © Getty Conservation Institute and the Ministry of Tourism and Antiquities.
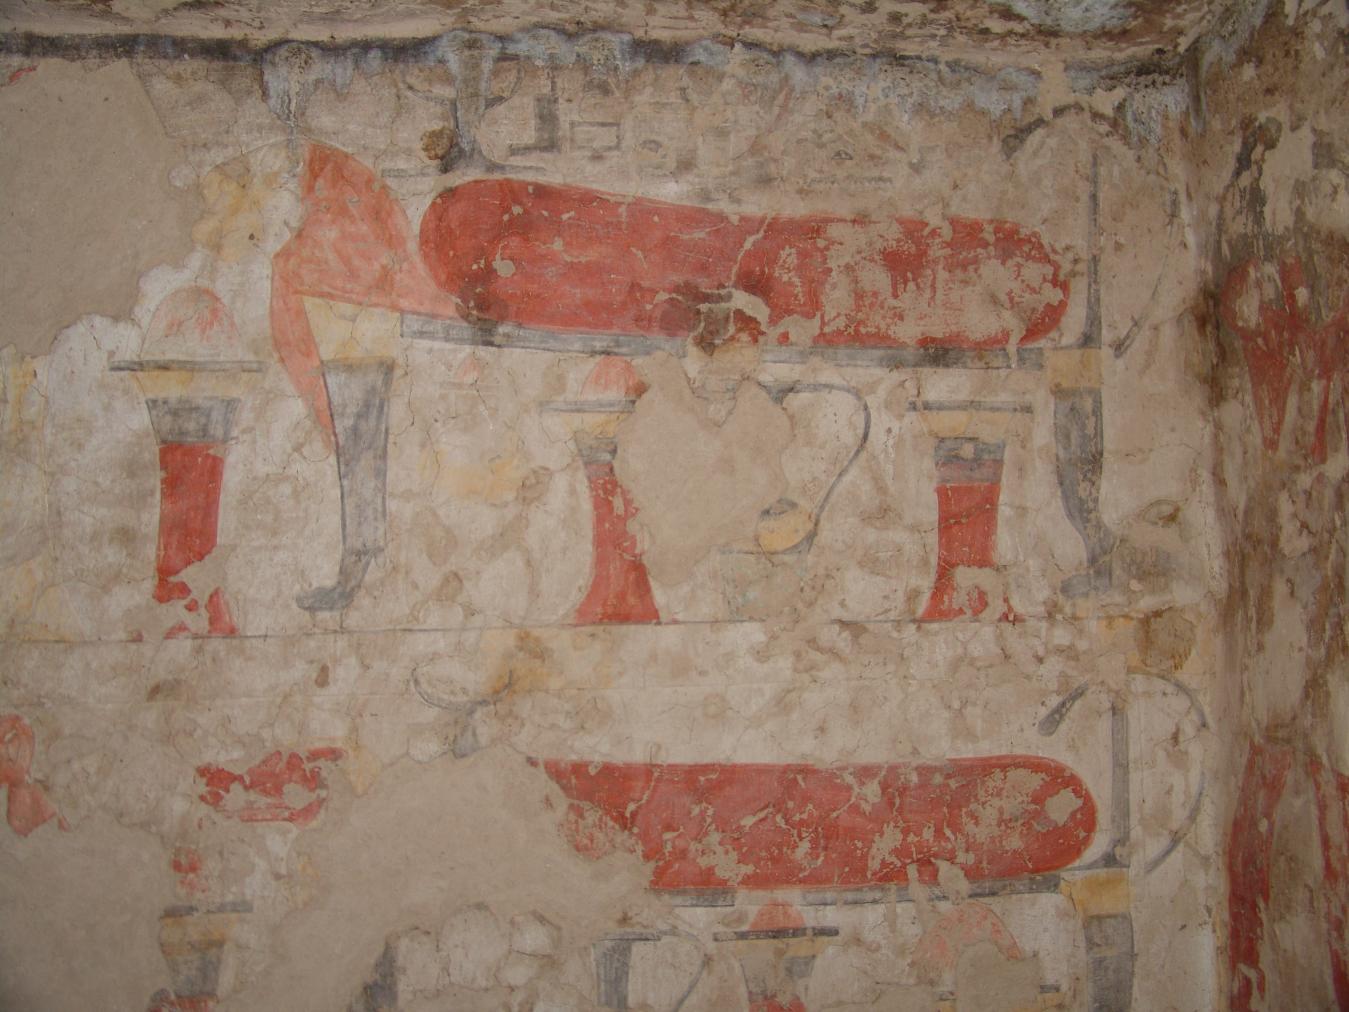
Detail of leonine beds and vessels. © Getty Conservation Institute and the Ministry of Tourism and Antiquities.
View of the ceiling. © Getty Conservation Institute and the Ministry of Tourism and Antiquities.
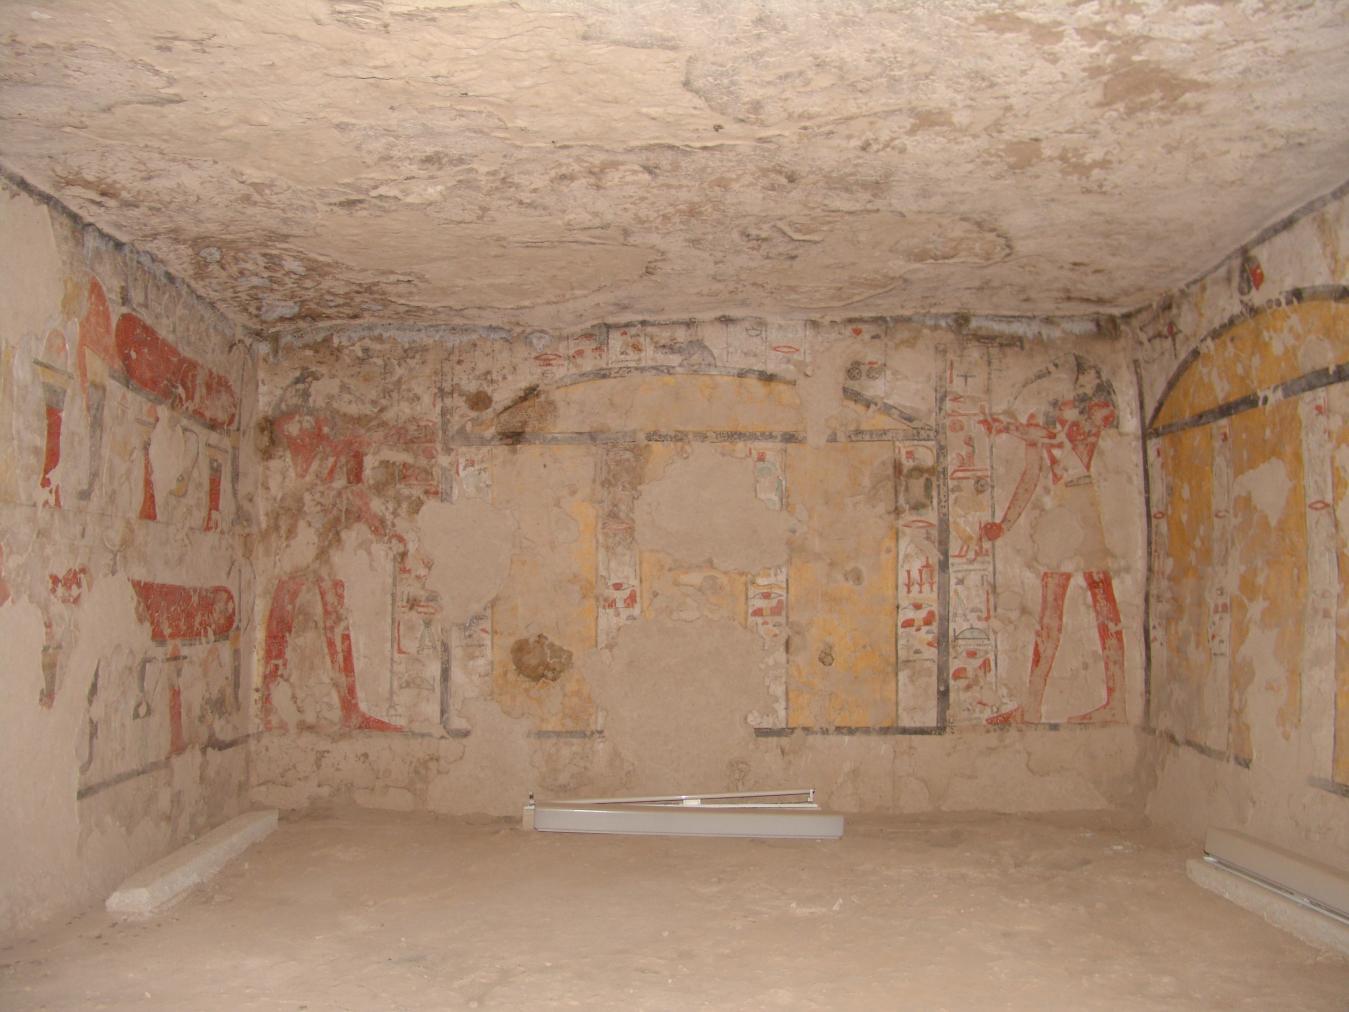
Book of the Dead Spell 161, two images of Thoth supporting the sky and flanking a large canopic chest. © Getty Conservation Institute and the Ministry of Tourism and Antiquities.
Gate C
See entire tombThis gate has been completely reconstructed in fired brick and cement.
View of Gate C. © Getty Conservation Institute and the Ministry of Tourism and Antiquities.
Burial chamber C
See entire tombThis chamber lies perpendicular to the tomb's axis and functioned as the final resting place of the Queen. The ceiling is barrel vaulted and the walls were plastered and painted with no evidence of relief carving.
The scenes follow the "Satra repertoire" as seen in the burial chambers of Queen Satra (QV 38) and the Anonymous Princess (QV 40). It centers on the solarization and protection of the Queen and includes Book of the Dead spells 15, 17, and 145-46.
Chamber plan:
RectangularRelationship to main tomb axis:
PerpendicularChamber layout:
Flat floor, no pillarsFloor:
One levelCeiling:
Vaulted
Porter and Moss designation:
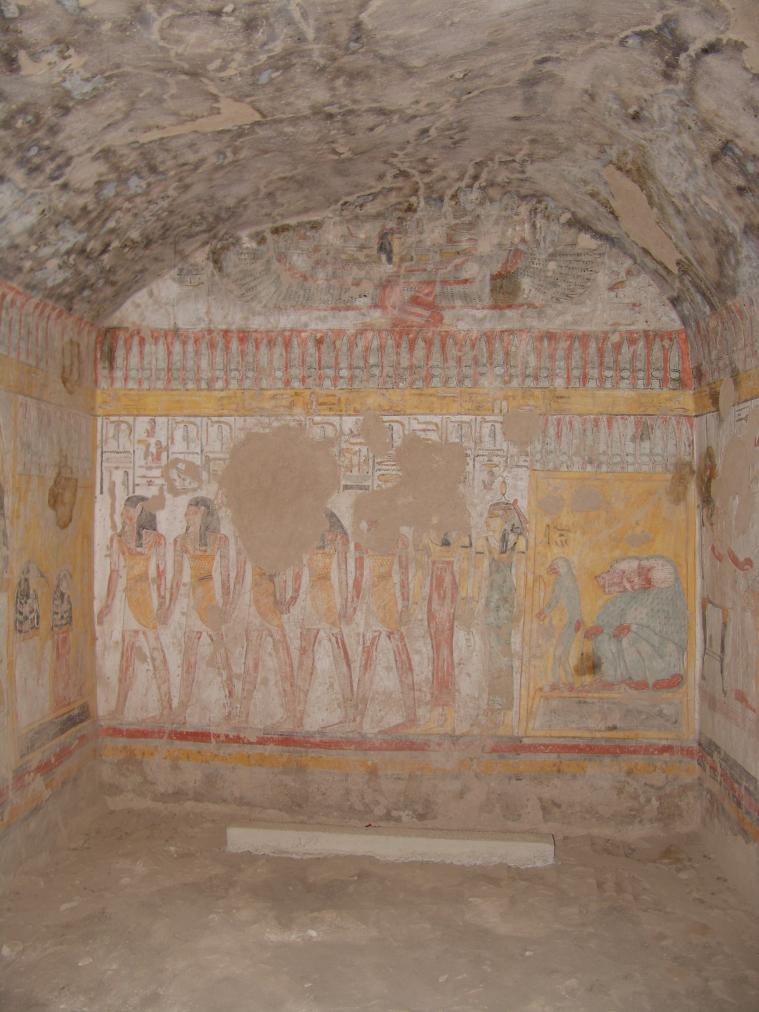
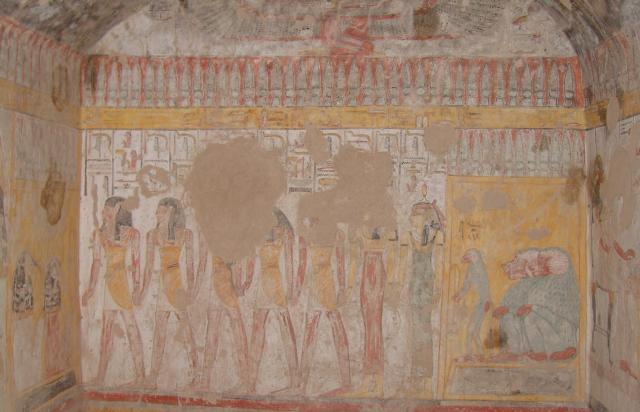
Book of the Dead Spell 17 -Two of the four sons of Horus (Imsety and Duamutef), an unidentifiable deity, Irrendjesef, Isis, Neit, Anubis, a monkey and two baboons in a kiosk. © Getty Conservation Institute and the Ministry of Tourism and Antiquities.
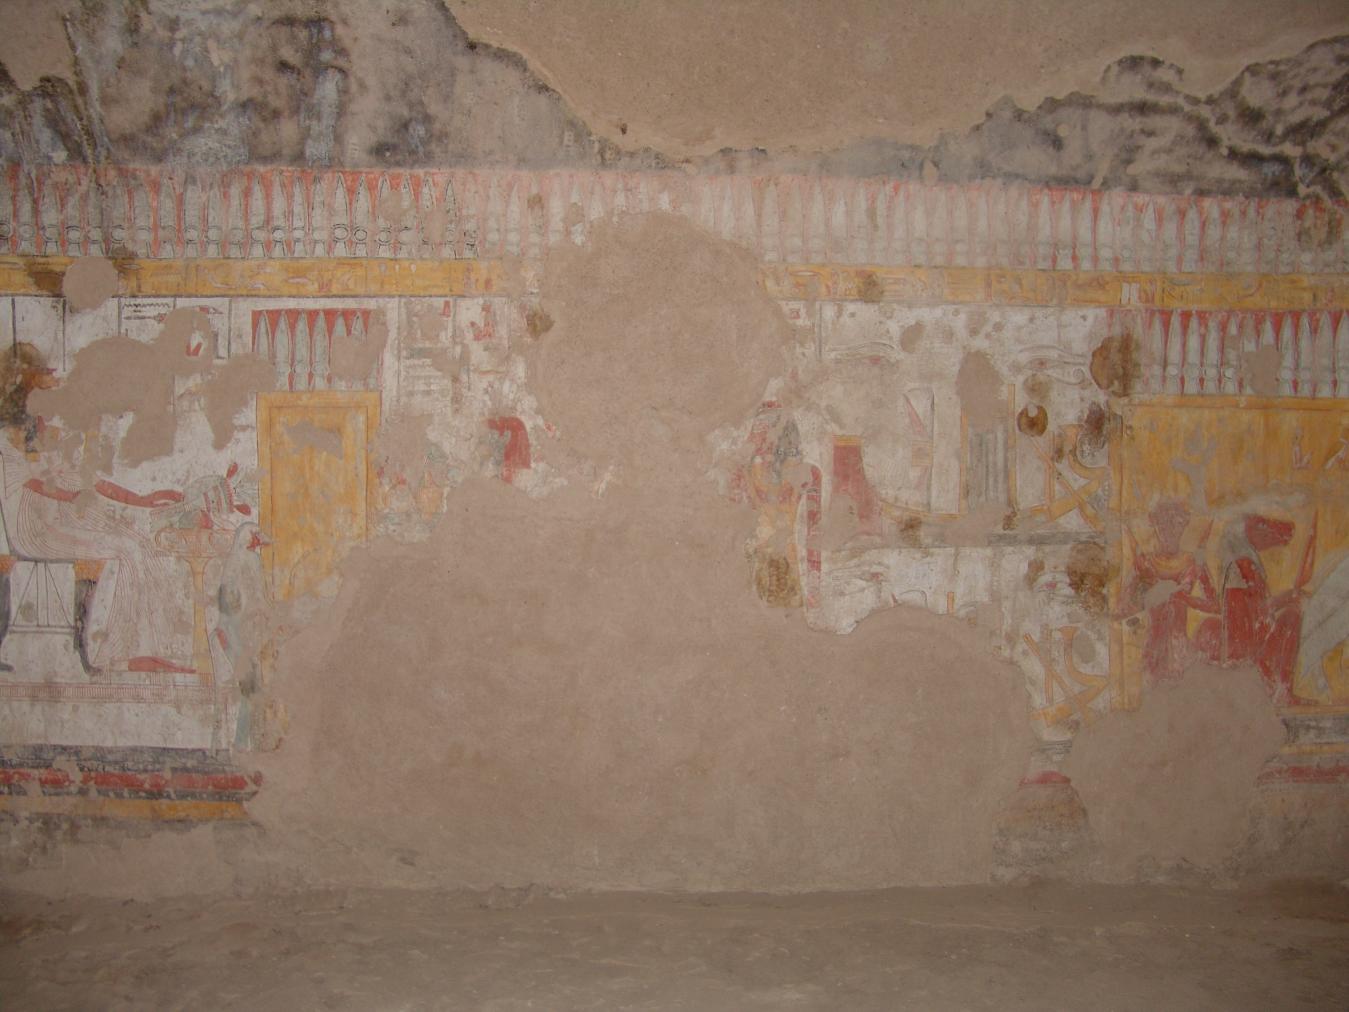
The Queen before an offering table with a baboon holding a boomerang before a door. Book of the Dead Spell 15, the Ka deity, two fecundity deities carrying offerings, and the day (mandjet) and night (mesketet) solar barks. Book of the Dead Spell 145-46, a vulture, an hippopotamus-headed deity, and the full-face deity in a shrine. © Getty Conservation Institute and the Ministry of Tourism and Antiquities.
The Western standard flanked by two jackals and winged serpents (upper part). Book of the Dead Spell 17, two of the four sons of Horus (Hapy and Qebehsenuef), Isis, Serqet, Horus in his youth, and Anubis. © Getty Conservation Institute and the Ministry of Tourism and Antiquities.
View of southeast corner. The Queen before an offering table with a baboon holding a boomerang before a door. Book of the Dead Spell 15, the Ka deity, two fecundity deities carrying offerings, and the day (mandjet) and night (mesketet) solar barks. © Getty Conservation Institute and the Ministry of Tourism and Antiquities.
View of southwest corner. Book of the Dead Spell 15, the Ka deity, two fecundity deities carrying offerings, and the day (mandjet) and night (mesketet) solar barks. Book of the Dead Spell 145-46, a vulture, an hippopotamus-headed deity, and the full-faced deity in shrine. © Getty Conservation Institute and the Ministry of Tourism and Antiquities.
View of the ceiling. © Getty Conservation Institute and the Ministry of Tourism and Antiquities.
About
About
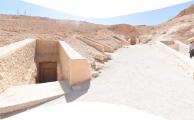
QV 40 is located halfway up the southwest branch of the main valley, adjacent to the main pathway and retaining wall. The tomb is entered through stepped Ramp (A) leading into pillared chamber (B) with a vaulted burial chamber (C) and side chamber (Ba) to the west. The two pillars were constructed after the ceiling was already plastered and painted. Only the easternmost pillar still survives.
QV 40 was likely made for a woman of great importance, judging from the quality of the painting. However, her identity is unknown as the cartouches were never filled in. It is also unknown whether the tomb was actually ever used. Titles of the queen exist above the blank cartouches and there are a total of six portraits. The tomb is attributed to the reign of Seti I, or possibly Rameses I, based principally on its location within the valley. It is the first Ramesside queen's tomb that contains multiple images of the deceased and the first that depicts the queen actively making offerings to gods rather than just being the recipient of offerings as in QV 33, QV 36, and QV 38. Extensive raised relief painted plaster survives on the walls in Pillared Chamber B, and painted plaster occurs on the ceilings and walls of the Burial chamber and side chamber. The paintings in side chamber (Ba) are on a larger scale and in a cruder style with a more limited palette (red, black, yellow and white) compared with other areas of the tomb and may therefore be unfinished. Small traces of original infill material and upper plaster also survive on the walls of entrance ramp (A).
This tomb has been accessible since the time of R. Hay of Linplum (1826), who described it and the single pillar in his notes. Ernesto Schiaparelli cleared the tomb during the Italian Archaeological Expedition's work at the site (1903-05). Elizabeth Thomas (1959-60) noted that the ceiling vault is the first example of this type in the Valley of the Queens, the two pillars are the only 19th Dynasty pillars on the south side of the valley, and that the layout of this tomb is distinct from that of its predecessors. Carl Lepsius recorded the presence of a Hieratic graffito in chamber (B), dated to the Rameses III reign. Currently the tomb is not open to visitation, though it was open from an unknown date (probably mid 1990s) until 2000.
Noteworthy features:
QV 40 is the first tomb in the Valley of the Queens constructed with a barrel-vaulted burial chamber and a pillared hall that served as the antechamber. This is also the first use of an antechamber representing the architectural and cosmographic expansion and evolution in the conception of what a Ramesside queen's tomb should be. The smaller rear room (C) of the tomb, and not the pillared chamber, was decorated as the burial chamber.
Site History
The tomb was constructed in the 19th Dynasty and was presumably accessible at a certain point in antiquity as two Hieratic graffiti were left by a high official during Rameses III reign in chamber (C).
Dating
This site was used during the following period(s):
Exploration
Conservation
Conservation History
Cement Steps in Ramp (A) were built on top of original rock cut steps that are still visible at sides. Lights have been placed (though not installed) in the tomb and six cement blocks for mounting lighting units are scattered throughout the tomb. The entrance was rebuilt (date unknown) with fired brick and covered in plaster with a wooden door and metal grills and mesh installed in a wooden frame. In 2010, the SCA repaired and covered the stone retaining wall of the ramp with plaster. The paintings have been extensively treated and all areas of loss filled with modern plaster repairs.
Site Condition
According to the GCI-SCA, the irregular Overhang of rock over the entrance indicates some rock loss has occurred in the past. Some loose surface rock on both sides of the entrance is present. The interior of the tomb has no apparent structural problems and is considered stable, though the extensive plaster repairs may hide any underlying problems. This plaster is also sometimes found smeared over and concealing original areas of painting. The constructed western pillar in chamber (B), of which only the base still survives, was presumably lost in antiquity. Other large areas of loss occur within the painting, around doors, in ceilings, and at the base of walls. Despite these large areas of loss, there is still a fair amount of painting that survives in good condition. Plaster cracking is evident but does not appear to be severe or endangering. An unusual darkening of the red paint of face and hands can be seen on the east wall (northeast corner) of chamber (C). Greens and blues are only rarely used in this tomb and generally appear faded or have been preferentially lost. Additional treatment was undertaken by the SCA between 1993-1995, perhaps in preparation for opening the tomb to visitors, which included consolidation of cracks and plaster repairs. There is evidence of extensive cleaning of the paintings, which appear to have been highly abrasive and may have resulted in loss of color and painted definition of blue and green areas. Although no bats were seen during the GCI-SCA assessment, there is evidence of considerable past bat activity. Evidence of bats is present in side chamber (Ba) and in burial chamber (C) at the tops of walls. Heavily jointed and fractured marl in the entrance Ramp is at risk from occasional rainwater exposure. Rock fissuring and loss of substantial infill material have contributed to the fragmentary survival of the decoration we see today. The extent of large areas of loss also may be an indication of past flood damage, though there are no recorded reports of flooding in this tomb. Additionally, the long history of access to the tomb, including bat activity, have also contributed to the deterioration visible today.
Hieroglyphs
Queen
 King's Daughter of his body, his Beloved, King's Wife, Lady of the Two Lands, Mistress of the South and the North,...
sAt-nswt-n-Xt.f mr.f Hmt-nswt nbt-tAwy Hnwt-Sma-mHw [...]
Badly preserved wall painting from the tomb of an anonymous Queen (QV 40), dating to the 19th Dynasty, photographed during Ernesto Schiaparelli's excavations. Italian Archaeological Expedition excavations. Courtesy of the Egyptian Museum in Turin.
Double-exposed photograph taken during Ernesto Schiaparelli's excavations. Only one of the two images, however, is visible: a badly preserved wall painting from the tomb of an anonymous Queen (QV 40) dated to the 19th Dynasty. Italian Archaeological Expedition excavations. Courtesy of the Egyptian Museum in Turin.
Badly preserved wall painting from the tomb of an anonymous Queen (QV 40), dating to the 19th Dynasty, photographed during Ernesto Schiaparelli's excavations. Italian Archaeological Expedition excavations. Courtesy of the Egyptian Museum in Turin.

View up Southern branch of the wadi leading to QV45, QV44, QV43, QV42, QV41, QV40, QV39, QV38, QV37, QV36, and QV34. QV49 and QV50 in foreground.

View up Southern branch of the wadi leading to QV45, QV44, QV43, QV42, QV41, QV40, QV39, QV38, QV37, QV36, and QV34. QV49 and QV50 in foreground.

Retaining walls of QV36, QV38, QV40, QV41, QV42, and entrances to QV43 and QV44 with visitors shelter.
Entrance to QV40
Entrance to QV40
Entrance to QV40
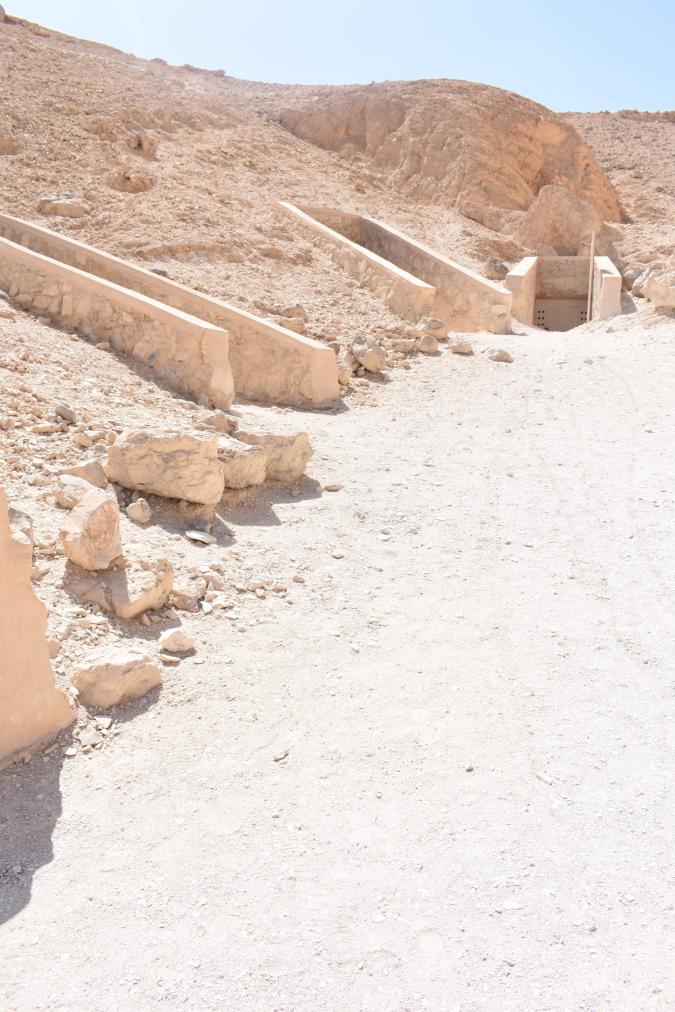
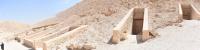
Entrances to QV40, QV41, QV42, and QV43
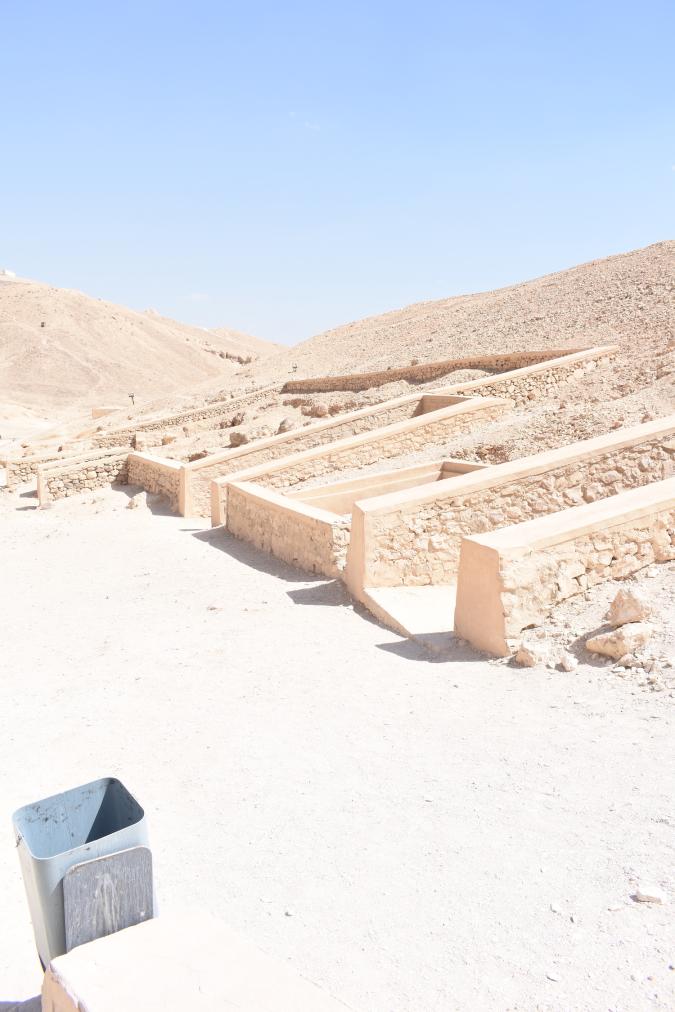
Entrances to QV40, QV39, QV38, QV37, and QV36
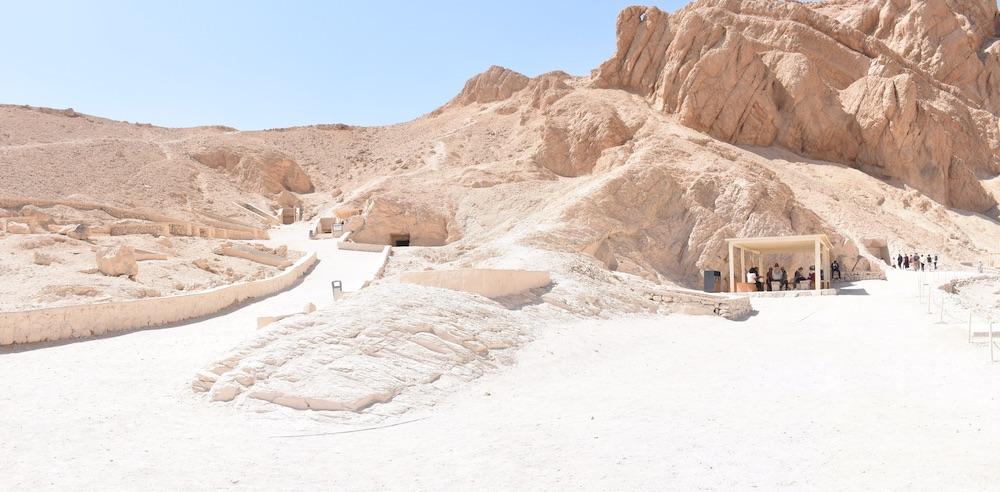
QV49 and QV50 in the foreground with the northern and southern branches of the main wadi in the background.
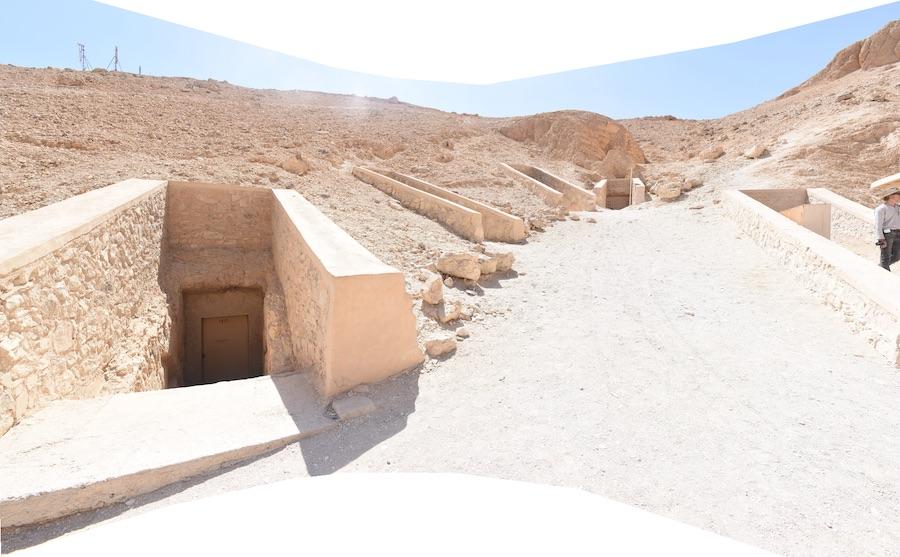
End of the southern branch of the wadi with entrances to QV40, QV41, QV42, QV43, and QV44
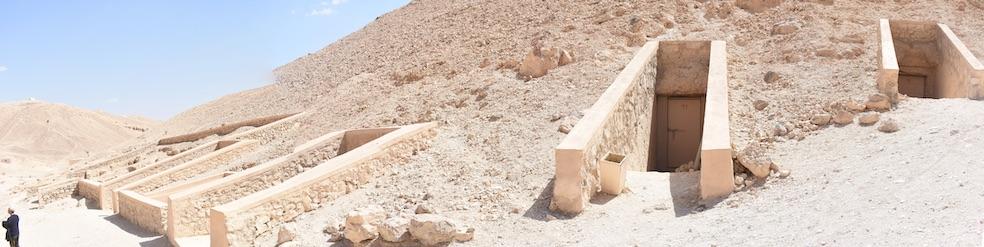
Entrances to QV36, QV37, QV38, QV39, QV40, and QV41
View of the south wall with Chamber C in background and Gate Ba on right. Re-Horakhty as falcon atop the western standard with Imentet as a winged eye emerging from the western mountain. © Getty Conservation Institute and the Ministry of Tourism and Antiquities.
View of southeast corner with a remaining pillar in the foreground. Hathor as cow and Anubis on a chapel in the background. © Getty Conservation Institute and the Ministry of Tourism and Antiquities.
View of a collapsed pillar and the west wall with Gate Ba. Image of the Queen on the left side of Gate Ba and Anubis reclining on chapel on the right. © Getty Conservation Institute and the Ministry of Tourism and Antiquities.
View of blackwashed ceiling. © Getty Conservation Institute and the Ministry of Tourism and Antiquities.
View of the blackwashed ceiling. © Getty Conservation Institute and the Ministry of Tourism and Antiquities.
Detail of a falcon (graffiti). © Getty Conservation Institute and the Ministry of Tourism and Antiquities.
Detail of the queen's titles. © Getty Conservation Institute and the Ministry of Tourism and Antiquities.
Hathor as a cow on a bark within a shrine (Hieratic text on body of Hathor). © Getty Conservation Institute and the Ministry of Tourism and Antiquities.
Detail of offerings and Hathor's menat necklace. © Getty Conservation Institute and the Ministry of Tourism and Antiquities.
Detail of the hieratic text on the body of Hathor as a cow. © Getty Conservation Institute and the Ministry of Tourism and Antiquities.
Detail of hieratic text on the body of Hathor as a cow. © Getty Conservation Institute and the Ministry of Tourism and Antiquities.
Pillar in foreground with the Queen censing before Anubis as jackal in shrine (flanked by Isis and Nephthys). © Getty Conservation Institute and the Ministry of Tourism and Antiquities.
Pillar in foreground. Anubis as jackal in shrine flanked by Isis. The Queen offering to Hathor as a cow. © Getty Conservation Institute and the Ministry of Tourism and Antiquities.
The Queen in adoration before a mummiform Ptah. © Getty Conservation Institute and the Ministry of Tourism and Antiquities.
The Queen in adoration before Anubis as a jackal in a shrine flanked by Nephthys (shown on West wall) and the Queen in adoration before Thoth seated on a throne. © Getty Conservation Institute and the Ministry of Tourism and Antiquities.
Detail of the Queen censing before Anubis on a shrine. © Getty Conservation Institute and the Ministry of Tourism and Antiquities.
Collapsed pillar in the foreground. The Queen censes before Anubis as a jackal in a shrine flanked by Isis and Nephthys. © Getty Conservation Institute and the Ministry of Tourism and Antiquities.
View of the west wall and Gate Ba. The Queen in adoration before Re-Horakhty and Imentet (on south wall). © Getty Conservation Institute and the Ministry of Tourism and Antiquities.
Detail of the Queen in adoration. © Getty Conservation Institute and the Ministry of Tourism and Antiquities.
View of Gate C. © Getty Conservation Institute and the Ministry of Tourism and Antiquities.
Book of the Dead Spell 17 -Two of the four sons of Horus (Imsety and Duamutef), an unidentifiable deity, Irrendjesef, Isis, Neit, Anubis, a monkey and two baboons in a kiosk. © Getty Conservation Institute and the Ministry of Tourism and Antiquities.
The Queen before an offering table with a baboon holding a boomerang before a door. Book of the Dead Spell 15, the Ka deity, two fecundity deities carrying offerings, and the day (mandjet) and night (mesketet) solar barks. Book of the Dead Spell 145-46, a vulture, an hippopotamus-headed deity, and the full-face deity in a shrine. © Getty Conservation Institute and the Ministry of Tourism and Antiquities.
The Western standard flanked by two jackals and winged serpents (upper part). Book of the Dead Spell 17, two of the four sons of Horus (Hapy and Qebehsenuef), Isis, Serqet, Horus in his youth, and Anubis. © Getty Conservation Institute and the Ministry of Tourism and Antiquities.
View of southeast corner. The Queen before an offering table with a baboon holding a boomerang before a door. Book of the Dead Spell 15, the Ka deity, two fecundity deities carrying offerings, and the day (mandjet) and night (mesketet) solar barks. © Getty Conservation Institute and the Ministry of Tourism and Antiquities.
View of southwest corner. Book of the Dead Spell 15, the Ka deity, two fecundity deities carrying offerings, and the day (mandjet) and night (mesketet) solar barks. Book of the Dead Spell 145-46, a vulture, an hippopotamus-headed deity, and the full-faced deity in shrine. © Getty Conservation Institute and the Ministry of Tourism and Antiquities.
View of the ceiling. © Getty Conservation Institute and the Ministry of Tourism and Antiquities.
View of Gate Ba from Side Chamber Ba. © Getty Conservation Institute and the Ministry of Tourism and Antiquities.
View of Gate Ba from Pillared Chamber B. © Getty Conservation Institute and the Ministry of Tourism and Antiquities.
Book of the Dead Spell 161, two images of Thoth supporting the sky and flanking a large canopic chest. © Getty Conservation Institute and the Ministry of Tourism and Antiquities.
View of the ceiling. © Getty Conservation Institute and the Ministry of Tourism and Antiquities.
View of Gate Ba, two leonine beds with vessels underneath. © Getty Conservation Institute and the Ministry of Tourism and Antiquities.
Two leonine beds with vessels underneath. © Getty Conservation Institute and the Ministry of Tourism and Antiquities.
Book of the Dead Spell 161, two images of Thoth supporting the sky and flanking a large canopic chest. © Getty Conservation Institute and the Ministry of Tourism and Antiquities.
Detail of the upper left part of the south wall with salt efflorescence. © Getty Conservation Institute and the Ministry of Tourism and Antiquities.
Detail of painted hieroglyphs. © Getty Conservation Institute and the Ministry of Tourism and Antiquities.
Detail of painted hieroglyphs. © Getty Conservation Institute and the Ministry of Tourism and Antiquities.
Detail of painted hieroglyphs. © Getty Conservation Institute and the Ministry of Tourism and Antiquities.
Detail of text on canopic chest. © Getty Conservation Institute and the Ministry of Tourism and Antiquities.
Detail of legs on leonine bed. © Getty Conservation Institute and the Ministry of Tourism and Antiquities.
Detail of leonine beds and vessels. © Getty Conservation Institute and the Ministry of Tourism and Antiquities.
View of the ceiling. © Getty Conservation Institute and the Ministry of Tourism and Antiquities.
Book of the Dead Spell 161, two images of Thoth supporting the sky and flanking a large canopic chest. © Getty Conservation Institute and the Ministry of Tourism and Antiquities.


Articles
Tomb Numbering Systems in the Valley of the Queens and the Western Wadis
Geography and Geology of the Valley of the Queens and Western Wadis
Decorating the Tombs
Bibliography
Champollion, Jean-François. Monuments de l'Egypte et de la Nubie. Vol. 1-2. Paris: Firmin-Didot Frères; Geneva: Editions de belles-lettres, 1845.
Demas, Martha and Neville Agnew (eds). Valley of the Queens. Assessment Report. Los Angeles: The Getty Conservation Institute, 2012, 2016. Two vols.
Hay of Linplum, Robert. Hay MSS [Robert Hay of Linplum and his artists made the drawings etc. in Egypt and Nubia between 1824-1838]. British Library Add. MSS 29812-60, 31054.
Leblanc, Christian, and Alberto Siliotti. Nefertari e la valle delle regine. 2nd ed. Florence: Giunti, 2002.
Leblanc, Christian. Ta set nefrou: une nécropole de Thèbes-ouest et son histoire, 1: géographie- toponymie: historique de l'exploration scientifique du site. Cairo: Nubar Printing House, 1989.
Leblanc, Christian. Thebes: Valley of the Queens. In: Kathryn Bard (ed.), Encyclopaedia of the Archaeology of Ancient Egypt. London and New York: Routledge, 1999: 833-836.
Lepsius, Richard. Denkmäler aus Aegypten und Aethiopien: Texten. Vol. 3. Leipzig: J.C. Hinrich, 1897-1913.
Porter, Bertha and Rosalind L.B. Moss. Topographical Bibliography of Ancient Egyptian Hieroglyphic Texts, Reliefs, and Paintings, I: The Theban Necropolis, Part 2: Royal Tombs and Smaller Cemeteries. Oxford: Oxford University Press, 1964.
Schiaparelli, Ernesto. Realazione sui lavon della Missione archeologica italiana in Egitto, anni 1903-1920. Explorazione della “Valle delle Regina” nella necropolis di Tebe. Vol. 1. Turin: Casa editrice Giovanni Chiantore, 1923.