QV 60
Queen Nebettauy
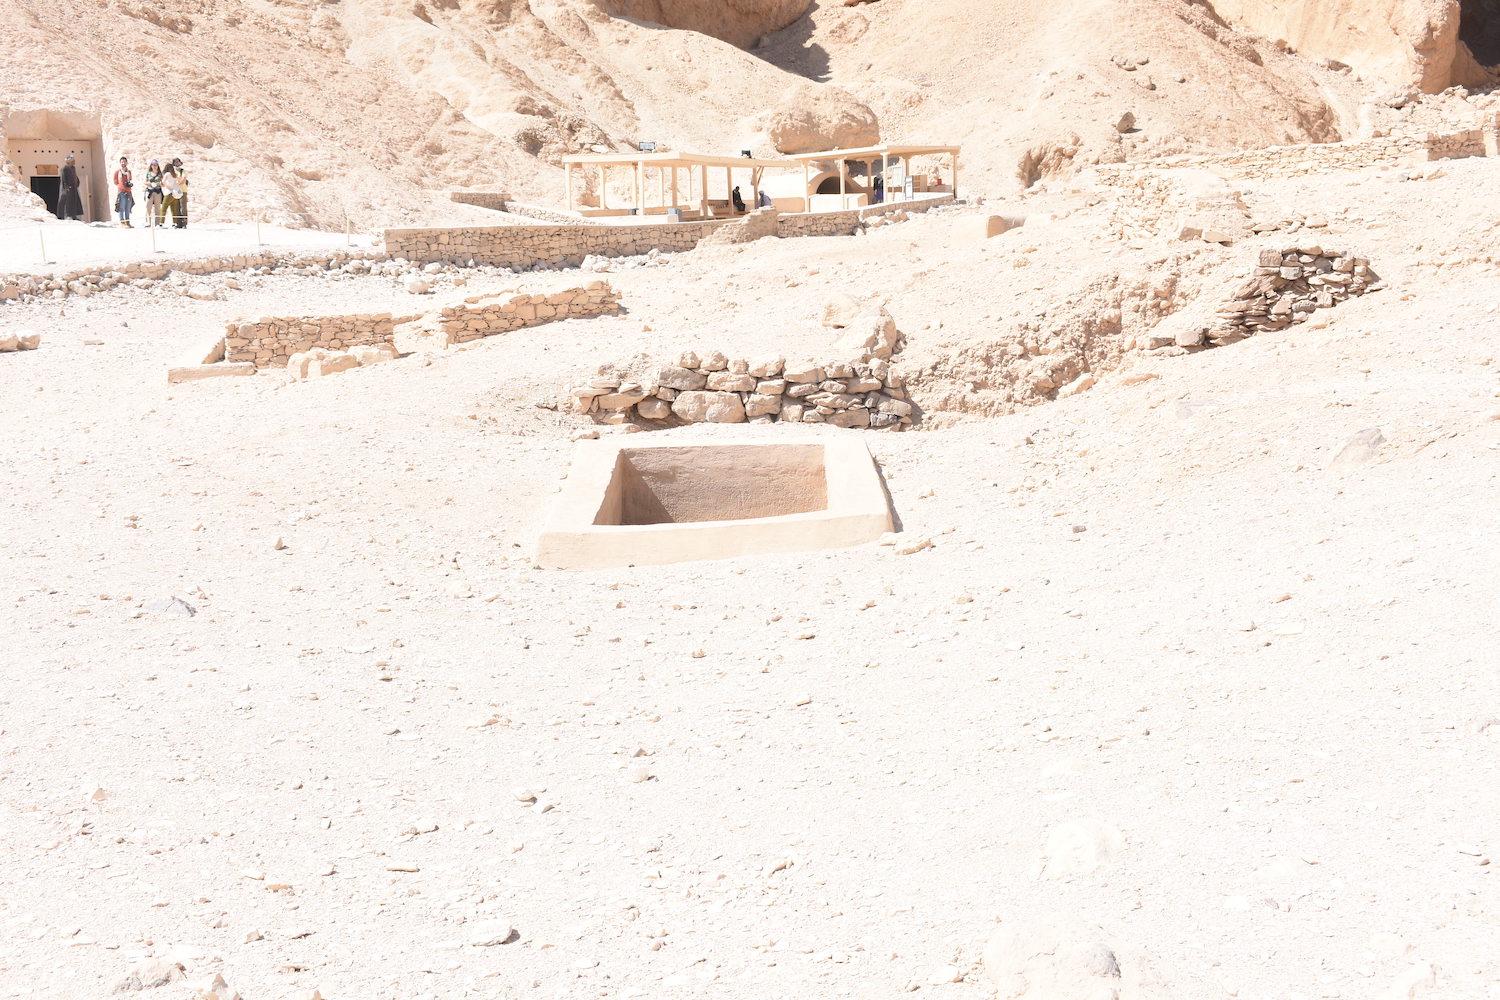
Entrances to QV58, QV59, QV60, and QV61 with workers' huts. Visitors shelter at QV66 and QV80 in background.

Entryway A
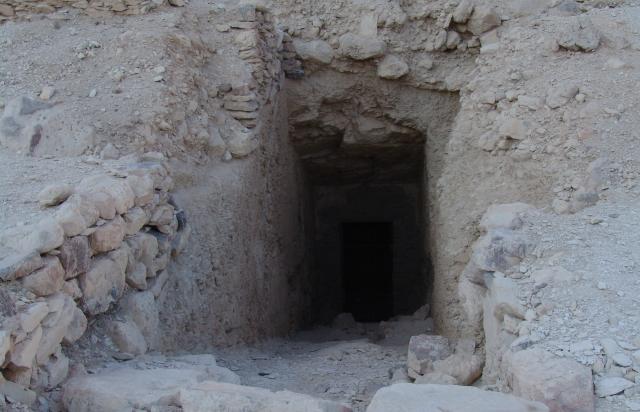
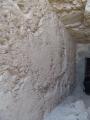
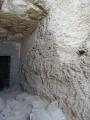
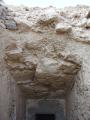
See entire tombThe entryway consists of a steep Ramp with Divided Stairway. The ramp originally contained 30 Steps on either side, but was covered with limestone blocks during the Coptic Period, reducing steps to 16. The entryway has a large Overhang.
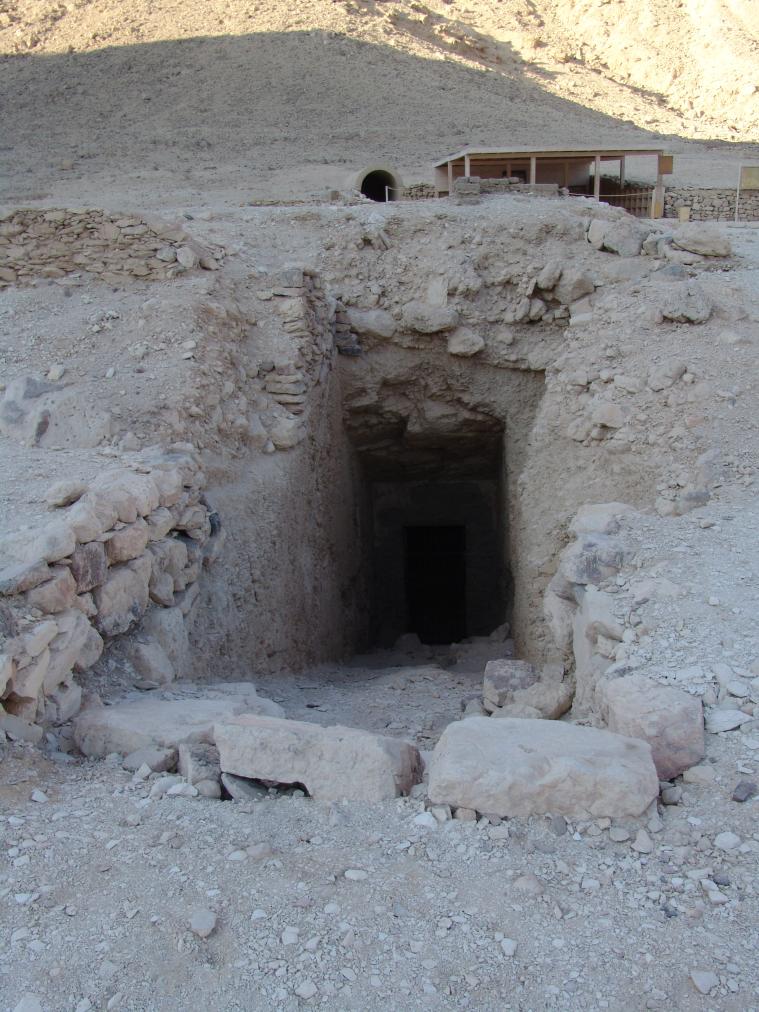
View of the tomb entrance. © Getty Conservation Institute and the Ministry of Tourism and Antiquities.
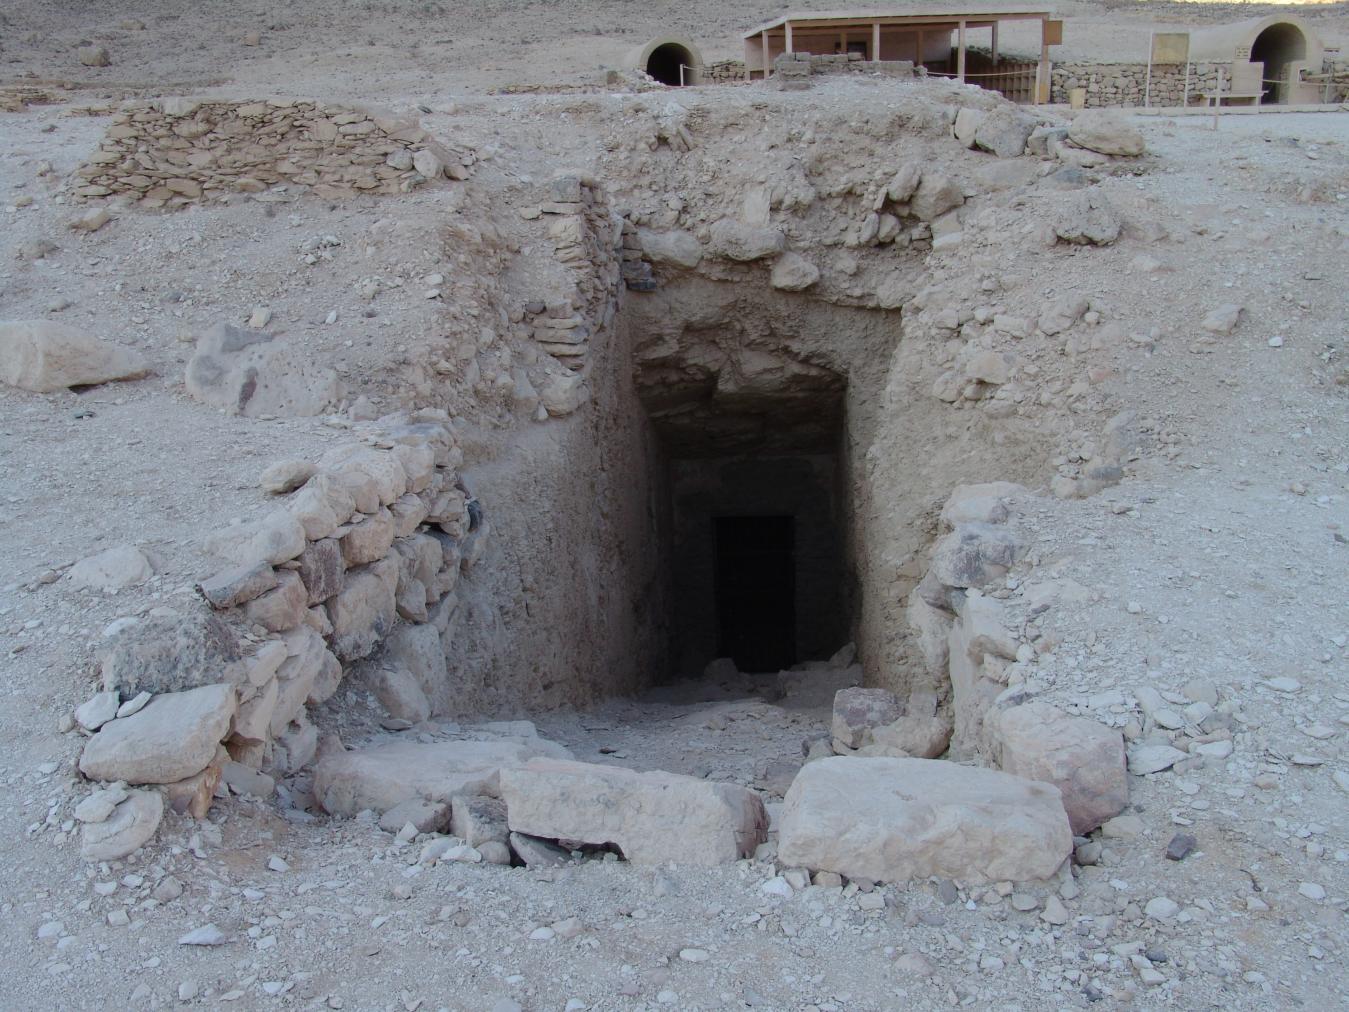
View of the tomb entrance. © Getty Conservation Institute and the Ministry of Tourism and Antiquities.
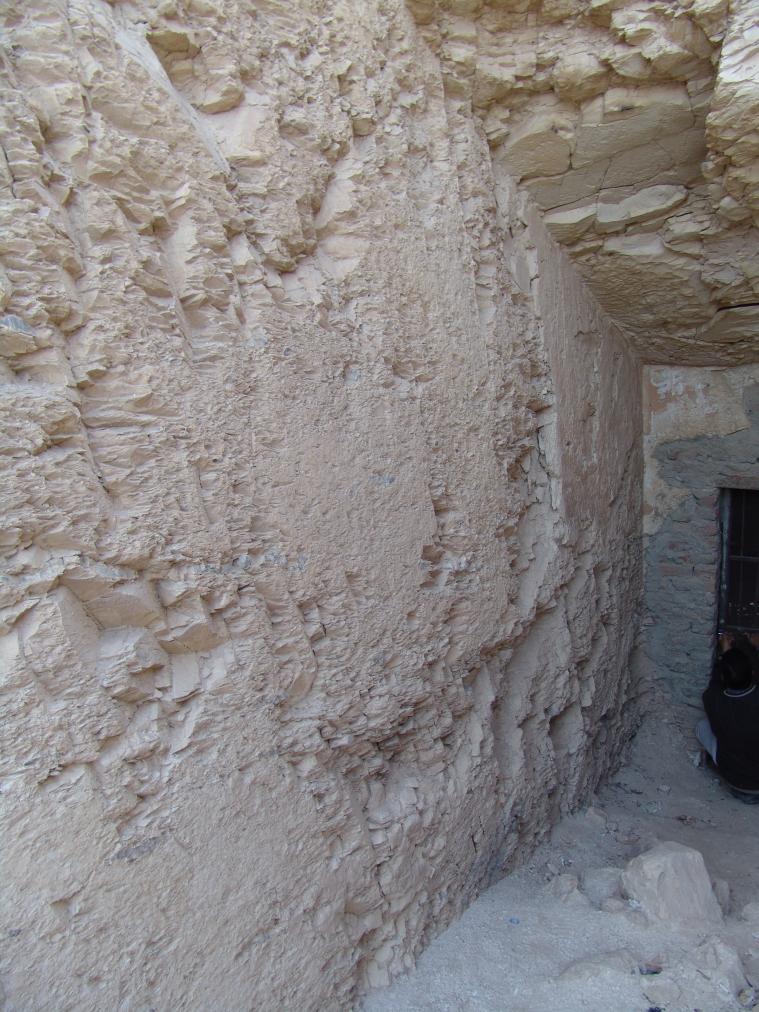
Left side of the entryway ramp. © Getty Conservation Institute and the Ministry of Tourism and Antiquities.
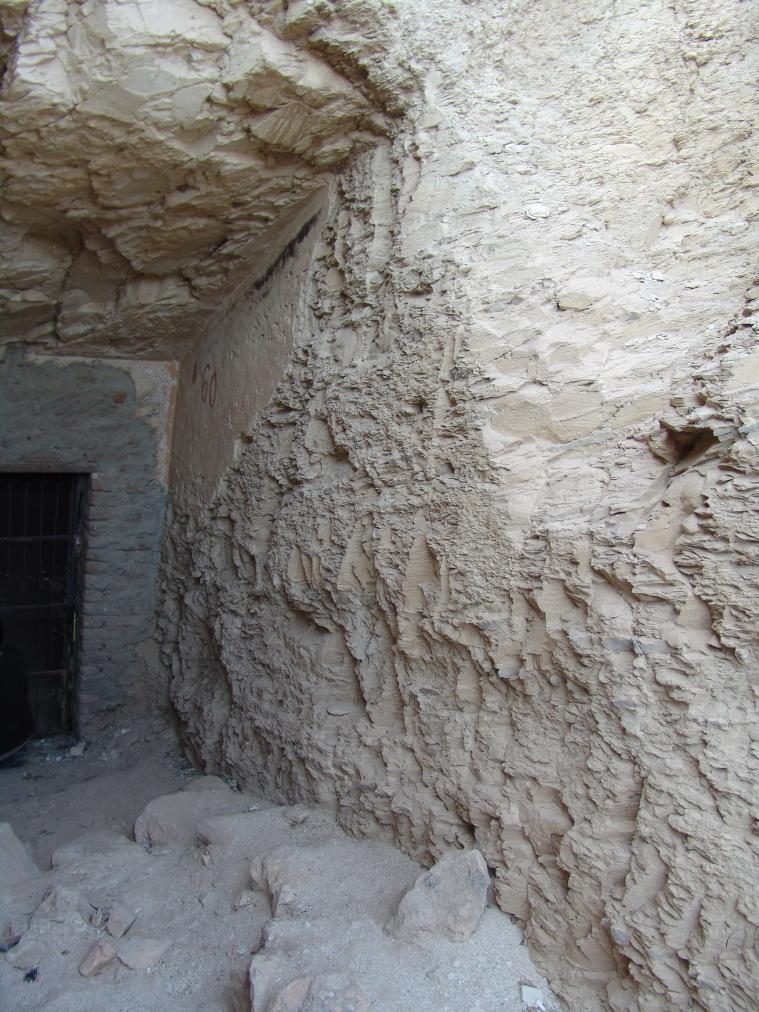
The right side of the entryway ramp. © Getty Conservation Institute and the Ministry of Tourism and Antiquities.
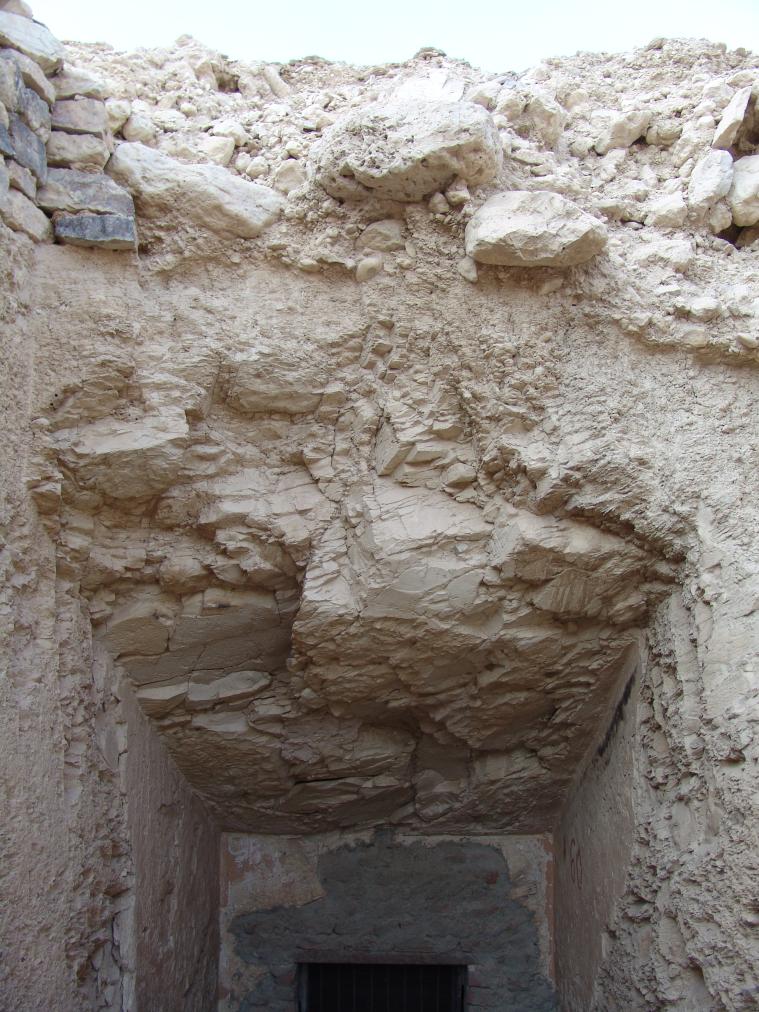
Overhang of the entryway ramp. © Getty Conservation Institute and the Ministry of Tourism and Antiquities.
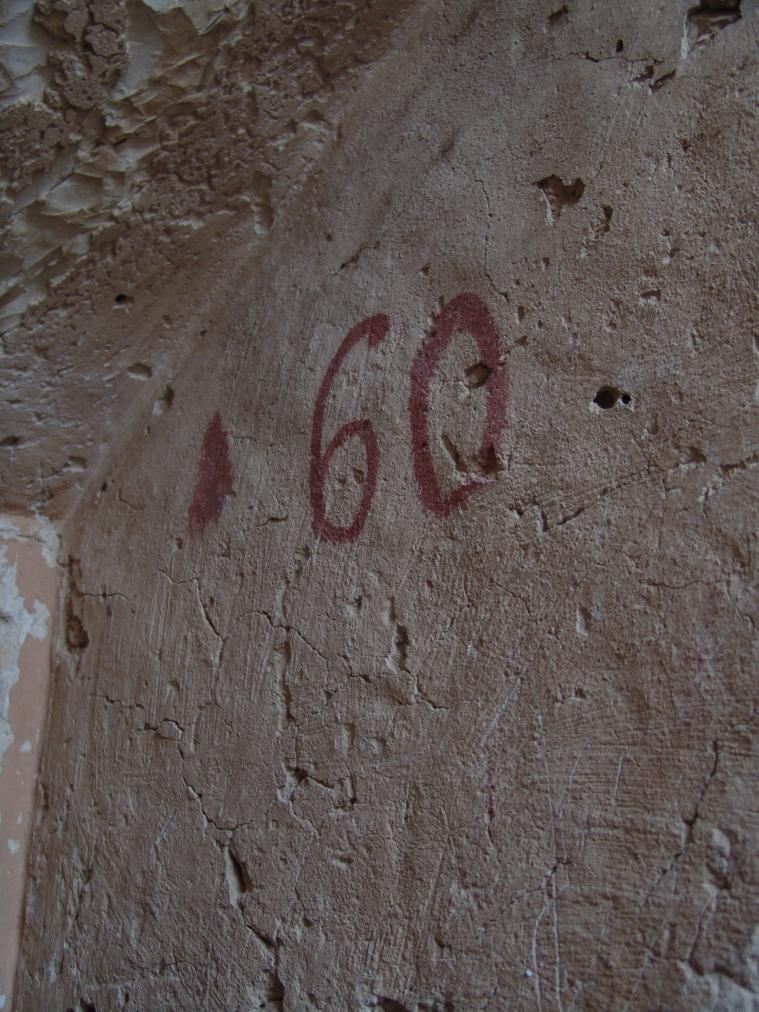
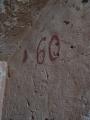
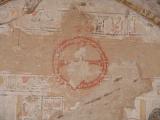
The tomb number in red paint. © Getty Conservation Institute and the Ministry of Tourism and Antiquities.
Gate B
See entire tombThe lintel originally contained solar iconography, typical of ramesside tombs. This is now lost. The gate's thicknesses are decorated with figures of the queen leaving the tomb. The left is the only image that remains.
Porter and Moss designation:
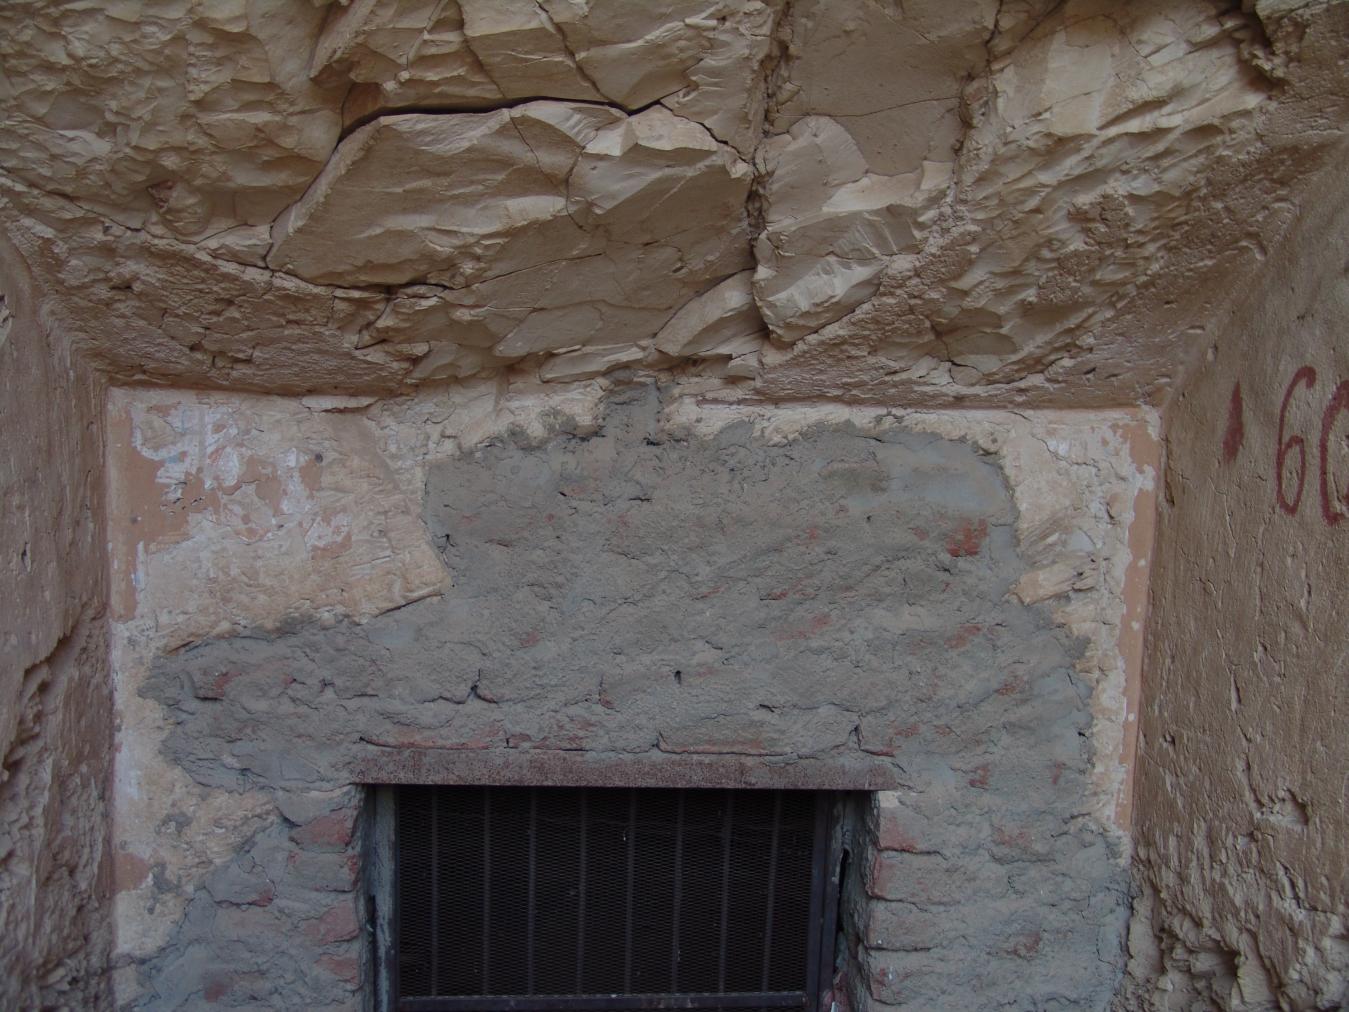
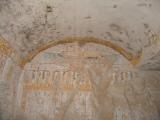
View of the upper part of Gate B. © Getty Conservation Institute and the Ministry of Tourism and Antiquities.
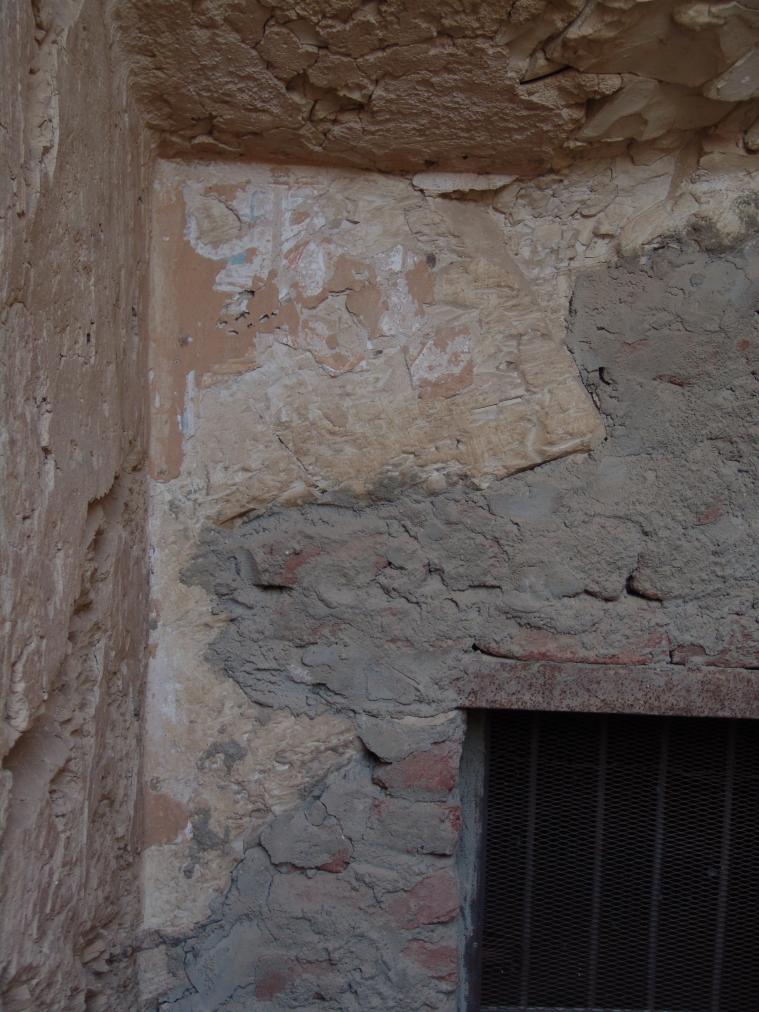
The upper left side of Gate B with faint traces of remaining decoration. © Getty Conservation Institute and the Ministry of Tourism and Antiquities.
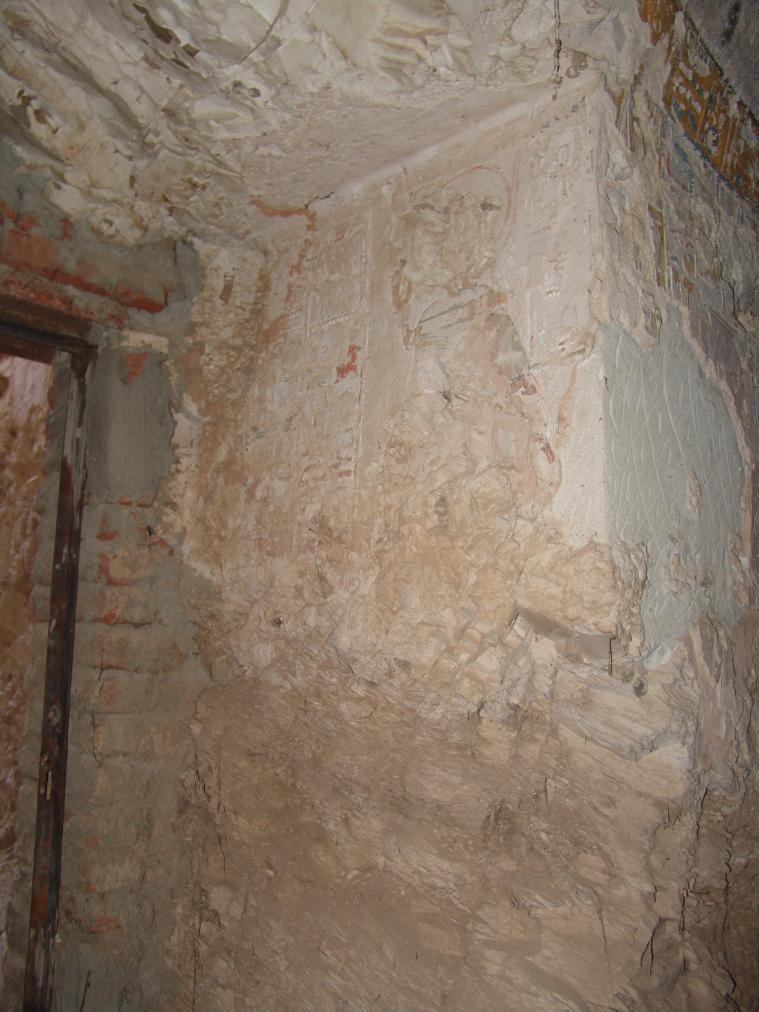
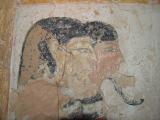
Figure of the queen leaving the tomb. © Getty Conservation Institute and the Ministry of Tourism and Antiquities.
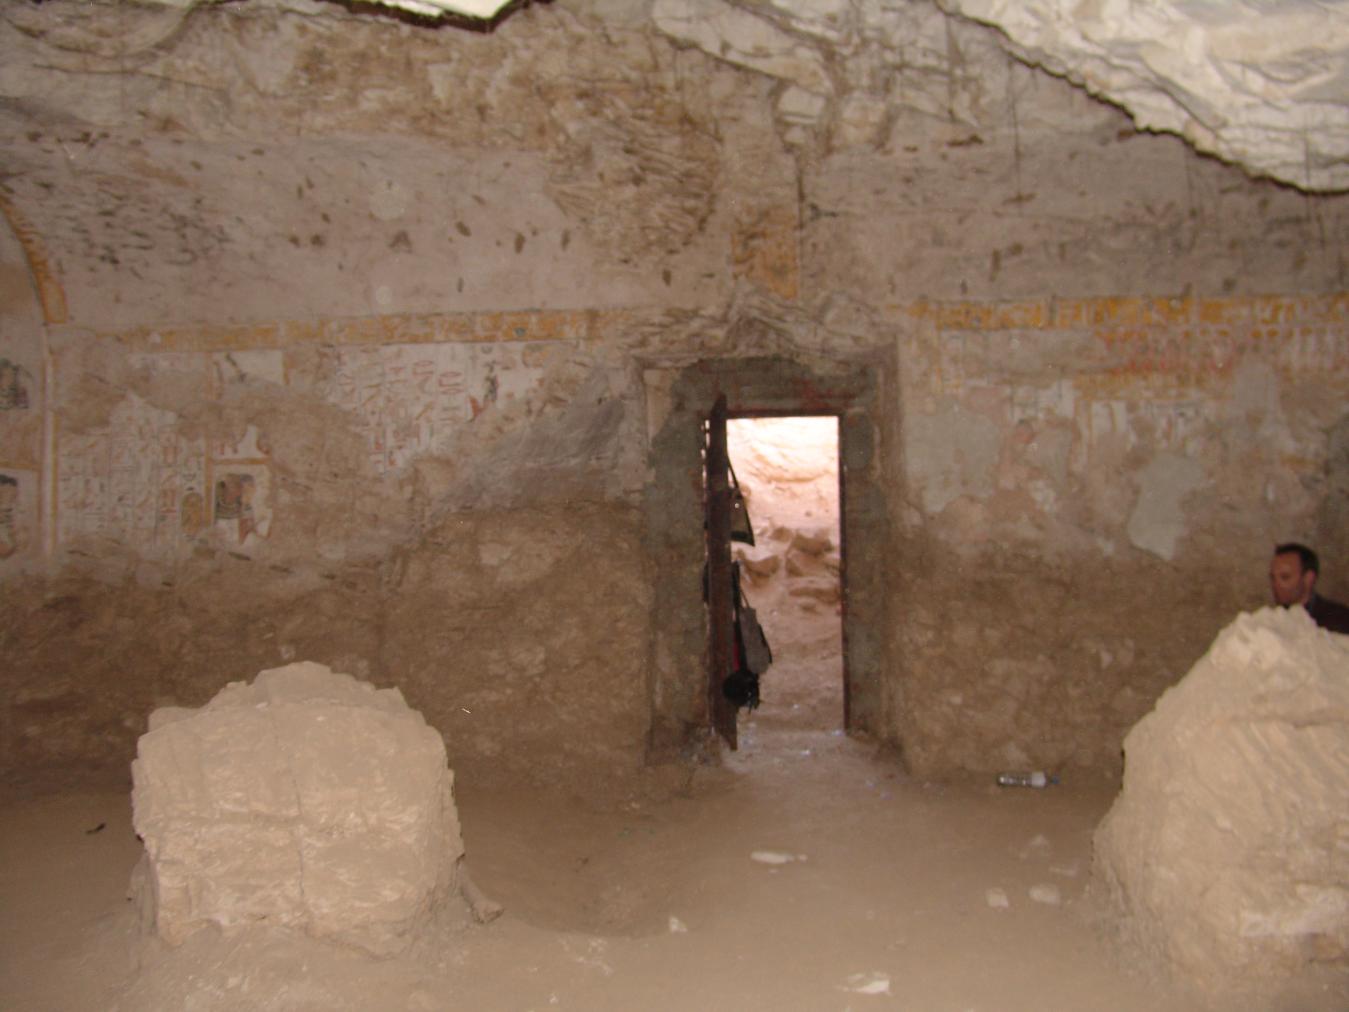
View of Gate B and collapsed pillars. © Getty Conservation Institute and the Ministry of Tourism and Antiquities.
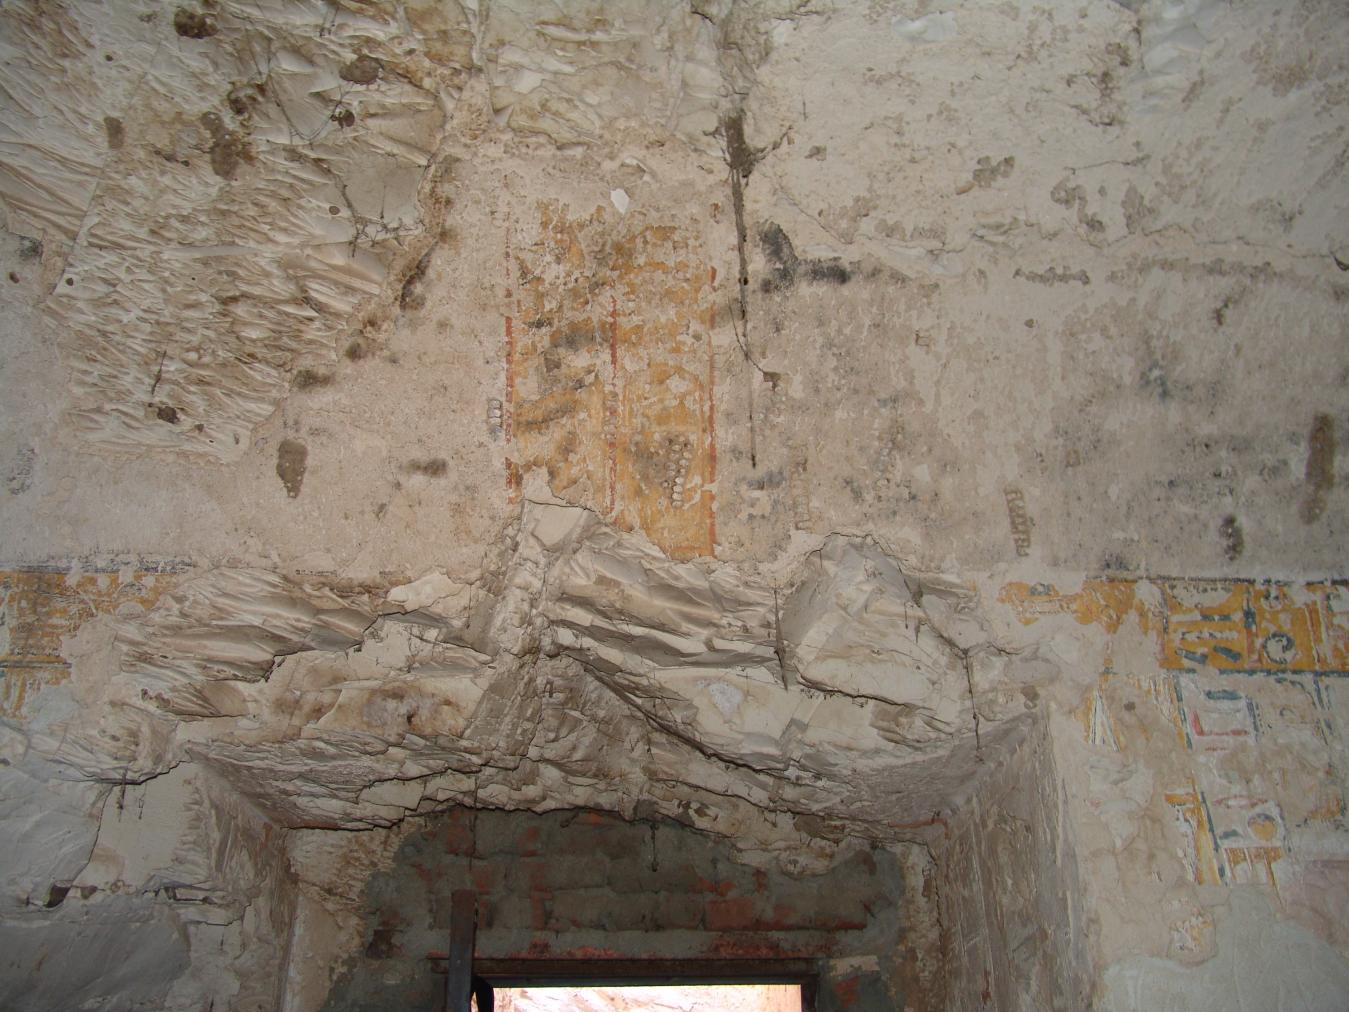
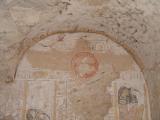
View of Gate B with the titles of the Queen. © Getty Conservation Institute and the Ministry of Tourism and Antiquities.
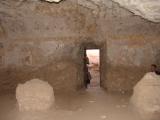
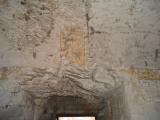
Chamber B
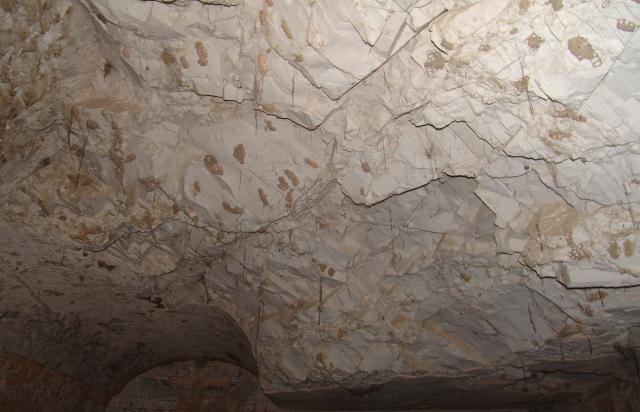
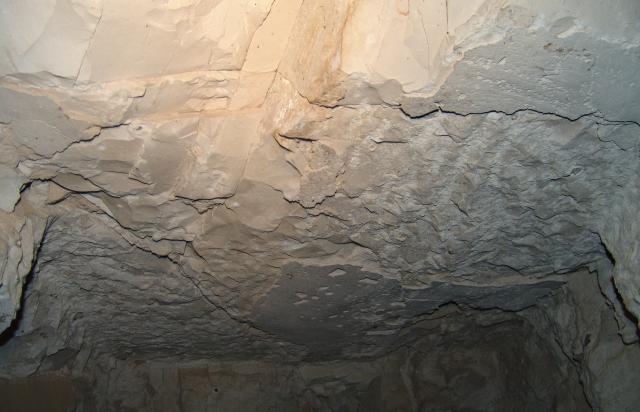
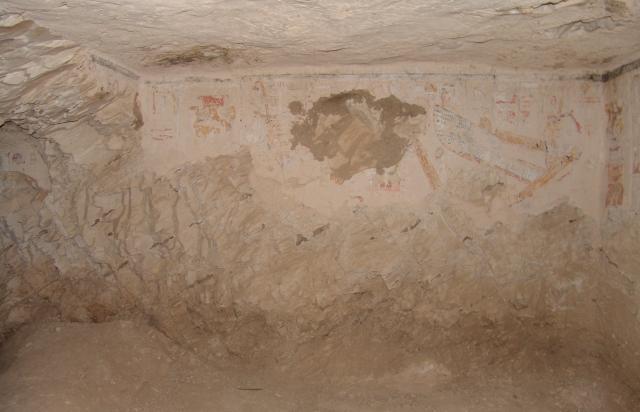
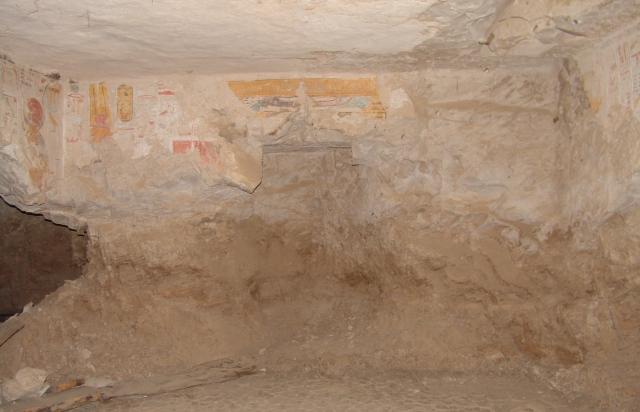
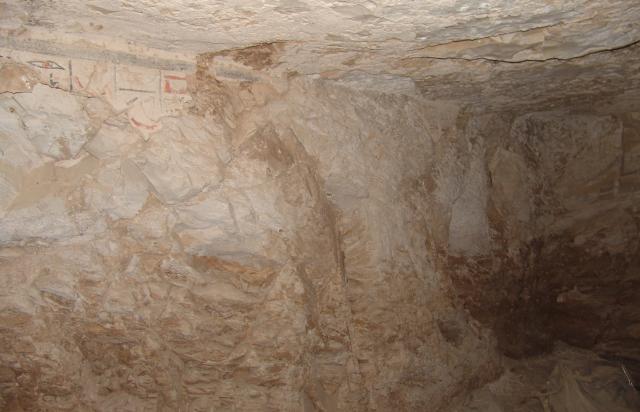
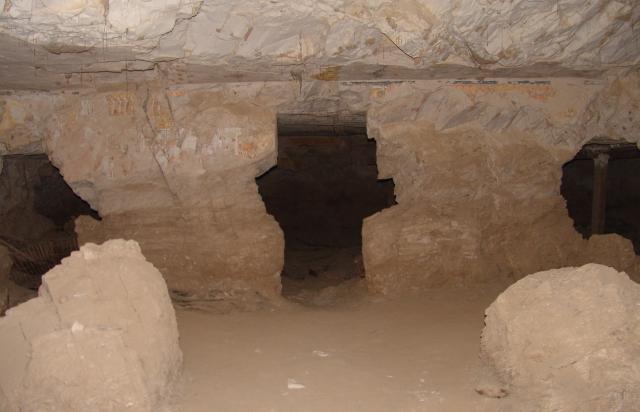
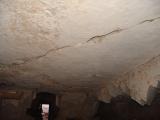
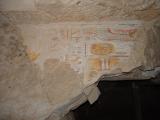
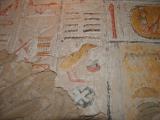
See entire tombThis chamber consists of a barrel Vaulted ceiling at the front and a flat ceiling in the rear. The latter was supported by two pillars of which now only the bottom parts remain. This chamber has the most preserved decoration, despite large parts having been damaged by hacking, scratched by debris, and the collapse of the lower parts of walls. The iconography includes the queen offering to various deities and two chapters from the Book of the Dead (spells 18 and 125B). Coptic Graffiti is also visible.
Porter and Moss designation:
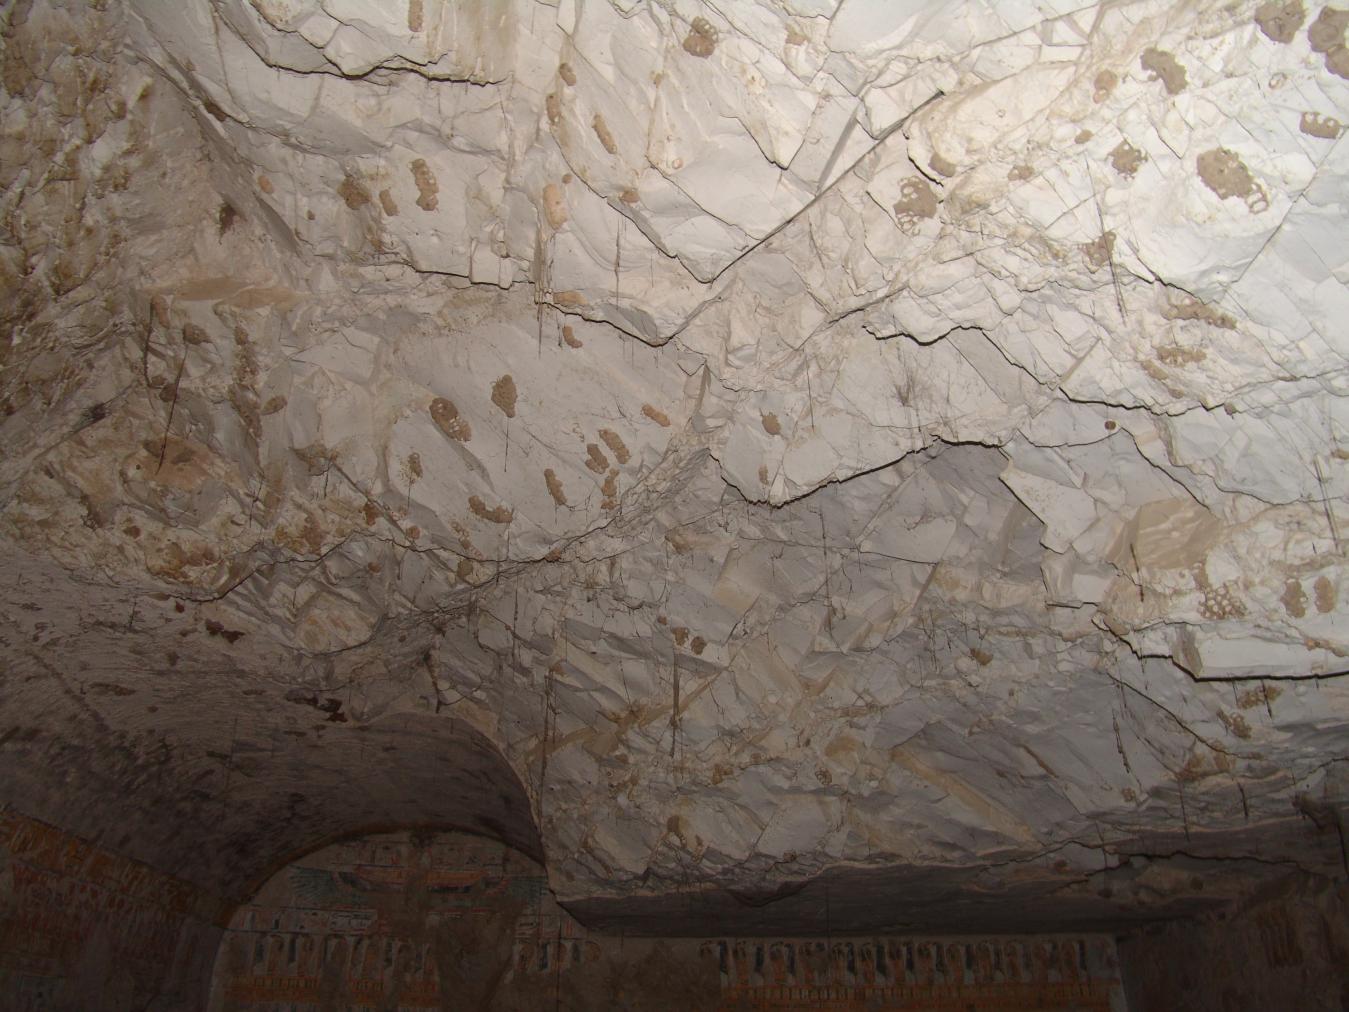
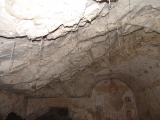
View of the ceiling. © Getty Conservation Institute and the Ministry of Tourism and Antiquities.
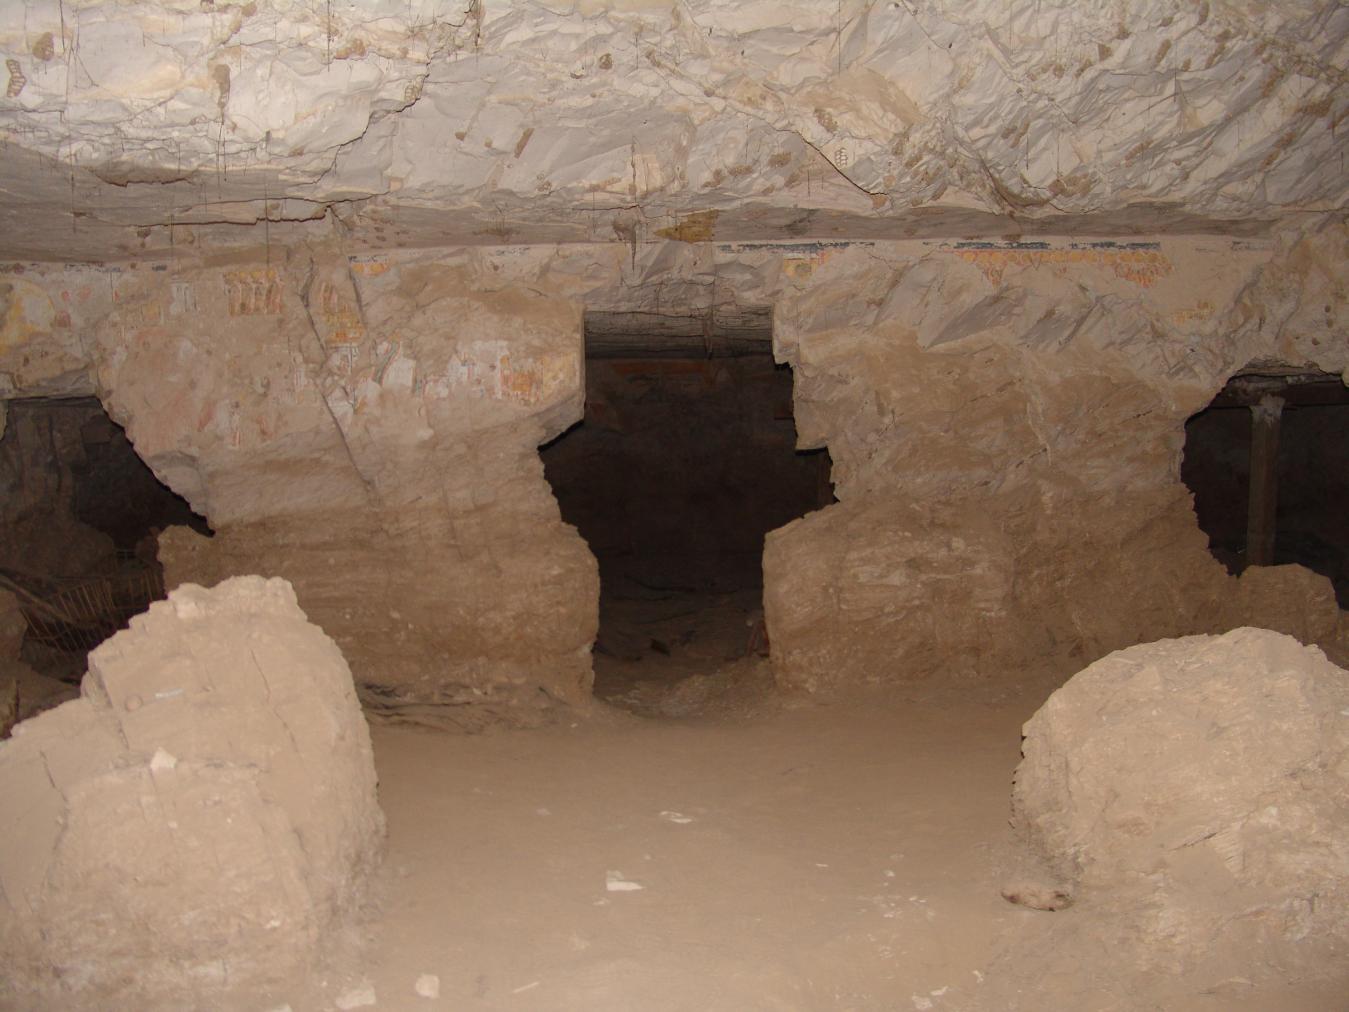
View of the collapsed pillars and the north wall with a view of gates Ba and C, as well as the break in the wall to side chamber Cb. © Getty Conservation Institute and the Ministry of Tourism and Antiquities.
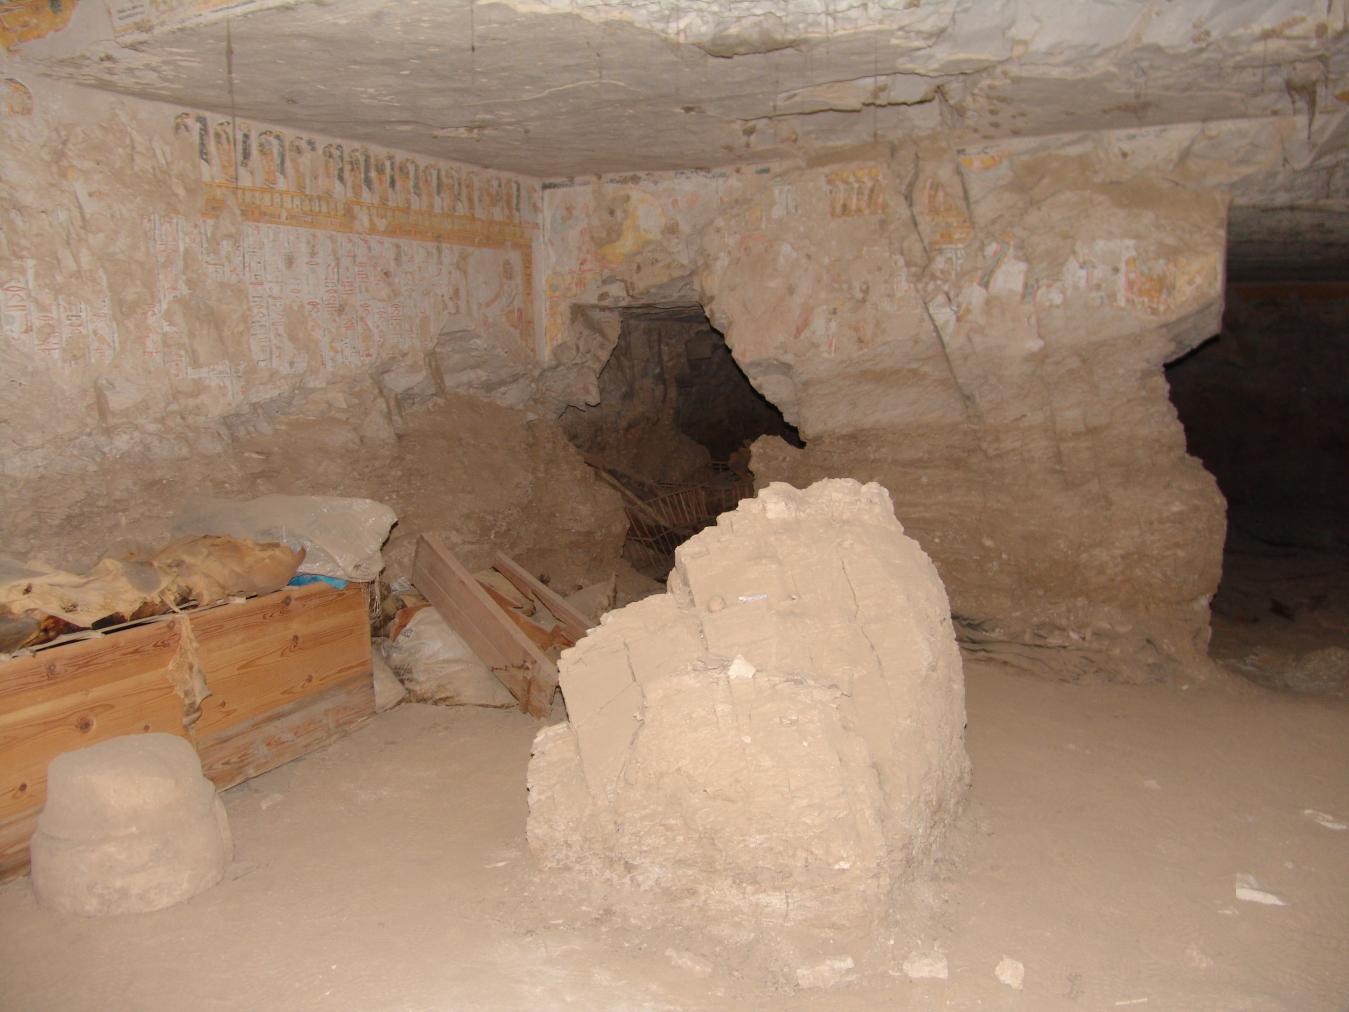
View of the northwest corner with collapsed pillar, Gate Ba, and Gate C. © Getty Conservation Institute and the Ministry of Tourism and Antiquities.
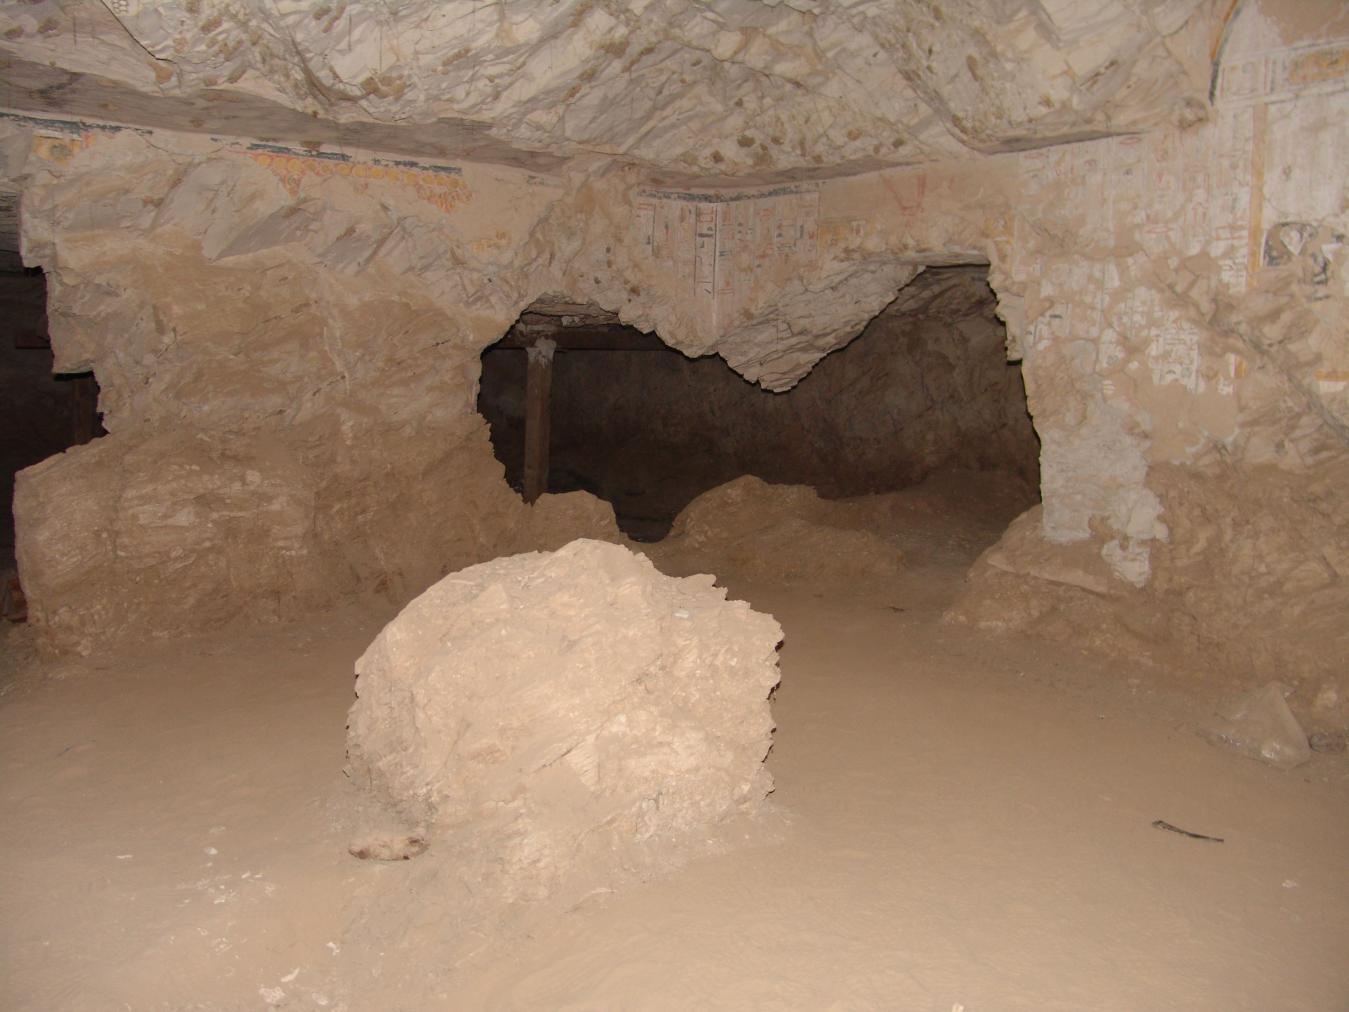
view of northeast corner with a collapsed pillar and the break into side chamber Cb. © Getty Conservation Institute and the Ministry of Tourism and Antiquities.
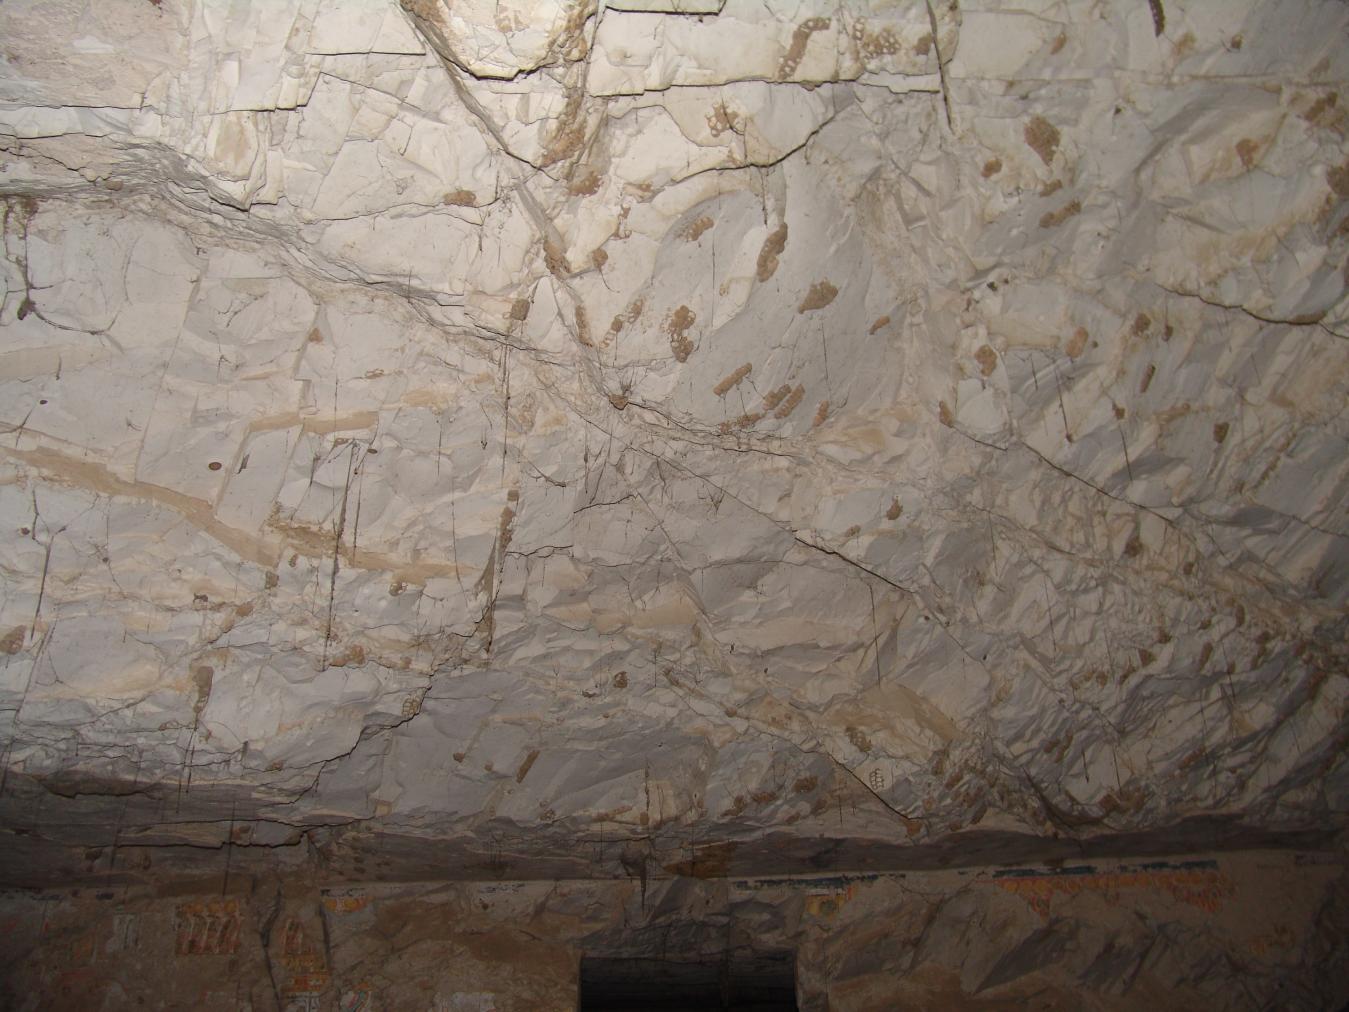
View of the ceiling. © Getty Conservation Institute and the Ministry of Tourism and Antiquities.
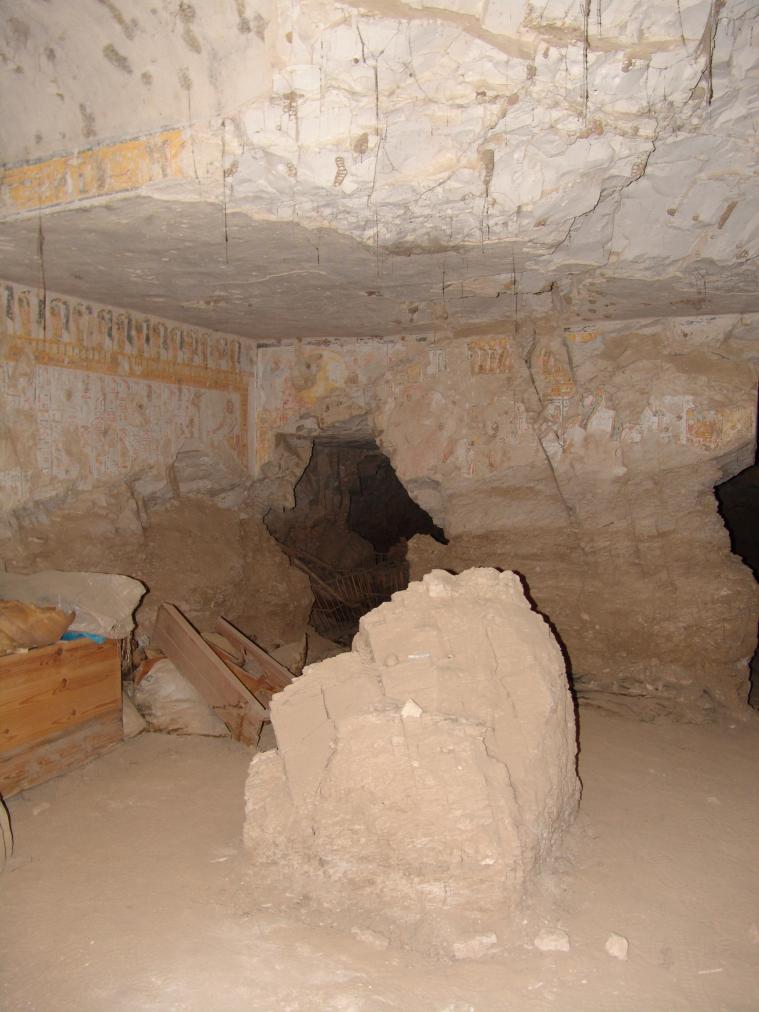
View of the collapsed pillar and northwest corner with Gate Ba. © Getty Conservation Institute and the Ministry of Tourism and Antiquities.
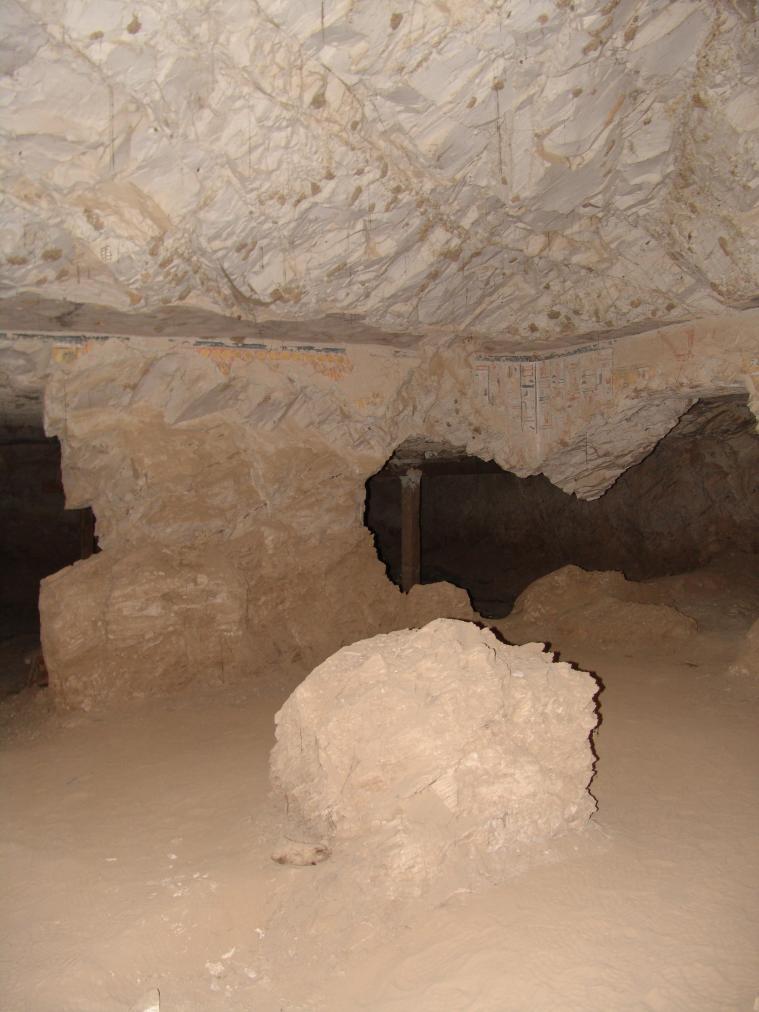
View of a collapsed pillar and the northeast corner with the break into side chamber Cb. © Getty Conservation Institute and the Ministry of Tourism and Antiquities.
View of Gate B and collapsed pillars. © Getty Conservation Institute and the Ministry of Tourism and Antiquities.
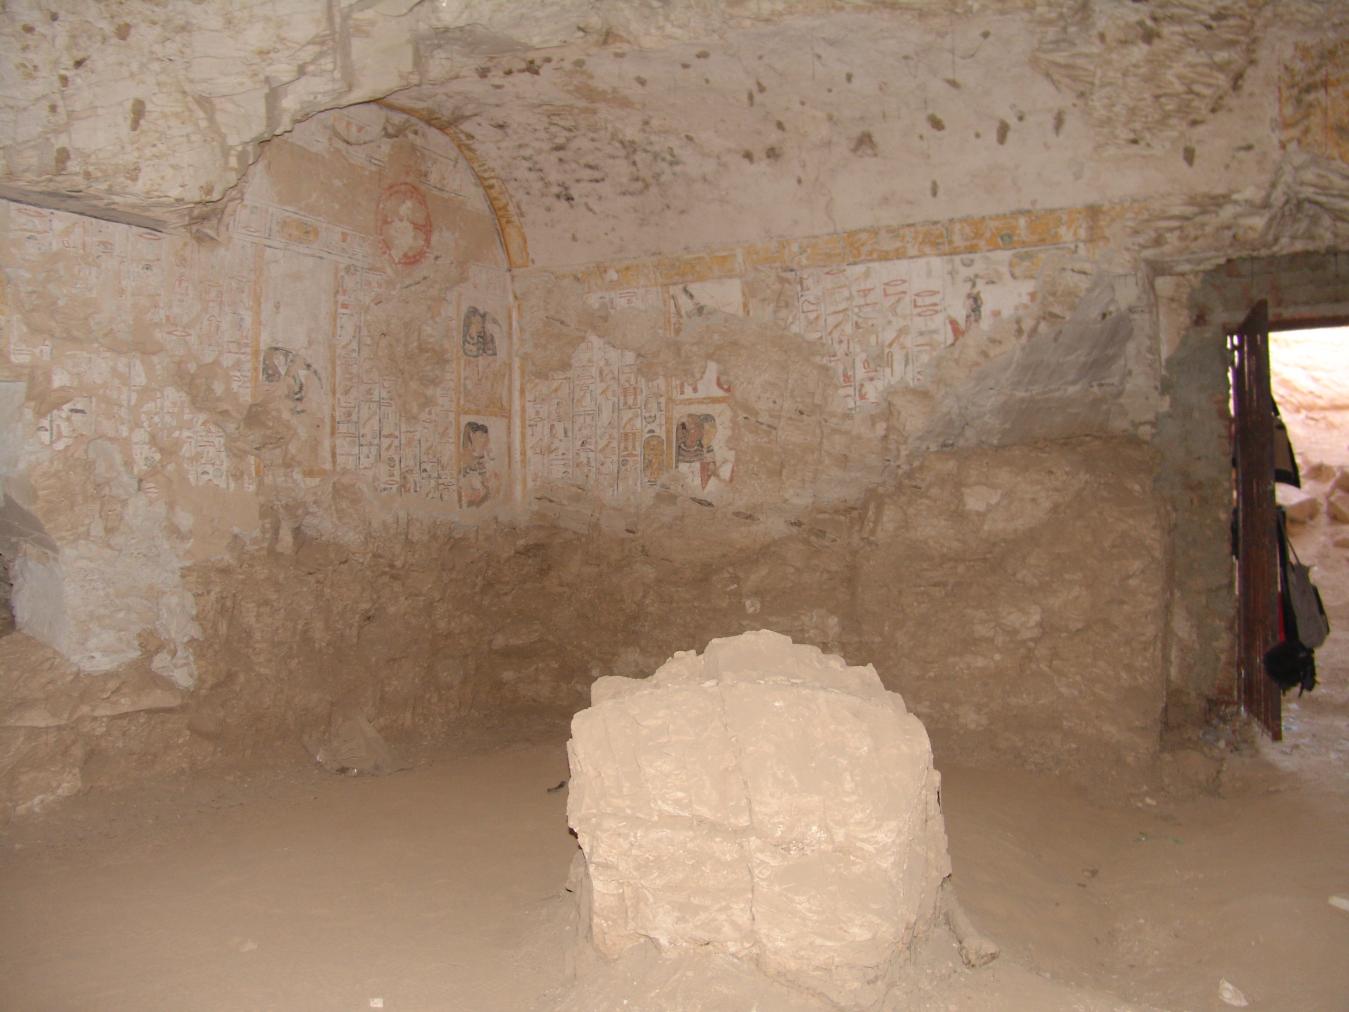
View of the southeast corner, collapsed pillar, and Book of the Dead Spell 18. © Getty Conservation Institute and the Ministry of Tourism and Antiquities.
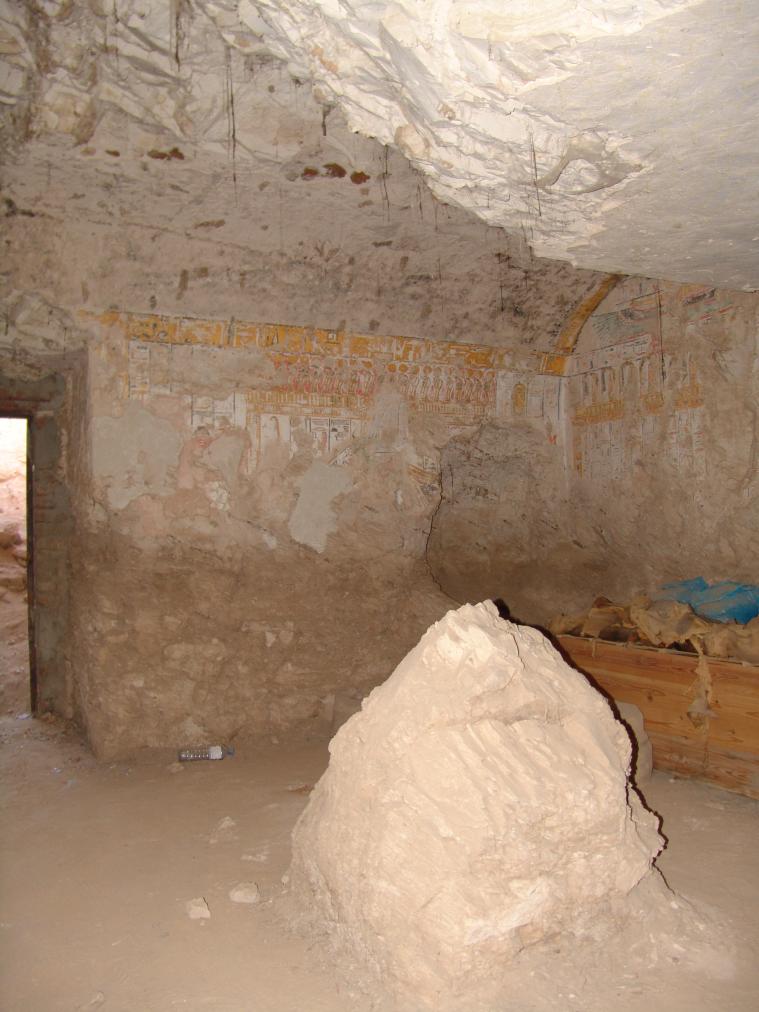
View of the southwest corner and collapsed pillar. Queen offering Ma'at to Ptah-Sokar in shrine. © Getty Conservation Institute and the Ministry of Tourism and Antiquities.
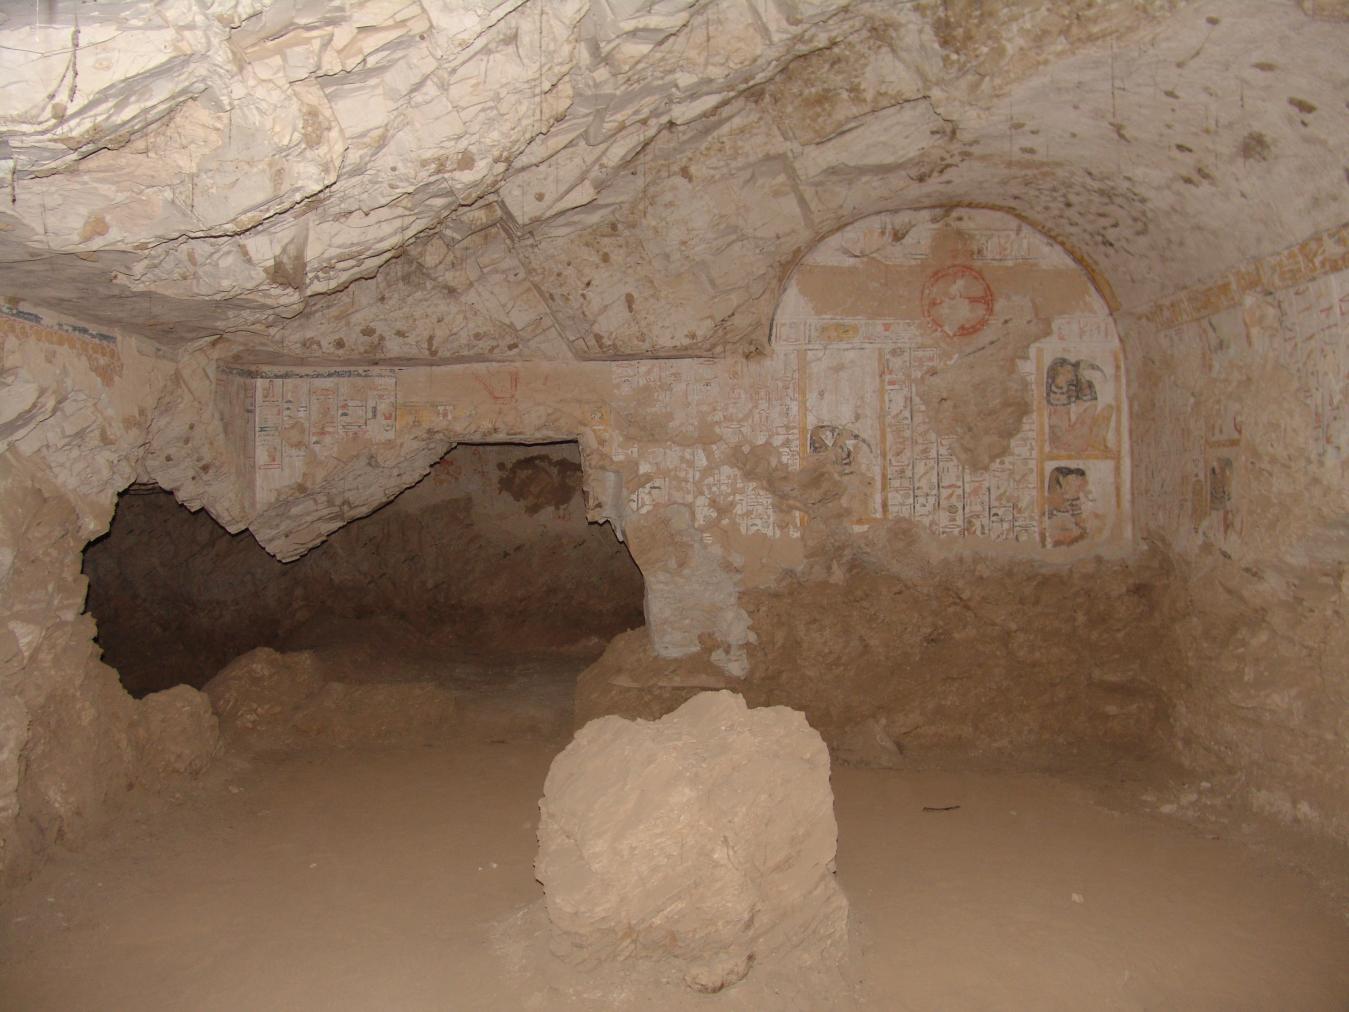
View of the east wall with collapsed pillar, break into side chamber Cb, the Queen offering, and the Book of the Dead Spell 18. © Getty Conservation Institute and the Ministry of Tourism and Antiquities.
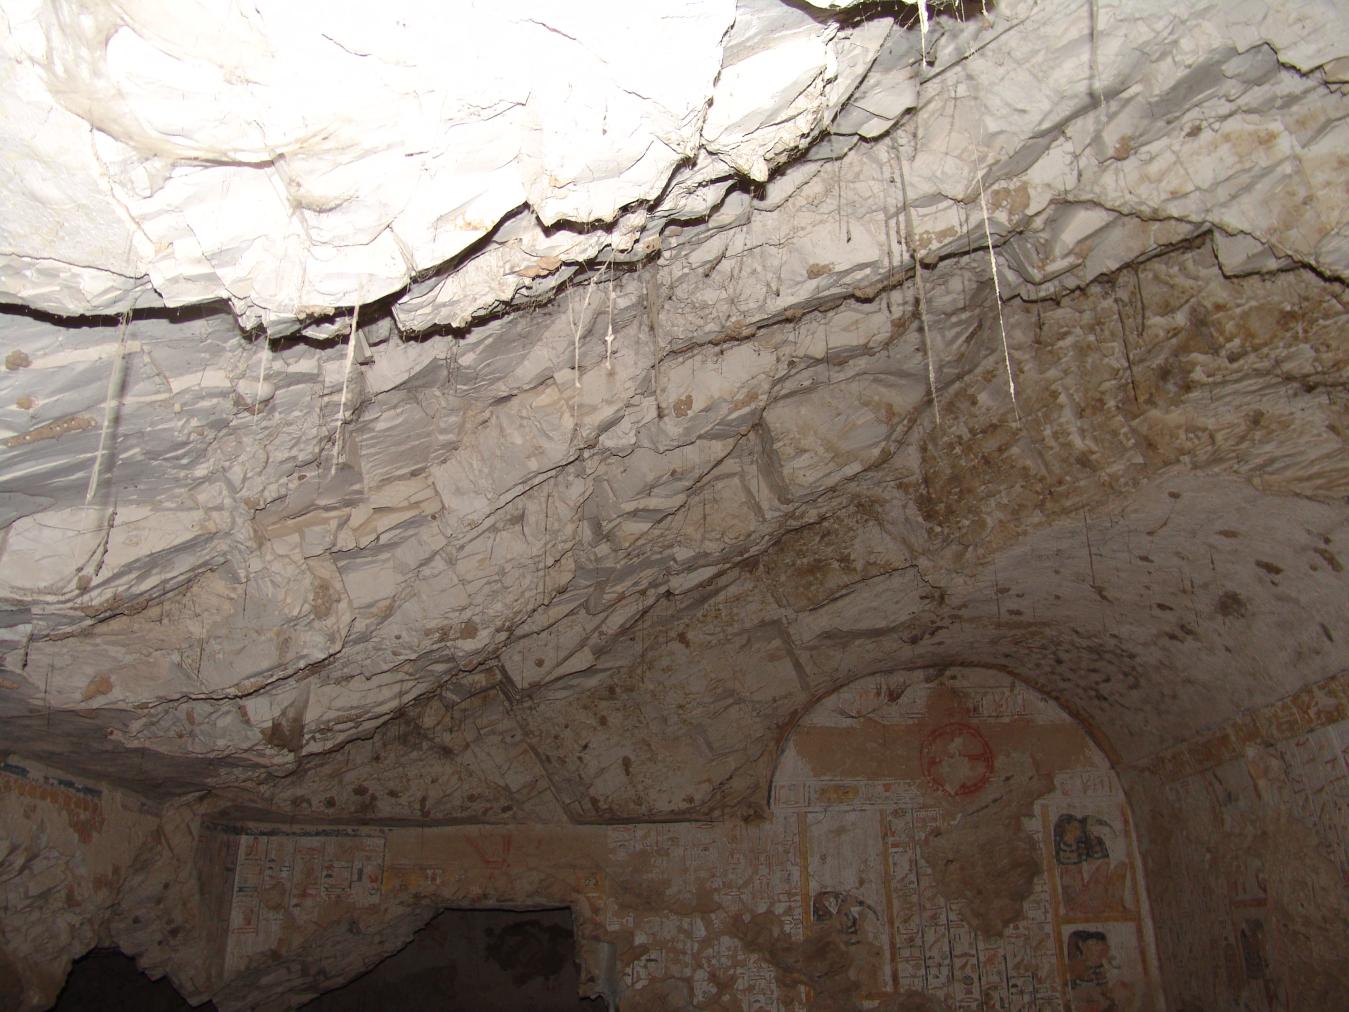
View of the ceiling. © Getty Conservation Institute and the Ministry of Tourism and Antiquities.
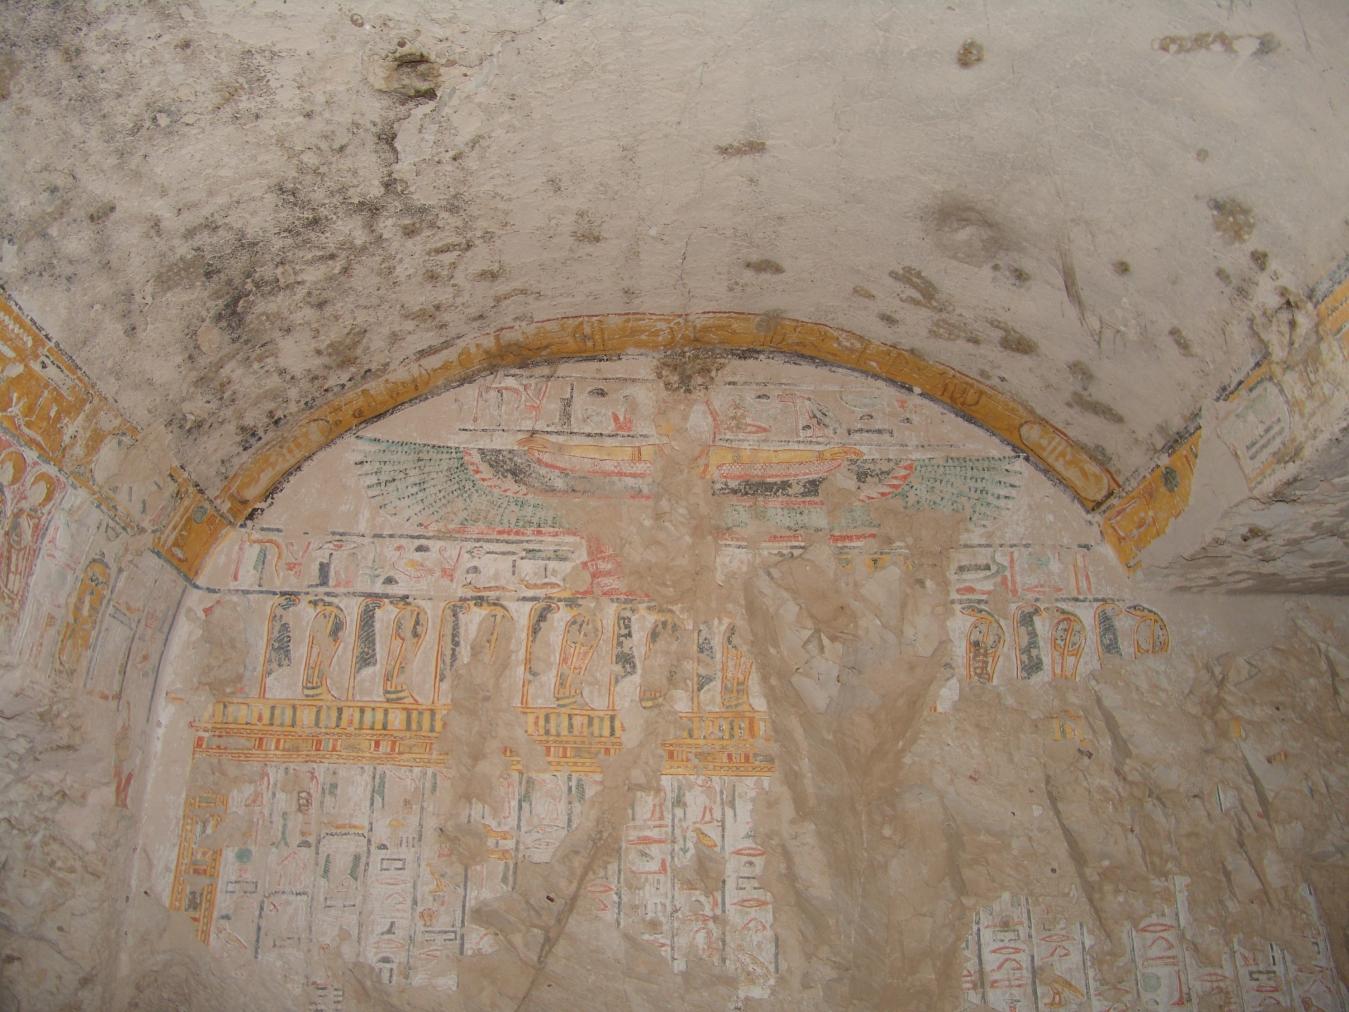
Detail of the west wall with Ma'at kneeling in the upper register and the Book of the Dead spell 125B. © Getty Conservation Institute and the Ministry of Tourism and Antiquities.
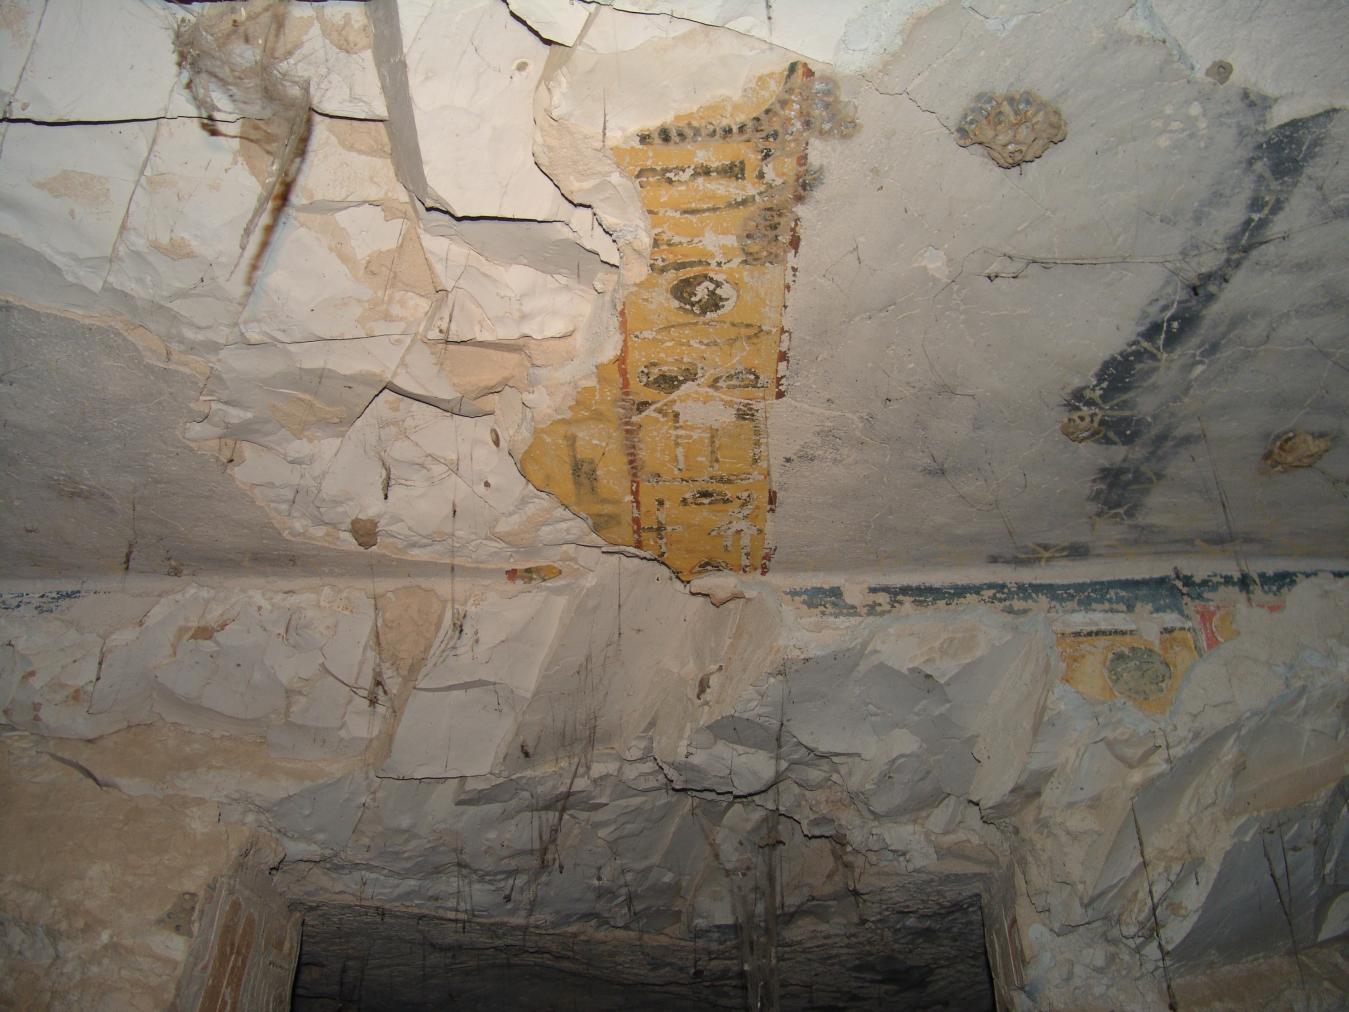
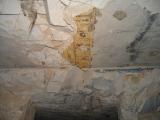
View of the ceiling above Gate C with the titles of the queen. © Getty Conservation Institute and the Ministry of Tourism and Antiquities.
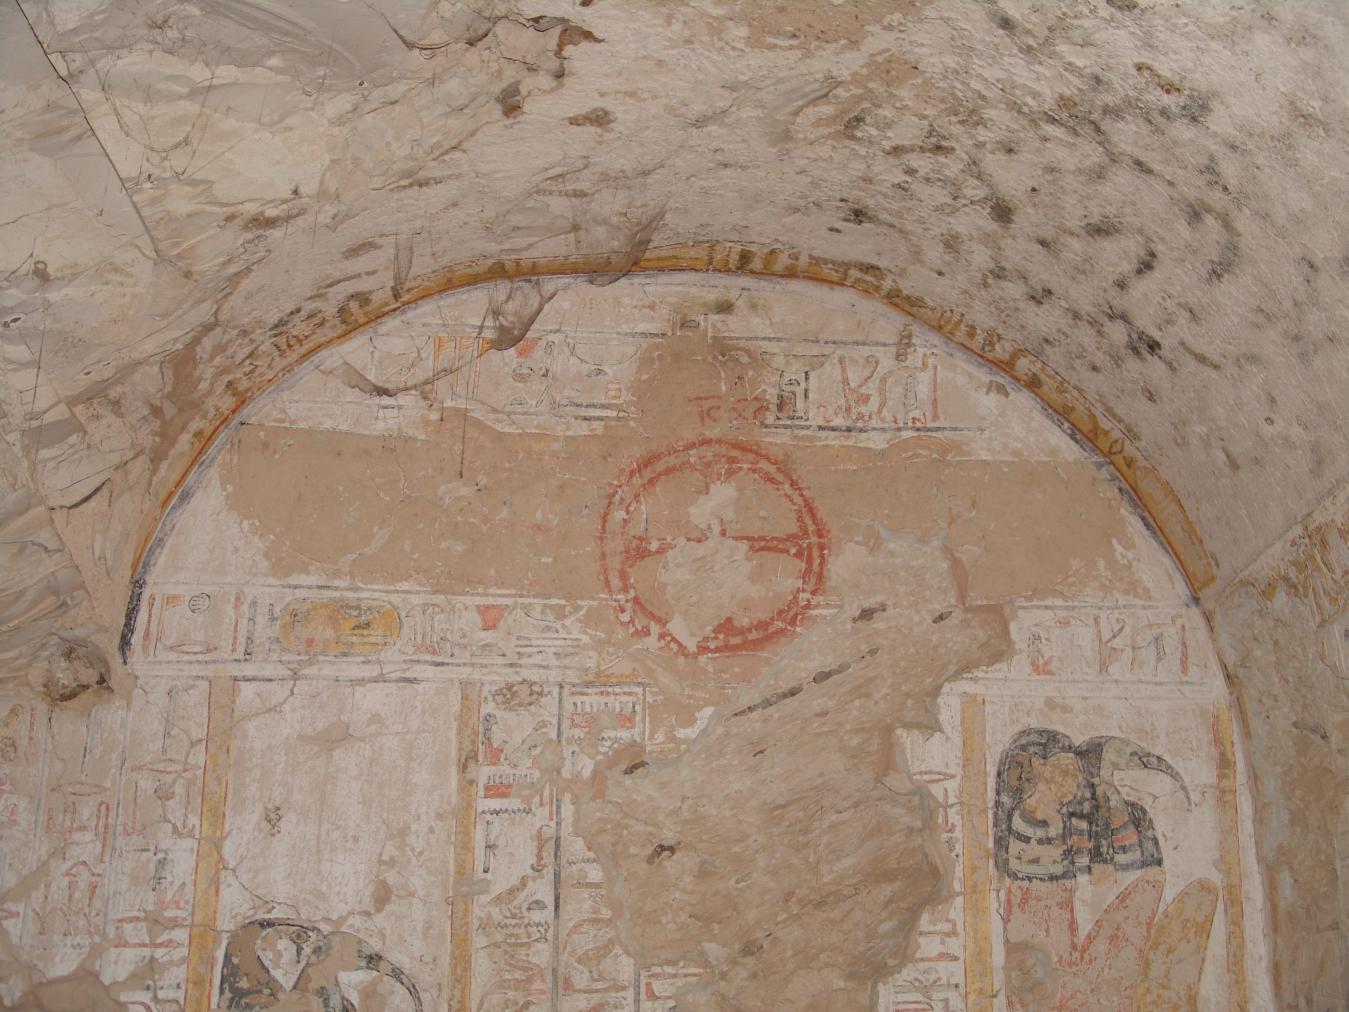
View of the East wall with coptic graffiti and the Book of the Dead Spell 18. © Getty Conservation Institute and the Ministry of Tourism and Antiquities.
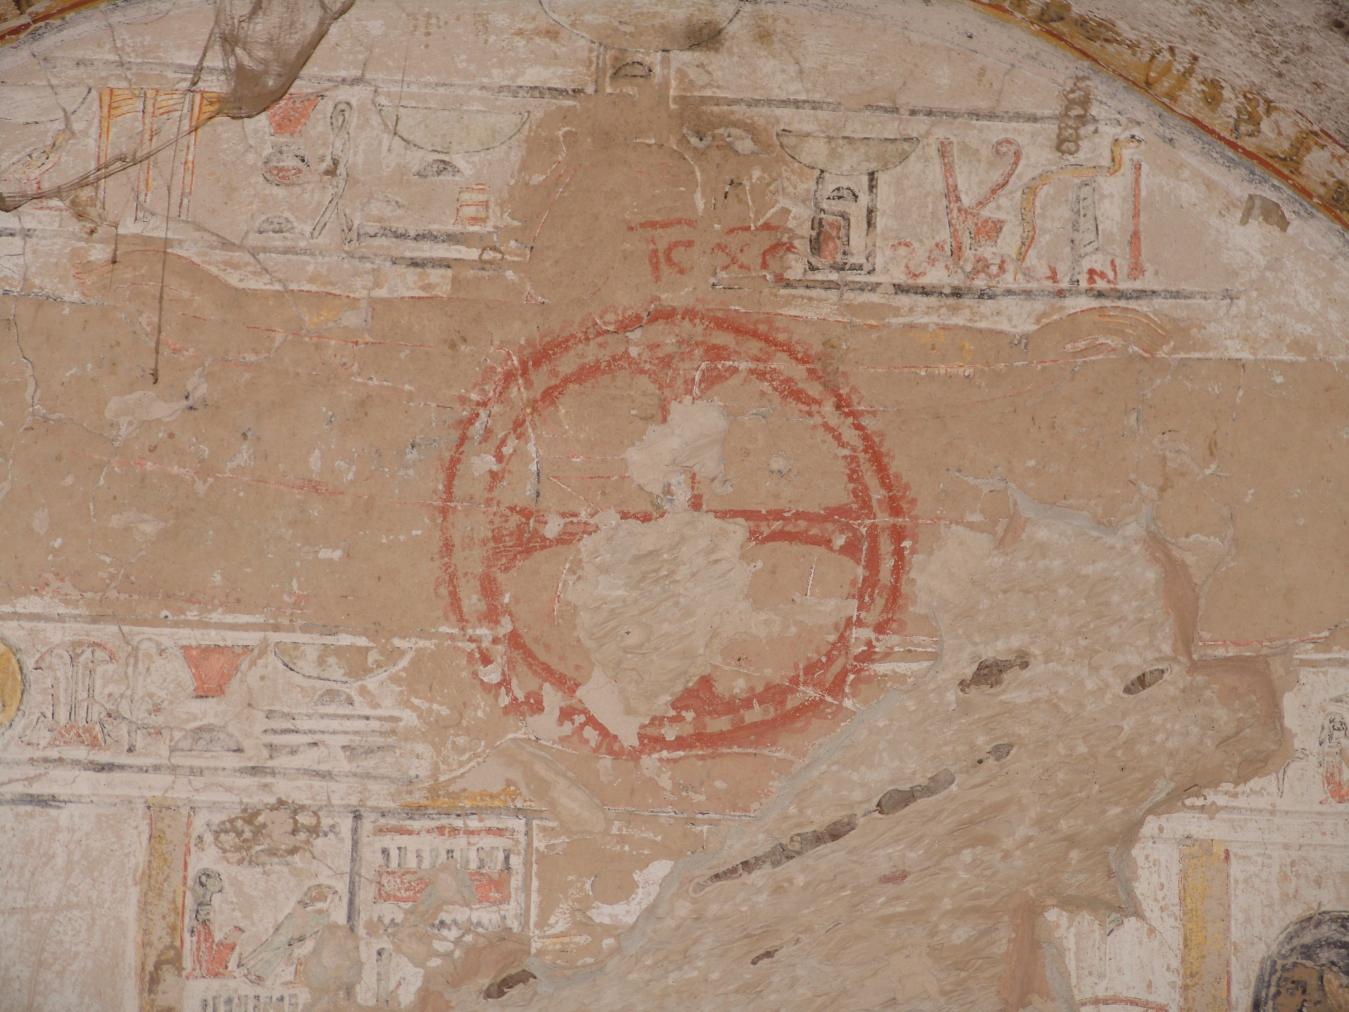
Detail of coptic graffiti on the east wall. © Getty Conservation Institute and the Ministry of Tourism and Antiquities.
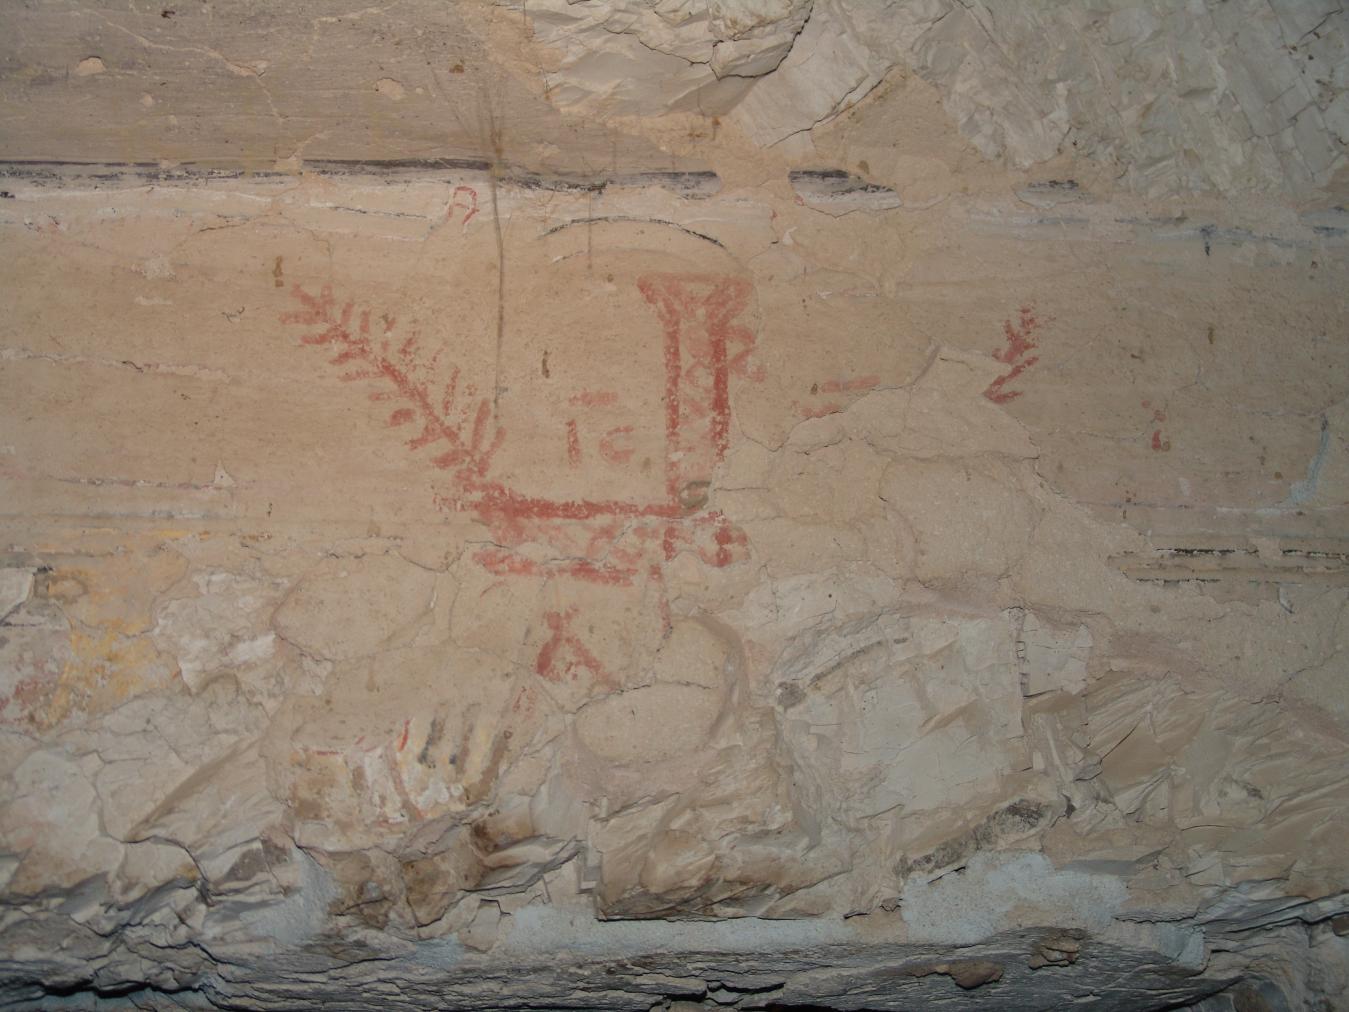
Detail of Coptic graffiti above Gate Bb. © Getty Conservation Institute and the Ministry of Tourism and Antiquities.
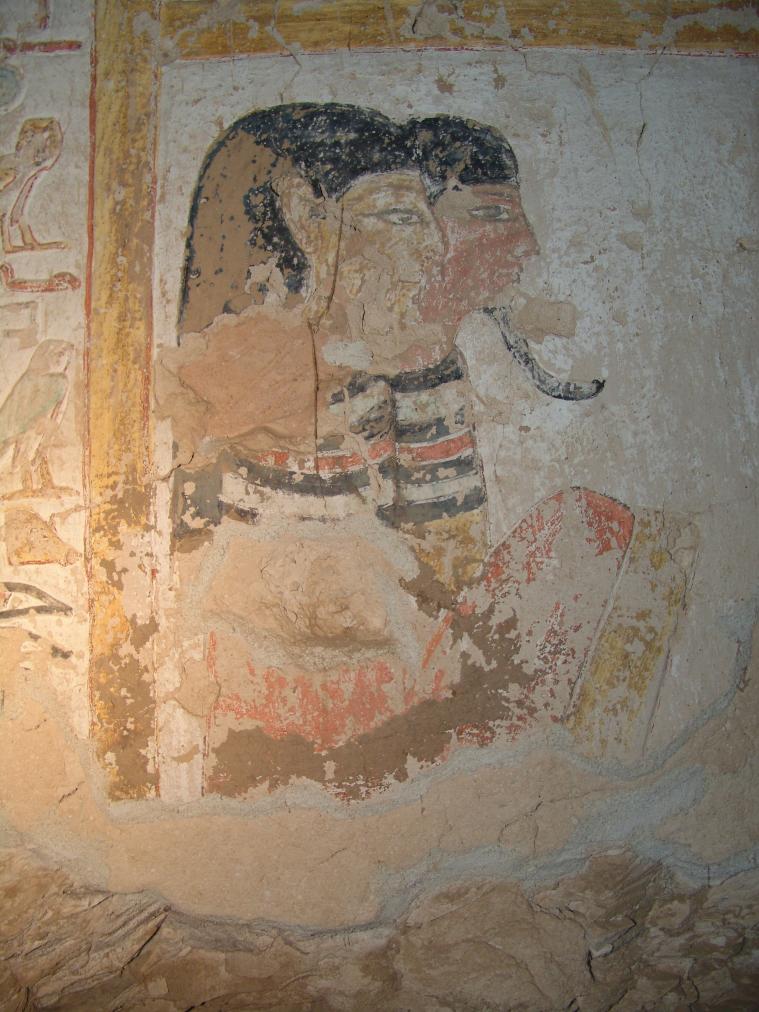
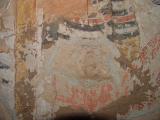
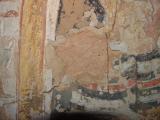
Detail of seated deities from the Book of the Dead Spell 18. © Getty Conservation Institute and the Ministry of Tourism and Antiquities.
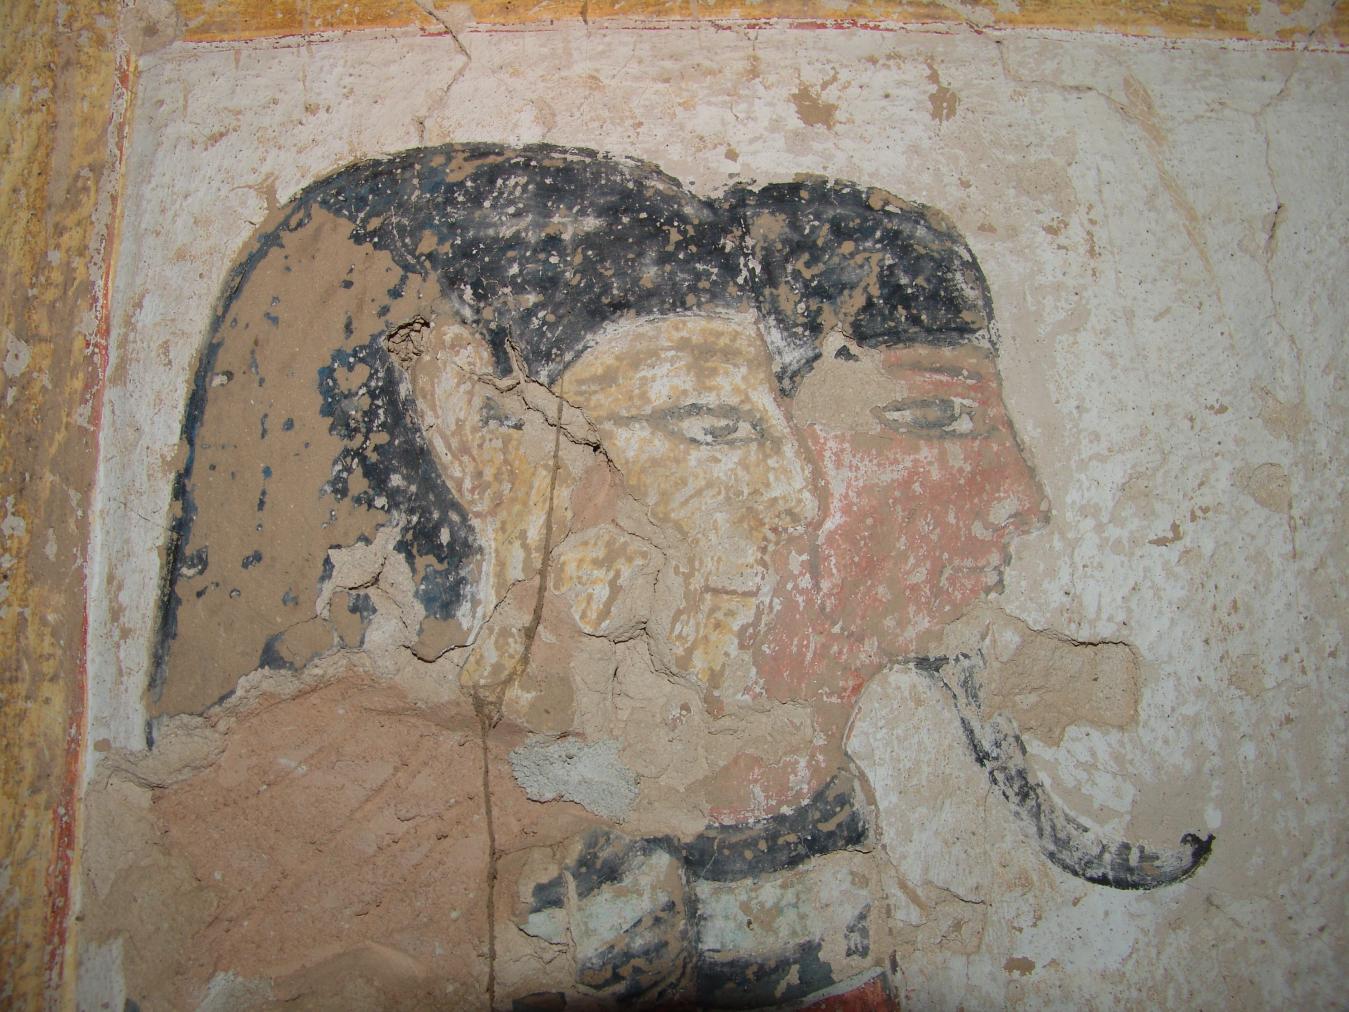
Detail of seated deities from the Book of the Dead Spell 18. © Getty Conservation Institute and the Ministry of Tourism and Antiquities.
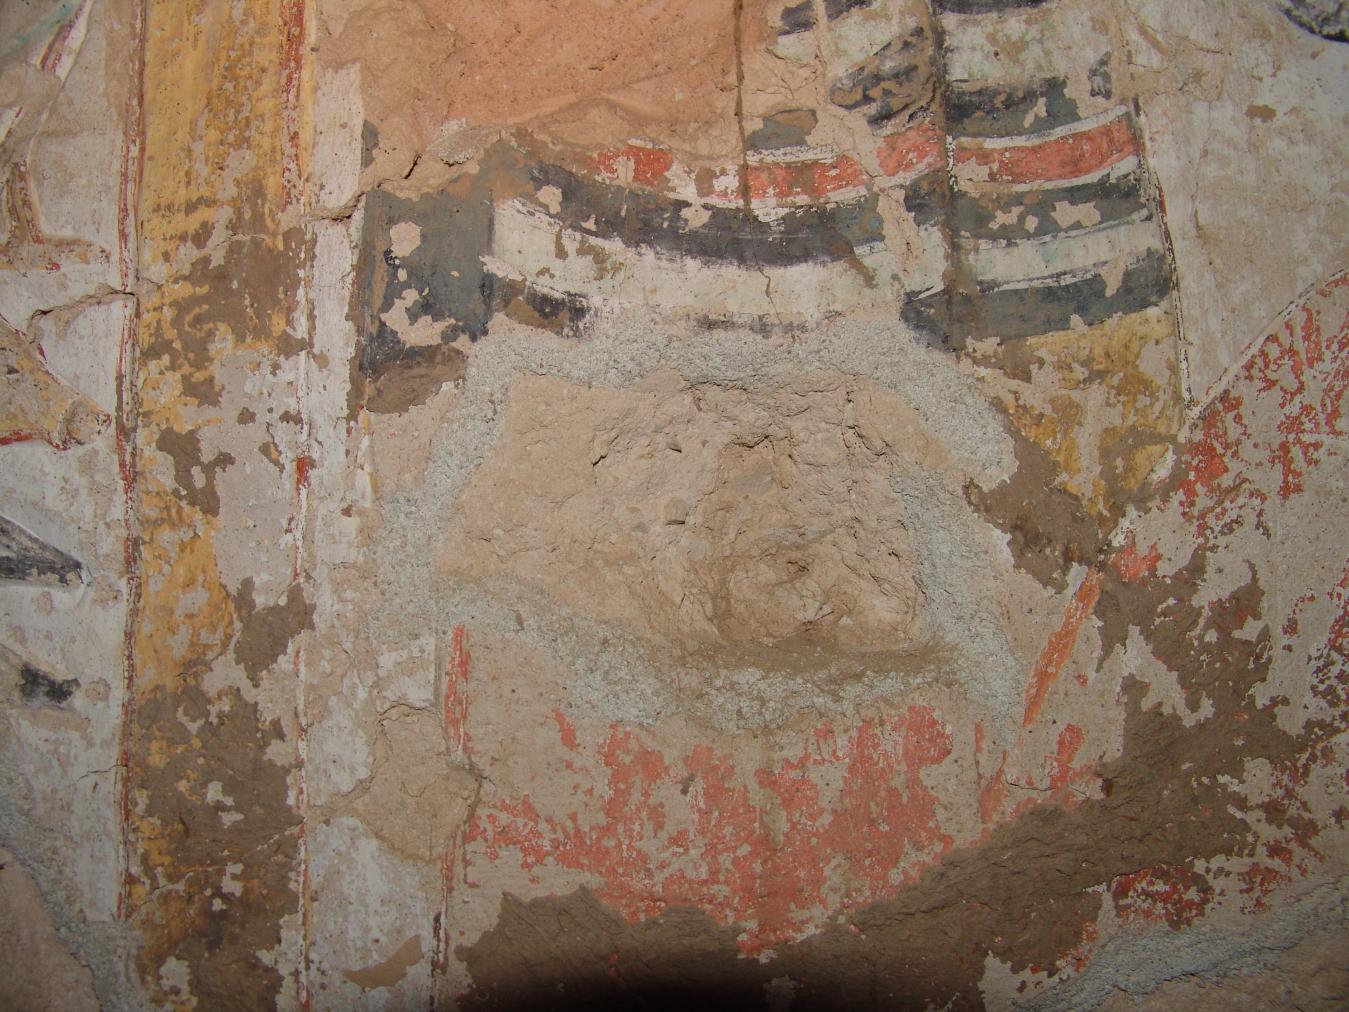
Detail of seated deities from the Book of the Dead Spell 18. © Getty Conservation Institute and the Ministry of Tourism and Antiquities.
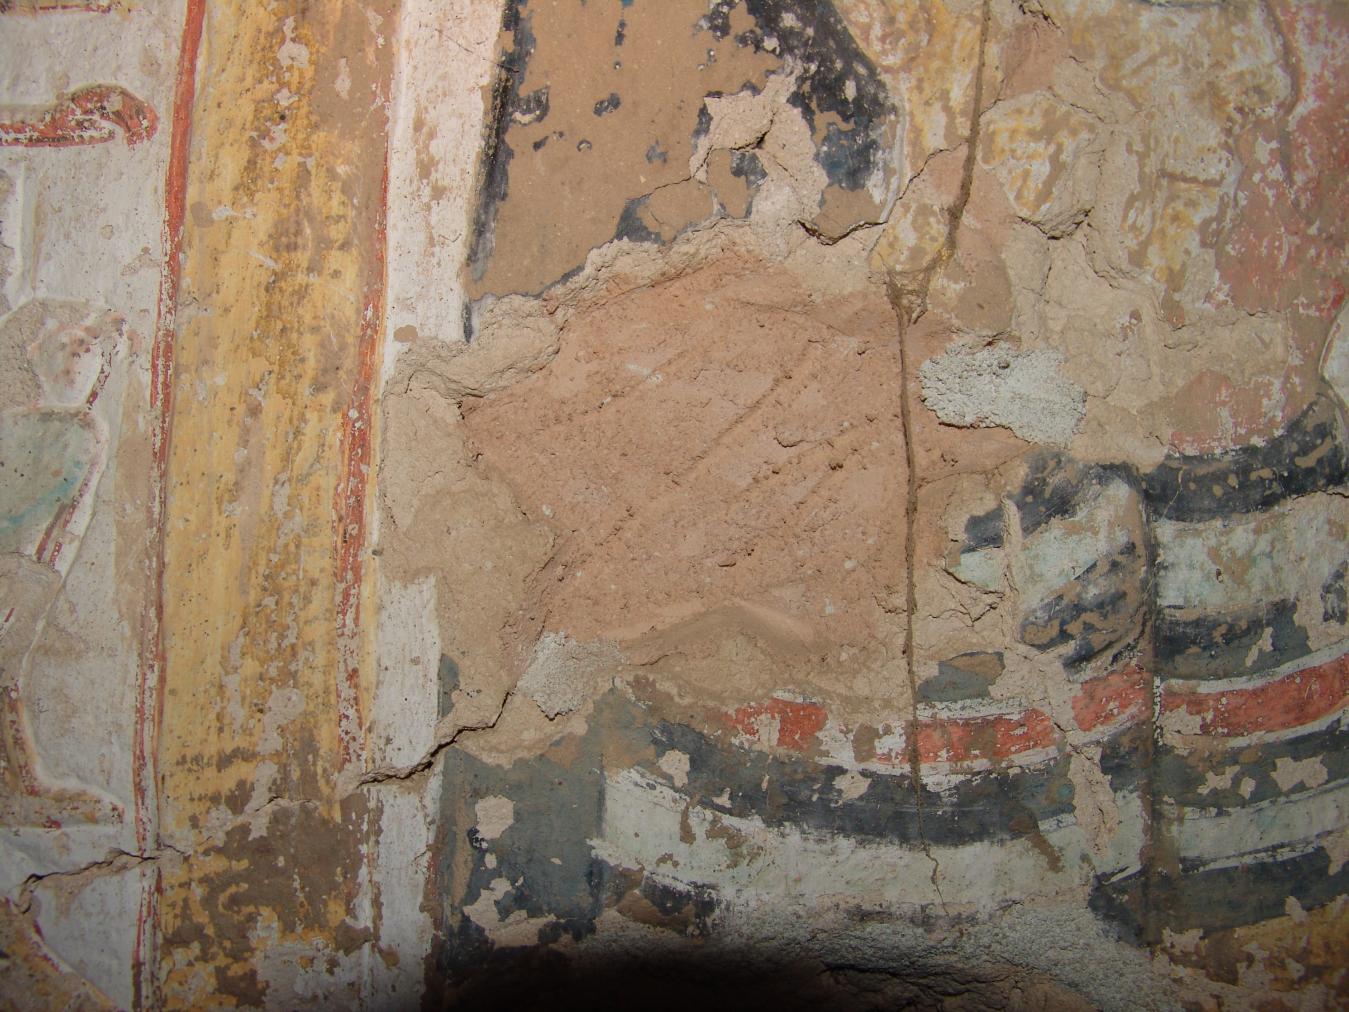
Detail of seated deities from the Book of the Dead Spell 18. © Getty Conservation Institute and the Ministry of Tourism and Antiquities.
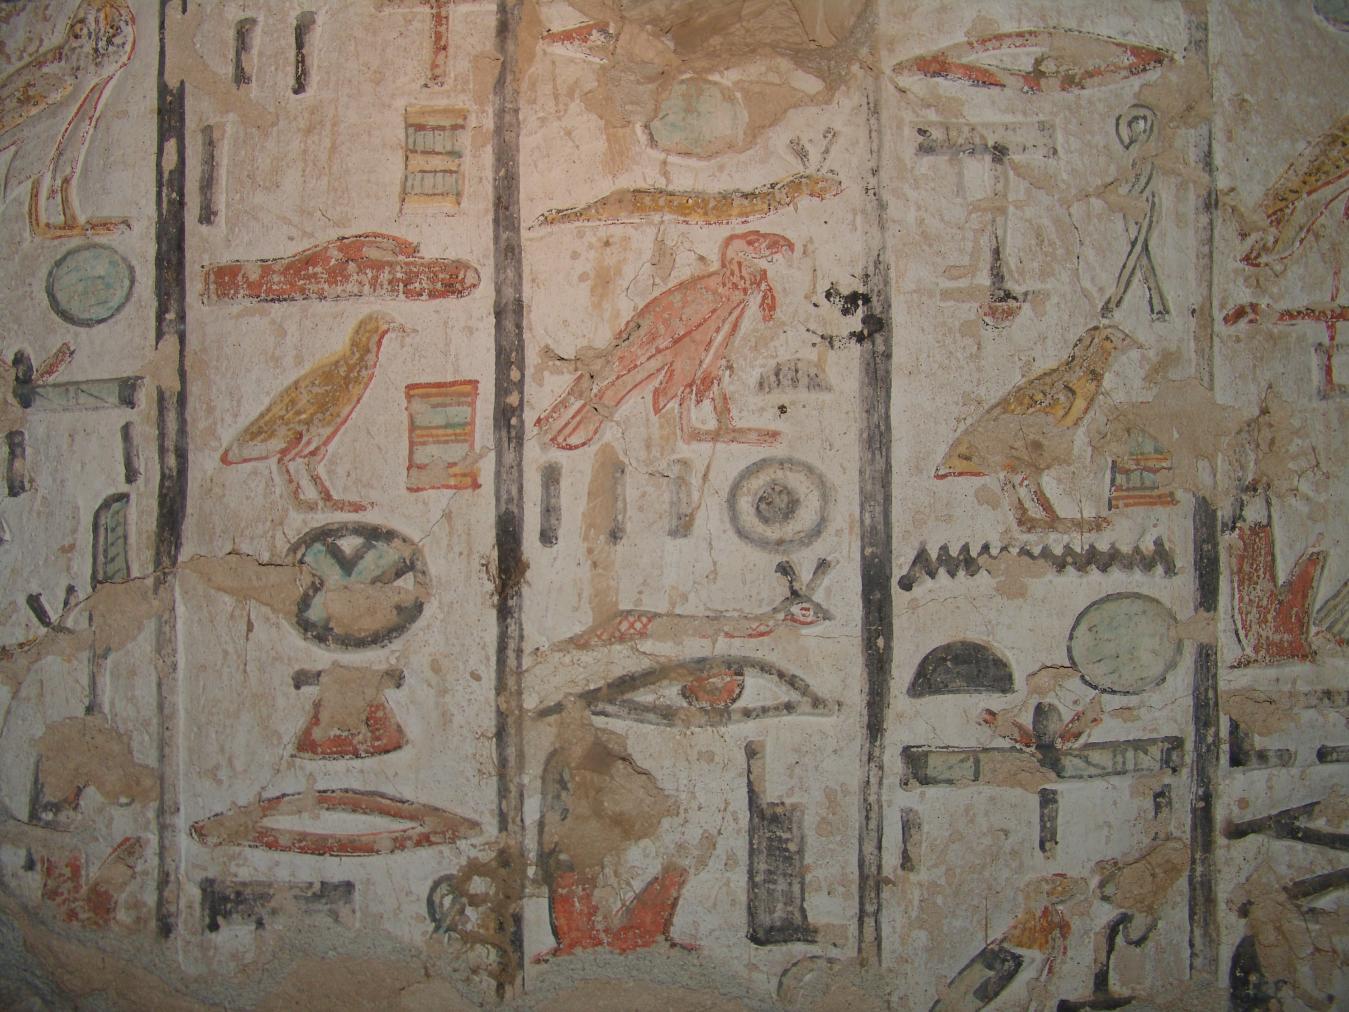
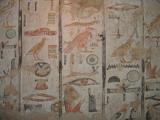
Detail of hieroglyphic text from the Book of the Dead spell 18. © Getty Conservation Institute and the Ministry of Tourism and Antiquities.
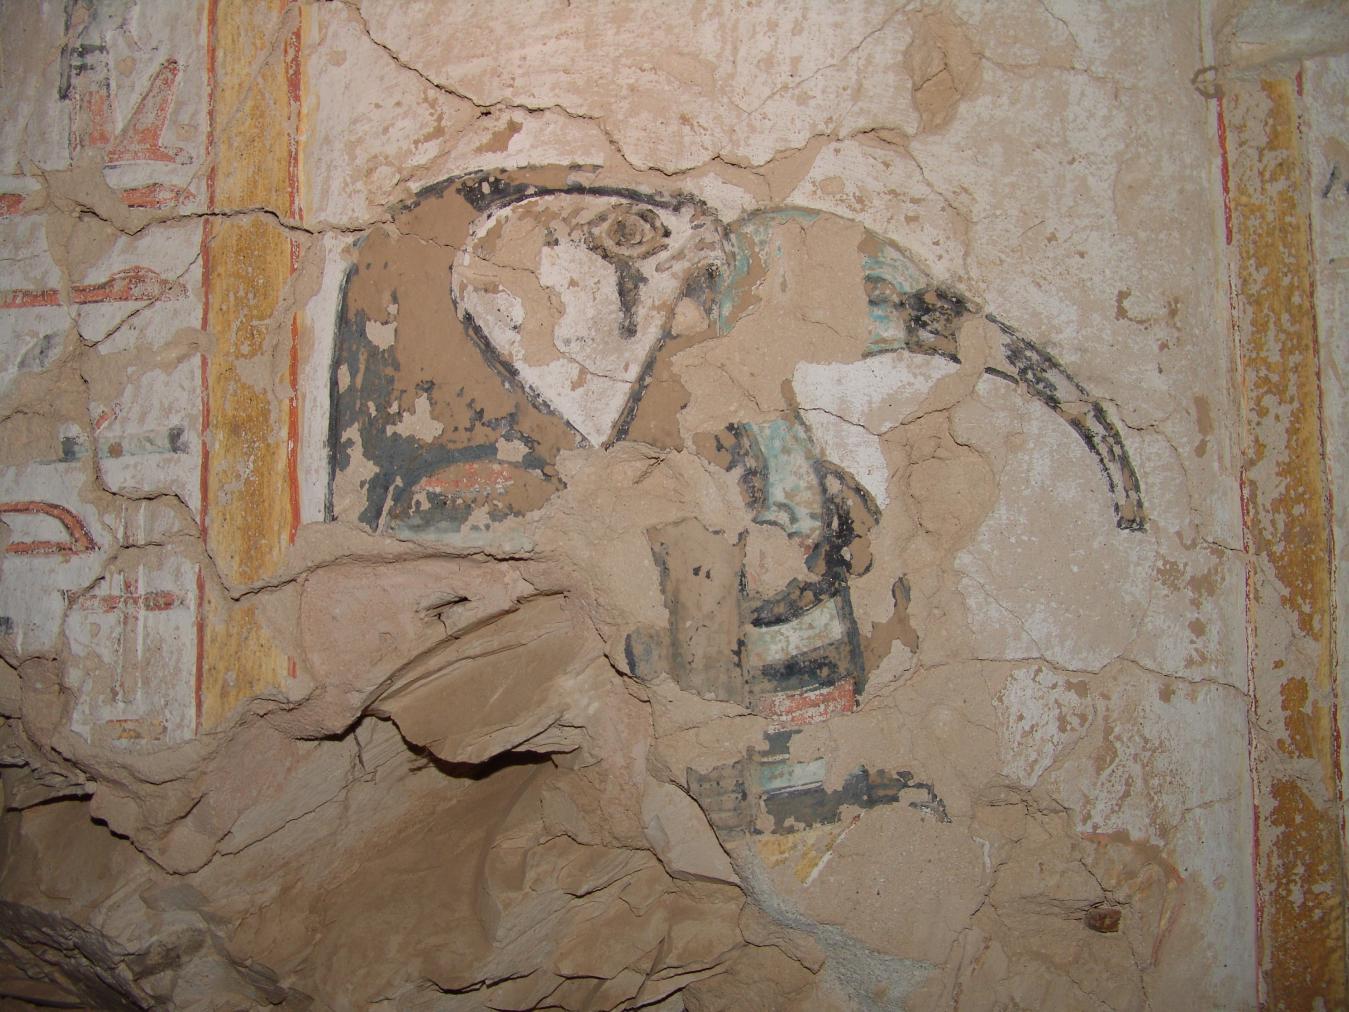
Detail of seated deities from the Book of the Dead Spell 18. © Getty Conservation Institute and the Ministry of Tourism and Antiquities.
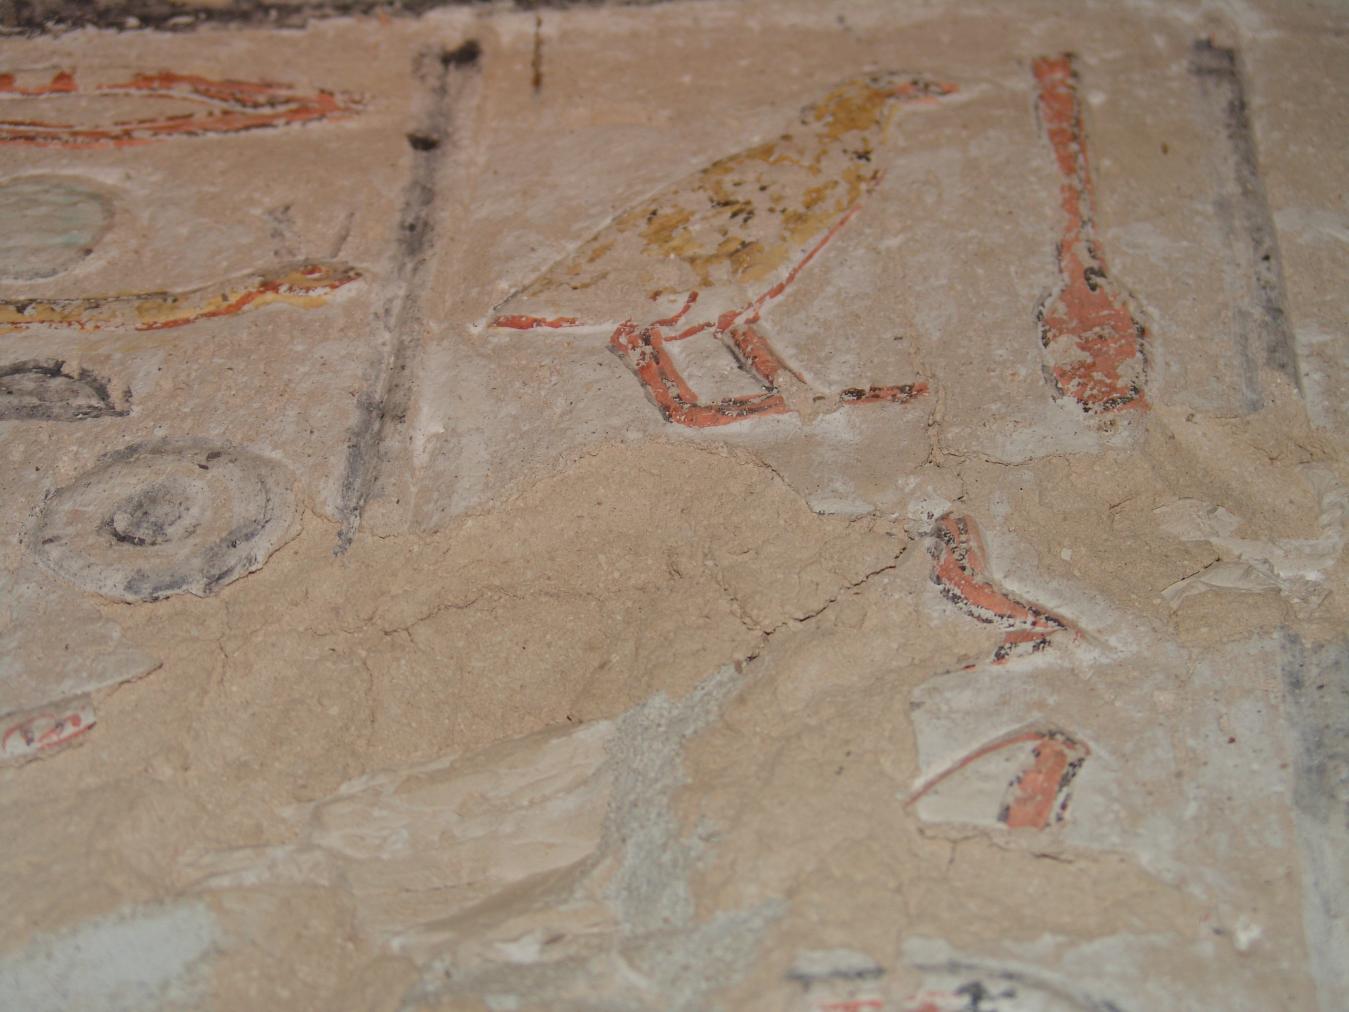
Detail of hieroglyphic text from the Book of the Dead spell 18. © Getty Conservation Institute and the Ministry of Tourism and Antiquities.
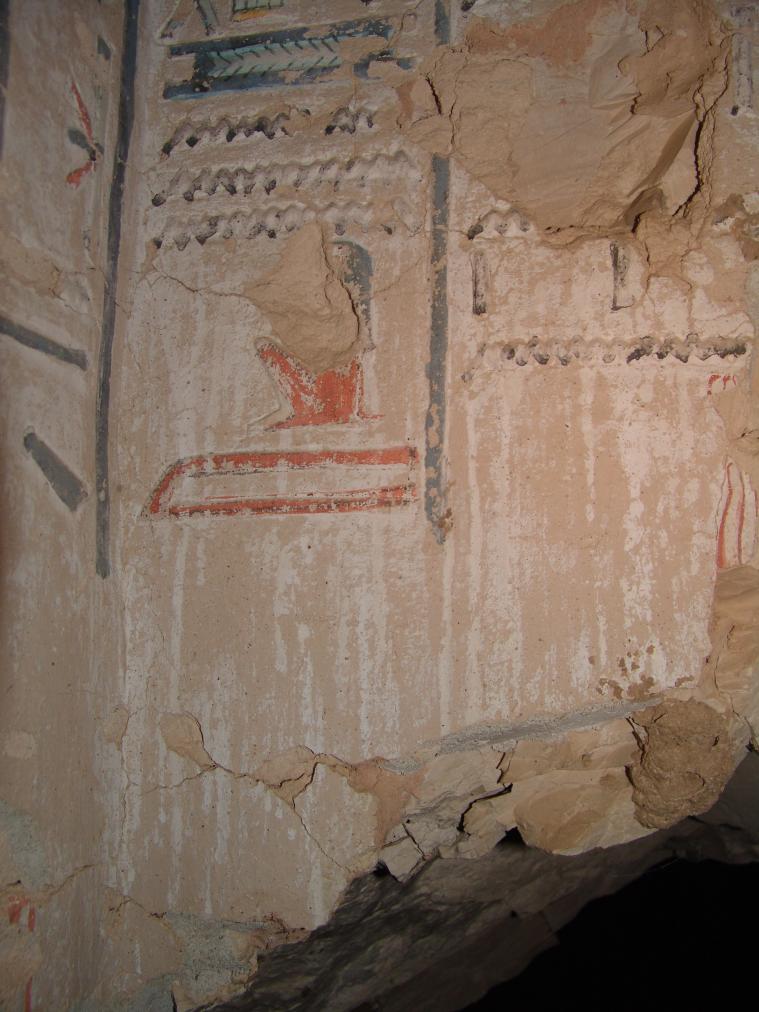
Detail of hieroglyphs from the Book of the Dead spell 18 above the break into side chamber Cb. © Getty Conservation Institute and the Ministry of Tourism and Antiquities.
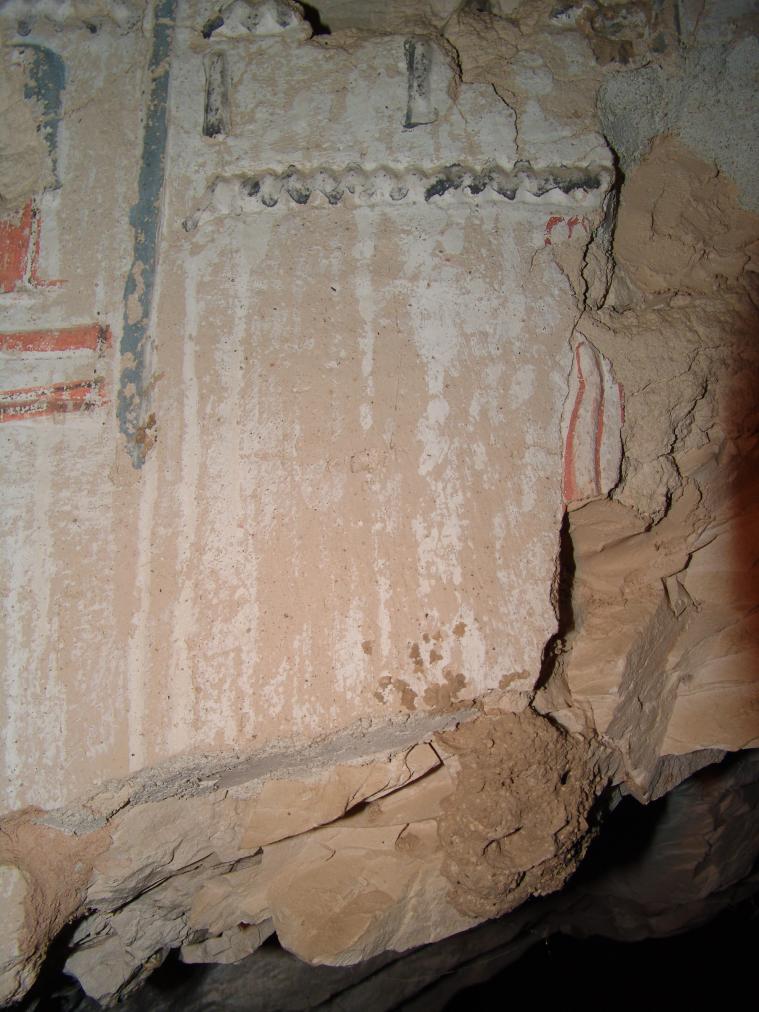
Detail of hieroglyphic text from the Book of the Dead spell 18 above the break into side chamber Cb. © Getty Conservation Institute and the Ministry of Tourism and Antiquities.
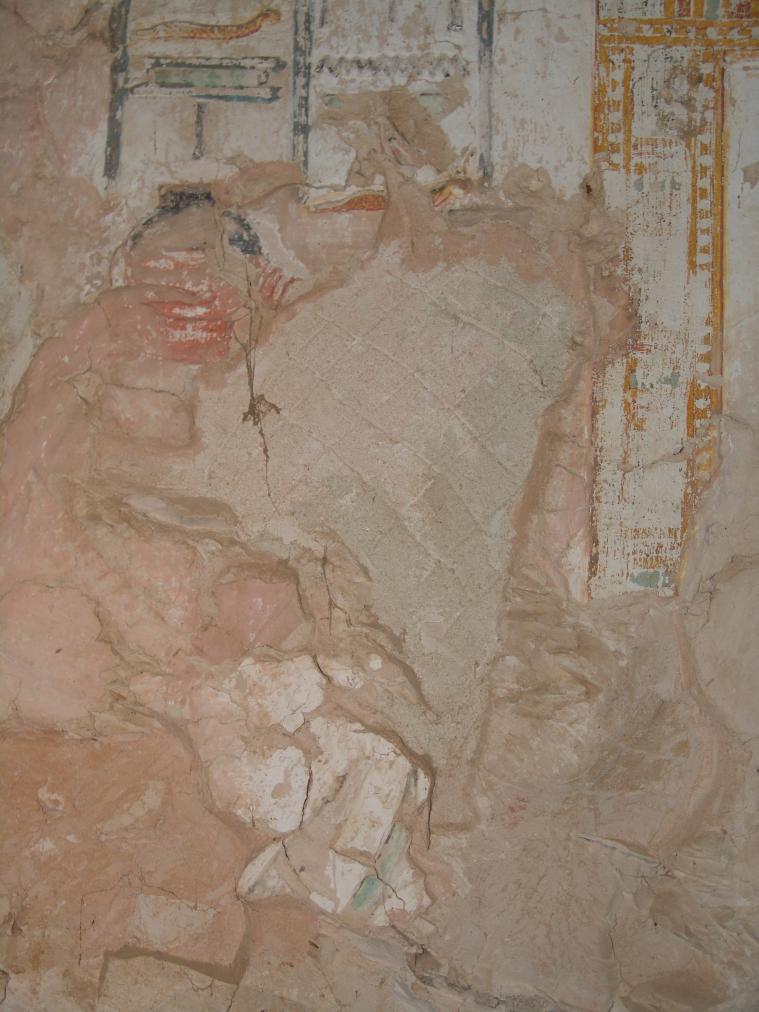
Detail of restoration work on the south wall. © Getty Conservation Institute and the Ministry of Tourism and Antiquities.
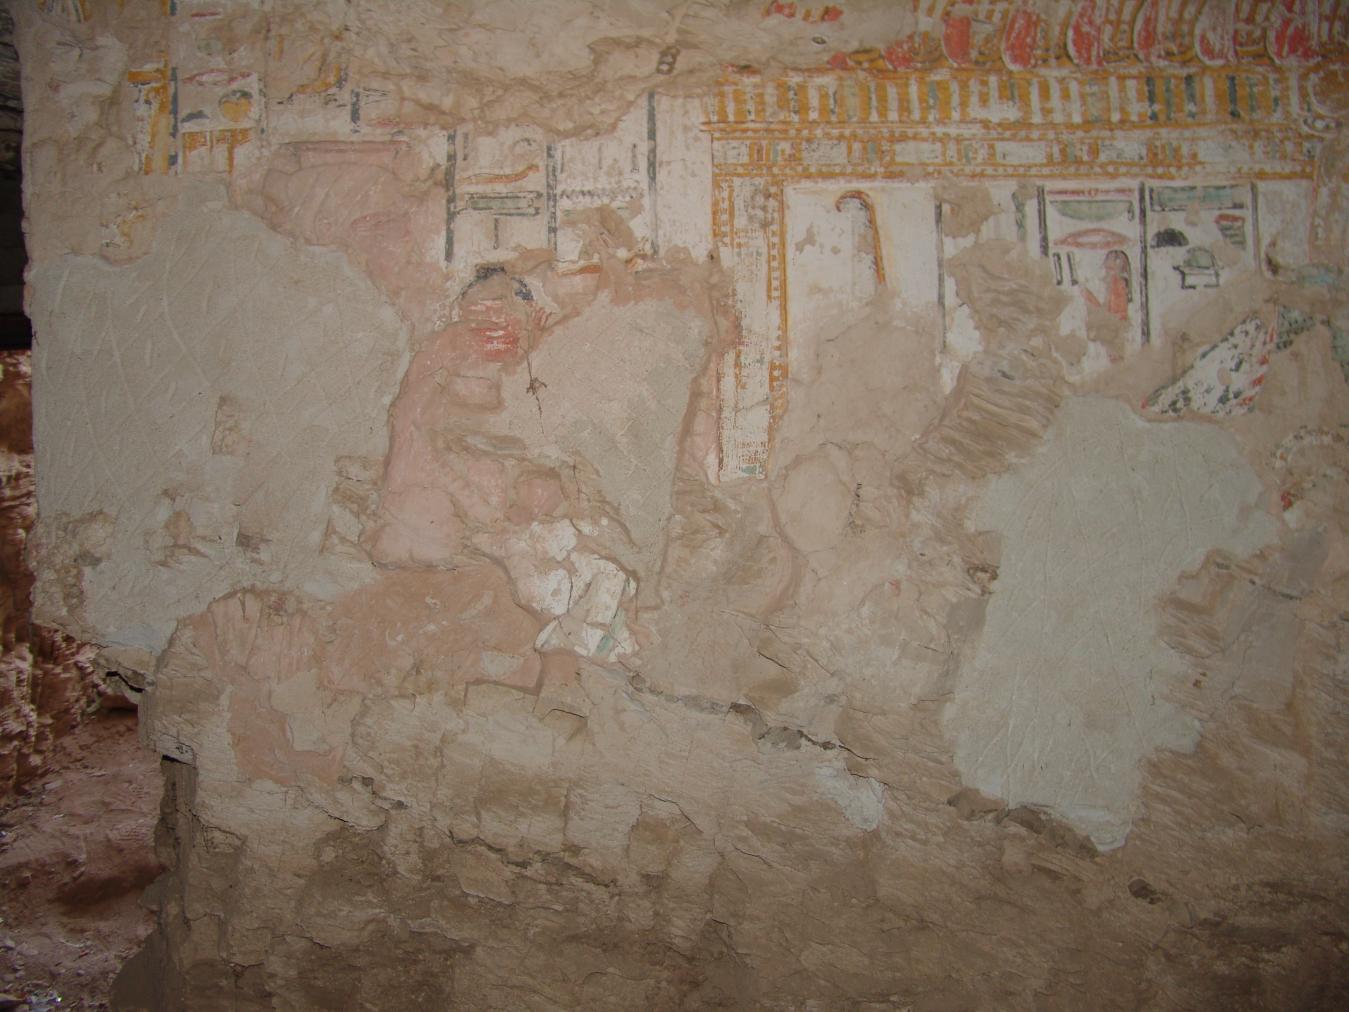
The queen offering Ma'at to Ptah-Sokar in a shrine. © Getty Conservation Institute and the Ministry of Tourism and Antiquities.
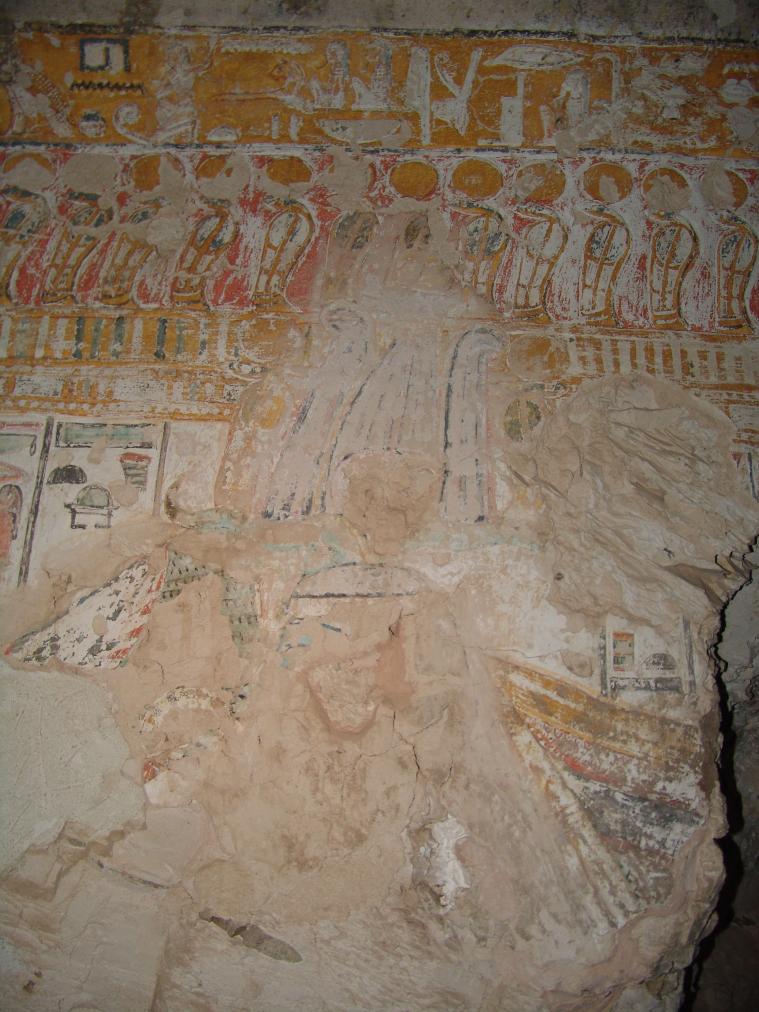
The queen offering Ma'at to Ptah-Sokar in a shrine. © Getty Conservation Institute and the Ministry of Tourism and Antiquities.
Gate Ba
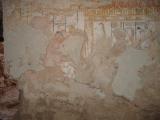
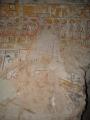
See entire tombThis gate is cut into the northern wall of chamber B, on its western side, and provides access to a small side chamber. The only extant decoration is the remains of a Djed pillar on the left thickness.
Porter and Moss designation:
View of the collapsed pillars and the north wall with a view of gates Ba and C, as well as the break in the wall to side chamber Cb. © Getty Conservation Institute and the Ministry of Tourism and Antiquities.
View of the northwest corner with collapsed pillar, Gate Ba, and Gate C. © Getty Conservation Institute and the Ministry of Tourism and Antiquities.
View of the collapsed pillar and northwest corner with Gate Ba. © Getty Conservation Institute and the Ministry of Tourism and Antiquities.
Side chamber Ba
See entire tombThe north wall of this side chamber has collapsed, providing access to side chamber Ca. The decoration in this chamber has been completely destroyed.
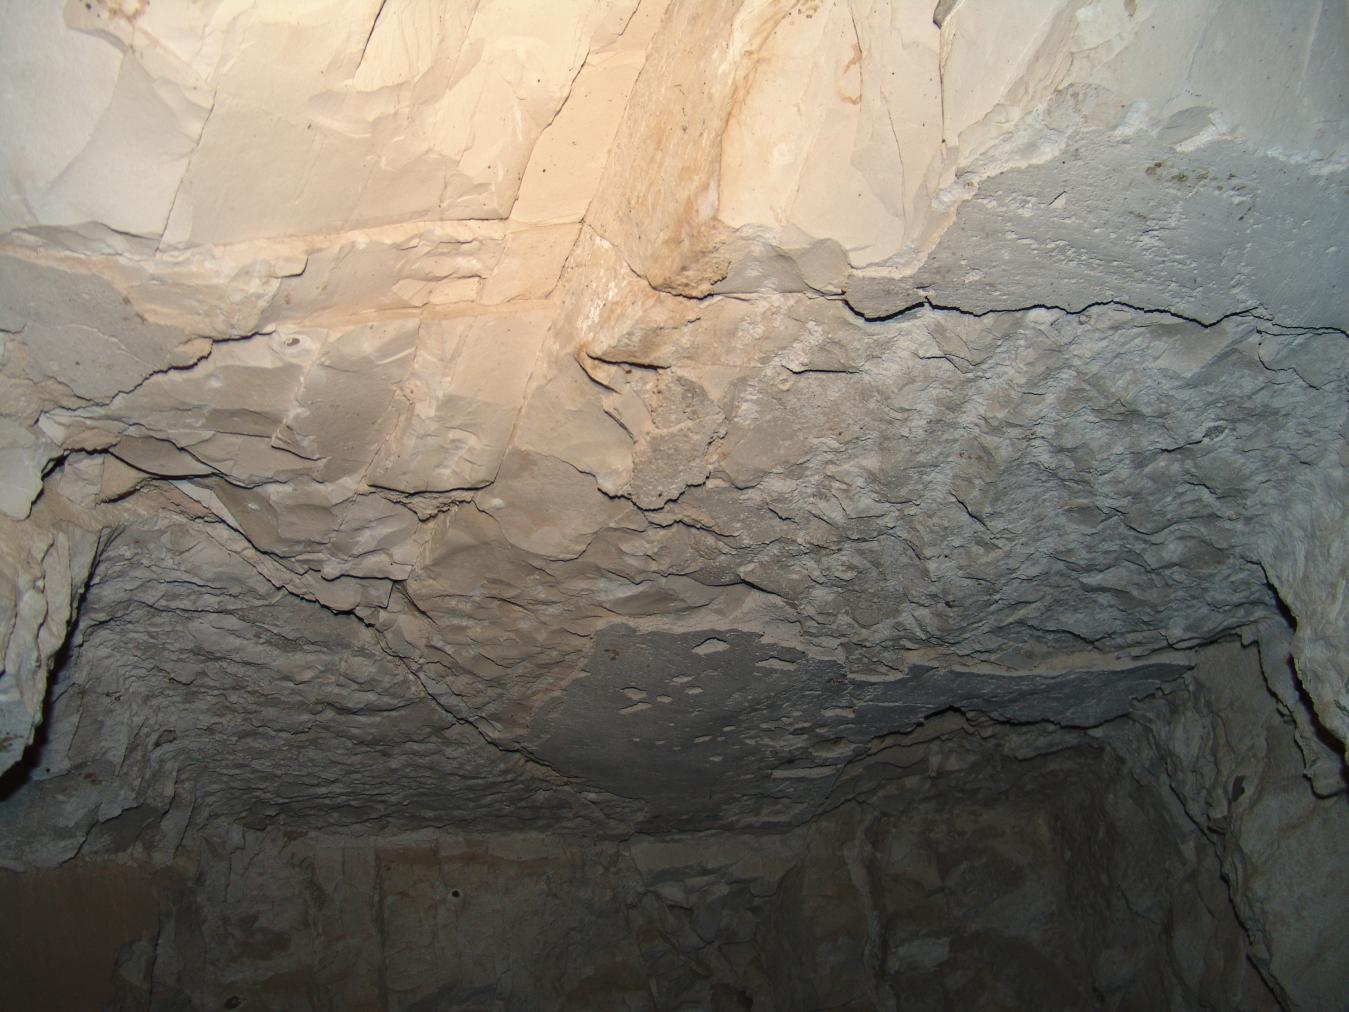
View of the ceiling. © Getty Conservation Institute and the Ministry of Tourism and Antiquities.
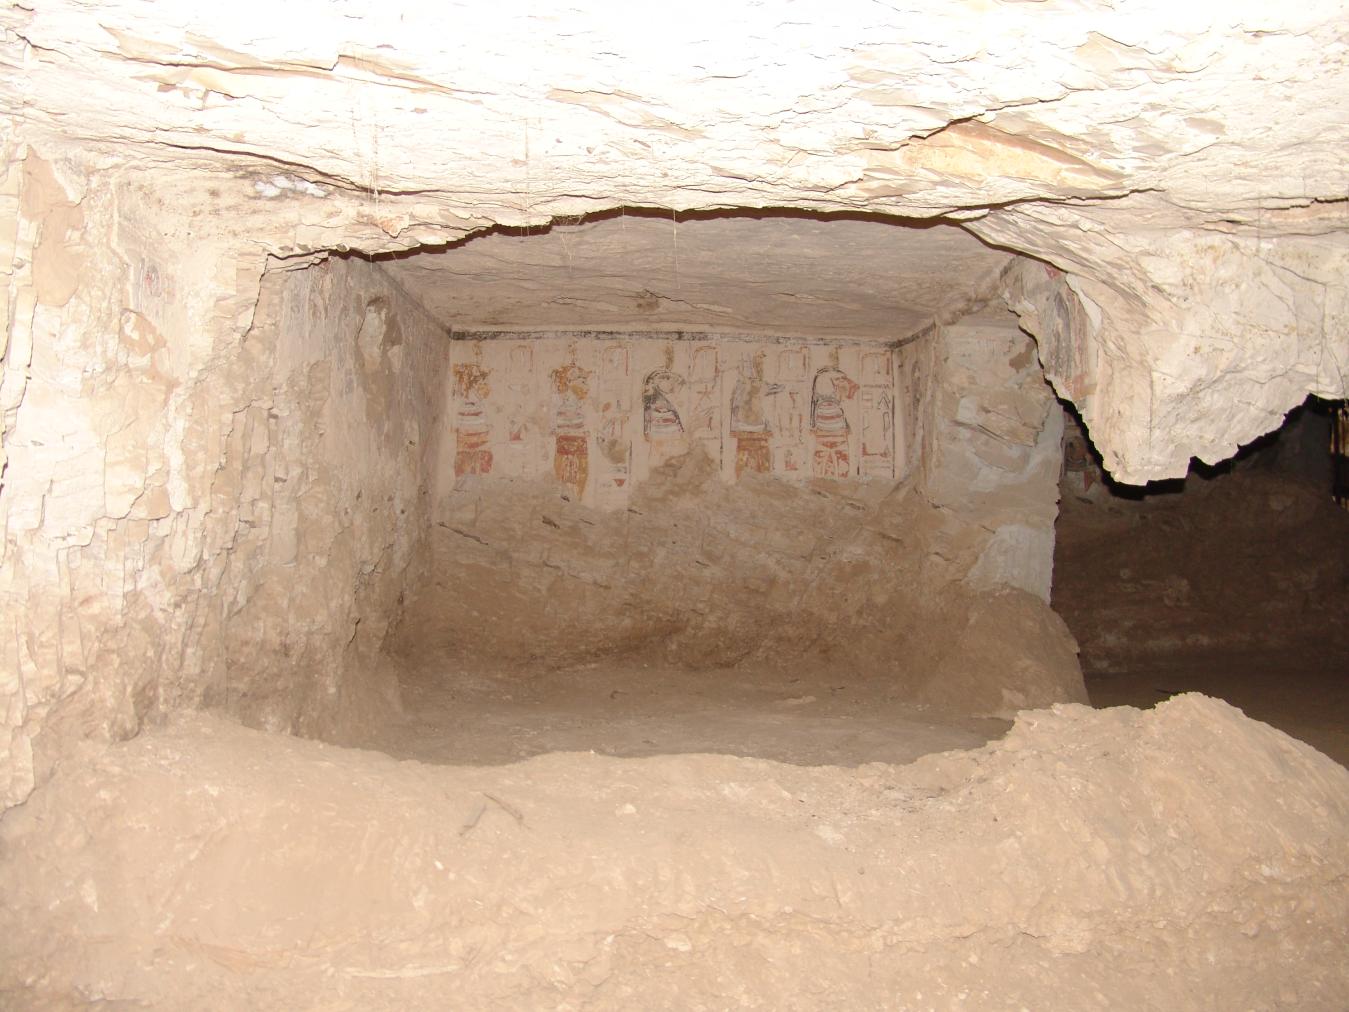
View of the break through northern wall into side chamber Bb. © Getty Conservation Institute and the Ministry of Tourism and Antiquities.
Gate Bb
See entire tombThis gate is cut into the eastern wall of chamber B and provides access to a small side chamber. The lintel contains severely damaged text, over which a Coptic cross with arms holding a branch was carved.
Porter and Moss designation:
Side chamber Bb
See entire tombThis small side chamber is decorated with images of deities and a spell from the Book of the Dead (180). The western wall is severely damaged, to the point where gate Bb is nearly lost.
Porter and Moss designation:
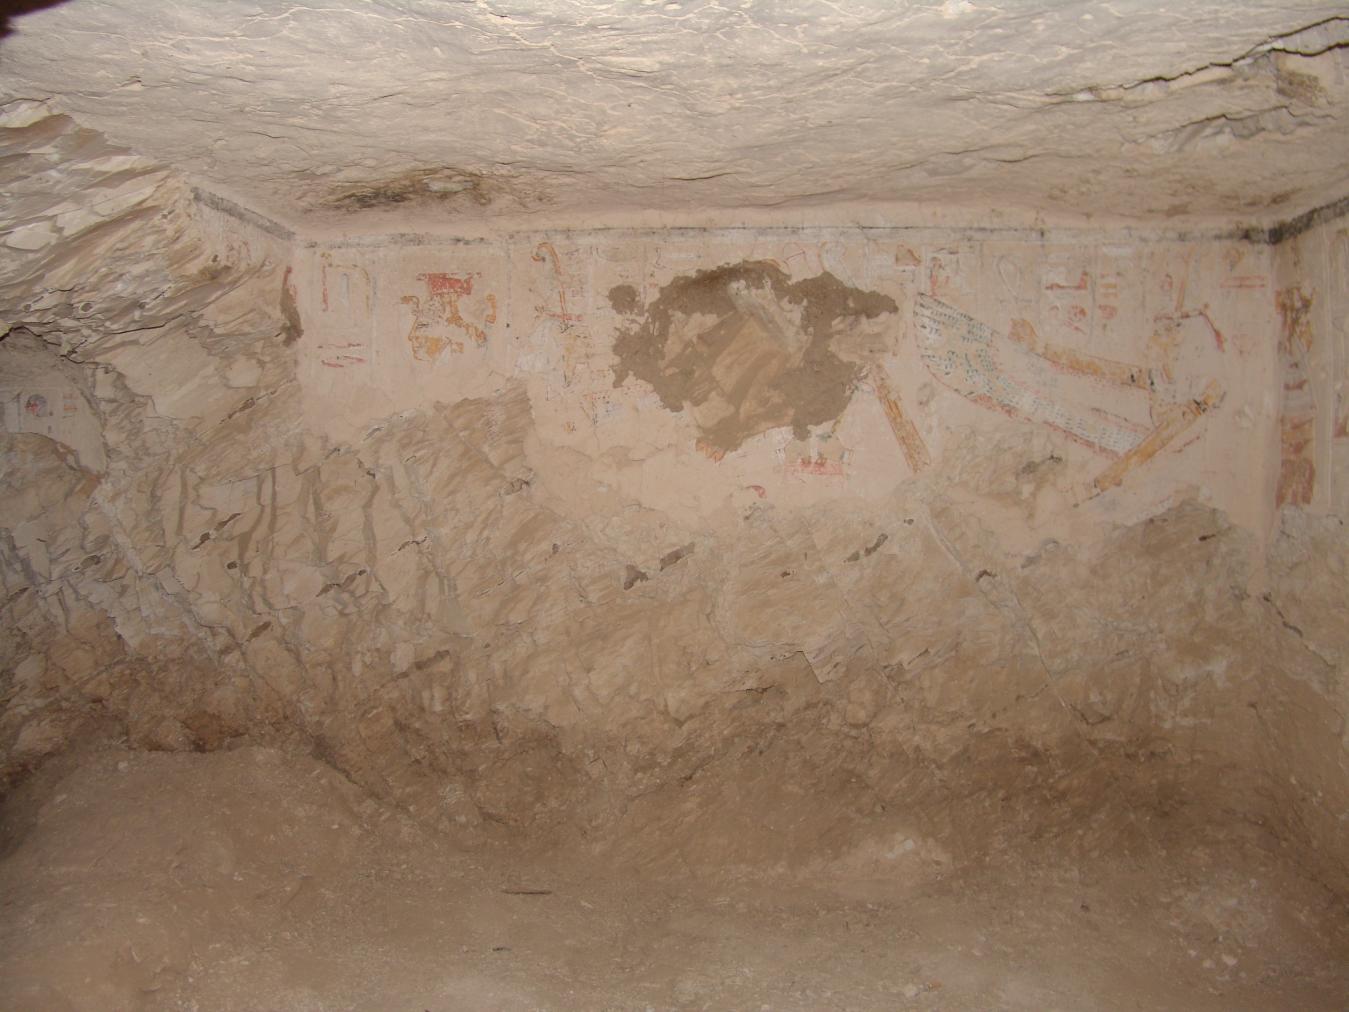
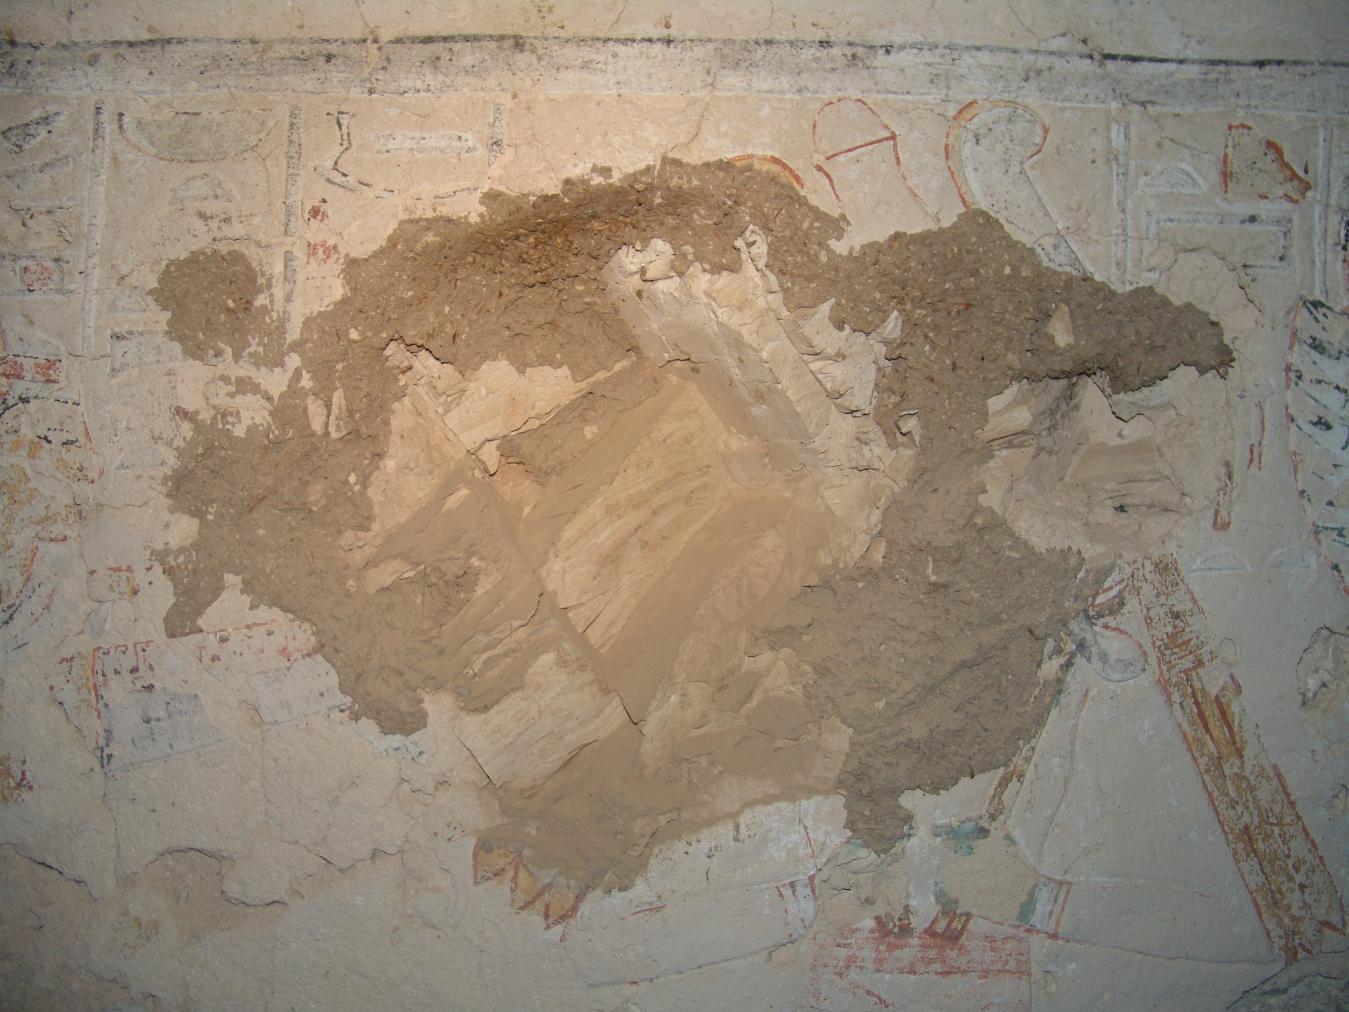
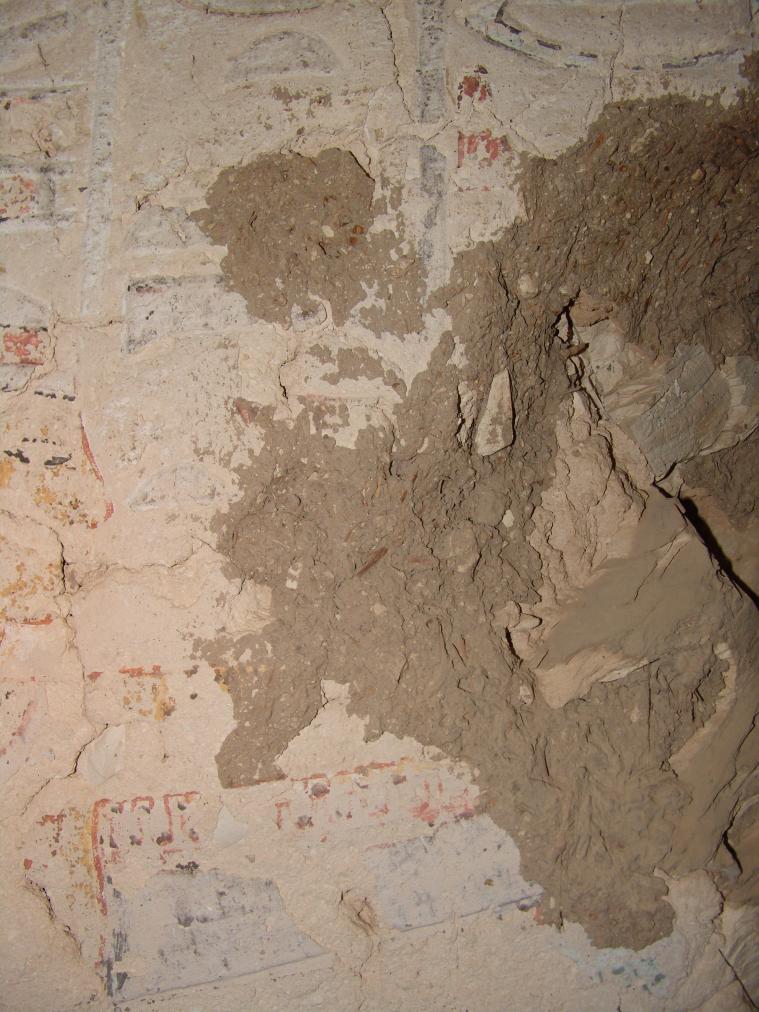
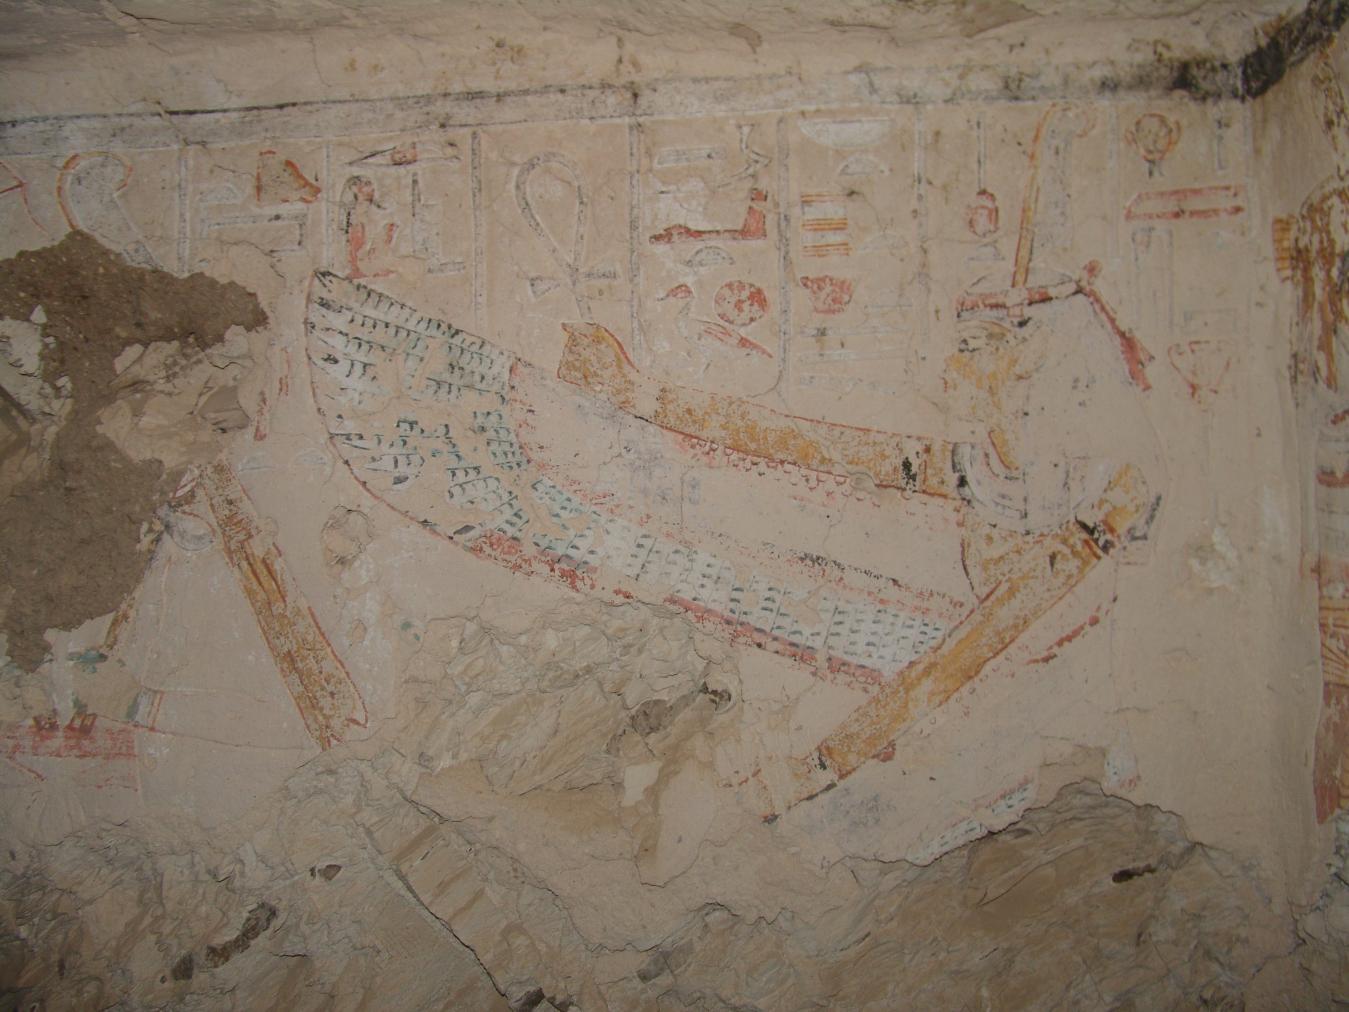
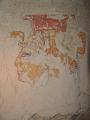
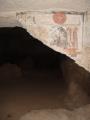
Seated Osiris (damaged) flanked by two winged Ma'ats. Behind the left Ma'at is the figure of the Queen. © Getty Conservation Institute and the Ministry of Tourism and Antiquities.
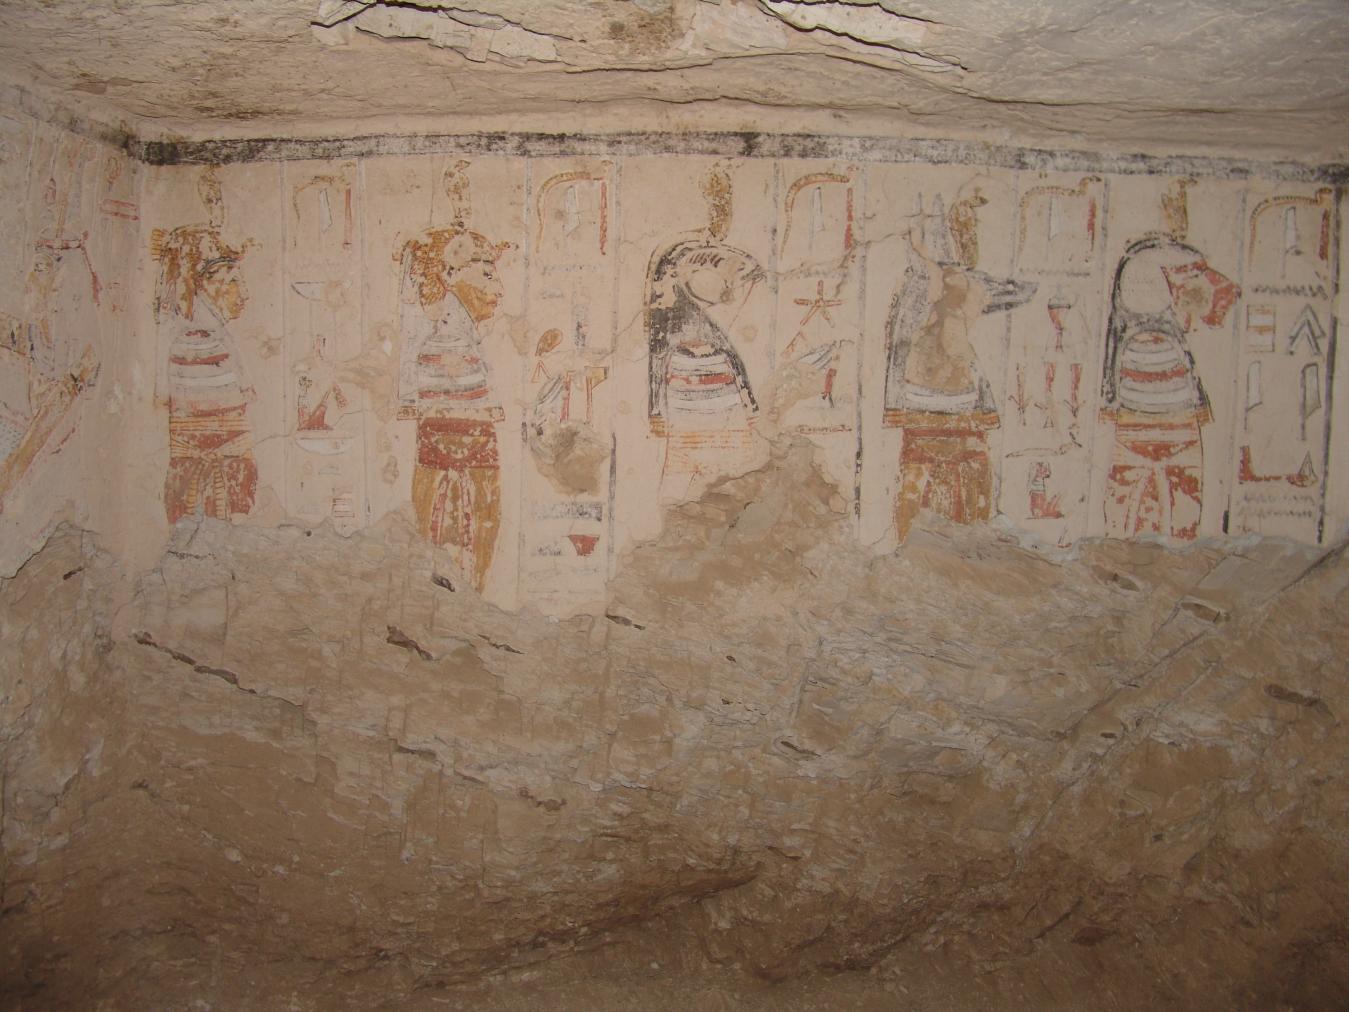
The four sons of Horus with Isis and Nephthys (all figures mummiform with cobra atop their heads). © Getty Conservation Institute and the Ministry of Tourism and Antiquities.
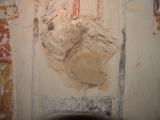
Detail of seated Osiris (damaged). © Getty Conservation Institute and the Ministry of Tourism and Antiquities.
Detail of seated Osiris (damaged). © Getty Conservation Institute and the Ministry of Tourism and Antiquities.
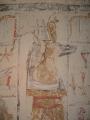
Detail of winged Ma'at. © Getty Conservation Institute and the Ministry of Tourism and Antiquities.
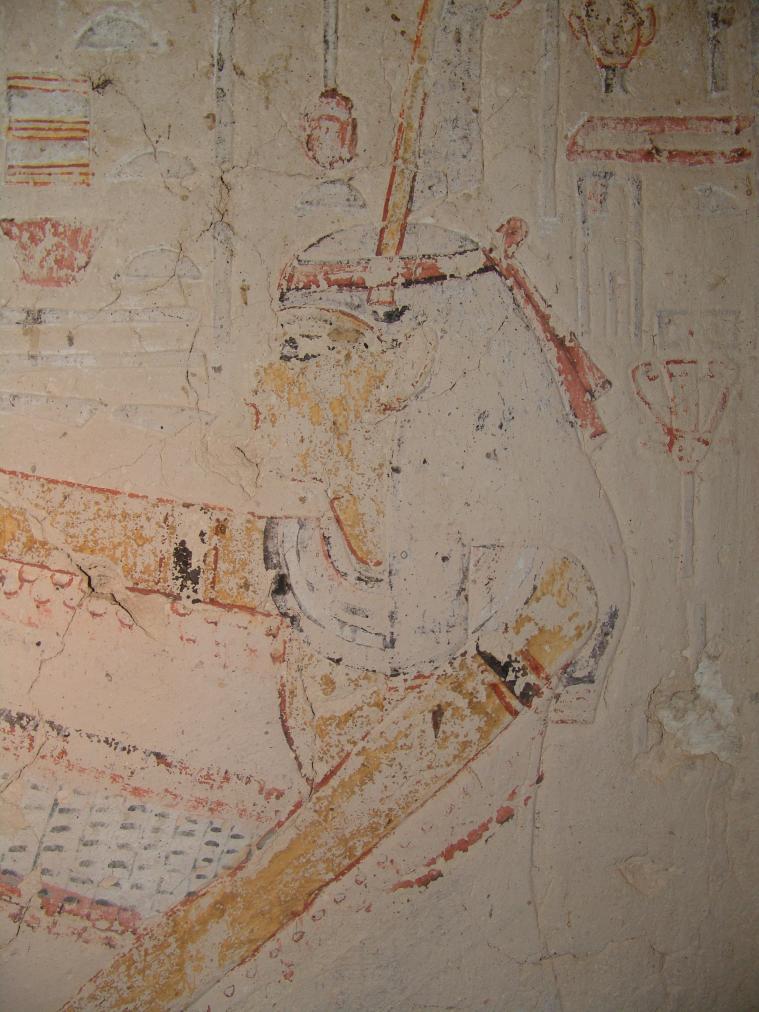
Detail of winged Ma'at. © Getty Conservation Institute and the Ministry of Tourism and Antiquities.
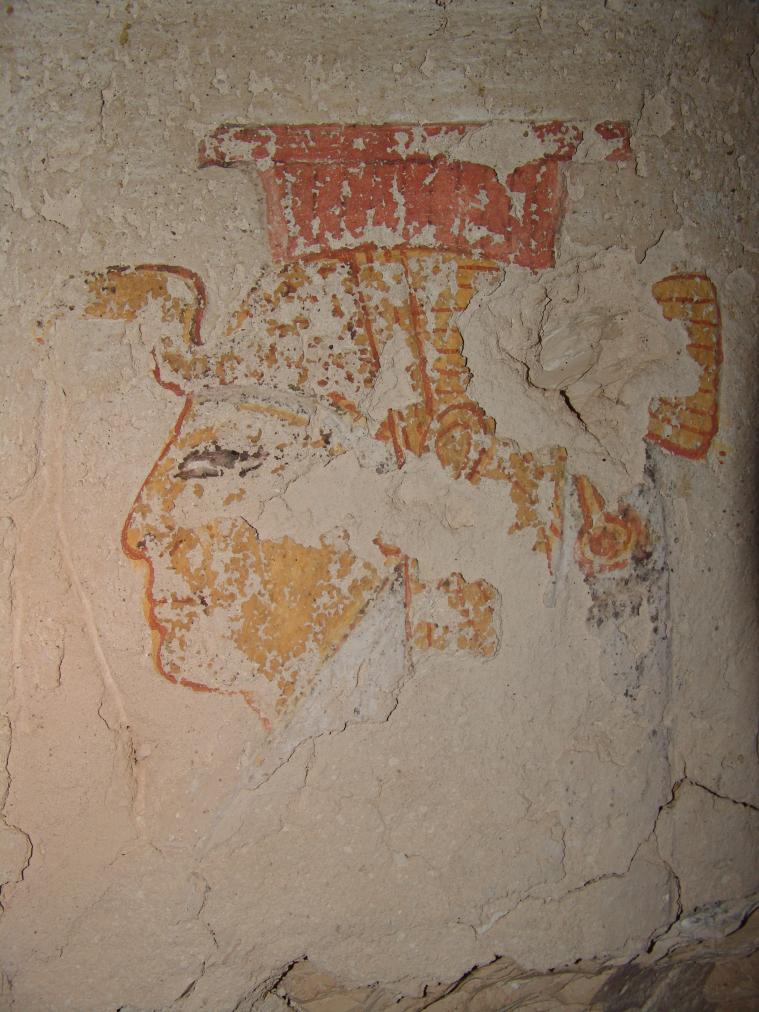
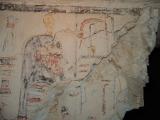
Detail of the queen's head with the lower part damaged. Behind the winged figure of Ma'at. © Getty Conservation Institute and the Ministry of Tourism and Antiquities.
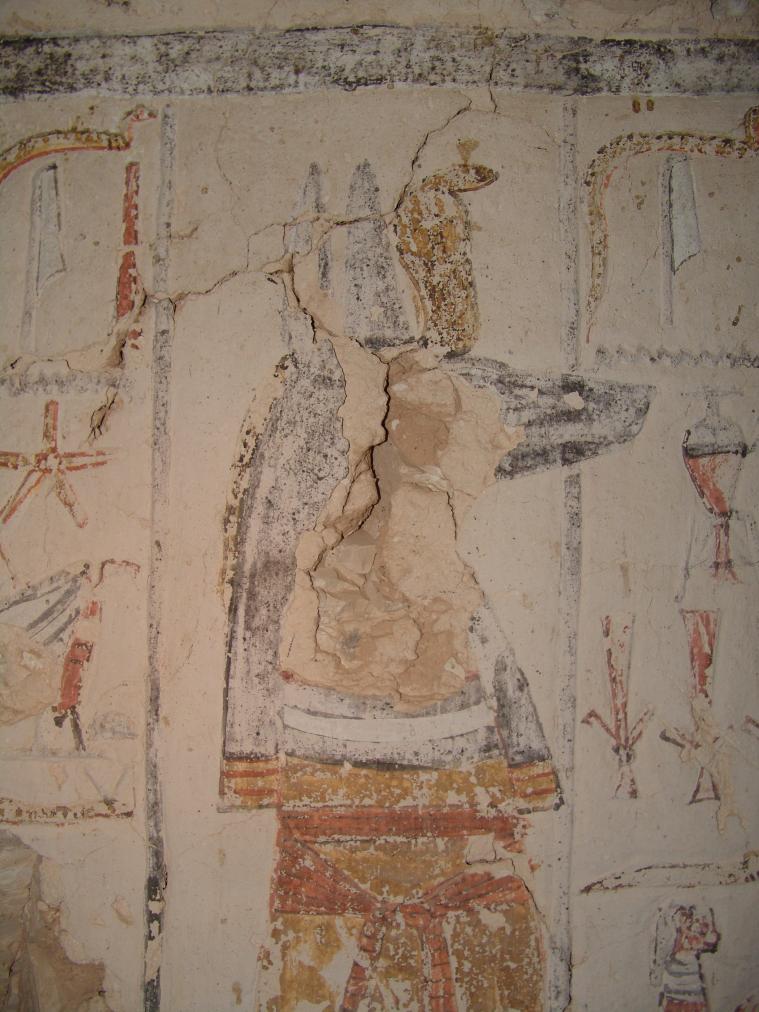
Detail of mummiform Duamutef with cobra atop his head. © Getty Conservation Institute and the Ministry of Tourism and Antiquities.
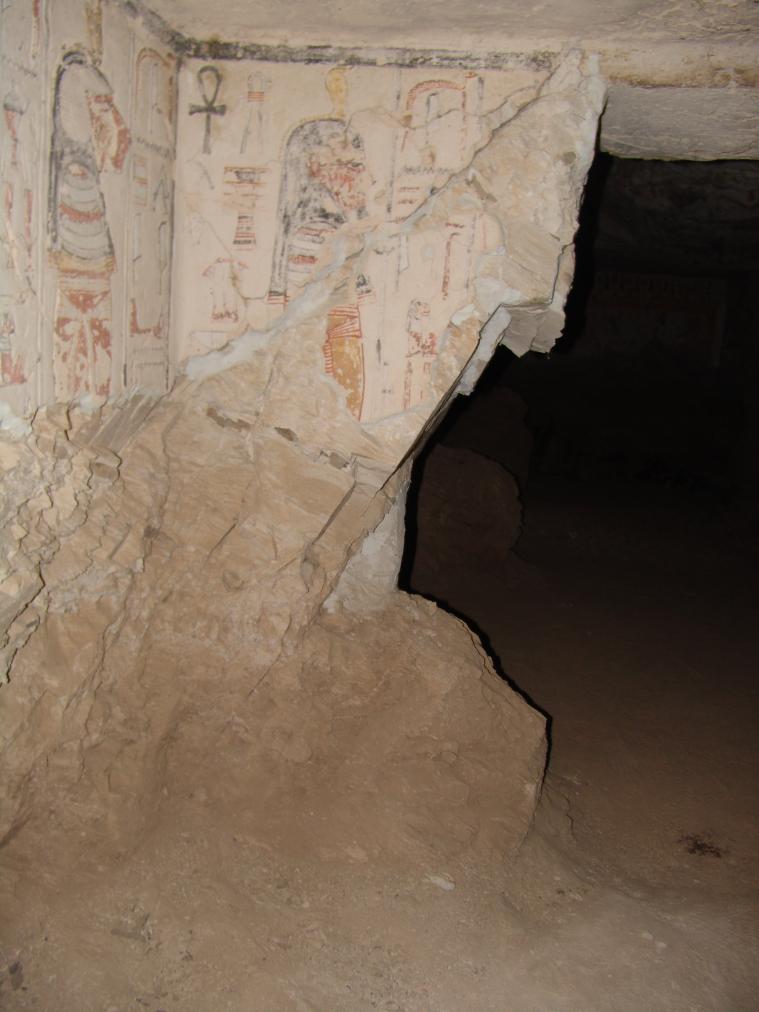
Figure of Imsety with text. © Getty Conservation Institute and the Ministry of Tourism and Antiquities.
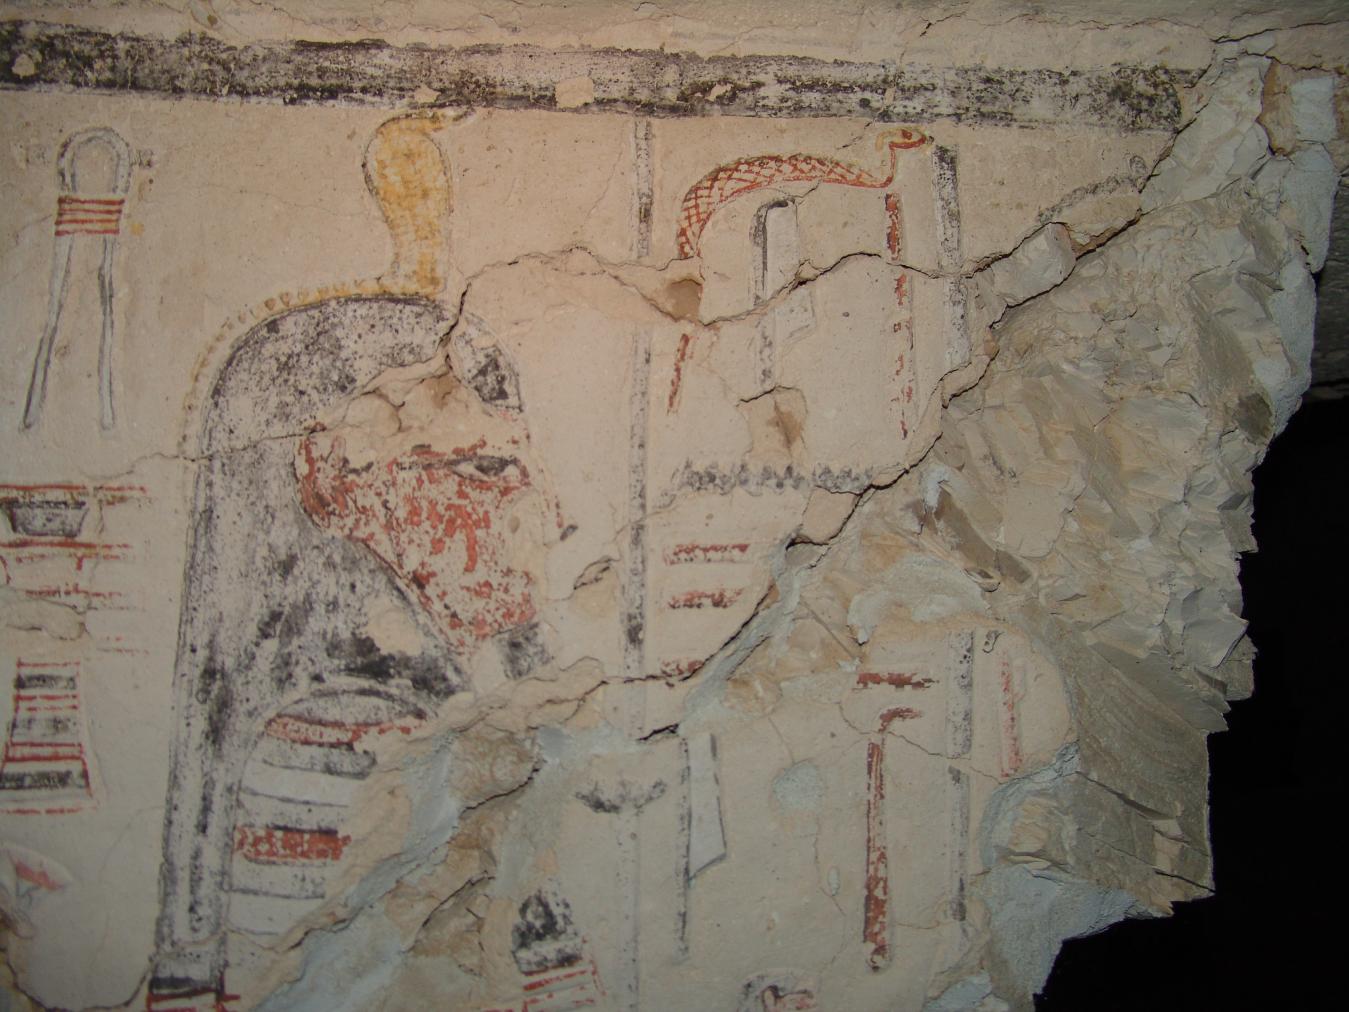
Detail of mummiform Imsety with cobra atop his head. © Getty Conservation Institute and the Ministry of Tourism and Antiquities.
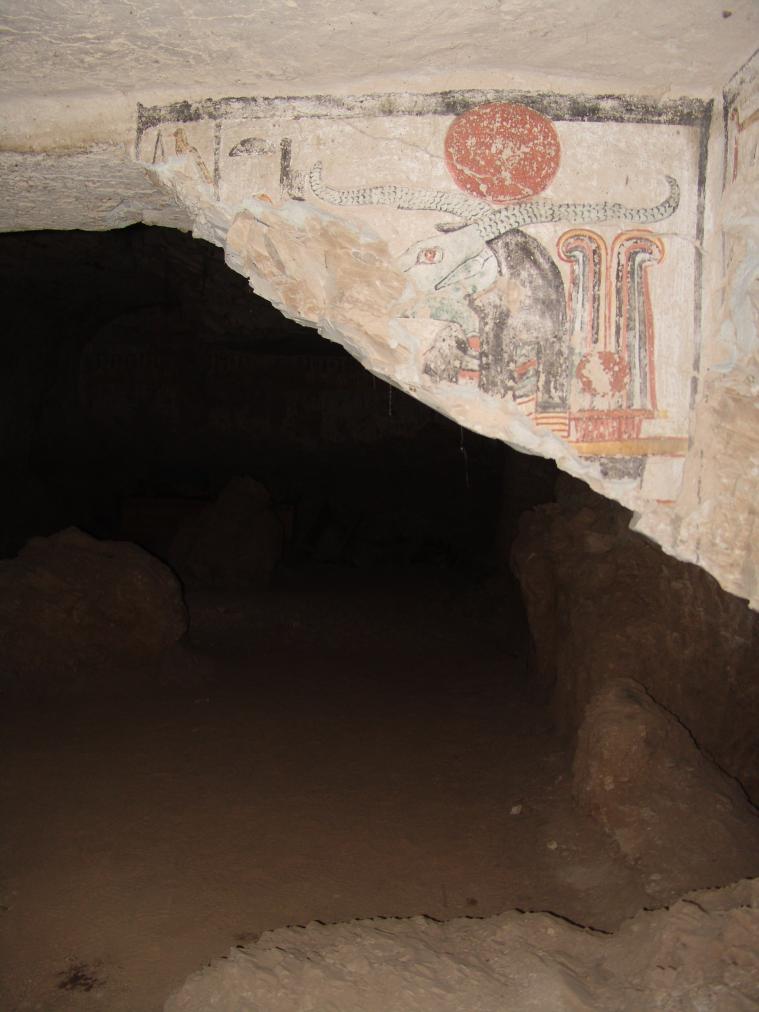
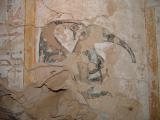
Book of the Dead Spell 180. Remains of a ram-headed deity named "He who rests in Osiris, He who rests in Re". © Getty Conservation Institute and the Ministry of Tourism and Antiquities.
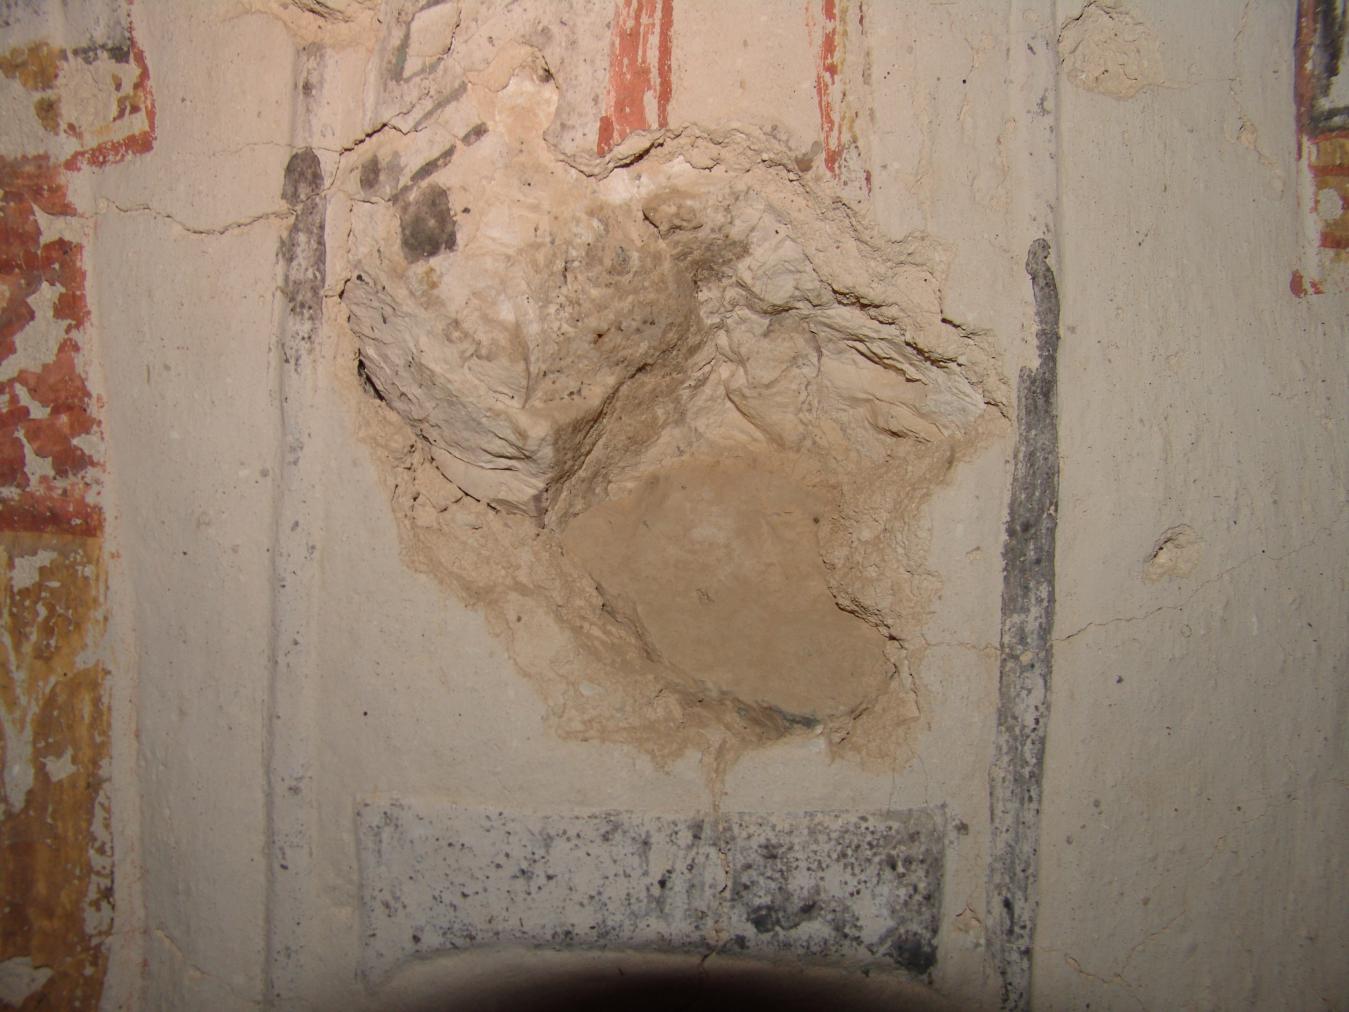
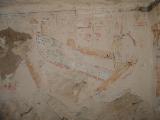
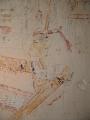
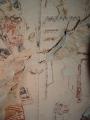
Detail of damage to text. © Getty Conservation Institute and the Ministry of Tourism and Antiquities.
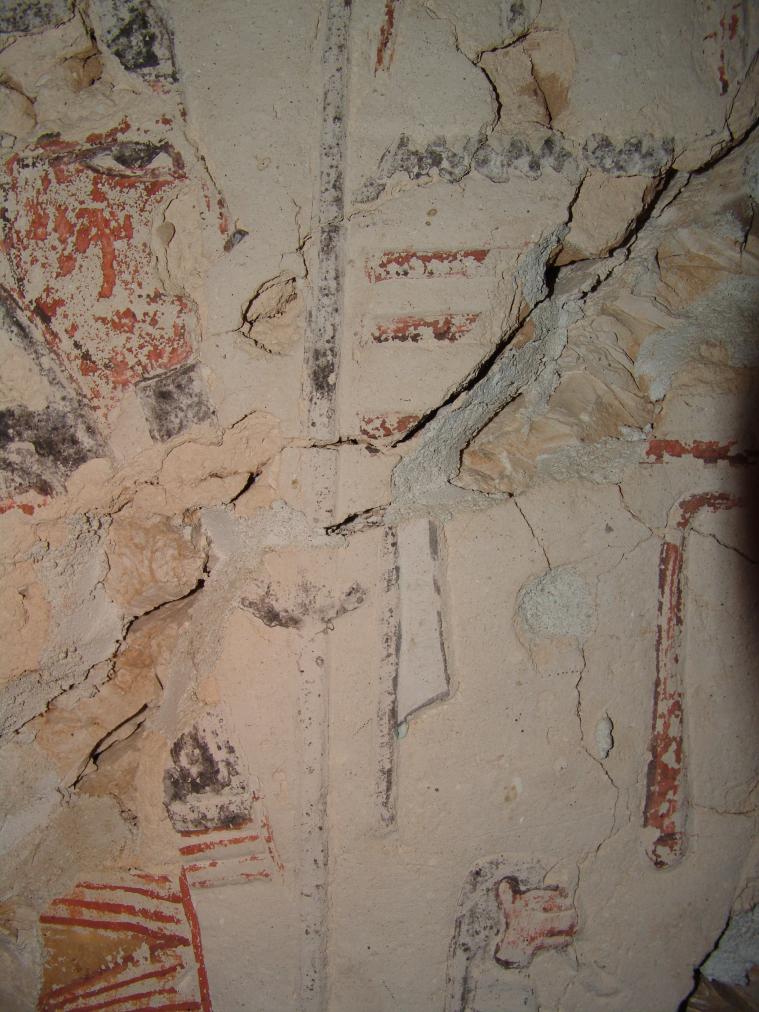
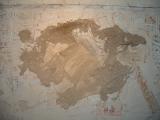
Detail of damage to text and figures. © Getty Conservation Institute and the Ministry of Tourism and Antiquities.
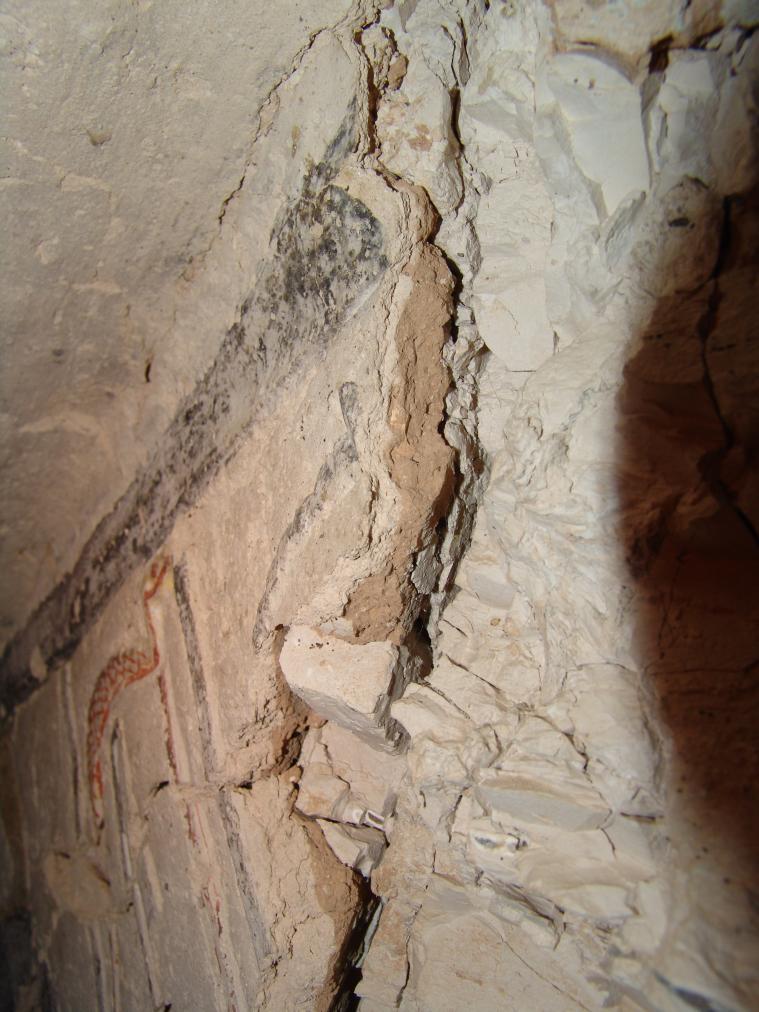
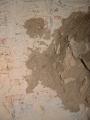
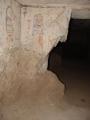
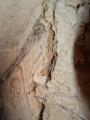
Detail of break in the west wall. © Getty Conservation Institute and the Ministry of Tourism and Antiquities.
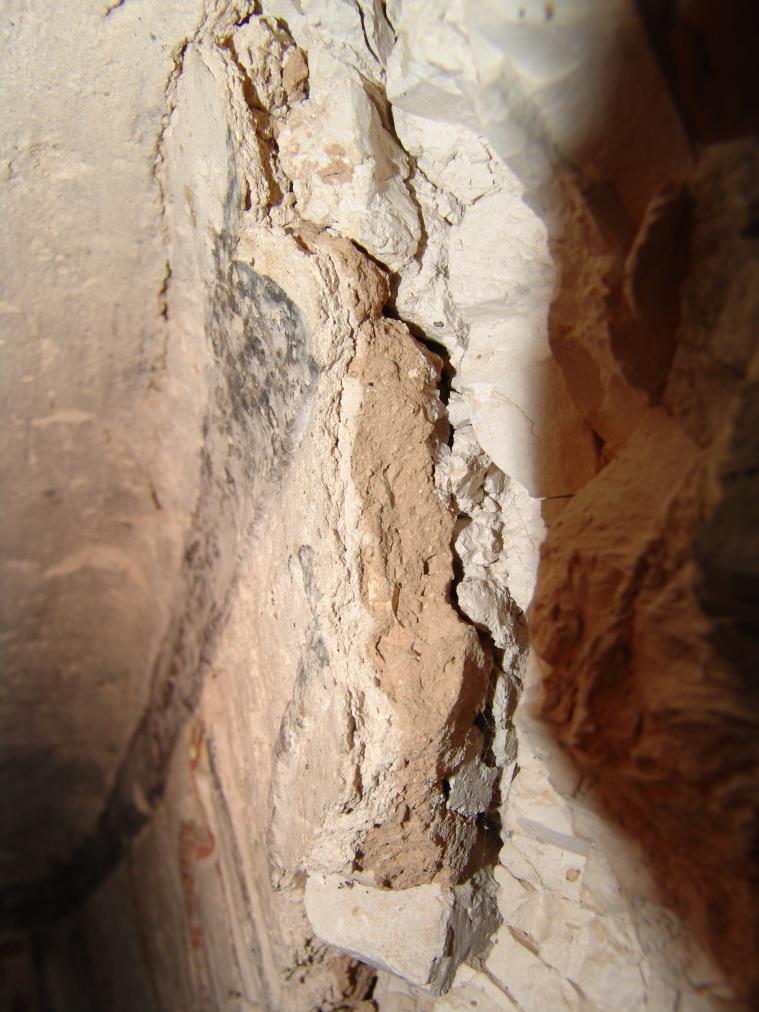
Detail of the break in the west wall. © Getty Conservation Institute and the Ministry of Tourism and Antiquities.
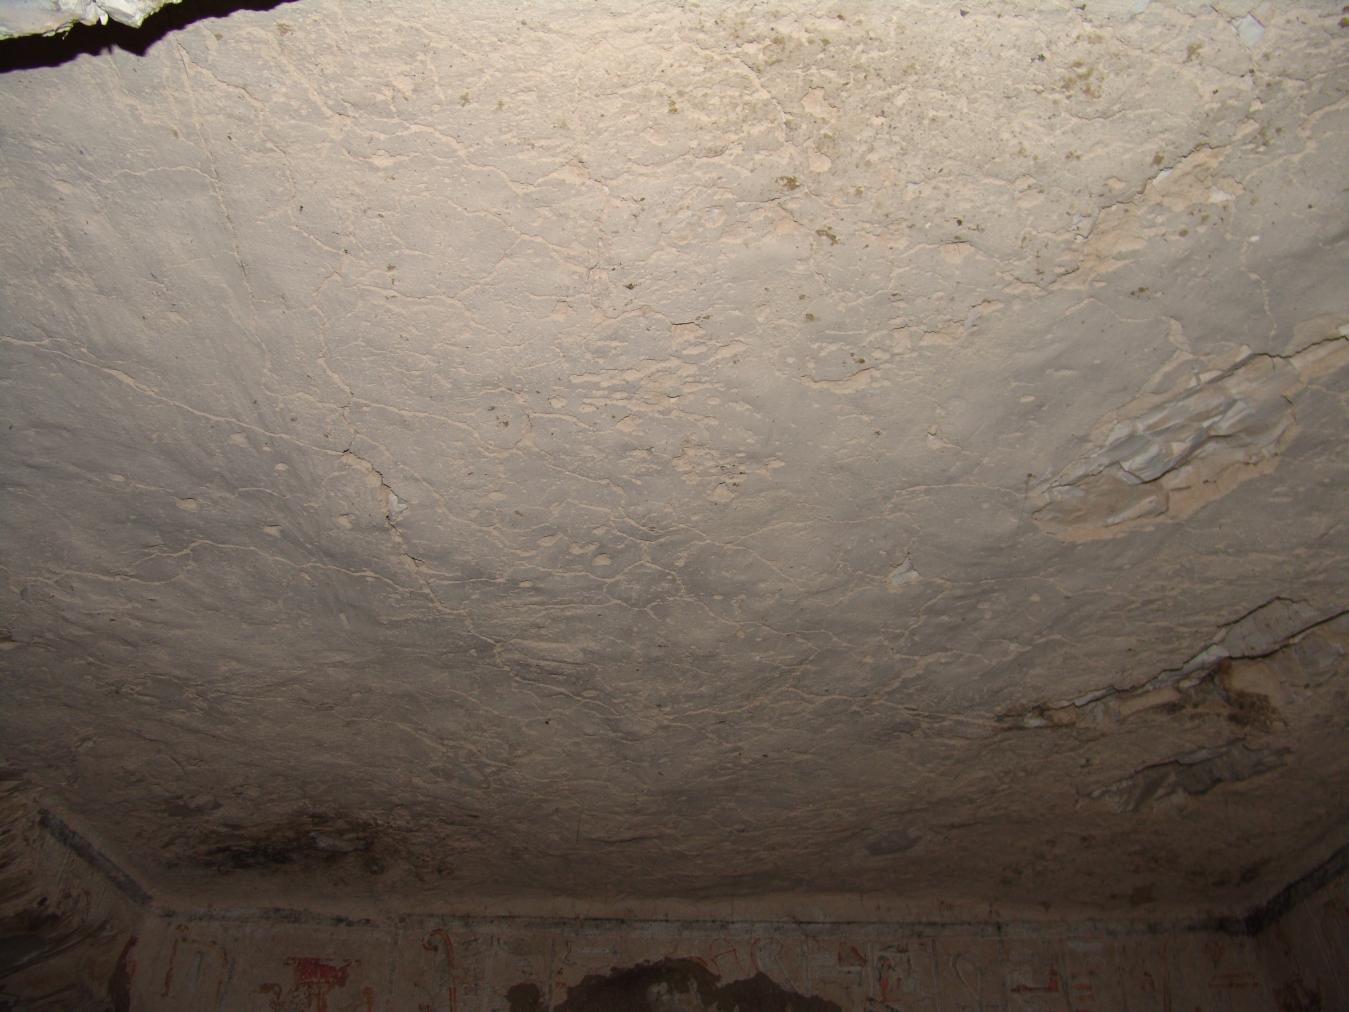
View of the ceiling. © Getty Conservation Institute and the Ministry of Tourism and Antiquities.
Gate C
See entire tombThis gate is cut into the northern wall of Chamber B and provides access to the burial chamber. Most of the decoration is lost. The thicknesses contain badly preserved images of the queen leaving the tomb.
Porter and Moss designation:
View of the collapsed pillars and the north wall with a view of gates Ba and C, as well as the break in the wall to side chamber Cb. © Getty Conservation Institute and the Ministry of Tourism and Antiquities.
View of the northwest corner with collapsed pillar, Gate Ba, and Gate C. © Getty Conservation Institute and the Ministry of Tourism and Antiquities.
View of the ceiling above Gate C with the titles of the queen. © Getty Conservation Institute and the Ministry of Tourism and Antiquities.
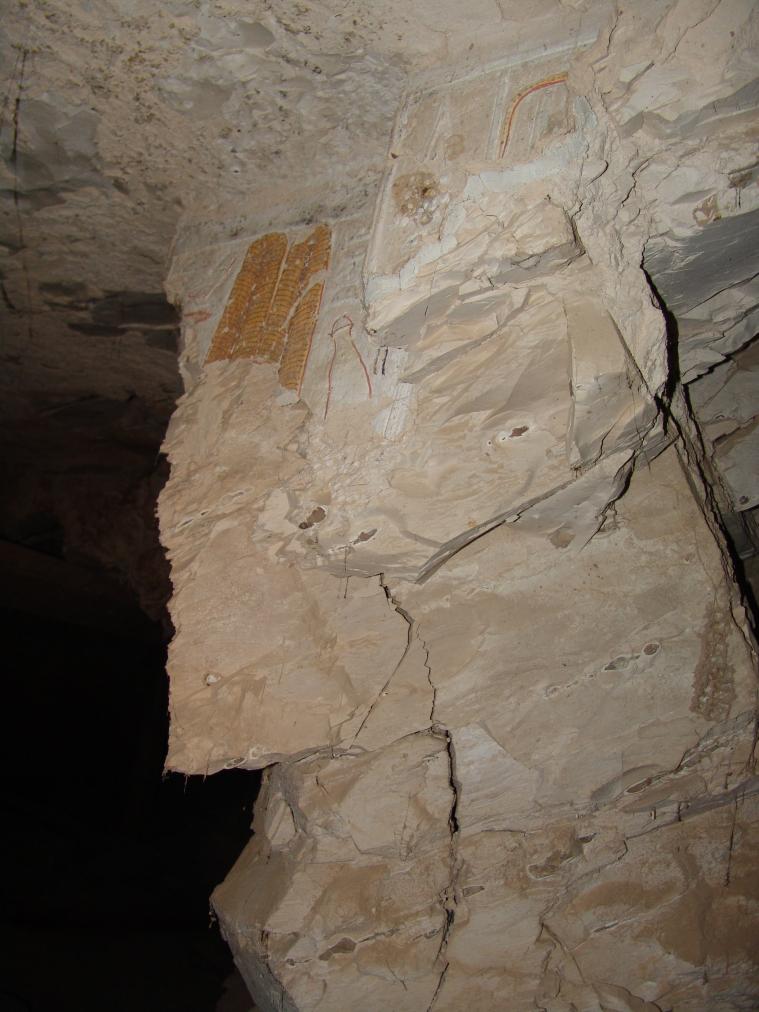
Remains of the queen leaving the tomb. © Getty Conservation Institute and the Ministry of Tourism and Antiquities.
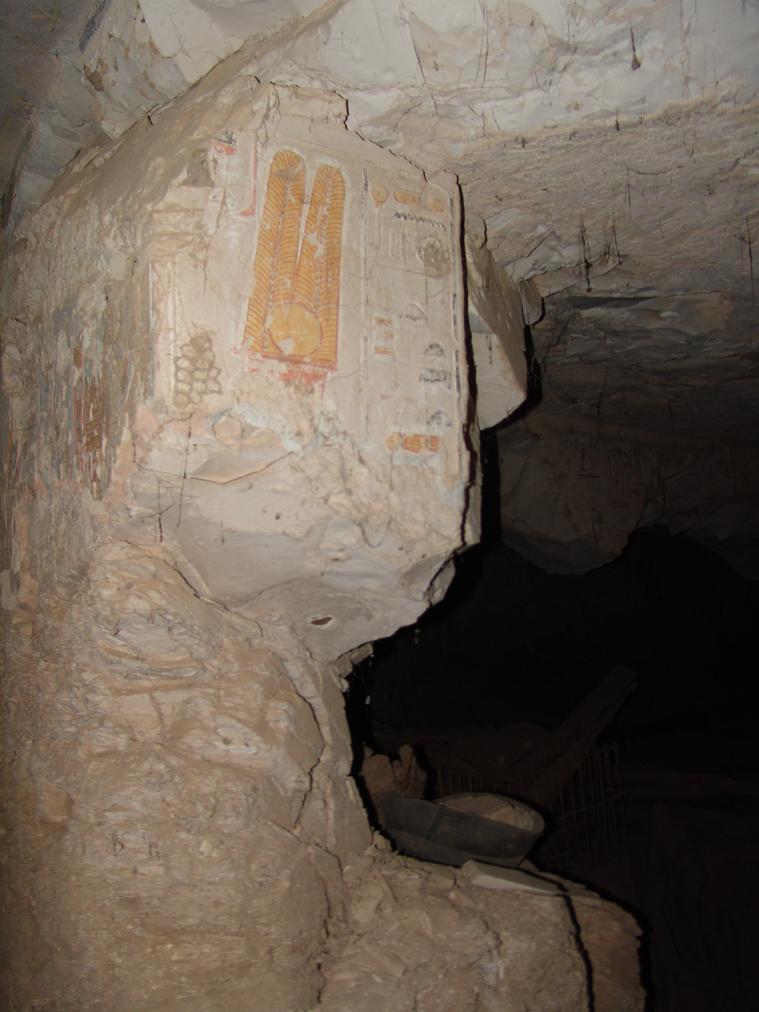
Remains of the queen leaving the tomb. © Getty Conservation Institute and the Ministry of Tourism and Antiquities.
Burial chamber C
See entire tombThe burial chamber is a long rectangular room that lies on axis with the entryway. A small niche is cut into the northern wall. The eastern wall originally contained two gates to two separate side chambers. This has since collapsed. Remains of a red granite Sarcophagus were discovered here by the Franco-Egyptian Mission. The decoration shows the queen offering to various deities. Most of the lower parts of the walls in this chamber are severely damaged.
Chamber plan:
RectangularRelationship to main tomb axis:
ParallelChamber layout:
Flat floor, no pillarsFloor:
One levelCeiling:
Flat
Porter and Moss designation:
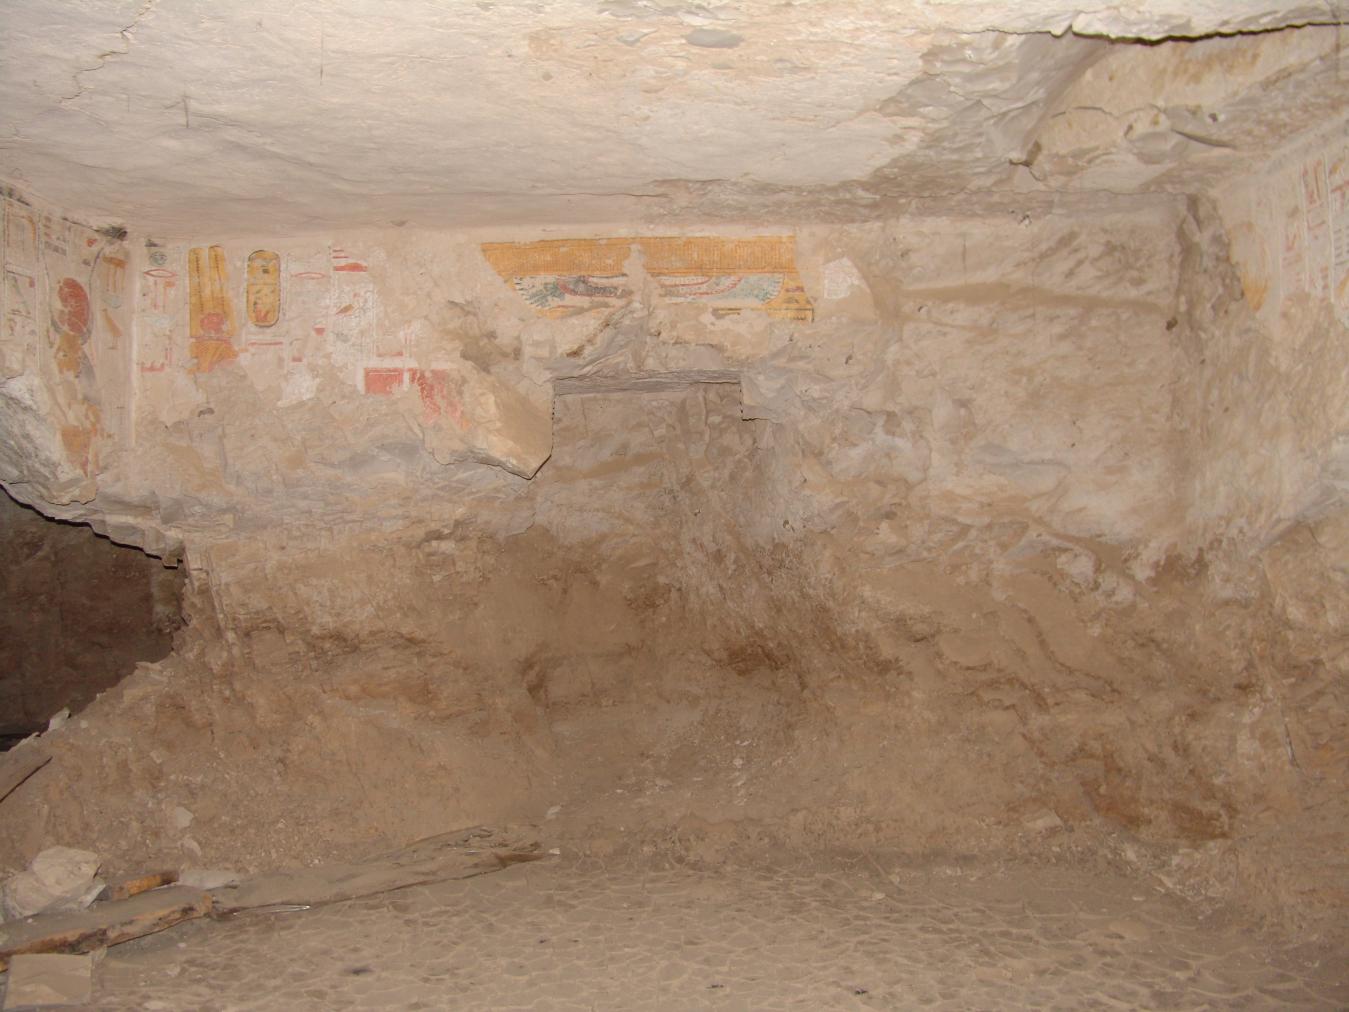
Queen depicted on either side of the niche and Behdet in the form of a winged sun disk above the niche. © Getty Conservation Institute and the Ministry of Tourism and Antiquities.
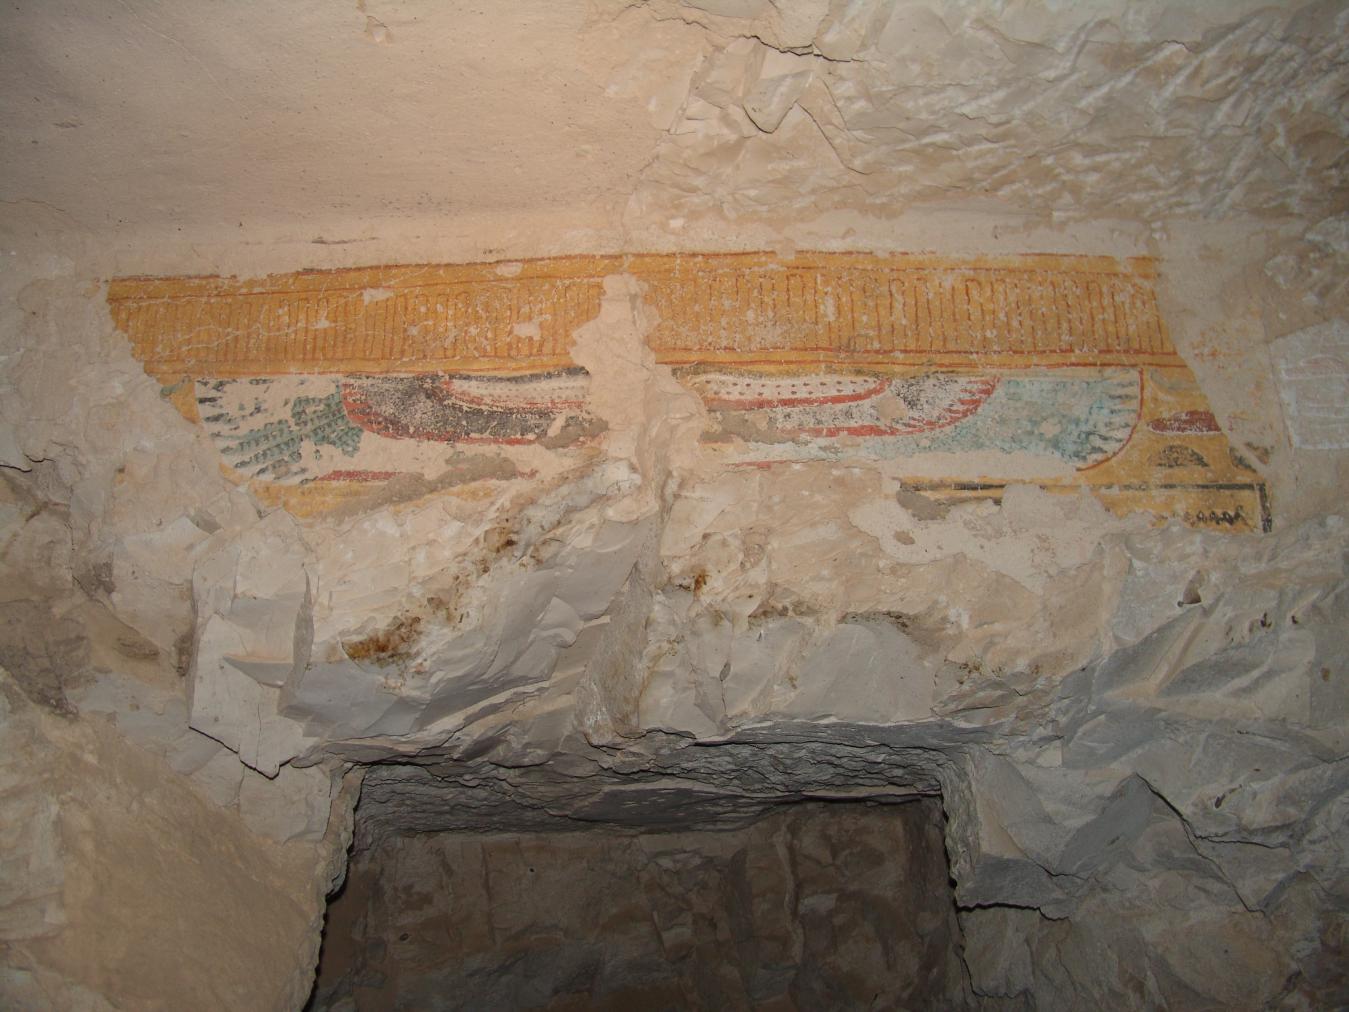
Detail of Behdet in the form of a winged sun disk above the niche. © Getty Conservation Institute and the Ministry of Tourism and Antiquities.
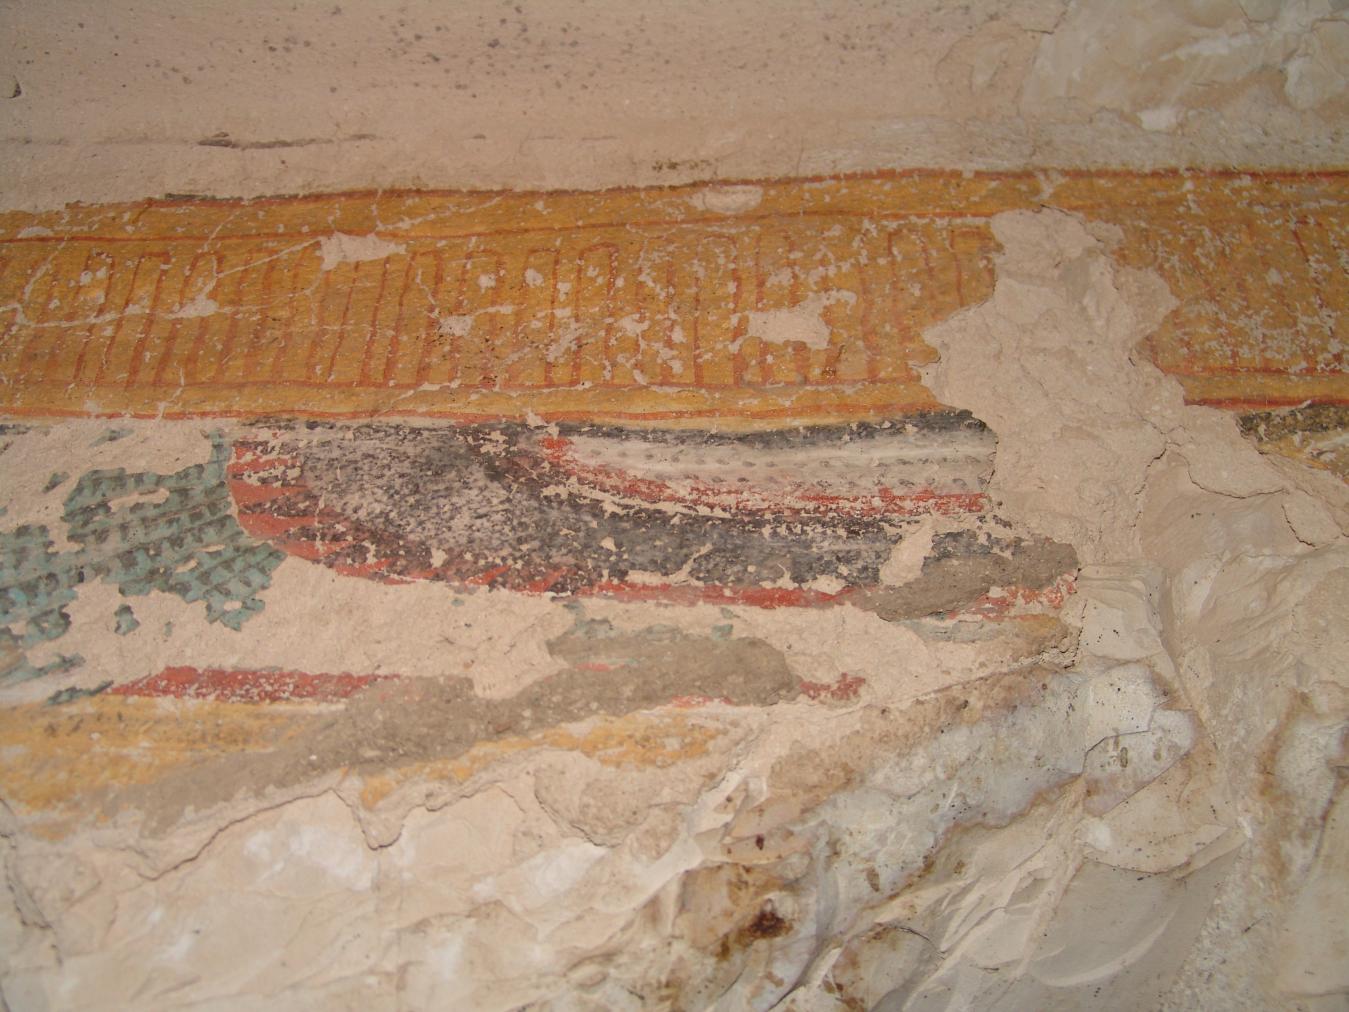
Detail of Behdet in the form of a winged sun disk above the niche. © Getty Conservation Institute and the Ministry of Tourism and Antiquities.
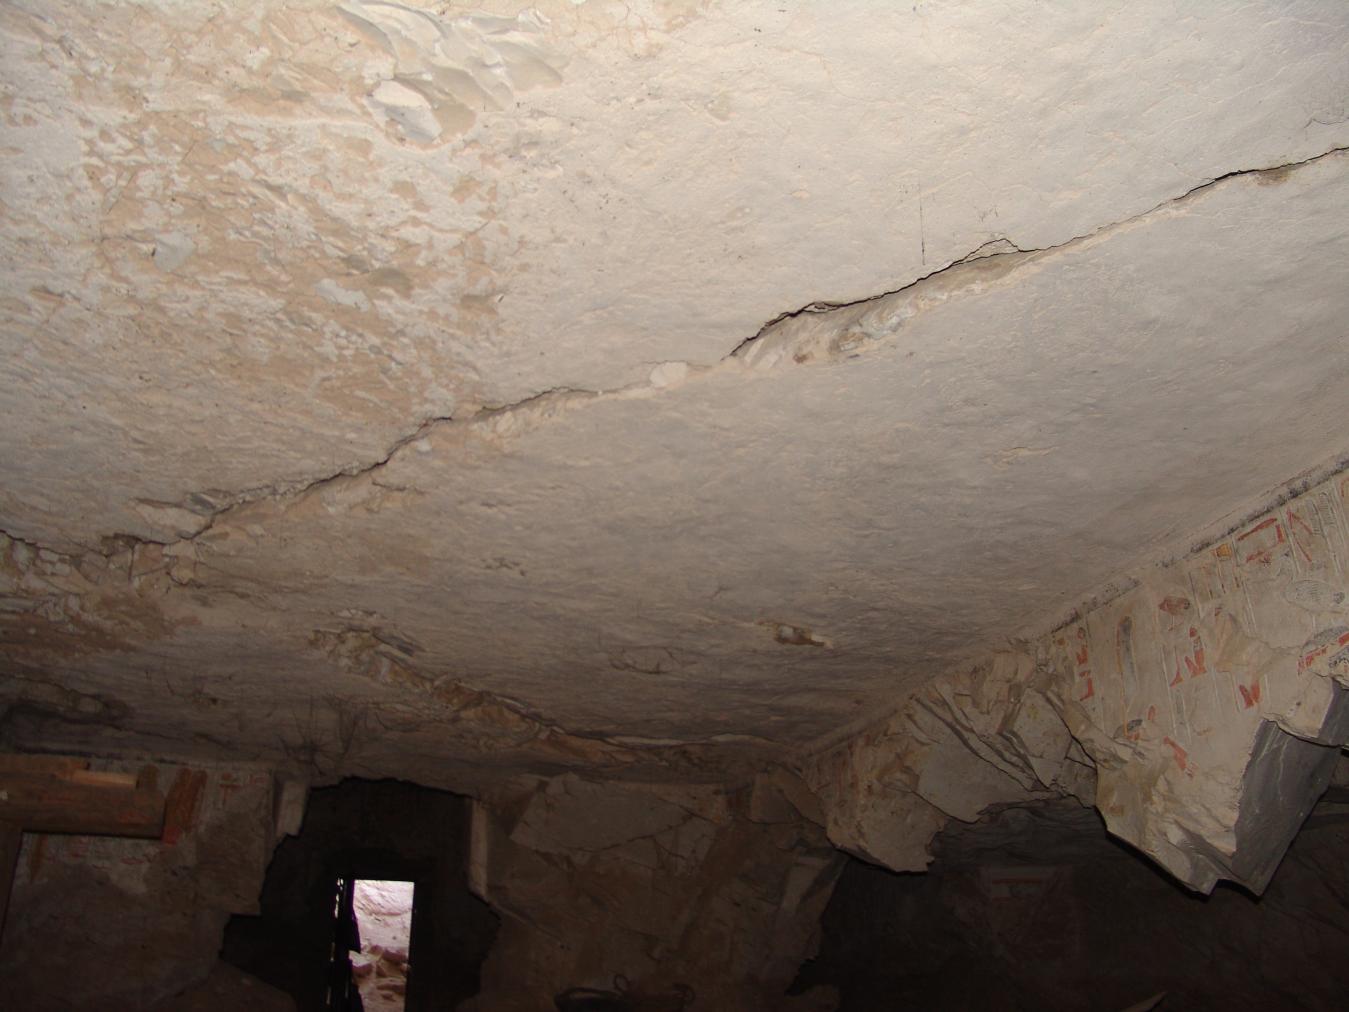
View of the ceiling. © Getty Conservation Institute and the Ministry of Tourism and Antiquities.
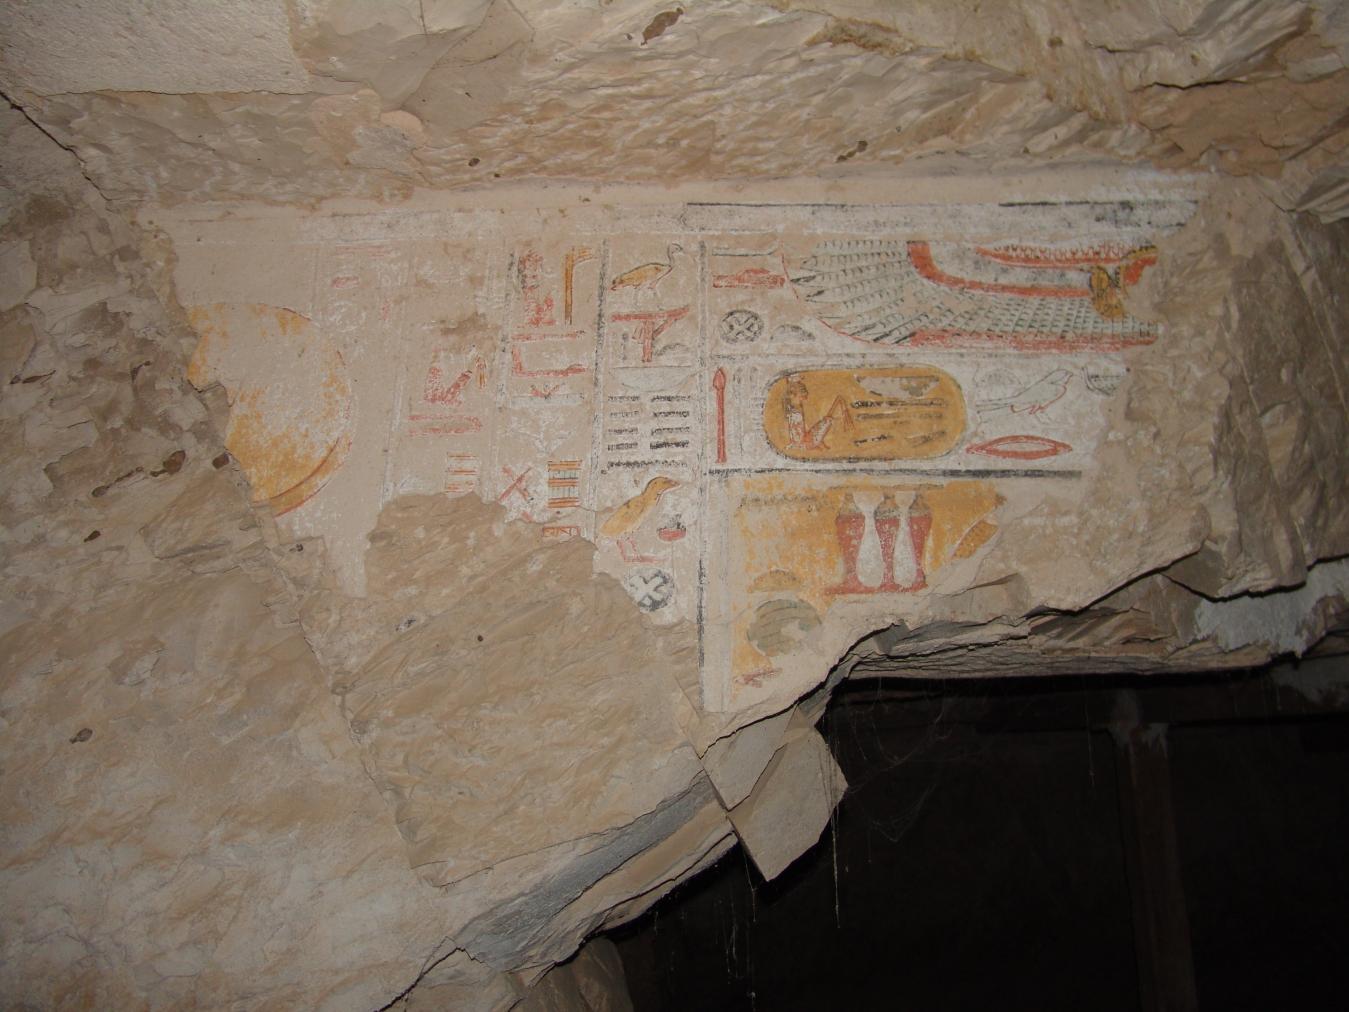
View of the winged sun disk above damaged gate Cb. © Getty Conservation Institute and the Ministry of Tourism and Antiquities.
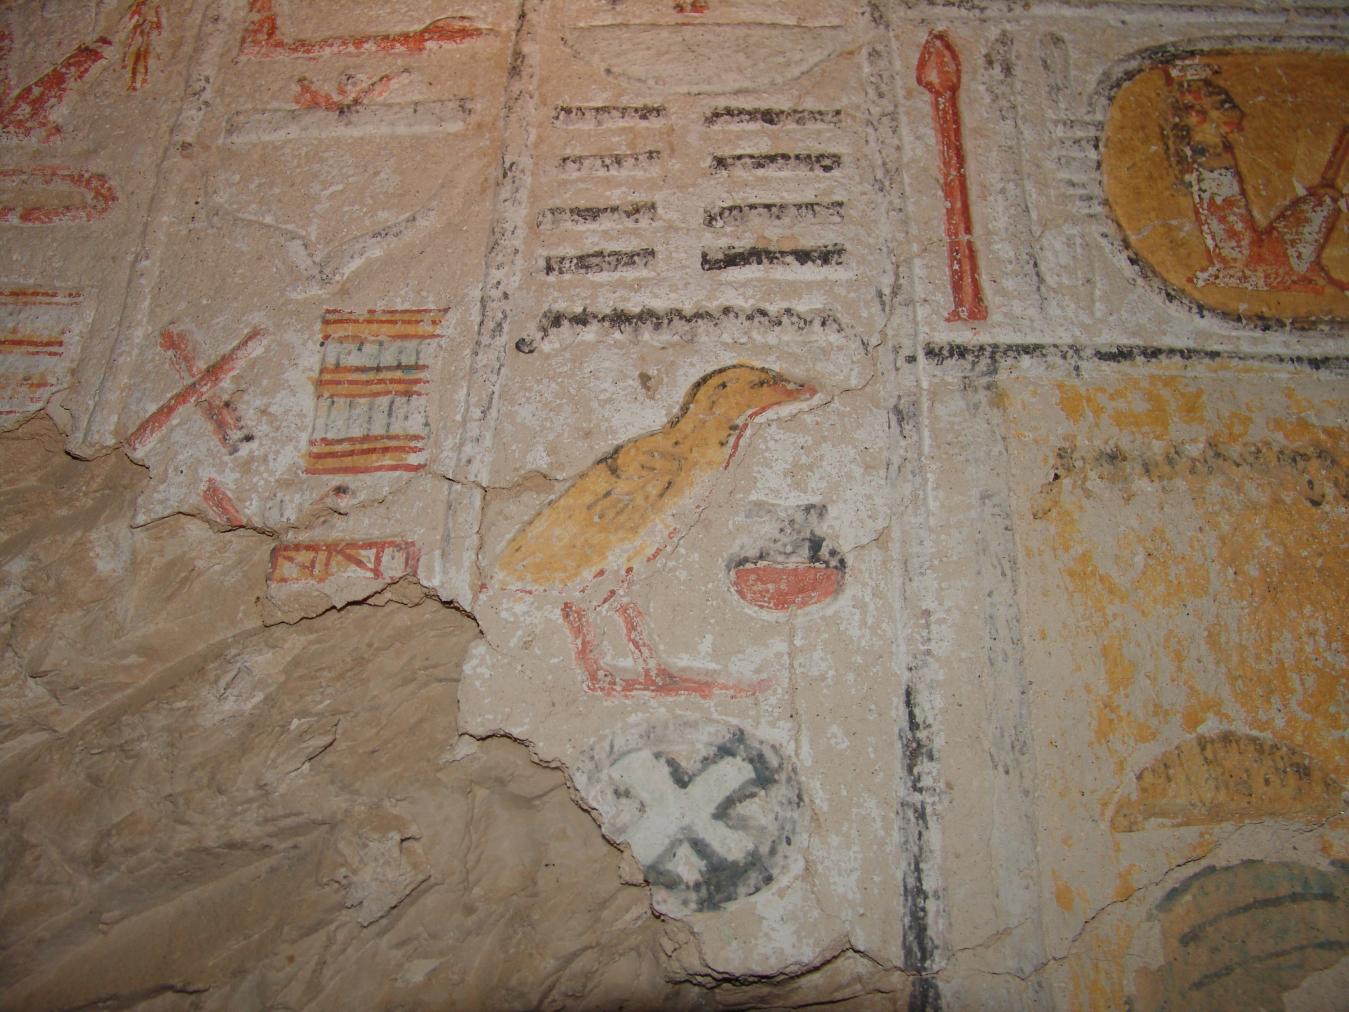
Detail of the text below the winged sun disk above damaged gate Cb. © Getty Conservation Institute and the Ministry of Tourism and Antiquities.
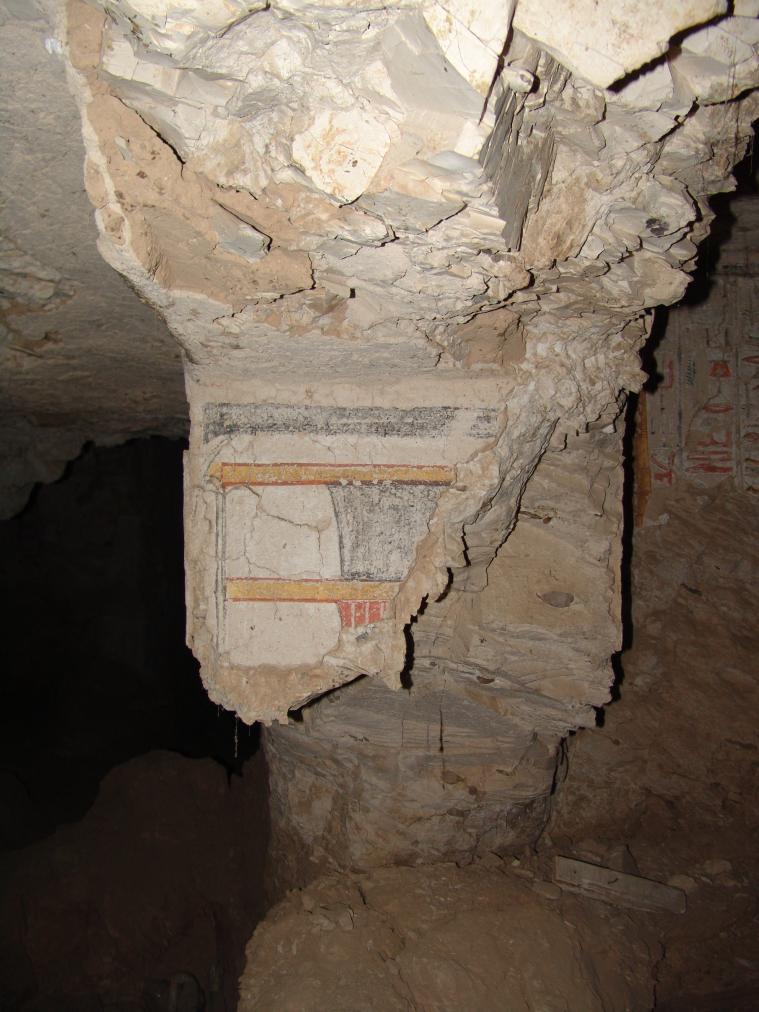
View the original southern gate to side chamber Cb. © Getty Conservation Institute and the Ministry of Tourism and Antiquities.
Gate Ca
See entire tombGate Ca is cut into the western wall of burial chamber C and provides access to a side chamber. The only decoration that remains is text on the lintel, which is damaged.
Porter and Moss designation:
Side chamber Ca
See entire tombThis small side chamber is similar in iconography to side chamber Bb in QV 73. The paintings are severely damaged, but were identified by the Franco-Egyptian Mission. They contain images of the Queen's Canopic chest, indicating that this room was used as storage for the burial equipment. The southern wall has collapsed, providing access to side chamber Ba.
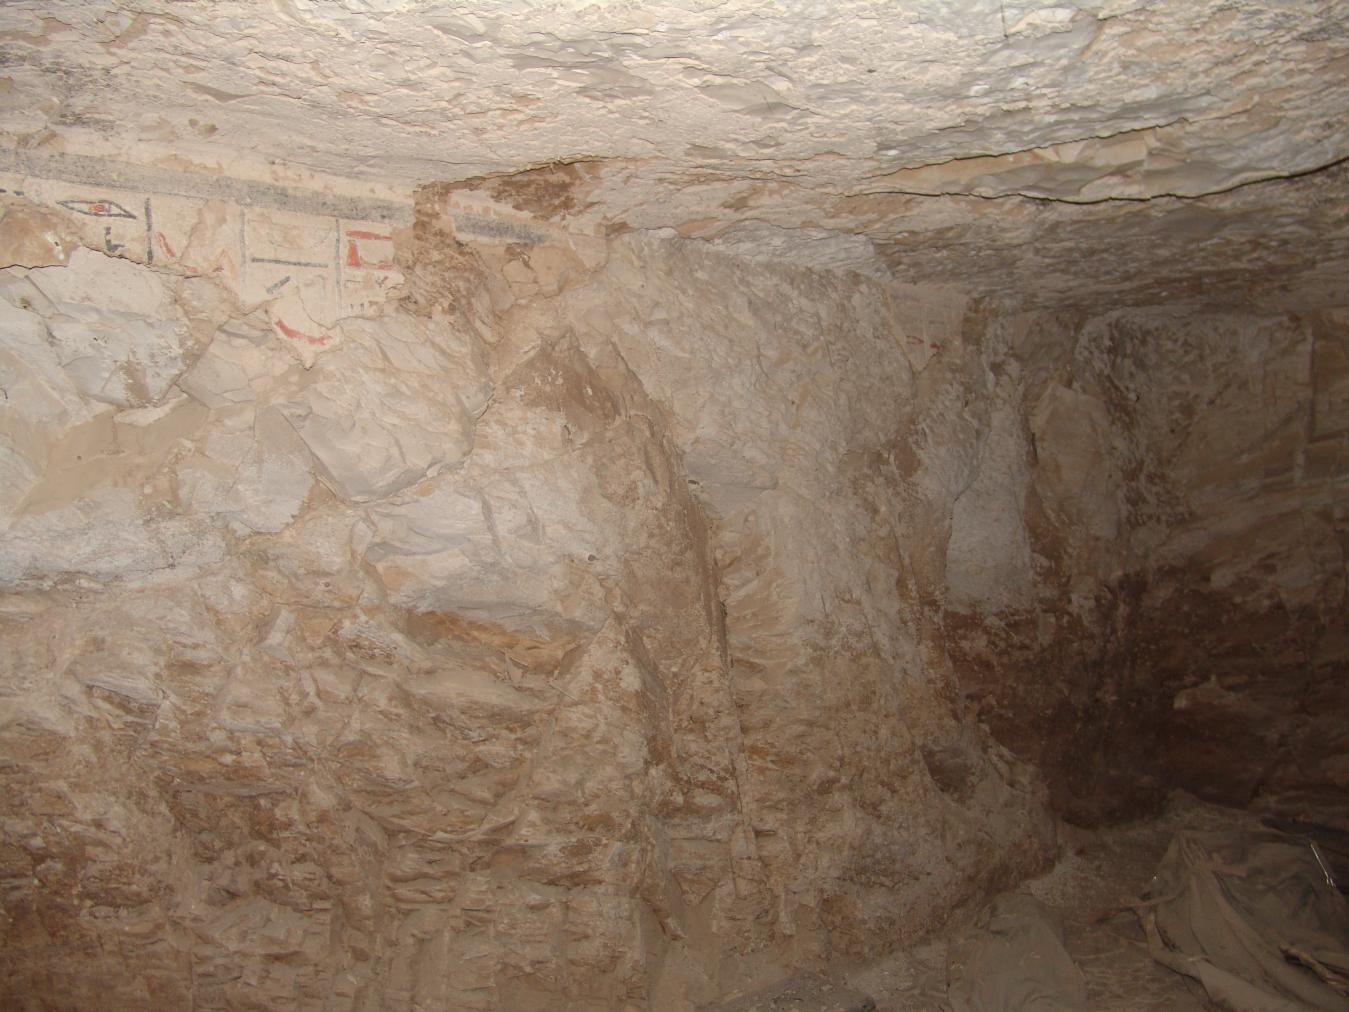
West wall of Side Chamber Ca. © Getty Conservation Institute and the Ministry of Tourism and Antiquities.
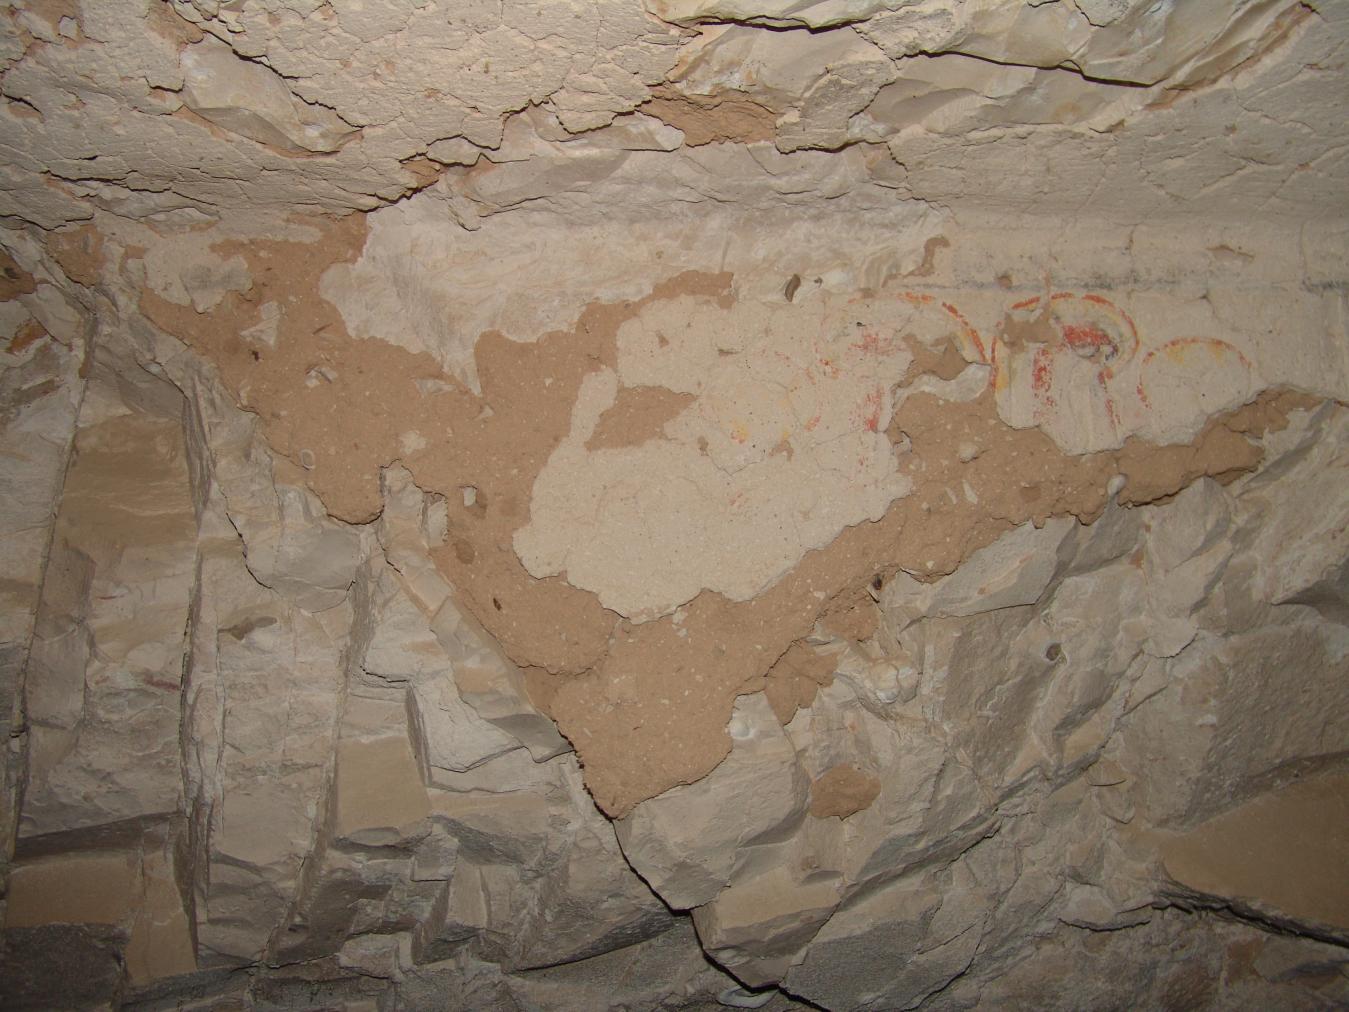
Damaged relief in side chamber Ca. © Getty Conservation Institute and the Ministry of Tourism and Antiquities.
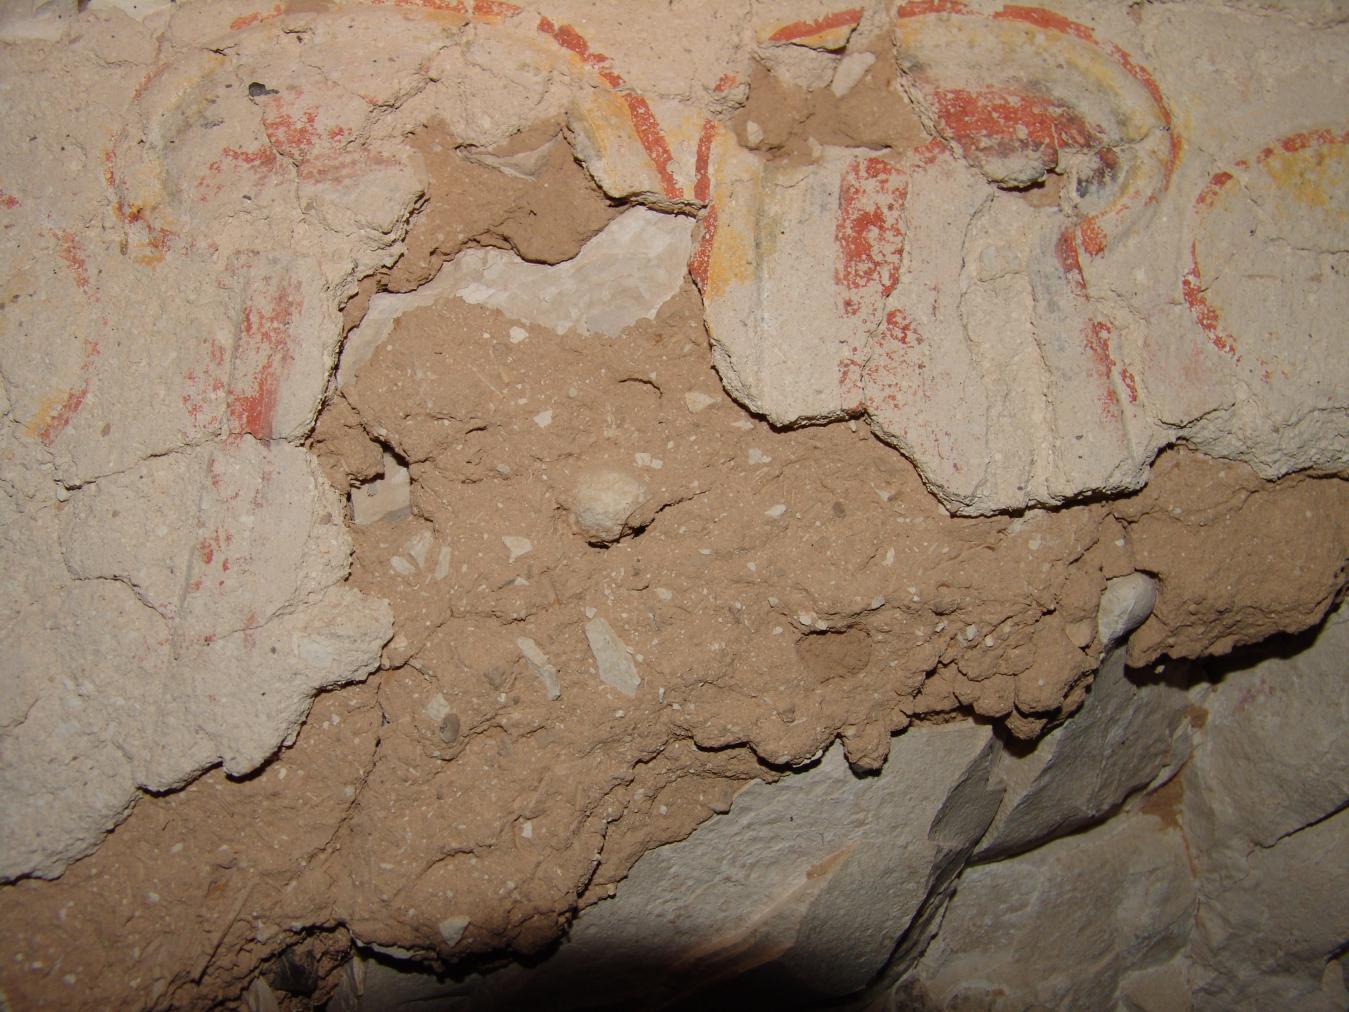
Damaged relief in side chamber Ca. © Getty Conservation Institute and the Ministry of Tourism and Antiquities.
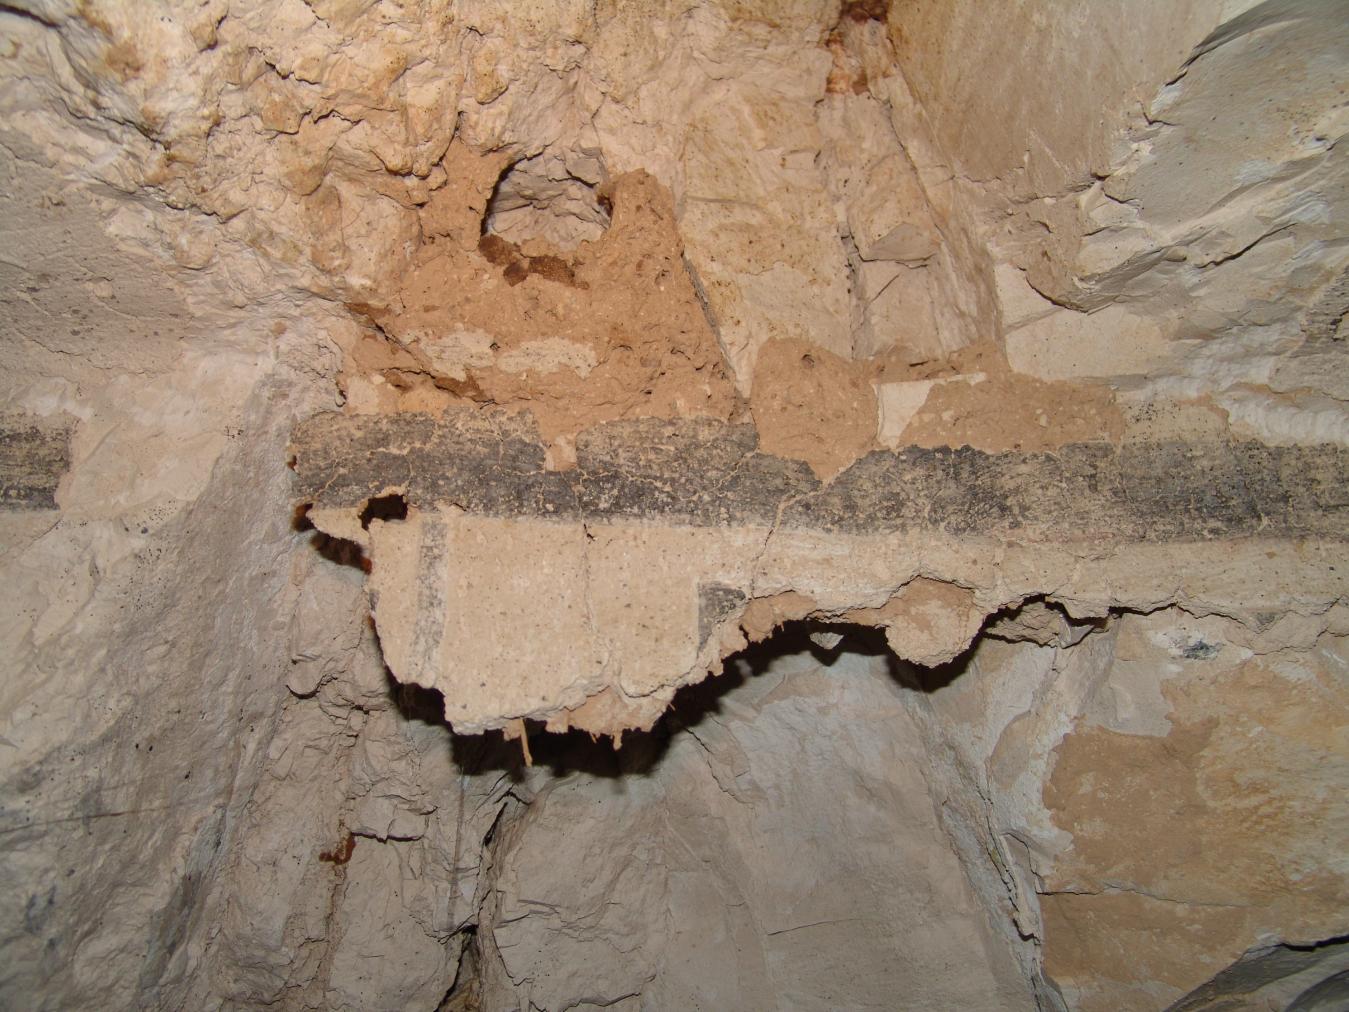
Damaged relief in side chamber Ca. © Getty Conservation Institute and the Ministry of Tourism and Antiquities.
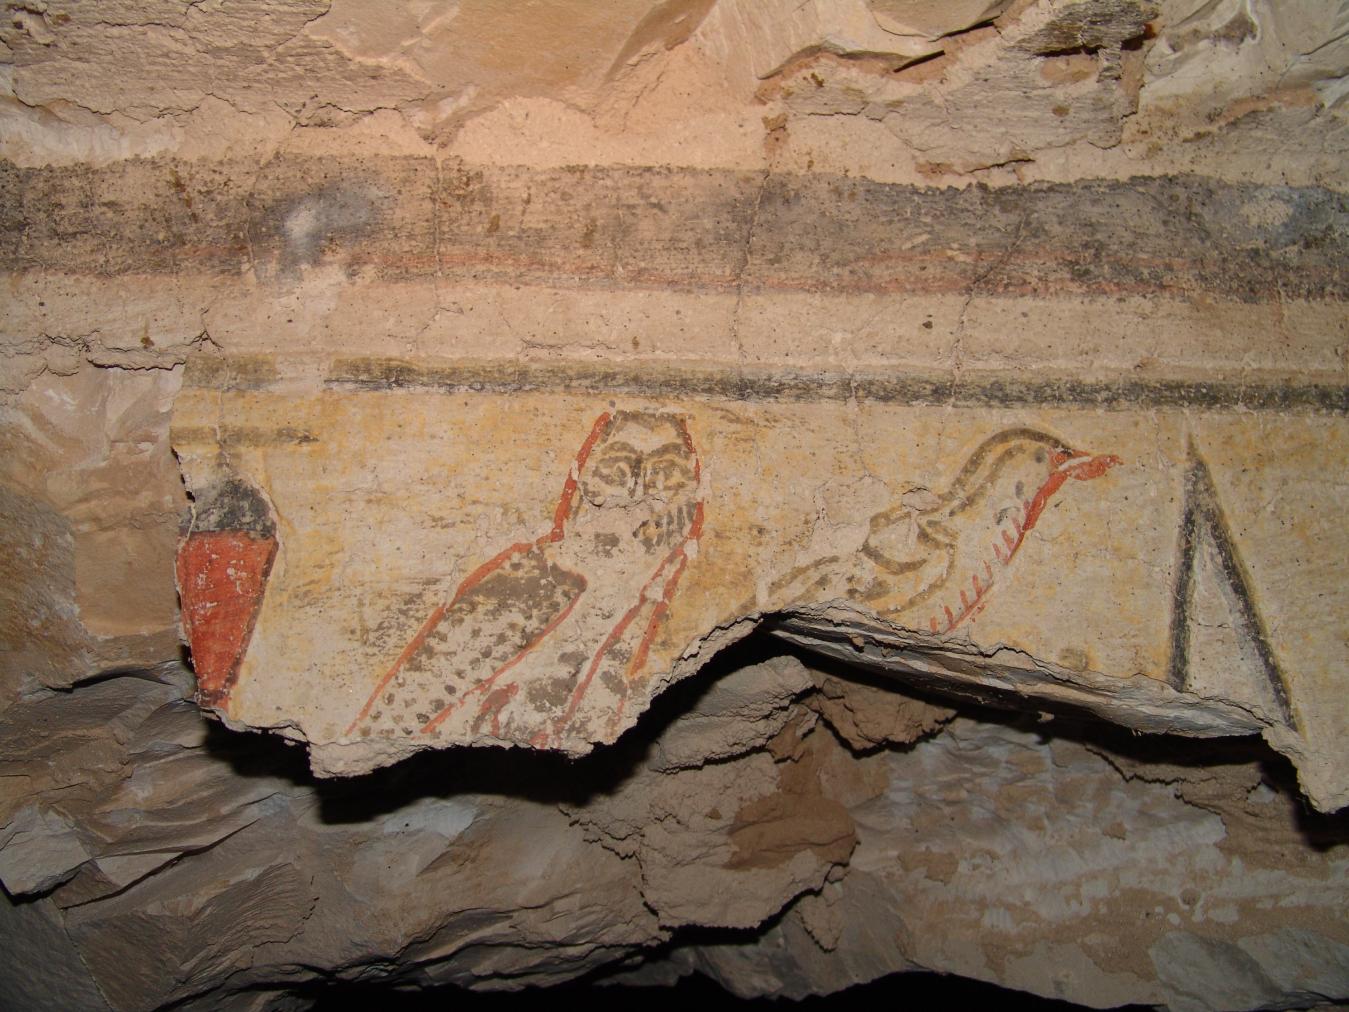
Damaged relief in side chamber Ca. © Getty Conservation Institute and the Ministry of Tourism and Antiquities.
Gate Cb
See entire tombNow visible as a large break in the burial chamber, the eastern wall originally contained two gates leading to two separate side chambers. The lintel on the northern side of the eastern wall contains an image of Behdet as a winged sun disk. The left thickness of the northern gate and the right thickness of the southern gate still has remains of Djed pillars.
Porter and Moss designation:
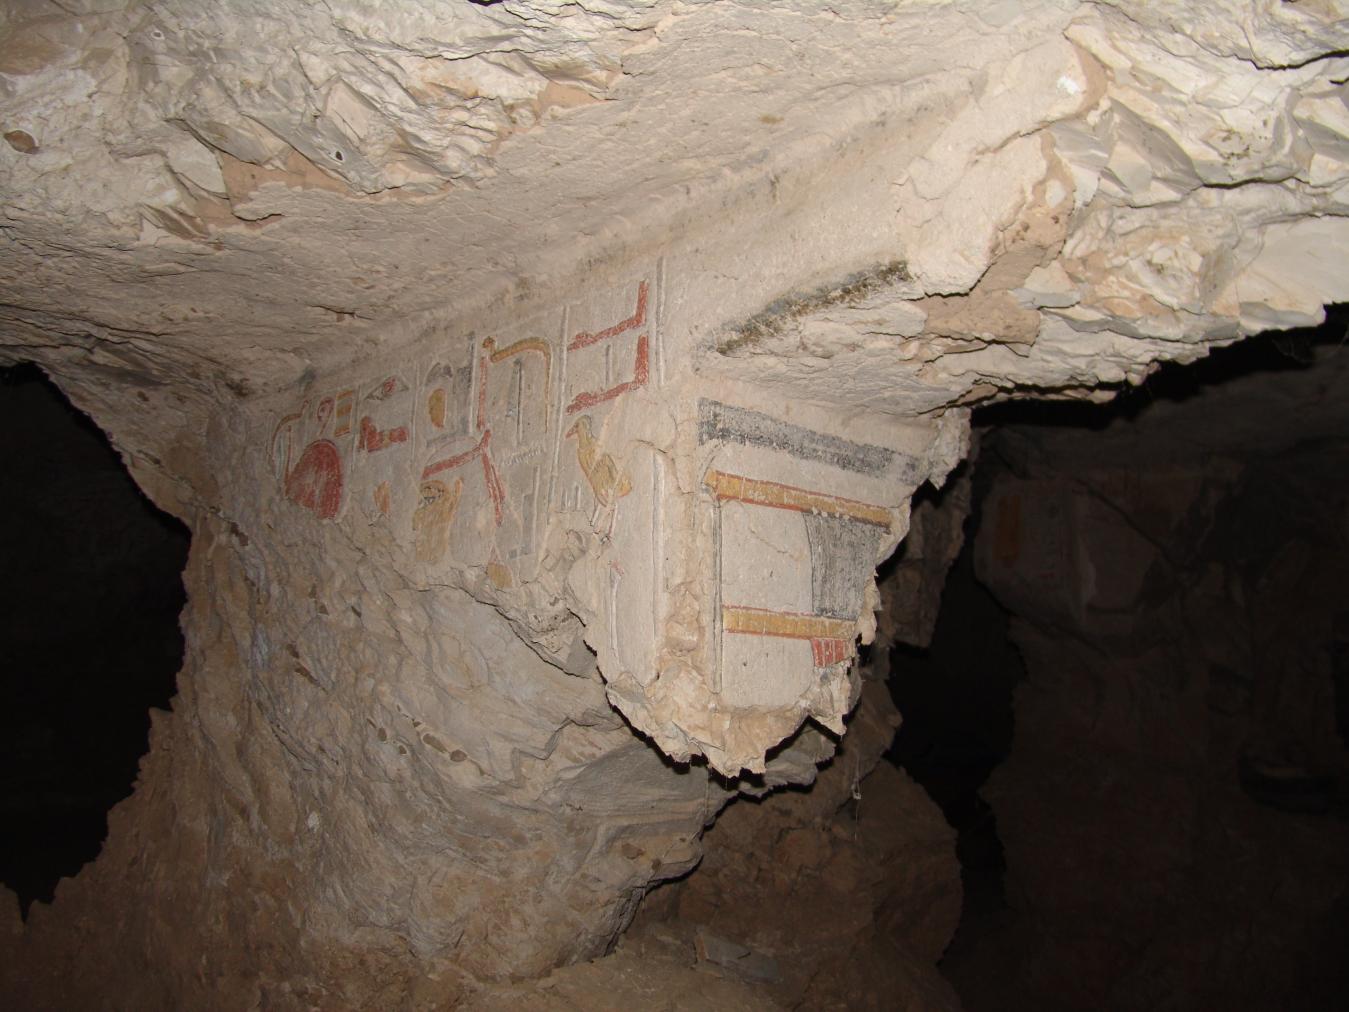
Remains of the Book of the Dead Spell 180 and a Djed pillar on the original thickness of Gate Cb. © Getty Conservation Institute and the Ministry of Tourism and Antiquities.
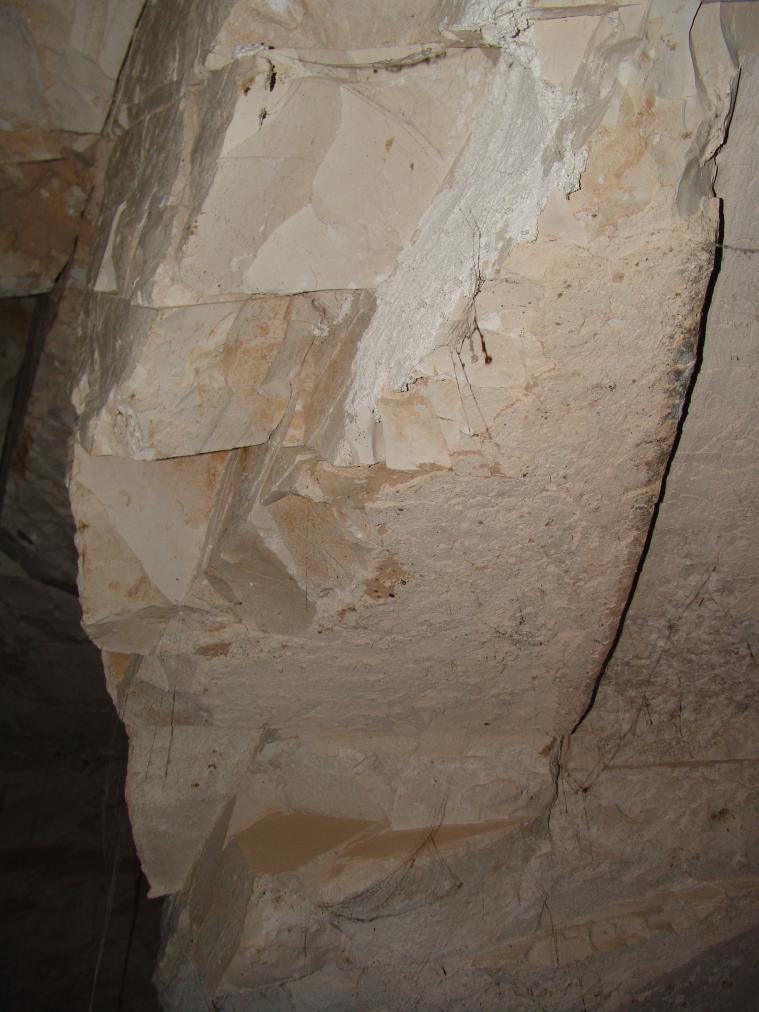
View of damage to the left thickness gate Cb. © Getty Conservation Institute and the Ministry of Tourism and Antiquities.
Side chamber Cb
See entire tombNow one large chamber, this side chamber was originally two separate side chambers. The wall separating the two chambers has collapsed and threatened the stability of the room. Due to the severe damage, only fragmentary decoration remains, particularly spell 180 of the Book of the Dead on the western wall.
Porter and Moss designation:
View of the collapsed pillars and the north wall with a view of gates Ba and C, as well as the break in the wall to side chamber Cb. © Getty Conservation Institute and the Ministry of Tourism and Antiquities.
view of northeast corner with a collapsed pillar and the break into side chamber Cb. © Getty Conservation Institute and the Ministry of Tourism and Antiquities.
View of a collapsed pillar and the northeast corner with the break into side chamber Cb. © Getty Conservation Institute and the Ministry of Tourism and Antiquities.
View of the east wall with collapsed pillar, break into side chamber Cb, the Queen offering, and the Book of the Dead Spell 18. © Getty Conservation Institute and the Ministry of Tourism and Antiquities.
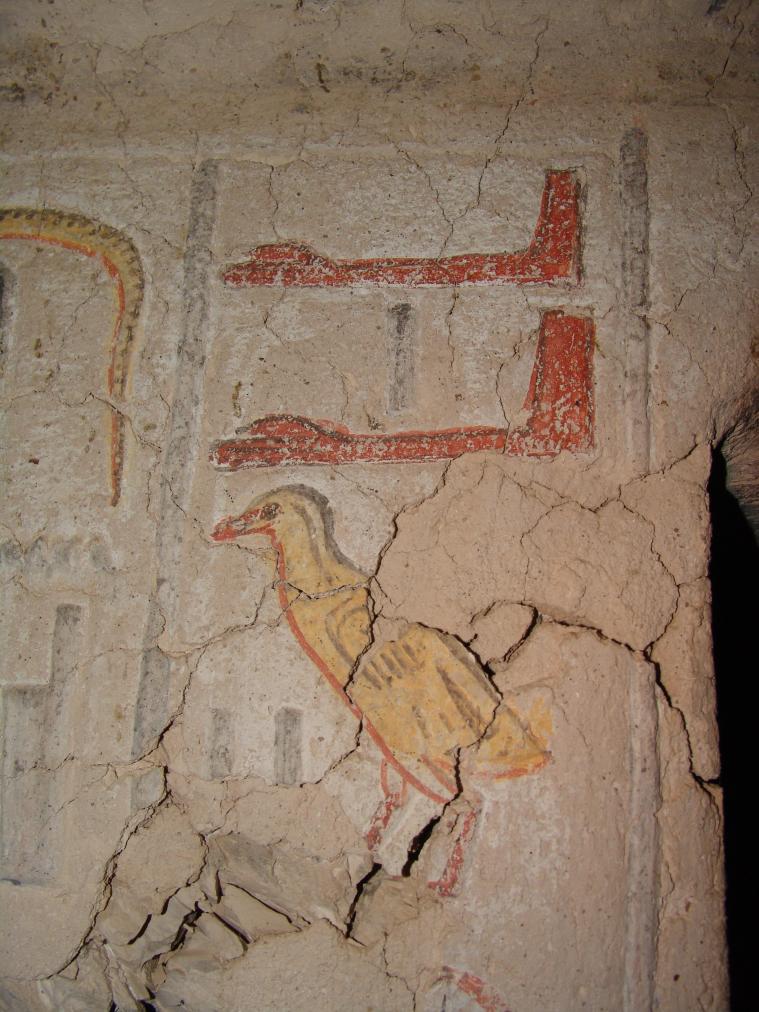
Detail of text from Book of the Dead Spell 180. © Getty Conservation Institute and the Ministry of Tourism and Antiquities.
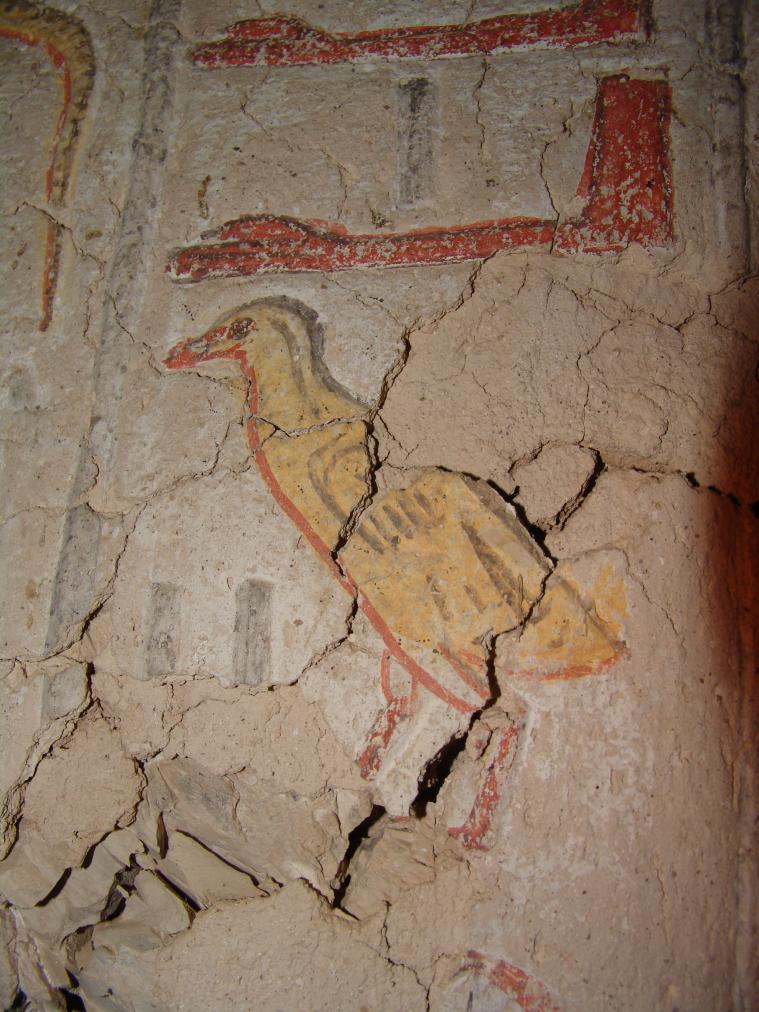
Detail of text from the Book of the Dead Spell 180. © Getty Conservation Institute and the Ministry of Tourism and Antiquities.
Remains of the Book of the Dead Spell 180 and a Djed pillar on the original thickness of Gate Cb. © Getty Conservation Institute and the Ministry of Tourism and Antiquities.
About
About
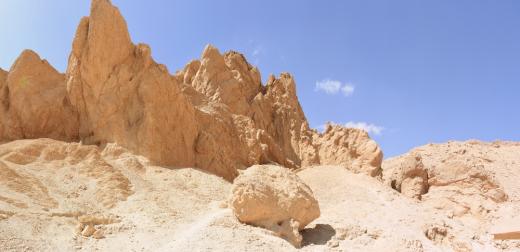
QV 60 is located on the north side of the main Wadi and is cut into the large rotated geologic block that makes up the valley. The original layout of QV 60 is not immediately apparent, given the loss of a number of internal walls that separate the chambers. The tomb is entered through a steep Ramp (A) leading into a pillared chamber (B) with barrel vault and eastern side chamber (Bb). Another small side chamber (Ba) lies to the northwest and connects to rear side chamber (Ca) through a break in the wall. On axis with the entrance to the tomb, a gate leads to the burial chamber (C), with a northern niche and gates to a large chamber to the east (Cb) (originally two side chambers with the separating wall having collapsed) and a side chamber to the west (Ca). The tomb is in poor condition with numerous structural problems, though it would originally have been one of the largest tombs in the valley with high quality painting. All the chambers presently connect and can be accessed at multiple points, which was not originally intended.
QV 60 is attributed to Nebettauy ('Mistress of the Two Lands'), who may have been the daughter of Rameses I and Isis-Neferet, although others propose her as a daughter of Nefertari and Rameses II. She appears fifth in the procession of daughters at Abu Simbel and is depicted with Bentanat (QV 71) at the foot of one of the colossi of Rameses Il on the façade of this temple. Otherwise, there is very little known about her life. She is part of a list on papyrus fragment Turin 1877, where she is labeled as 'great royal wife' along with other princess-wives of Rameses II. All of the images of Nebettauy in the tomb are damaged. QV 60 was not built in line with the other tombs of the daughters of Rameses Il (QV 68, QV 71, QV 73, QV 74, and QV 75) and the tombs of Nefertari (QV 66) and Queen Tuy (QV 80), but it was placed in front of QV 80 and near QV 58, also dating to the reign of Rameses II. Being the fifth daughter of Rameses II, it is probable that there simply was not enough room at the end of the valley for her tomb and so it was placed down the slope closer to the valley floor.
Chamber (B) has a barrel vault in the front section, which was first seen in a royal tomb in the burial chamber of Seti I (KV 17) and was also used in Rameses II's tomb (KV 7). Raised relief painting survives throughout the tomb, but has suffered significant losses. The entryway to QV 60 had decorations around the exterior doorway, of which very little remains. This is an innovation from the time of Rameses II, who added images of the sun god on the exterior lintel of his tomb's entrance.
The tomb was cleared by the Franco-Egyptian Mission in 1981-83, but has been accessible since the time of Robert Hay of Linplum (1826). It was already largely damaged in Hay's time and Elizabeth Thomas (1959-60) notes sediment throughout the tomb. Christian Leblanc observed that the tomb flooded in 1994, and remaining evidence of that event and prior flooding includes a layer of dried mud on the floor, floodwater marks on the walls, and corresponding deteriorated rock below the floodwater lines. A 1993 geotechnical study recorded six or seven different deposition layers within over 1 meter of sediment accumulated against the north side of the wall between chamber (B) and chamber (C), indicating that the tomb has experienced at least that many flood episodes in its history. The absence of pillars in chamber B, thought to have been removed during the Coptic period to create a ceremonial space, was noted with confusion by Hay. Further evidence of Coptic reuse includes graffiti in the tomb, external mudbrick structures, and fired brick pavers outside the tomb. In relation to the extensive amount of extant pharaonic painting, Thomas noted their brilliance and compares their quality to that of Nefertari (QV 66). The tomb is not open to visitation and a door surround constructed with fired brick and a metal grill door with mesh has been installed.
Noteworthy features:
The first room (B) has a barrel vault in the front section, which was first seen in a royal tomb in the burial chamber of Seti I (KV 17) and was also used in Rameses II's tomb (KV 7).
Site History
The tomb was constructed in the 19th Dynasty and reused during the Coptic Period (until the 8th century). This reuse is evidenced by overplastering of the tomb walls with mouna, graffiti, the floor was raised (20cm), and the tombs entry stairway was reconstructed.
Dating
This site was used during the following period(s):
Exploration
Conservation
Conservation History
According to the GCI-SCA, wooden post and beam shoring is present in two locations in the rear side chamber (Cb), extending west across the collapsed wall of doorways and into adjacent chamber C. The shoring was erected in the 1980's in response to the observed ceiling fractures and areas of significant loss of ceiling rock and internal rock wall. Gypsum/white cement mortar has also been applied to fill gaps between the beams and the ceiling rock and in several fractures in the rock. Some repair fillings of cracks in the ceiling have been carried out with mortar adjacent to the shoring in side chamber (Cb). Space between the shoring and the rock has also been filled with the same gypsum/white cement mortar. Evidence shows that attempts to remove Coptic overplastering have caused further damages to the painted surface of the pharaonic paintings. There are edging repairs of different types found in pillared chamber (B), side chamber (Bb), and other sporadic attempts to stabilize areas of plaster are found elsewhere throughout the tomb. These include pink and grey-colored repair plasters and a few deep fills with keyed cross-hatching. A CNRS team carried out stabilization of mouna plaster in QV 60 in 1989. Conservation stabilization measures were carried out by the GCI and SCA conservators in 2010 and 2013.
Site Condition
According to the GCI-SCA, the structural stability of the tomb is seriously compromised by the loss of interior walls between the rear chambers (Ba) - (Ca), (C) and (Cb), as well as the wall between chamber (B) and rear east chamber (Cb), and the north wall of the central west chamber, plus the loss of two pillars in chamber (B). The result is a large expanse of unsupported ceiling rock and hanging walls. The tomb's poor condition prompted a geotechnical study by the University of Cairo in 1993. The study noted that only two piers provide support for the expanse of ceiling and rock overburden and identified areas at risk of collapse. Rock throughout the tomb is in poor condition, especially the lower half of all remaining walls between chamber (B) and the rear chambers, where it is severely fractured and lacks cohesion, and is no longer capable of supporting upper portions of the walls. Destruction of the two pillars in antiquity has resulted in destabilization of the ceiling in chamber (B). Fracturing is also present in the south wall of chamber (B), and the west and south walls of the side chamber (Bb). Localized areas of friable and powdering surfaces of rock are also present.
Recent significant rock loss and enlarged fractures are likely the result of the 1994 flooding. Large areas of the ceiling of chamber (B) have collapsed in the past. Extensive rock collapse is also apparent in rear chambers (C) and (Cb), and the presence of heavily fractured ceiling rock in these chambers constitutes a high risk of future collapse. Wooden post and beam shoring has been installed in rear chambers (C) and (Cb) to support the ceiling rock and surviving upper portions of collapsed walls. Substantial amounts of salts are present as fracture infill and as efflorescence and crusts on rock surfaces, particularly in gate (C) and along the rear wall of chambers (C) and (Ca). When activated by moisture these salts will continue to cause mechanical damage and eventual loss of material.
The condition and loss of the paintings is clearly connected to the lack of stability of the rock. The collapse of all but the highest parts of many of the walls mentioned above has left the remaining paintings essentially suspended and at high risk of continued loss. Cracks visible in the rock often continue into the painted plaster. Surviving areas of plaster are friable with a network of cracking, and in some cases have detached from the rock support below. Surface pitting of the paintings in chamber (C) is also indicative of salt activity. Other surface conditions include flaking and loss of the upper paint and plaster layers, and a noticeable loss of the white background of the paintings. Lower sections of the walls were already lost by the early 1800s, presumably victims of cyclical flood events. Clearing of debris from around the tomb walls by the Franco-Egyptian Mission in the 1970's and 1980's may have caused further instability of the lower parts of the surviving walls. The University of Cairo geotechnical study determined that multiple floods had affected the stability of the tomb by causing fracturing of the rock that led to the collapse of walls and ceiling rock. Two major fault zones and a number of joint planes dipping steeply toward the south have contributed to chamber wall and ceiling collapse. The 1994 flood had a significant impact, the floodwaters scattering archaeological finds stored in the tomb and leaving a thick layer of mud on the floor, now dried and cracked. The tomb continues to be threatened by flooding, being adjacent to the main drainage channel, which is fed by the catchment area.
Hieroglyphs
Queen Nebettuay
 Great Royal wife, King's daughter of his body, his beloved, Nebettuay
Hmt-wrt-nswt sAt-nswt-n-Xt.f mr.f nbt-tAwy
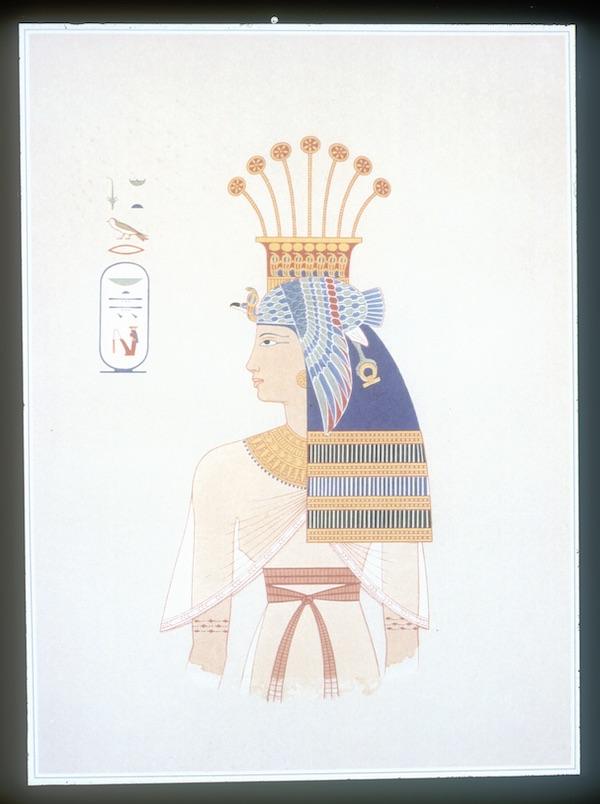
Portrait of daughter of Rameses II [tomb of Nebettauy, QV 60 first chamber, side room, rear wall]

Entrance to QV52 in background, foreground includes entrances to QV58, QV59, QV61, QV60, QV62, and worker's huts.

Entrance to QV51, QV52, QV53, QV55, and unfinished QV85 in background with workers' huts in foreground.

Entrances to QV58, QV59, and QV60 with workers' huts.

Entrances to QV58, QV59, QV60, and QV61 with workers' huts. Visitors shelter at QV66 and QV80 in background.

Entrance to QV52 and visitors shelters at QV55 in background. Foreground includes coptic remnants, workers’ huts, QV58, QV59, QV60, QV61, QV62, QV85, QV80, and QV66 with visitors shelter.
View of the tomb entrance. © Getty Conservation Institute and the Ministry of Tourism and Antiquities.
View of the tomb entrance. © Getty Conservation Institute and the Ministry of Tourism and Antiquities.
Left side of the entryway ramp. © Getty Conservation Institute and the Ministry of Tourism and Antiquities.
The right side of the entryway ramp. © Getty Conservation Institute and the Ministry of Tourism and Antiquities.
Overhang of the entryway ramp. © Getty Conservation Institute and the Ministry of Tourism and Antiquities.
View of the upper part of Gate B. © Getty Conservation Institute and the Ministry of Tourism and Antiquities.
The upper left side of Gate B with faint traces of remaining decoration. © Getty Conservation Institute and the Ministry of Tourism and Antiquities.
The tomb number in red paint. © Getty Conservation Institute and the Ministry of Tourism and Antiquities.
Figure of the queen leaving the tomb. © Getty Conservation Institute and the Ministry of Tourism and Antiquities.
View of the ceiling. © Getty Conservation Institute and the Ministry of Tourism and Antiquities.
View of the collapsed pillars and the north wall with a view of gates Ba and C, as well as the break in the wall to side chamber Cb. © Getty Conservation Institute and the Ministry of Tourism and Antiquities.
View of the northwest corner with collapsed pillar, Gate Ba, and Gate C. © Getty Conservation Institute and the Ministry of Tourism and Antiquities.
view of northeast corner with a collapsed pillar and the break into side chamber Cb. © Getty Conservation Institute and the Ministry of Tourism and Antiquities.
View of the ceiling. © Getty Conservation Institute and the Ministry of Tourism and Antiquities.
View of the collapsed pillar and northwest corner with Gate Ba. © Getty Conservation Institute and the Ministry of Tourism and Antiquities.
View of a collapsed pillar and the northeast corner with the break into side chamber Cb. © Getty Conservation Institute and the Ministry of Tourism and Antiquities.
View of Gate B and collapsed pillars. © Getty Conservation Institute and the Ministry of Tourism and Antiquities.
View of the southeast corner, collapsed pillar, and Book of the Dead Spell 18. © Getty Conservation Institute and the Ministry of Tourism and Antiquities.
View of the southwest corner and collapsed pillar. Queen offering Ma'at to Ptah-Sokar in shrine. © Getty Conservation Institute and the Ministry of Tourism and Antiquities.
View of the east wall with collapsed pillar, break into side chamber Cb, the Queen offering, and the Book of the Dead Spell 18. © Getty Conservation Institute and the Ministry of Tourism and Antiquities.
View of the ceiling. © Getty Conservation Institute and the Ministry of Tourism and Antiquities.
Detail of the west wall with Ma'at kneeling in the upper register and the Book of the Dead spell 125B. © Getty Conservation Institute and the Ministry of Tourism and Antiquities.
View of Gate B with the titles of the Queen. © Getty Conservation Institute and the Ministry of Tourism and Antiquities.
View of the ceiling above Gate C with the titles of the queen. © Getty Conservation Institute and the Ministry of Tourism and Antiquities.
View of the East wall with coptic graffiti and the Book of the Dead Spell 18. © Getty Conservation Institute and the Ministry of Tourism and Antiquities.
Detail of coptic graffiti on the east wall. © Getty Conservation Institute and the Ministry of Tourism and Antiquities.
Detail of Coptic graffiti above Gate Bb. © Getty Conservation Institute and the Ministry of Tourism and Antiquities.
Detail of seated deities from the Book of the Dead Spell 18. © Getty Conservation Institute and the Ministry of Tourism and Antiquities.
Detail of seated deities from the Book of the Dead Spell 18. © Getty Conservation Institute and the Ministry of Tourism and Antiquities.
Detail of seated deities from the Book of the Dead Spell 18. © Getty Conservation Institute and the Ministry of Tourism and Antiquities.
Detail of seated deities from the Book of the Dead Spell 18. © Getty Conservation Institute and the Ministry of Tourism and Antiquities.
Detail of hieroglyphic text from the Book of the Dead spell 18. © Getty Conservation Institute and the Ministry of Tourism and Antiquities.
Detail of seated deities from the Book of the Dead Spell 18. © Getty Conservation Institute and the Ministry of Tourism and Antiquities.
Detail of hieroglyphic text from the Book of the Dead spell 18. © Getty Conservation Institute and the Ministry of Tourism and Antiquities.
Detail of hieroglyphs from the Book of the Dead spell 18 above the break into side chamber Cb. © Getty Conservation Institute and the Ministry of Tourism and Antiquities.
Detail of hieroglyphic text from the Book of the Dead spell 18 above the break into side chamber Cb. © Getty Conservation Institute and the Ministry of Tourism and Antiquities.
Remains of the queen leaving the tomb. © Getty Conservation Institute and the Ministry of Tourism and Antiquities.
Remains of the queen leaving the tomb. © Getty Conservation Institute and the Ministry of Tourism and Antiquities.
Detail of restoration work on the south wall. © Getty Conservation Institute and the Ministry of Tourism and Antiquities.
The queen offering Ma'at to Ptah-Sokar in a shrine. © Getty Conservation Institute and the Ministry of Tourism and Antiquities.
The queen offering Ma'at to Ptah-Sokar in a shrine. © Getty Conservation Institute and the Ministry of Tourism and Antiquities.
Seated Osiris (damaged) flanked by two winged Ma'ats. Behind the left Ma'at is the figure of the Queen. © Getty Conservation Institute and the Ministry of Tourism and Antiquities.
The four sons of Horus with Isis and Nephthys (all figures mummiform with cobra atop their heads). © Getty Conservation Institute and the Ministry of Tourism and Antiquities.
Detail of seated Osiris (damaged). © Getty Conservation Institute and the Ministry of Tourism and Antiquities.
Detail of seated Osiris (damaged). © Getty Conservation Institute and the Ministry of Tourism and Antiquities.
Detail of winged Ma'at. © Getty Conservation Institute and the Ministry of Tourism and Antiquities.
Detail of winged Ma'at. © Getty Conservation Institute and the Ministry of Tourism and Antiquities.
Detail of the queen's head with the lower part damaged. Behind the winged figure of Ma'at. © Getty Conservation Institute and the Ministry of Tourism and Antiquities.
Detail of mummiform Duamutef with cobra atop his head. © Getty Conservation Institute and the Ministry of Tourism and Antiquities.
Figure of Imsety with text. © Getty Conservation Institute and the Ministry of Tourism and Antiquities.
Detail of mummiform Imsety with cobra atop his head. © Getty Conservation Institute and the Ministry of Tourism and Antiquities.
Book of the Dead Spell 180. Remains of a ram-headed deity named "He who rests in Osiris, He who rests in Re". © Getty Conservation Institute and the Ministry of Tourism and Antiquities.
Detail of damage to text. © Getty Conservation Institute and the Ministry of Tourism and Antiquities.
Detail of damage to text and figures. © Getty Conservation Institute and the Ministry of Tourism and Antiquities.
Detail of break in the west wall. © Getty Conservation Institute and the Ministry of Tourism and Antiquities.
Detail of the break in the west wall. © Getty Conservation Institute and the Ministry of Tourism and Antiquities.
View of the ceiling. © Getty Conservation Institute and the Ministry of Tourism and Antiquities.
Queen depicted on either side of the niche and Behdet in the form of a winged sun disk above the niche. © Getty Conservation Institute and the Ministry of Tourism and Antiquities.
Detail of Behdet in the form of a winged sun disk above the niche. © Getty Conservation Institute and the Ministry of Tourism and Antiquities.
Detail of Behdet in the form of a winged sun disk above the niche. © Getty Conservation Institute and the Ministry of Tourism and Antiquities.
View of the ceiling. © Getty Conservation Institute and the Ministry of Tourism and Antiquities.
View of the winged sun disk above damaged gate Cb. © Getty Conservation Institute and the Ministry of Tourism and Antiquities.
Detail of the text below the winged sun disk above damaged gate Cb. © Getty Conservation Institute and the Ministry of Tourism and Antiquities.
View of the ceiling. © Getty Conservation Institute and the Ministry of Tourism and Antiquities.
West wall of Side Chamber Ca. © Getty Conservation Institute and the Ministry of Tourism and Antiquities.
Damaged relief in side chamber Ca. © Getty Conservation Institute and the Ministry of Tourism and Antiquities.
Damaged relief in side chamber Ca. © Getty Conservation Institute and the Ministry of Tourism and Antiquities.
Damaged relief in side chamber Ca. © Getty Conservation Institute and the Ministry of Tourism and Antiquities.
Damaged relief in side chamber Ca. © Getty Conservation Institute and the Ministry of Tourism and Antiquities.
View the original southern gate to side chamber Cb. © Getty Conservation Institute and the Ministry of Tourism and Antiquities.
View of the break through northern wall into side chamber Bb. © Getty Conservation Institute and the Ministry of Tourism and Antiquities.
Detail of text from Book of the Dead Spell 180. © Getty Conservation Institute and the Ministry of Tourism and Antiquities.
Detail of text from the Book of the Dead Spell 180. © Getty Conservation Institute and the Ministry of Tourism and Antiquities.
Remains of the Book of the Dead Spell 180 and a Djed pillar on the original thickness of Gate Cb. © Getty Conservation Institute and the Ministry of Tourism and Antiquities.
View of damage to the left thickness gate Cb. © Getty Conservation Institute and the Ministry of Tourism and Antiquities.



Articles
Tomb Numbering Systems in the Valley of the Queens and the Western Wadis
Geography and Geology of the Valley of the Queens and Western Wadis
Decorating the Tombs
Bibliography
Bougrain-Dubourg, Robert. Pour un sauvetage des tombes ramessides. Les dossiers d'archéologie, 149/150 (1990): 40-43.
Champollion, Jean-François. Monuments de l'Egypte et de la Nubie. Vol. 1-2. Paris: Firmin-Didot Frères; Geneva: Editions de belles-lettres, 1845.
Demas, Martha and Neville Agnew (eds). Valley of the Queens. Assessment Report. Los Angeles: The Getty Conservation Institute, 2012, 2016. Two vols.
Dewachter, Michel. Thèbes: monuments en péril de la Vallée des Reines; La tombe de la reine Nebet-Taouy. Archéologia 53 (1972): 18-24.
Dodson, Aidan and Dyan Hilton. The Complete Royal Families of Ancient Egypt. London: Thames and Hudson, 2004.
Hay of Linplum, Robert. Hay MSS [Robert Hay of Linplum and his artists made the drawings etc. in Egypt and Nubia between 1824-1838]. British Library Add. MSS 29812-60, 31054.
Leblanc, Christian, and Alberto Siliotti. Nefertari e la valle delle regine. 2nd ed. Florence: Giunti, 2002.
Leblanc, Christian. Les tombes no. 58 (anonyme) et no. 60 (Nebet-taouy) de la Vallée des Reines (rapport préliminaire). Annales du Service des antiquités de l’Egypte 69 (1983): 29-52.
Leblanc, Christian. Thèbes et les pluies torrentielles: à propos de mw n pt. Memnonia, 6 (1995): 197-214.