QV 73
Princess Henuttauy


Entryway A
See entire tomb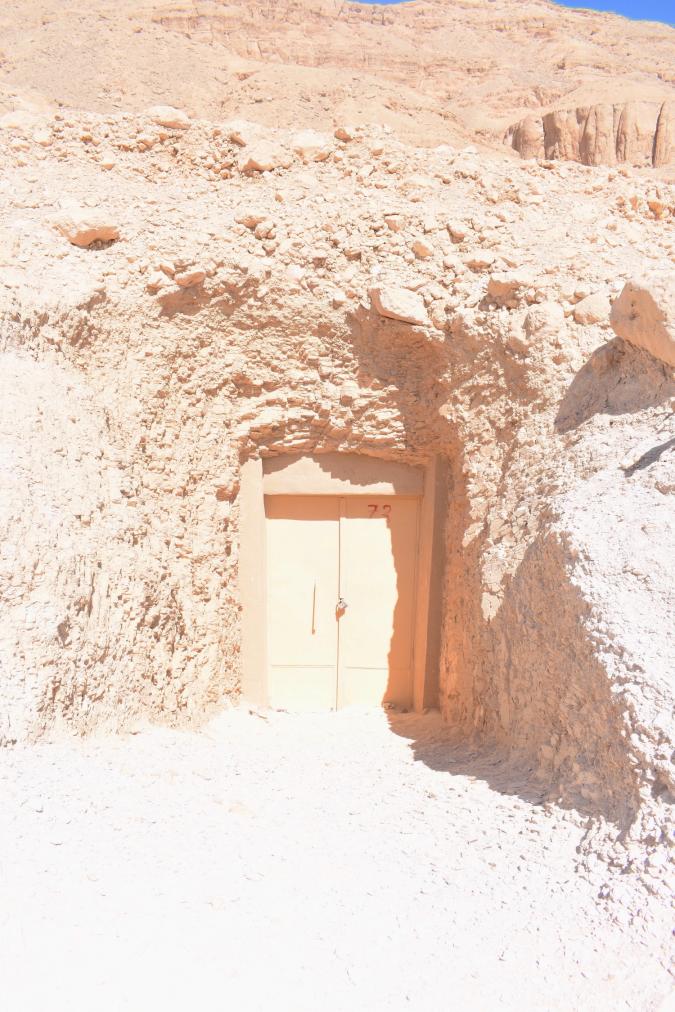
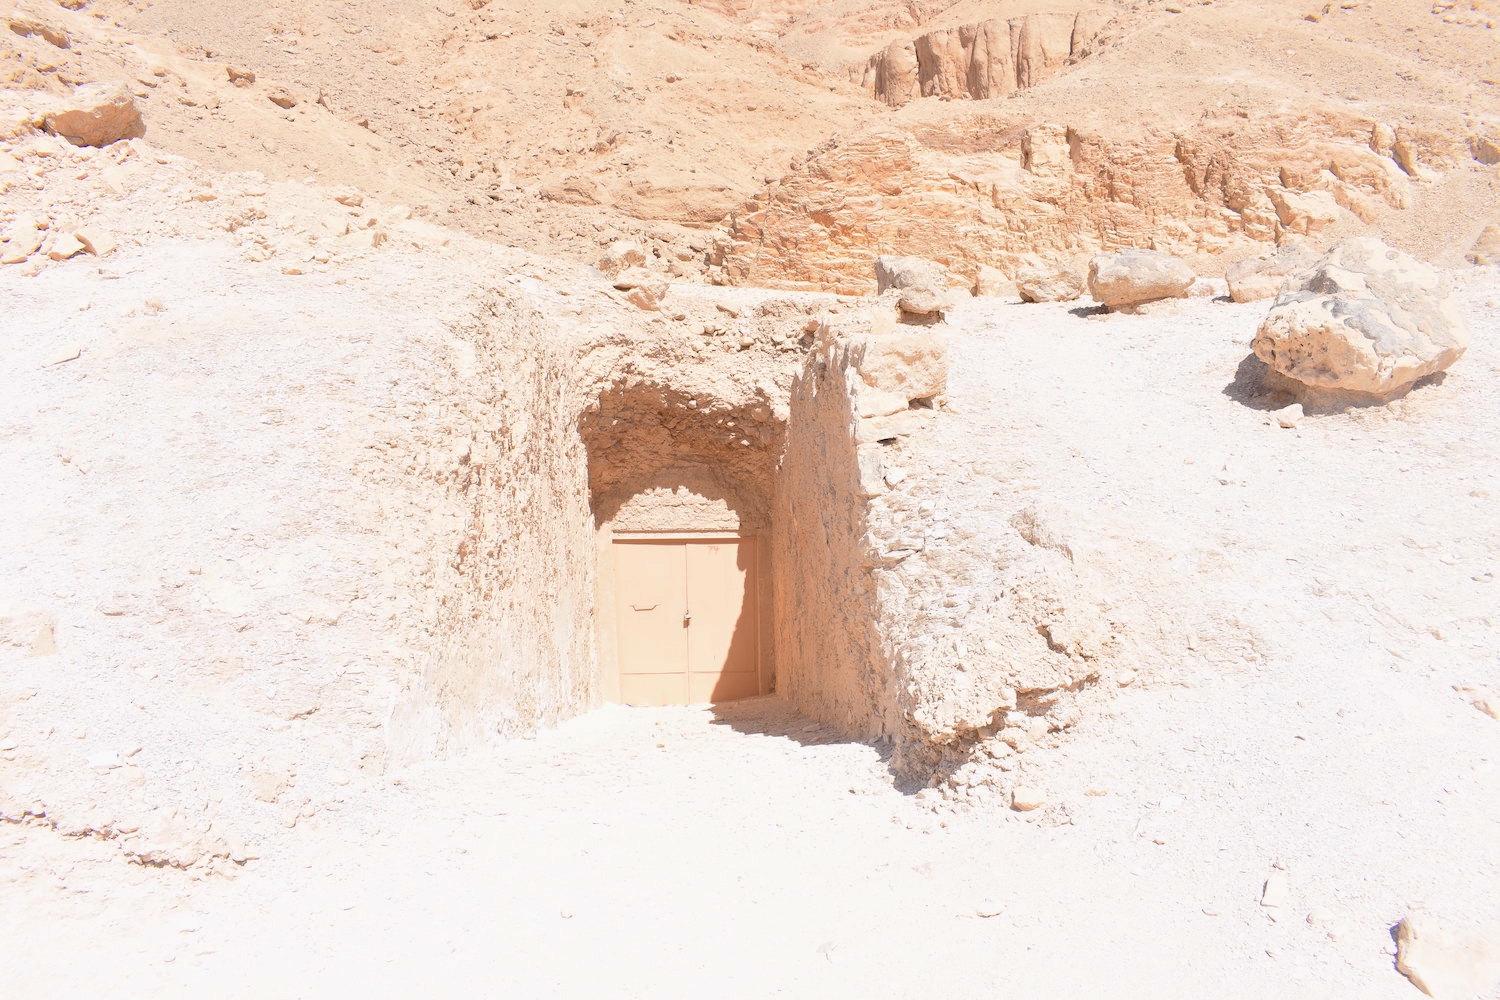
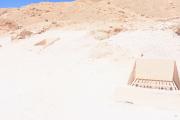
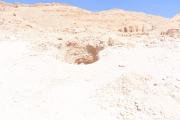
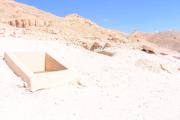
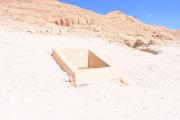
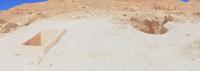
Entrance to QV73.
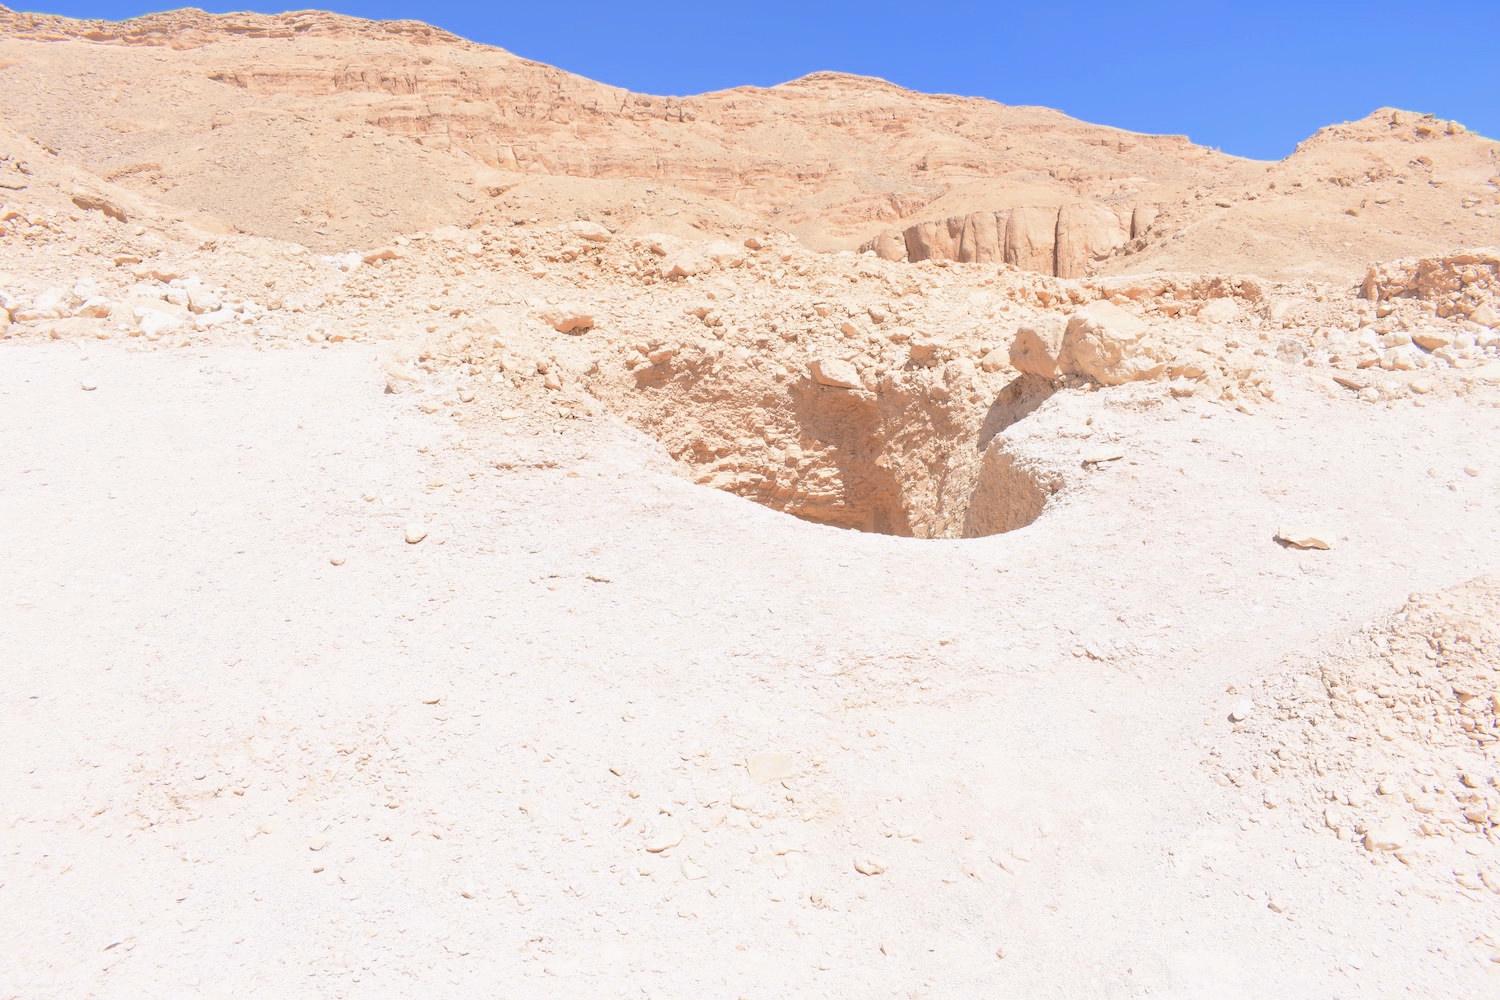
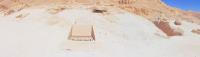
Entrance to QV73.
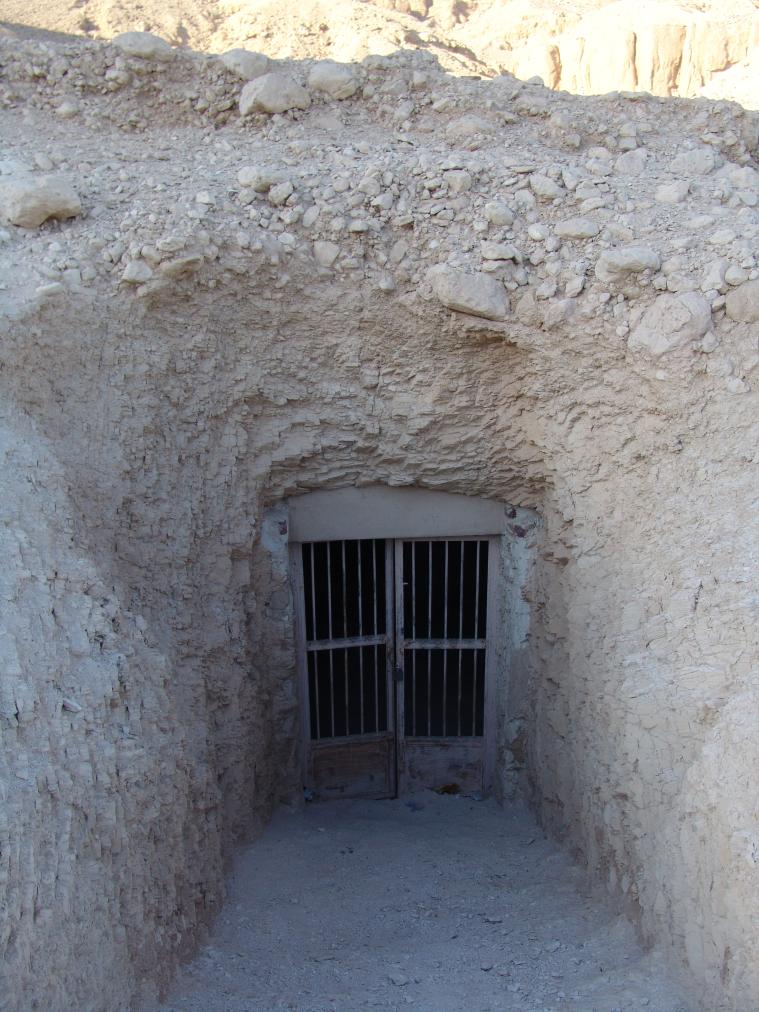
View of the tomb entrance. © Getty Conservation Institute and the Ministry of Tourism and Antiquities.
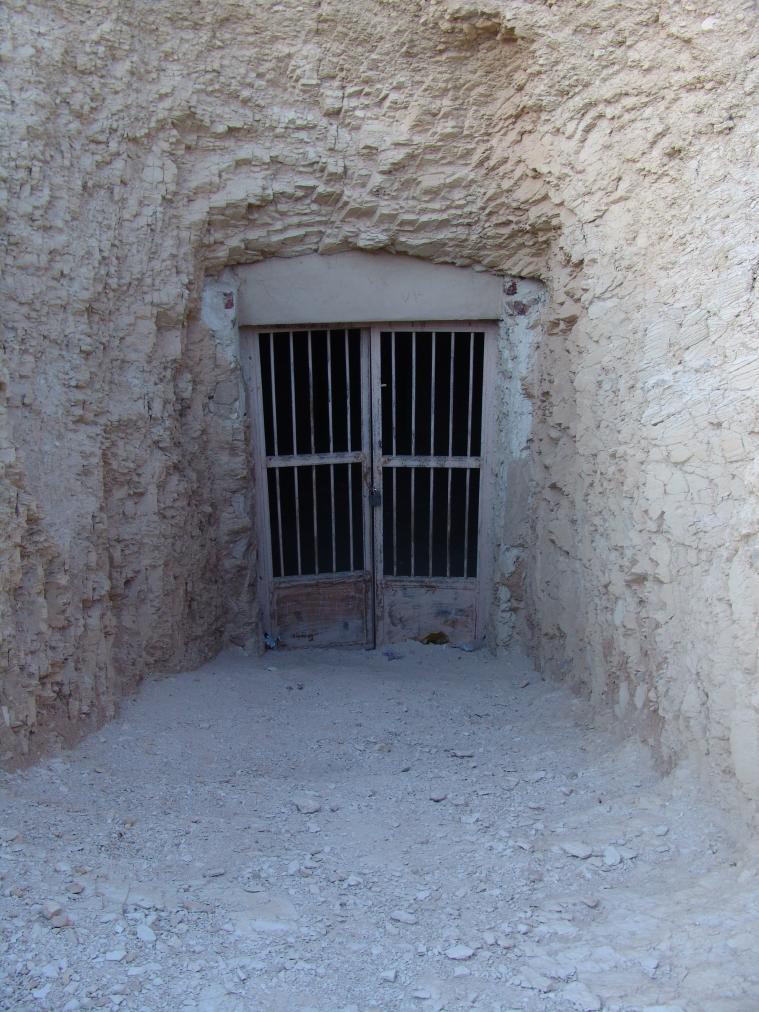
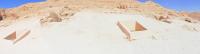
View of the tomb entrance. © Getty Conservation Institute and the Ministry of Tourism and Antiquities.
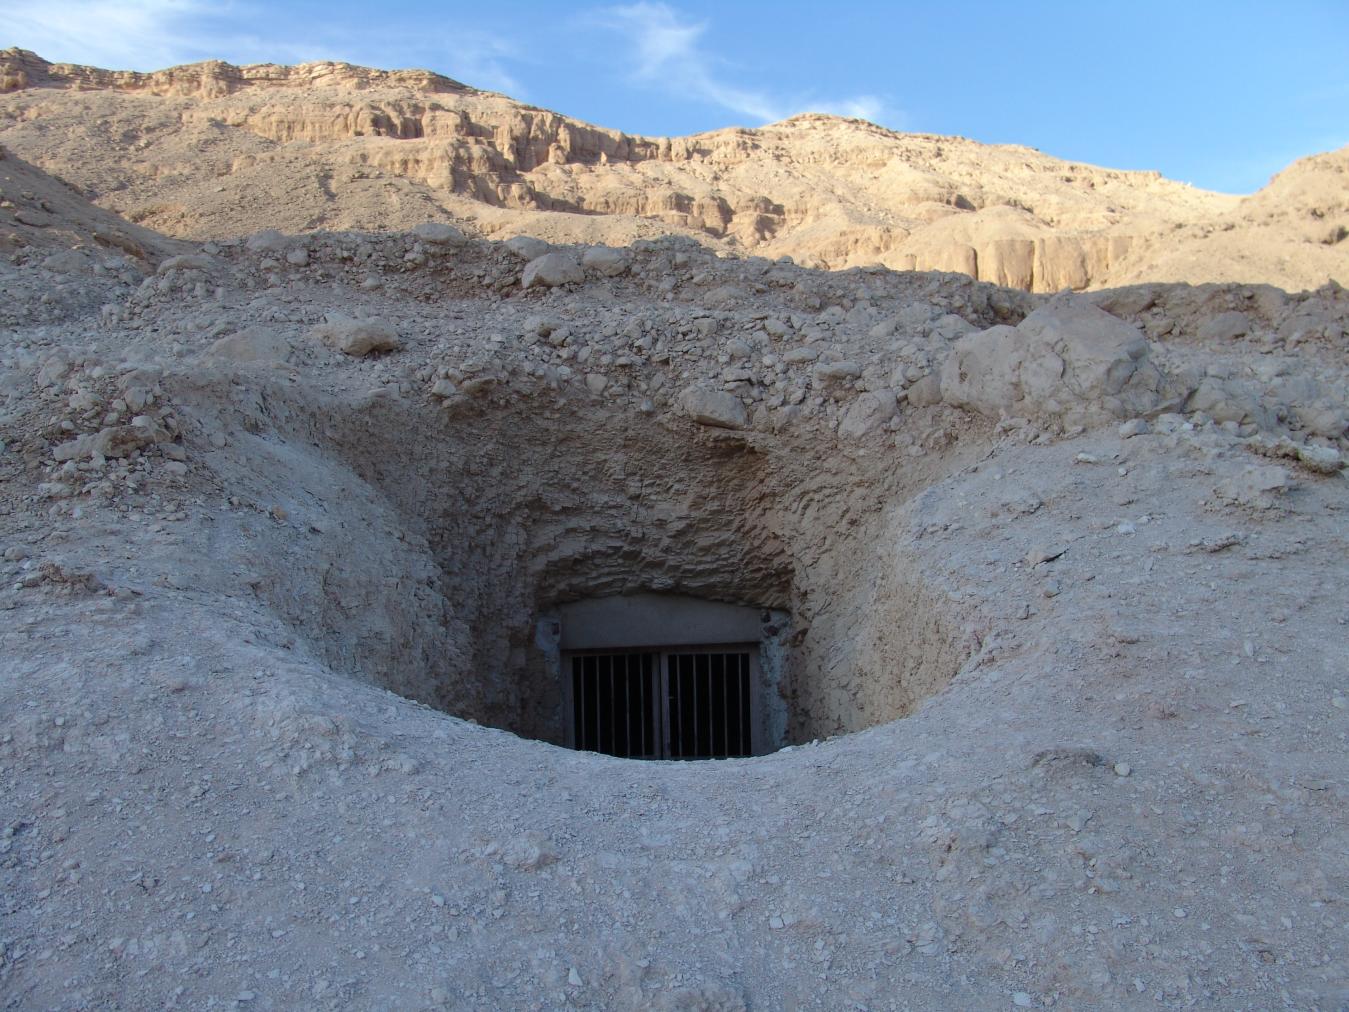
View of the tomb entrance. © Getty Conservation Institute and the Ministry of Tourism and Antiquities.
Gate B
See entire tombThis gate is undecorated. The door jambs were reconstructed in the Late Period and only a portion of original right jamb is preserved.
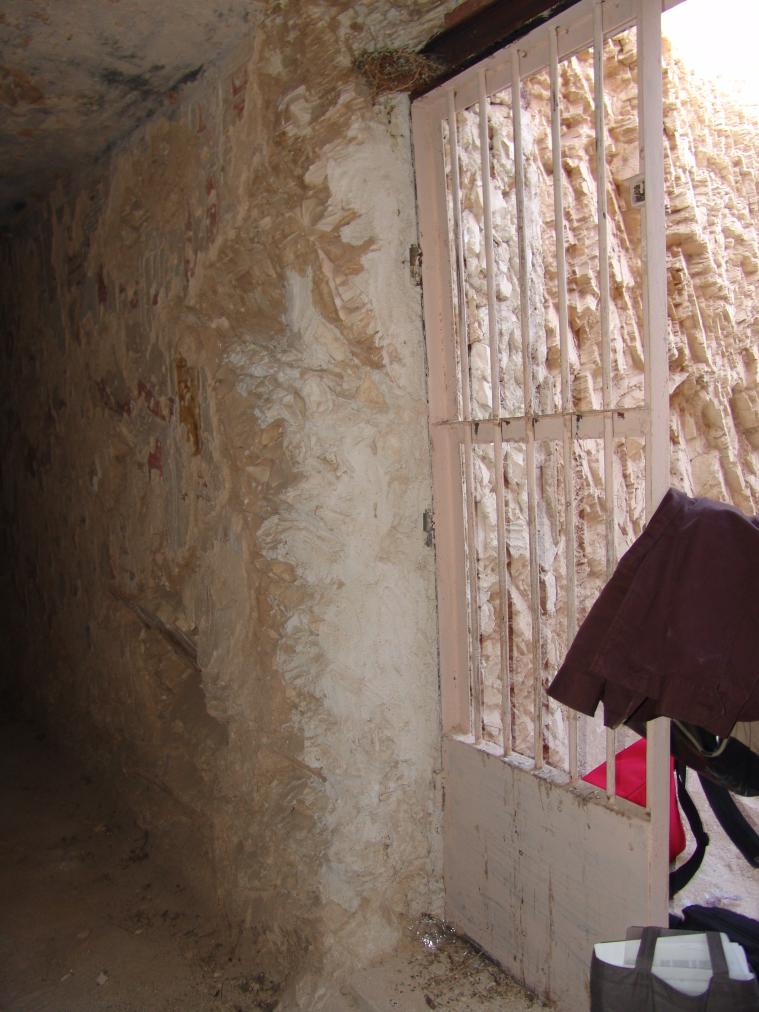
View of the right thickness. © Getty Conservation Institute and the Ministry of Tourism and Antiquities.
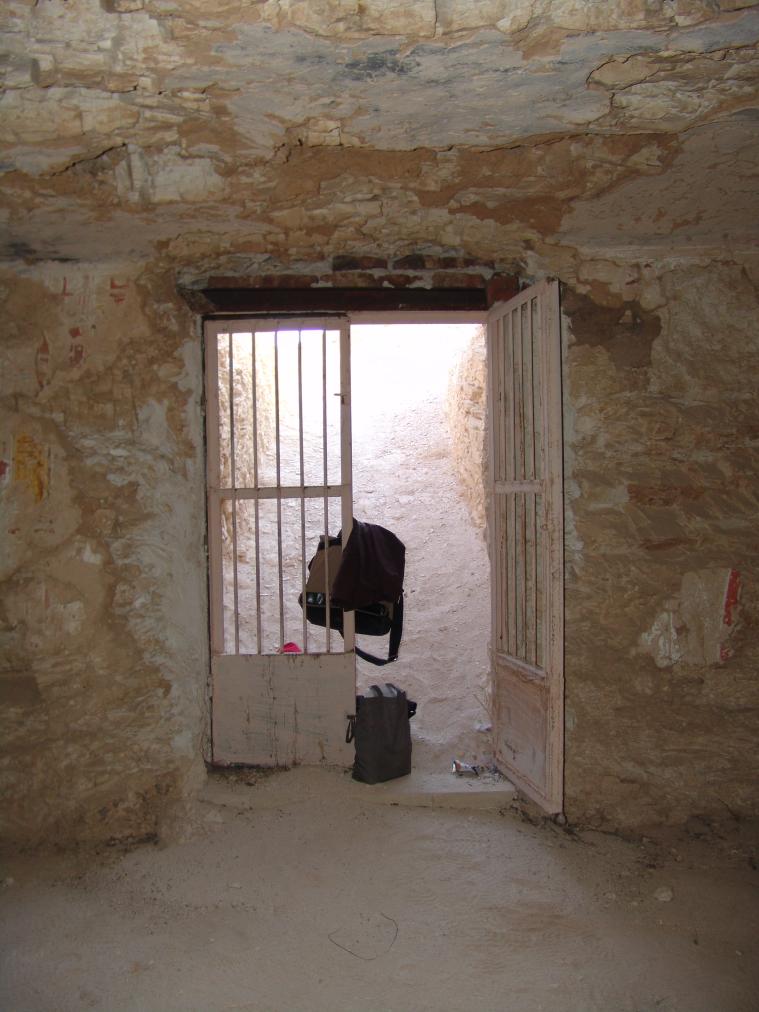
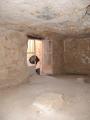
View of Gate B. © Getty Conservation Institute and the Ministry of Tourism and Antiquities.
Burial chamber B
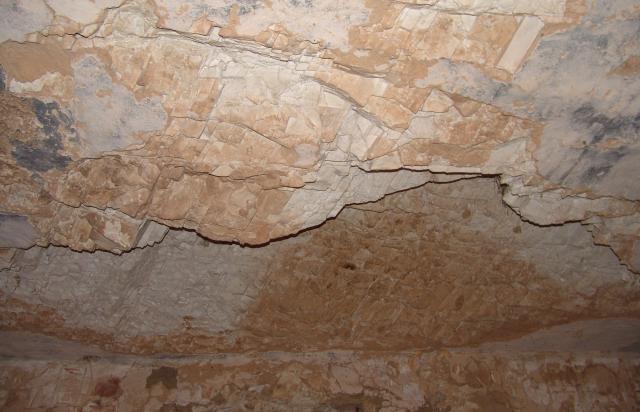
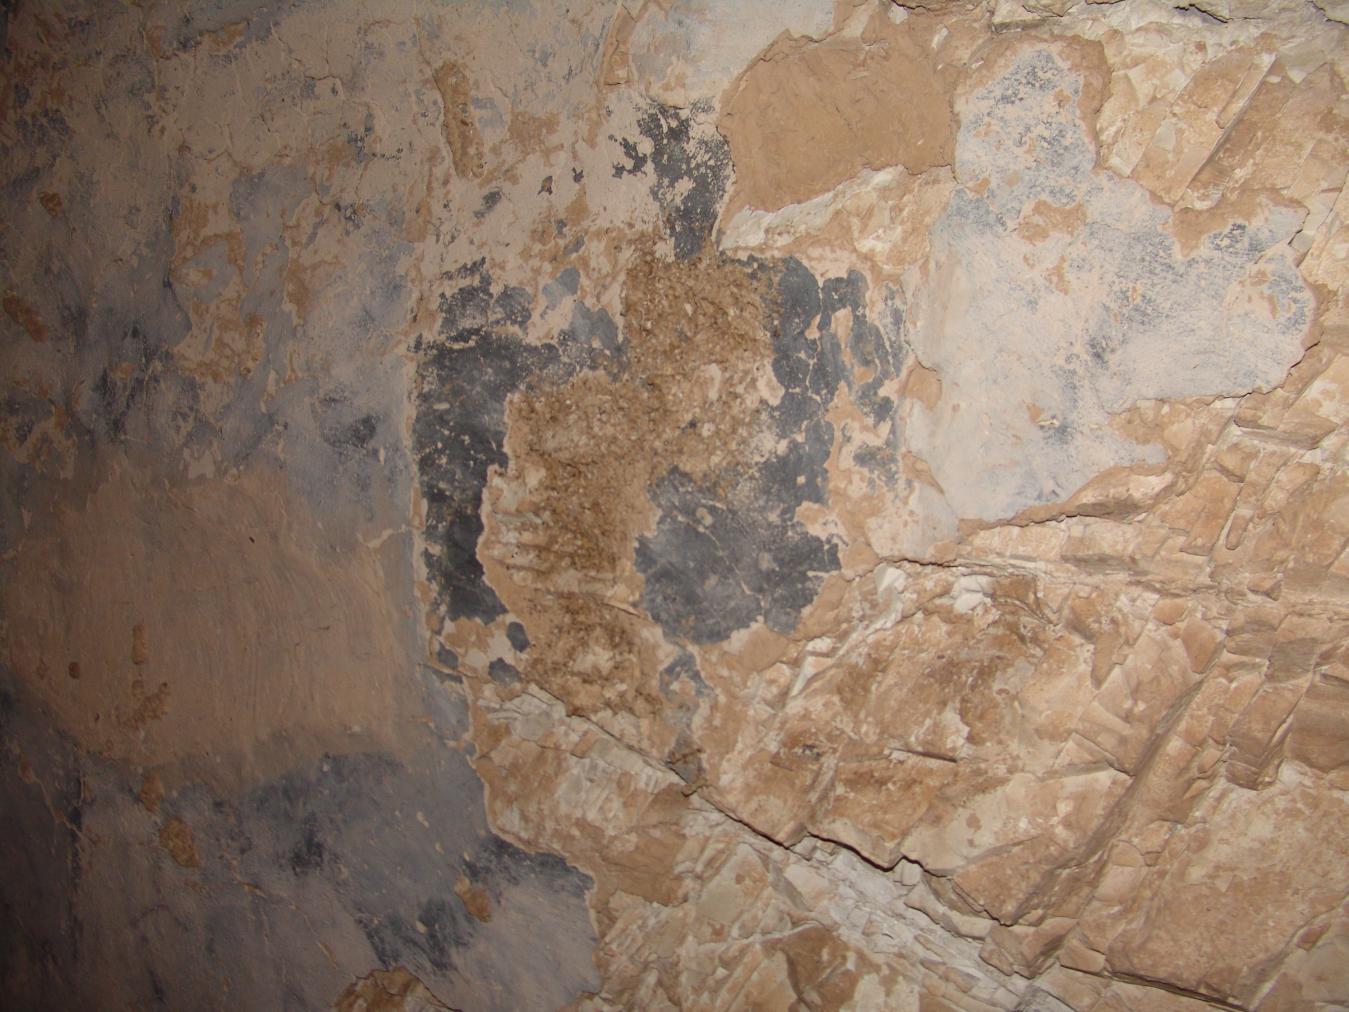
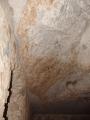
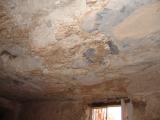
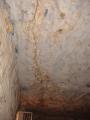
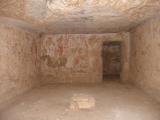
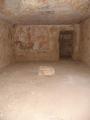
See entire tombThere are traces on the ceiling that indicate that the two pillars were built after the chamber was cut. Originally, the ceiling was painted black or dark blue and a white wash was applied after the pillars were built. When the pillars were subsequently destroyed, two dark squares remained on the ceiling. The lower parts of the pillars were discovered during the Franco-Egyptian Mission excavations. The ceiling is also damaged in the rear half of chamber B.
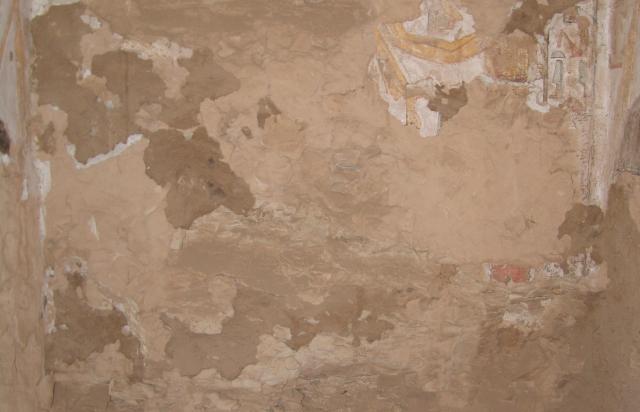
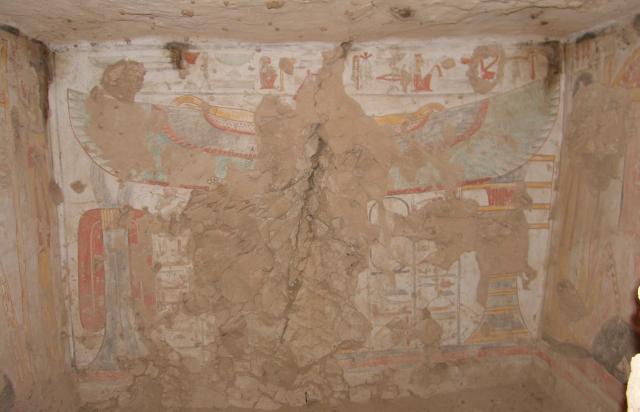
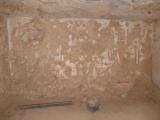
The decoration of the burial chamber consists of the princess offering to various deities, as well as a weighing of the heart scene. These scenes are severely damaged as they were hacked during the Coptic Period and plastered over with mouna.
Chamber plan:
SquareRelationship to main tomb axis:
PerpendicularChamber layout:
Flat floor, pillarsFloor:
One levelCeiling:
Flat
Porter and Moss designation:
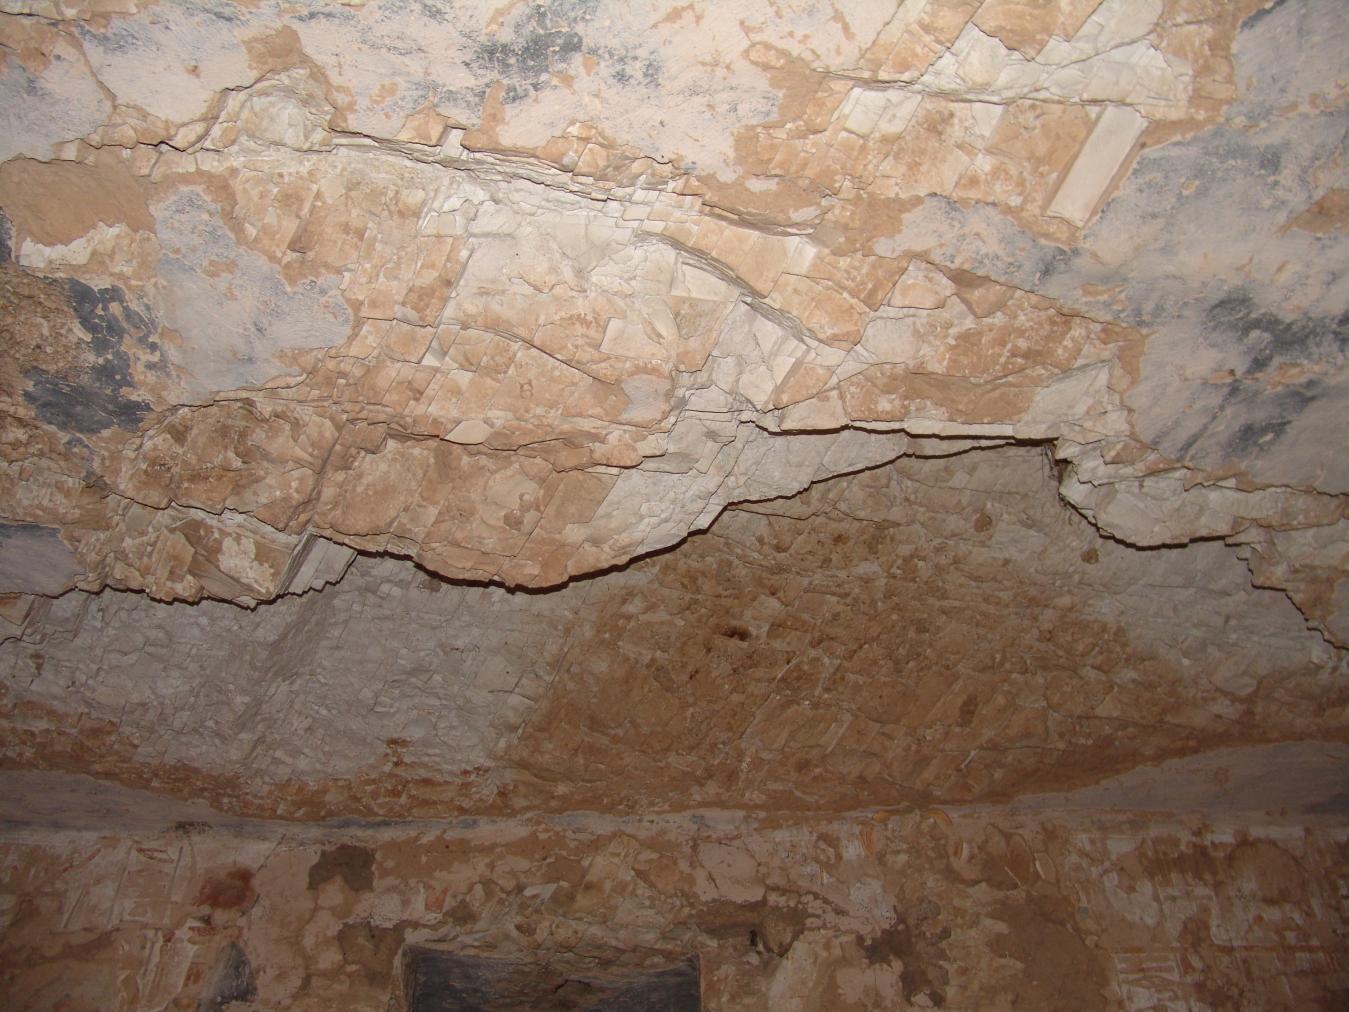
View of the ceiling. © Getty Conservation Institute and the Ministry of Tourism and Antiquities.
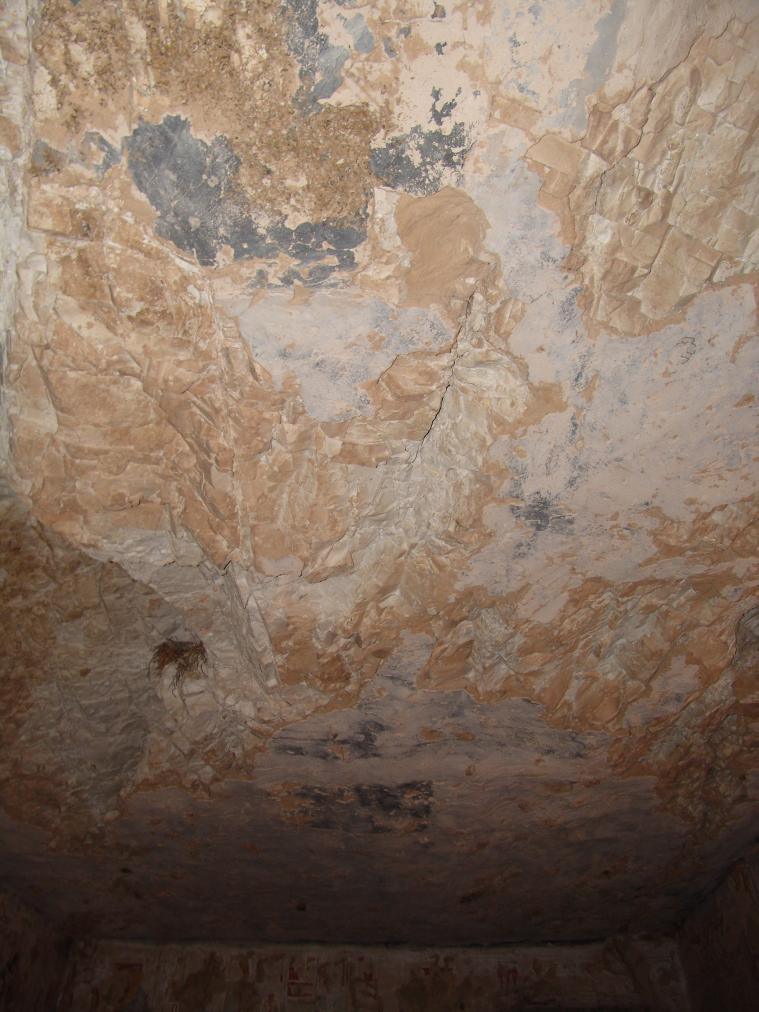
View of the ceiling. © Getty Conservation Institute and the Ministry of Tourism and Antiquities.
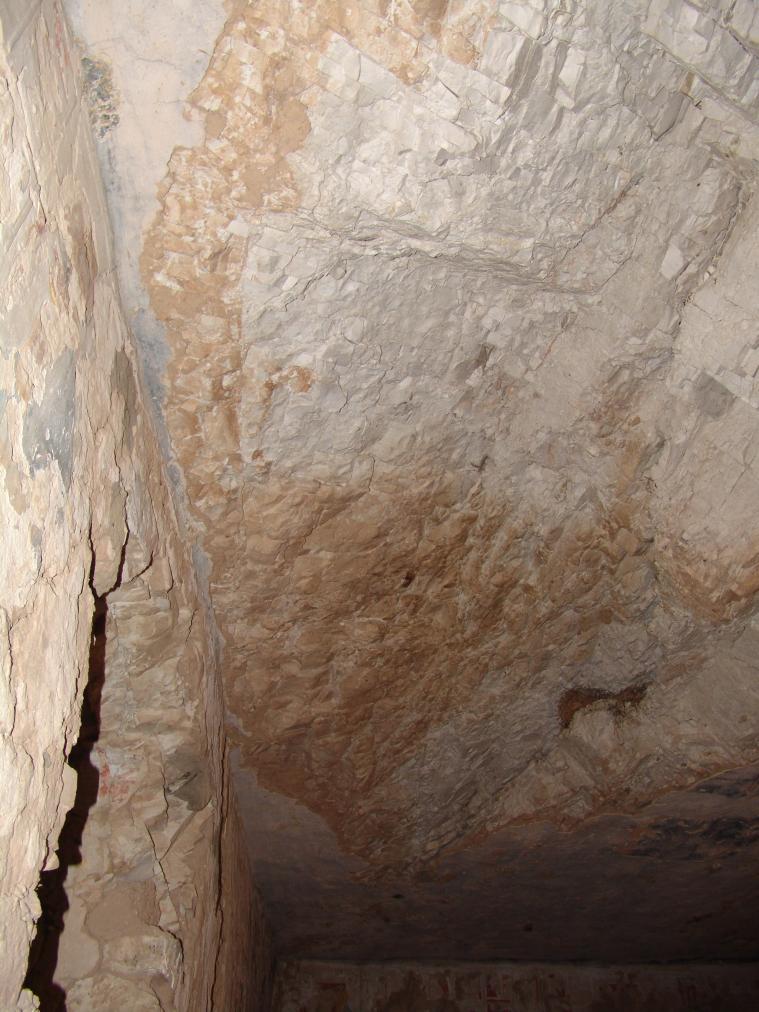
View of the ceiling. © Getty Conservation Institute and the Ministry of Tourism and Antiquities.
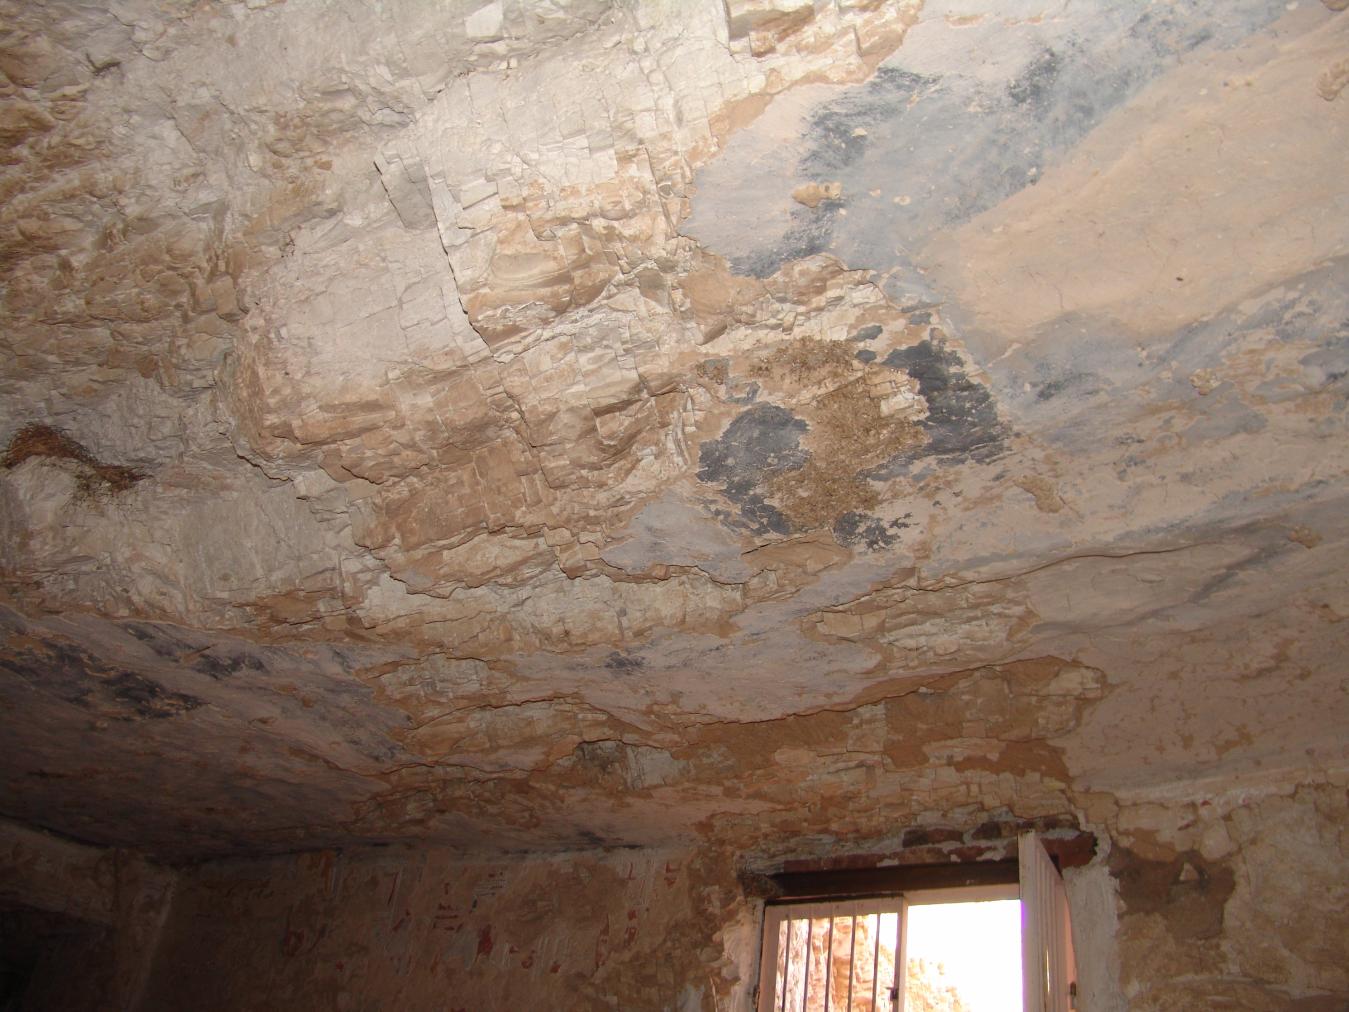
View of the ceiling. © Getty Conservation Institute and the Ministry of Tourism and Antiquities.
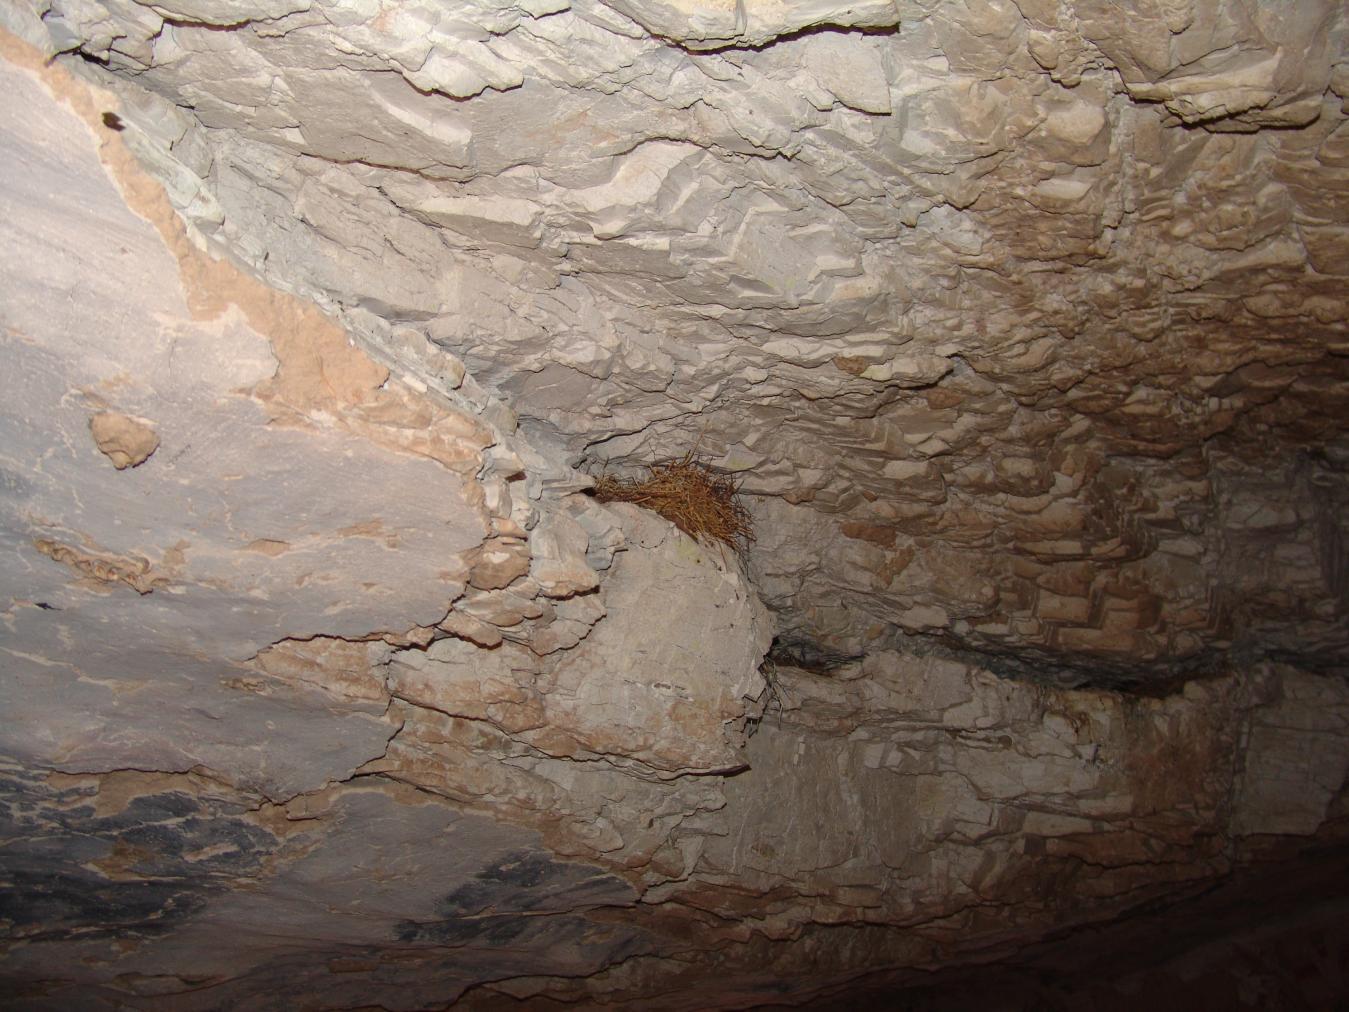
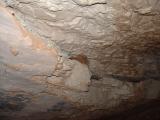
View of the ceiling and a bird nest. © Getty Conservation Institute and the Ministry of Tourism and Antiquities.
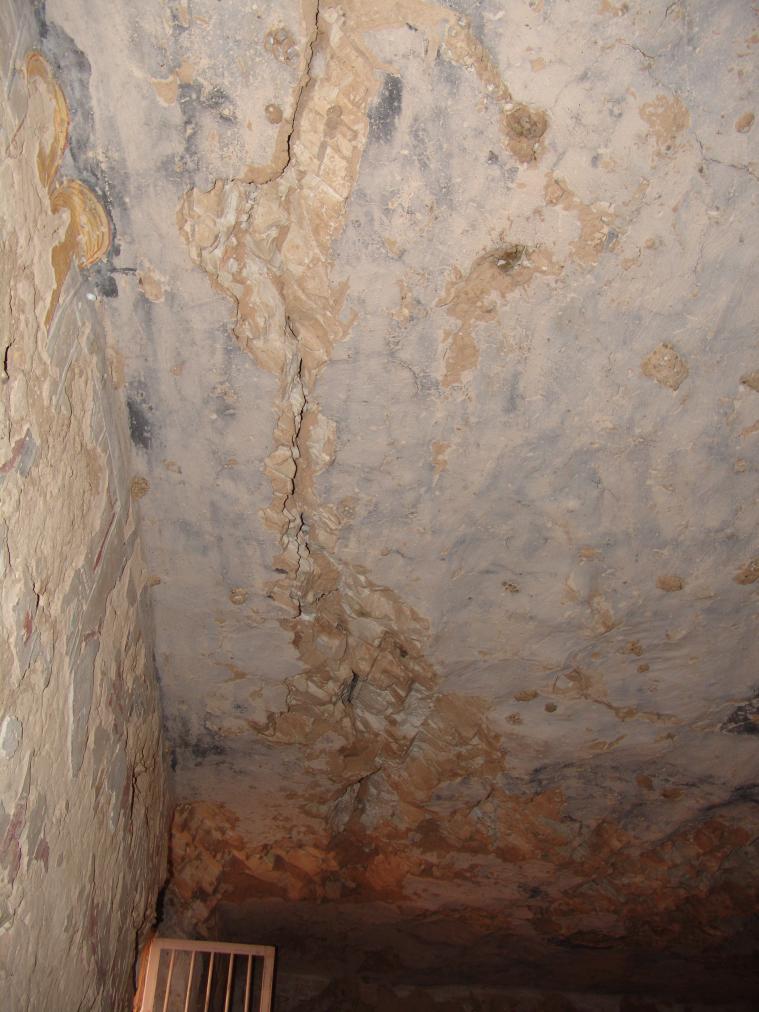
View of the ceiling. © Getty Conservation Institute and the Ministry of Tourism and Antiquities.
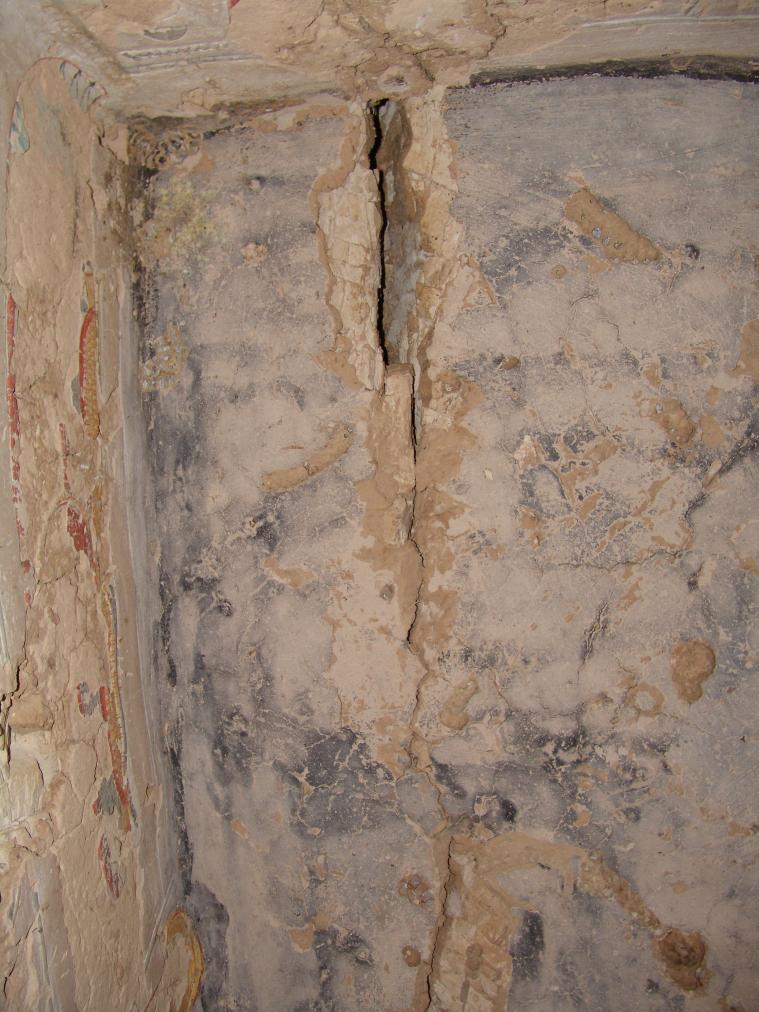
View of the ceiling. © Getty Conservation Institute and the Ministry of Tourism and Antiquities.
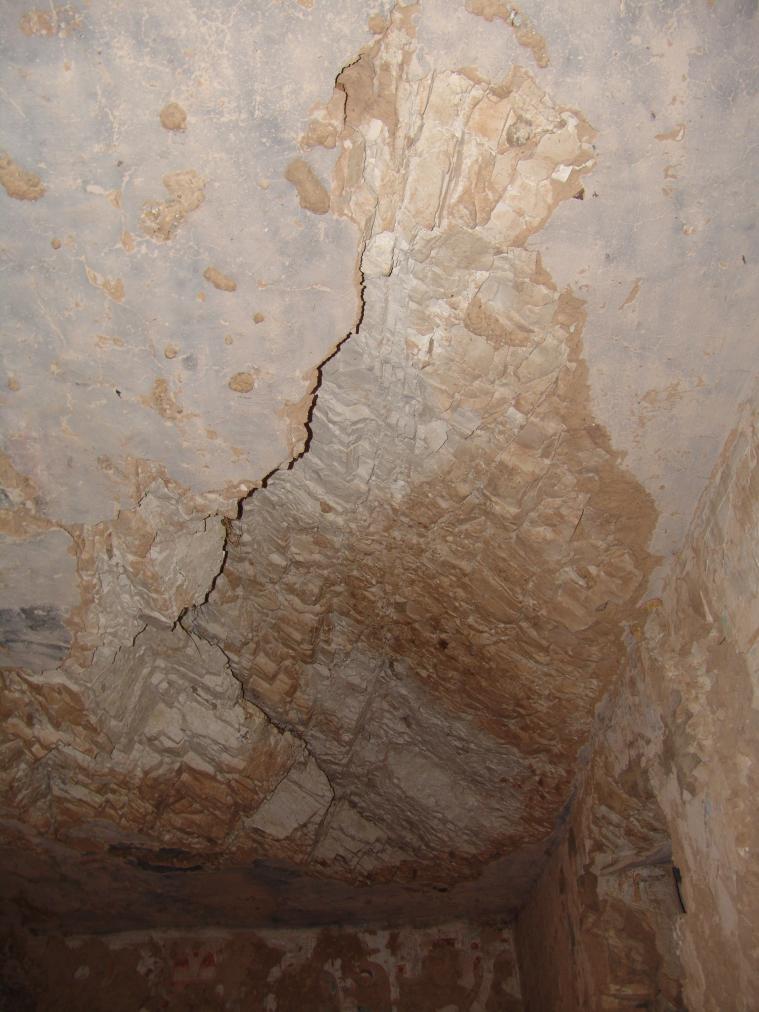
View of the ceiling. © Getty Conservation Institute and the Ministry of Tourism and Antiquities.
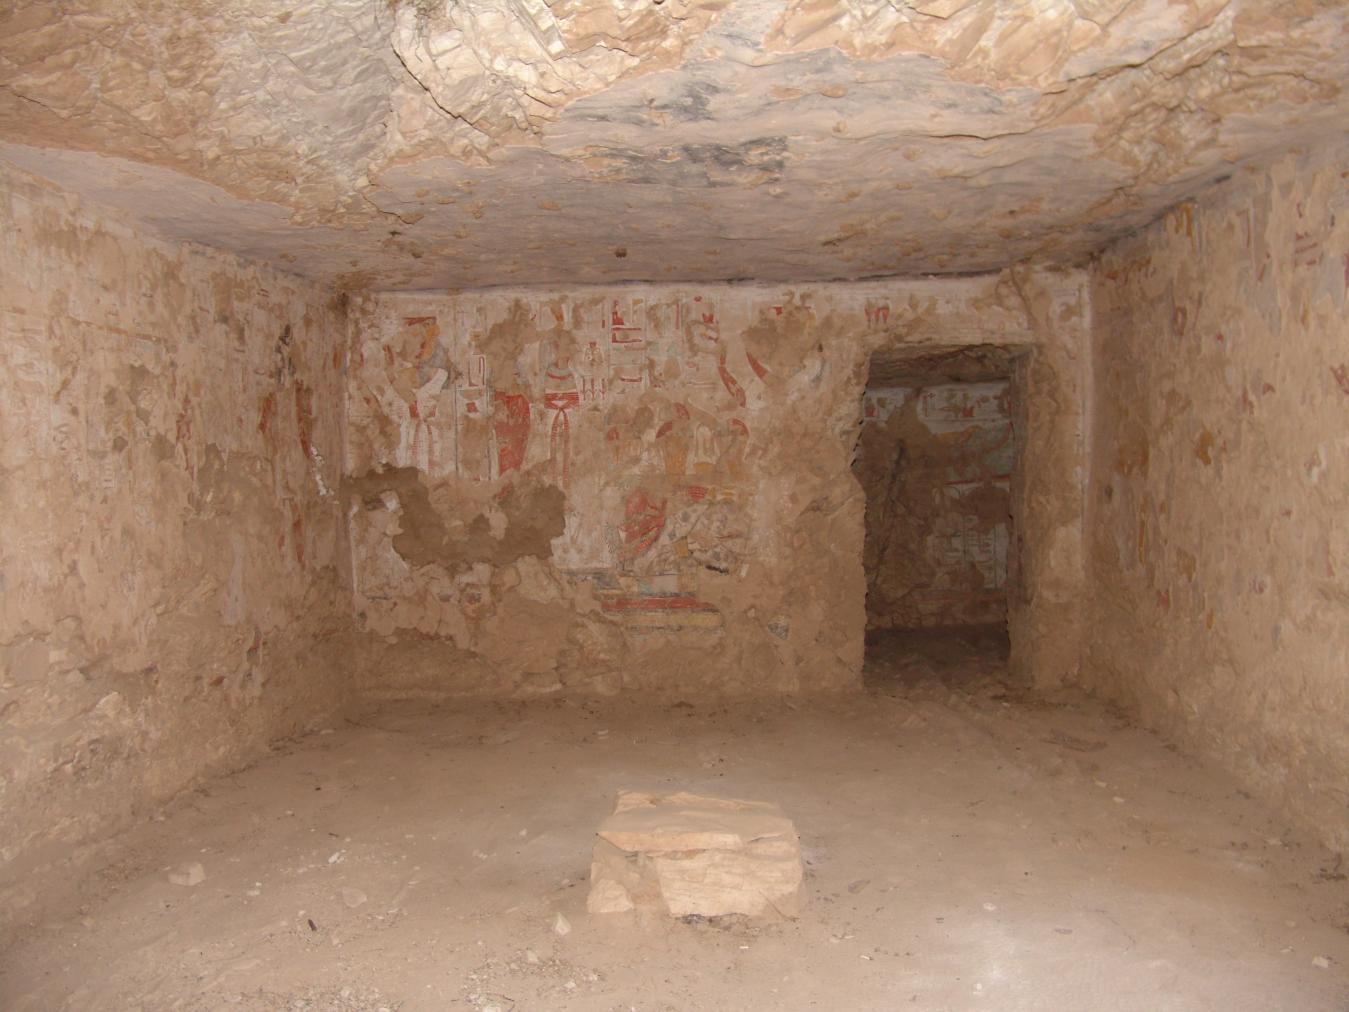
Princess in adoration before Hapy and Qebehsenuef, the Princess in adoration, and a view of the collapsed pillar and gate Bb. © Getty Conservation Institute and the Ministry of Tourism and Antiquities.
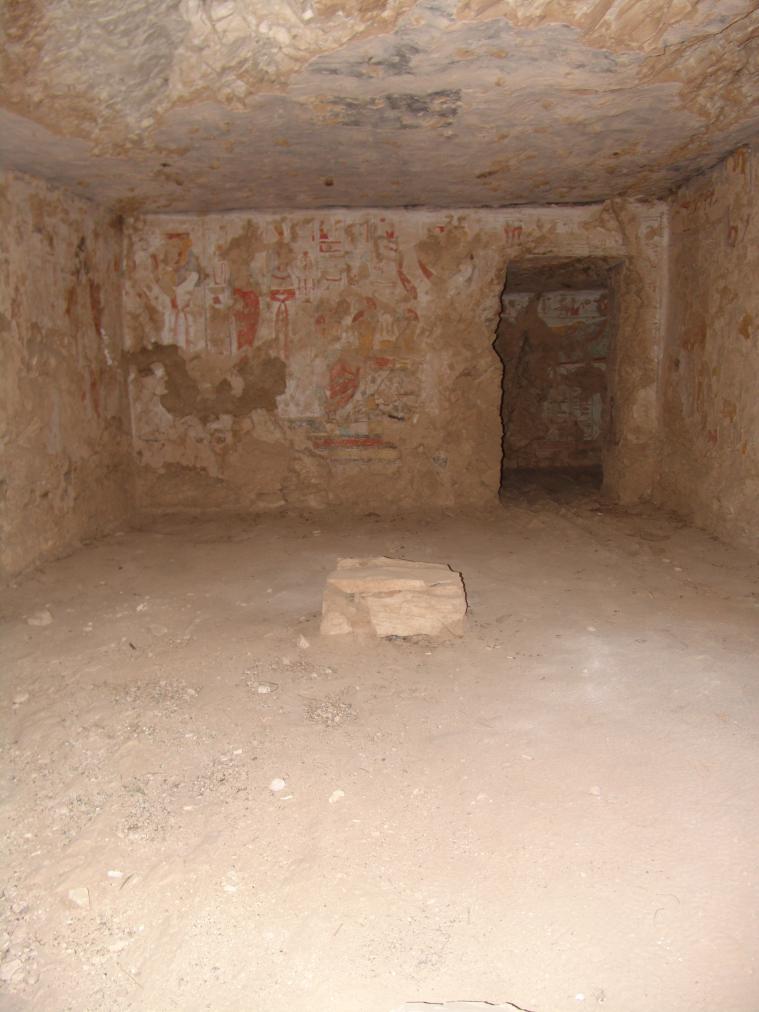
The Princess in adoration before Hapy and Qebehsenuef, the Princess in adoration, and a view of the collapsed pillar and gate Bb. © Getty Conservation Institute and the Ministry of Tourism and Antiquities.
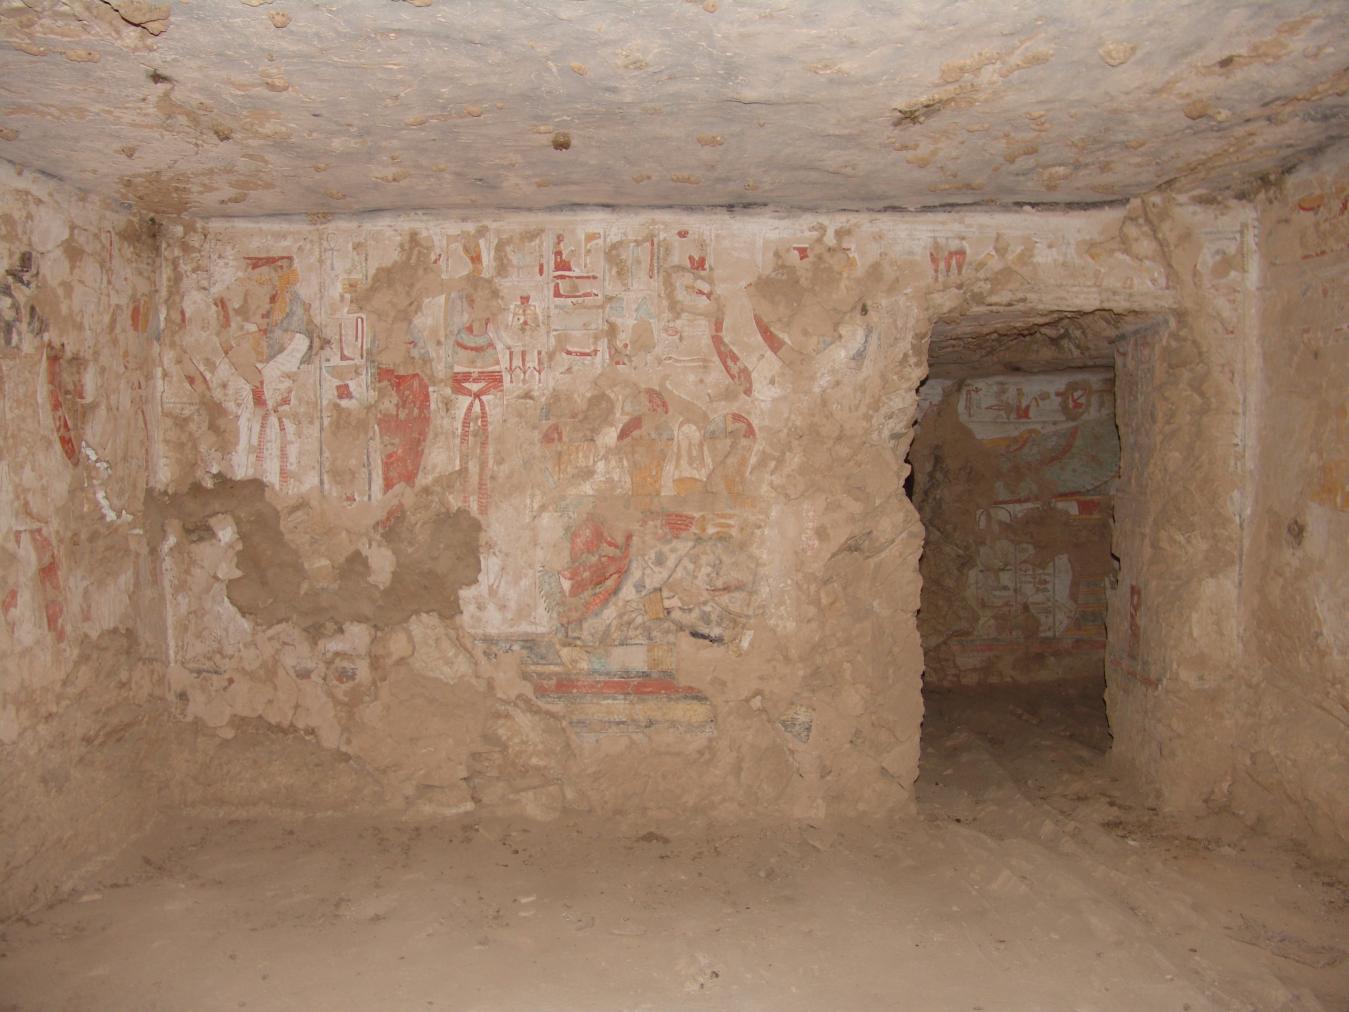
The Princess in adoration before Hapy and Qebehsenuef, the Princess in adoration, and a view of gate Bb. © Getty Conservation Institute and the Ministry of Tourism and Antiquities.
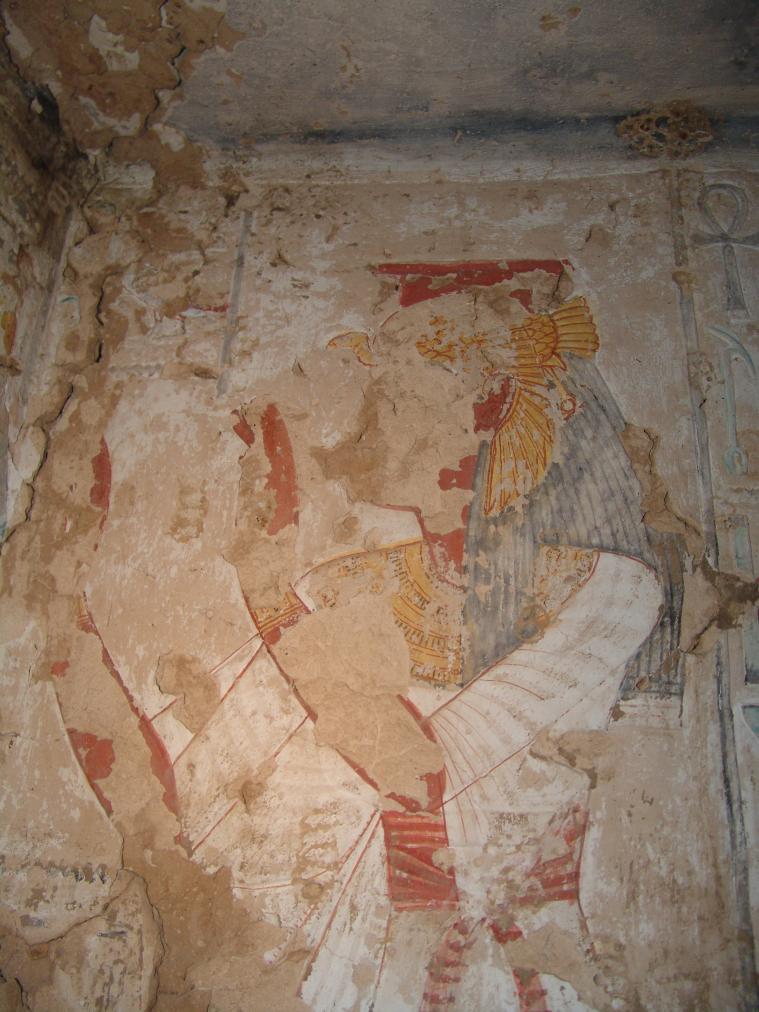
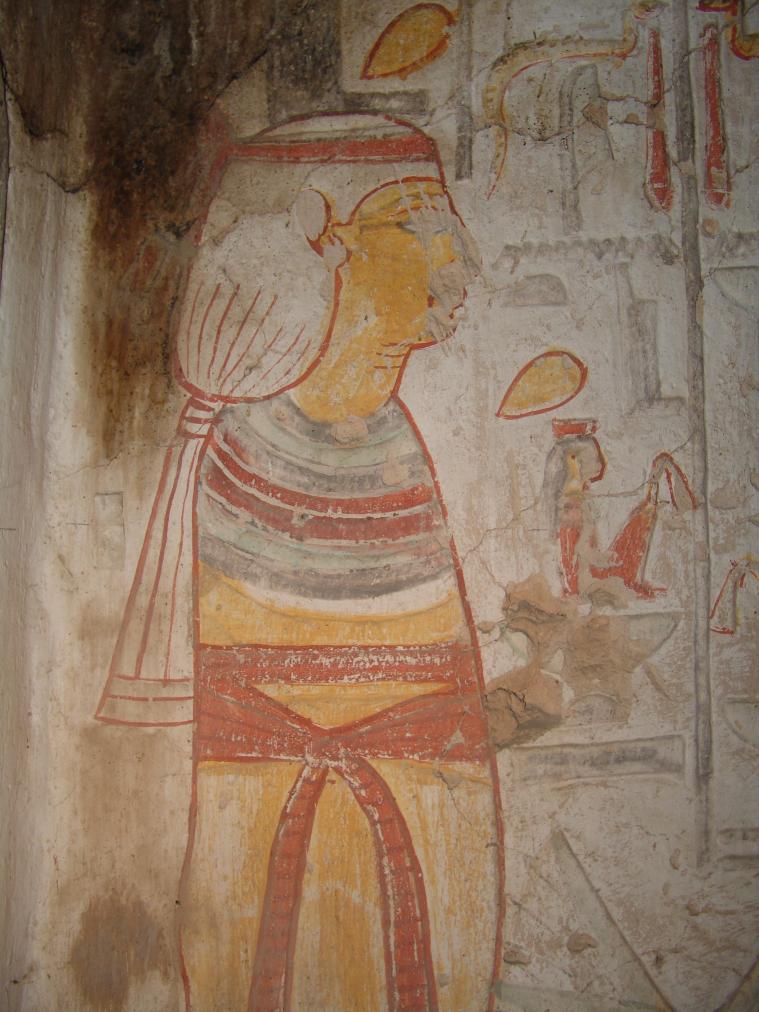
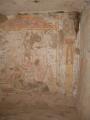
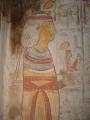
Detail of the princess in adoration. © Getty Conservation Institute and the Ministry of Tourism and Antiquities.
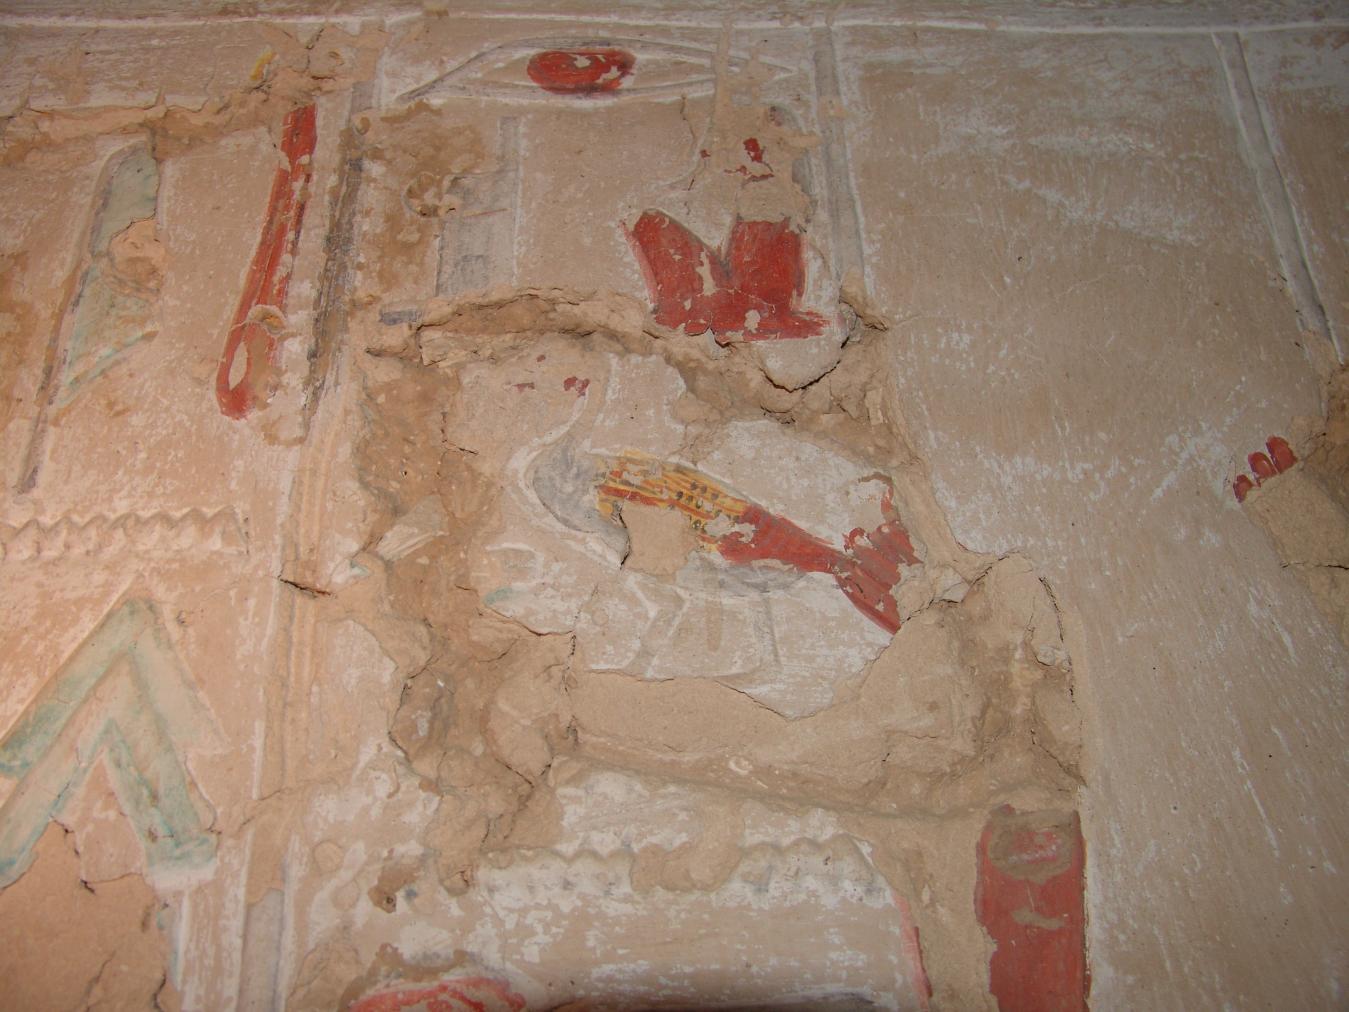
Detail of hieroglyphic text. © Getty Conservation Institute and the Ministry of Tourism and Antiquities.
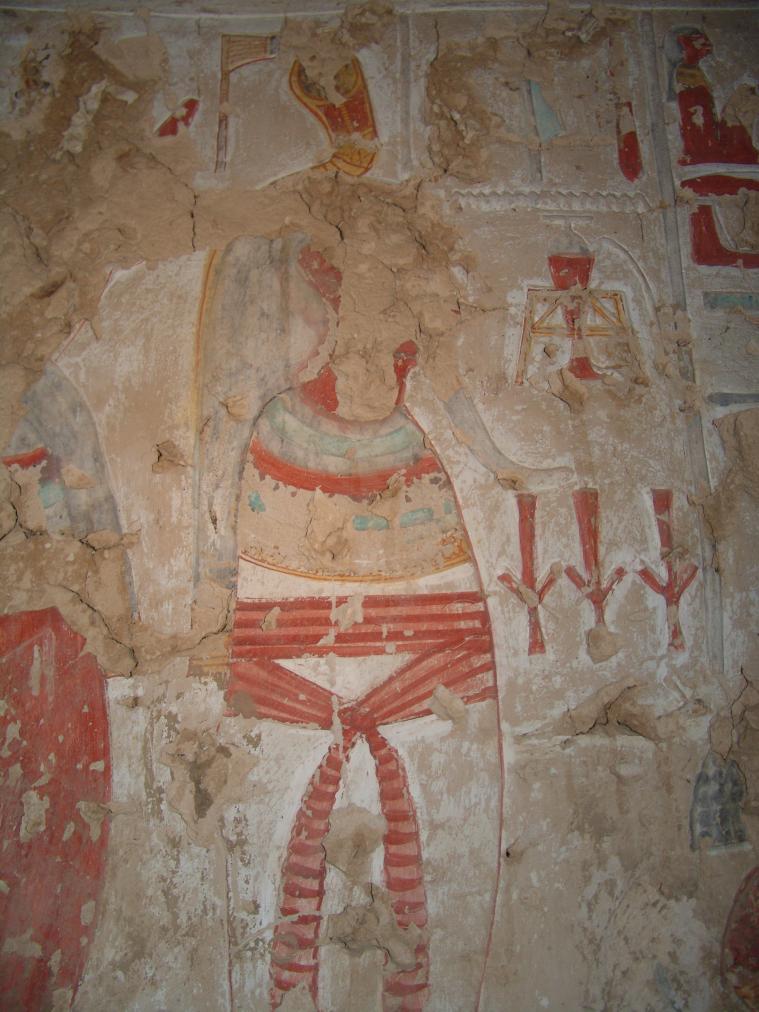
Detail of Qebehsenuef. © Getty Conservation Institute and the Ministry of Tourism and Antiquities.
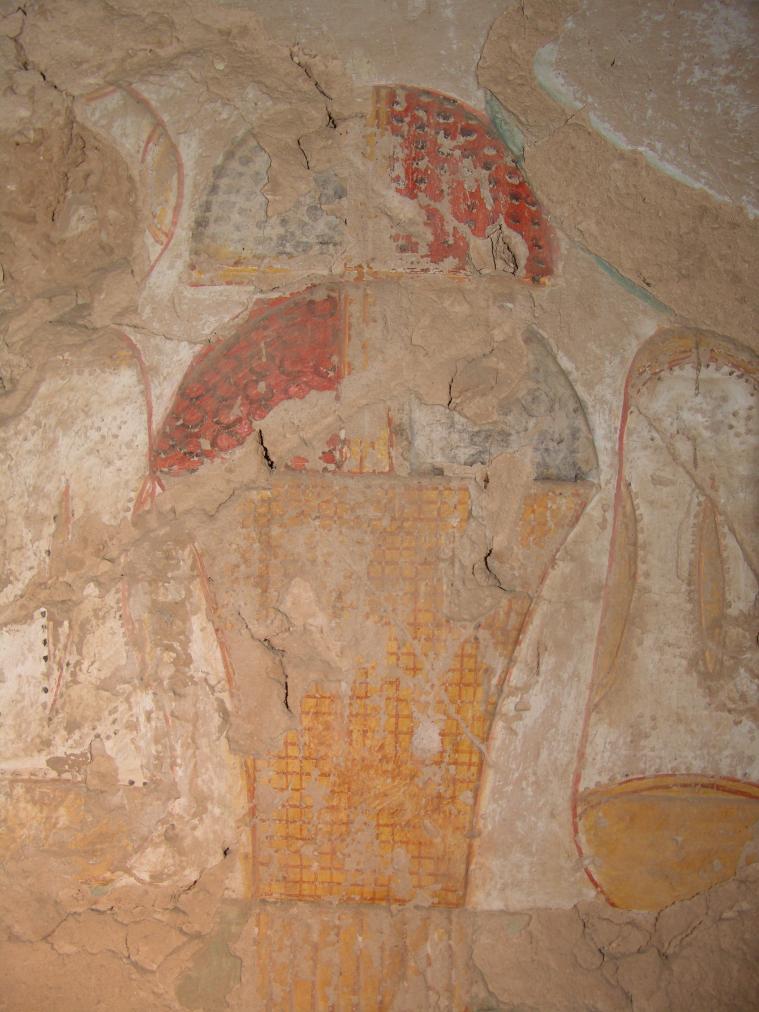
Detail of offerings. © Getty Conservation Institute and the Ministry of Tourism and Antiquities.
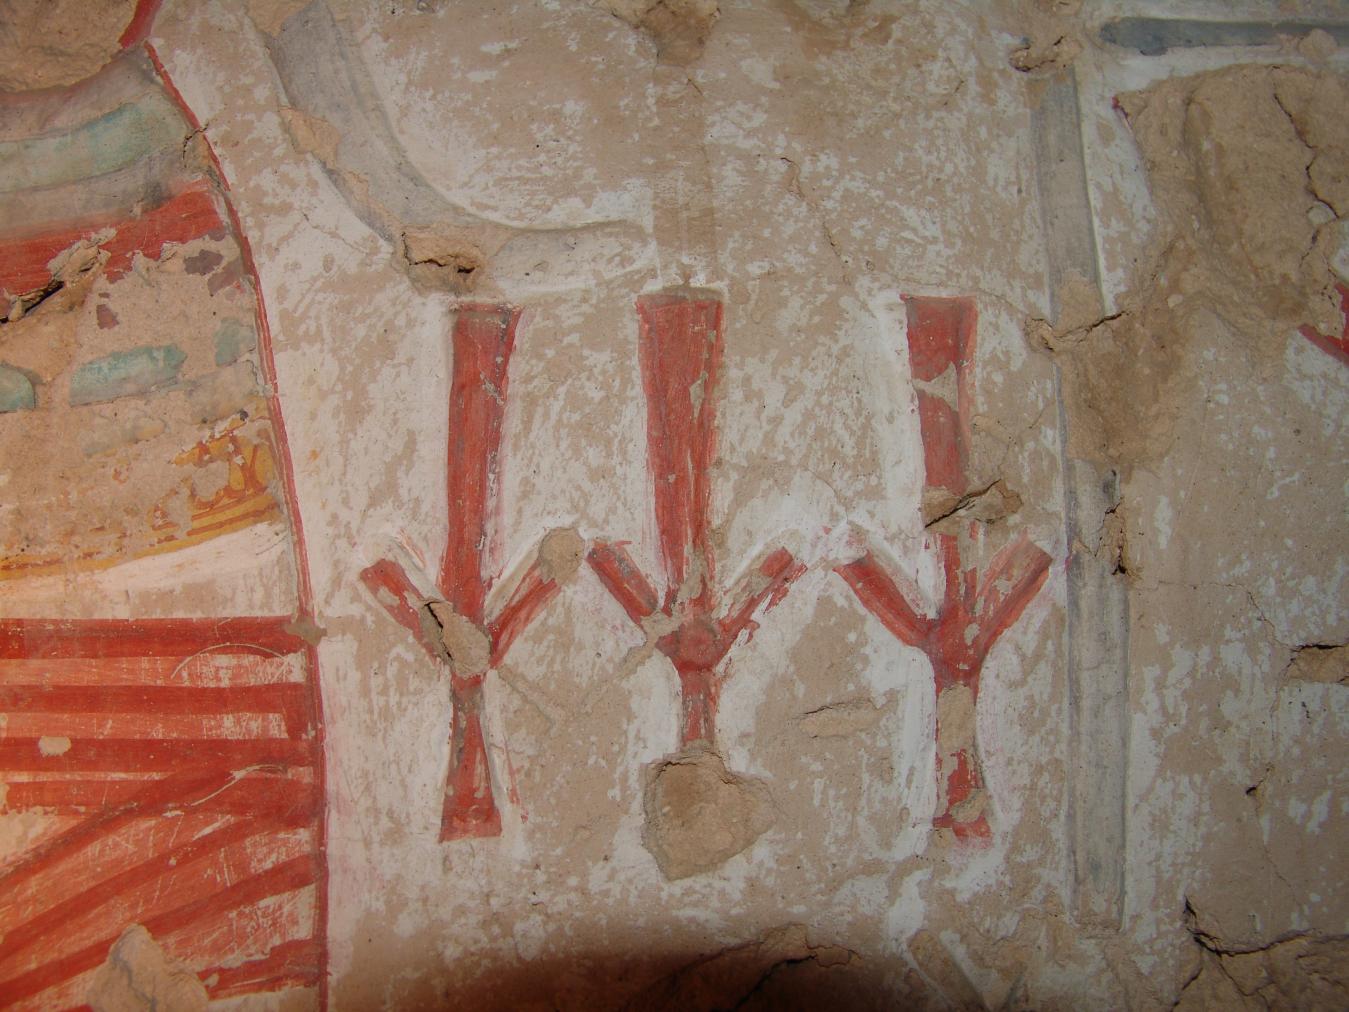
Detail of part of Qebehsenuef's name. © Getty Conservation Institute and the Ministry of Tourism and Antiquities.
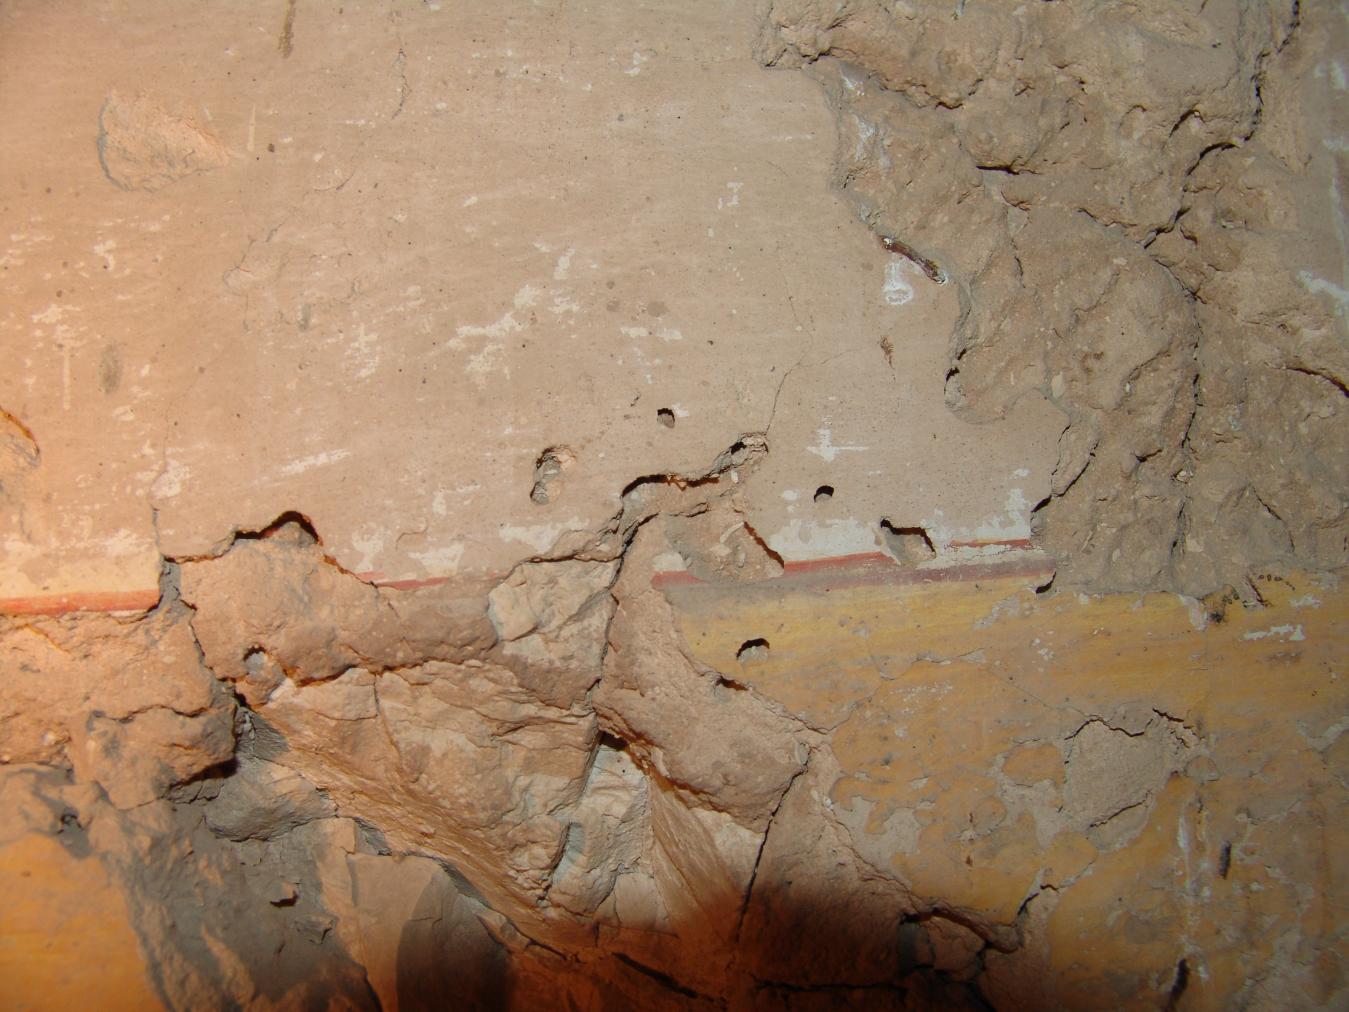
View of damaged painted plaster. © Getty Conservation Institute and the Ministry of Tourism and Antiquities.
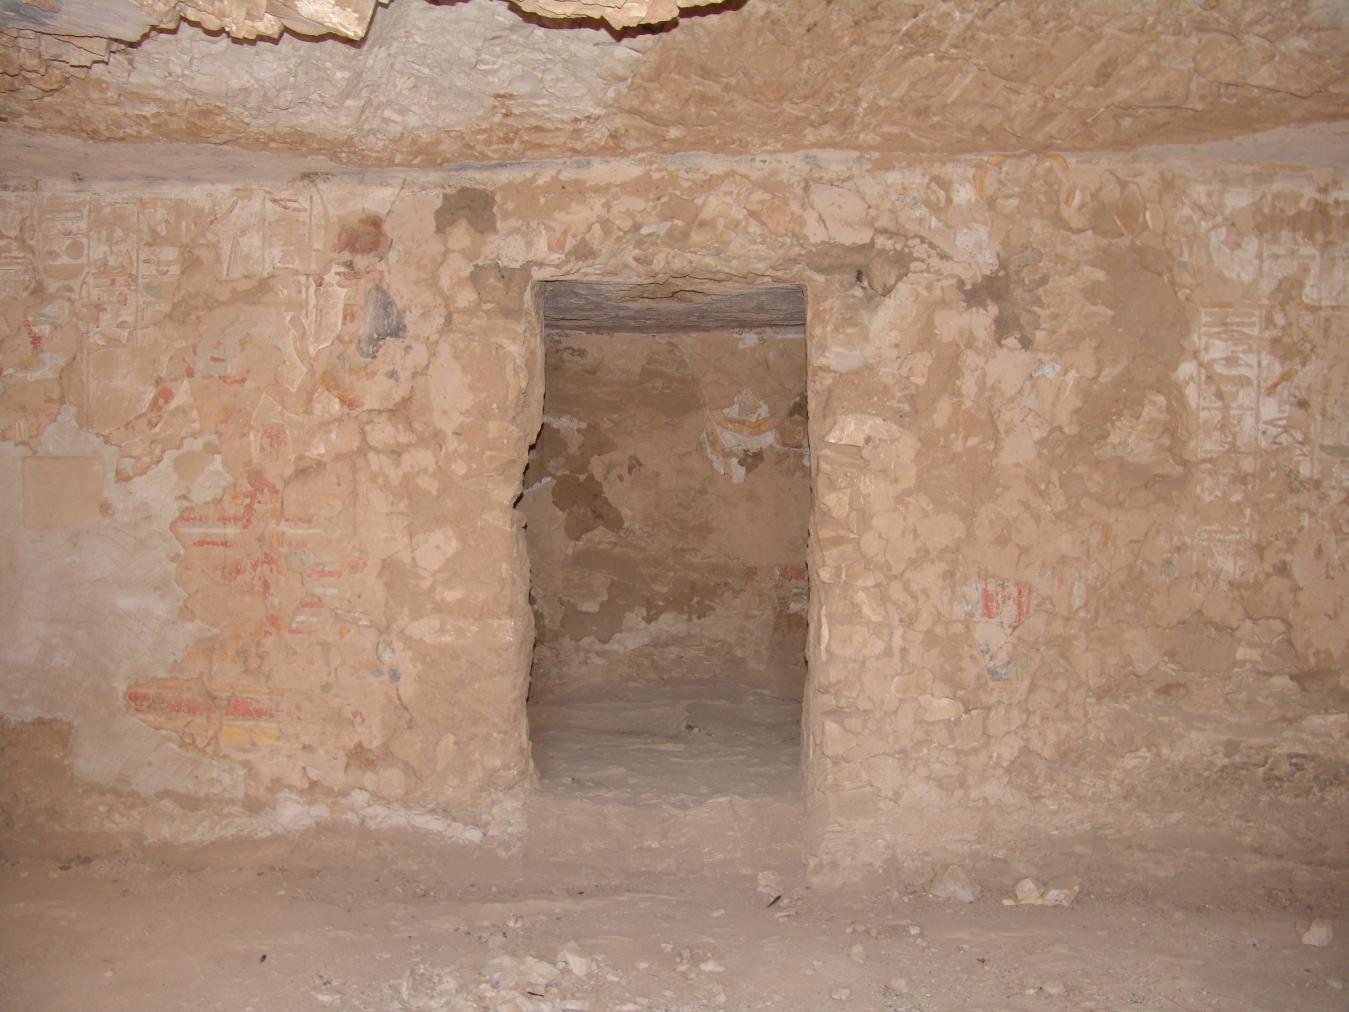
Anubis and cobra-headed Meretseger seated and receiving offerings from the princess (princess shown on west wall), the weighing of the Heart, Anubis leads the princess to Ma'at (damaged) and Thoth (damaged) standing beside scales (partly preserved), and Gate Ba. © Getty Conservation Institute and the Ministry of Tourism and Antiquities.
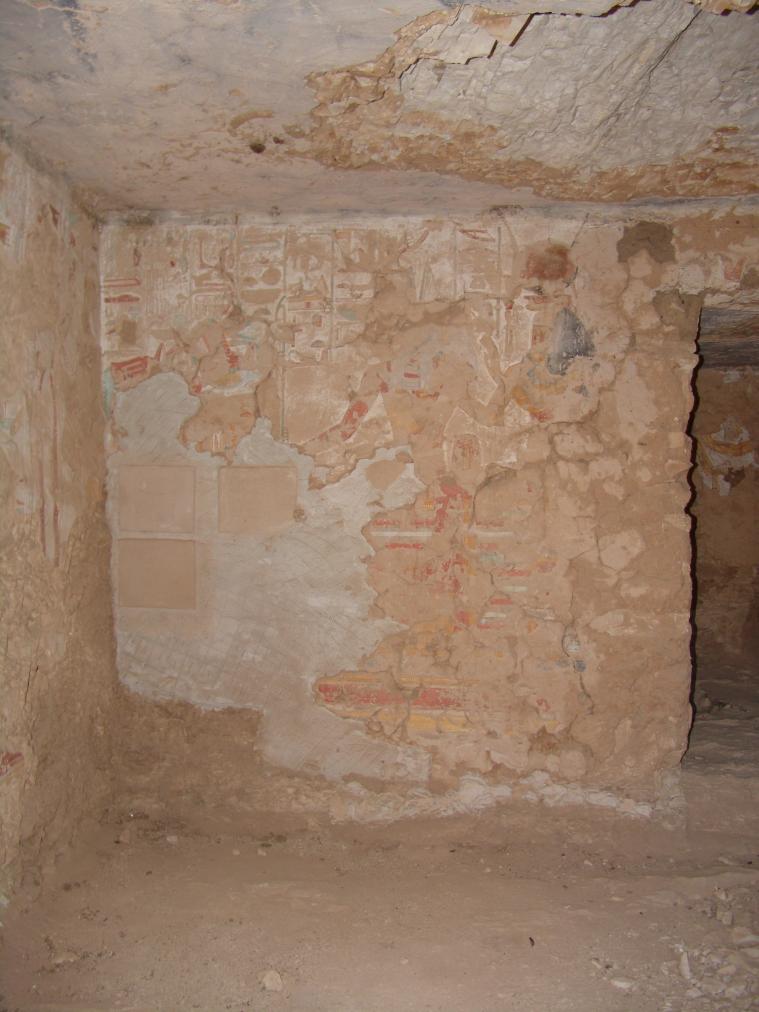
Anubis and cobra-headed Meretseger seated and receiving offerings from the princess (princess shown on the west wall). © Getty Conservation Institute and the Ministry of Tourism and Antiquities.
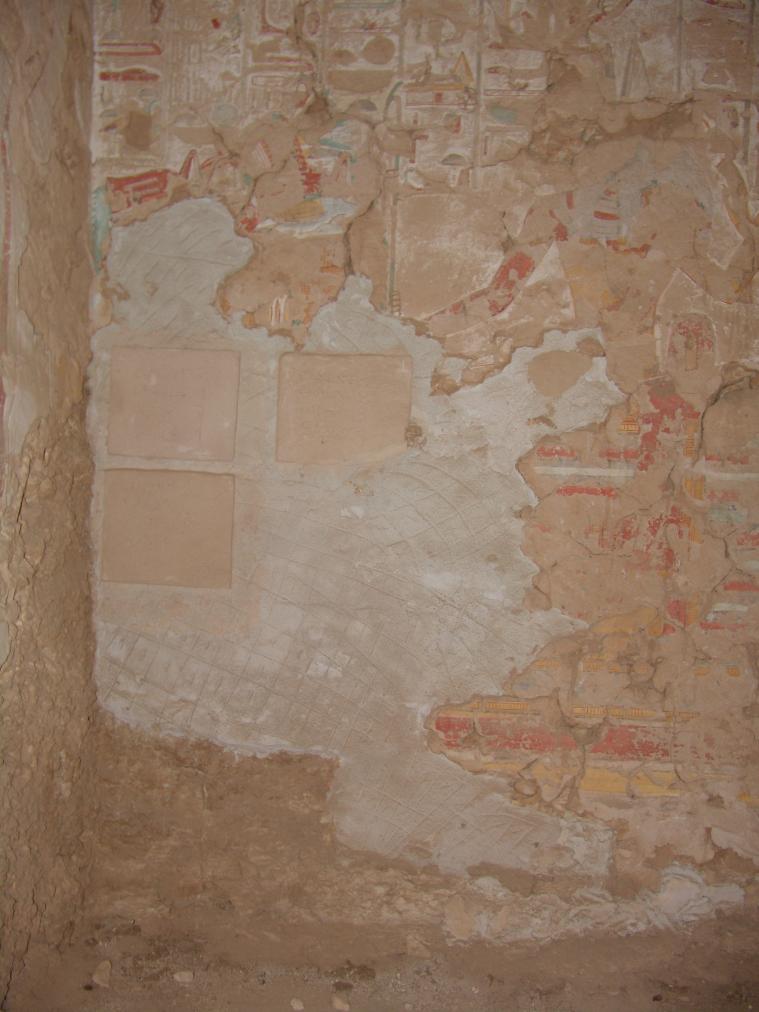
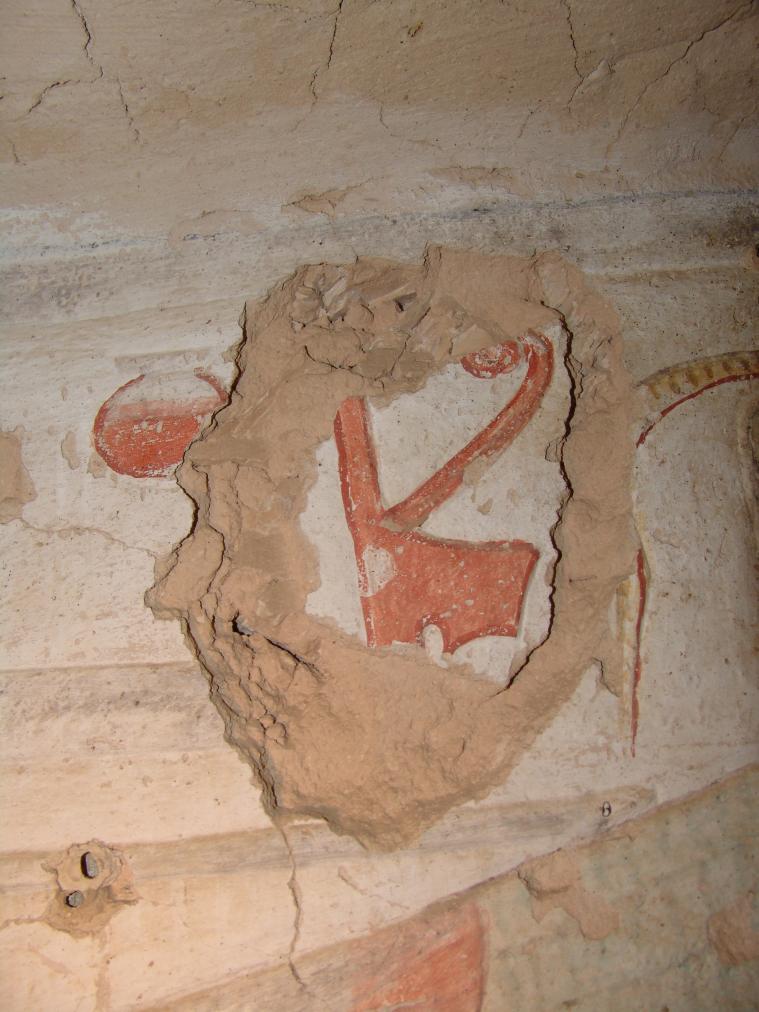
Detail of restoration work. © Getty Conservation Institute and the Ministry of Tourism and Antiquities.
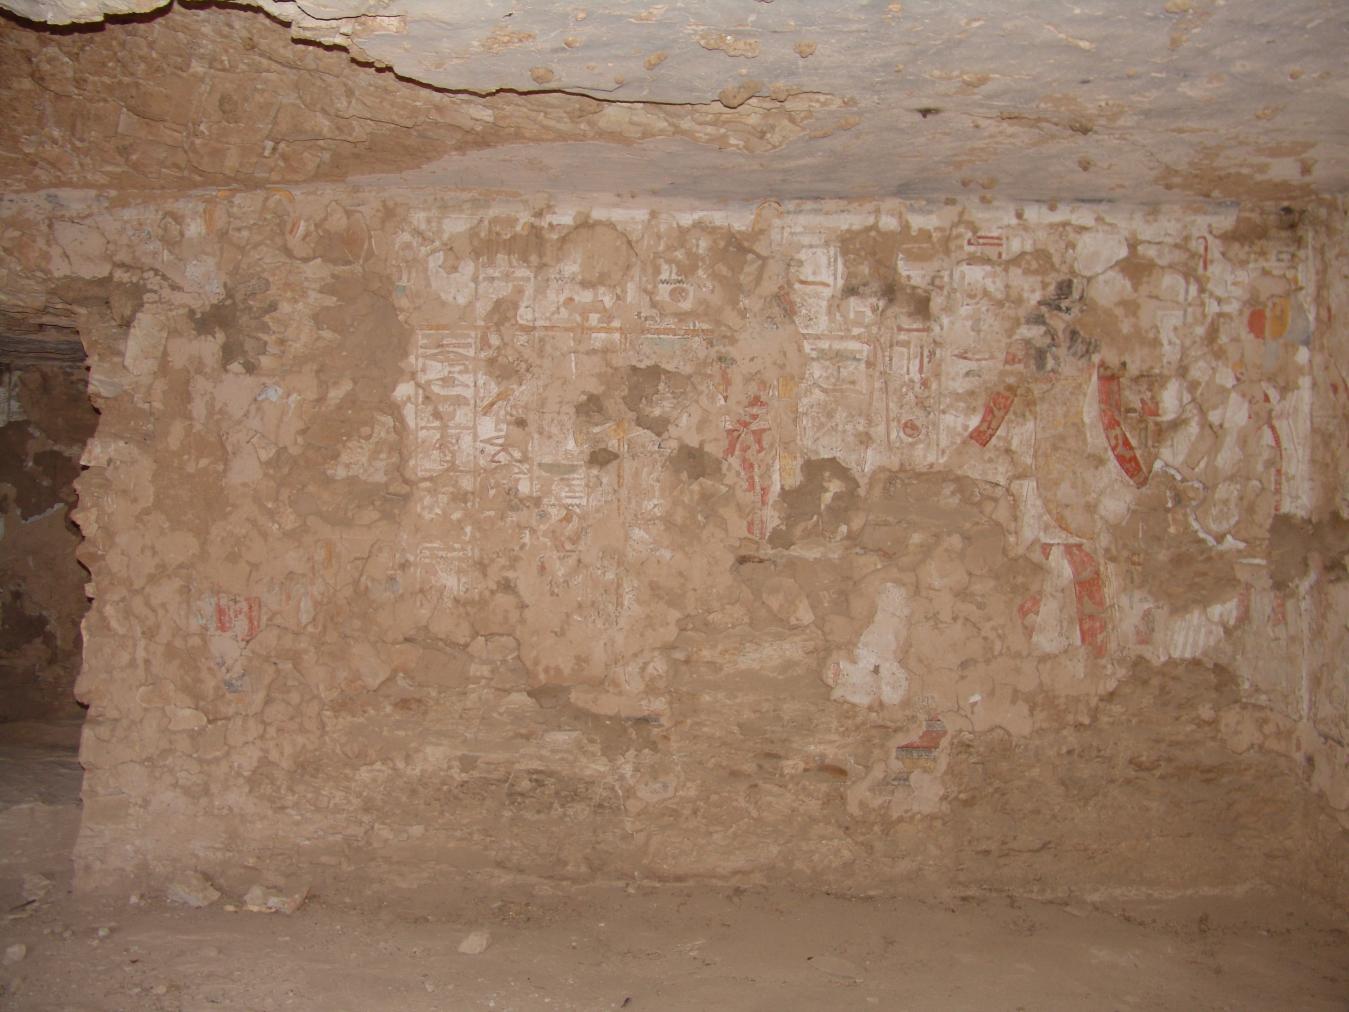
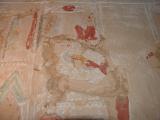
Weighing of the Heart with Anubis leading the princess to Ma'at (damaged) and Thoth (damaged) standing beside the scales (partly preserved). © Getty Conservation Institute and the Ministry of Tourism and Antiquities.
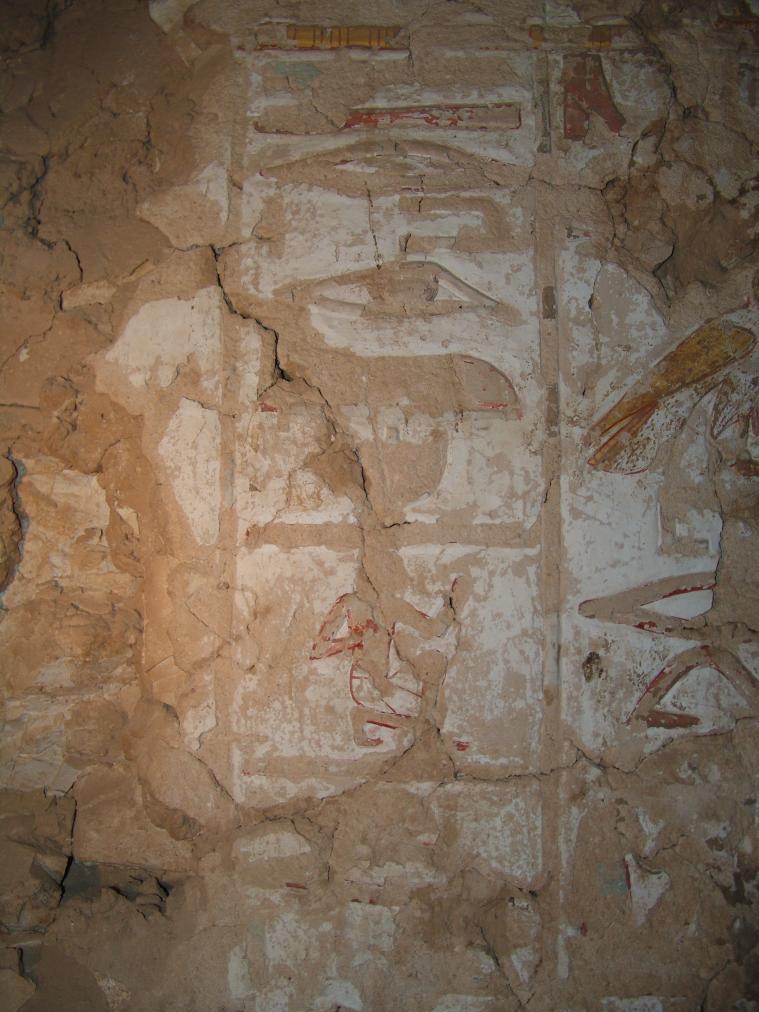
Detail of hieroglyphic text. © Getty Conservation Institute and the Ministry of Tourism and Antiquities.
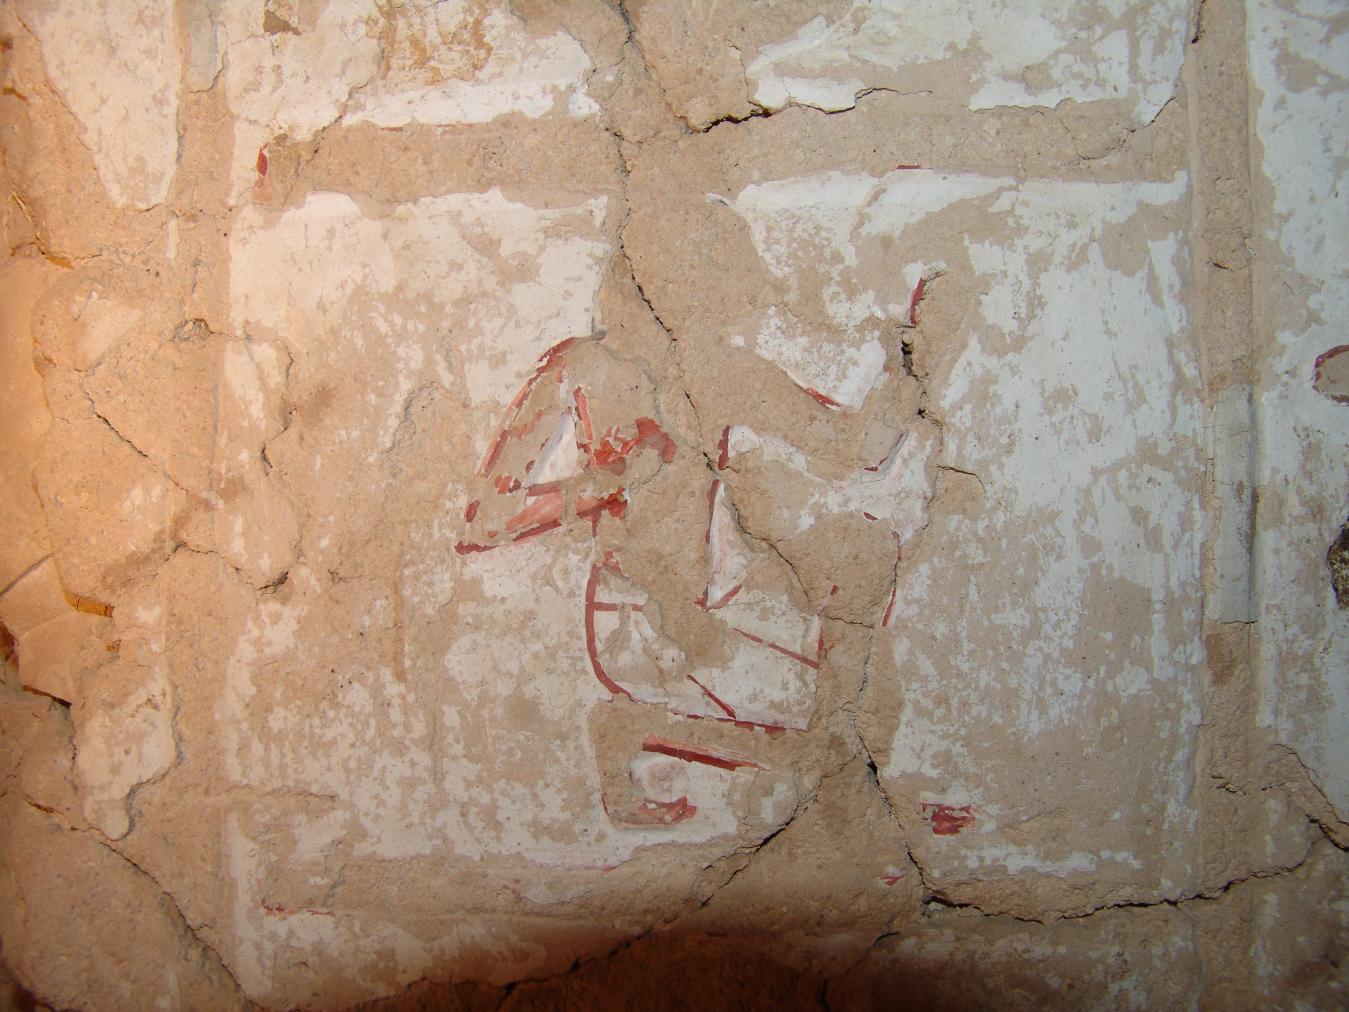
Detail of hieroglyphic text. © Getty Conservation Institute and the Ministry of Tourism and Antiquities.
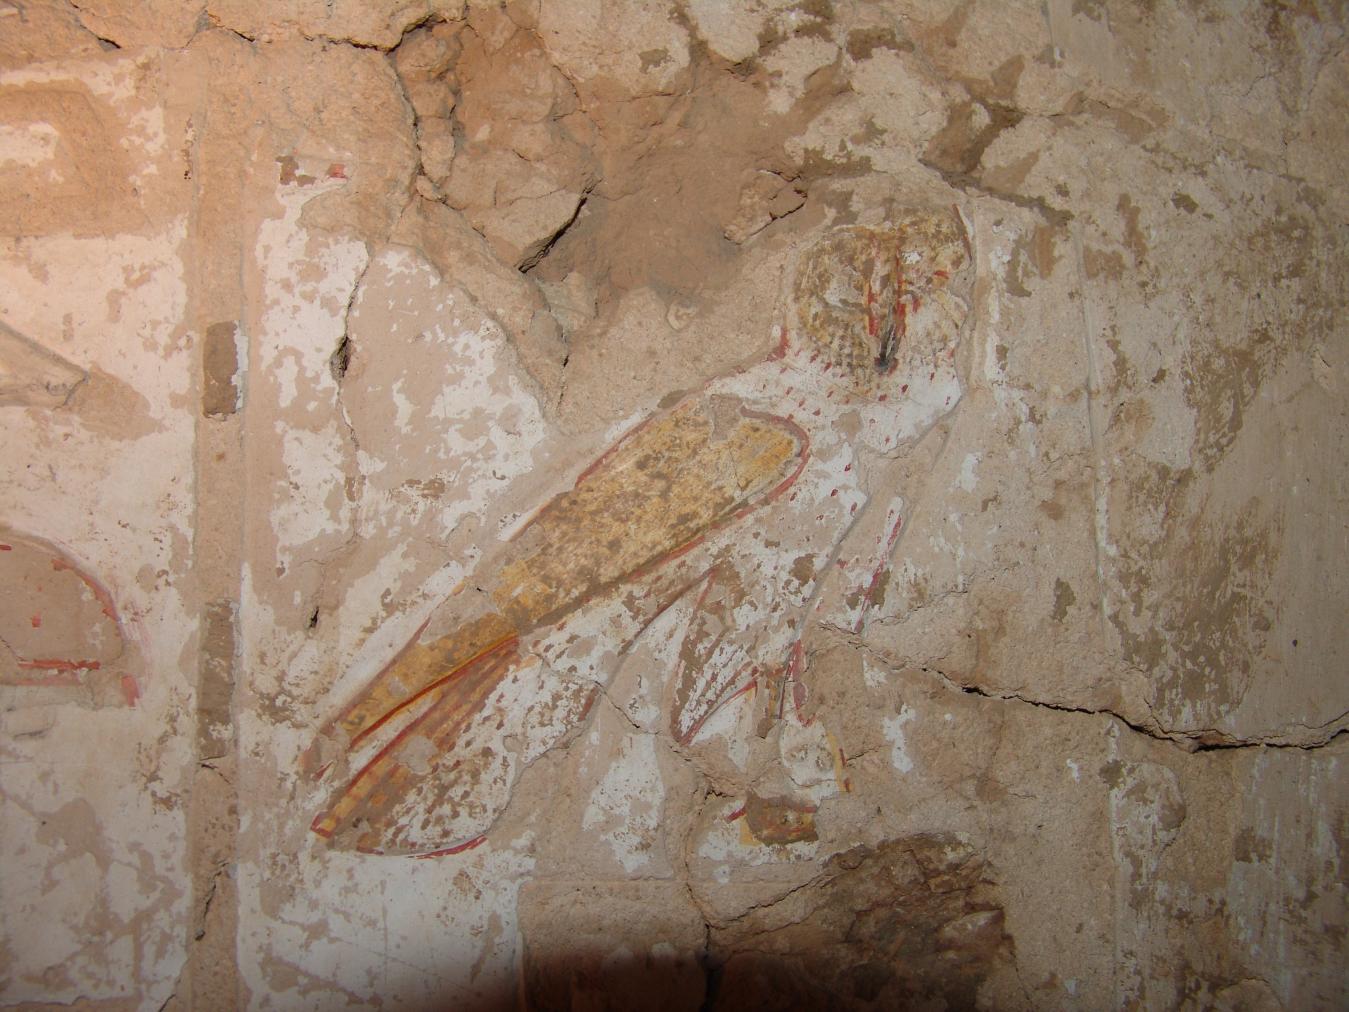
Detail of the 'm' hieroglyphic sign. © Getty Conservation Institute and the Ministry of Tourism and Antiquities.
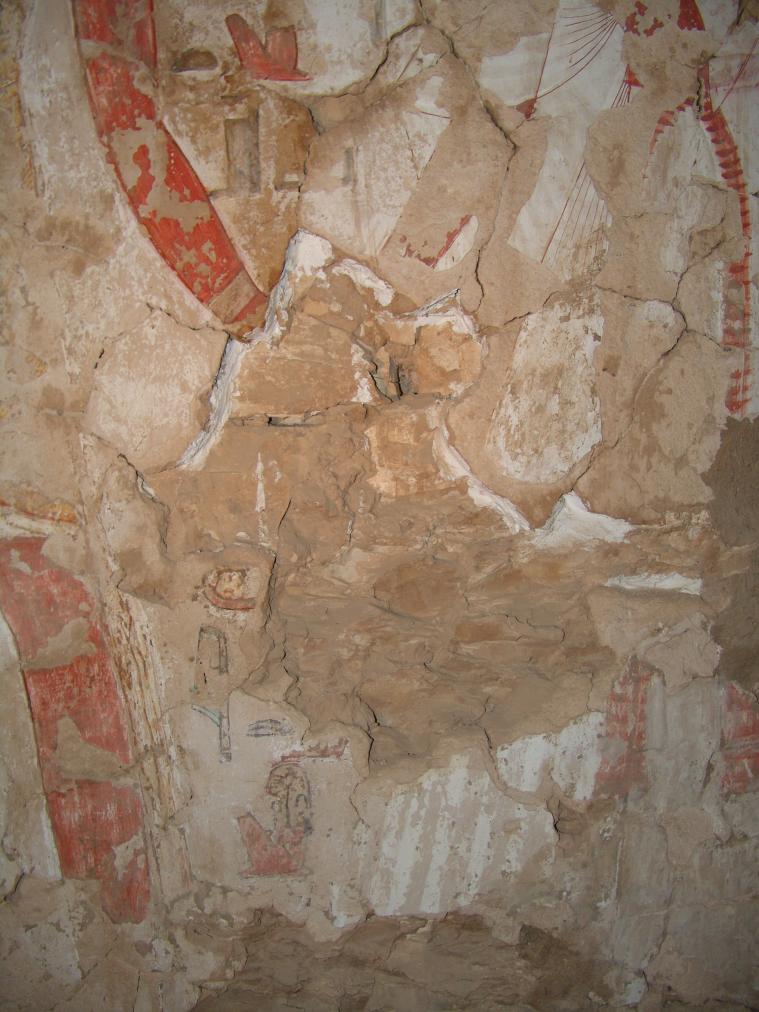
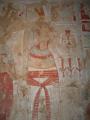
Detail of the princesses' garment. © Getty Conservation Institute and the Ministry of Tourism and Antiquities.
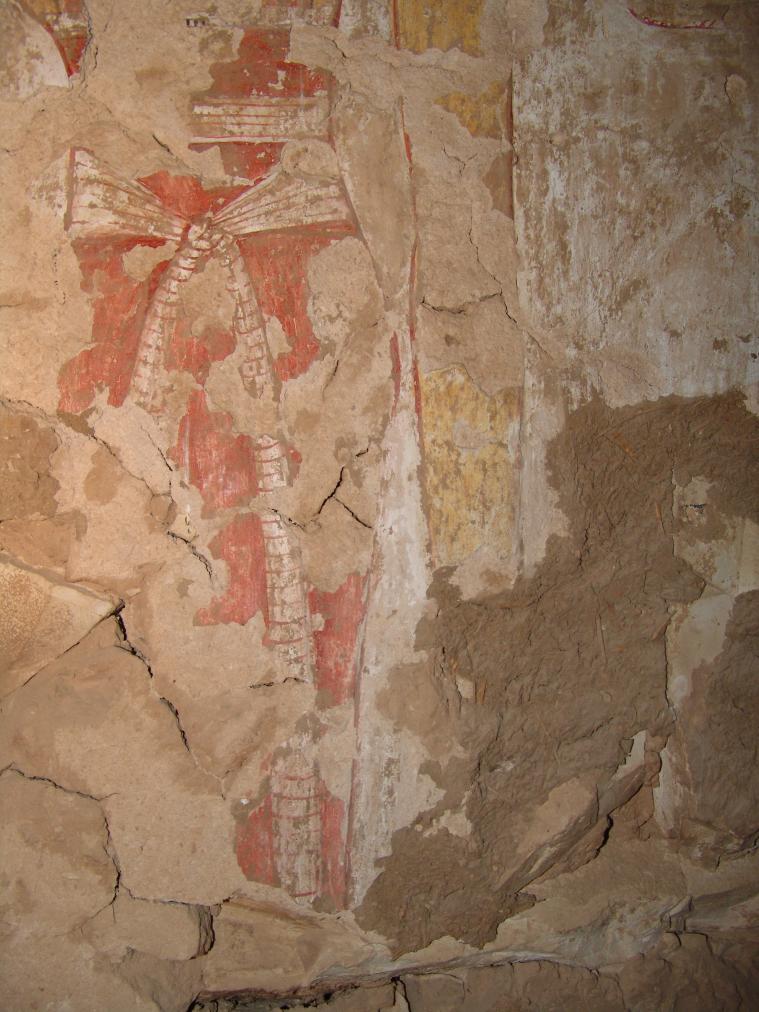
Detail of the princesses' garment. © Getty Conservation Institute and the Ministry of Tourism and Antiquities.
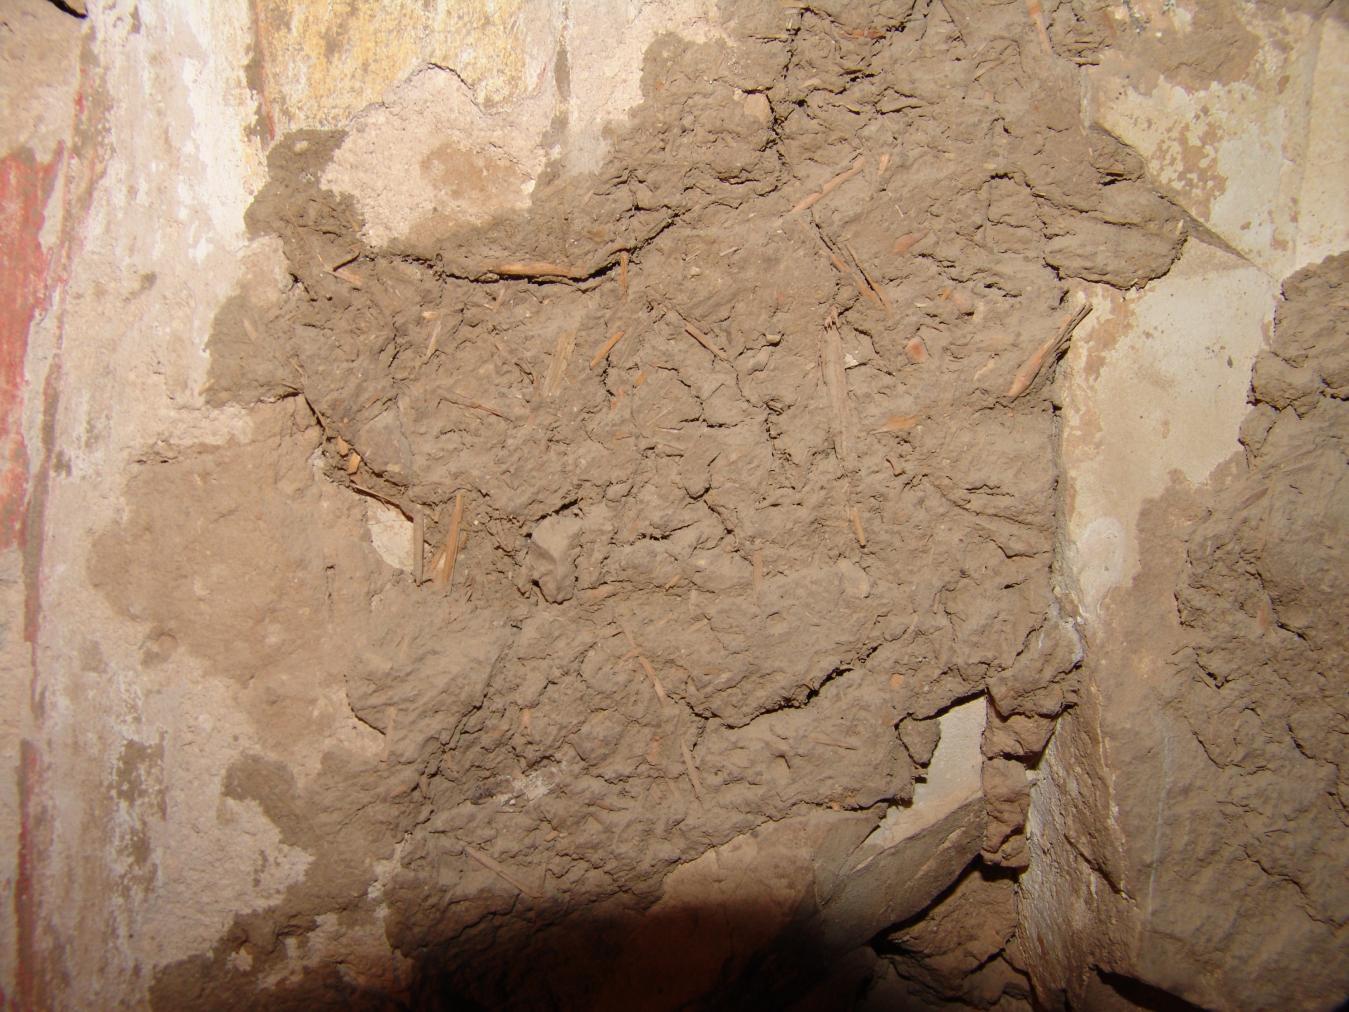
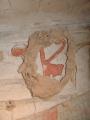
Detail of mouna plaster. © Getty Conservation Institute and the Ministry of Tourism and Antiquities.
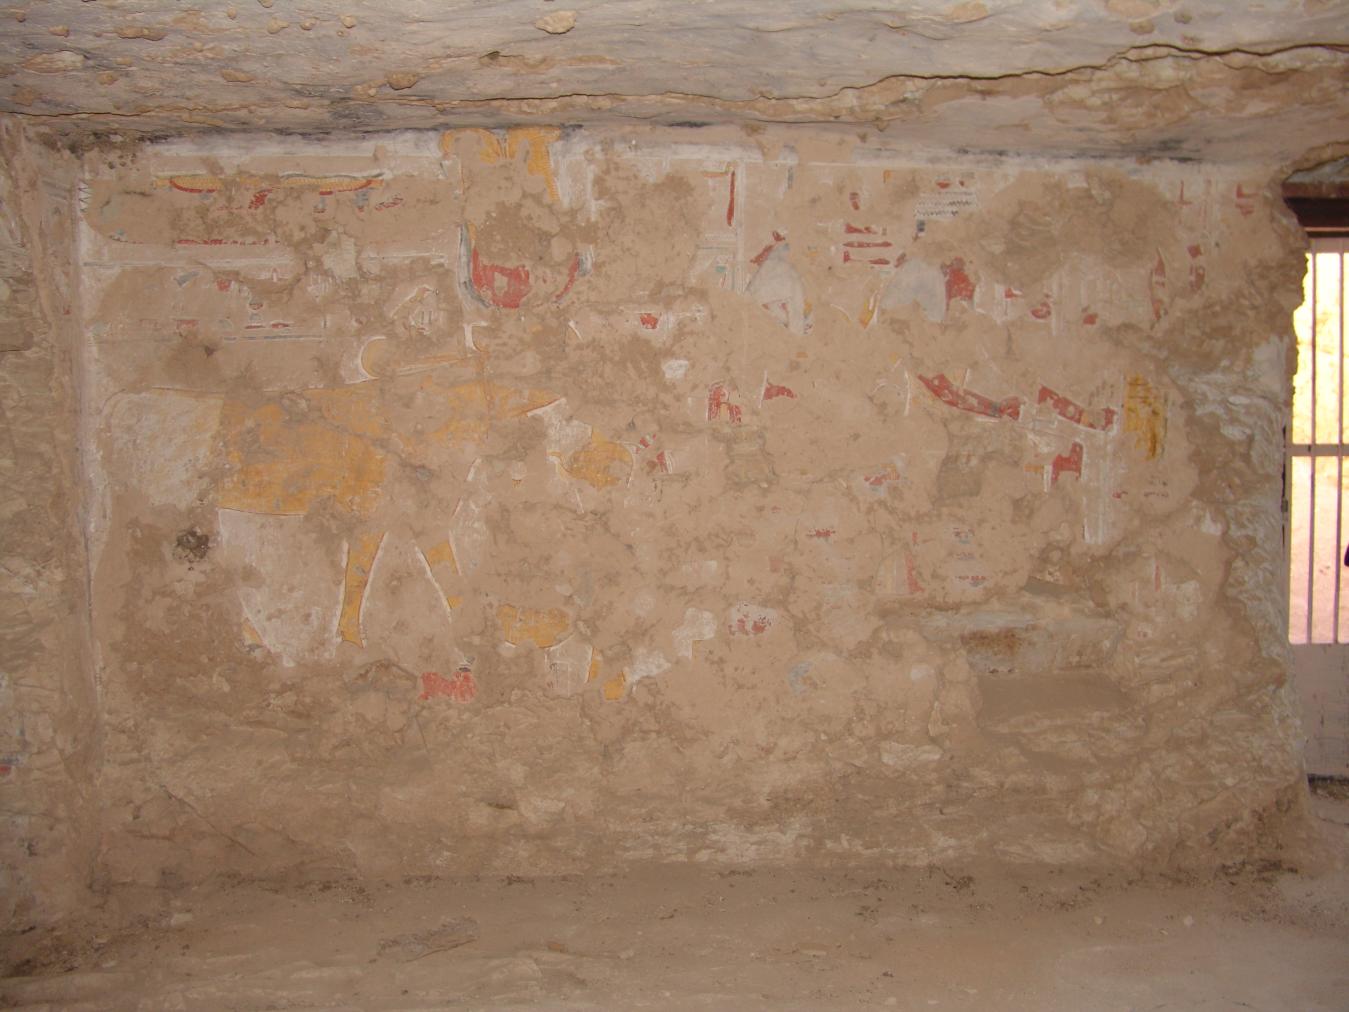
The Princess in adoration before Nun and an unidentifiable goddess (damaged), followed by Hathor as a cow (damaged). © Getty Conservation Institute and the Ministry of Tourism and Antiquities.
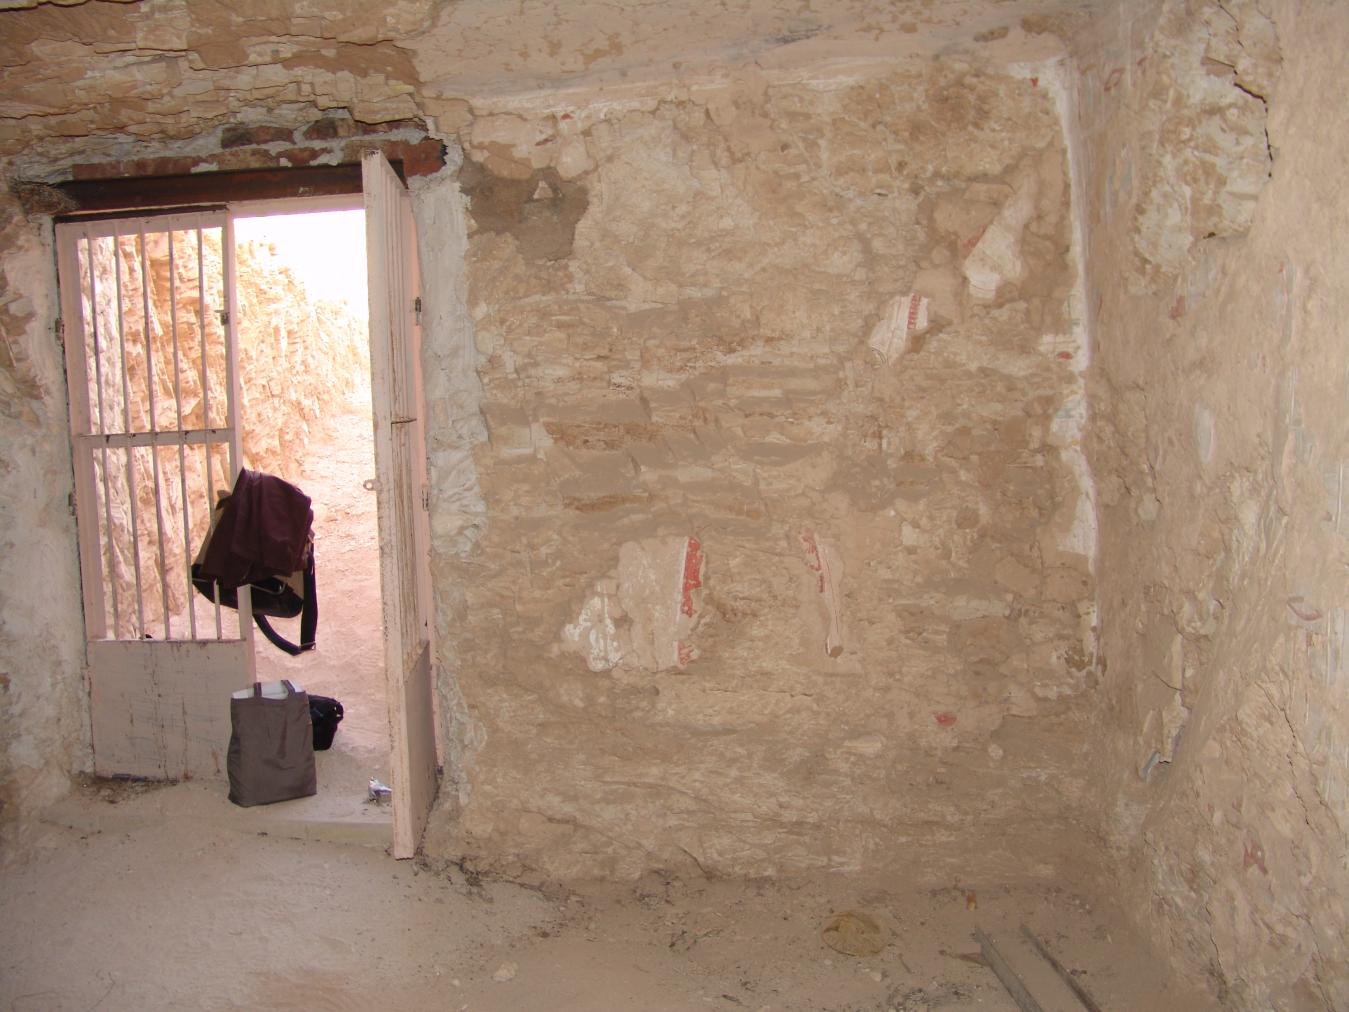
The Princess (damaged) in adoration before Nun (damaged), the Princess in adoration before Isis and Nephthys (deities depicted on west wall), and view of Gate B. © Getty Conservation Institute and the Ministry of Tourism and Antiquities.
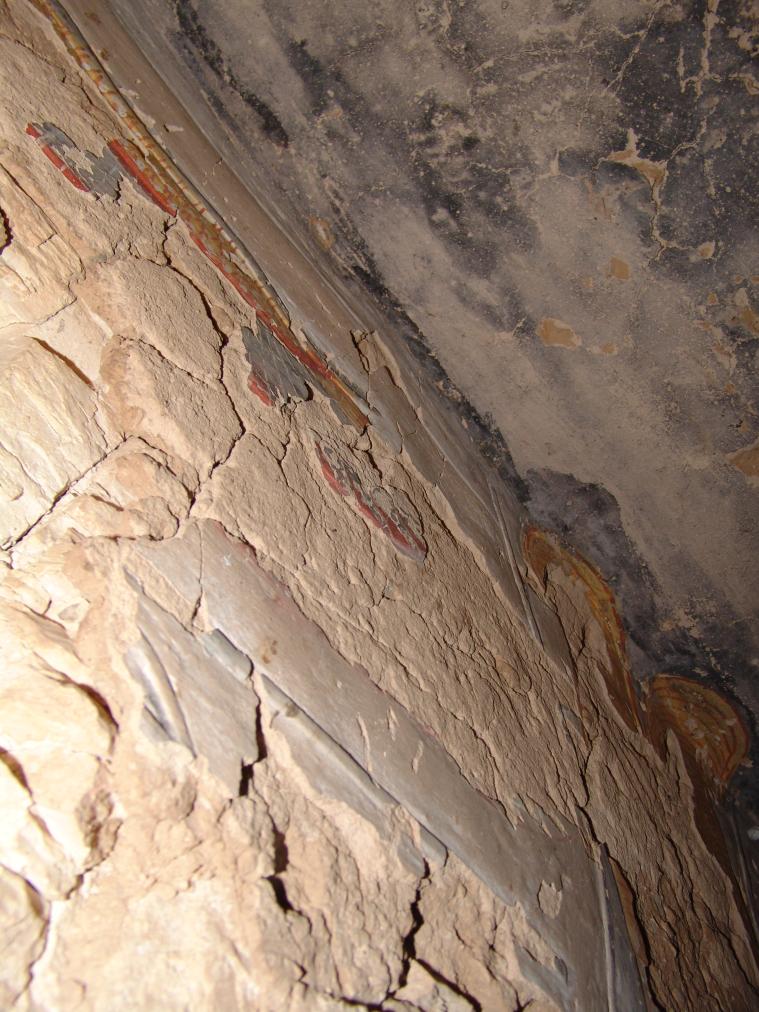
View of the upper part of the north wall and the ceiling. © Getty Conservation Institute and the Ministry of Tourism and Antiquities.
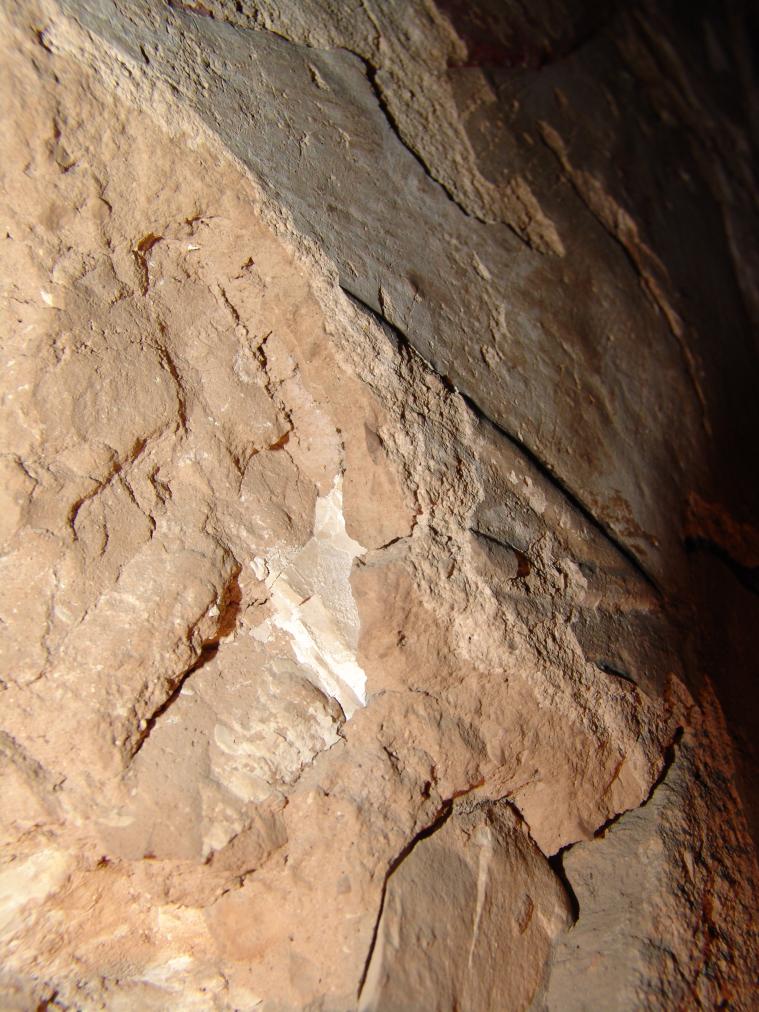
Detail of damage to the northern wall. © Getty Conservation Institute and the Ministry of Tourism and Antiquities.
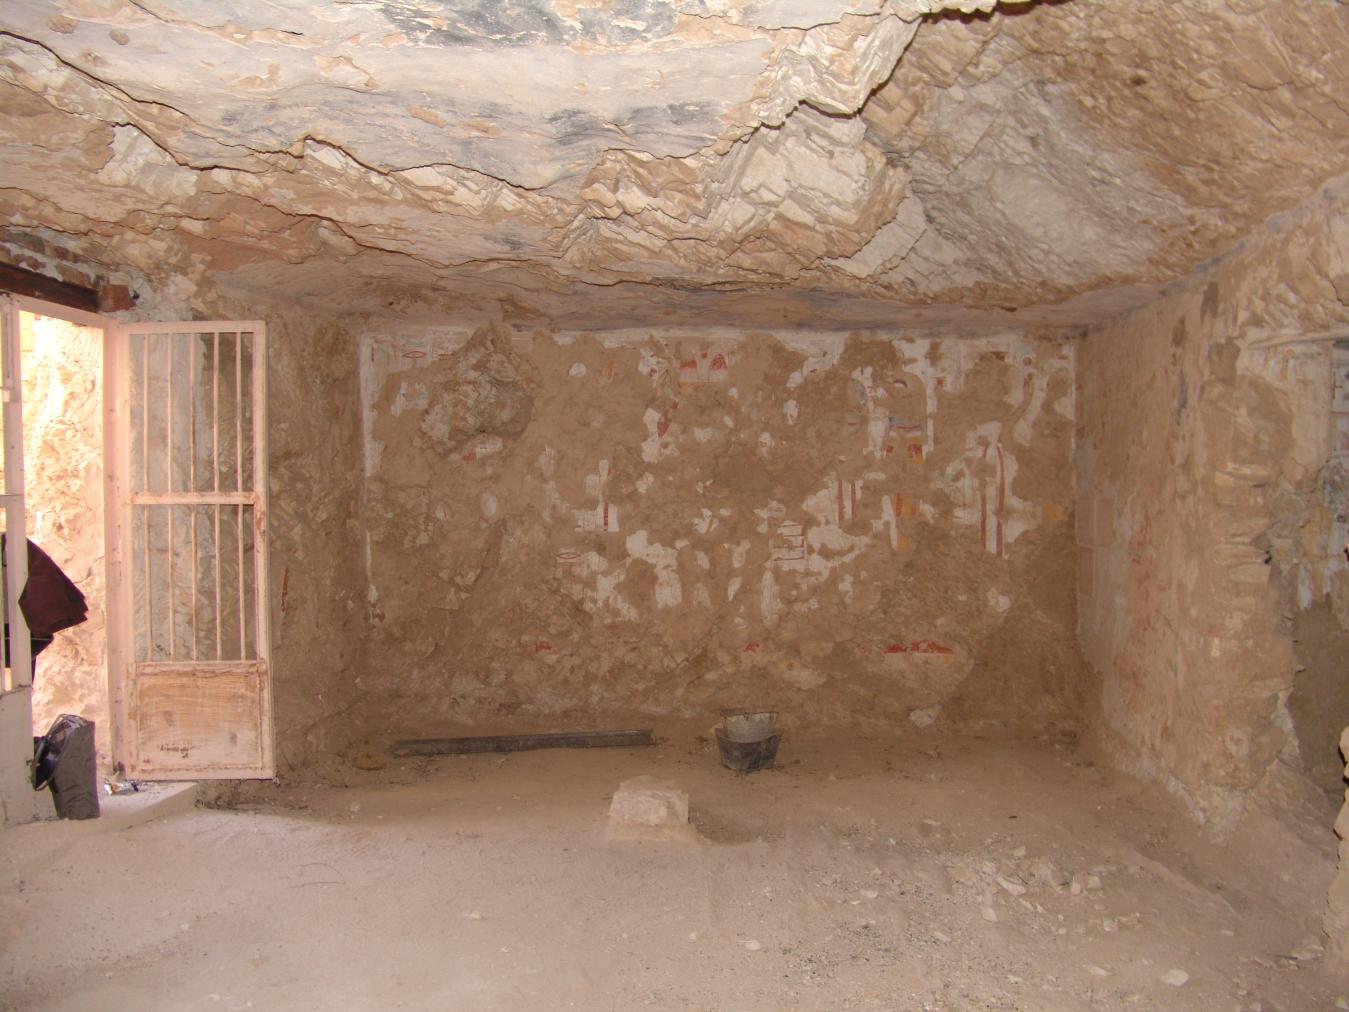
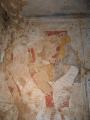
Mummiform Isis and Nephthys being adored by the Princess (princess shown on south wall), the Princess in adoration before Imsety and Duamutef, the Princess offering to seated Anubis and cobra-headed Meretseger (deities shown on north wall), and remains of one of the collapsed pillars. © Getty Conservation Institute and the Ministry of Tourism and Antiquities.
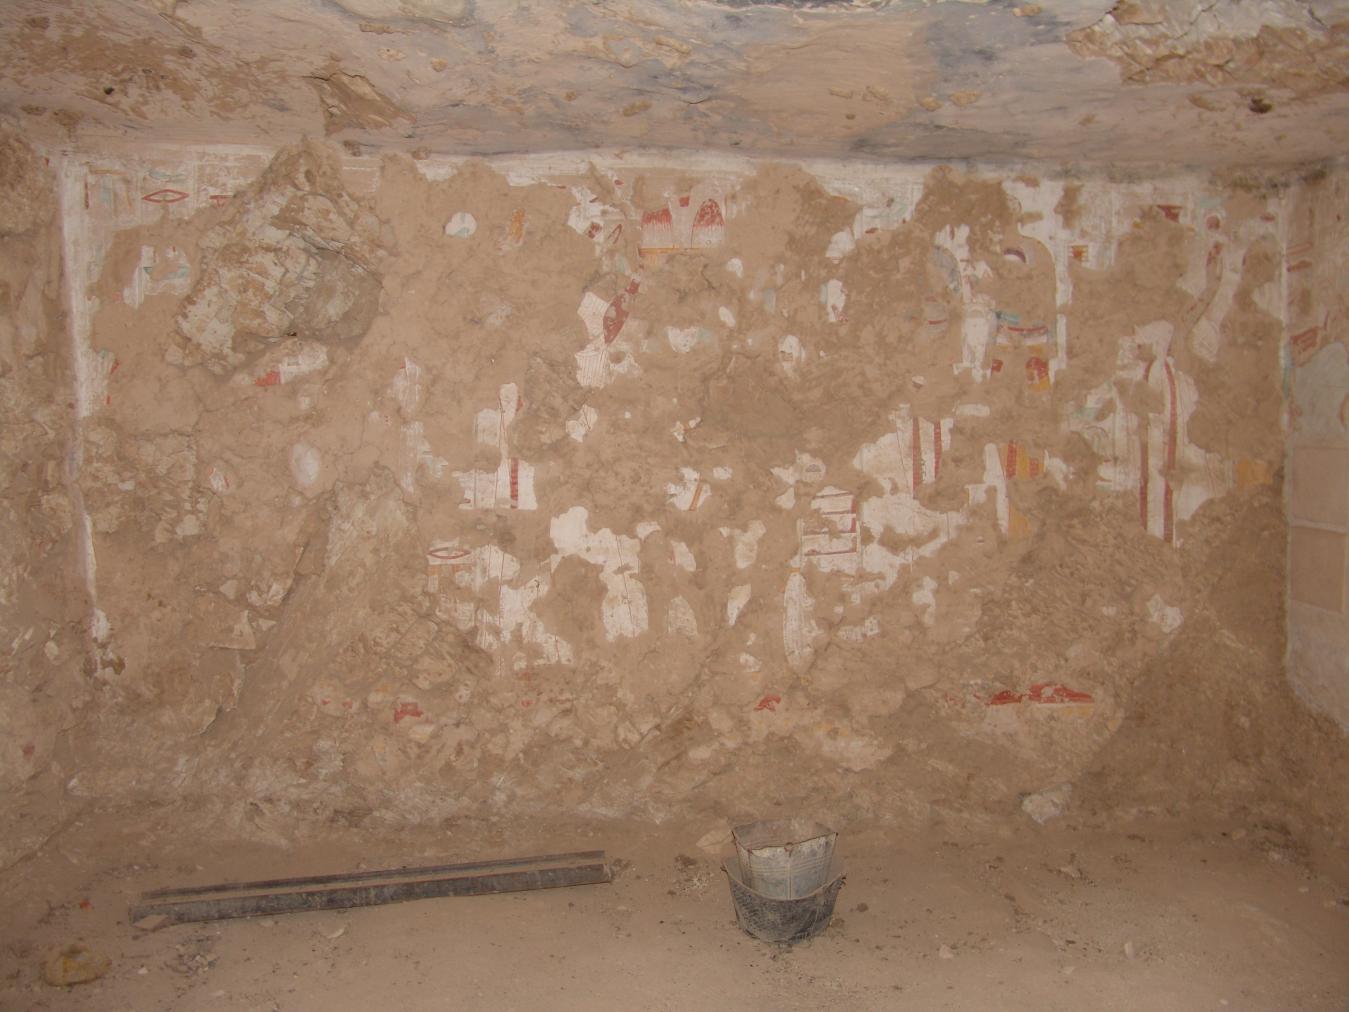
Mummiform Isis and Nephthys being adored by the Princess (princess shown on south wall), the Princess in adoration before Imsety and Duamutef, and the Princess offering to seated Anubis and cobra-headed Meretseger (deities shown on north wall). © Getty Conservation Institute and the Ministry of Tourism and Antiquities.
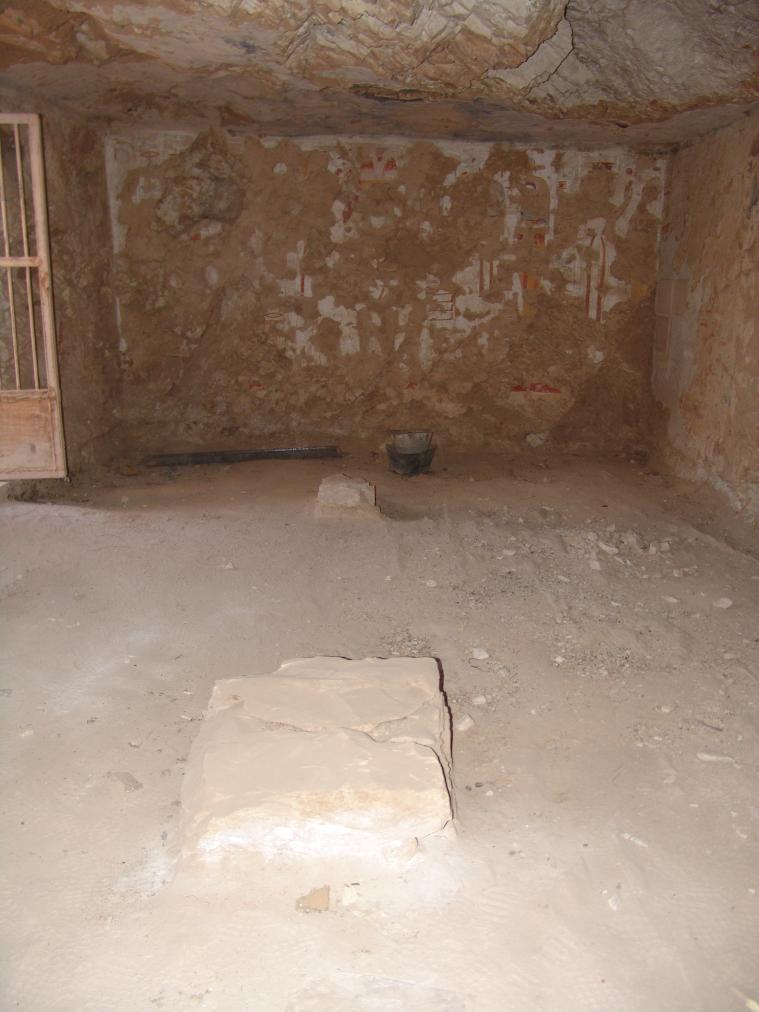
View of the two collapsed pillars and the western wall in the background. © Getty Conservation Institute and the Ministry of Tourism and Antiquities.
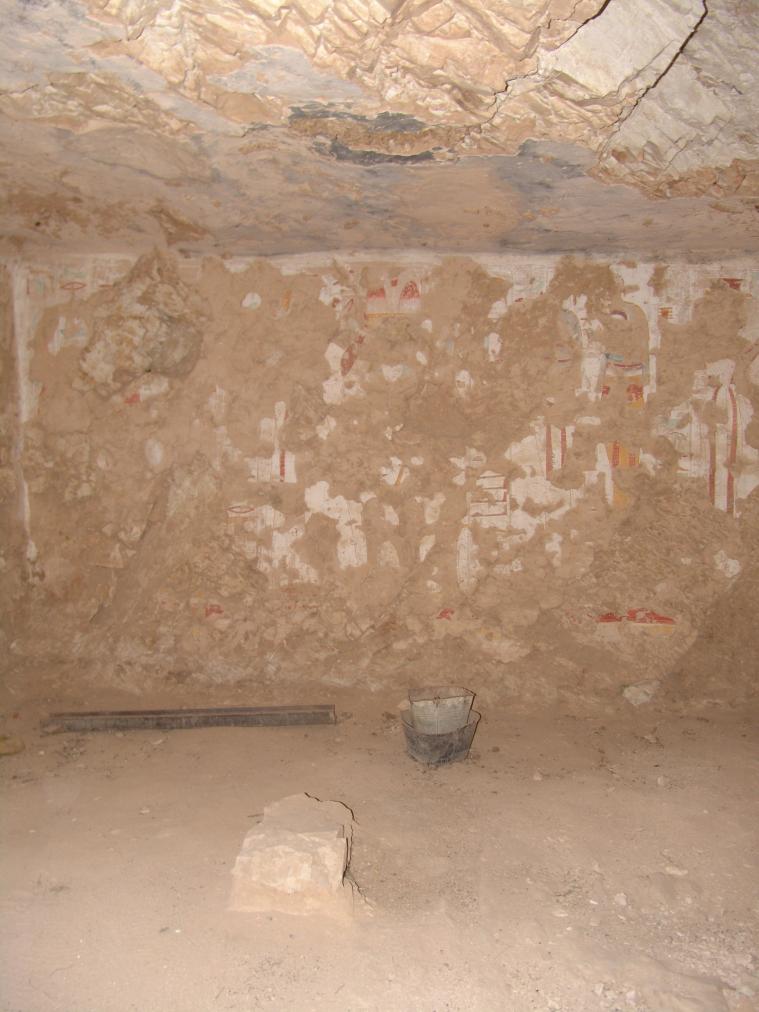
View of the west wall and a collapsed pillar. © Getty Conservation Institute and the Ministry of Tourism and Antiquities.
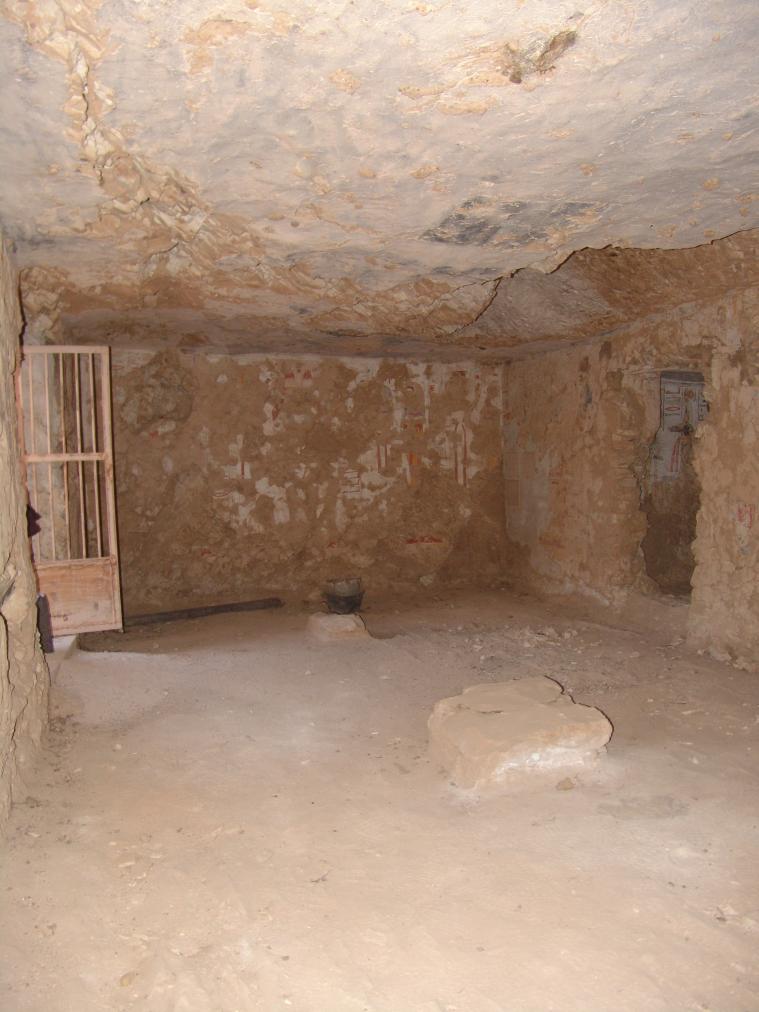
View of the northwestern corner, a collapsed pillar, gate B, and gate Ba. © Getty Conservation Institute and the Ministry of Tourism and Antiquities.
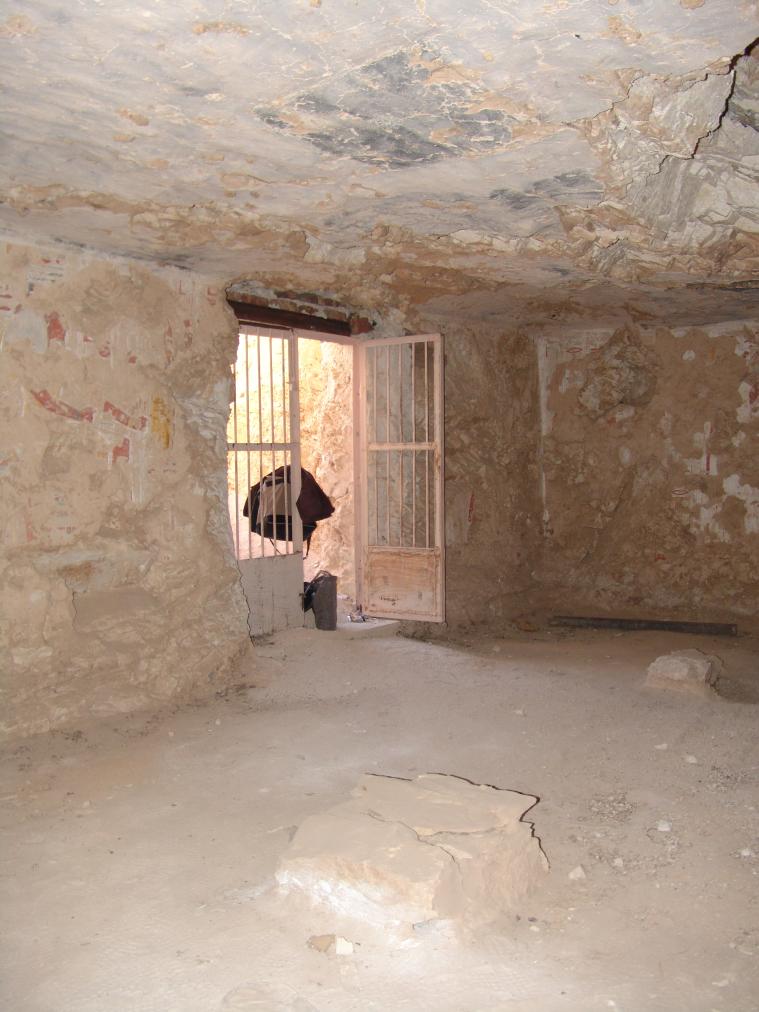
View of southwestern corner, gate B, and the collapsed pillars. © Getty Conservation Institute and the Ministry of Tourism and Antiquities.
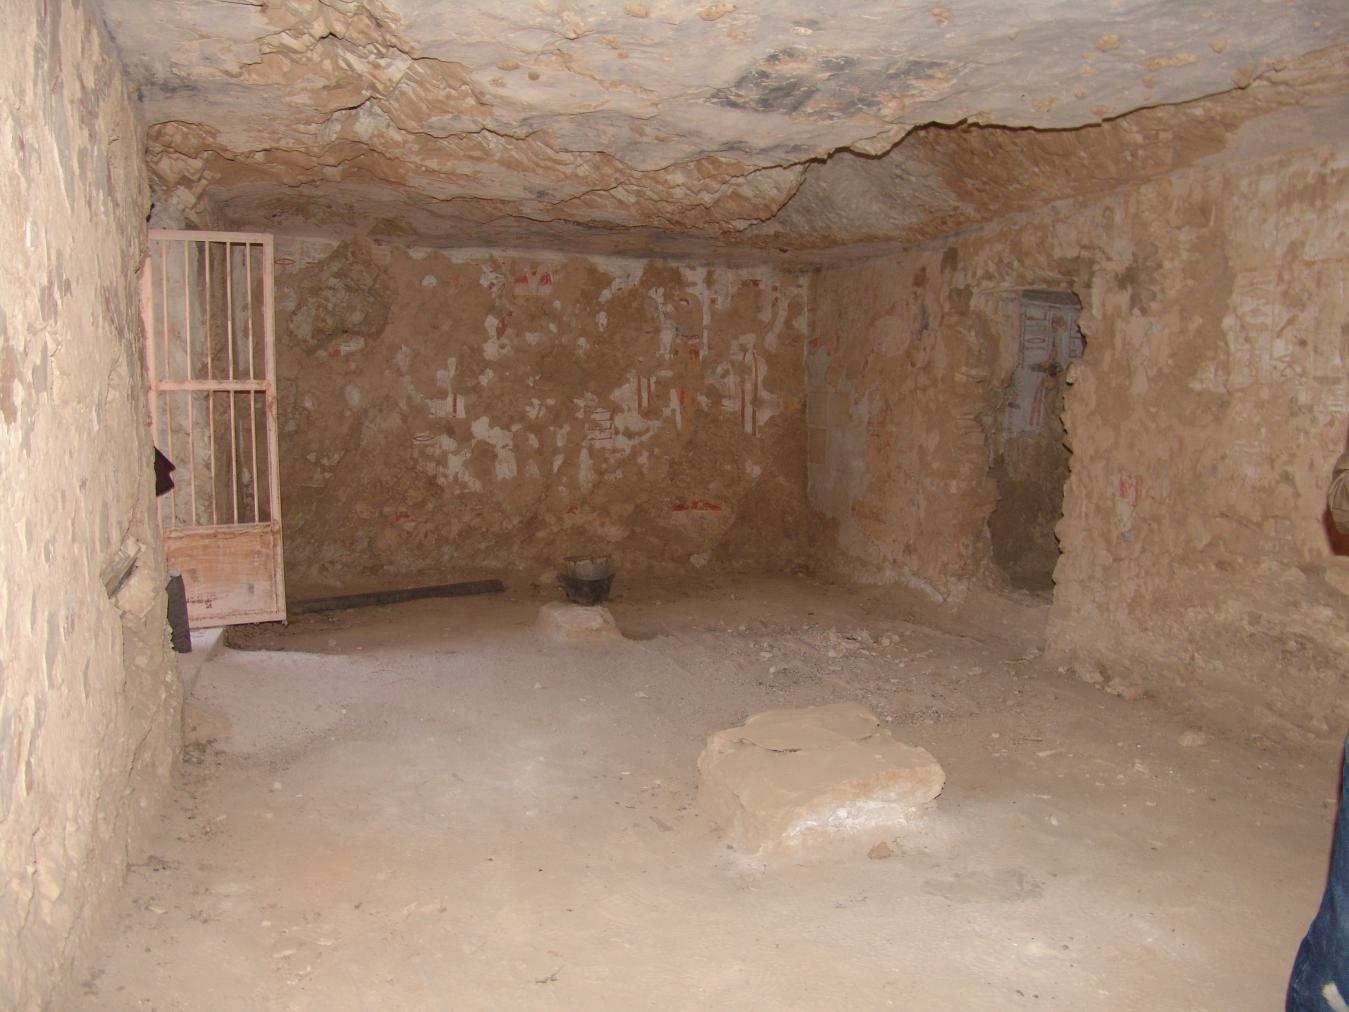
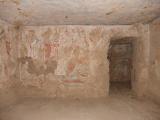
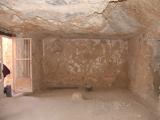
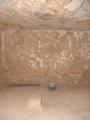
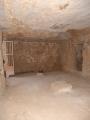
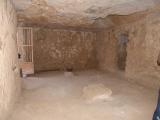
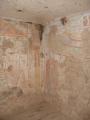
View of Burial Chamber B. © Getty Conservation Institute and the Ministry of Tourism and Antiquities.
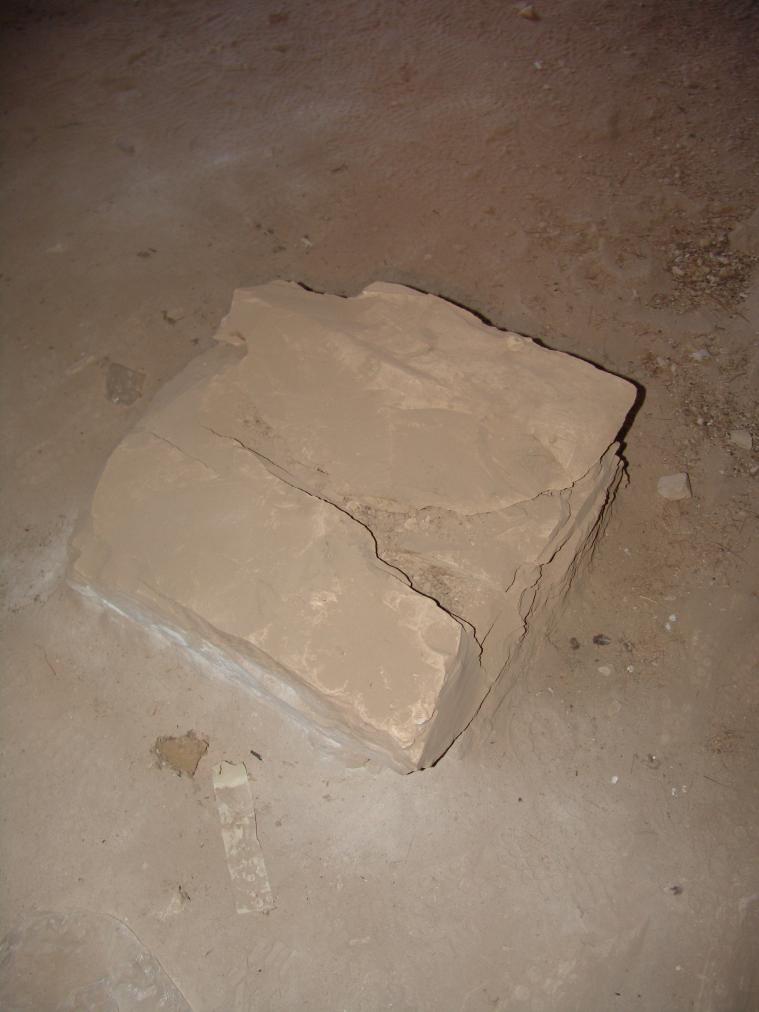
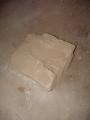
Detail of a collapsed pillar. © Getty Conservation Institute and the Ministry of Tourism and Antiquities.
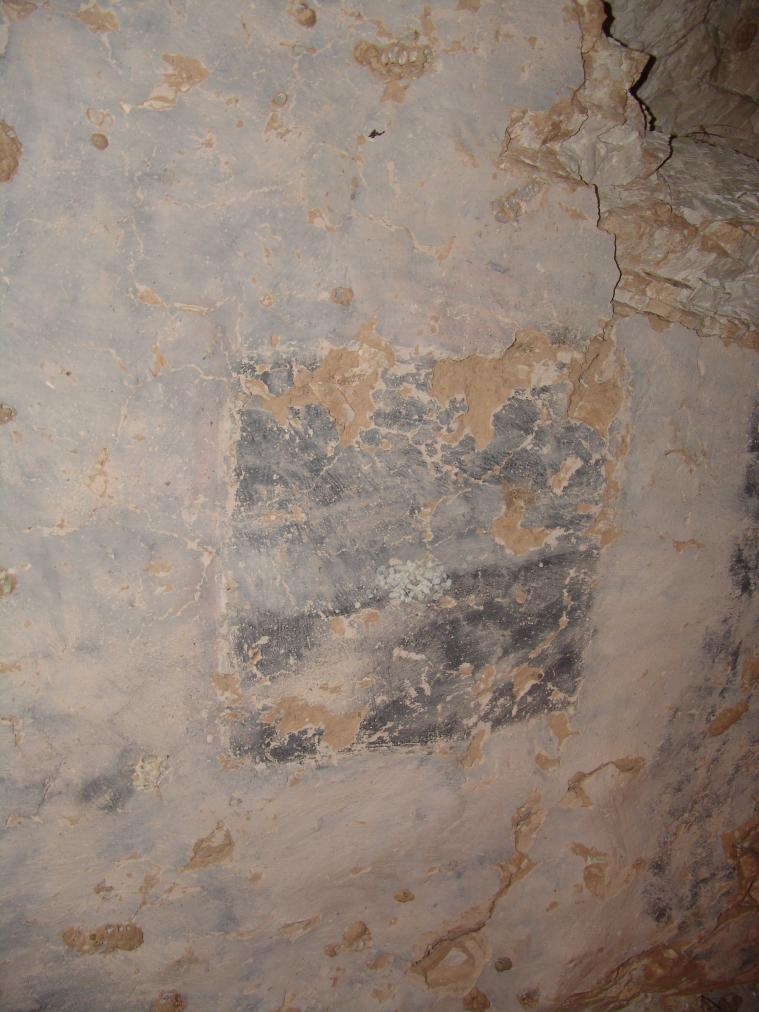
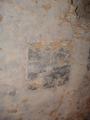
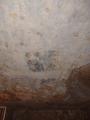
View of the area where the pillar contacted the ceiling before collapse. © Getty Conservation Institute and the Ministry of Tourism and Antiquities.
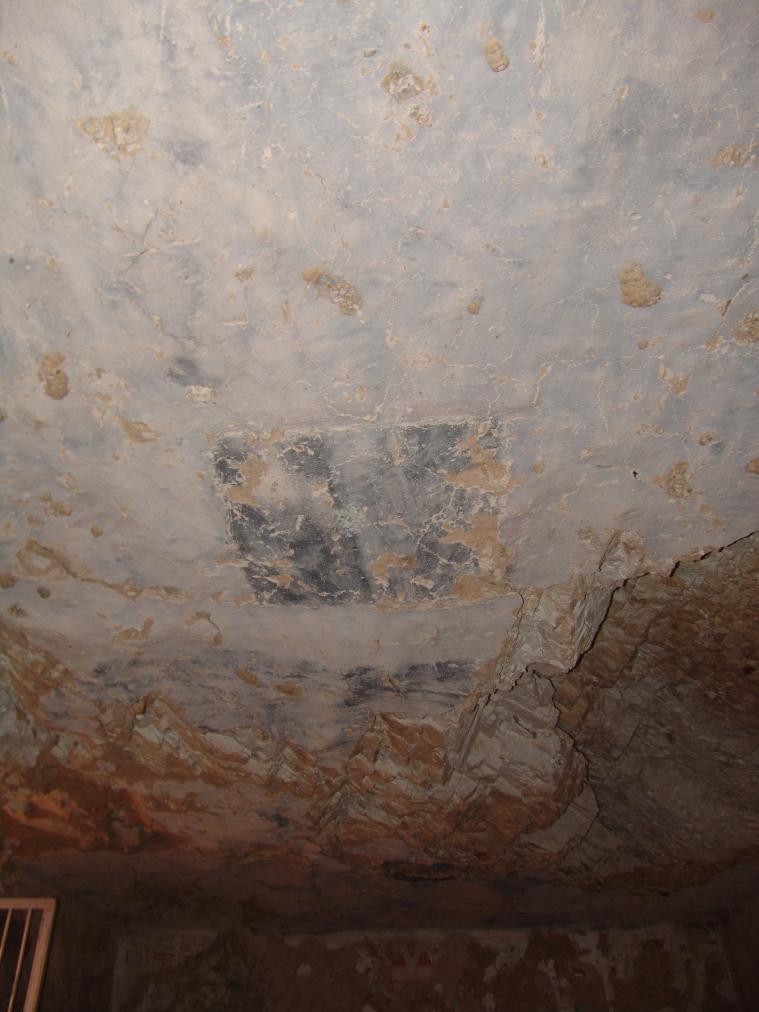
View of area where the pillar contacted the ceiling before collapse. © Getty Conservation Institute and the Ministry of Tourism and Antiquities.
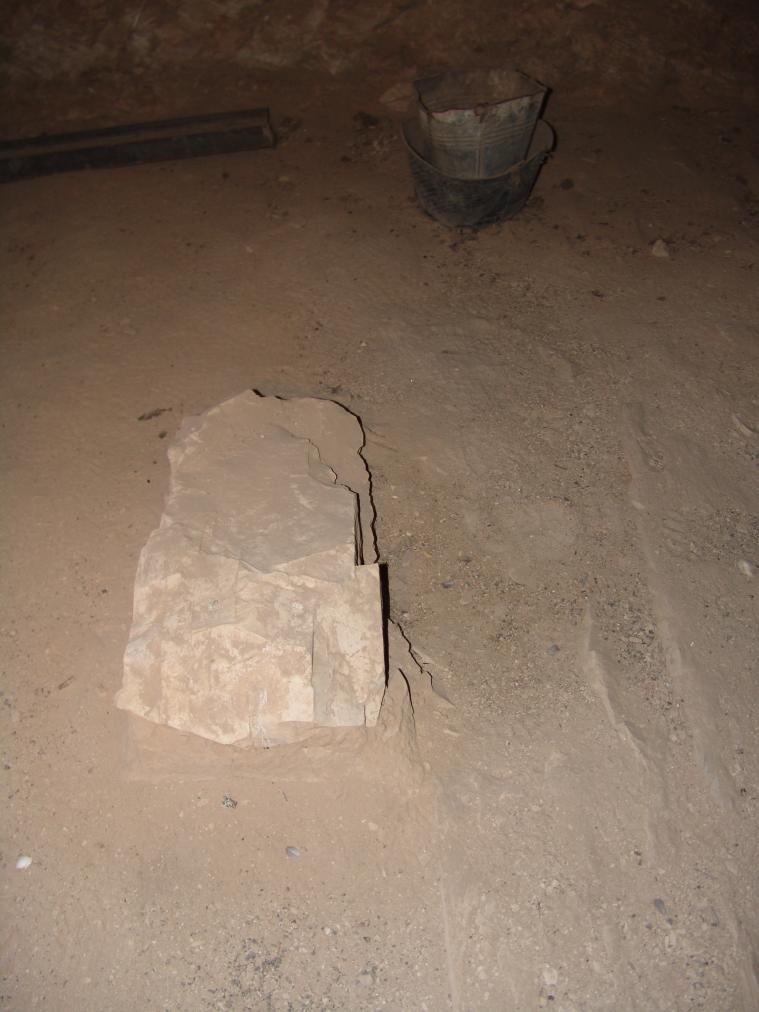
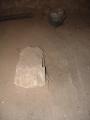
One of the collapsed pillars. © Getty Conservation Institute and the Ministry of Tourism and Antiquities.
View of the ceiling. © Getty Conservation Institute and the Ministry of Tourism and Antiquities.
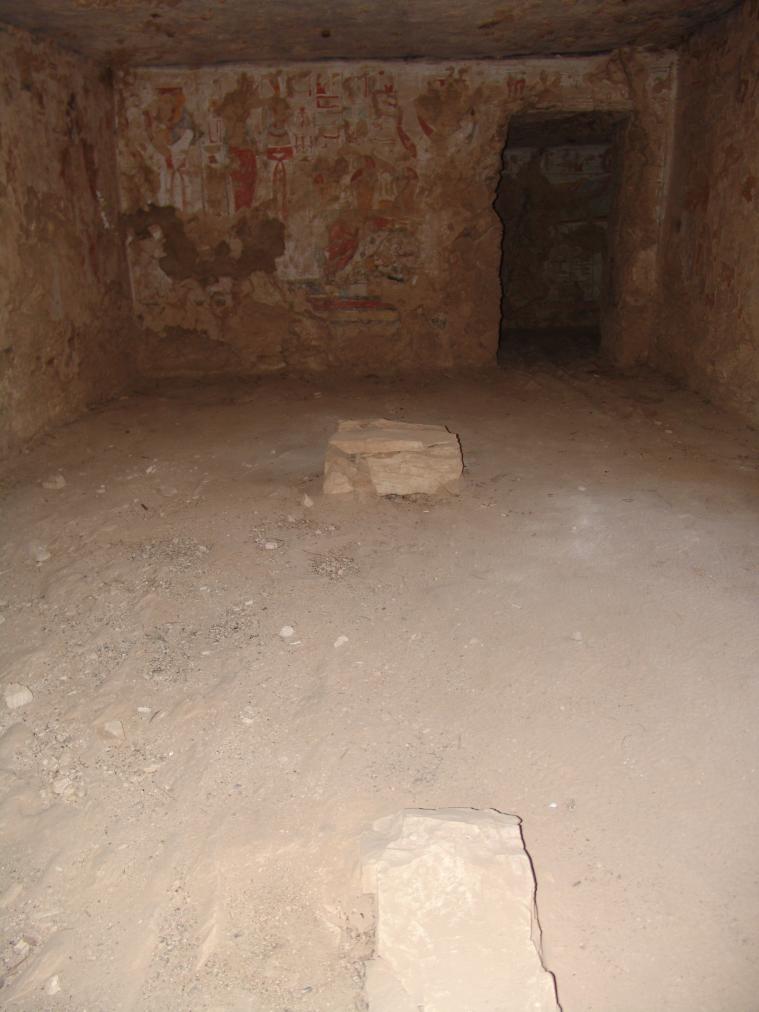
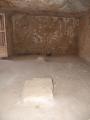
View of the collapsed pillars with the eastern wall and Gate Bb in the background. © Getty Conservation Institute and the Ministry of Tourism and Antiquities
Gate Ba
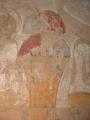
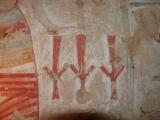
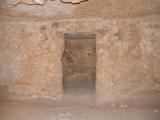
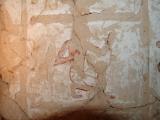
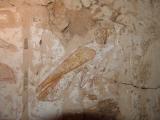
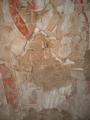
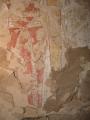
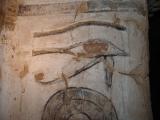
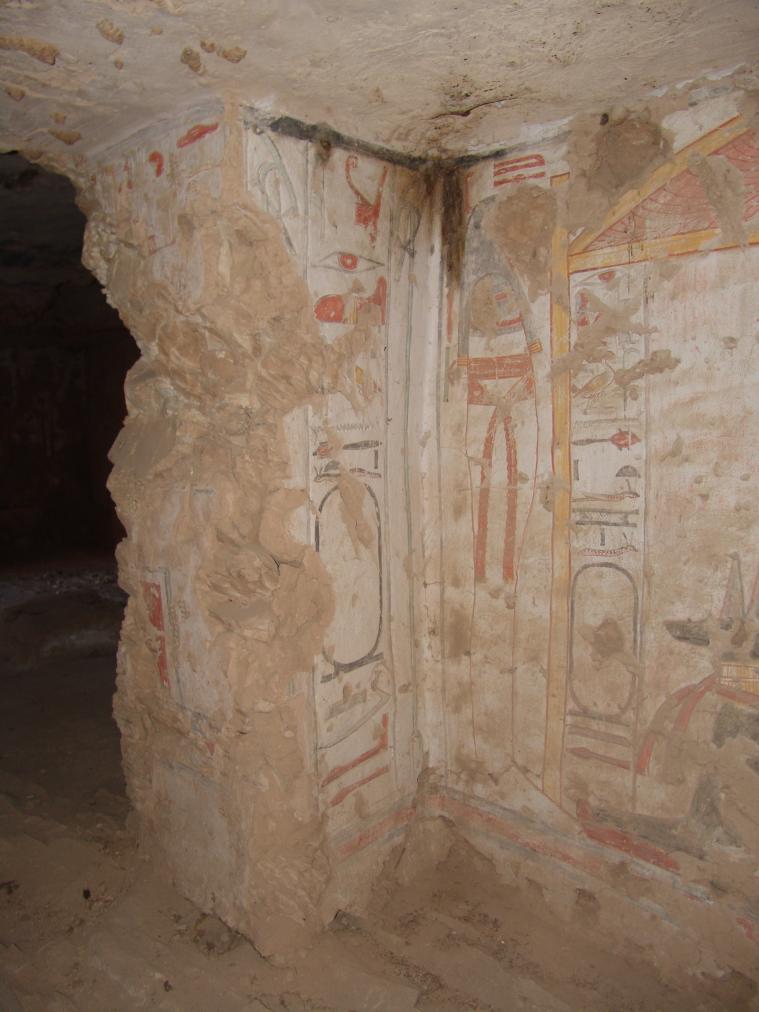
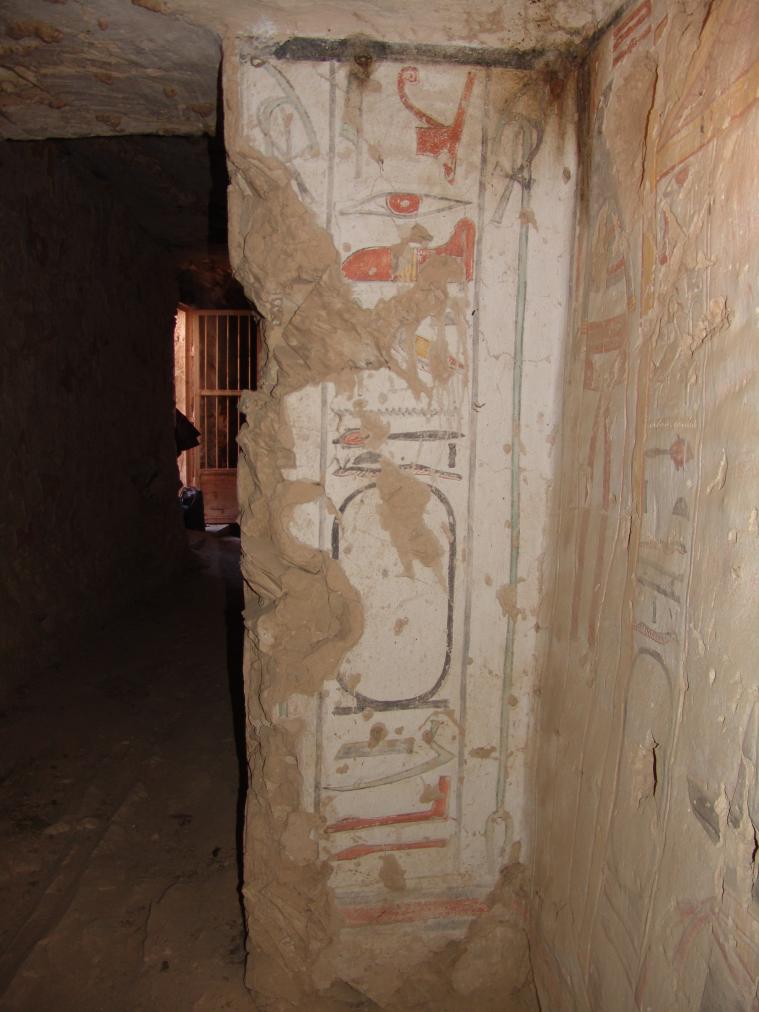
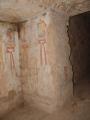
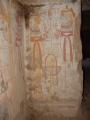
See entire tombThis gate is cut into the northern wall of the burial chamber and leads in to a side chamber coined by Christian Leblanc as the 'Osirian room'. The reveals contain dedication texts of the tomb from the king to the princess. These are badly damaged. The thicknesses are decorated with partial representations of Wadjet (right) and Nekhbet (left), both shown as cobras. The returns were covered in mouna plaster and once removed, revealed a Tyet-knot below a Wadjet eye on the right and a brightly colored Djed pillar on the left.
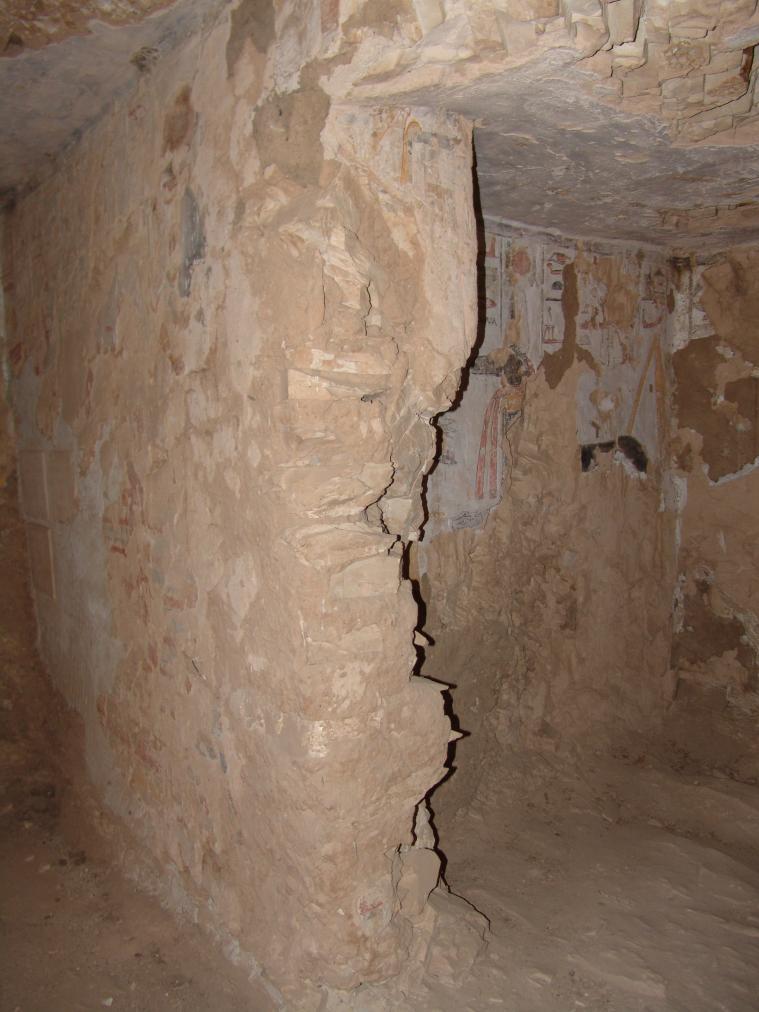
View of the left thickness with Nekhbet as a cobra. © Getty Conservation Institute and the Ministry of Tourism and Antiquities.
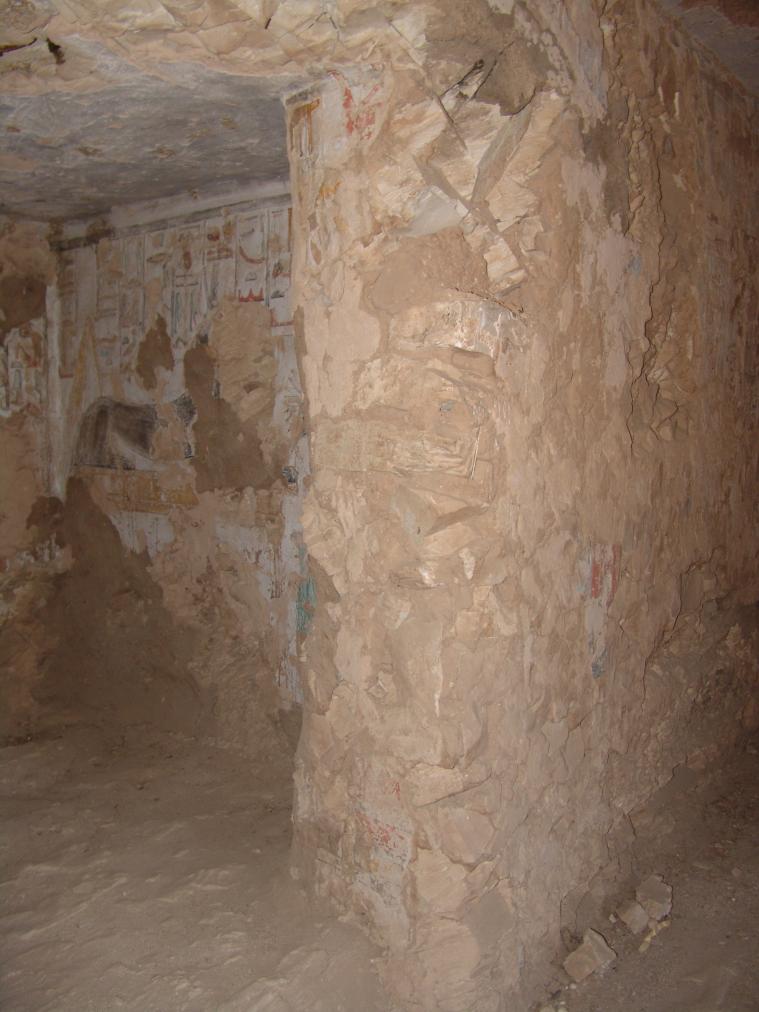
View of the right thickness with Wadjet as a cobra. © Getty Conservation Institute and the Ministry of Tourism and Antiquities.
Side chamber Ba
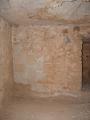
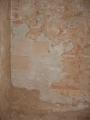
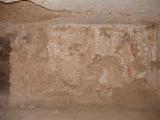
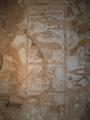
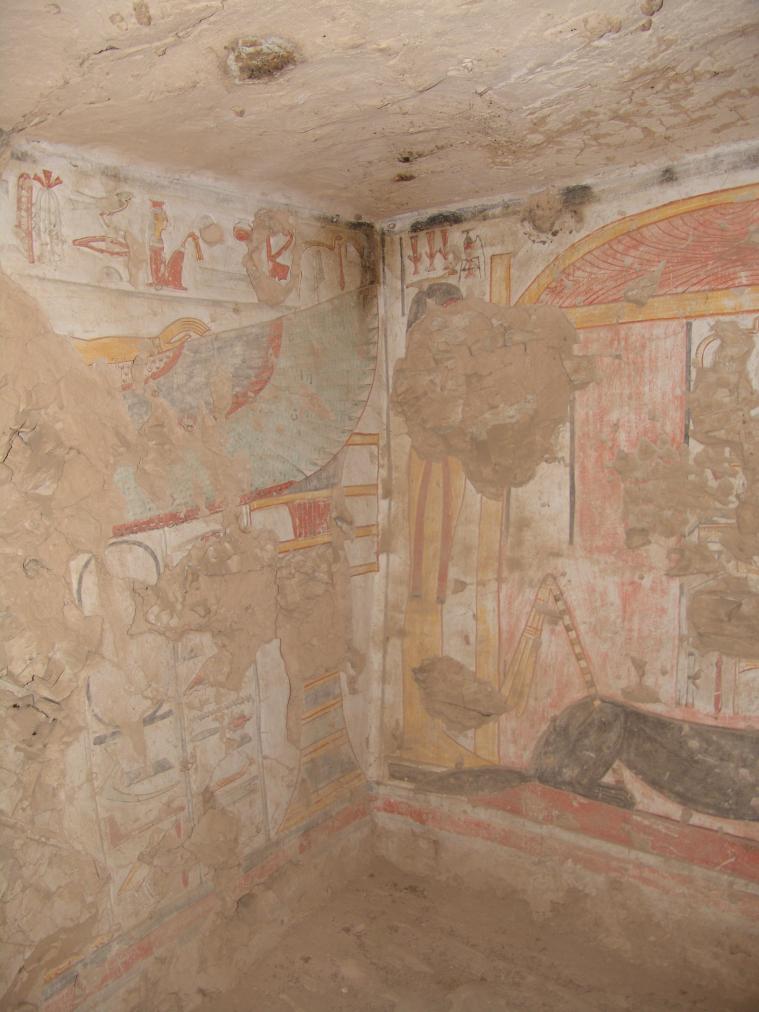
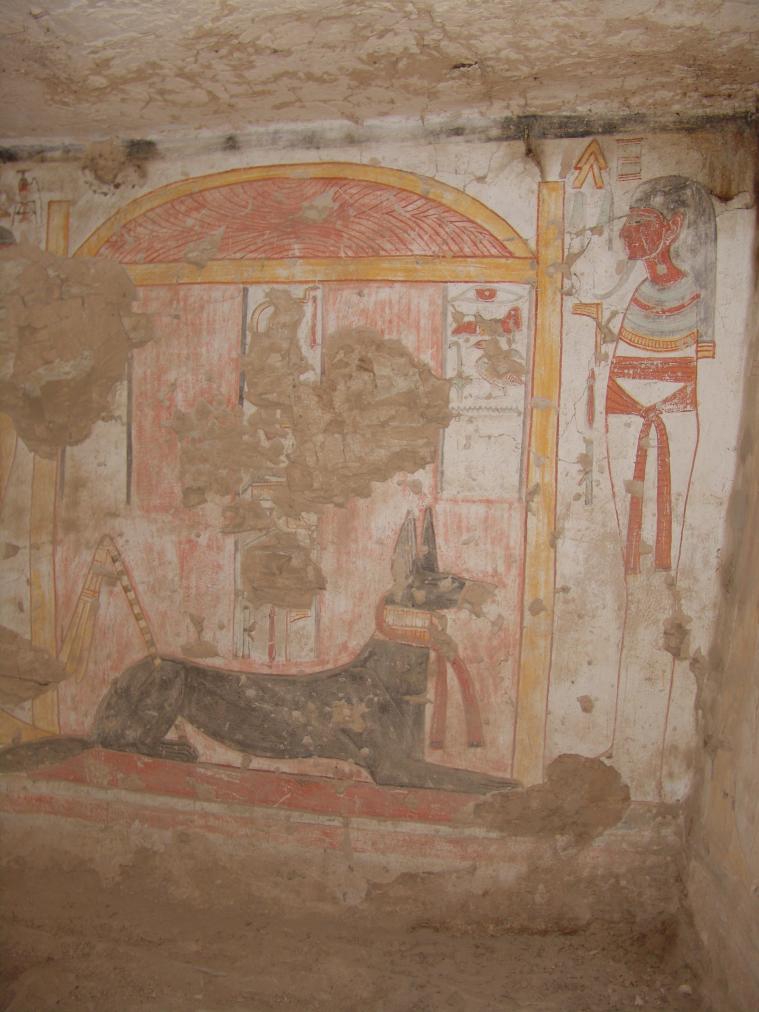
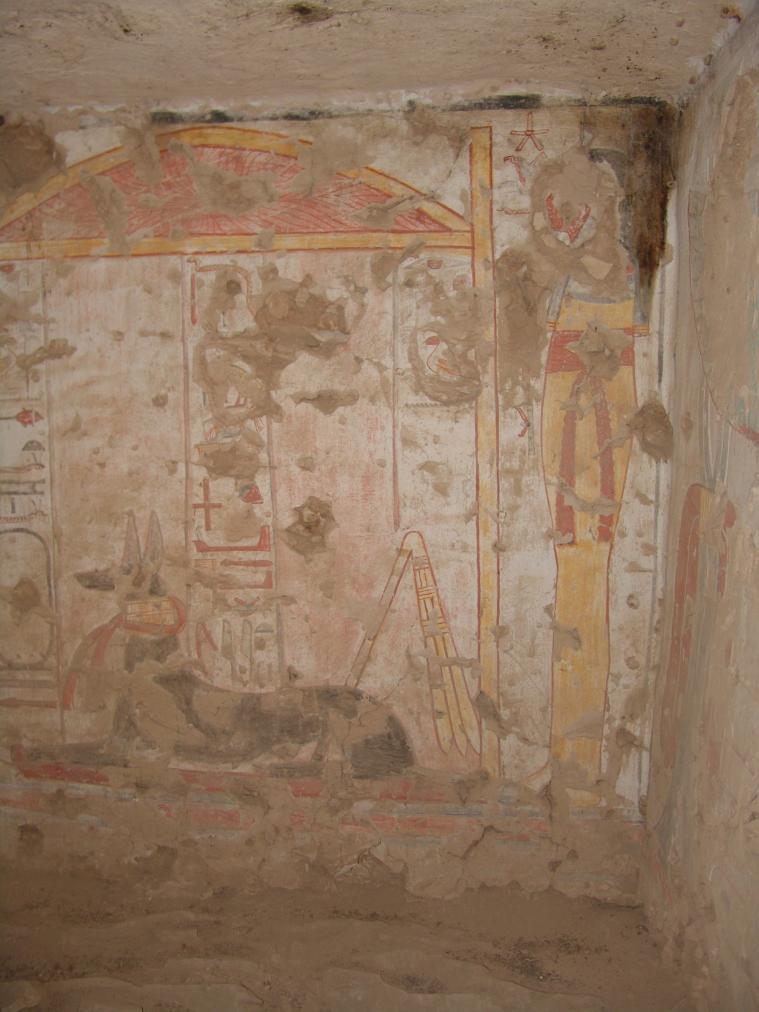
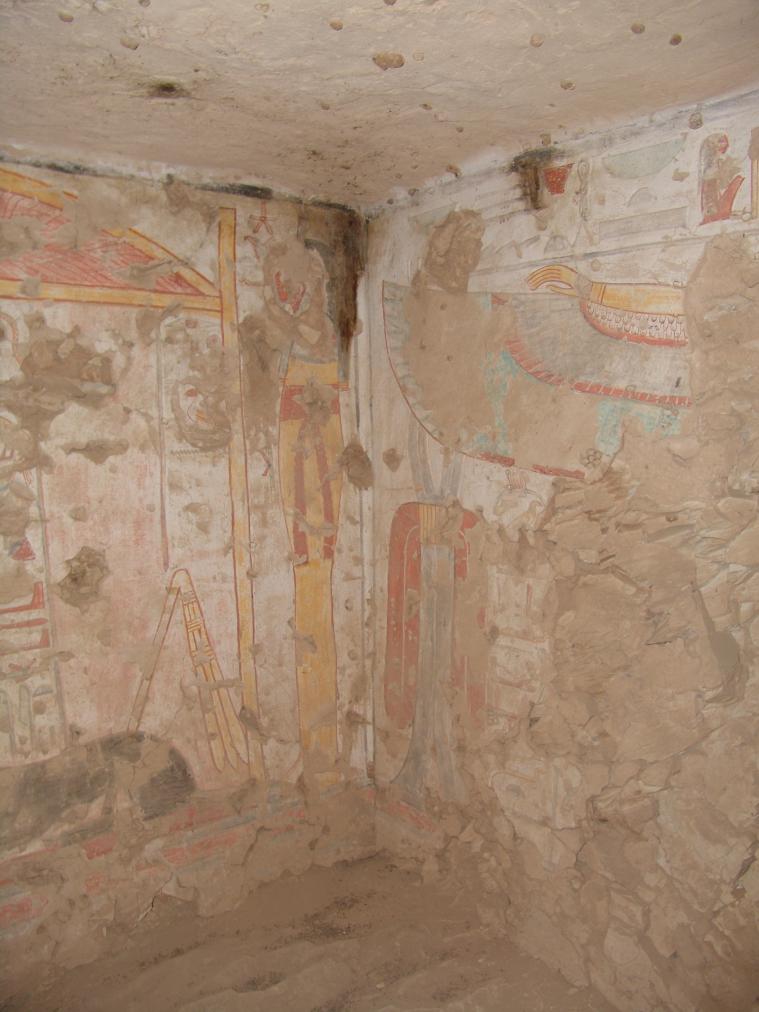
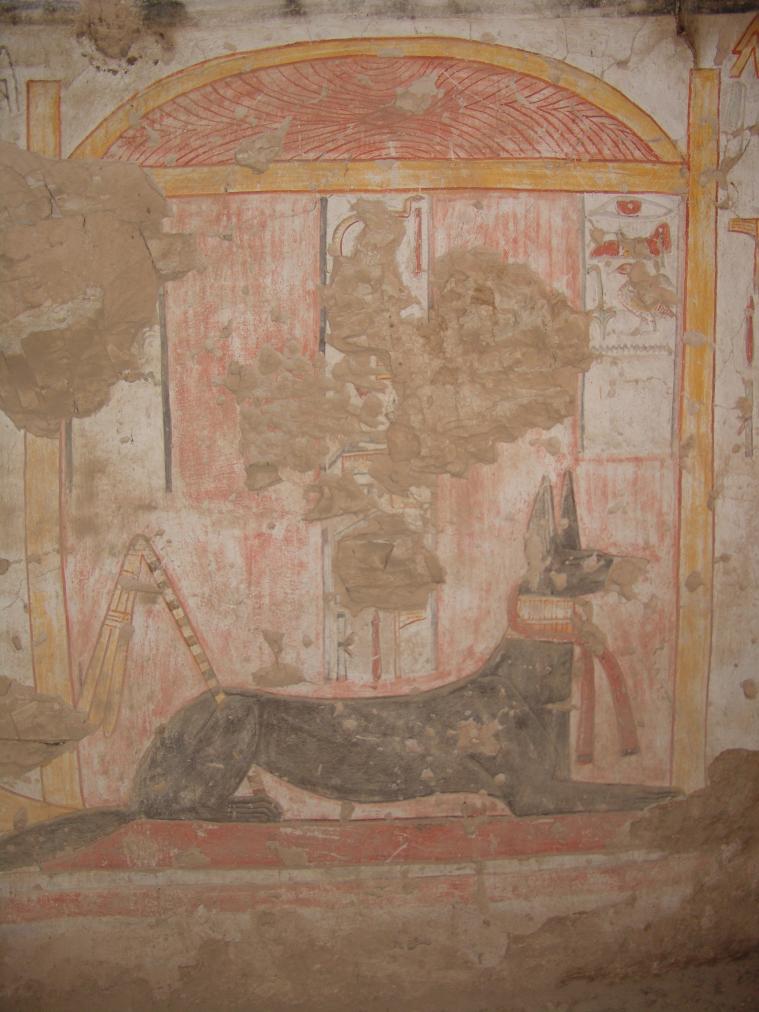
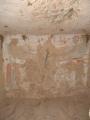
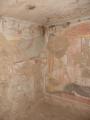
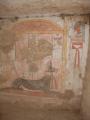
See entire tombThis side chamber has condensed iconography and according to Christian Leblanc, served as the 'Osirian room' in which the princess would be reborn. The walls were covered with mouna plaster during the Coptic Period and has since been removed. The plaster, however, severely damaged the wall paintings. The east and west walls are decorated with the same image of Anubis as a jackal reclining on a chapel surrounded by offerings. The north wall focuses on Osiris, who is shown seated between and protected by Isis and Nephthys.
Porter and Moss designation:
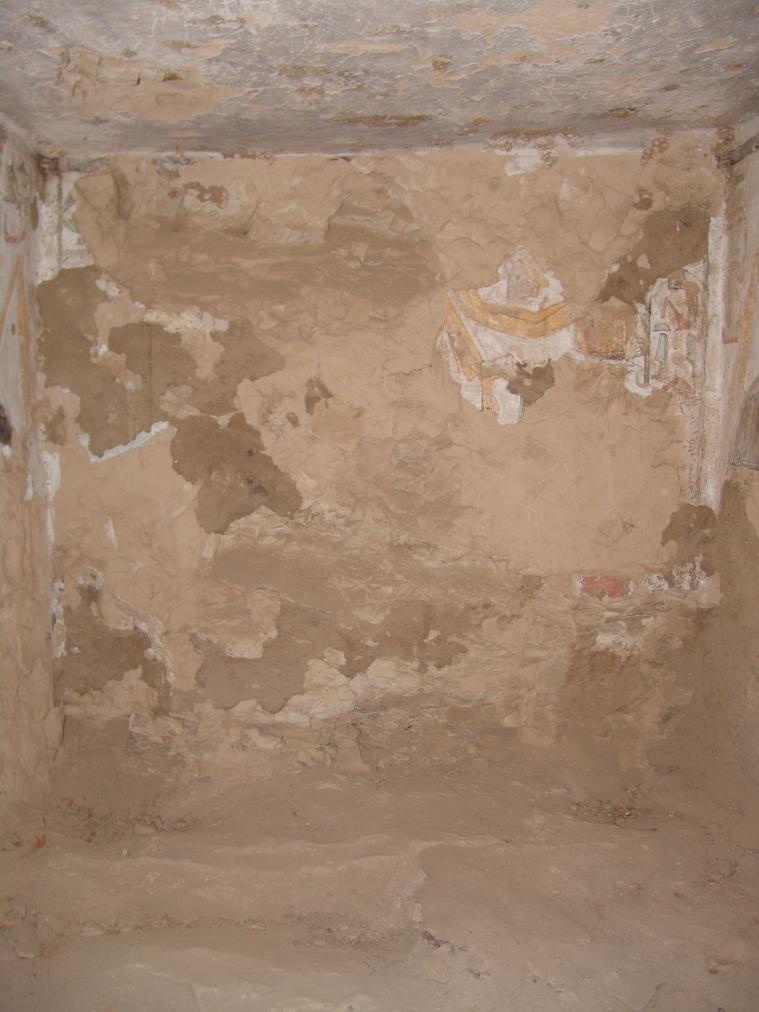
Osiris (damaged) seated between and protected by Isis (lost) and Nephthys. © Getty Conservation Institute and the Ministry of Tourism and Antiquities.
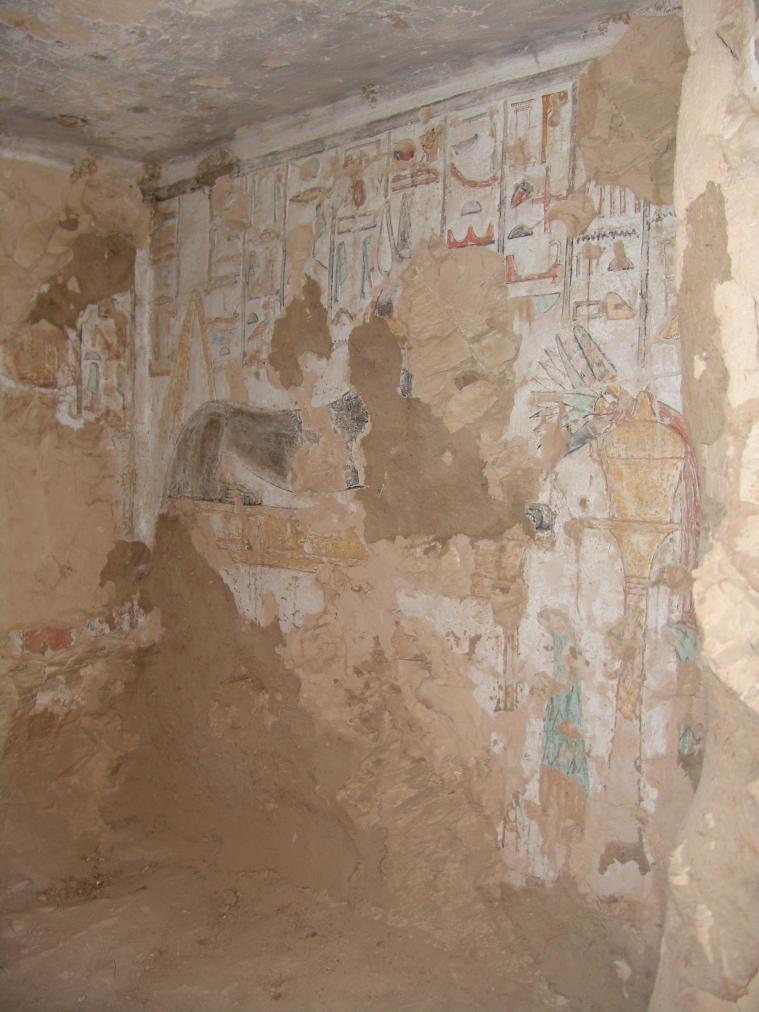
Anubis as jackal reclining on a chapel and surrounded by offerings. © Getty Conservation Institute and the Ministry of Tourism and Antiquities.
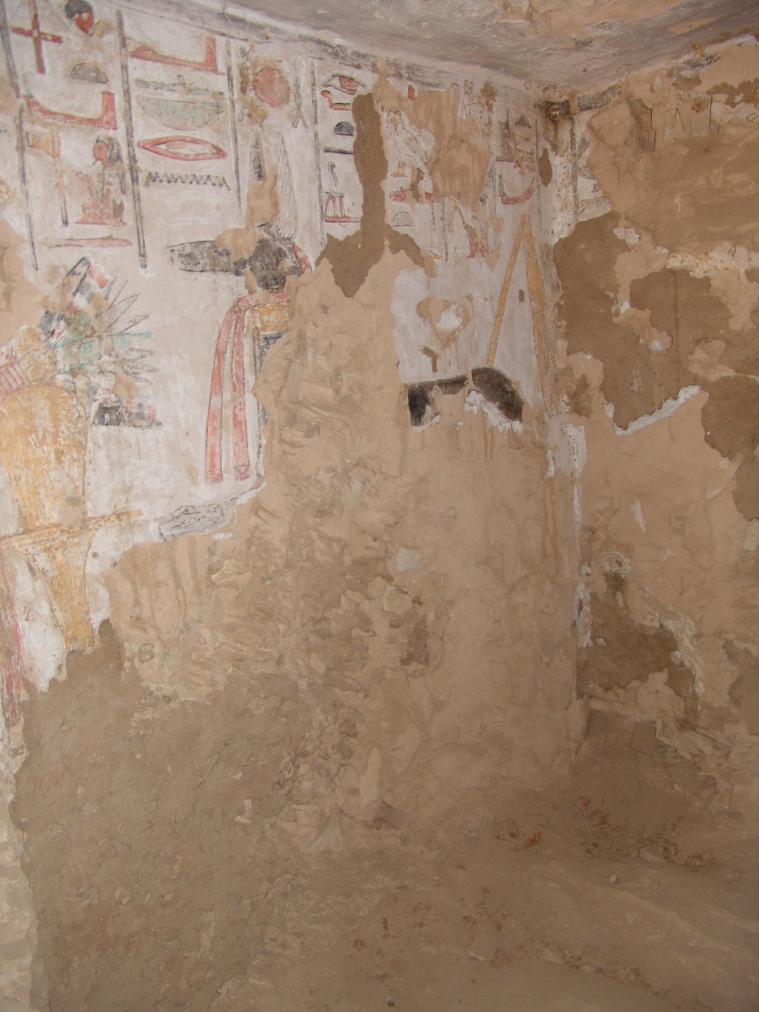
Anubis as a jackal reclining on a chapel and surrounded by offerings. © Getty Conservation Institute and the Ministry of Tourism and Antiquities.
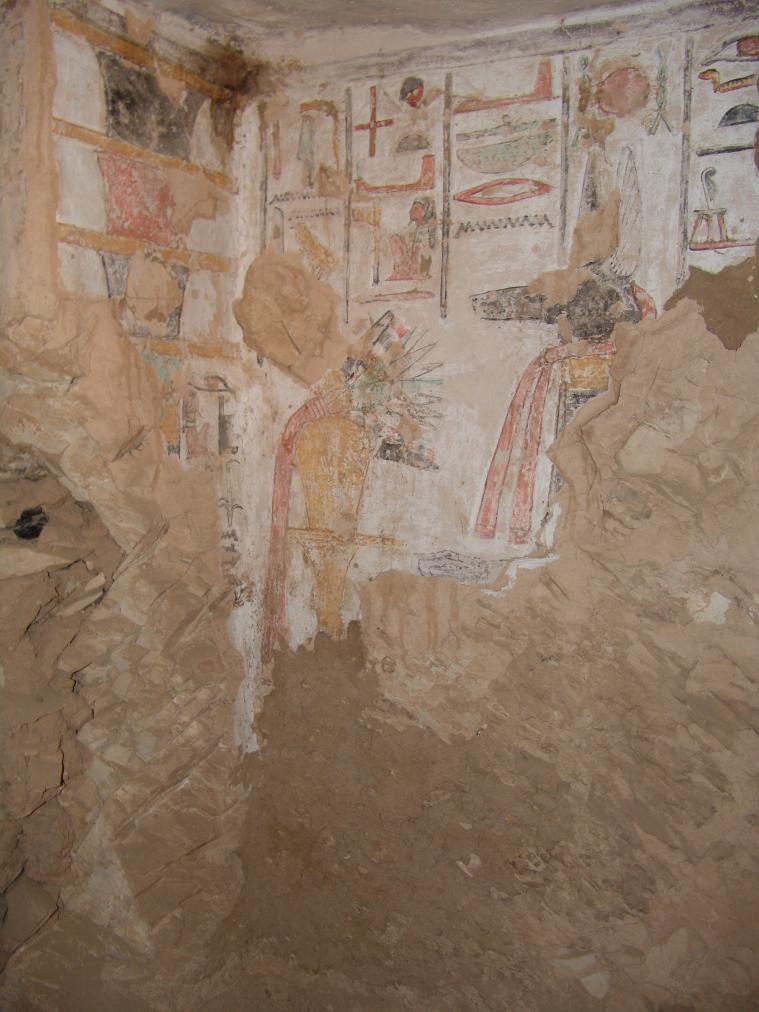
Anubis as a jackal reclining on a chapel (east wall) and a Djed pillar (south wall). © Getty Conservation Institute and the Ministry of Tourism and Antiquities.
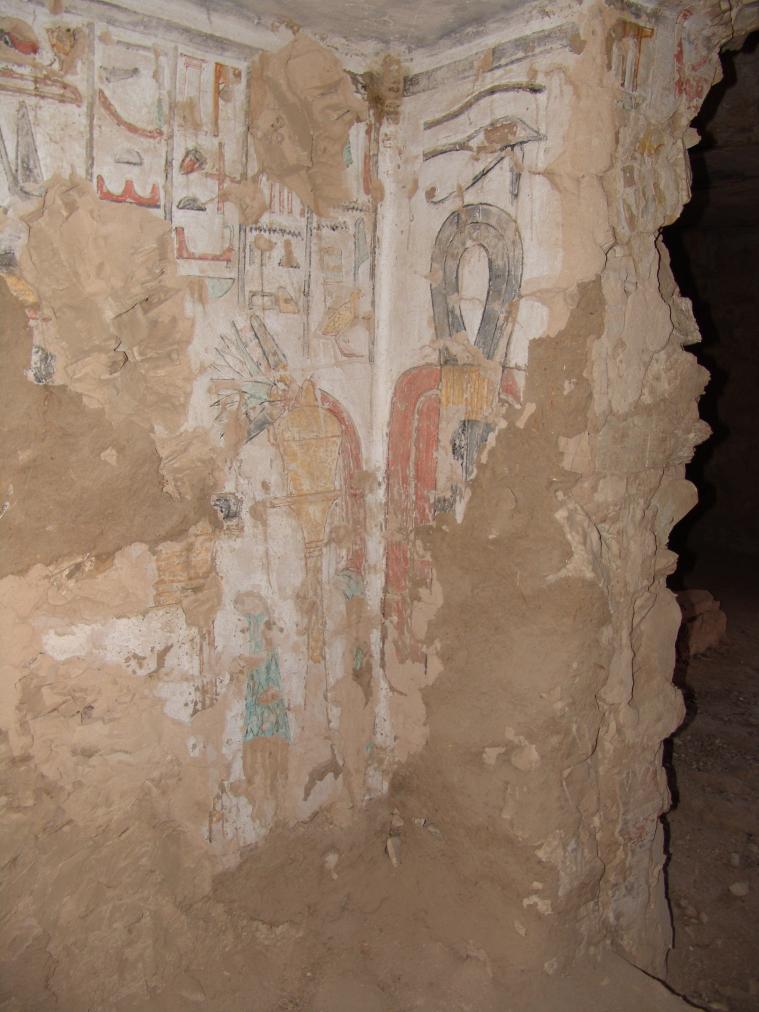
Anubis as a jackal reclining on a chapel (west wall) and a tyet knot (south wall). © Getty Conservation Institute and the Ministry of Tourism and Antiquities.
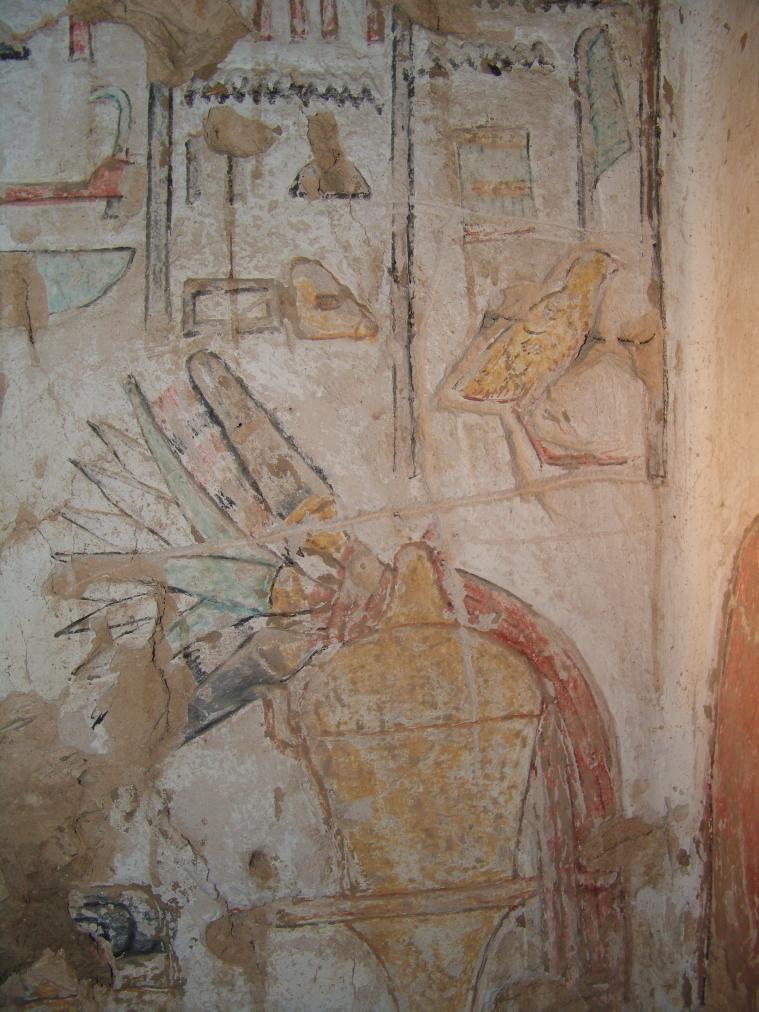
Detail of hieroglyphic text and offerings next to Anubis as a Jackal. © Getty Conservation Institute and the Ministry of Tourism and Antiquities.
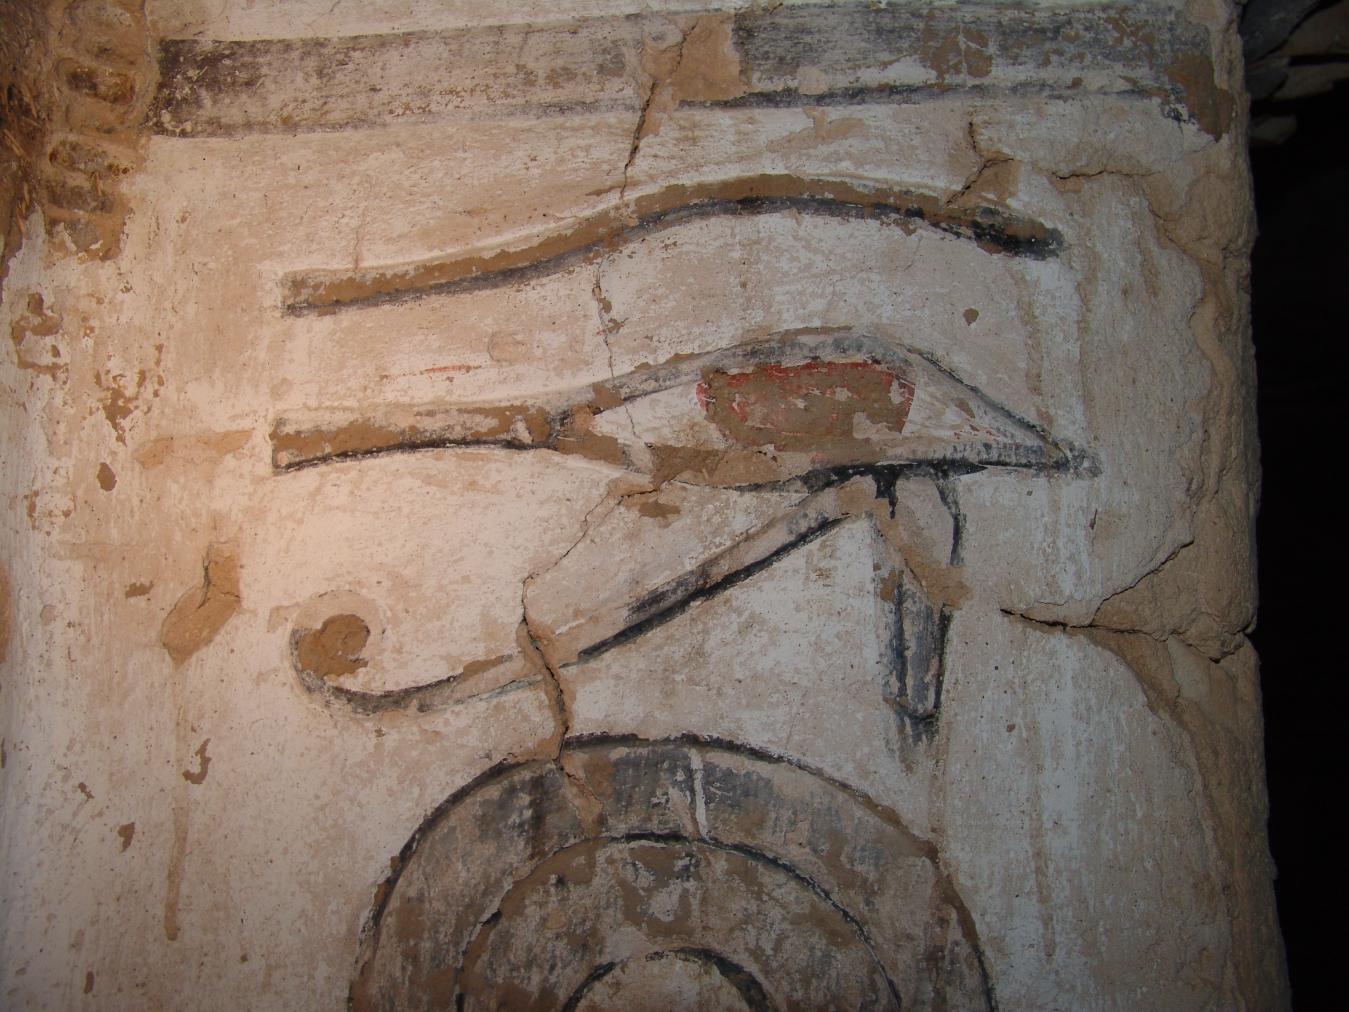
Detail of the eye above the tyet knot. © Getty Conservation Institute and the Ministry of Tourism and Antiquities.

Gate Bb
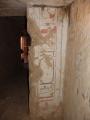
See entire tombThis gate is cut into the eastern wall of the burial chamber and leads to a small side room that served as the canopic emplacement. As with the burial chamber and the first side room, the gate was covered with mouna plaster in the Coptic Period that badly damaged the paintings underneath. The reveals contain dedication texts of the tomb from the king to the princess (right side is better preserved). The thicknesses are decorated with images of Anubis as a jackal reclining atop a chapel. The returns contain a column of the princess' titles bordered by Was scepters on the left and on the right, a beautiful scene depicting mummiform Isis and Nephthys facing one another with an offering table in between them.
Princess in adoration before Hapy and Qebehsenuef, the Princess in adoration, and a view of the collapsed pillar and gate Bb. © Getty Conservation Institute and the Ministry of Tourism and Antiquities.
The Princess in adoration before Hapy and Qebehsenuef, the Princess in adoration, and a view of the collapsed pillar and gate Bb. © Getty Conservation Institute and the Ministry of Tourism and Antiquities.
The Princess in adoration before Hapy and Qebehsenuef, the Princess in adoration, and a view of gate Bb. © Getty Conservation Institute and the Ministry of Tourism and Antiquities.
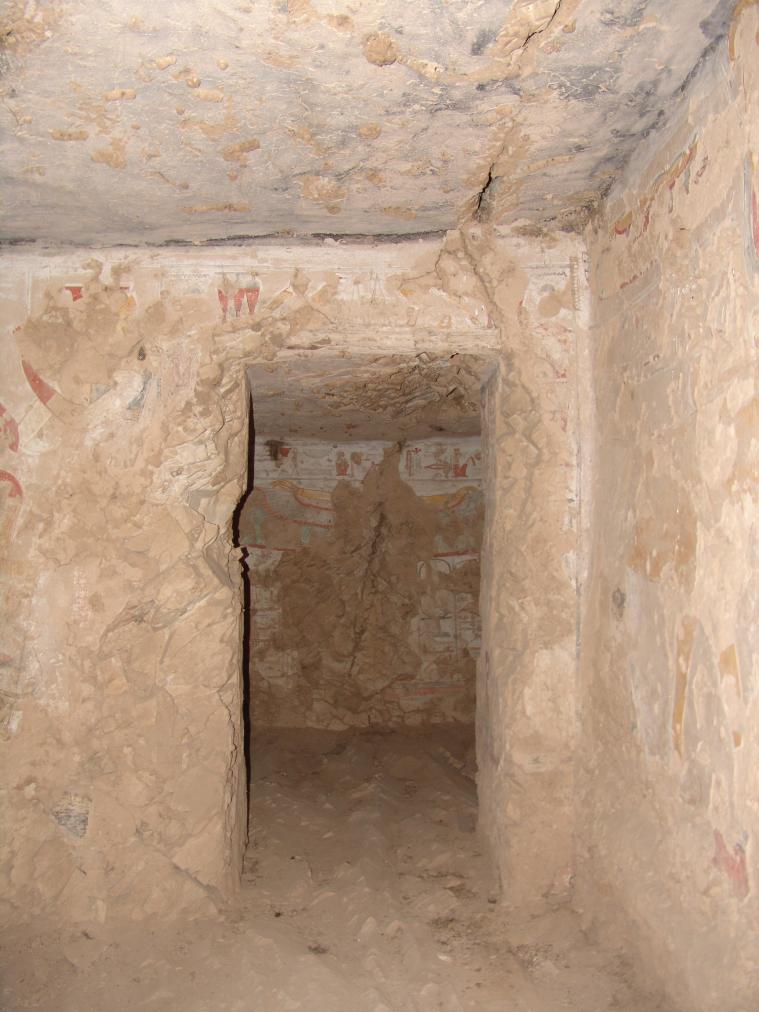
View of Gate Bb. © Getty Conservation Institute and the Ministry of Tourism and Antiquities.
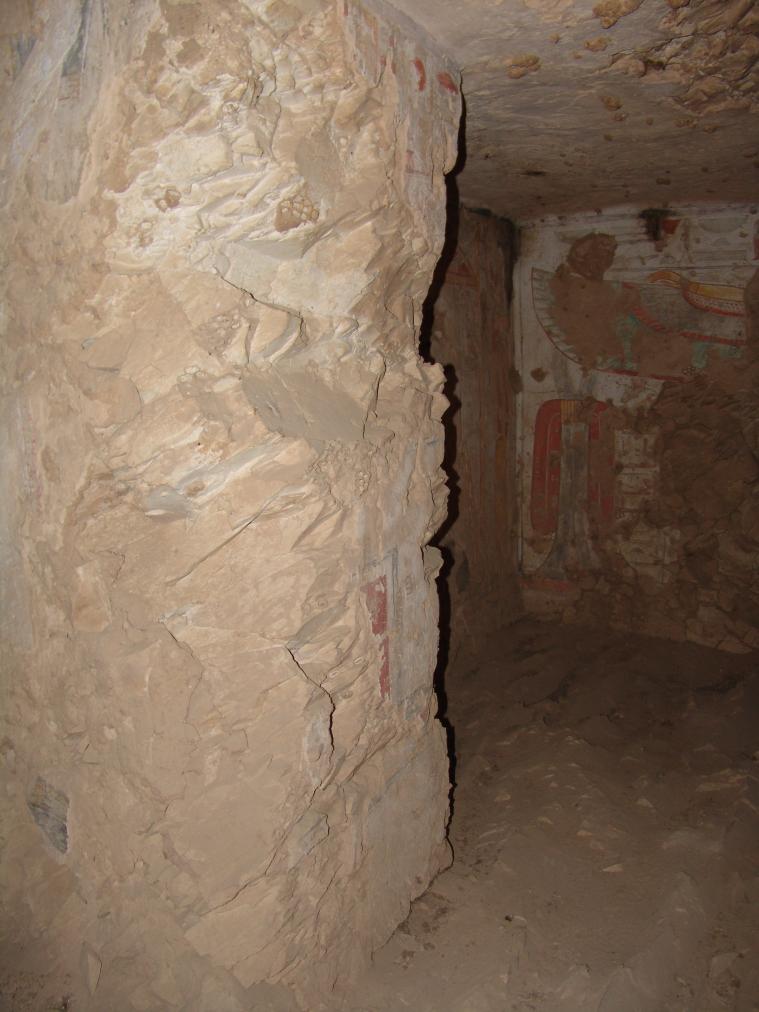
View of the left thickness. © Getty Conservation Institute and the Ministry of Tourism and Antiquities.
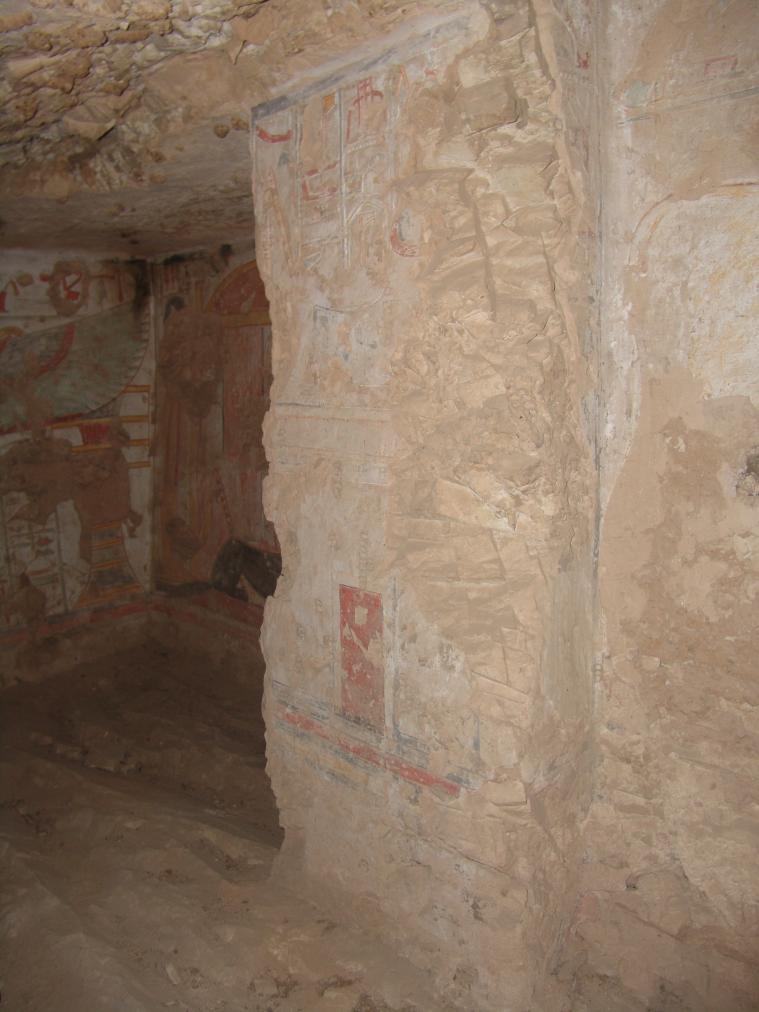
View of the right thickness with Anubis as a jackal reclining on a chapel. © Getty Conservation Institute and the Ministry of Tourism and Antiquities.
Side chamber Bb
See entire tombAccording to the iconography, this side chamber was used to store the burial equipment, and particularly, the Canopic jars. Unlike the other two chambers, the walls were not covered with mouna plaster in the Coptic Period. However, the faces and bodies of the figures on the walls were hacked out. The south and north walls mirror each other in iconography, both containing representations of the Canopic chest of the princess guarded by two of the four sons of Horus and Anubis. The east wall is decorated with the figure of Nut, her wings outspread. On either side of her is a Djed pillar and a Tyet knot.
Porter and Moss designation:
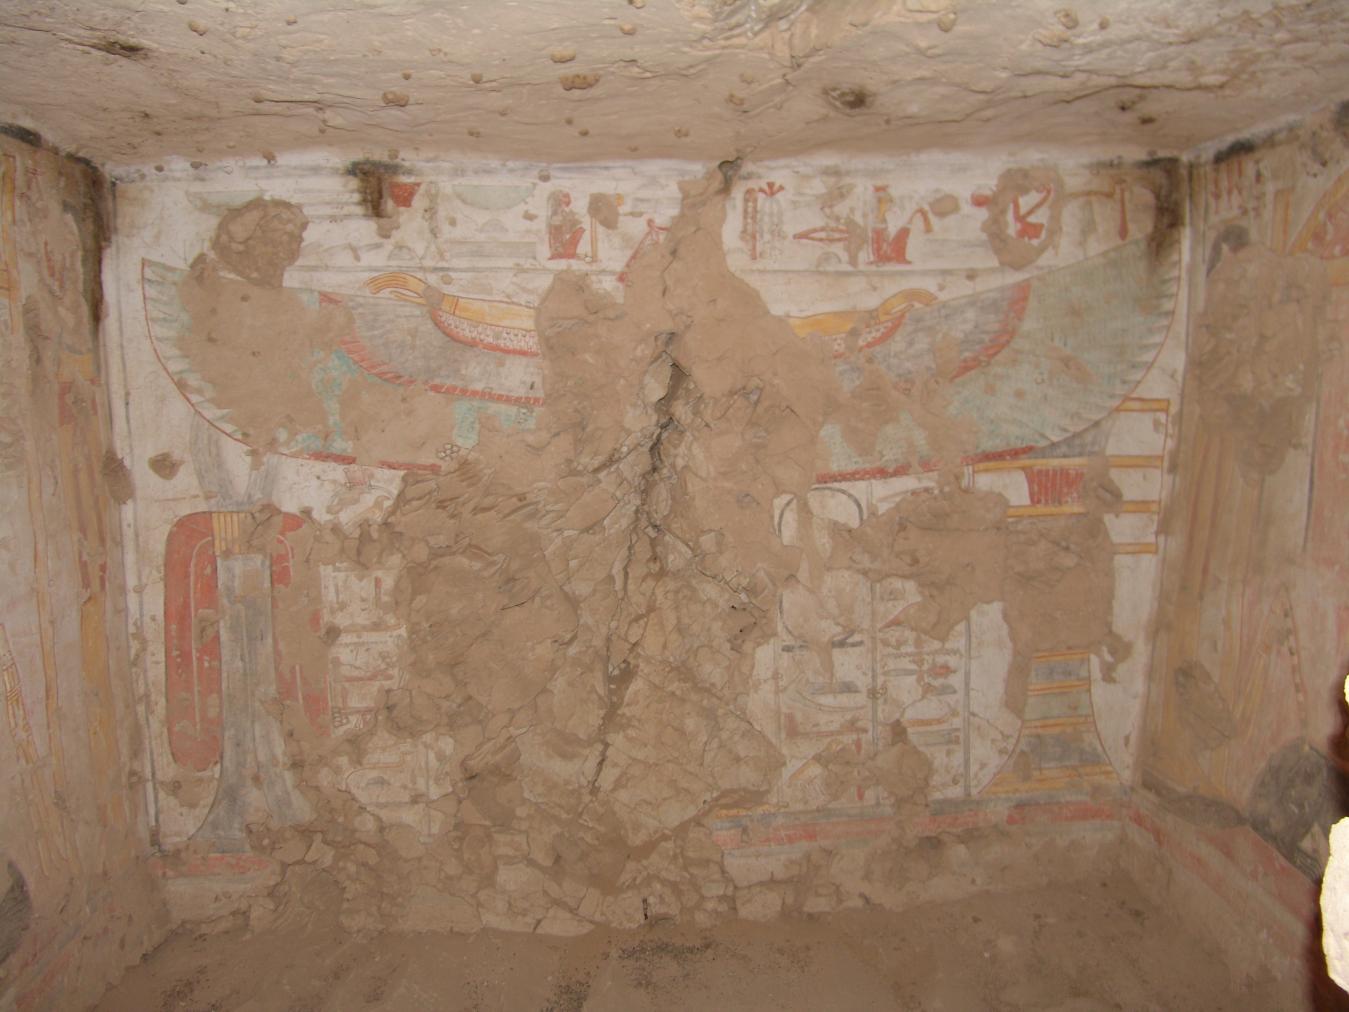
Nut (damaged) with wings outspread and looking right, flanked by a Djed pillar on right and a Tyet knot on left. © Getty Conservation Institute and the Ministry of Tourism and Antiquities.
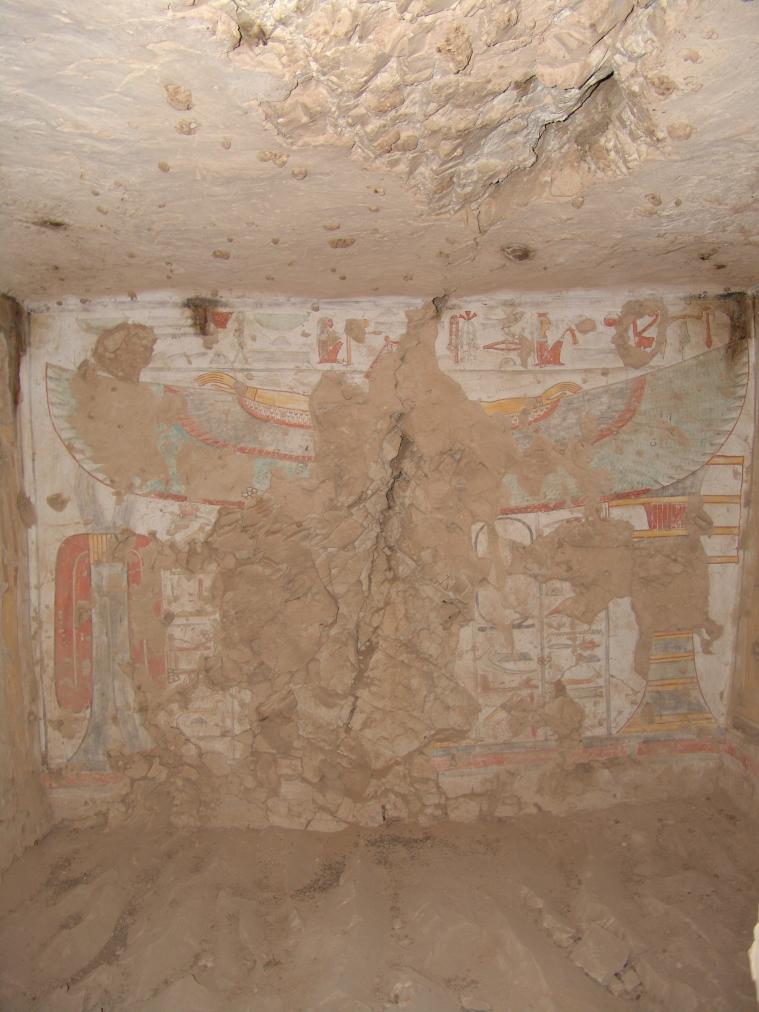
Nut (damaged) with wings outspread and looking right, flanked by a Djed pillar on right and a Tyet knot on left. © Getty Conservation Institute and the Ministry of Tourism and Antiquities.
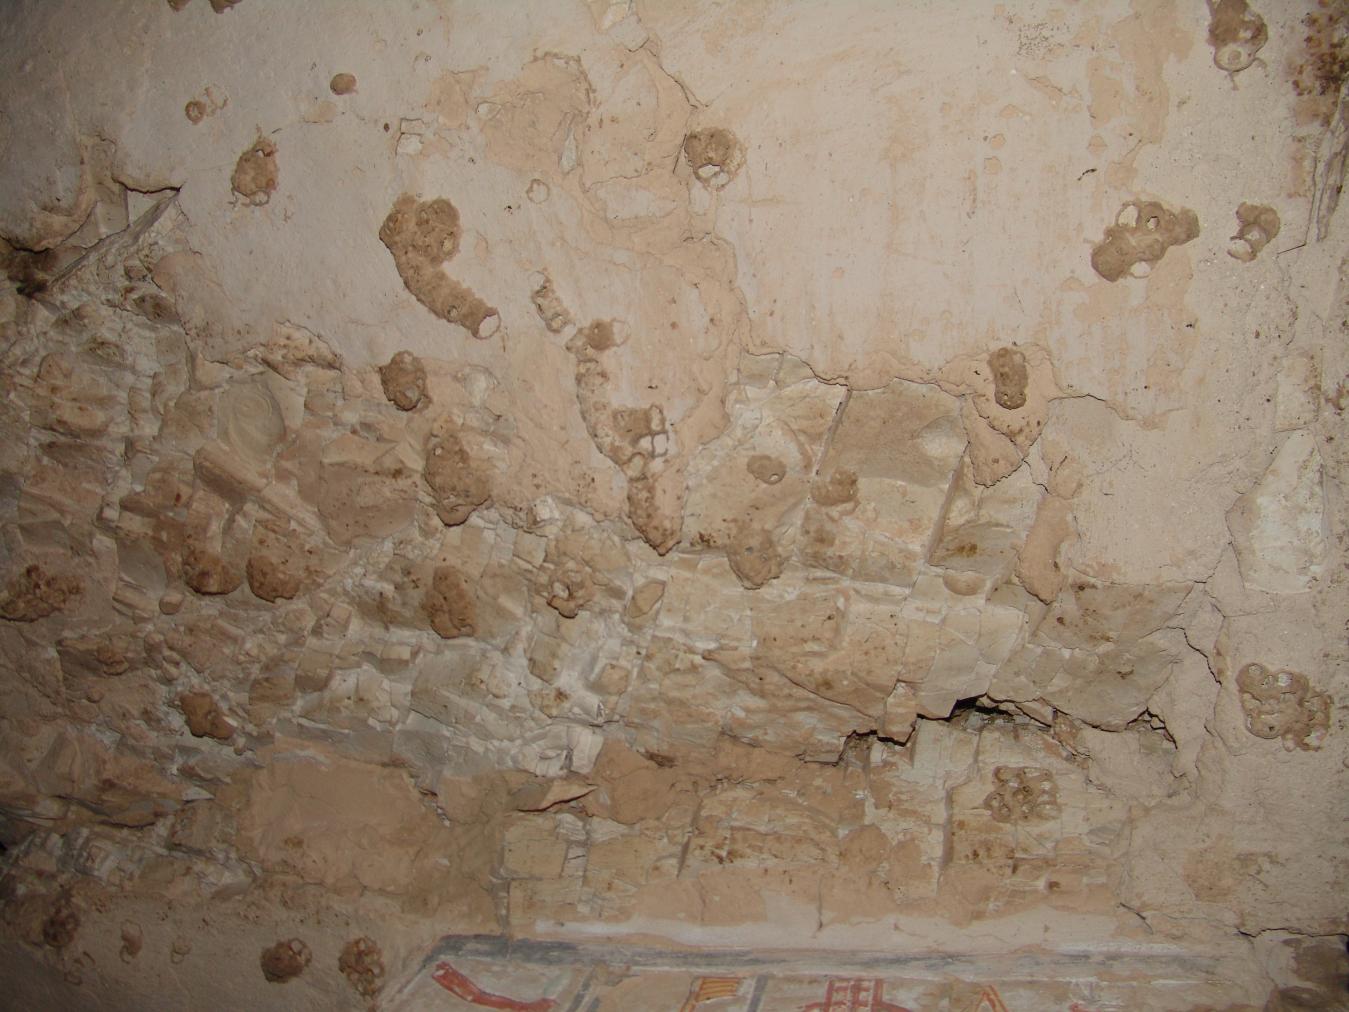
View of the ceiling with remains of wasps nests. © Getty Conservation Institute and the Ministry of Tourism and Antiquities.
Qebehsenuef protecting the canopic chest of the princess with Anubis in the form of a jackal. © Getty Conservation Institute and the Ministry of Tourism and Antiquities.
Hapy protecting the canopic chest of the princess with Anubis in the form of a jackal. © Getty Conservation Institute and the Ministry of Tourism and Antiquities.
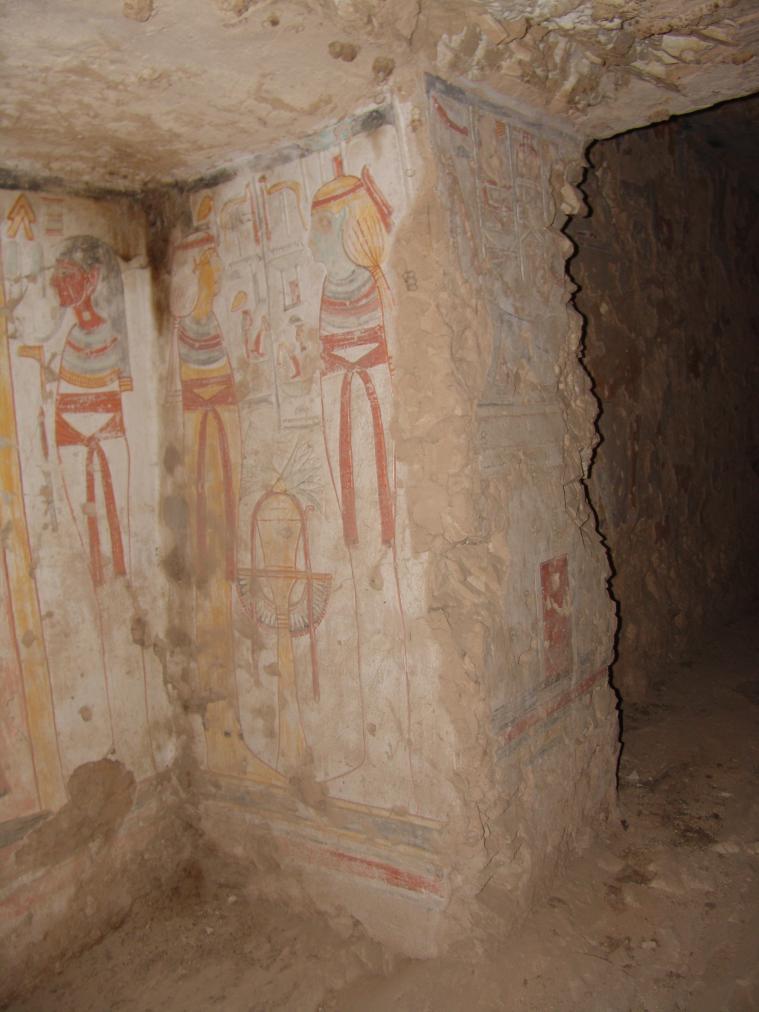
Mummiform Isis and Nephthys facing one another with an offering table in between them. © Getty Conservation Institute and the Ministry of Tourism and Antiquities.
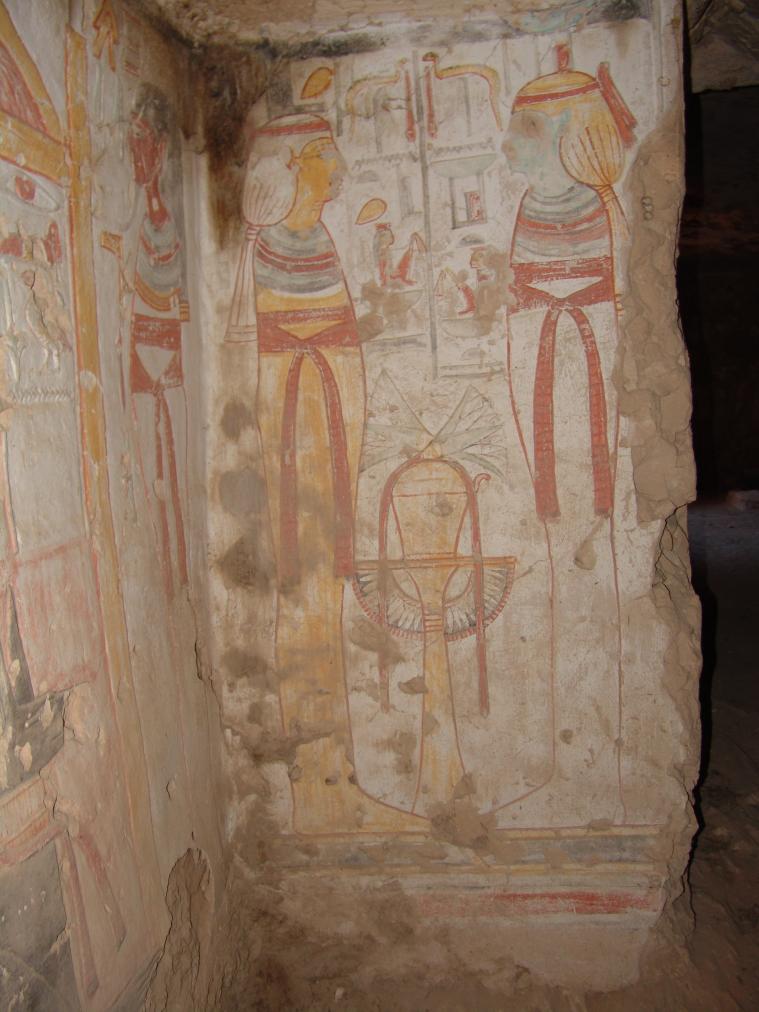
Mummiform Isis and Nephthys facing one another with an offering table in between. © Getty Conservation Institute and the Ministry of Tourism and Antiquities.
Titles of princess bordered by Was scepters, and Imsety protecting the canopic chest of the princess with Anubis in the form of a jackal. © Getty Conservation Institute and the Ministry of Tourism and Antiquities.
Titles of the princess bordered by Was scepters. © Getty Conservation Institute and the Ministry of Tourism and Antiquities.
Duamutef protecting the canopic chest of the princess with Anubis in the form of a jackal. © Getty Conservation Institute and the Ministry of Tourism and Antiquities.
Duamutef protecting the canopic chest of the princess with Anubis in the form of a jackal, and Nut with outspread wings and a tyet knot. © Getty Conservation Institute and the Ministry of Tourism and Antiquities.
Detail of hieroglyphic text. © Getty Conservation Institute and the Ministry of Tourism and Antiquities.
Detail of Isis. © Getty Conservation Institute and the Ministry of Tourism and Antiquities.
Detail of Anubis as a jackal in front of the princess' canopic chest. © Getty Conservation Institute and the Ministry of Tourism and Antiquities.
About
About
QV 73 is located on the northern side of the main Wadi at the lower end. The tomb is heavily jointed, with the presence of faults. The architectural plan of QV 73 is relatively simple, consisting of one main chamber (B) and two small side chambers (Ba and Bb). Unlike other contemporary tombs excavated during the reign of Rameses II, the first chamber (B) is the burial chamber with a small subsidiary chamber (Bb) and rear annex (Ba) for funerary goods, particularly Canopic jars. This tomb is accessed through a steep Ramp (A) without Steps leading to main chamber (B), which originally had two constructed pillars that are no longer extant. Elizabeth Thomas suggested the plan was cut short, given that the general layout is similar to many of the preceding tombs. The rock substrate throughout the tomb is roughly carved and irregular (because of its poor quality), requiring a thick plaster application and use of rock fragments to pack out the walls to create a flat surface for the painting. Door jambs appear to be built up with masonry rather than cut from the rock, and the pillars were also constructed, built up after the ceiling was already plastered and painted.
QV 73 is attributed to Henuttauy, a daughter of Rameses Il and Nefertari. At the grand temple of Rameses Il at Abu Simbel, she is the 7th daughter in the procession of daughters. At the small temple of Abu Simbel dedicated to Nefertari, her figure is represented alongside that of her siblings. She can also be found in similar processions at temples of Ramses Il at Derr and Wadi as Sebou'a. The attribution of this tomb to princess Henuttauy was initially difficult, as a number of cartouches in the tomb were left blank. However, the Franco-Egyptian Mission examined and clarified traces of black ink on a Cartouche with a yellow background found in Chamber B to make a positive identification. It is likely that the tomb was initially carved for a generic princess and then personalized at the time of Henuttauy's death. The ceiling of Chamber B was originally supported by two columns which have since collapsed, though fragments of those supports and the painted plaster which likely covered them were discovered during the Franco-Egyptian Mission. Extant paintings in the tomb are refined and from the same period and palette as Nefertari; however, large areas of painting have suffered substantial loss from pillaging at the end of the 20th Dynasty and later reuse in the Third Intermediate, Roman, and Coptic periods, including defacing and over-plastering of faces of figures during Coptic reuse.
The tomb has been accessible since the time of Robert Hay of Linplum (1826) and was most recently cleared by the Franco-Egyptian Mission in 1984. Hay thought the overplastering or "mud" that coated the paintings took some of the paint layer with it as it fell. Elizabeth Thomas also noted that far more decoration may be protected beneath the overplastering. Thomas further noted localized smoke evidence in a hole on the right of the doorway leading into side chamber Ba, which she suggests might be from candle-burning related to Coptic ceremonies. Christian Leblanc states that the extent of finds related to different periods further corroborates extensive reuse of the tomb throughout the Third Intermediate, Roman, and Coptic periods. Currently the tomb is not open to visitation. Entry is prevented by a metal grill door with no mesh.
Noteworthy features:
QV 73 is attributed to Henuttauy, a daughter of Rameses Il and Nefertari. It was substantially reused during the Third Intermediate Period, Roman Period, and Coptic Period.
Site History
The tomb was constructed during the 19th Dynasty, reign of Rameses II, and reused for burials in the Third Intermediate and Romans Periods. During the Coptic Period, the tomb was repurposed as a laurae and the tomb paintings were hacked and plastered over with mouna.
Dating
This site was used during the following period(s):
Exploration
Conservation
Conservation History
According to the GCI-SCA, limited interventions have been carried out on the decoration in this tomb. Localized drip lines from previous treatment to secure areas of detaching plaster fragments are present in Chamber (B). Localized efforts have been made to stabilize the plaster through edging repairs. Test patches of different types of plaster formulation were made on the north wall of Chamber (B) by the CNRS from 1989 through 1991, but these were never carried out. The Coptic period earthen overplastering was largely removed by a conservator from the Egyptian Antiquities Organization prior to 1985.
Site Condition
According to the GCI-SCA, the tomb has a number of faults and structural concerns related to open joints and the tilting of the bedding planes. The ceiling of chamber (B) exhibits severe fracturing, rock collapse, and loss of painted plaster. Two substantial fractures run through the tomb laterally (east-west) with associated and localized rock loss. In main chamber (B), one open diagonal fracture along a bedding plane has created a deep ledge in the ceiling where birds have nested. This ceiling was once supported by constructed pillars, now largely lost. Rock loss is also present throughout the tomb and appears active in some areas, particularly in main chamber (B) walls and ceiling, and in rear chamber (Ba). Only about two meters of heavily weathered overburden is located above the main vertical, lateral fracture in the tomb ceiling. Visible in this fracture is original ancient infill plaster indicating that the fracture had been there since the tomb was excavated in antiquity, and is stable, but could be susceptible to rainwater infiltration from above.
The walls and ceilings throughout the tomb show similar collapse of ancient infill that has led to losses in the decoration, particularly along large fractures in the rock. Salt infill is present in some of the fractures and joints and salt-related damage is evident in some areas of decoration, especially in the west wall of main chamber (B) and localized areas of side chamber (Bb). In chamber (B), a significant amount of the infill and coarse plaster survives, but it is the upper painted plaster layer that is fragmentary and has suffered substantial losses. The surviving plaster is cracked and generally fragile and vulnerable, with localized areas of detachment. Rear chamber (Bb) has mud repairs, and walls retain traces of mud plaster applied, according to Christian Leblanc, during the Coptic period. Shrinkage of the mud plaster and its subsequent removal has resulted in an abraded surface (including loss of the paint layer and of the white background). Some areas of painting are missing and in other areas attempts to remove painting are evident e.g. main chamber (B), eastern wall; eastern side chamber (Bb).
Insect nests are present particularly on the ceiling of chamber (B). There is no evidence of the most recent flood in 1994, though floodwaters may have impacted this tomb in the past.
Hieroglyphs
Princess Henuttauy
 King's daughter of his body, his beloved, Mistress-of-the-two-lands
sAt-nswt-n-Xt.f mr.f Hnt-tAwy

Area of Entrances to QV67, QV68, QV69, QV70, QV71, QV72, QV73, QV74, QV75, QV82, QV83, QV96, QVU1, and QVU2. Bridge and signage for QV66 in foreground.
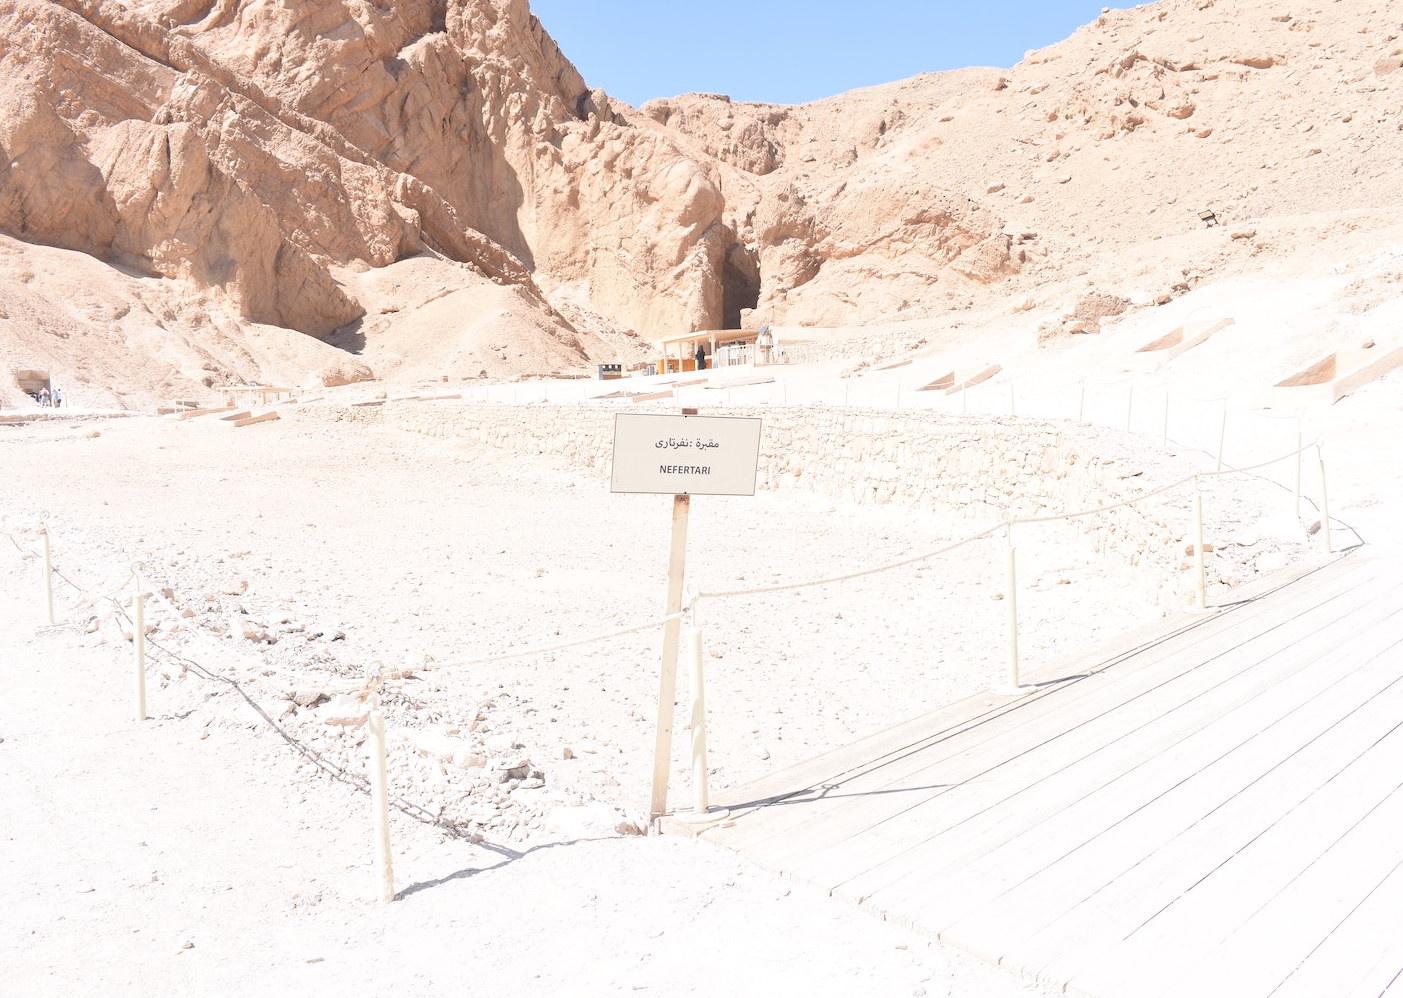
Bridge leading to QV66 with entrances to QV64, QV65, QV67, QV69, QVU1, QVU2, QV70, QV71, QV72, QV73, QV74, QV82, and QV96 in background.

Bridge leading to QV66, with entrances to QV72, QV73, QV74, QV75, QV82, QV83, and QV96 in background.

Entrances to QV69, QV70, QV71, QV72, QV73, and QV96. Visitors shelter for QV66 and grotto in the background.

Entrances of QV65, QV67, QV69, QVU1, QVU2, QV70, QV71, QV72, QV73, and QV96. Grotto and QV66 with visitors shelter.
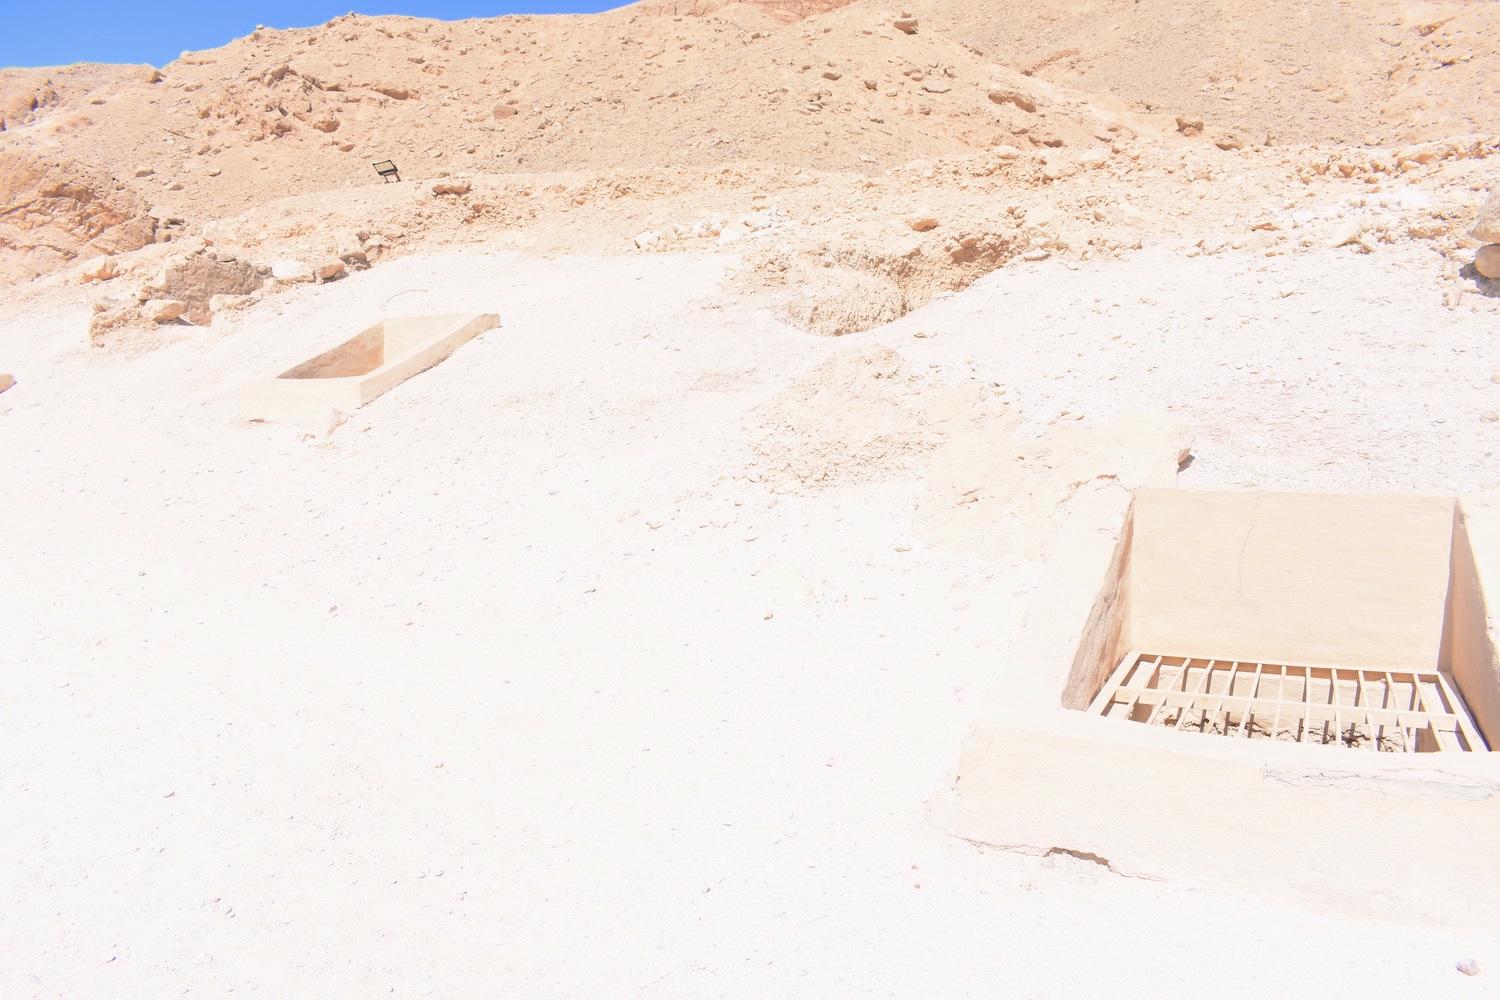
Entrances to QV72, QV73, and QV96.
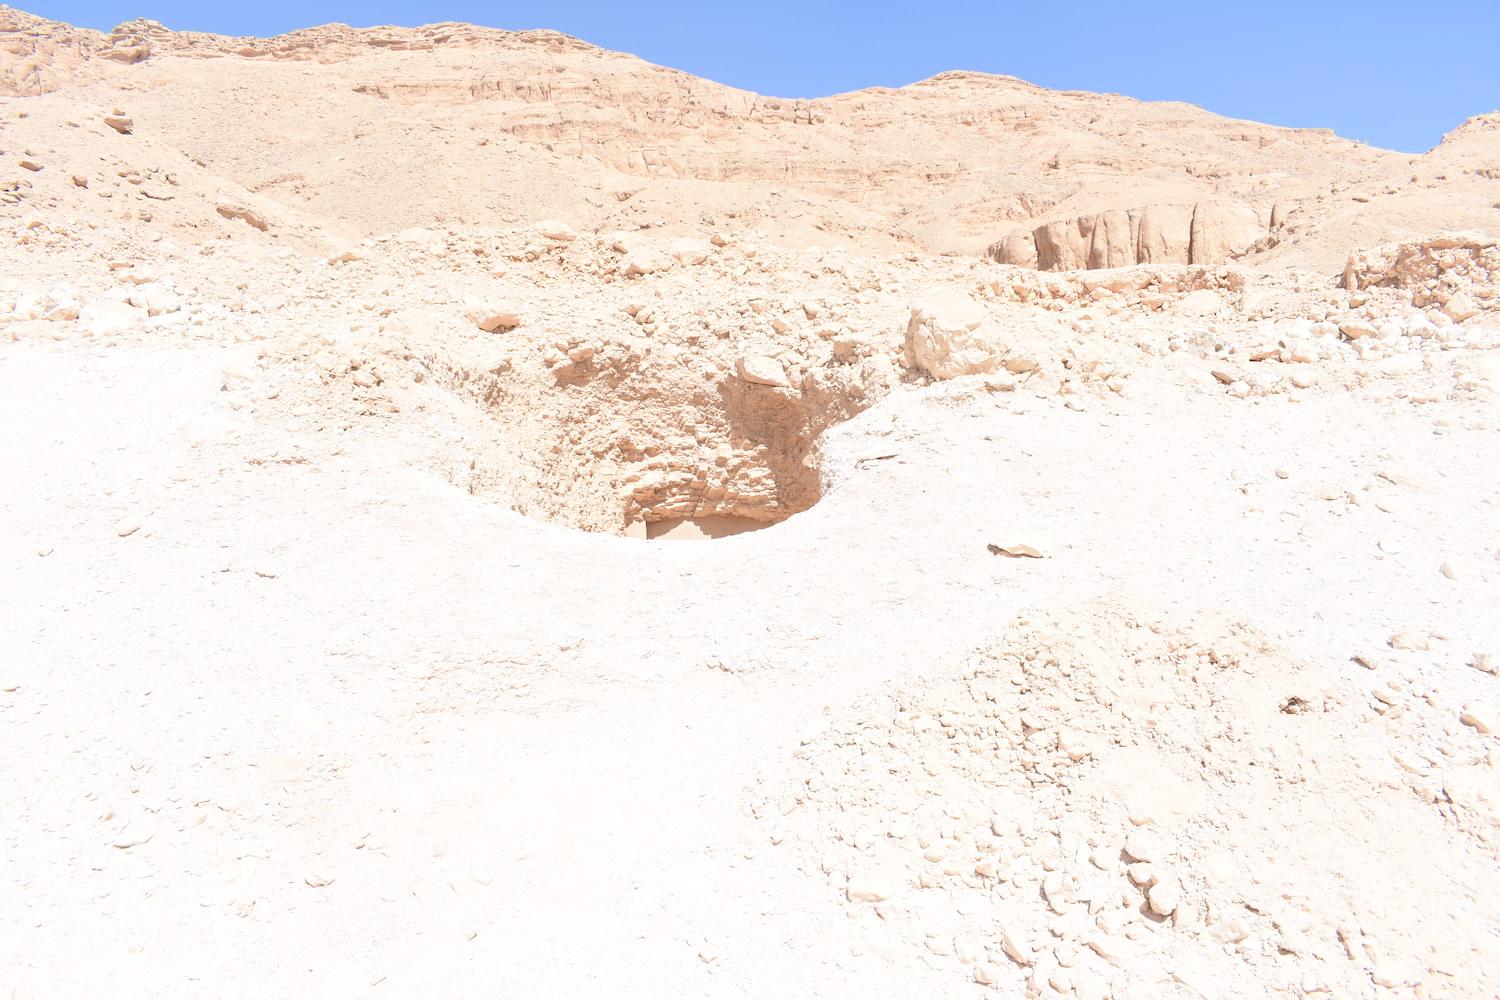
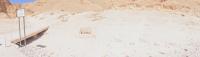
Entrance to QV73.
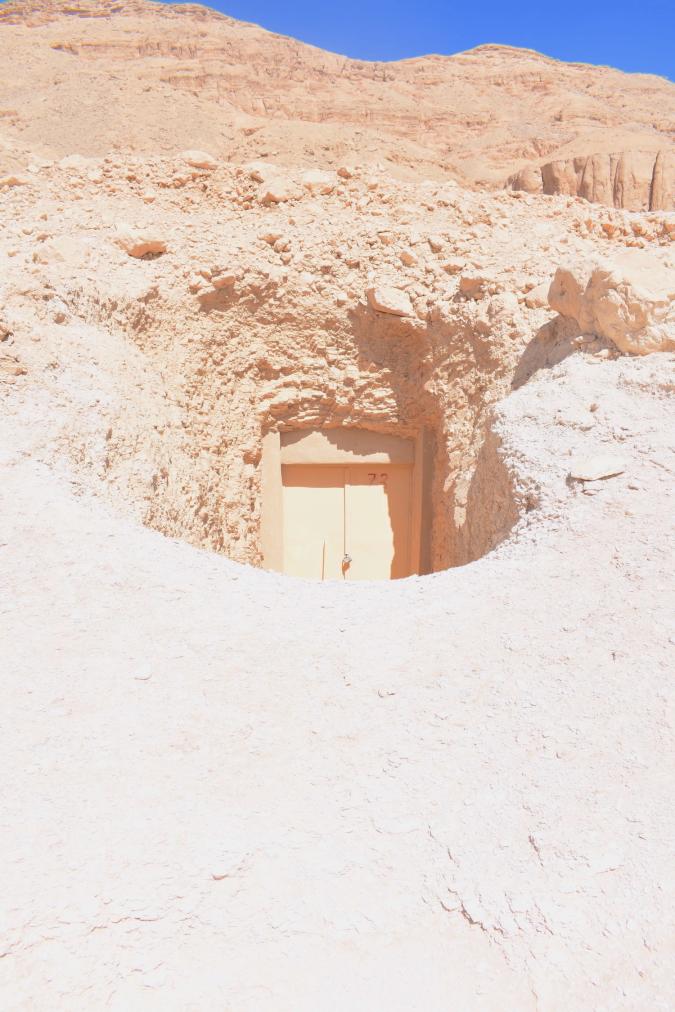
Entrance to QV73.
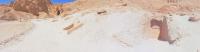
Entrance to QV73.
Entrance to QV73.
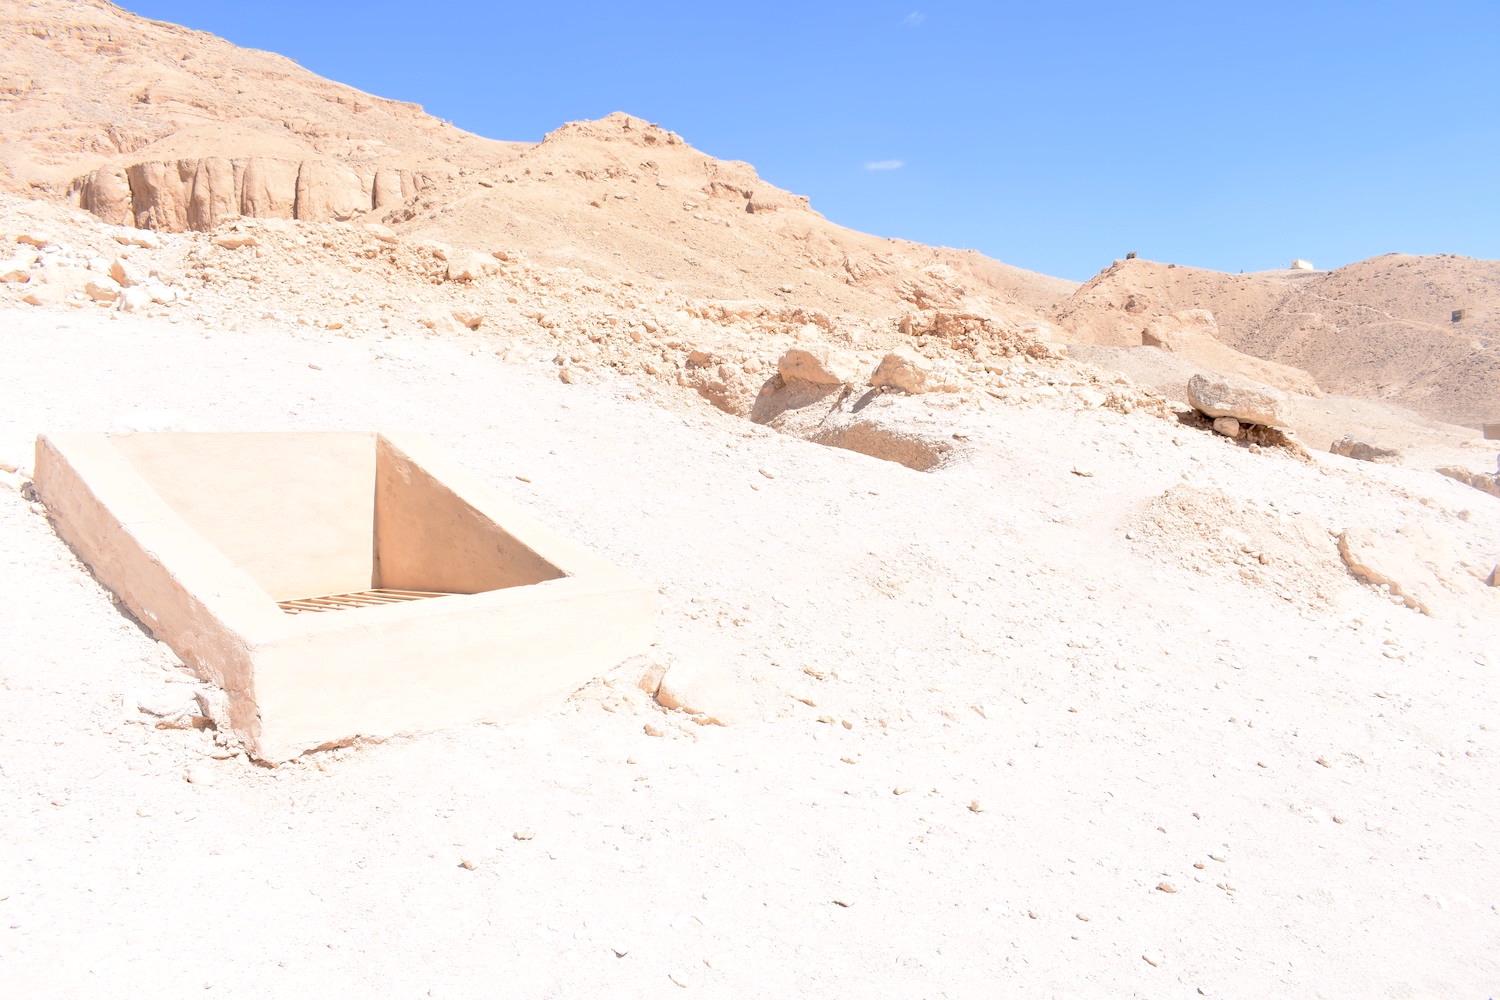
Entrances to QV96 and QV73 in background.
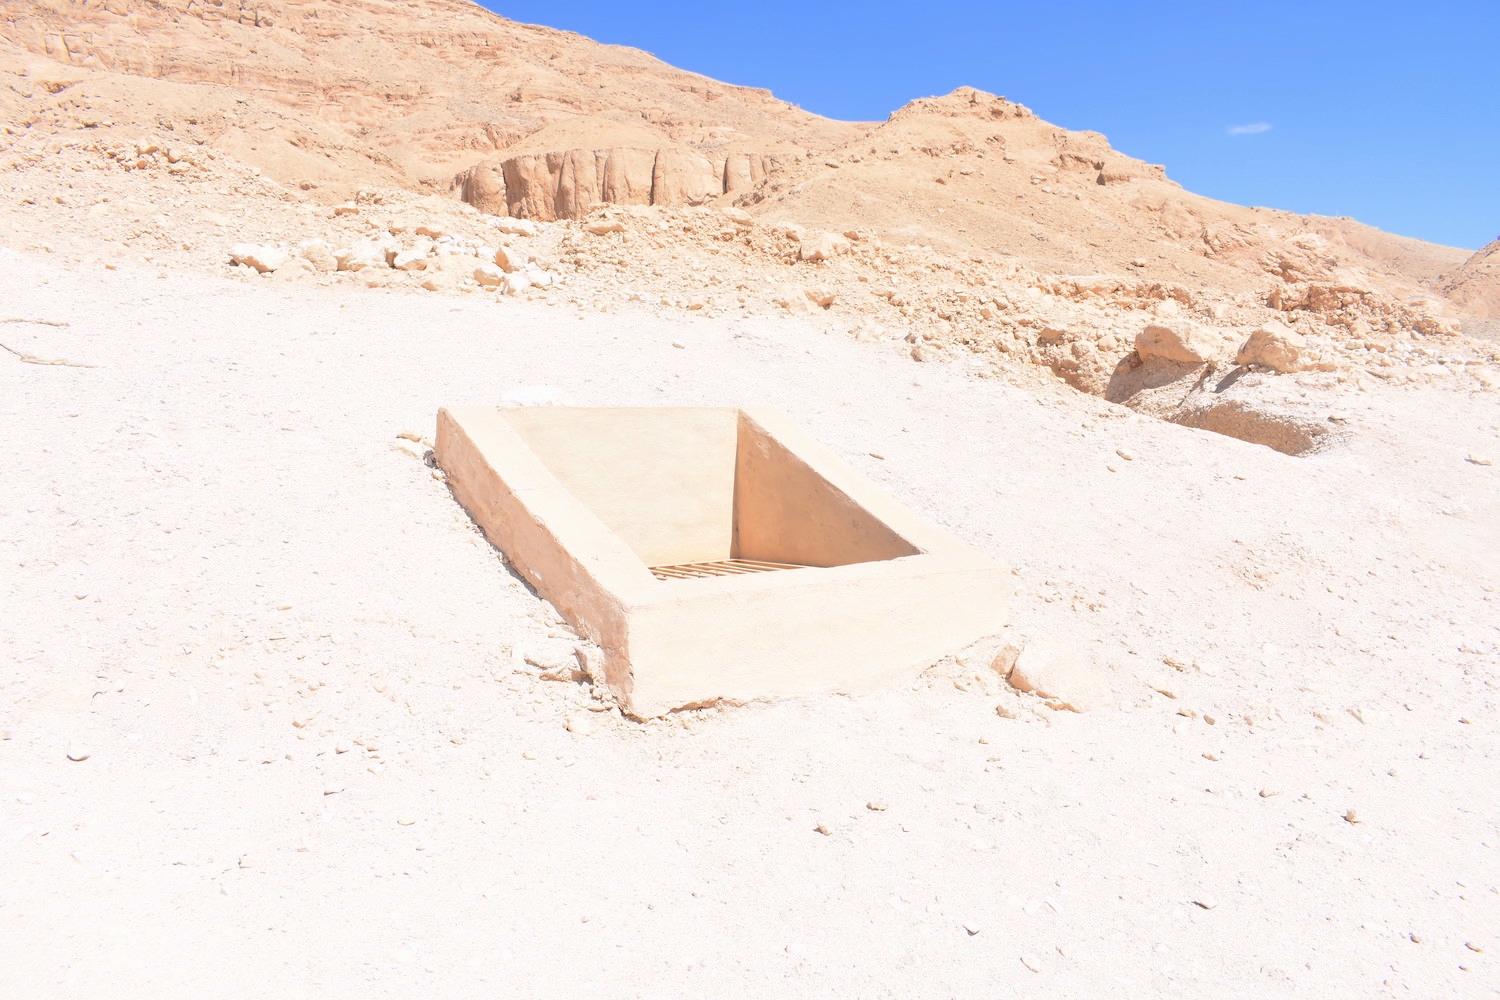
Entrance to QV96 and QV73 in background.
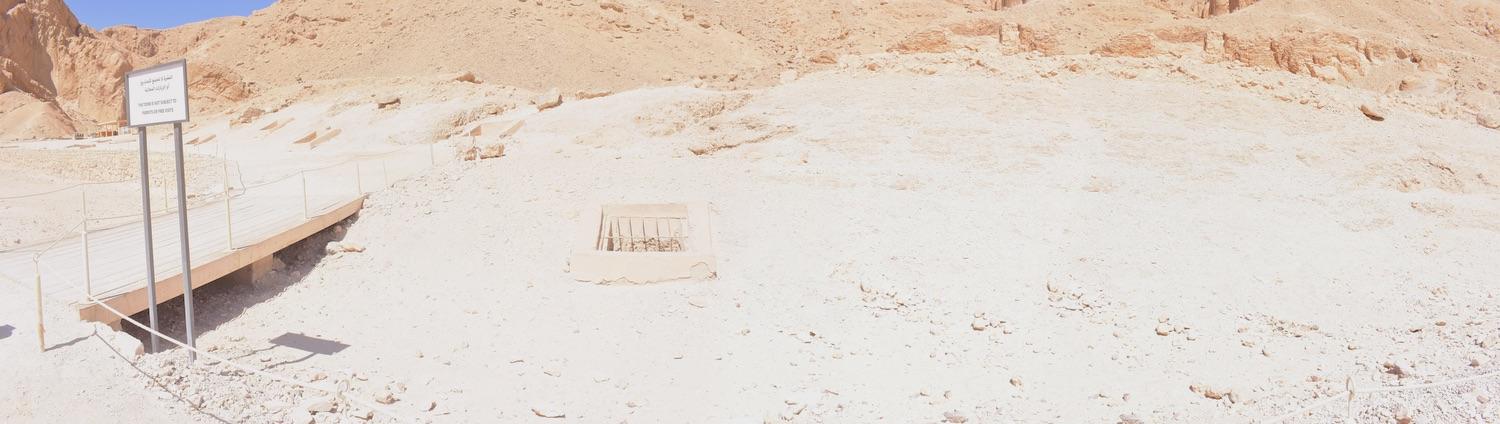
Northeastern side of the main wadi with entrances to QVU1, QVU2, QV67, QV68, QV69, QV70, QV71, QV72, QV73, QV74, QV75, QV82, QV83, QV96, and bridge and signage for QV66.
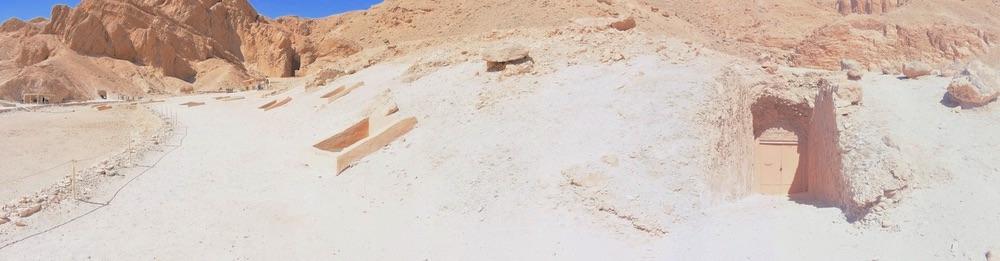
View of the northeastern side of the main wadi with entrances to QVU1, QVU2, QV63, QV64, QV65, QV67, QV69, QV70, QV71, QV72, QV73, QV74, QV96, and QV66 with visitors shelter.
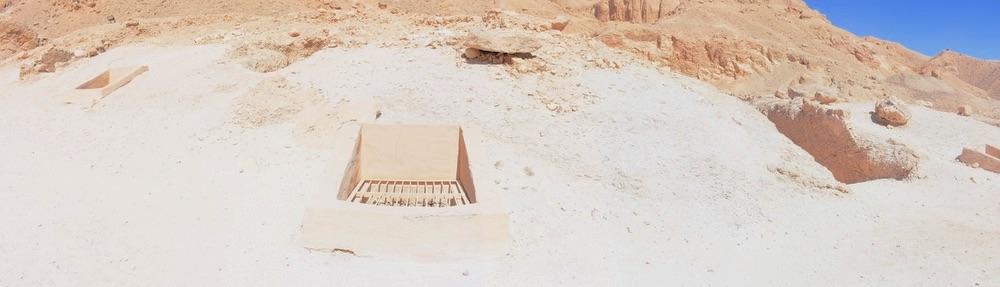
View of the northeastern side of the main wadi with entrances to QV72, QV73, QV74, QV82 and QV96
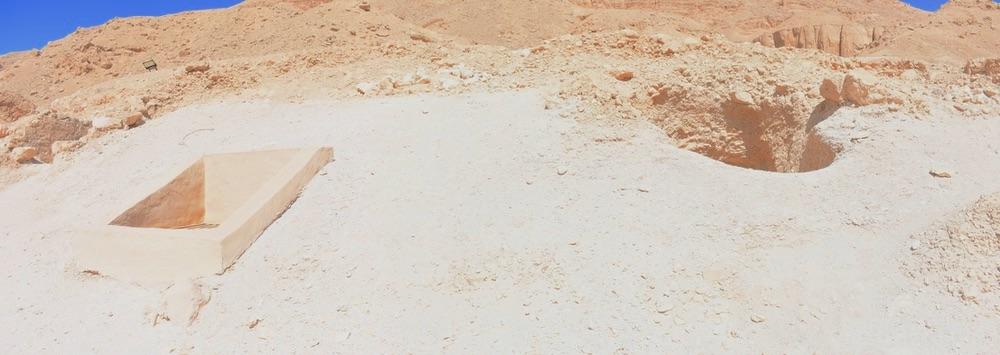
View of the northeastern side of the main wadi with entrances to QV73 and QV96
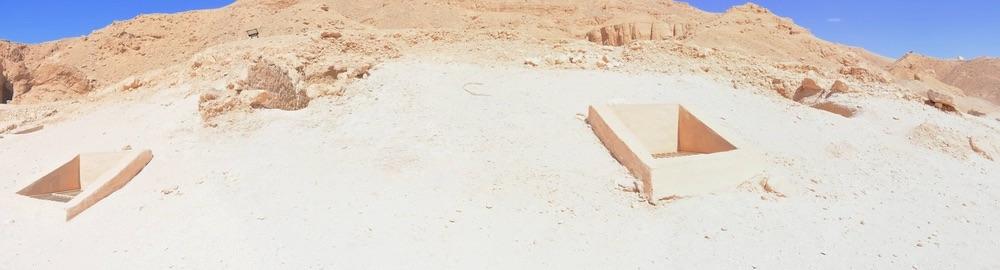
View of the northeastern side of the main wadi with entrances to QV70, QV71, QV73, and QV96

QV49 and QV50 in the foreground with the southeastern side of the main wadi, southern branch, and entrance to the QV in the background.
View of the tomb entrance. © Getty Conservation Institute and the Ministry of Tourism and Antiquities.
View of the tomb entrance. © Getty Conservation Institute and the Ministry of Tourism and Antiquities.
View of the tomb entrance. © Getty Conservation Institute and the Ministry of Tourism and Antiquities.
View of the right thickness. © Getty Conservation Institute and the Ministry of Tourism and Antiquities.
View of Gate B. © Getty Conservation Institute and the Ministry of Tourism and Antiquities.
View of the ceiling. © Getty Conservation Institute and the Ministry of Tourism and Antiquities.
View of the ceiling. © Getty Conservation Institute and the Ministry of Tourism and Antiquities.
View of the ceiling. © Getty Conservation Institute and the Ministry of Tourism and Antiquities.
View of the ceiling. © Getty Conservation Institute and the Ministry of Tourism and Antiquities.
View of the ceiling and a bird nest. © Getty Conservation Institute and the Ministry of Tourism and Antiquities.
View of the ceiling. © Getty Conservation Institute and the Ministry of Tourism and Antiquities.
View of the ceiling. © Getty Conservation Institute and the Ministry of Tourism and Antiquities.
View of the ceiling. © Getty Conservation Institute and the Ministry of Tourism and Antiquities.
Princess in adoration before Hapy and Qebehsenuef, the Princess in adoration, and a view of the collapsed pillar and gate Bb. © Getty Conservation Institute and the Ministry of Tourism and Antiquities.
The Princess in adoration before Hapy and Qebehsenuef, the Princess in adoration, and a view of the collapsed pillar and gate Bb. © Getty Conservation Institute and the Ministry of Tourism and Antiquities.
The Princess in adoration before Hapy and Qebehsenuef, the Princess in adoration, and a view of gate Bb. © Getty Conservation Institute and the Ministry of Tourism and Antiquities.
Detail of the princess in adoration. © Getty Conservation Institute and the Ministry of Tourism and Antiquities.
Detail of hieroglyphic text. © Getty Conservation Institute and the Ministry of Tourism and Antiquities.
Detail of Qebehsenuef. © Getty Conservation Institute and the Ministry of Tourism and Antiquities.
Detail of offerings. © Getty Conservation Institute and the Ministry of Tourism and Antiquities.
Detail of part of Qebehsenuef's name. © Getty Conservation Institute and the Ministry of Tourism and Antiquities.
View of Gate Bb. © Getty Conservation Institute and the Ministry of Tourism and Antiquities.
View of damaged painted plaster. © Getty Conservation Institute and the Ministry of Tourism and Antiquities.
Anubis and cobra-headed Meretseger seated and receiving offerings from the princess (princess shown on west wall), the weighing of the Heart, Anubis leads the princess to Ma'at (damaged) and Thoth (damaged) standing beside scales (partly preserved), and Gate Ba. © Getty Conservation Institute and the Ministry of Tourism and Antiquities.
Anubis and cobra-headed Meretseger seated and receiving offerings from the princess (princess shown on the west wall). © Getty Conservation Institute and the Ministry of Tourism and Antiquities.
Detail of restoration work. © Getty Conservation Institute and the Ministry of Tourism and Antiquities.
Weighing of the Heart with Anubis leading the princess to Ma'at (damaged) and Thoth (damaged) standing beside the scales (partly preserved). © Getty Conservation Institute and the Ministry of Tourism and Antiquities.
Detail of hieroglyphic text. © Getty Conservation Institute and the Ministry of Tourism and Antiquities.
Detail of hieroglyphic text. © Getty Conservation Institute and the Ministry of Tourism and Antiquities.
Detail of the 'm' hieroglyphic sign. © Getty Conservation Institute and the Ministry of Tourism and Antiquities.
Detail of the princesses' garment. © Getty Conservation Institute and the Ministry of Tourism and Antiquities.
Detail of the princesses' garment. © Getty Conservation Institute and the Ministry of Tourism and Antiquities.
Detail of mouna plaster. © Getty Conservation Institute and the Ministry of Tourism and Antiquities.
The Princess in adoration before Nun and an unidentifiable goddess (damaged), followed by Hathor as a cow (damaged). © Getty Conservation Institute and the Ministry of Tourism and Antiquities.
The Princess (damaged) in adoration before Nun (damaged), the Princess in adoration before Isis and Nephthys (deities depicted on west wall), and view of Gate B. © Getty Conservation Institute and the Ministry of Tourism and Antiquities.
View of the upper part of the north wall and the ceiling. © Getty Conservation Institute and the Ministry of Tourism and Antiquities.
Detail of damage to the northern wall. © Getty Conservation Institute and the Ministry of Tourism and Antiquities.
Mummiform Isis and Nephthys being adored by the Princess (princess shown on south wall), the Princess in adoration before Imsety and Duamutef, the Princess offering to seated Anubis and cobra-headed Meretseger (deities shown on north wall), and remains of one of the collapsed pillars. © Getty Conservation Institute and the Ministry of Tourism and Antiquities.
Mummiform Isis and Nephthys being adored by the Princess (princess shown on south wall), the Princess in adoration before Imsety and Duamutef, and the Princess offering to seated Anubis and cobra-headed Meretseger (deities shown on north wall). © Getty Conservation Institute and the Ministry of Tourism and Antiquities.
View of the two collapsed pillars and the western wall in the background. © Getty Conservation Institute and the Ministry of Tourism and Antiquities.
View of the west wall and a collapsed pillar. © Getty Conservation Institute and the Ministry of Tourism and Antiquities.
View of the northwestern corner, a collapsed pillar, gate B, and gate Ba. © Getty Conservation Institute and the Ministry of Tourism and Antiquities.
View of southwestern corner, gate B, and the collapsed pillars. © Getty Conservation Institute and the Ministry of Tourism and Antiquities.
View of Burial Chamber B. © Getty Conservation Institute and the Ministry of Tourism and Antiquities.
Detail of a collapsed pillar. © Getty Conservation Institute and the Ministry of Tourism and Antiquities.
View of the area where the pillar contacted the ceiling before collapse. © Getty Conservation Institute and the Ministry of Tourism and Antiquities.
View of area where the pillar contacted the ceiling before collapse. © Getty Conservation Institute and the Ministry of Tourism and Antiquities.
One of the collapsed pillars. © Getty Conservation Institute and the Ministry of Tourism and Antiquities.
View of the ceiling. © Getty Conservation Institute and the Ministry of Tourism and Antiquities.
View of the collapsed pillars with the eastern wall and Gate Bb in the background. © Getty Conservation Institute and the Ministry of Tourism and Antiquities
View of the left thickness with Nekhbet as a cobra. © Getty Conservation Institute and the Ministry of Tourism and Antiquities.
View of the right thickness with Wadjet as a cobra. © Getty Conservation Institute and the Ministry of Tourism and Antiquities.
Osiris (damaged) seated between and protected by Isis (lost) and Nephthys. © Getty Conservation Institute and the Ministry of Tourism and Antiquities.
Anubis as jackal reclining on a chapel and surrounded by offerings. © Getty Conservation Institute and the Ministry of Tourism and Antiquities.
Anubis as a jackal reclining on a chapel and surrounded by offerings. © Getty Conservation Institute and the Ministry of Tourism and Antiquities.
Anubis as a jackal reclining on a chapel (east wall) and a Djed pillar (south wall). © Getty Conservation Institute and the Ministry of Tourism and Antiquities.
Anubis as a jackal reclining on a chapel (west wall) and a tyet knot (south wall). © Getty Conservation Institute and the Ministry of Tourism and Antiquities.
Detail of hieroglyphic text and offerings next to Anubis as a Jackal. © Getty Conservation Institute and the Ministry of Tourism and Antiquities.
Detail of the eye above the tyet knot. © Getty Conservation Institute and the Ministry of Tourism and Antiquities.
View of the left thickness. © Getty Conservation Institute and the Ministry of Tourism and Antiquities.
View of the right thickness with Anubis as a jackal reclining on a chapel. © Getty Conservation Institute and the Ministry of Tourism and Antiquities.
Nut (damaged) with wings outspread and looking right, flanked by a Djed pillar on right and a Tyet knot on left. © Getty Conservation Institute and the Ministry of Tourism and Antiquities.
Nut (damaged) with wings outspread and looking right, flanked by a Djed pillar on right and a Tyet knot on left. © Getty Conservation Institute and the Ministry of Tourism and Antiquities.
View of the ceiling with remains of wasps nests. © Getty Conservation Institute and the Ministry of Tourism and Antiquities.
Qebehsenuef protecting the canopic chest of the princess with Anubis in the form of a jackal. © Getty Conservation Institute and the Ministry of Tourism and Antiquities.
Hapy protecting the canopic chest of the princess with Anubis in the form of a jackal. © Getty Conservation Institute and the Ministry of Tourism and Antiquities.
Mummiform Isis and Nephthys facing one another with an offering table in between them. © Getty Conservation Institute and the Ministry of Tourism and Antiquities.
Mummiform Isis and Nephthys facing one another with an offering table in between. © Getty Conservation Institute and the Ministry of Tourism and Antiquities.
Titles of princess bordered by Was scepters, and Imsety protecting the canopic chest of the princess with Anubis in the form of a jackal. © Getty Conservation Institute and the Ministry of Tourism and Antiquities.
Titles of the princess bordered by Was scepters. © Getty Conservation Institute and the Ministry of Tourism and Antiquities.
Duamutef protecting the canopic chest of the princess with Anubis in the form of a jackal. © Getty Conservation Institute and the Ministry of Tourism and Antiquities.
Duamutef protecting the canopic chest of the princess with Anubis in the form of a jackal, and Nut with outspread wings and a tyet knot. © Getty Conservation Institute and the Ministry of Tourism and Antiquities.
Detail of hieroglyphic text. © Getty Conservation Institute and the Ministry of Tourism and Antiquities.
Detail of Isis. © Getty Conservation Institute and the Ministry of Tourism and Antiquities.
Detail of Anubis as a jackal in front of the princess' canopic chest. © Getty Conservation Institute and the Ministry of Tourism and Antiquities.



Articles
Tomb Numbering Systems in the Valley of the Queens and the Western Wadis
Geography and Geology of the Valley of the Queens and Western Wadis
Decorating the Tombs
Bibliography
Bougrain-Dubourg, Robert. Pour un sauvetage des tombes ramessides. Les dossiers d'archéologie, 149/150 (1990): 40-43.
Champollion, Jean-François. Monuments de l'Egypte et de la Nubie. Vol. 1-2. Paris: Firmin-Didot Frères; Geneva: Editions de belles-lettres, 1845.
Demas, Martha and Neville Agnew (eds). Valley of the Queens. Assessment Report. Los Angeles: The Getty Conservation Institute, 2012, 2016. Two vols.
Hay of Linplum, Robert. Hay MSS [Robert Hay of Linplum and his artists made the drawings etc. in Egypt and Nubia between 1824-1838]. British Library Add. MSS 29812-60, 31054.
Leblanc, Christian. Henout-taouy et la tombe no. 73 de la Vallée des Reines. Bulletin de l’Institut français d’archéologie orientale du Caire 86 (1986): 203-236.
Leblanc, Christian and Fathy Hassanein. La Vallée des Reines. Archéologia 205 (1985): 24-31.
Lepsius, Richard. Lepsius MSS: [Diary of Richard Lepsius from Oct. 30 to Dec. 7 1844]. On loan to The Griffith Institute, Asmolean Museum, Oxford, 1844.
Porter, Bertha and Rosalind L.B. Moss. Topographical Bibliography of Ancient Egyptian Hieroglyphic Texts, Reliefs, and Paintings, I: The Theban Necropolis, Part 2: Royal Tombs and Smaller Cemeteries. Oxford: Oxford University Press, 1964.
Rosellini, Ippolito. Rosellini MSS: [Egypt in 1828-9]. Pisa: Biblioteca Universitaria di Pisa, 1828-29.