

QV 74
Anonymous Princess & Queen Duatentipet


Entryway A
See entire tomb
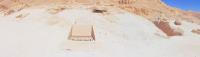
Entrance to QV74.

Entrance to QV74.

Entrance to QV74
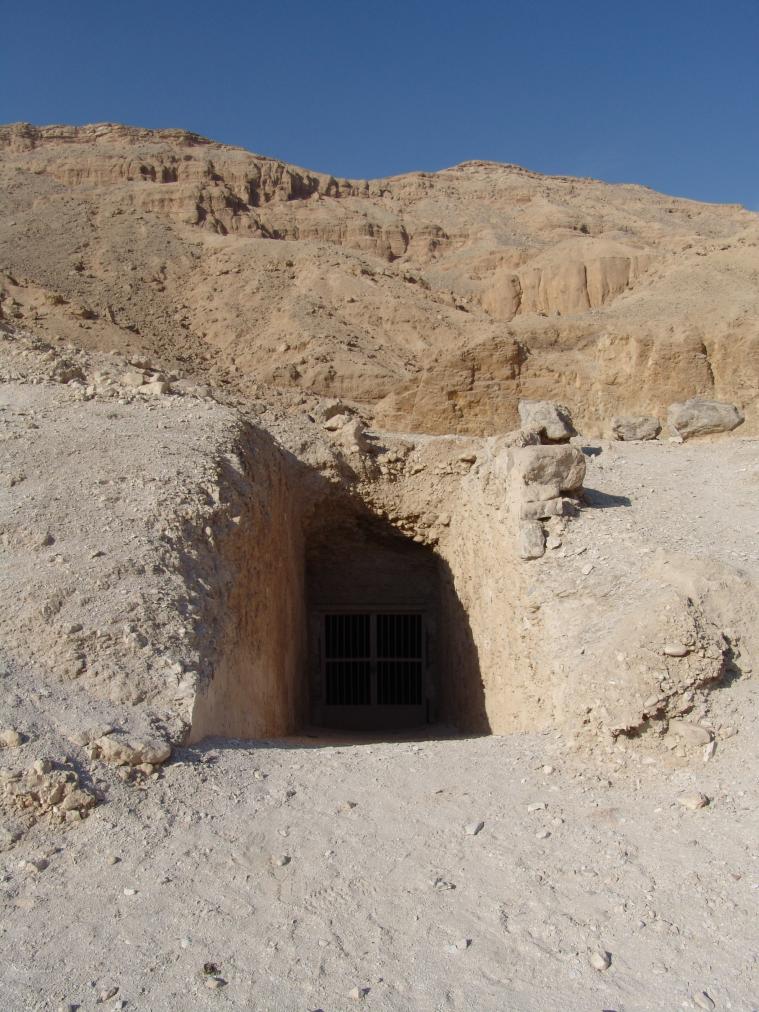
View of the tomb entrance. © Getty Conservation Institute and the Ministry of Tourism and Antiquities.


Gate B
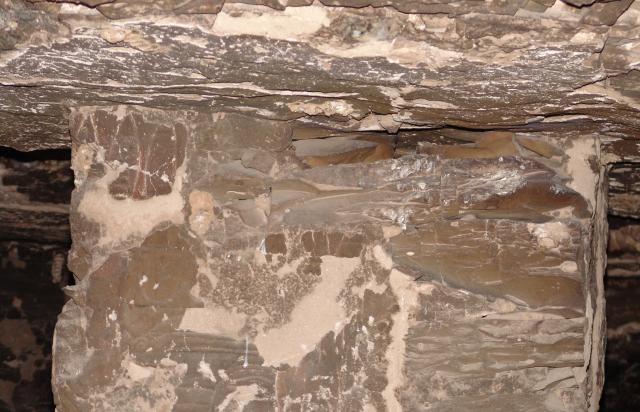
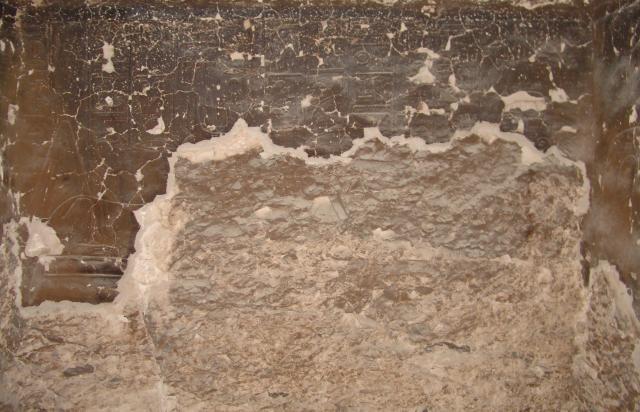
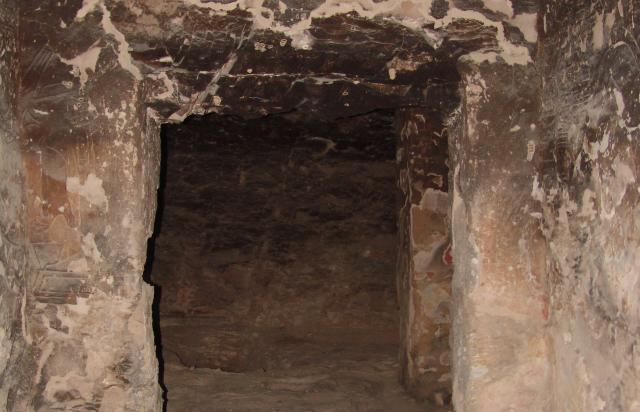
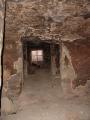
See entire tombThis gate provides access to the tomb and is covered by a metal grill door with mesh. The lintel was rebuilt in fired brick and small remnants of plaster decoration are visible on both sides of the doorway. A large area of post-fire rock loss occurred in the ceiling above the doorway.
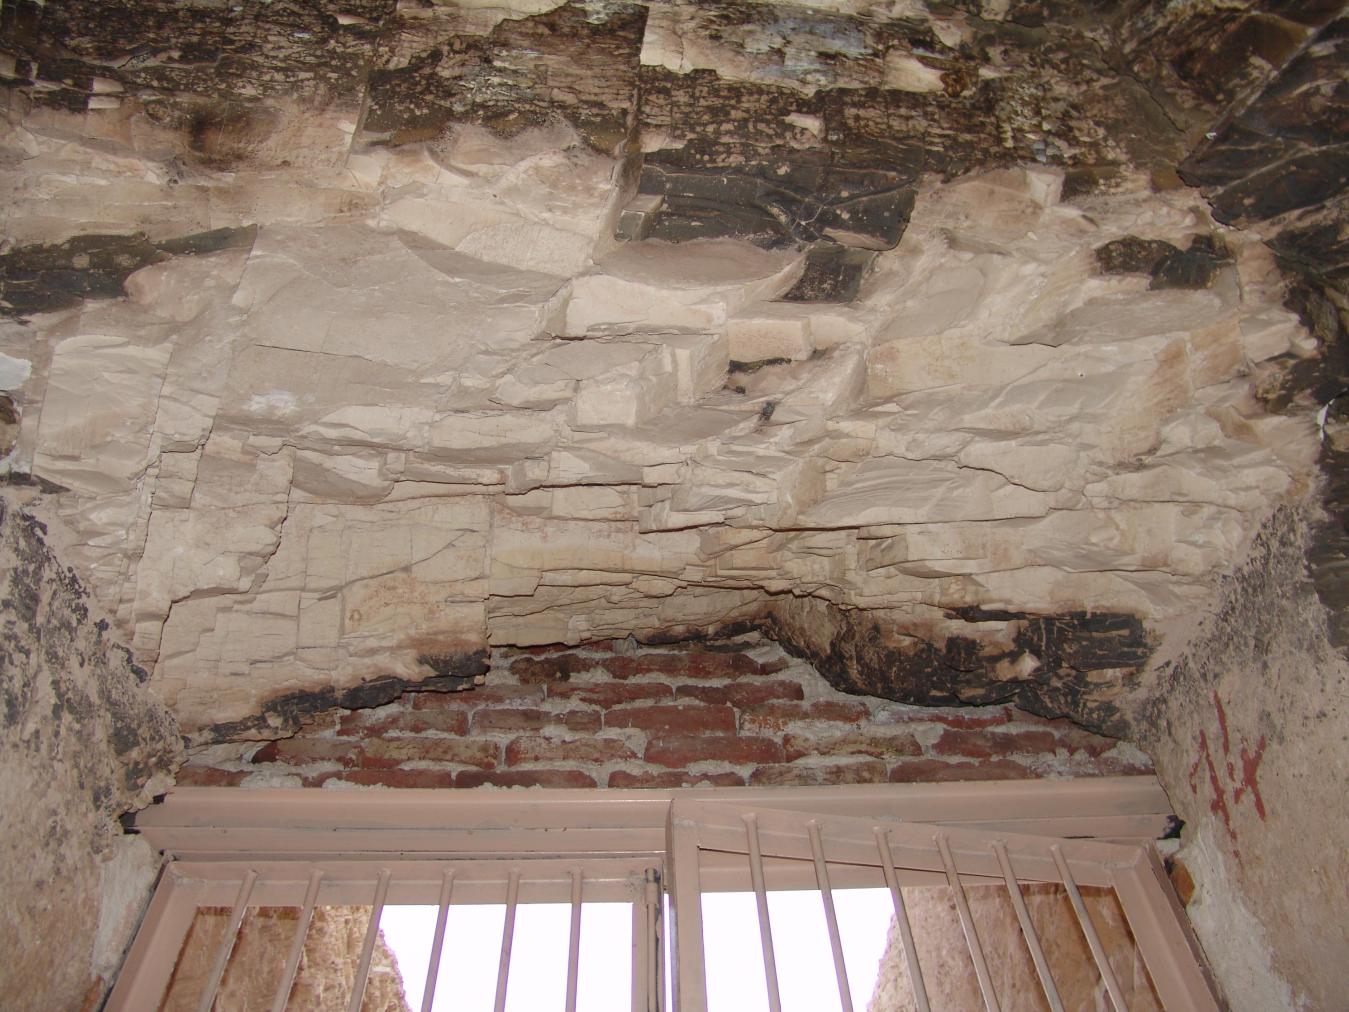
View of the collapsed ceiling above Gate B. © Getty Conservation Institute and the Ministry of Tourism and Antiquities.
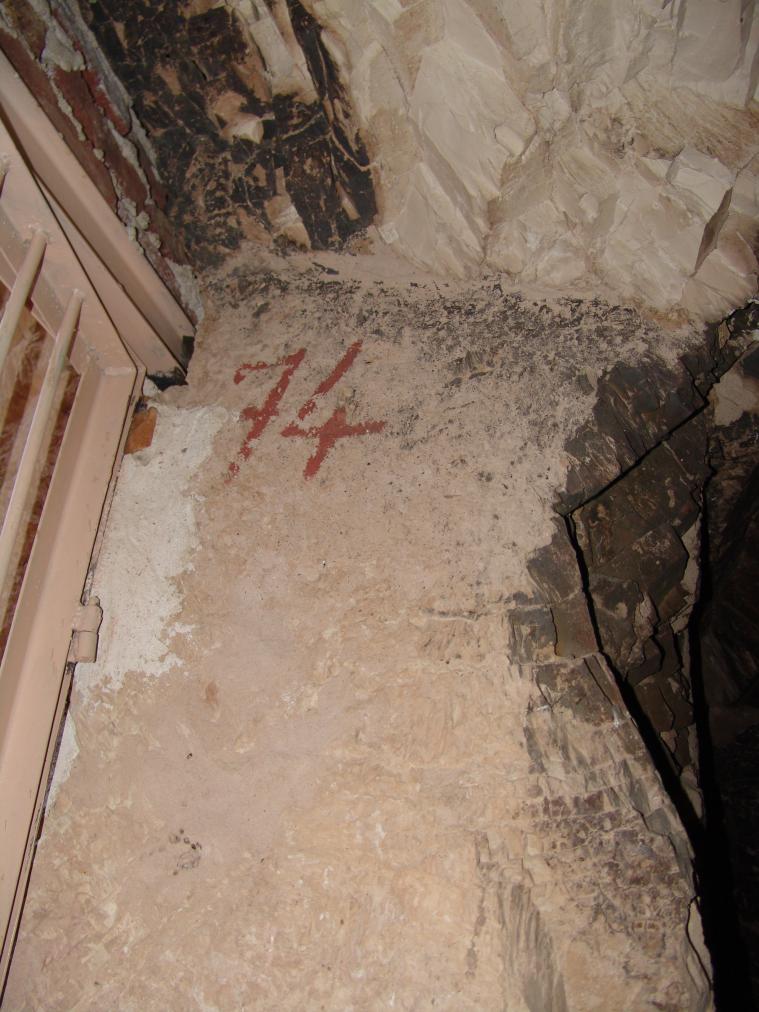
The tomb number in red paint on the left thickness. © Getty Conservation Institute and the Ministry of Tourism and Antiquities.
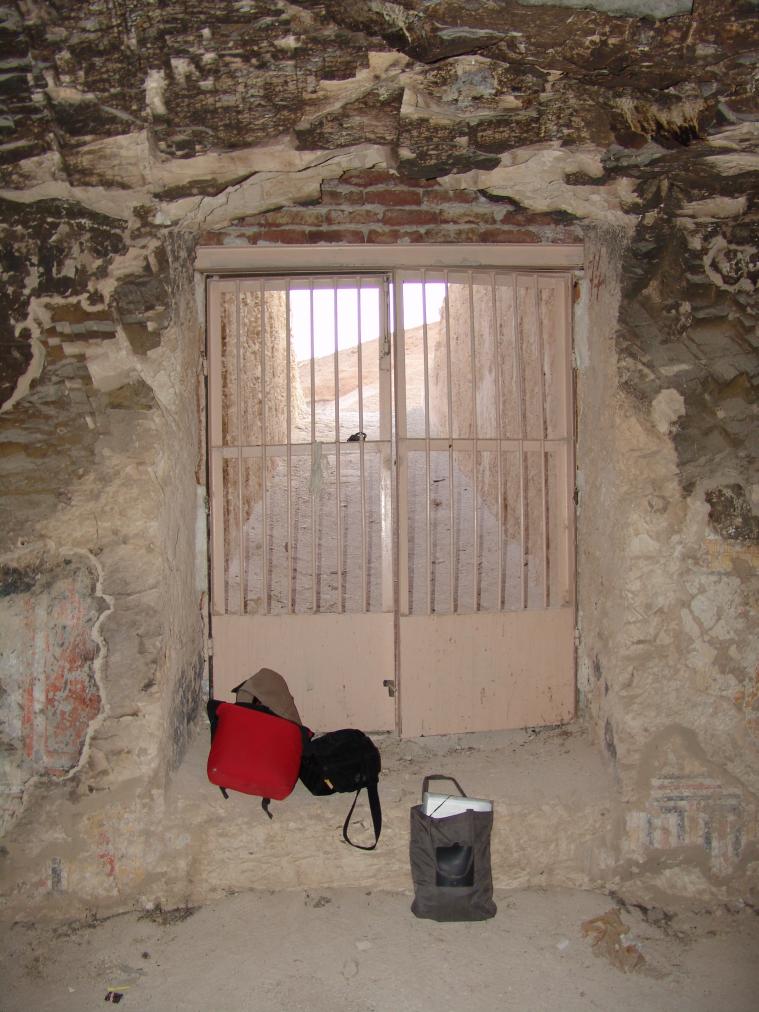
View of Gate B. © Getty Conservation Institute and the Ministry of Tourism and Antiquities.
Pillared chamber B
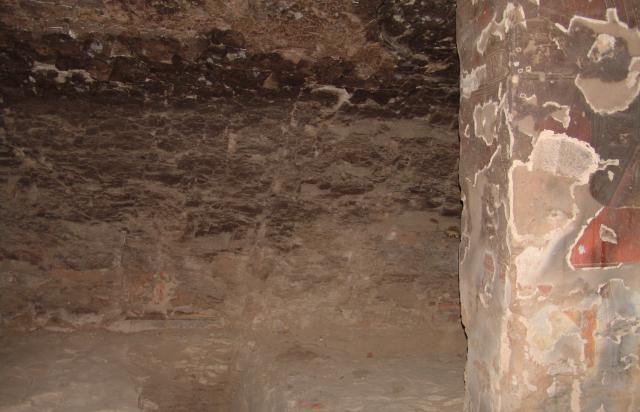
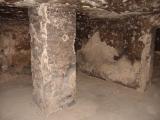
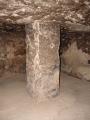
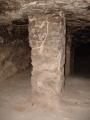
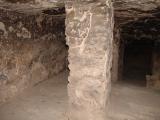
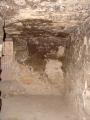
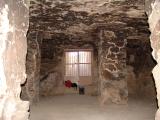
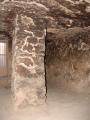
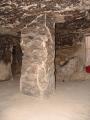
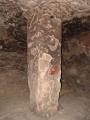
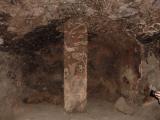
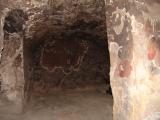
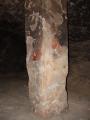
See entire tombThis pillared chamber is orientated east-west and lies perpendicular to the tomb's axis. Two reconstructed pillars still stand here and were added after the chamber was cut. A small side chamber lies to the east of the pillared chamber. There is fire-related darkening of the ceiling and the walls, visible as a mustard brown color. The lower parts of the walls are not blackened, most likely having been protected by sand and debris. A large area of post-fire rock loss occurred on the east wall and there is a large open, east-west fracture in the ceiling.
The scenes in this chamber are comparable to QV 38, QV 40, QV 52, and QV 75 and follows the "Satra repertoire" identified by Heather Lee McCarthy. The east and the west walls contain processions of deities found in the Book of the Dead Spell 17 and the north wall depicts the Book of the Dead Spell 15. The Queen is also depicted seated before an offering table on the north wall, and Neb-Nerou and Hery-Ma'at are depicted on the south wall. These scenes center on the solarization and protection of the Queen. The pillars are also decorated and contain images of various deities, priests, and amuletic symbols.
Porter and Moss designation:
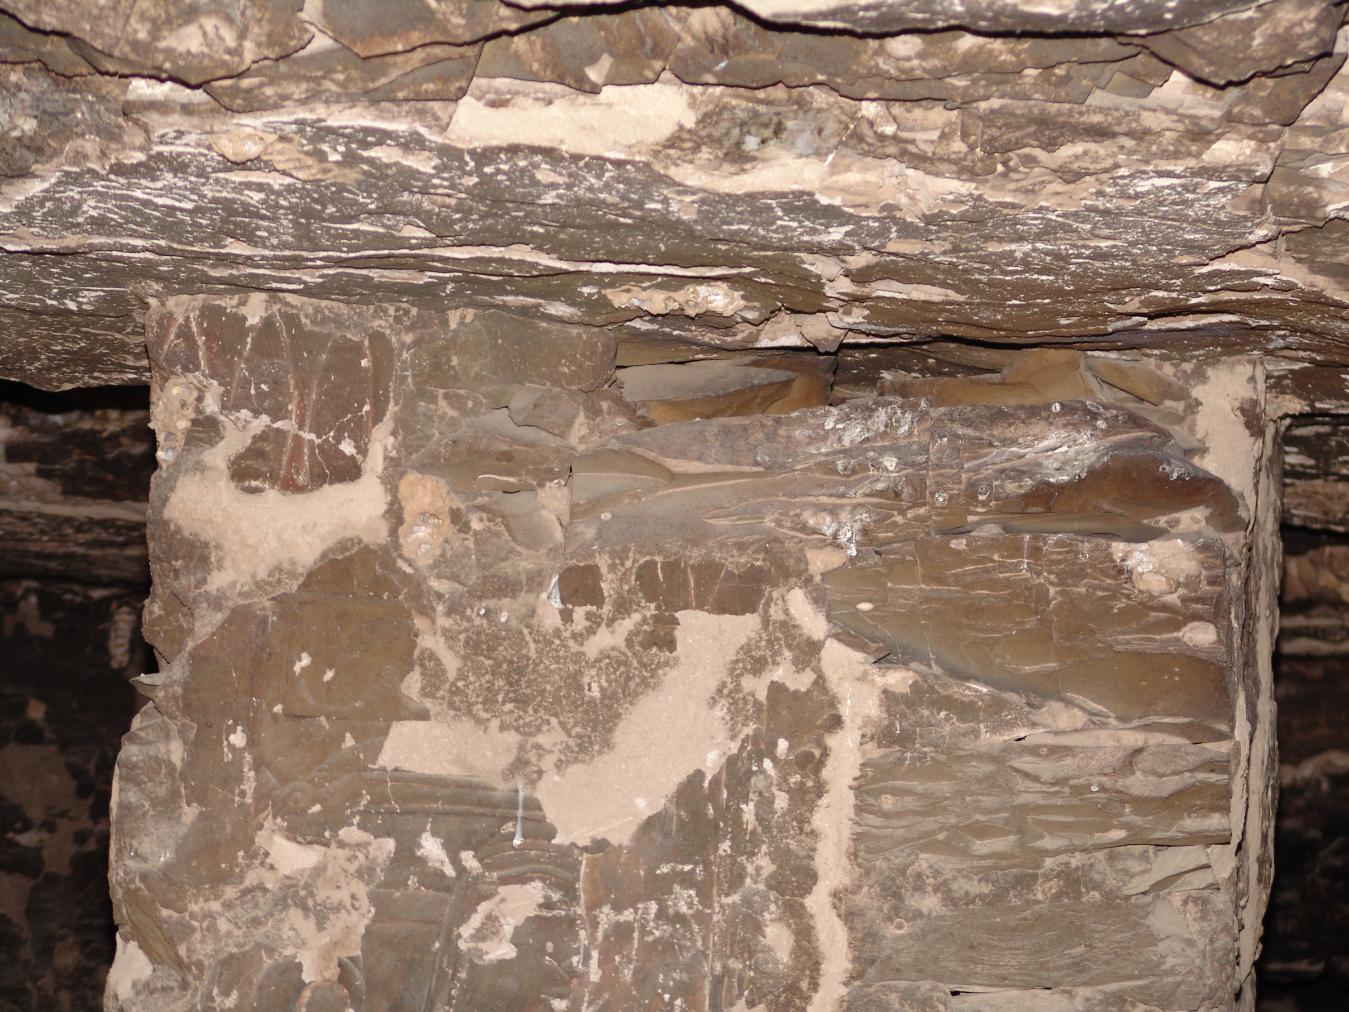
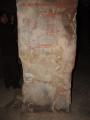
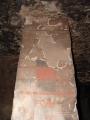
View of the western pillar. © Getty Conservation Institute and the Ministry of Tourism and Antiquities.
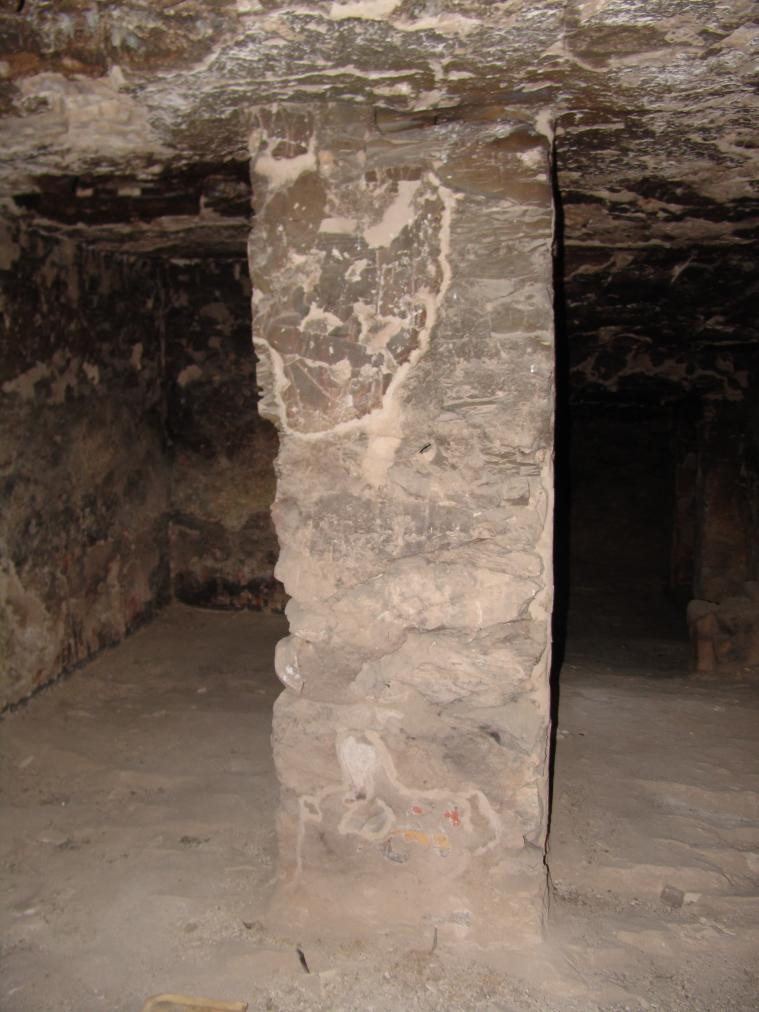
View of the western pillar. © Getty Conservation Institute and the Ministry of Tourism and Antiquities.
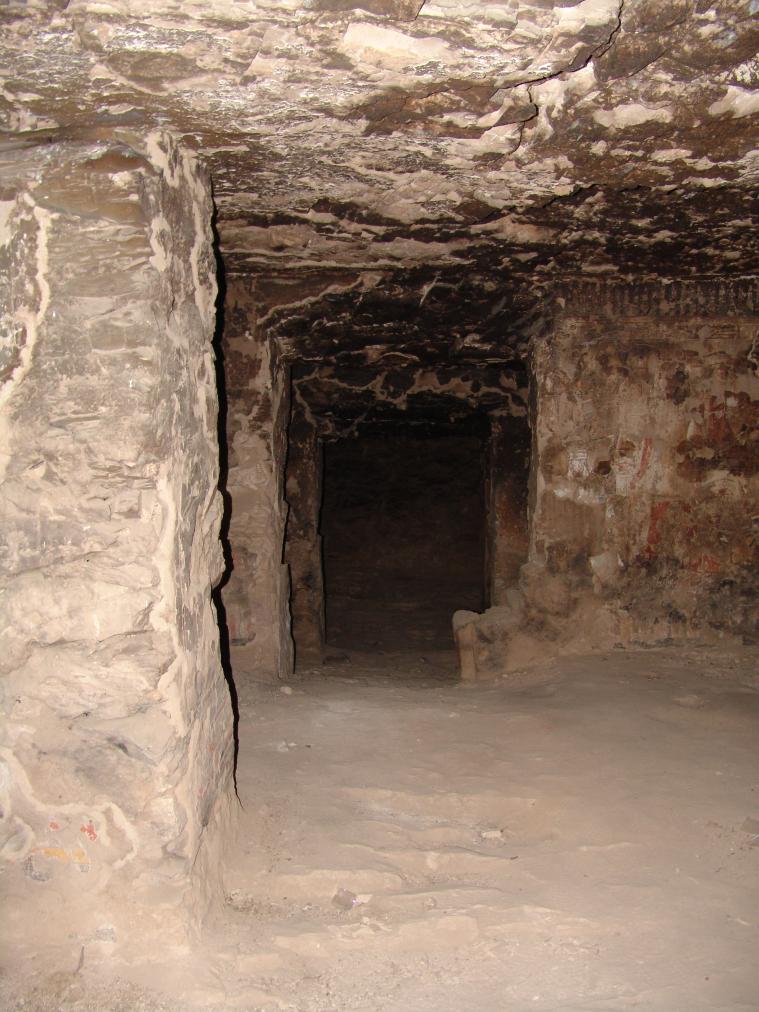
View of the western pillar and Gate C. © Getty Conservation Institute and the Ministry of Tourism and Antiquities.
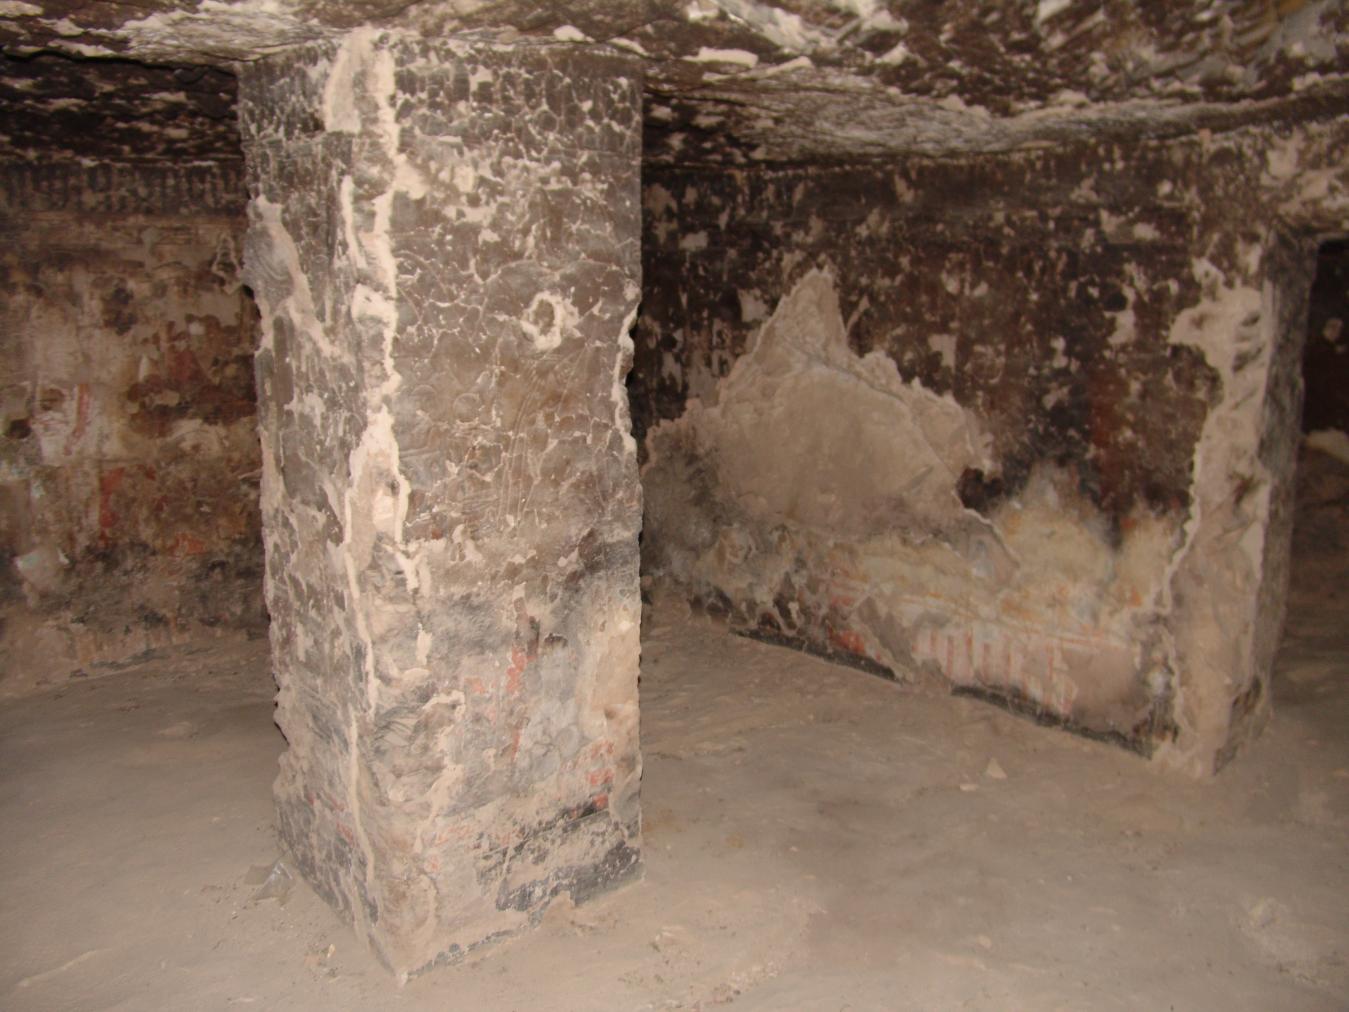
View of the eastern pillar and southeastern corner. © Getty Conservation Institute and the Ministry of Tourism and Antiquities.
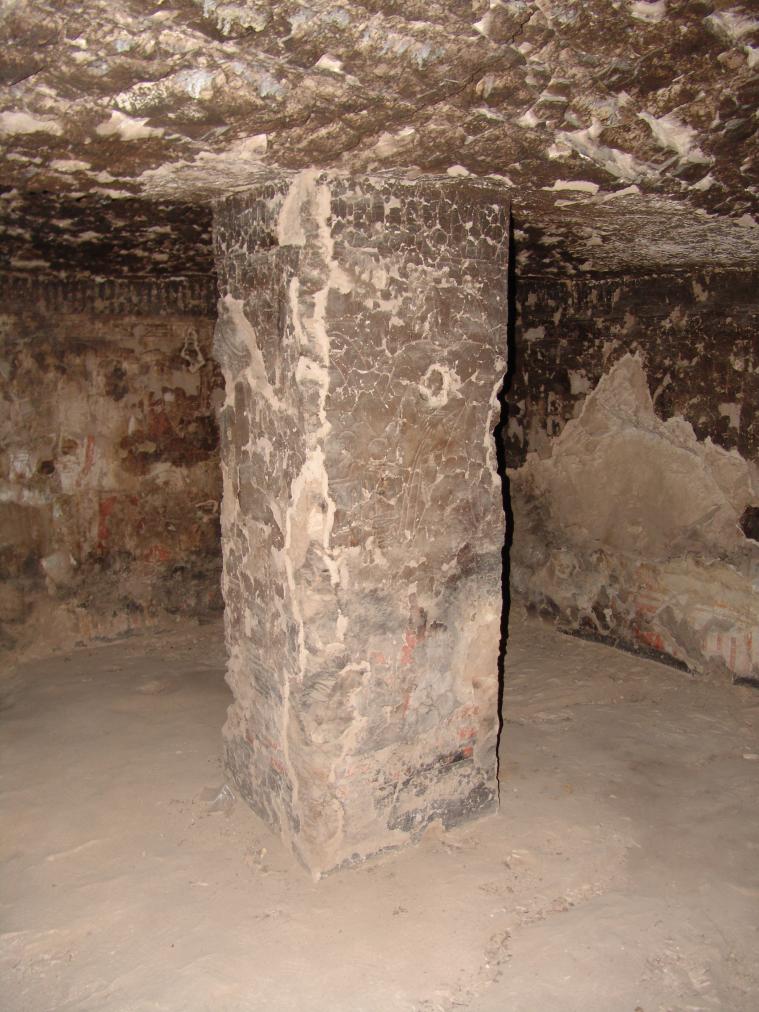
View of the eastern pillar and southeastern corner. © Getty Conservation Institute and the Ministry of Tourism and Antiquities.
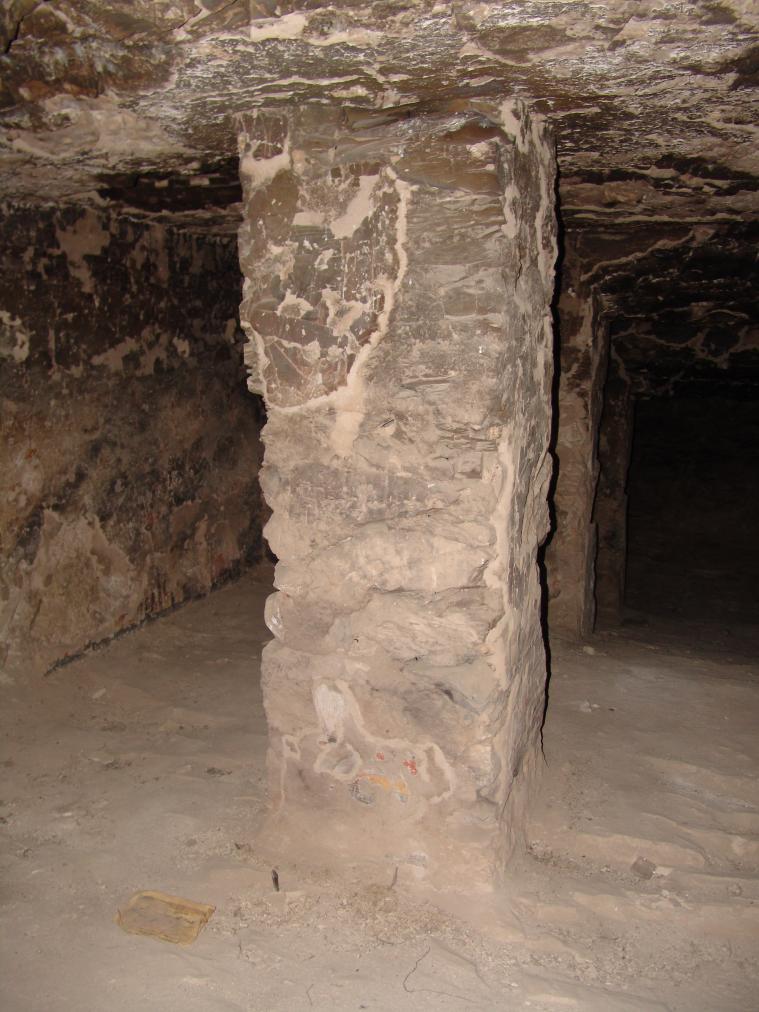
View of the western pillar and Gate C. © Getty Conservation Institute and the Ministry of Tourism and Antiquities.
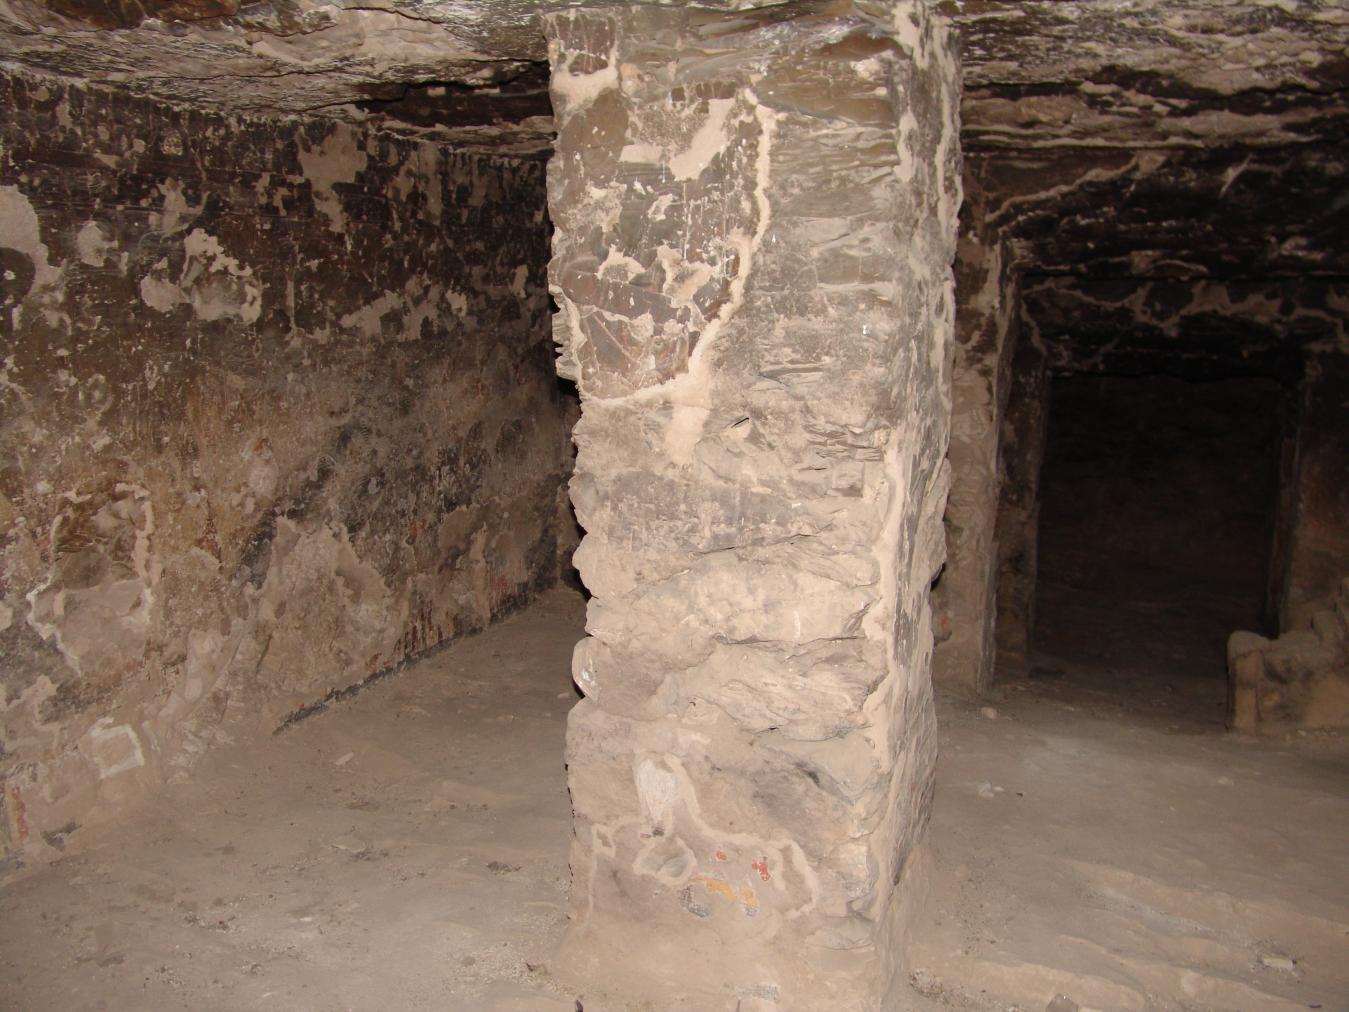
View of the western pillar and Gate C. © Getty Conservation Institute and the Ministry of Tourism and Antiquities.
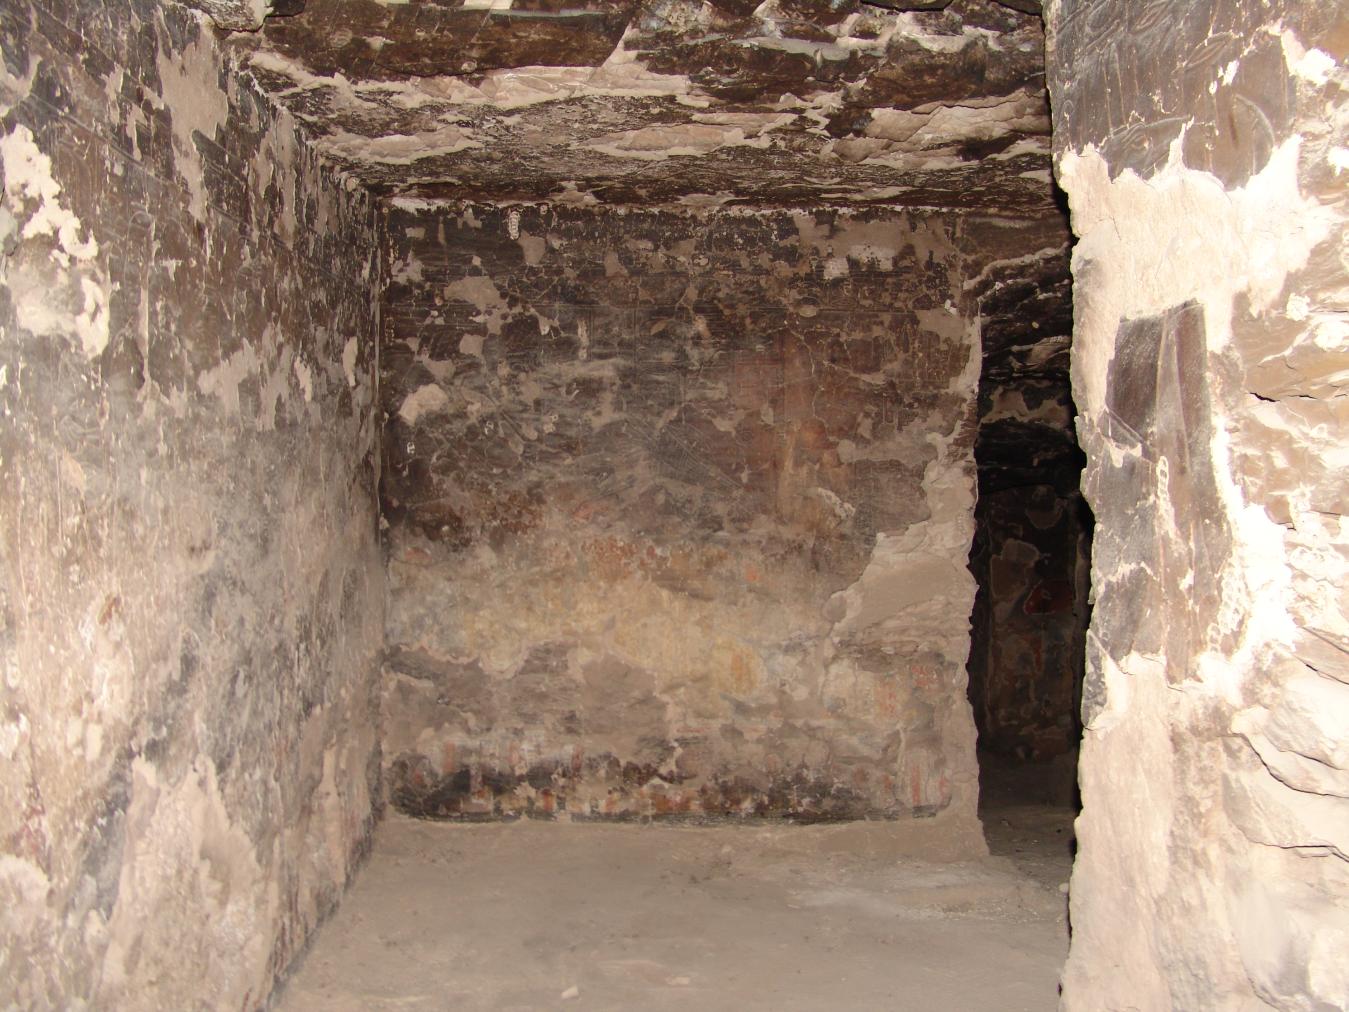
View of northwestern corner and part of the western pillar. © Getty Conservation Institute and the Ministry of Tourism and Antiquities.
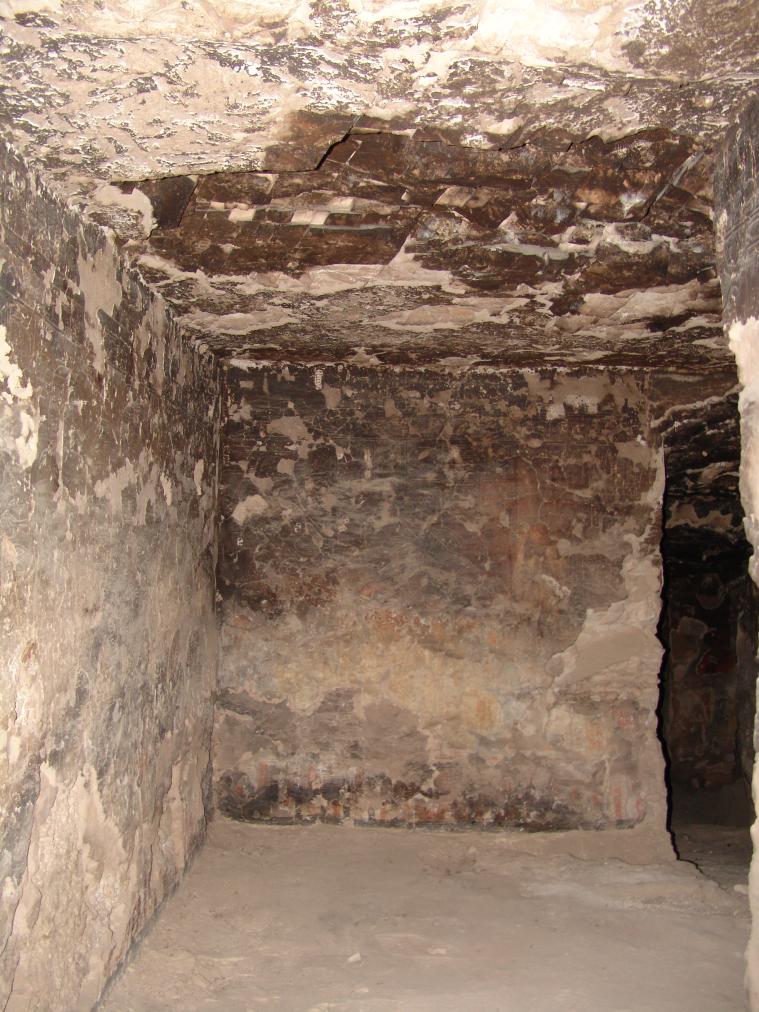
View of the northwestern corner and part of the western pillar. © Getty Conservation Institute and the Ministry of Tourism and Antiquities.
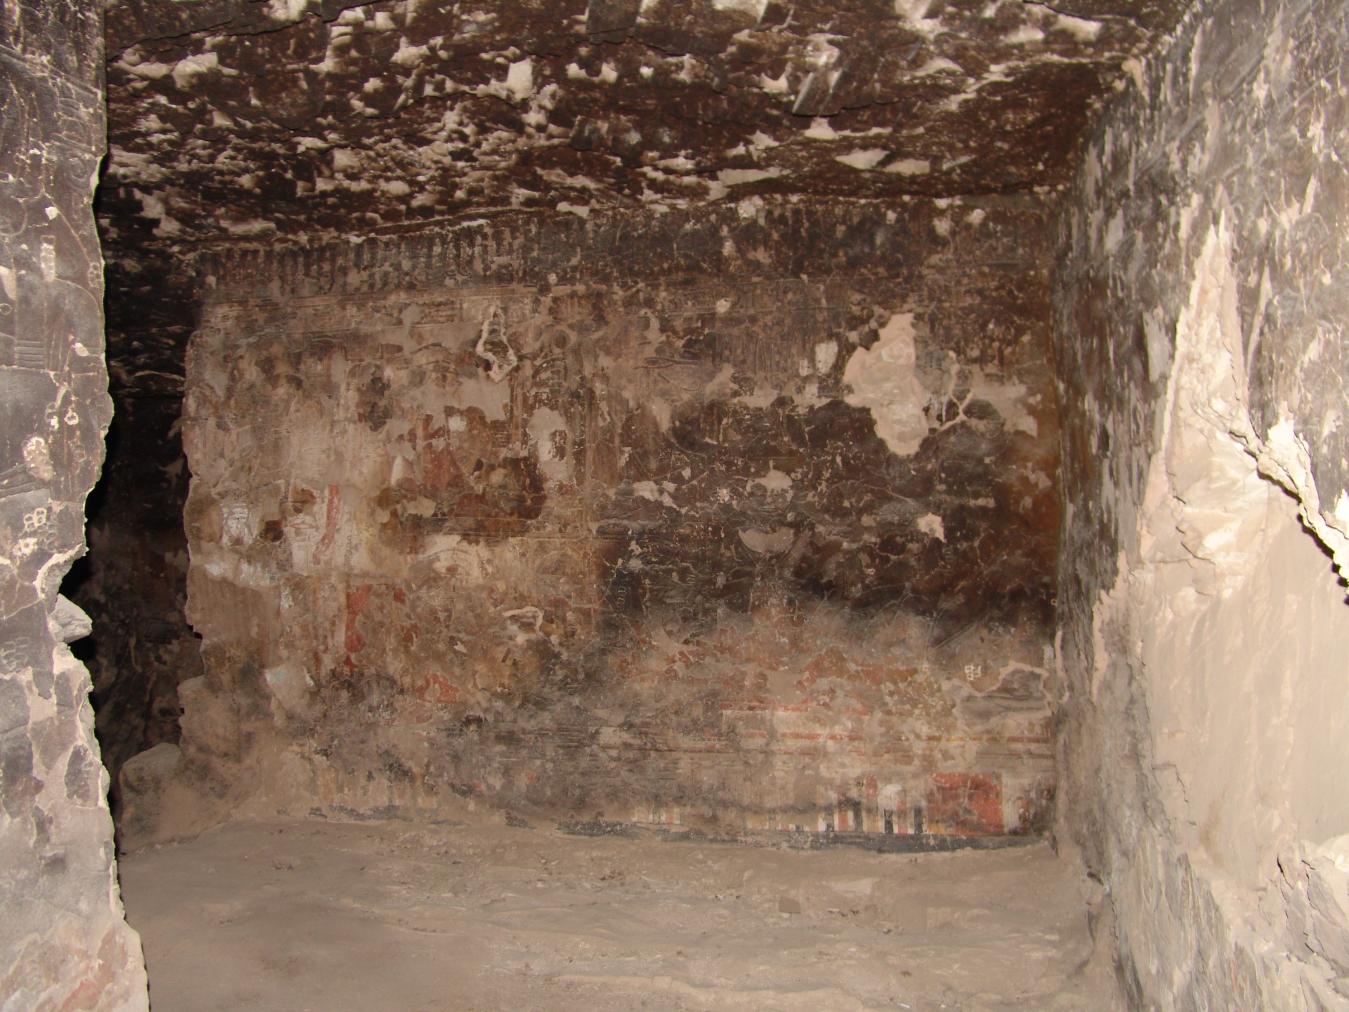
View of the northeastern corner and part of the eastern pillar. © Getty Conservation Institute and the Ministry of Tourism and Antiquities.
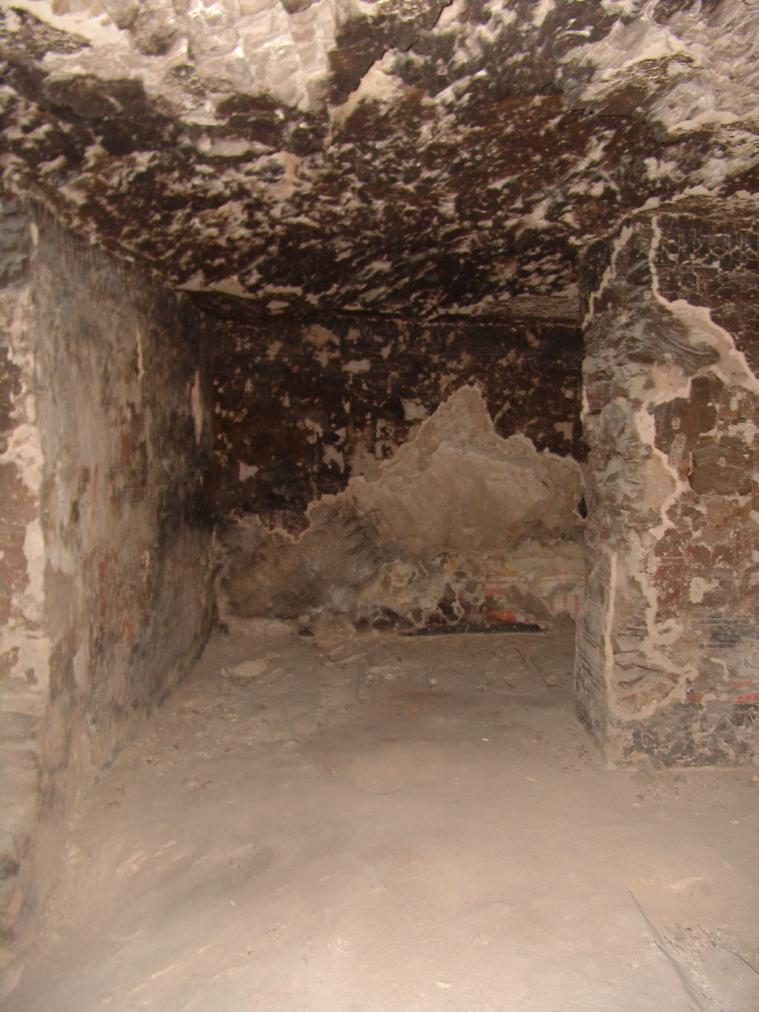
View of the northeastern corner and part of the eastern pillar. © Getty Conservation Institute and the Ministry of Tourism and Antiquities.
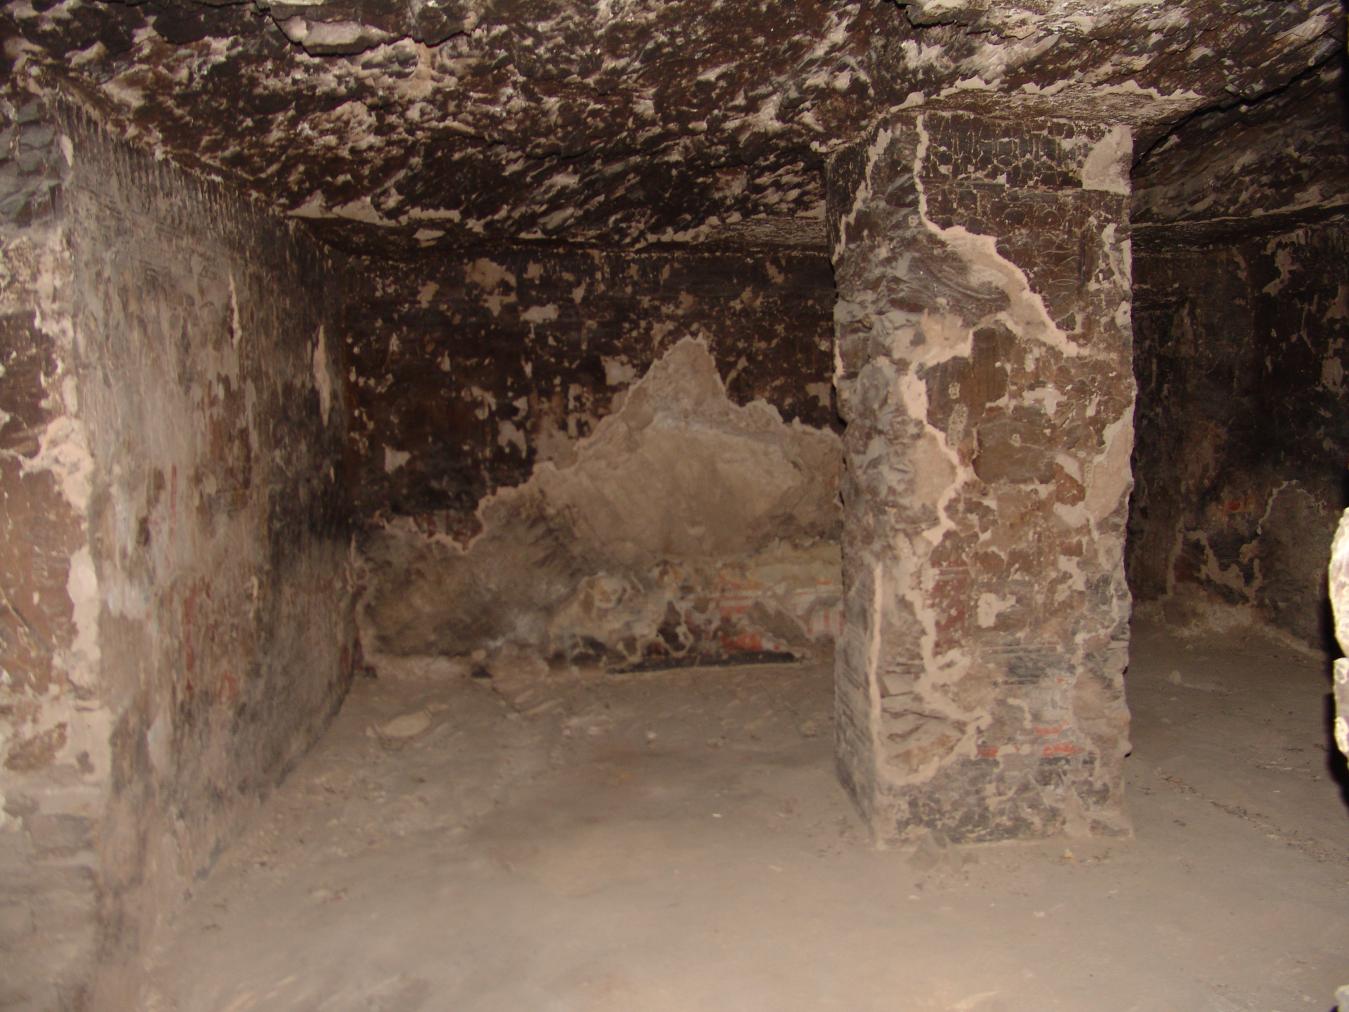
View of the eastern side and the eastern pillar. © Getty Conservation Institute and the Ministry of Tourism and Antiquities.
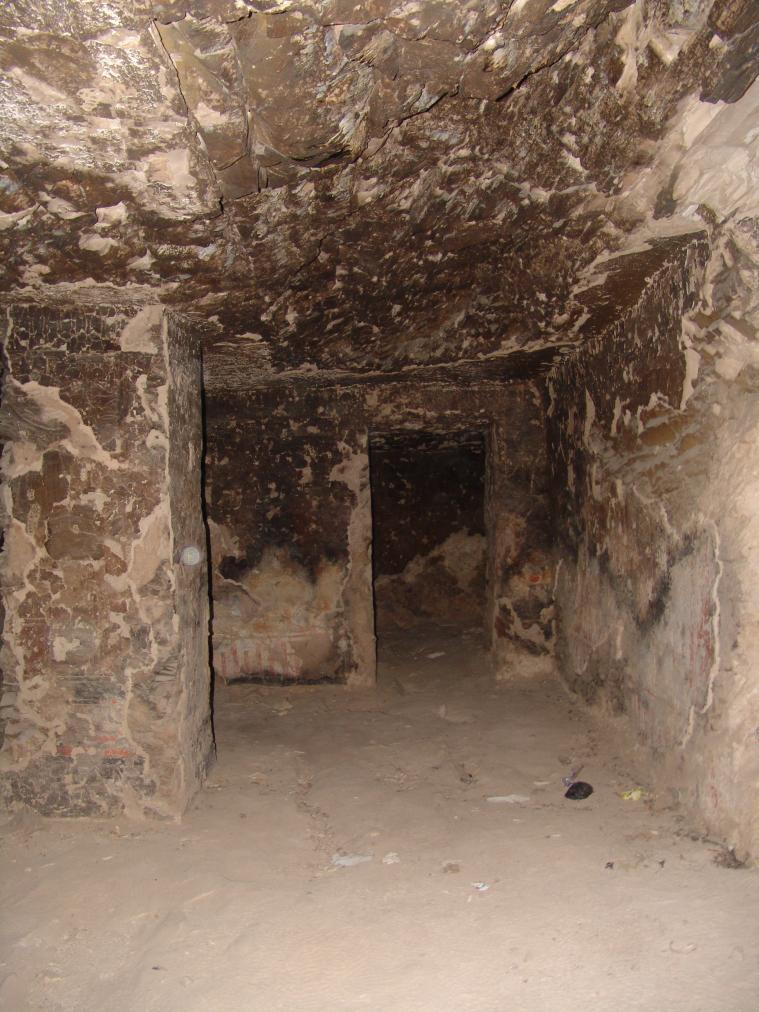
View of the southeastern corner, the eastern pillar, and Gate Ba. © Getty Conservation Institute and the Ministry of Tourism and Antiquities.
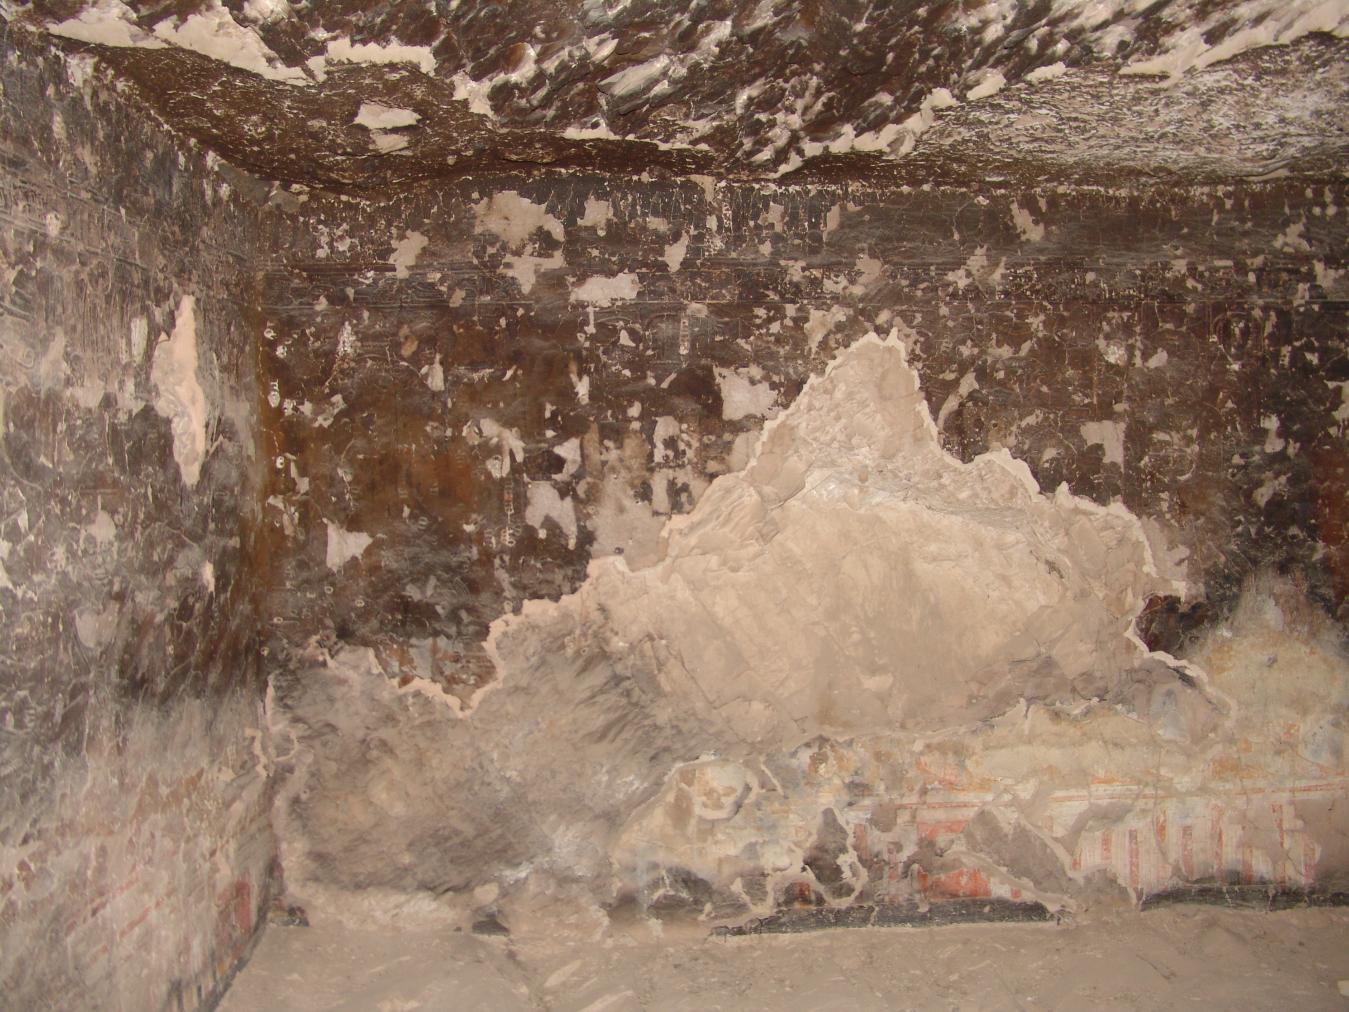
View of the northeastern corner. © Getty Conservation Institute and the Ministry of Tourism and Antiquities.
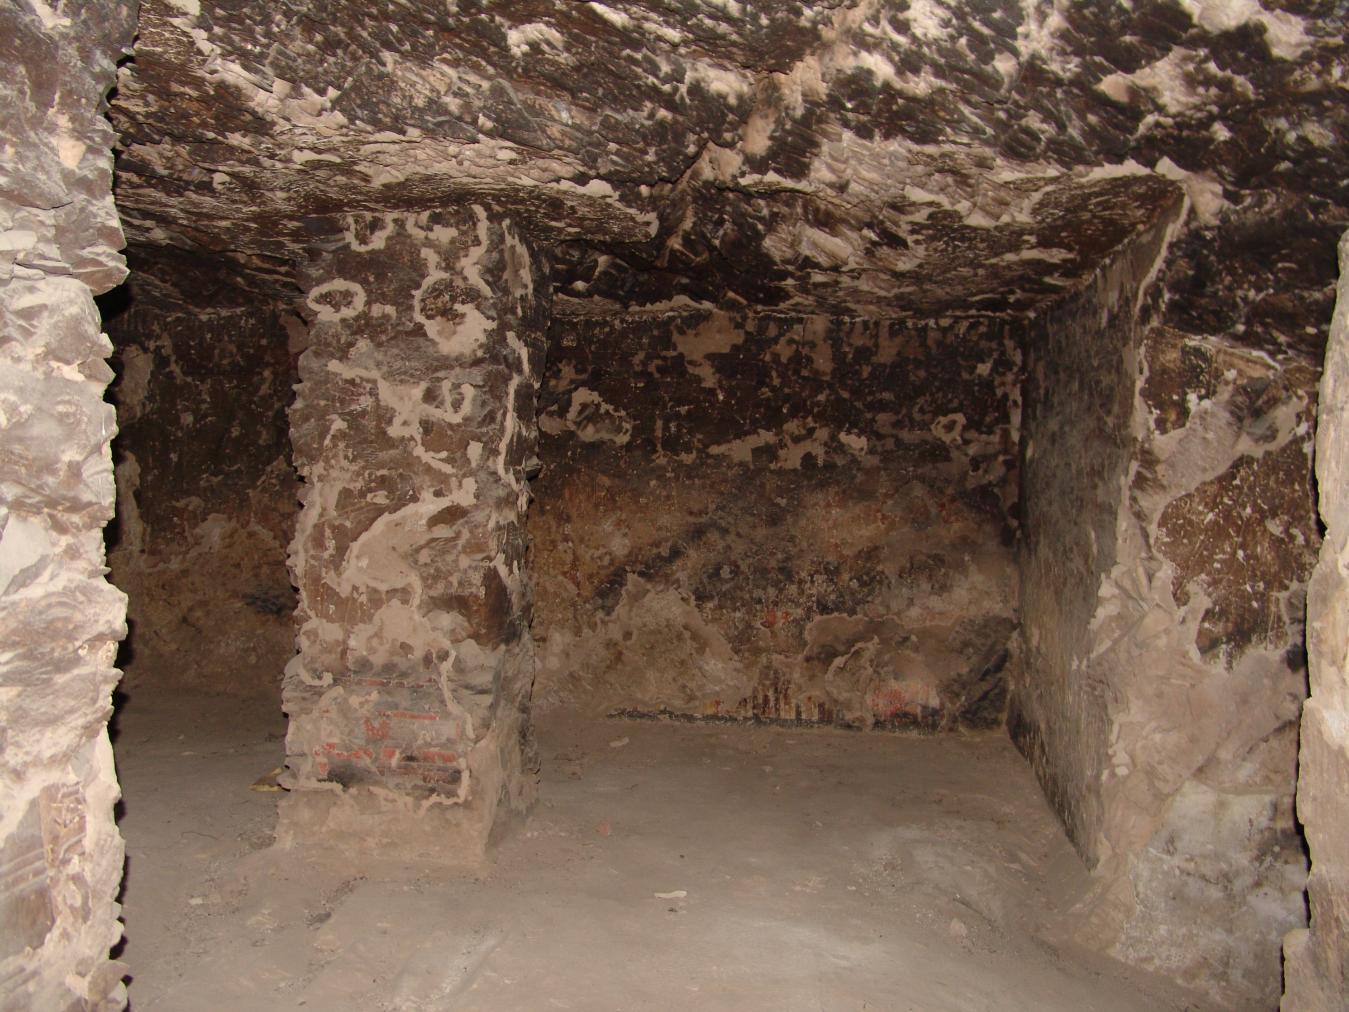
View of the northwestern corner and the western pillar. © Getty Conservation Institute and the Ministry of Tourism and Antiquities.
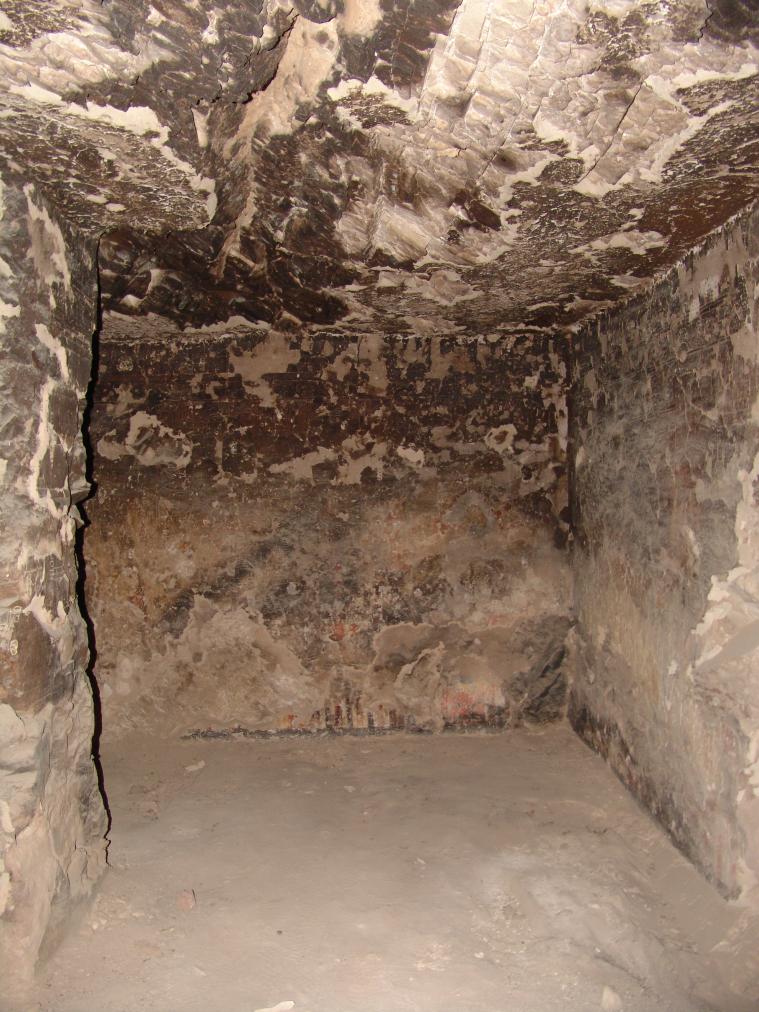
View of the northwestern corner and the western pillar. © Getty Conservation Institute and the Ministry of Tourism and Antiquities.
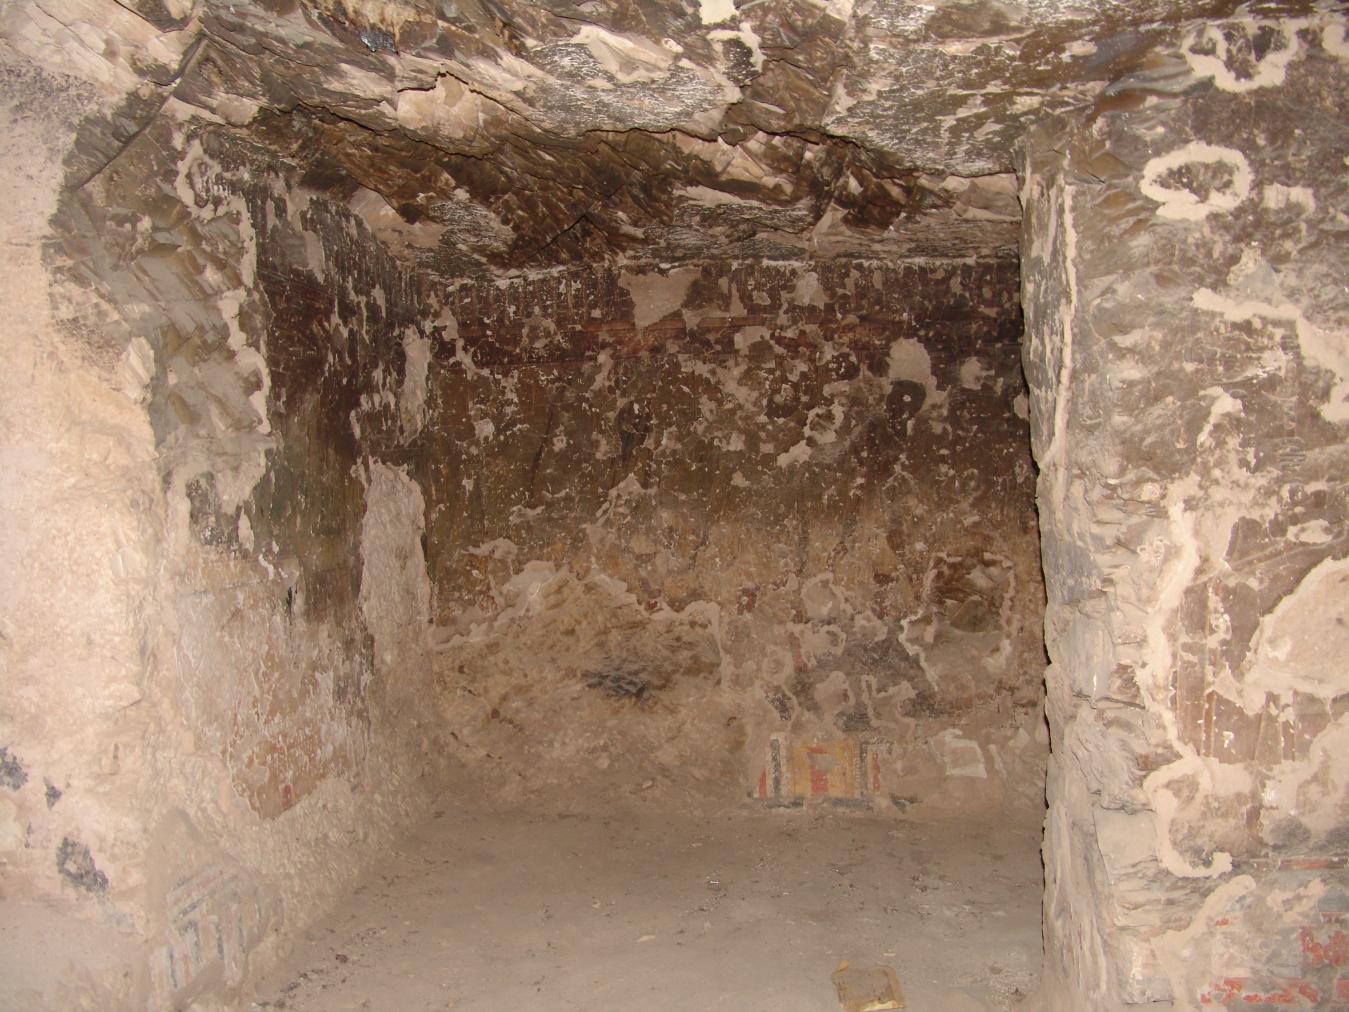
View of the southwestern corner and the western pillar. © Getty Conservation Institute and the Ministry of Tourism and Antiquities.
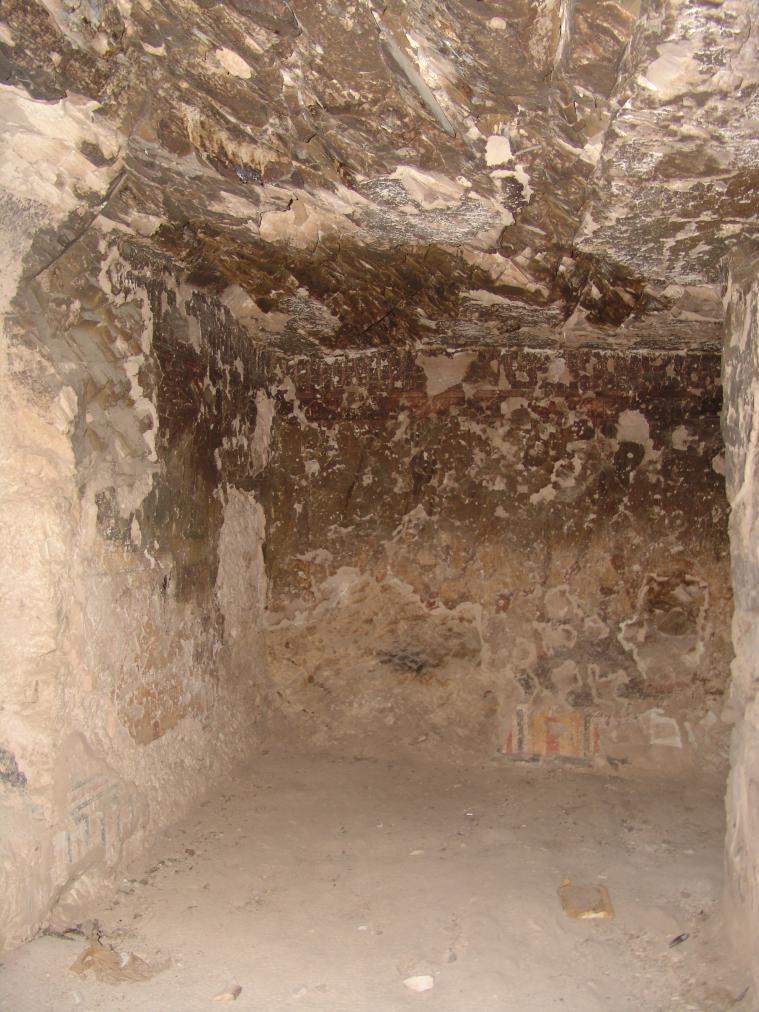
View of the southwestern corner and the western pillar. © Getty Conservation Institute and the Ministry of Tourism and Antiquities.
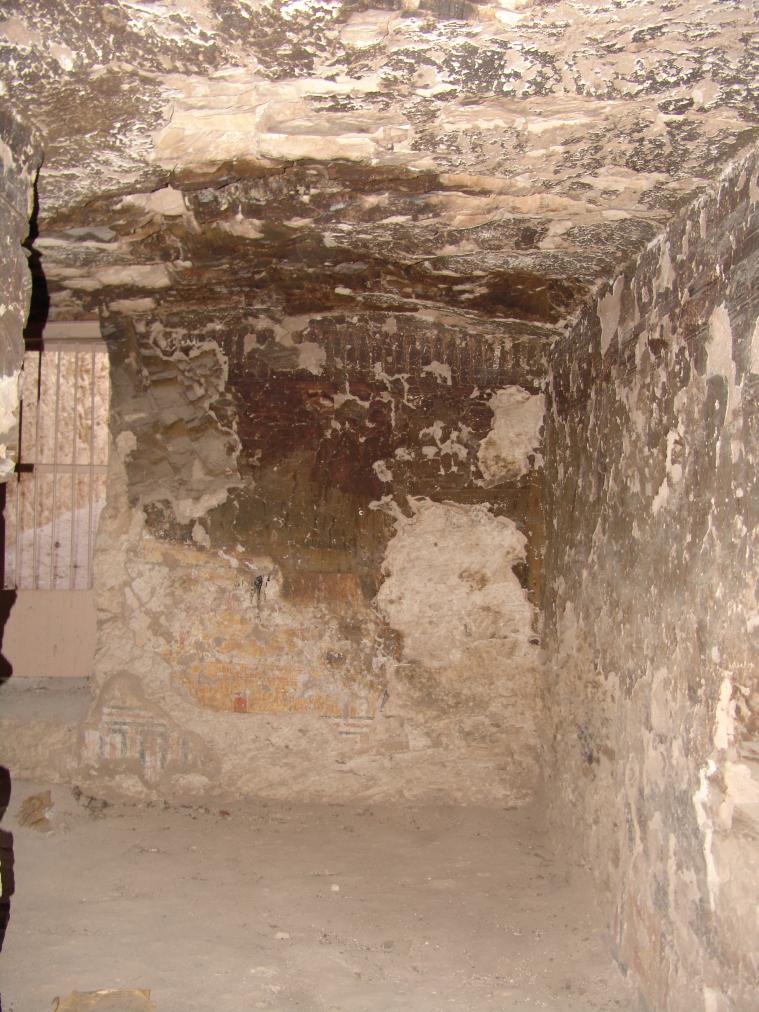
View of the southwestern corner, the western pillar, and Gate B. © Getty Conservation Institute and the Ministry of Tourism and Antiquities.
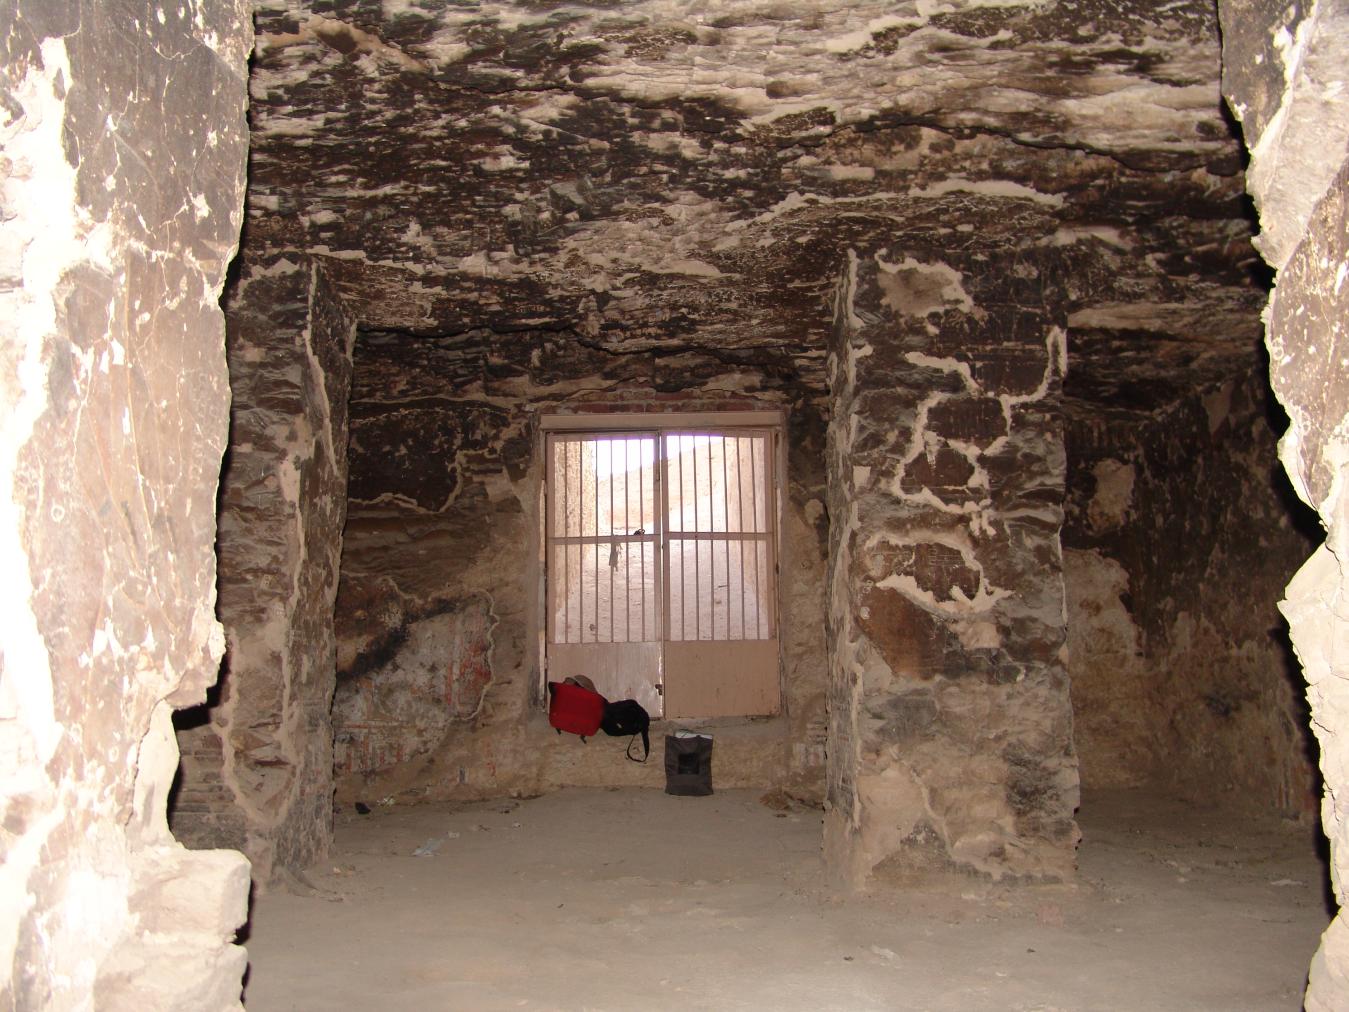
View of Gate B, the southern wall, and the pillars. © Getty Conservation Institute and the Ministry of Tourism and Antiquities.
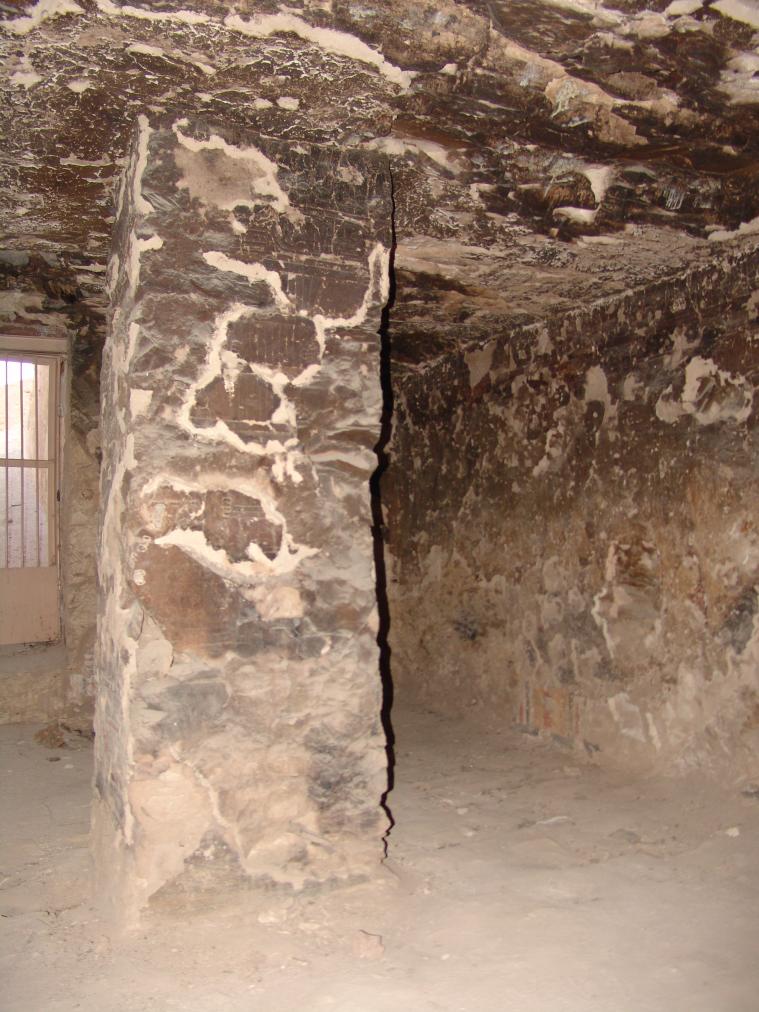
View of the southwestern corner and the southwestern pillar. © Getty Conservation Institute and the Ministry of Tourism and Antiquities.
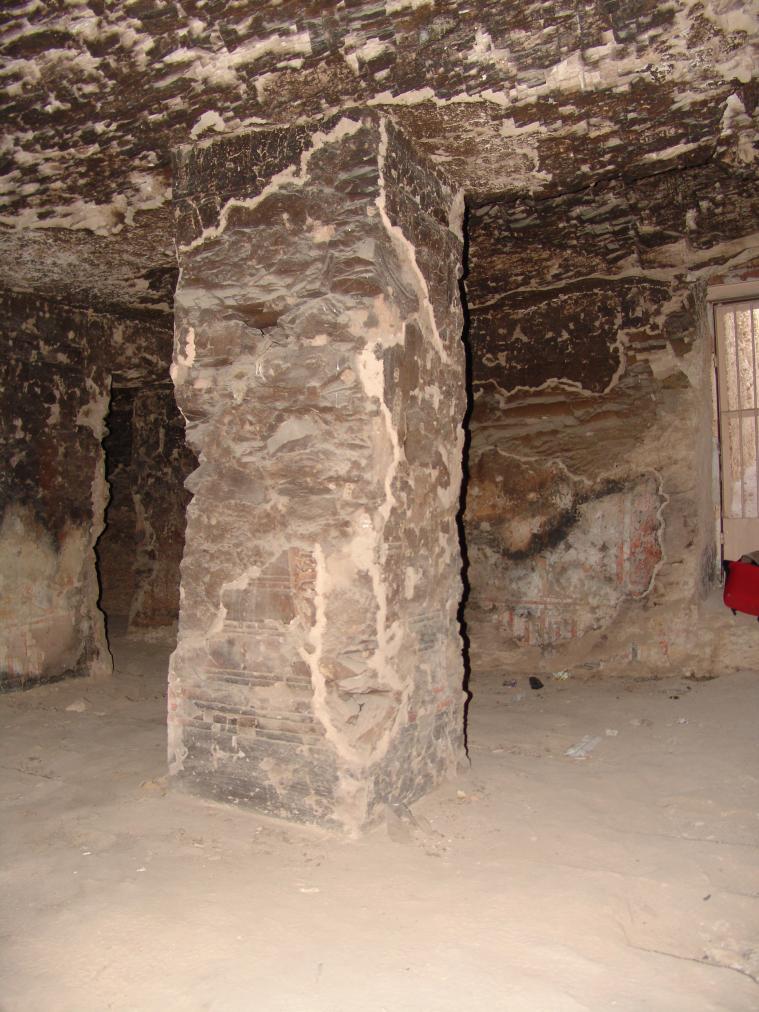
View of the southeastern corner and the southeastern pillar. © Getty Conservation Institute and the Ministry of Tourism and Antiquities.
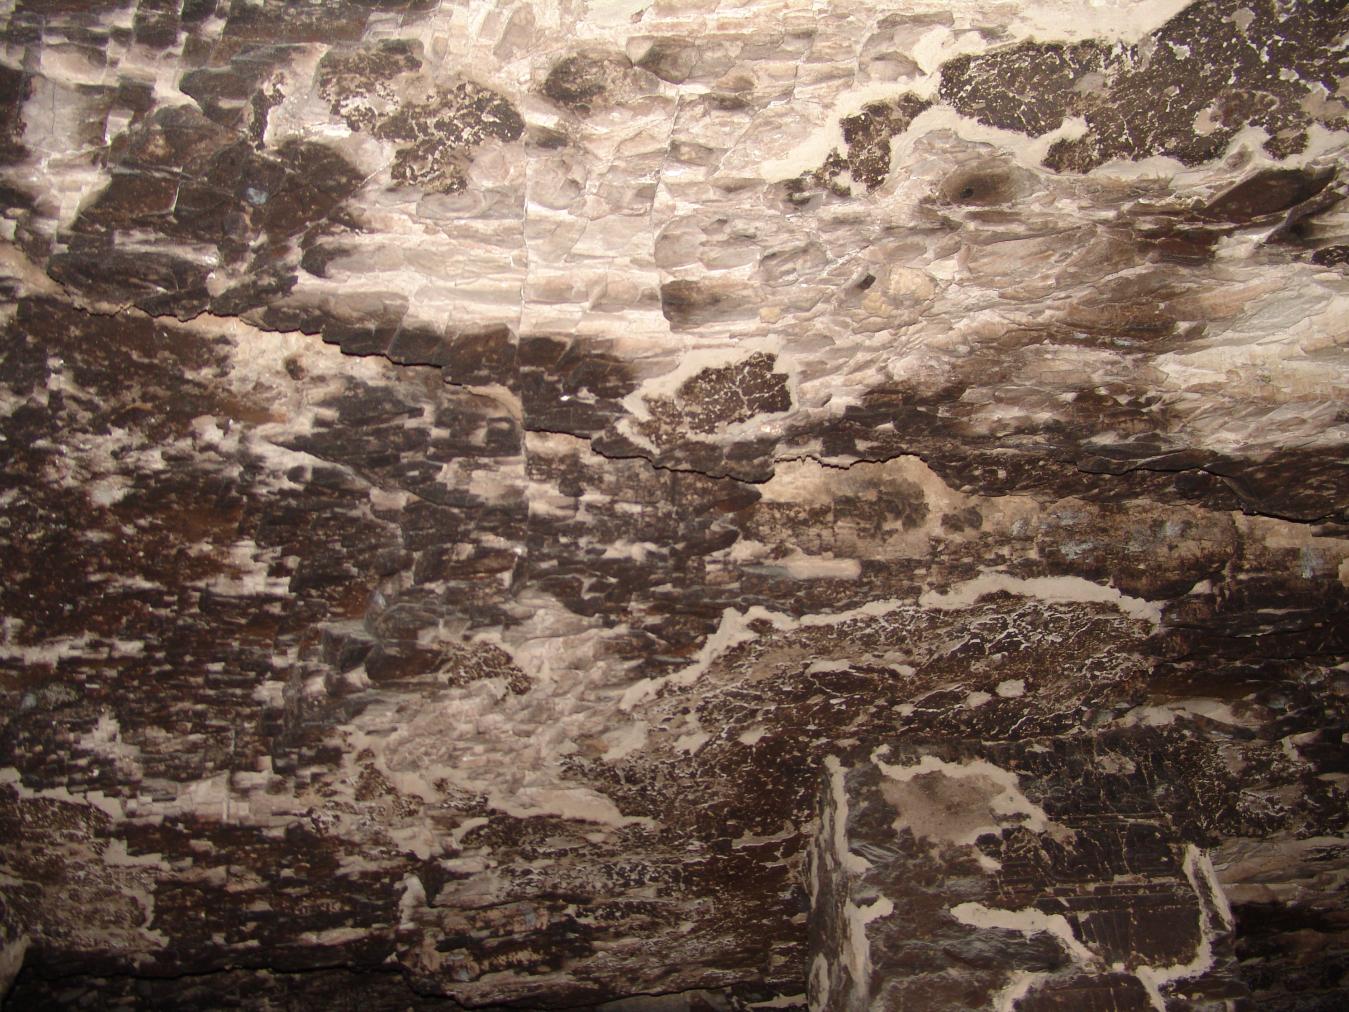
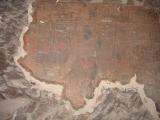
View of the ceiling. © Getty Conservation Institute and the Ministry of Tourism and Antiquities.
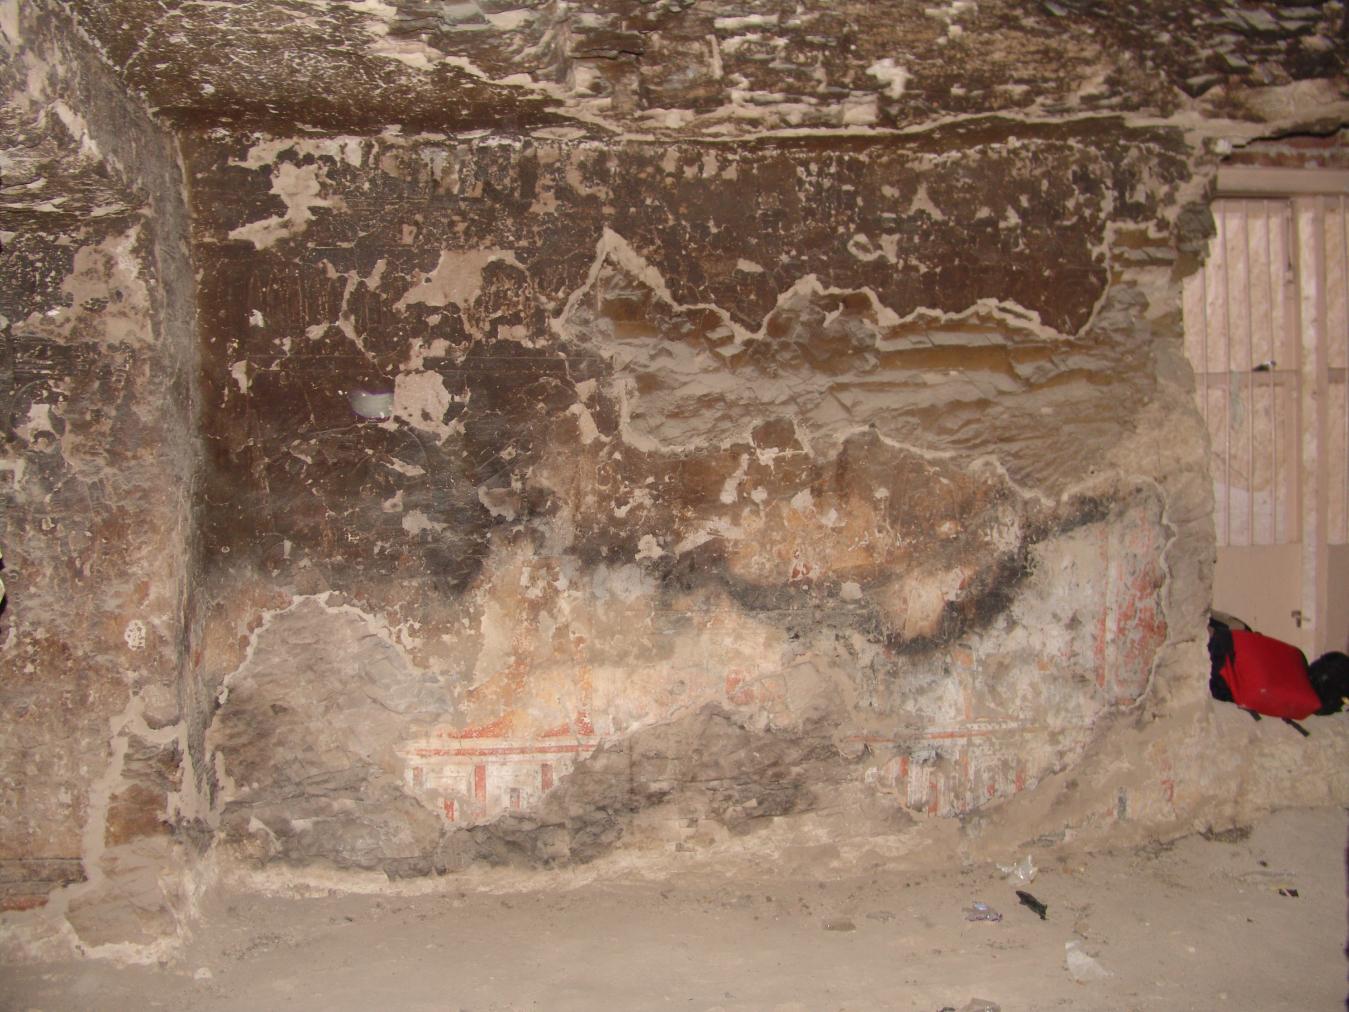
Anubis as a jackal and a lion reclining on chapels. © Getty Conservation Institute and the Ministry of Tourism and Antiquities.
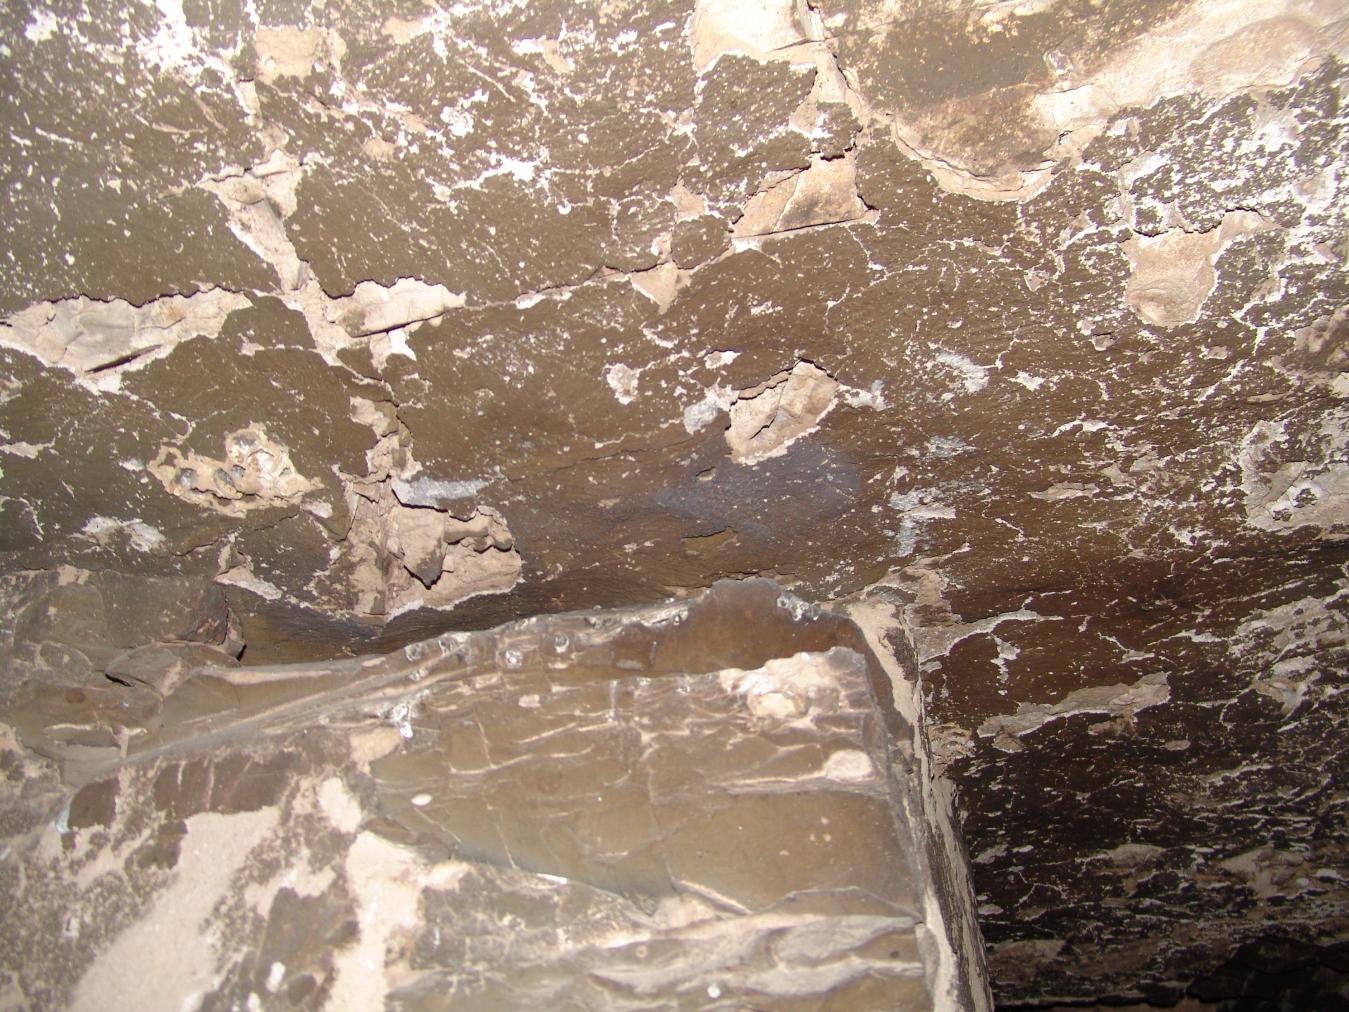
View where one of the pillars meets the ceiling. © Getty Conservation Institute and the Ministry of Tourism and Antiquities.
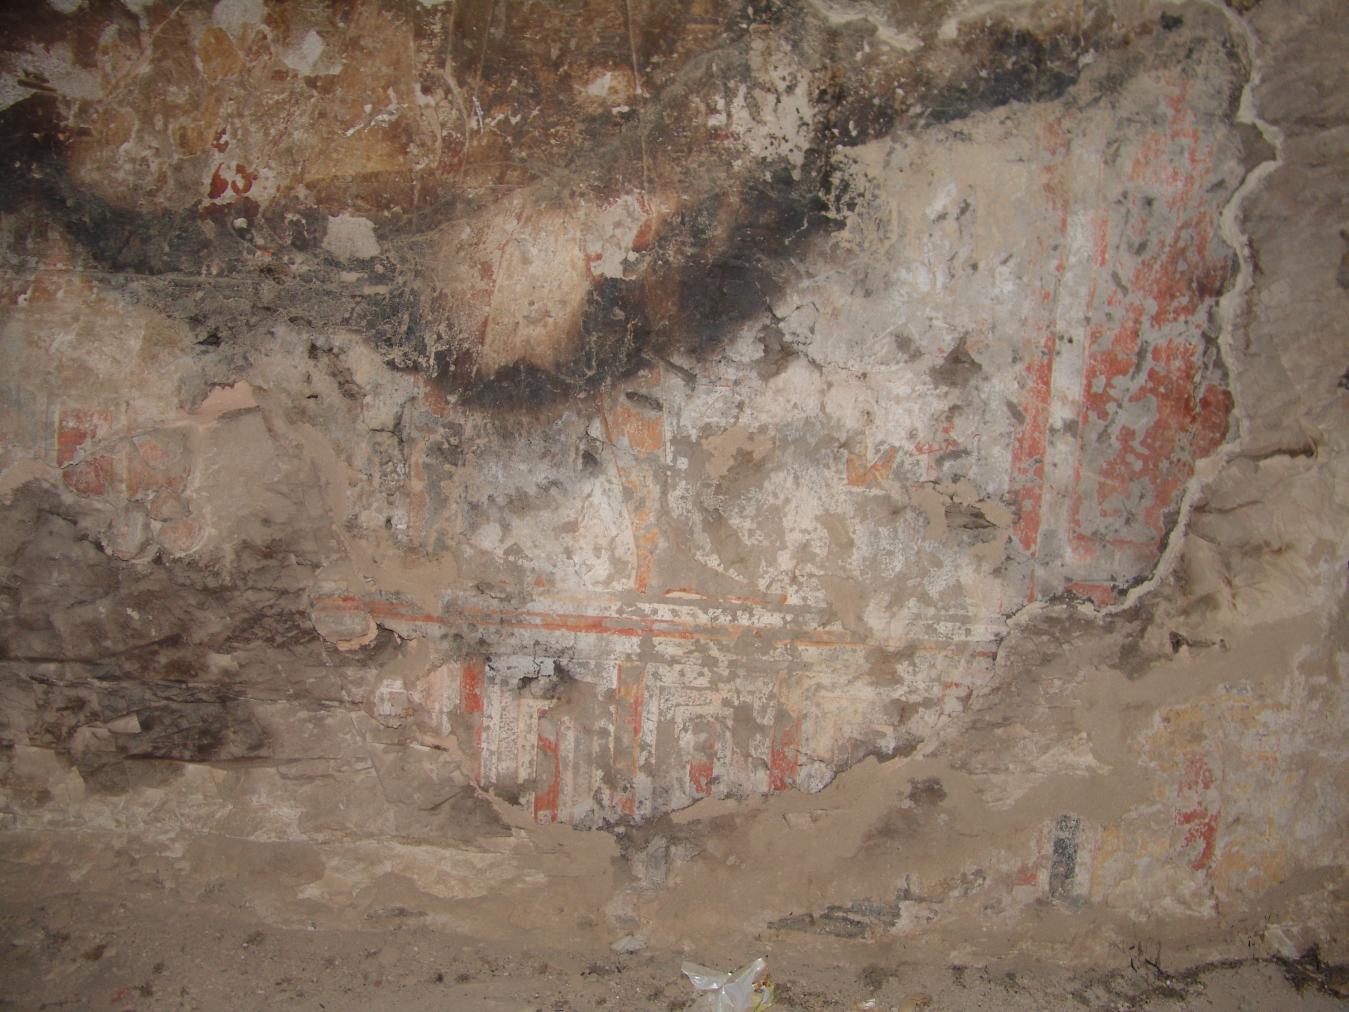
Detail of fragmentary painted plaster with the legs of a deity and dado frieze. © Getty Conservation Institute and the Ministry of Tourism and Antiquities.
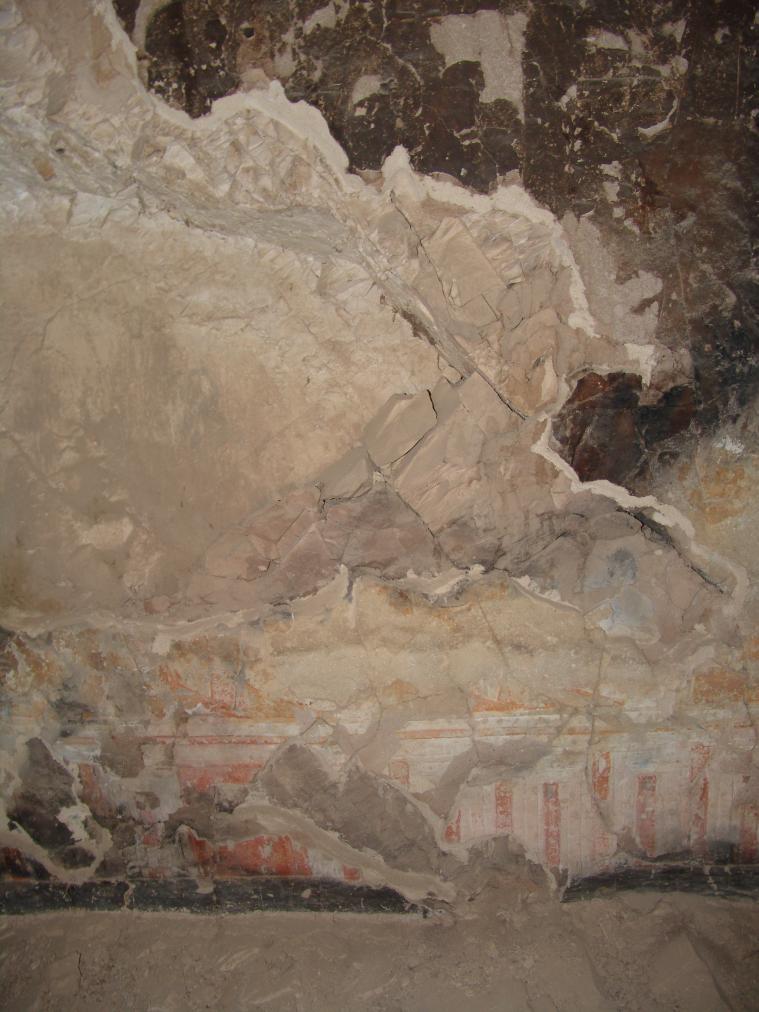
Detail of fragmentary painted plaster of dado frieze and the feet of deities. © Getty Conservation Institute and the Ministry of Tourism and Antiquities.
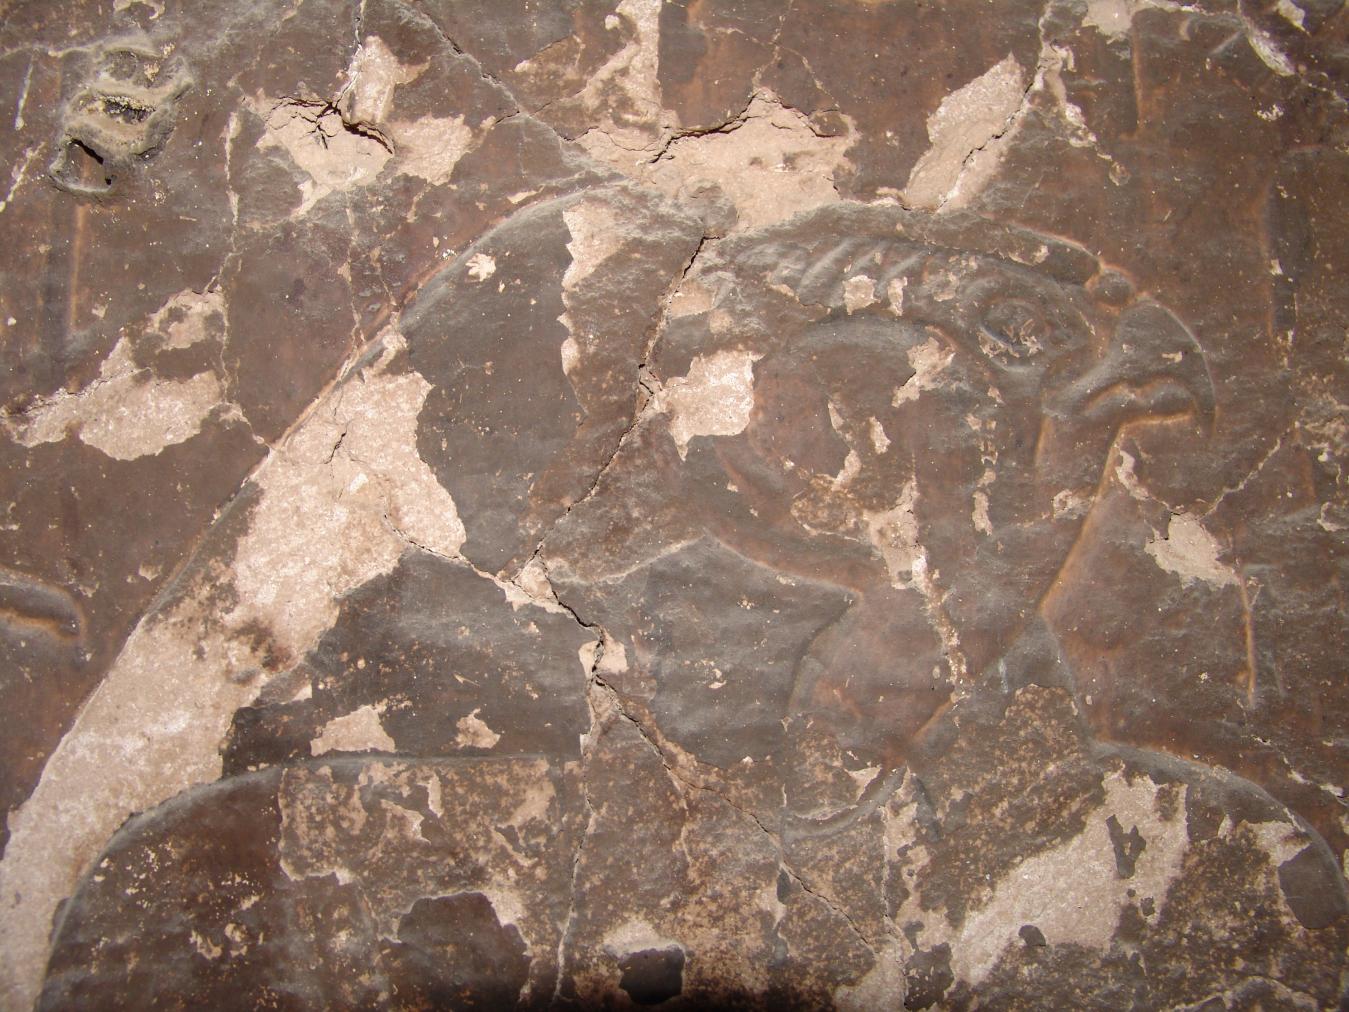
Detail of relief of falcon-headed deity. © Getty Conservation Institute and the Ministry of Tourism and Antiquities.
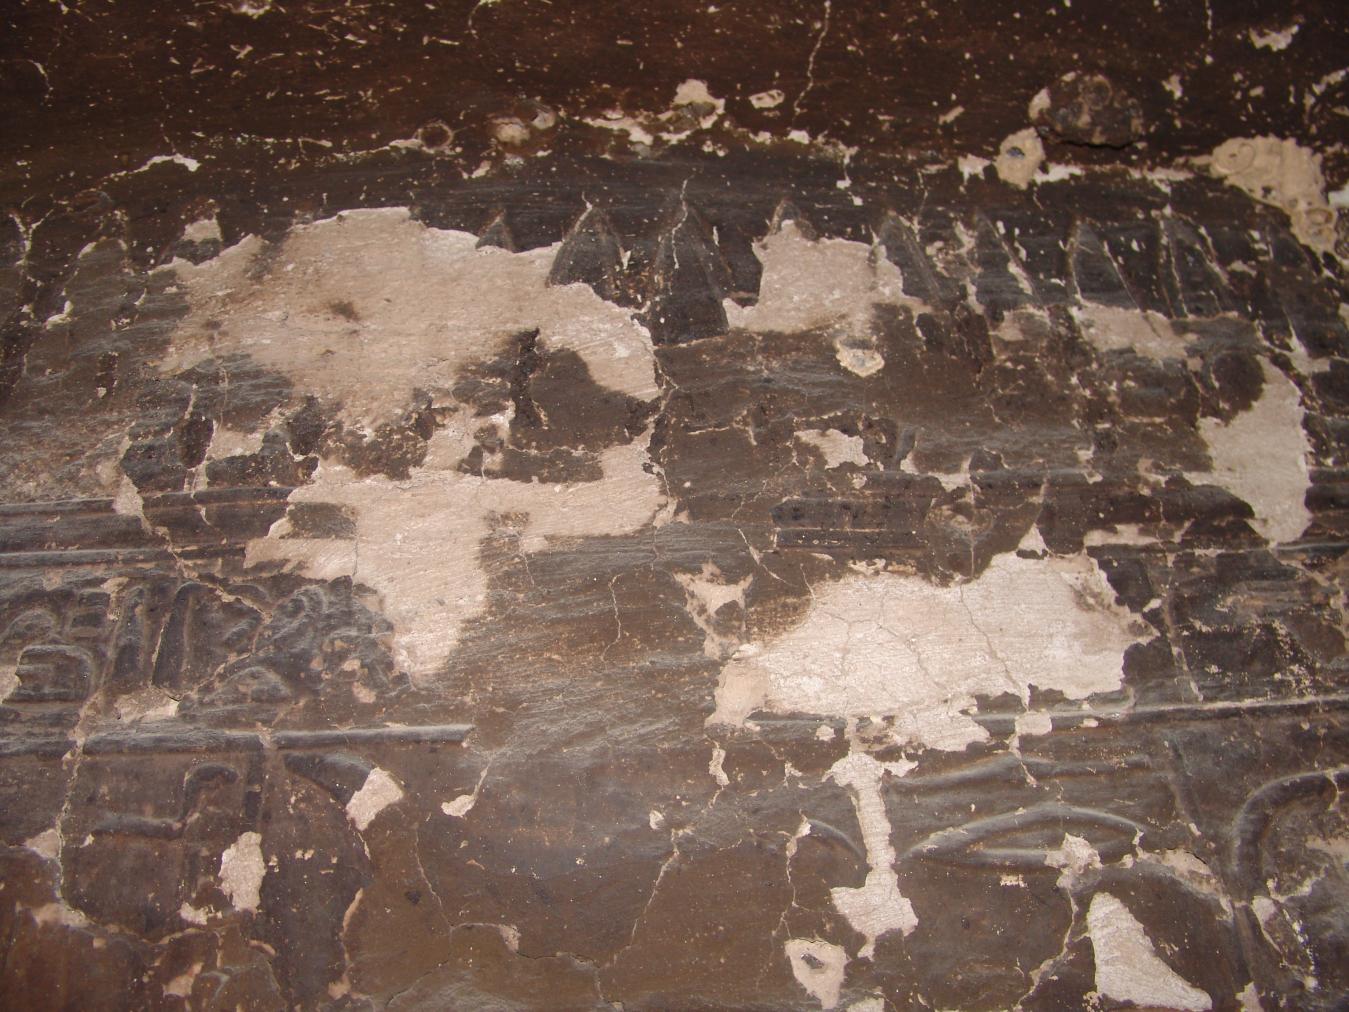
Detail of blackened relief from fire. © Getty Conservation Institute and the Ministry of Tourism and Antiquities.
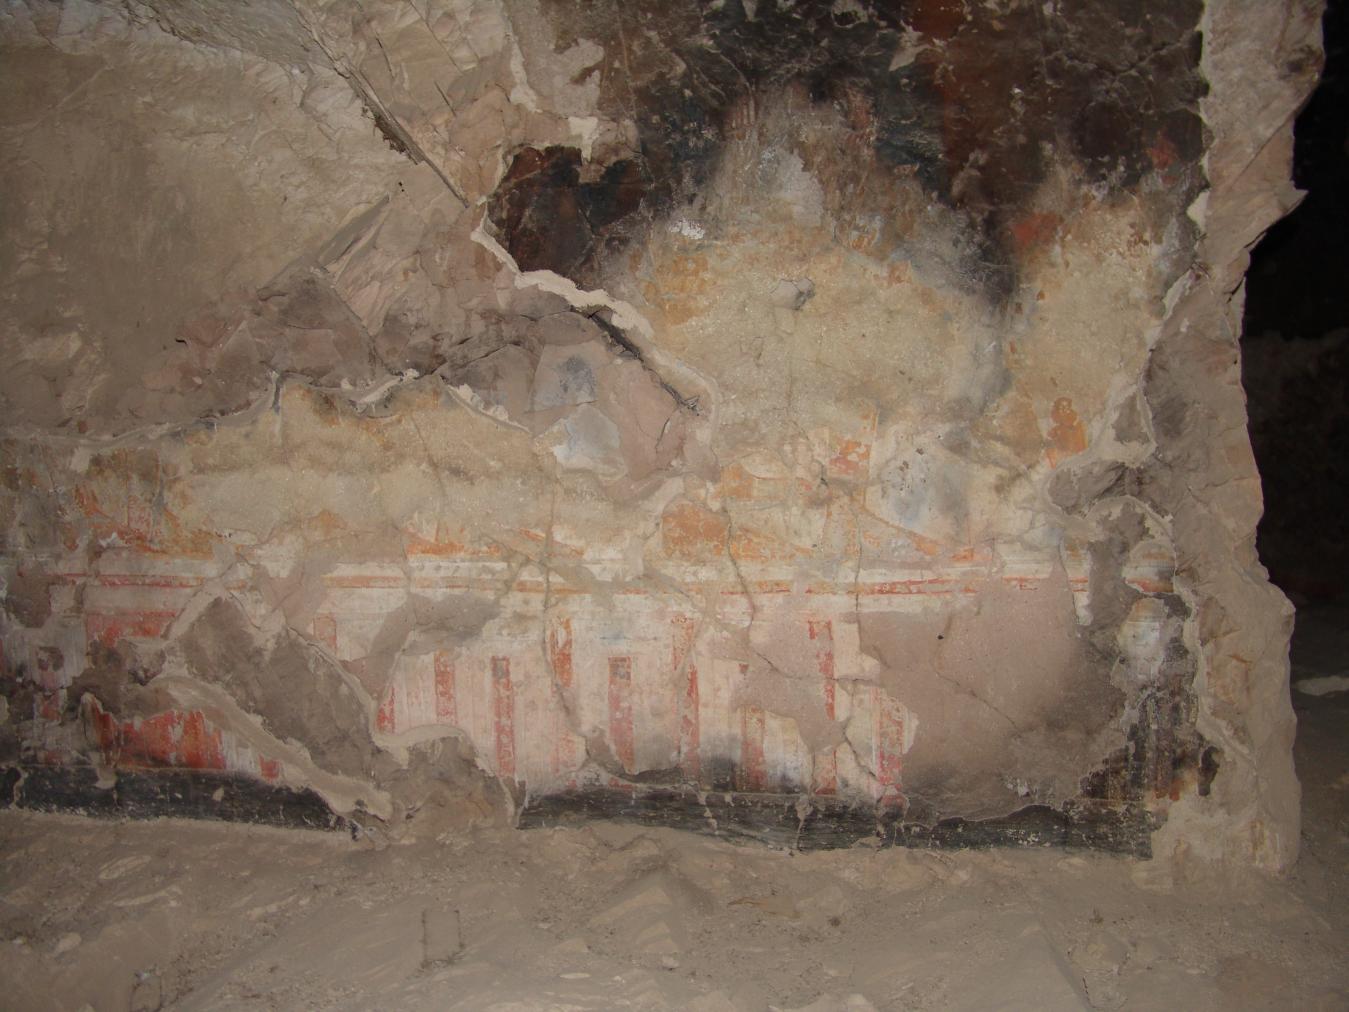
Detail of fragmentary painted plaster of the Dado frieze and the feet of deities. © Getty Conservation Institute and the Ministry of Tourism and Antiquities.
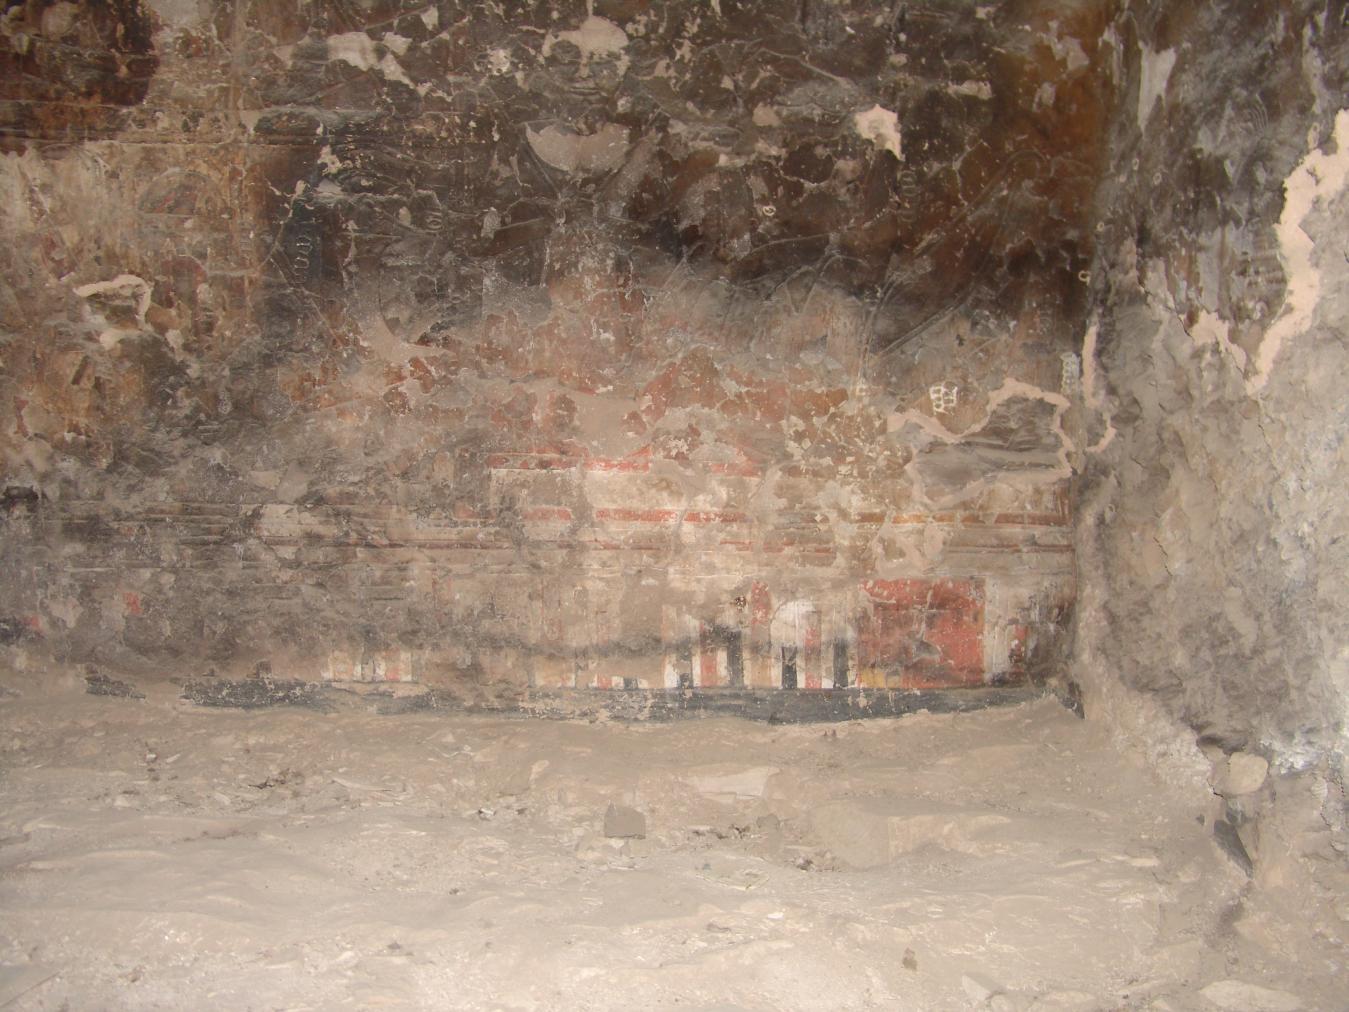
Detail of a vulture, hippopotamus-headed deity, and the full-face deity in a shrine. © Getty Conservation Institute and the Ministry of Tourism and Antiquities.
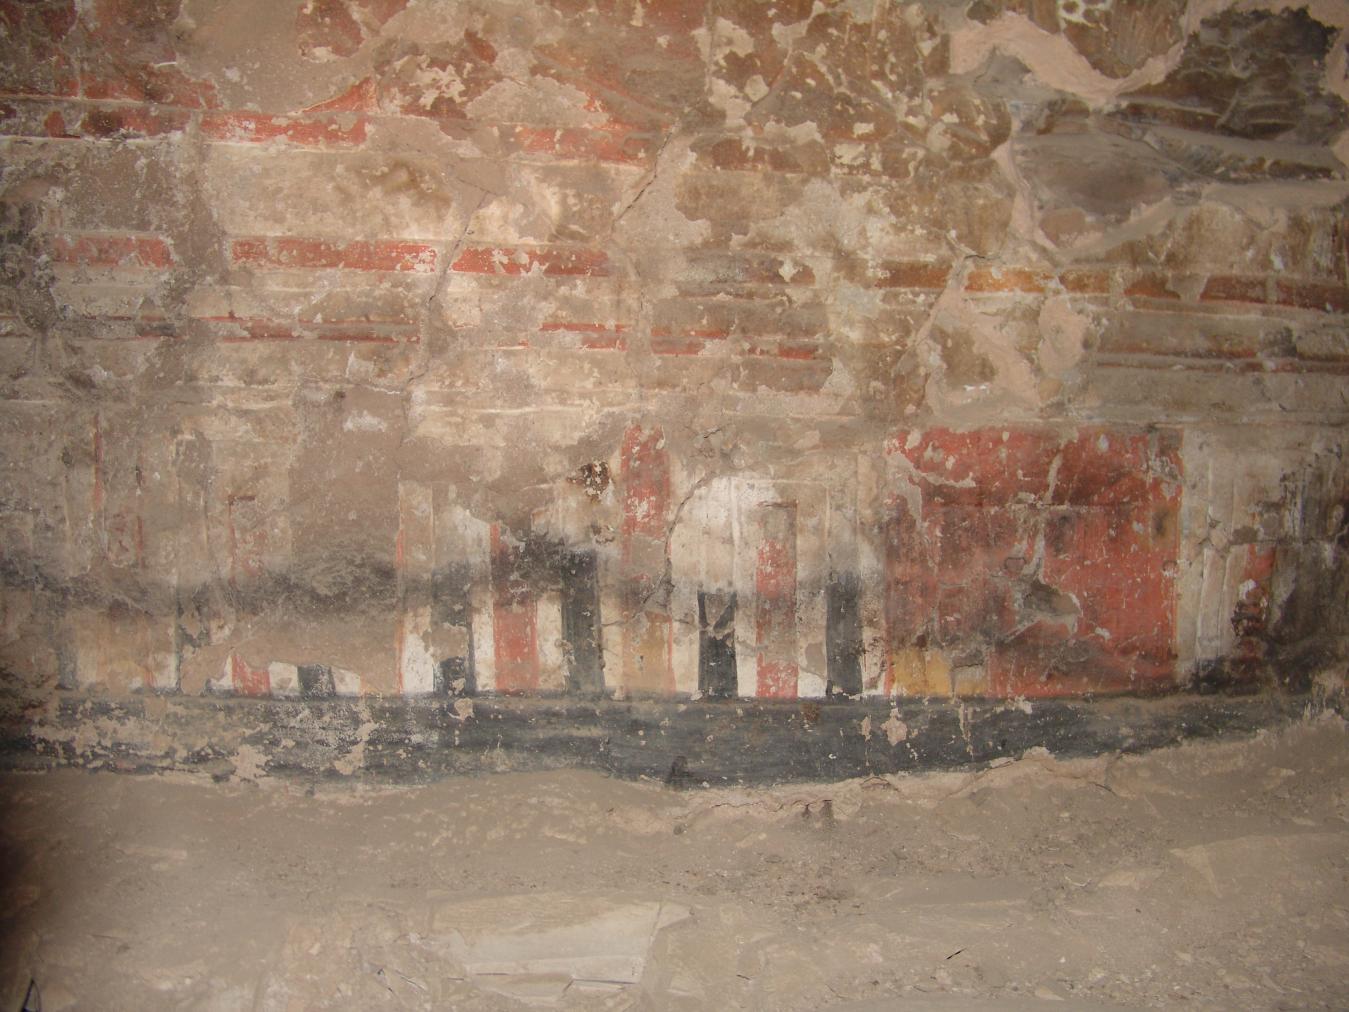
Detail of the painted dado at the base of the walls. © Getty Conservation Institute and the Ministry of Tourism and Antiquities.
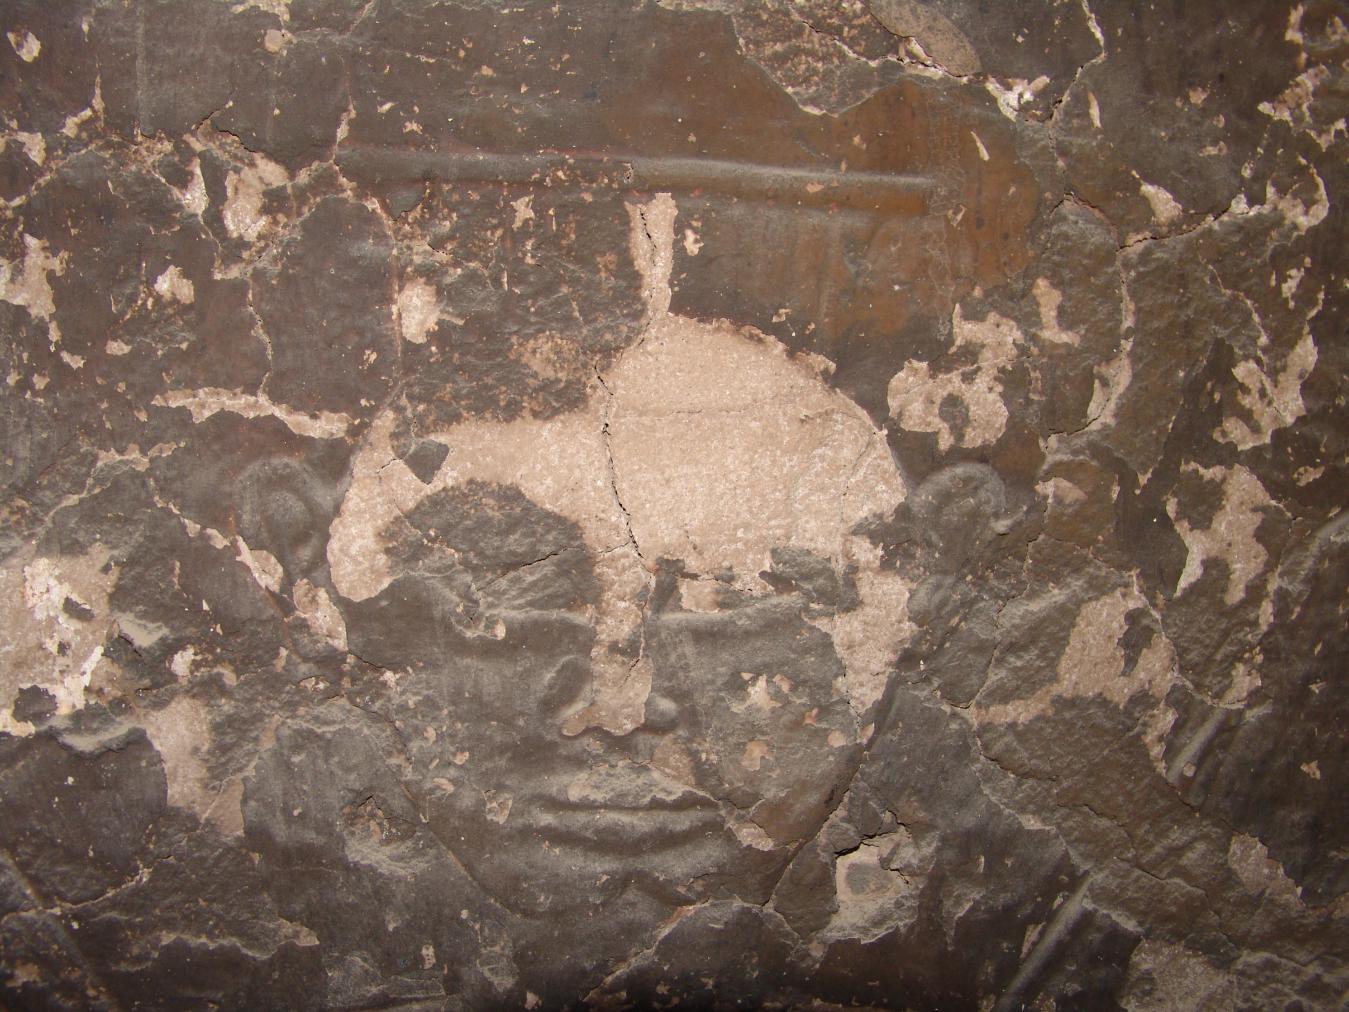
Detail of the full-face deity in a shrine. © Getty Conservation Institute and the Ministry of Tourism and Antiquities.
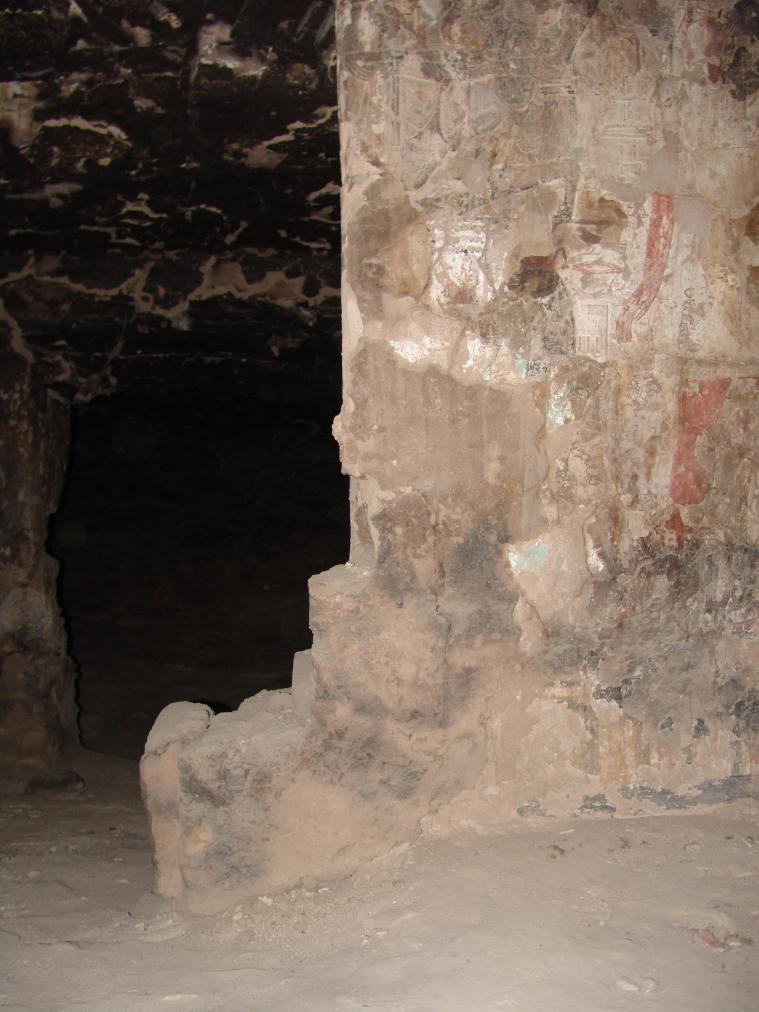
The right side of Gate C with a fecundity deity carrying offerings. © Getty Conservation Institute and the Ministry of Tourism and Antiquities.
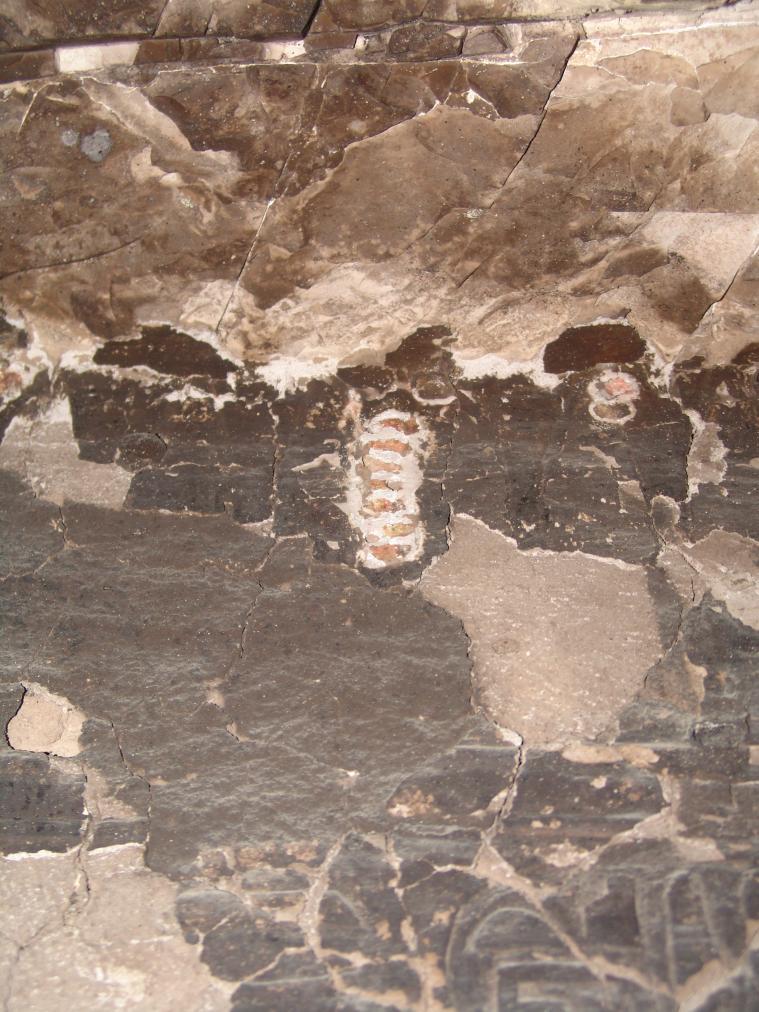
Detail of wasps nests on relief. © Getty Conservation Institute and the Ministry of Tourism and Antiquities.
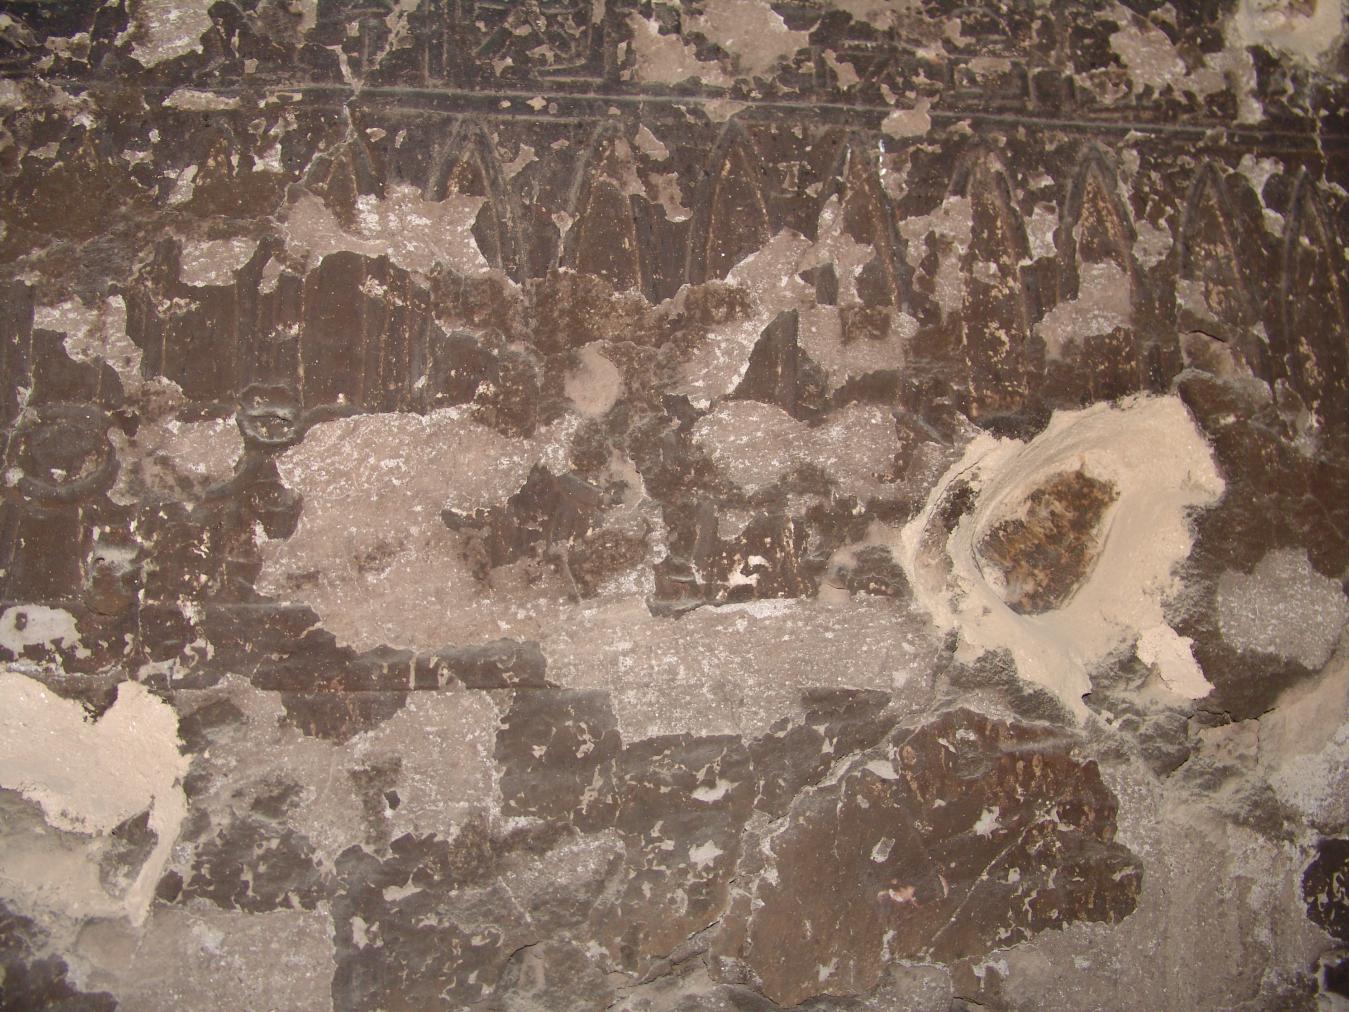
Detail of Kheker frieze relief and restoration work. © Getty Conservation Institute and the Ministry of Tourism and Antiquities.
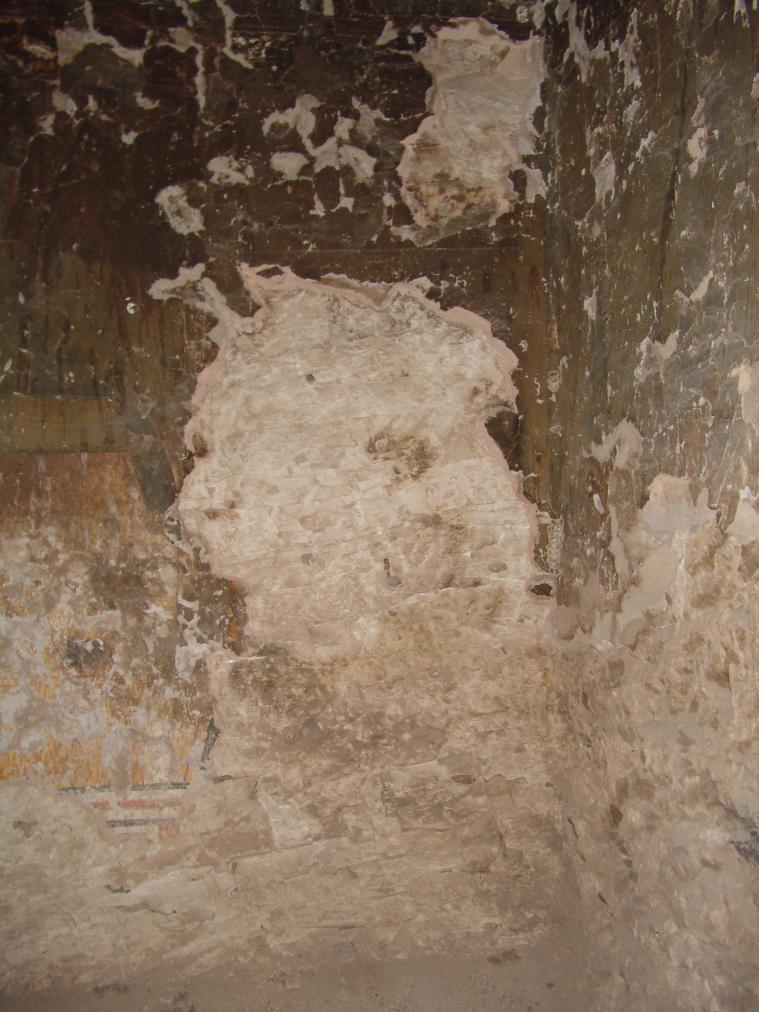
Detail of damage to reliefs. © Getty Conservation Institute and the Ministry of Tourism and Antiquities.
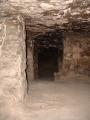
Gate Ba
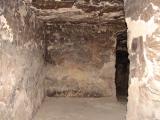
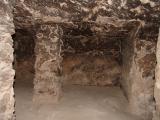
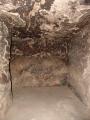
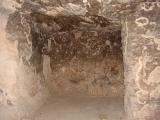
See entire tombThis gate is cut into the eastern wall of the pillared chamber and provides access to a small side chamber. The surviving decoration includes text on the lintel and reveals and depictions of the Four Sons of Horus on the thicknesses, two on each side.
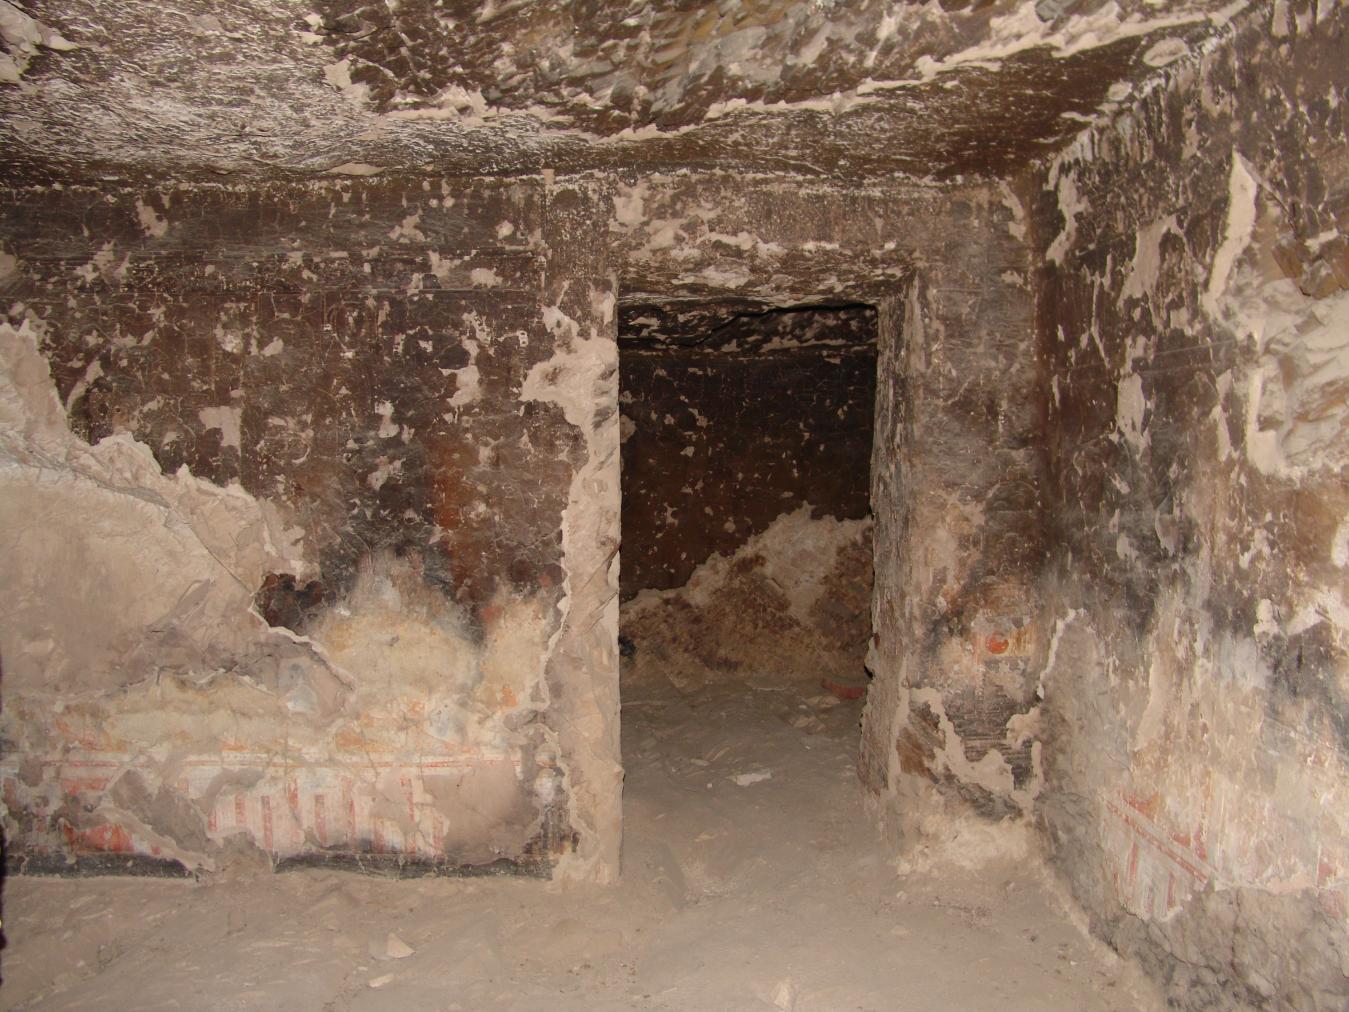
View of Gate Ba. © Getty Conservation Institute and the Ministry of Tourism and Antiquities.
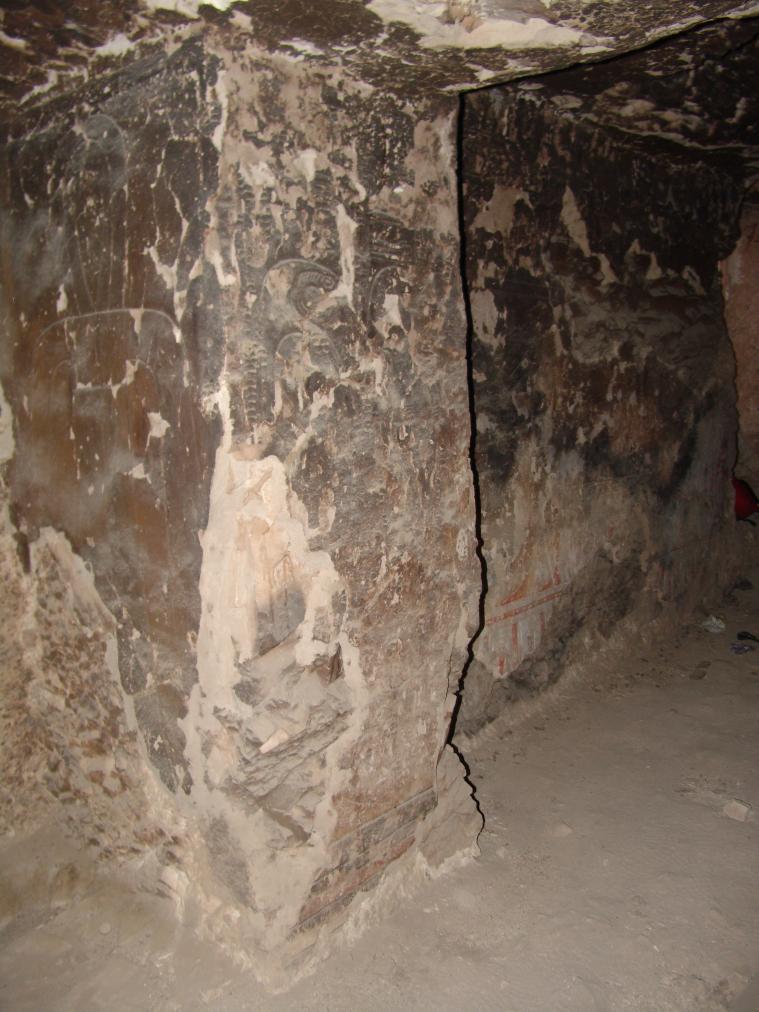
View of the right thickness with Hapy and Qebehsenuef. © Getty Conservation Institute and the Ministry of Tourism and Antiquities.
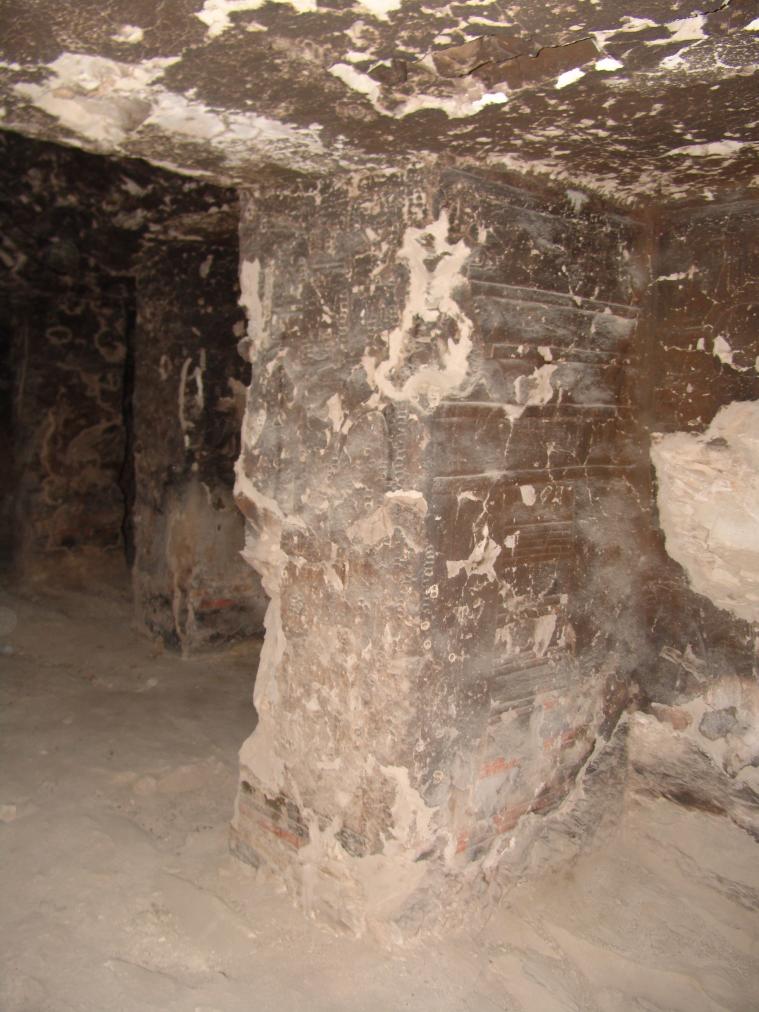
View of the left thickness with Imsety and Duamutef. © Getty Conservation Institute and the Ministry of Tourism and Antiquities.
Side chamber Ba
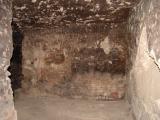
See entire tombThis small side chamber lies to the east of the pillared chamber. There is evidence of post-fire rock loss, particularly on the north wall.
The major scene in this chamber is on the eastern wall and centers on the Book of the Dead Spell 180, which depicts the union of Re and Osiris.
Porter and Moss designation:
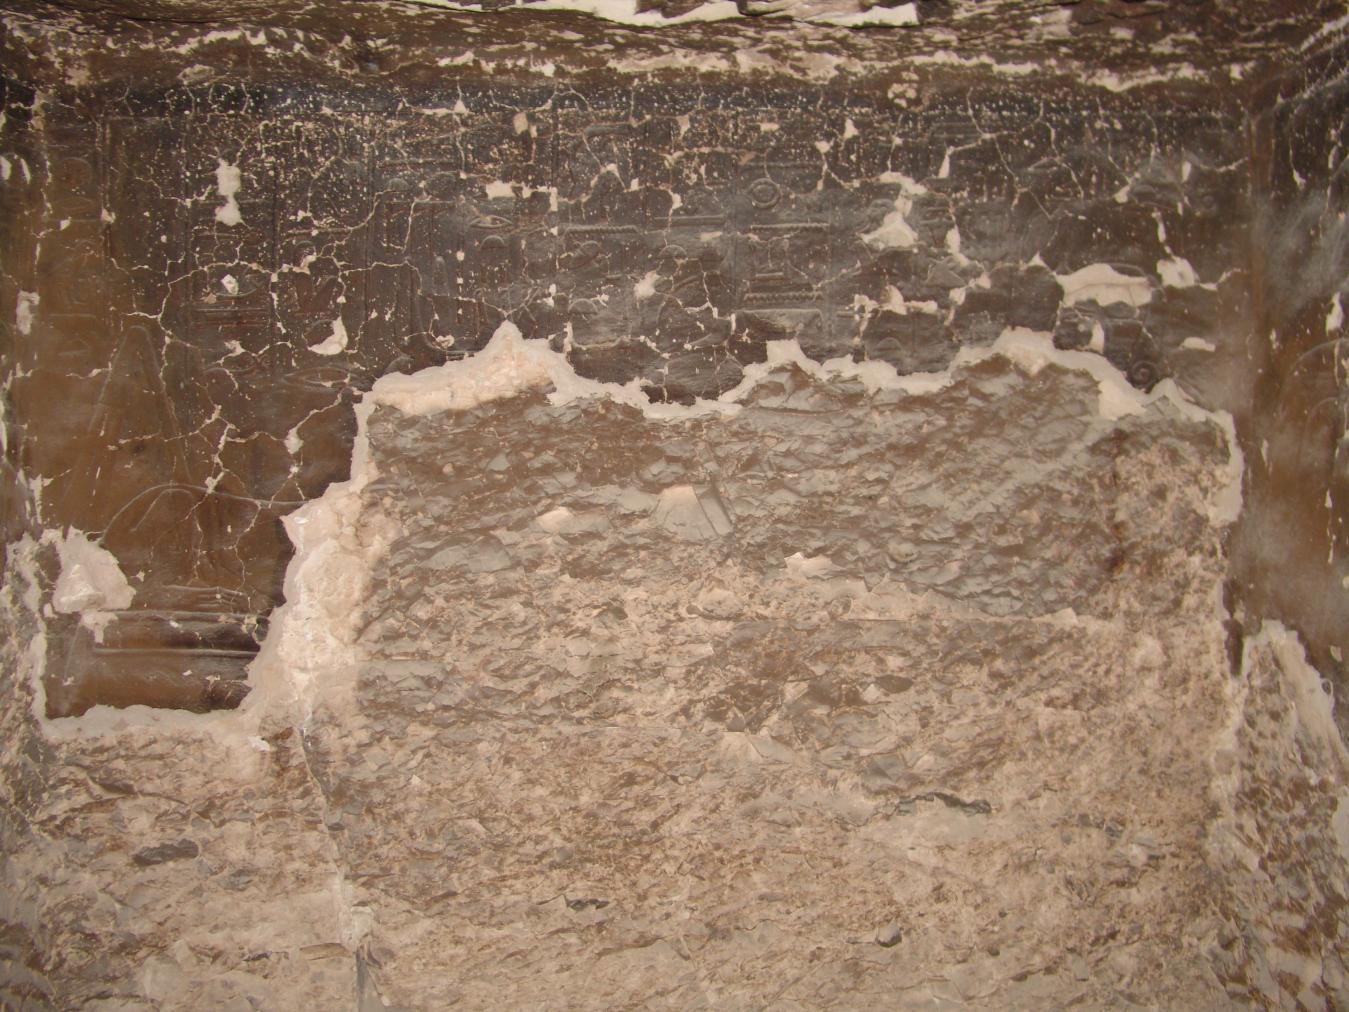
View of the south wall with a priest in adoration before Anubis as a jackal. © Getty Conservation Institute and the Ministry of Tourism and Antiquities.
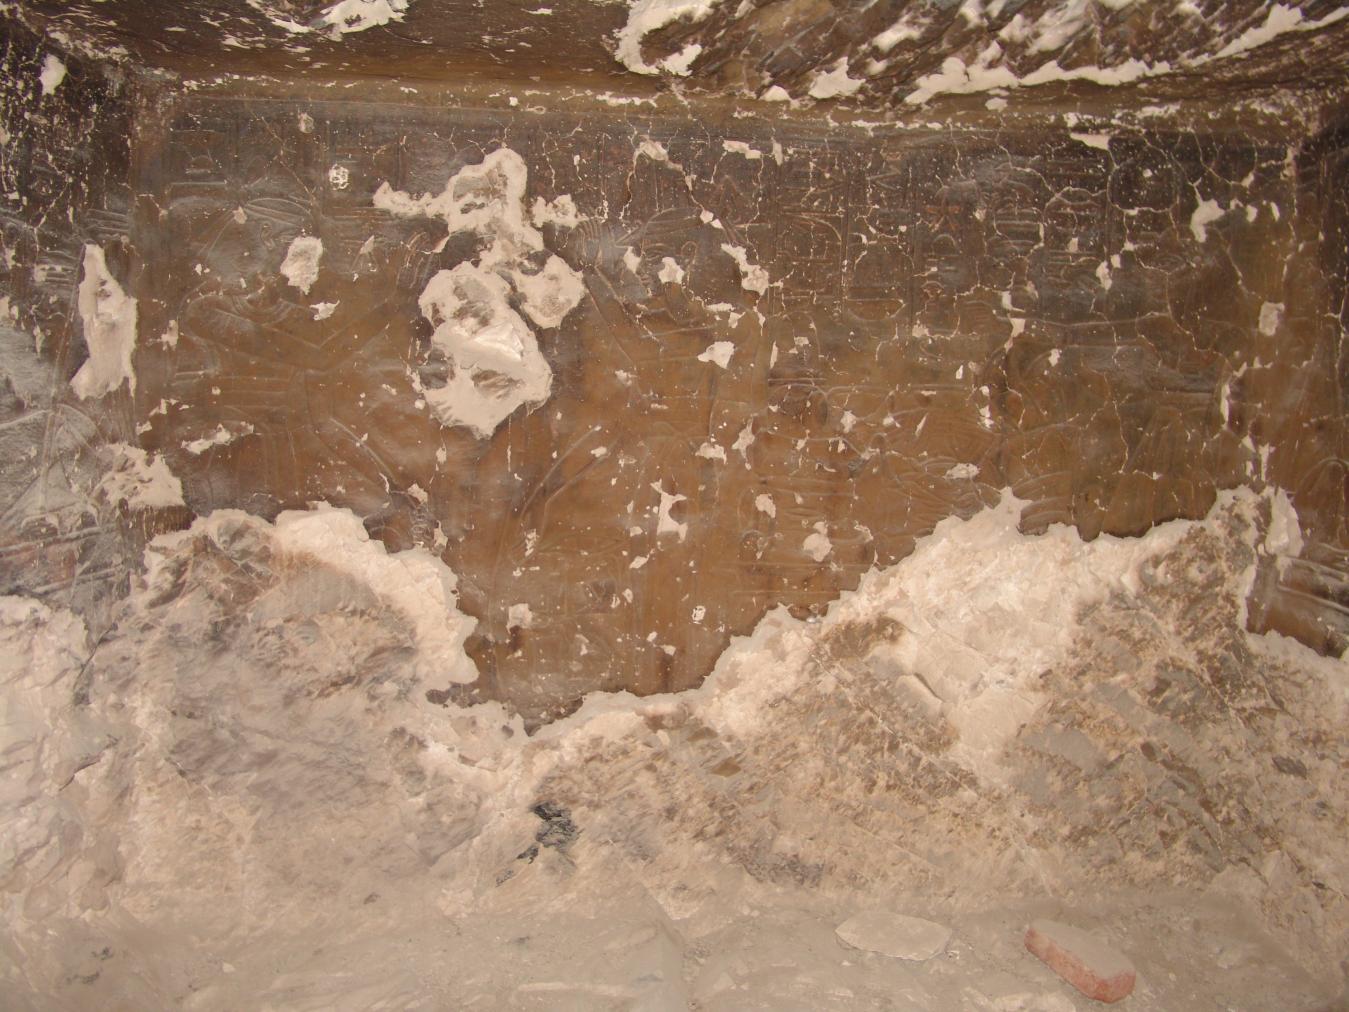
View of the east wall with the Book of the Dead Spell 180. Re-Osiris flanked by Isis and Nephthys with the Queen consecrating offerings before them. © Getty Conservation Institute and the Ministry of Tourism and Antiquities.
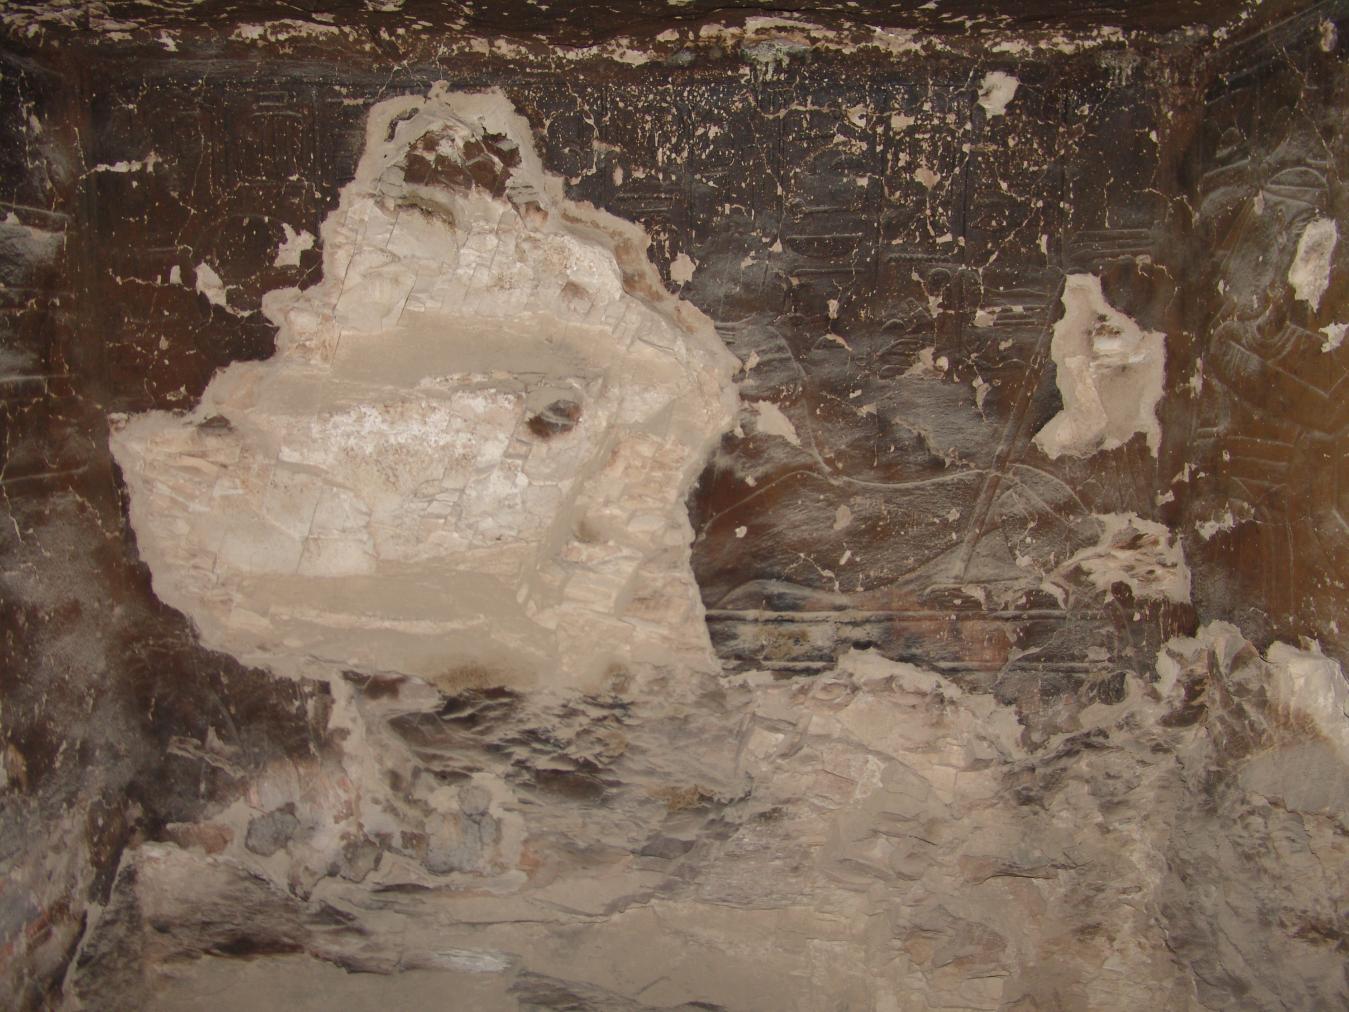
View of the north wall with a priest in adoration before Anubis as a jackal. © Getty Conservation Institute and the Ministry of Tourism and Antiquities.
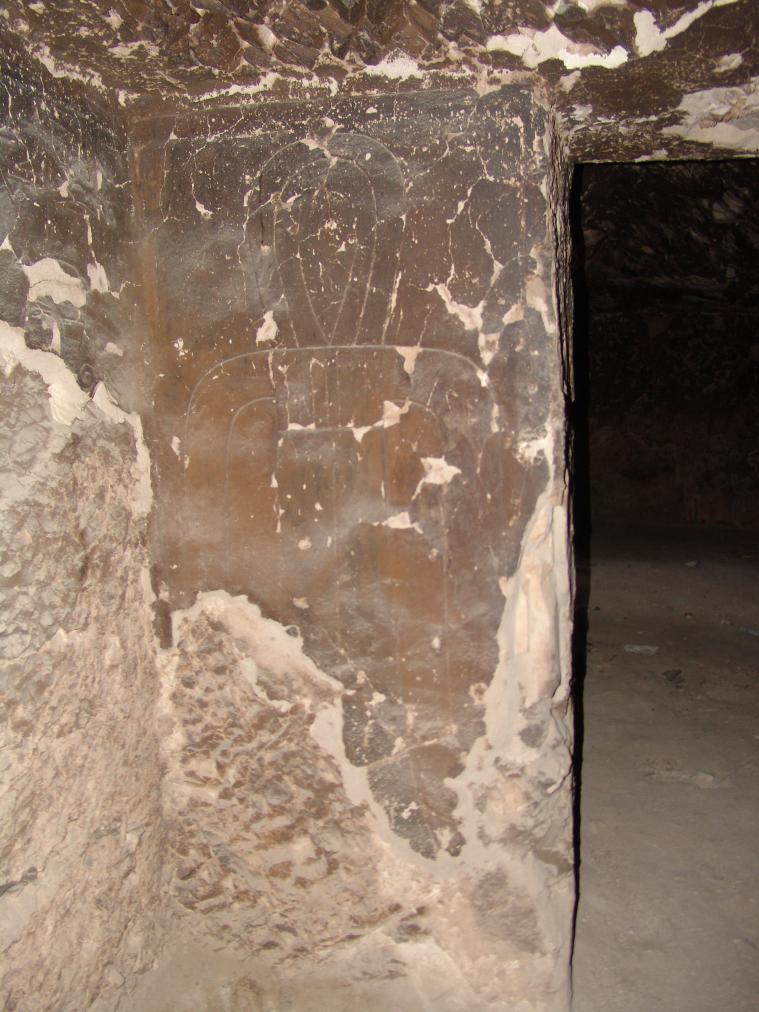
View of the west wall with a Tyet Knot. © Getty Conservation Institute and the Ministry of Tourism and Antiquities.
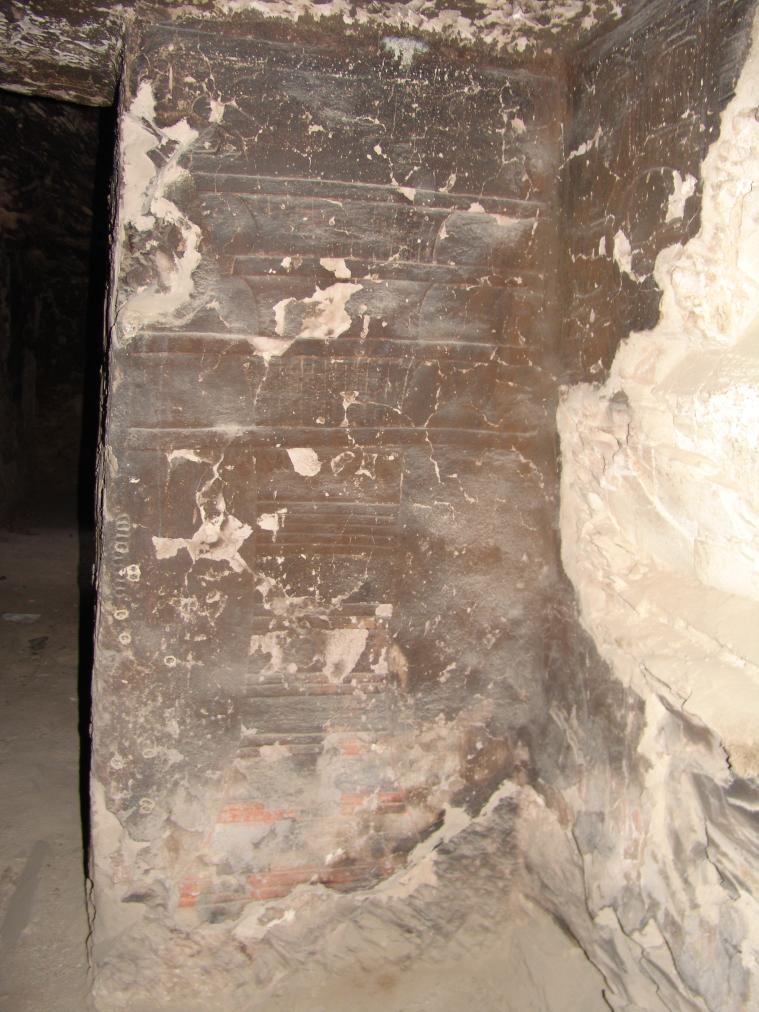
View of the west wall with a Djed Pillar. © Getty Conservation Institute and the Ministry of Tourism and Antiquities.
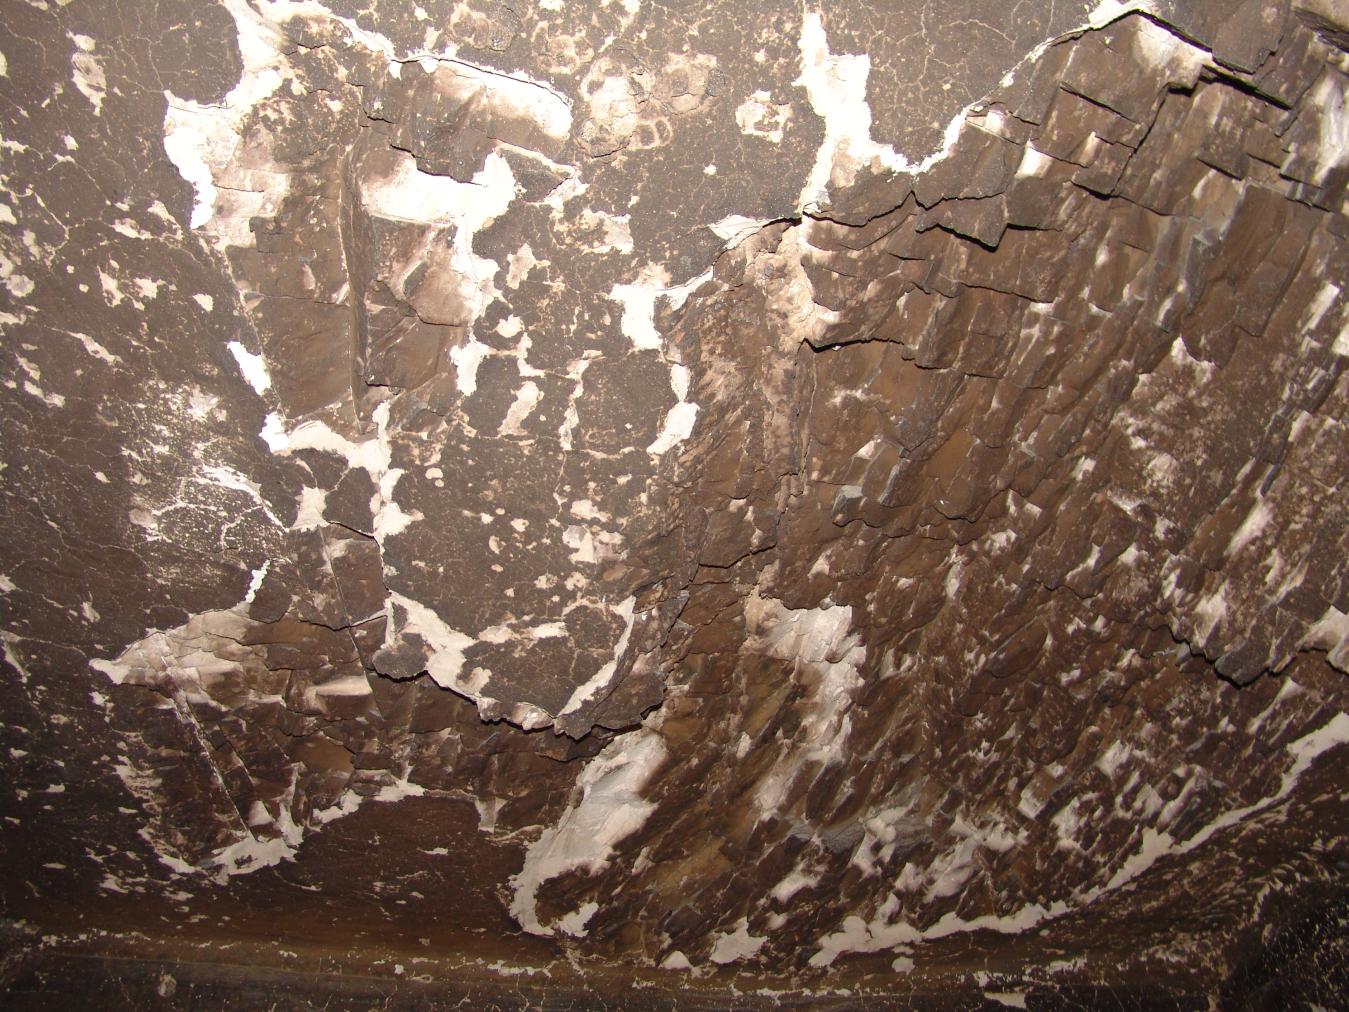
View of the ceiling. © Getty Conservation Institute and the Ministry of Tourism and Antiquities.
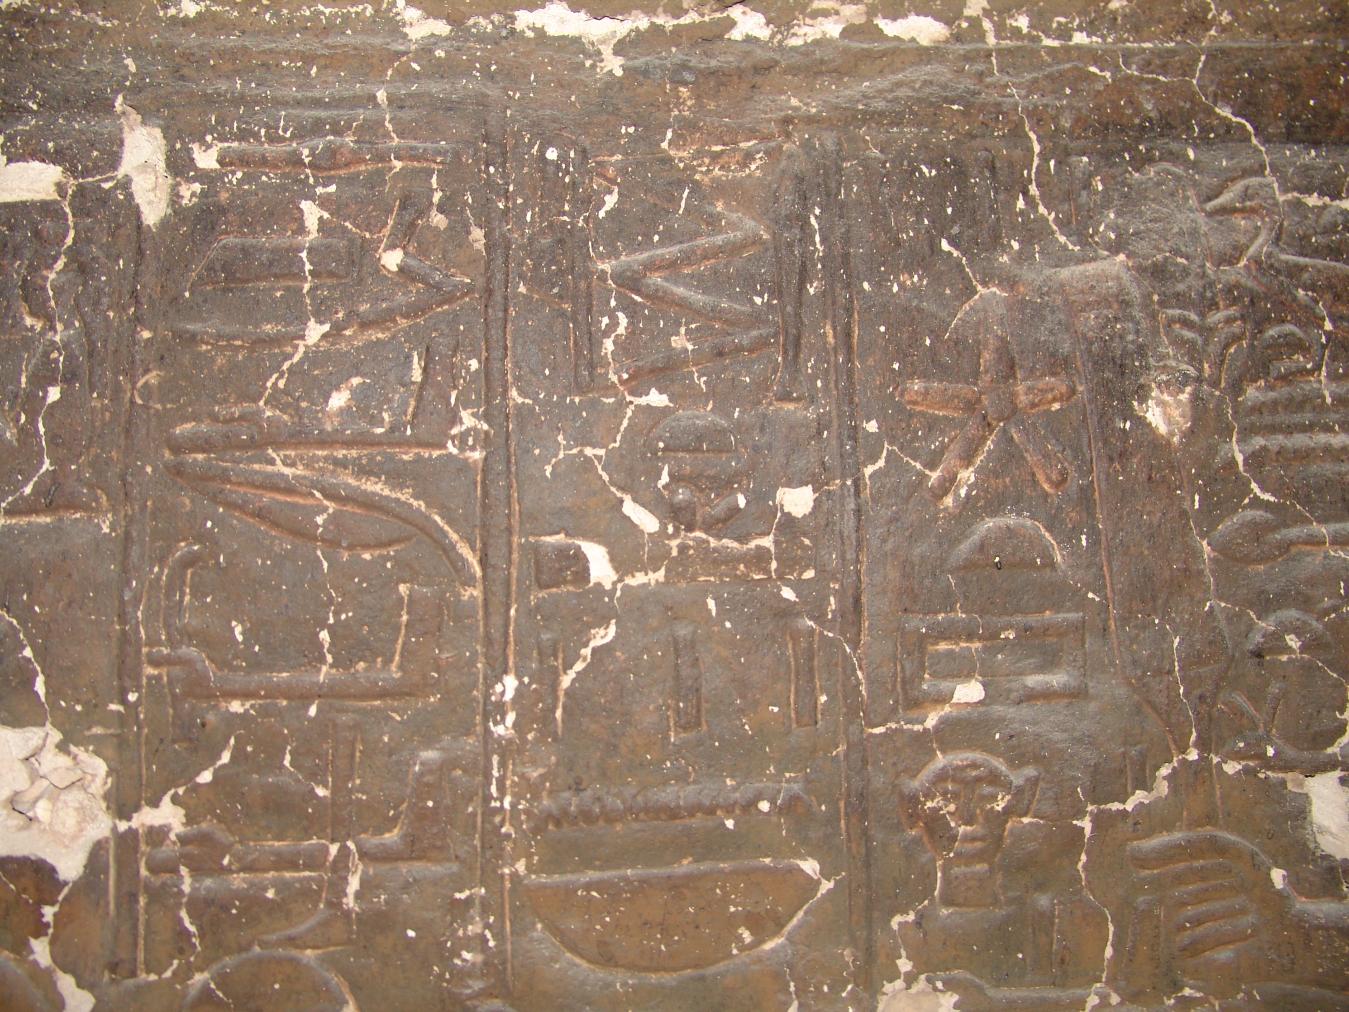
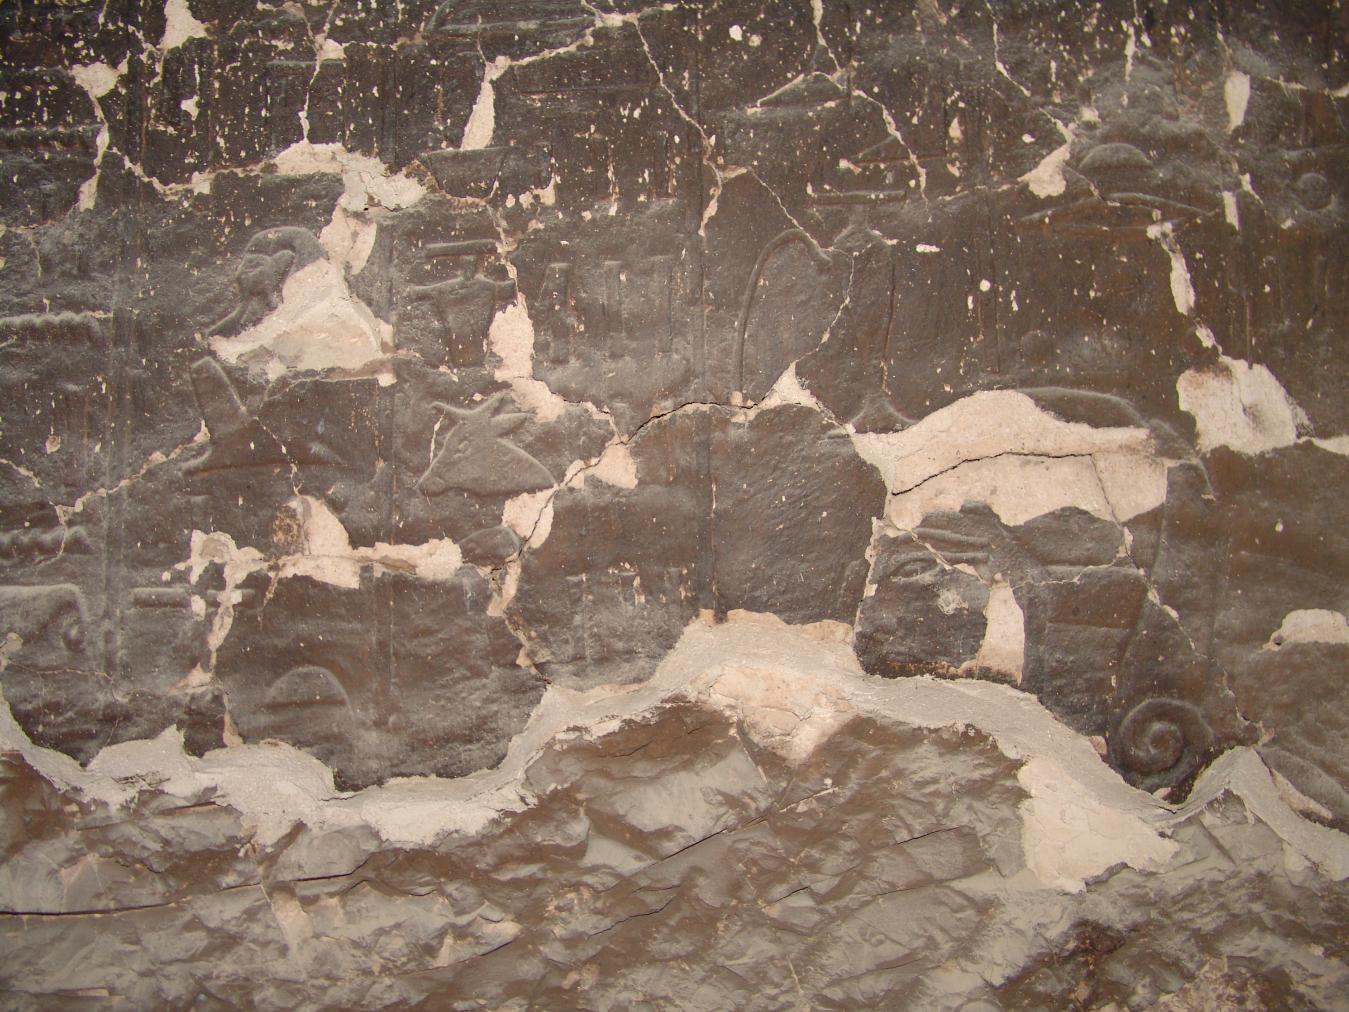
Detail of south wall with hieroglyphic text. © Getty Conservation Institute and the Ministry of Tourism and Antiquities.
Detail of the south wall with a priest in adoration. © Getty Conservation Institute and the Ministry of Tourism and Antiquities.
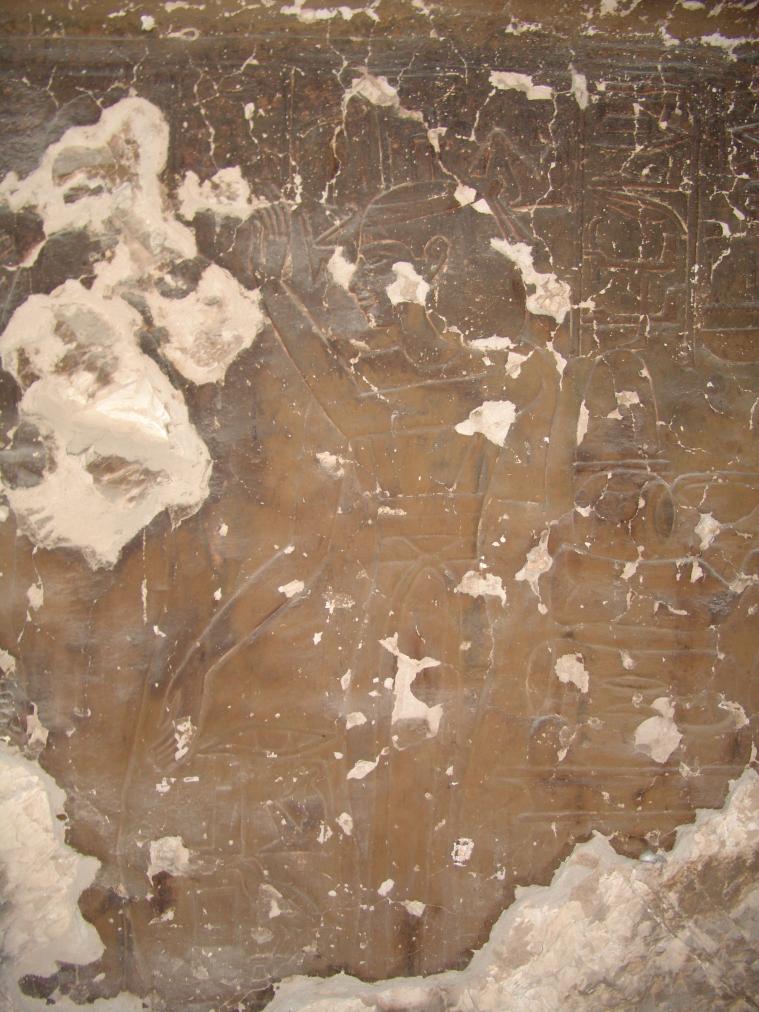
Detail of the east wall with Nephthys. © Getty Conservation Institute and the Ministry of Tourism and Antiquities.
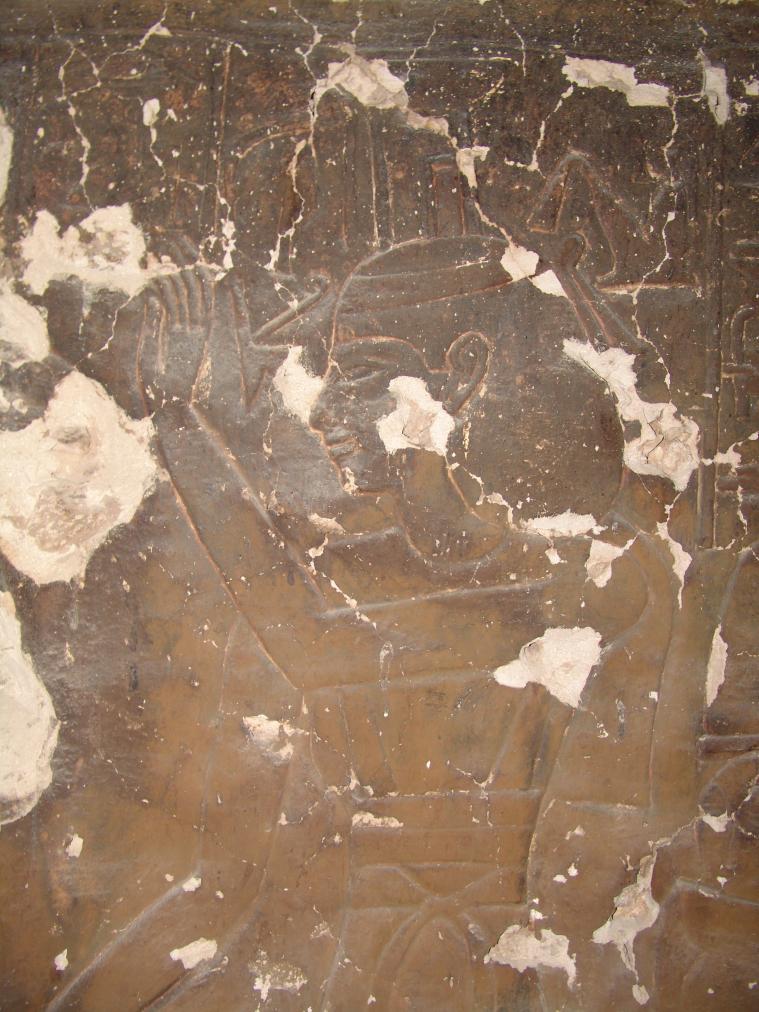
Detail of the east wall with Nephthys. © Getty Conservation Institute and the Ministry of Tourism and Antiquities.
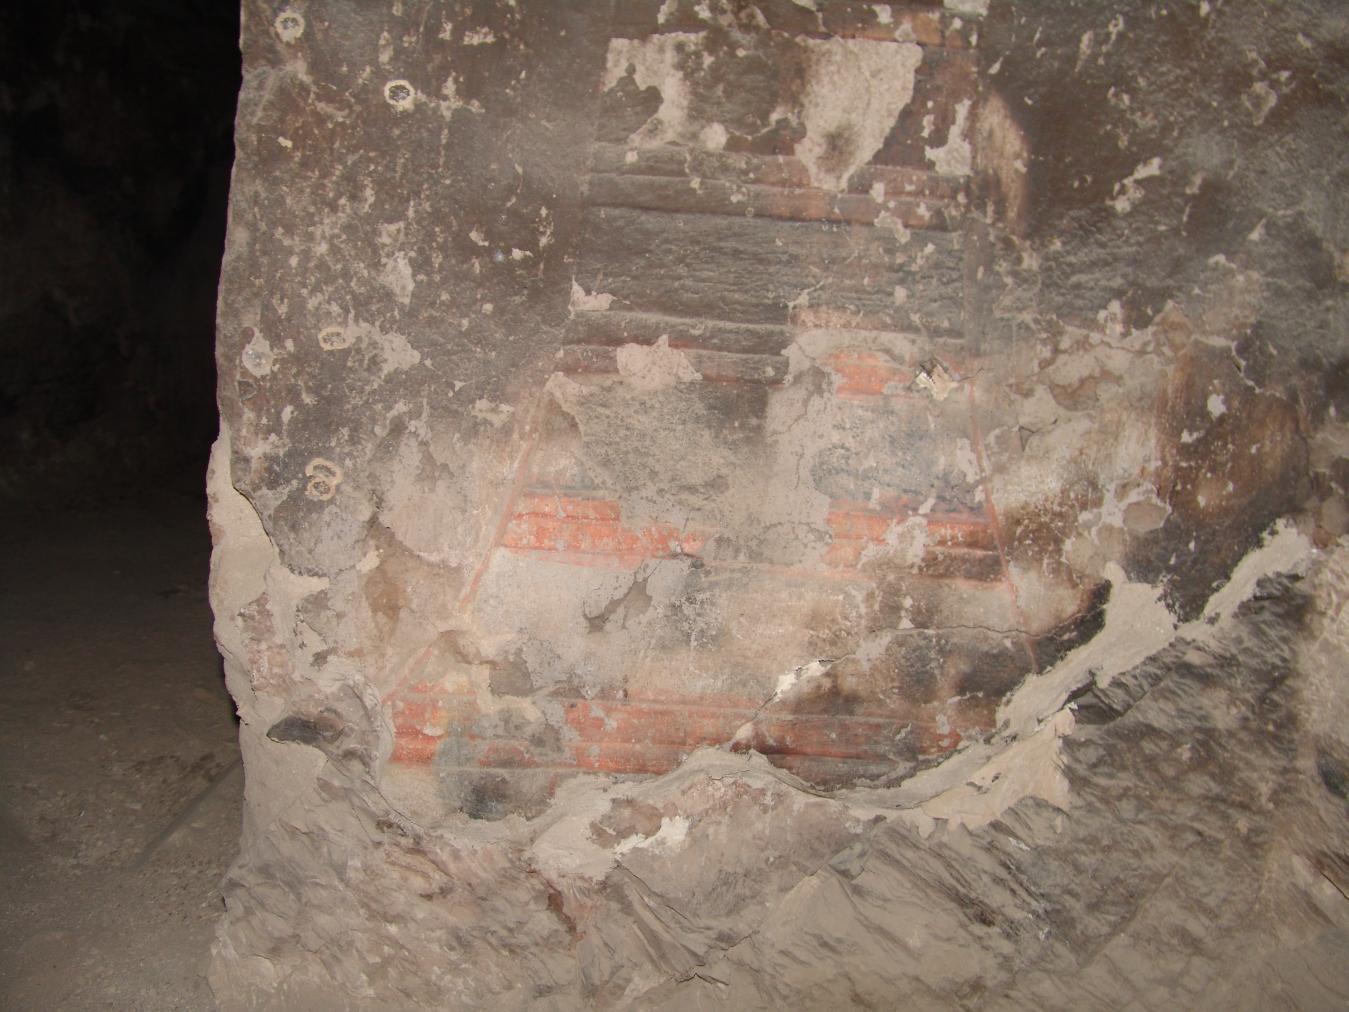
Detail of the west wall with a Djed Pillar. © Getty Conservation Institute and the Ministry of Tourism and Antiquities.
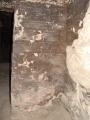
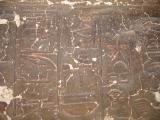
Gate C
See entire tombThis gate lies on axis with the tomb's entrance and provides access to a small corridor with Ramp. There are remains of mud brick walls against the right thickness that were added during the Roman Period.
The only surviving decoration of this gate is on the thicknesses and contains images of Hathor performing the Nini ritual.
Porter and Moss designation:
View of the western pillar and Gate C. © Getty Conservation Institute and the Ministry of Tourism and Antiquities.
View of the western pillar and Gate C. © Getty Conservation Institute and the Ministry of Tourism and Antiquities.
View of the western pillar and Gate C. © Getty Conservation Institute and the Ministry of Tourism and Antiquities.
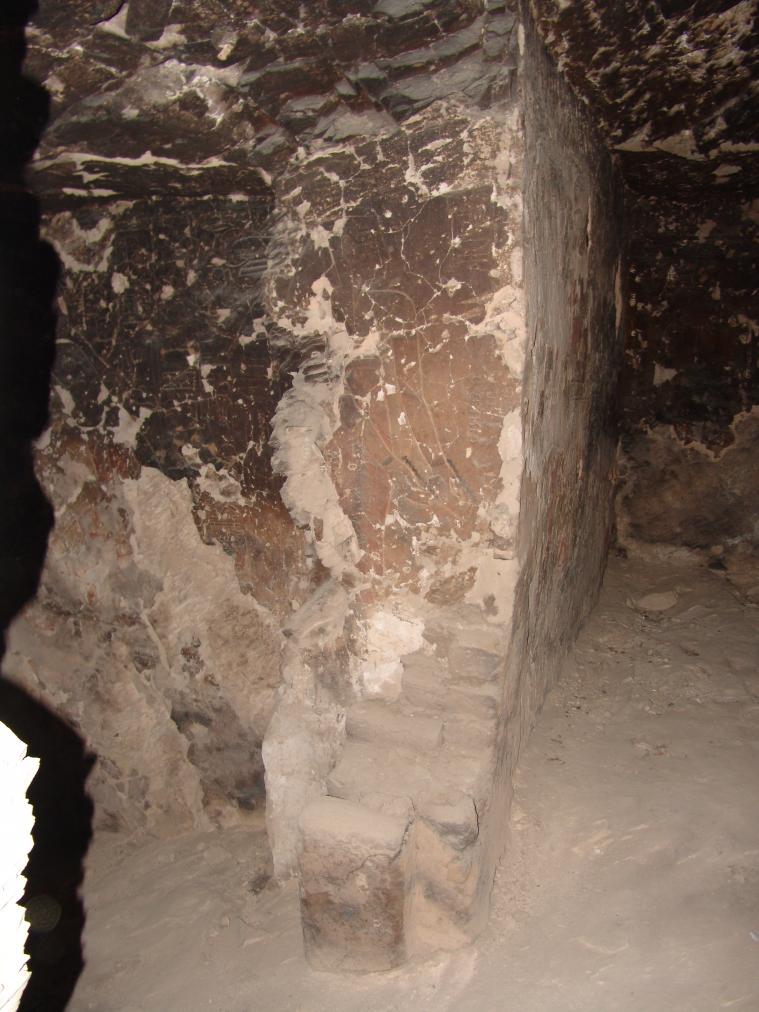
View of right thickness with Hathor performing the nini ritual and mubrick from the Roman Period. © Getty Conservation Institute and the Ministry of Tourism and Antiquities
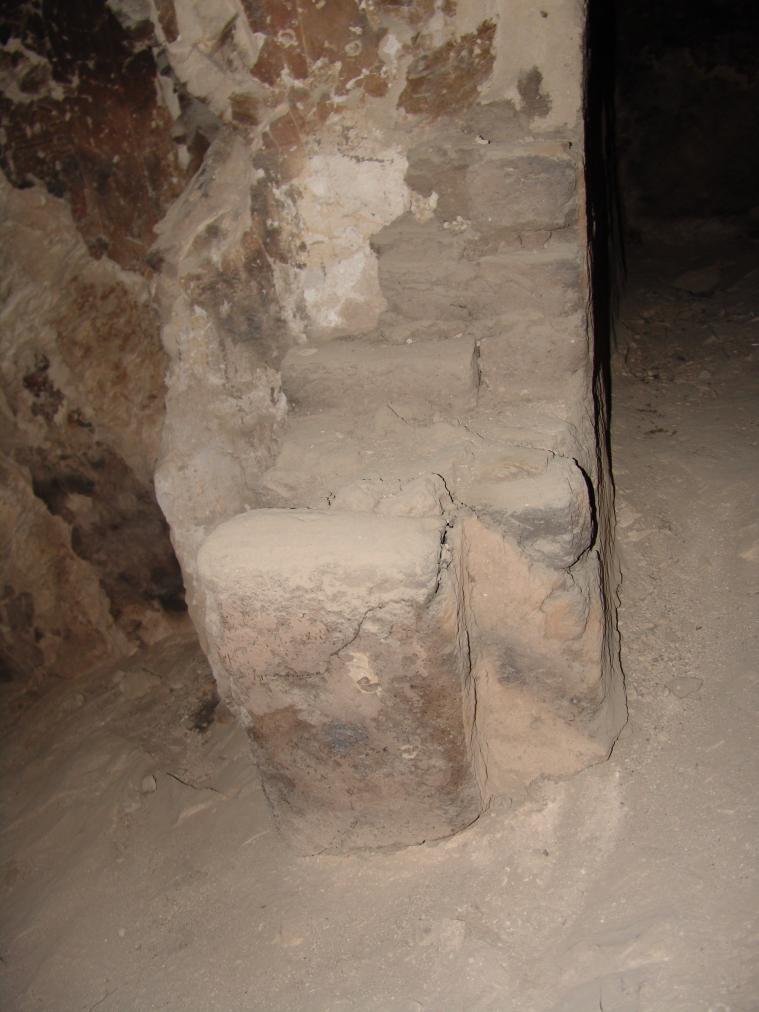
Remains of mud brick walls against the right thickness added during the Roman Period. © Getty Conservation Institute and the Ministry of Tourism and Antiquities.
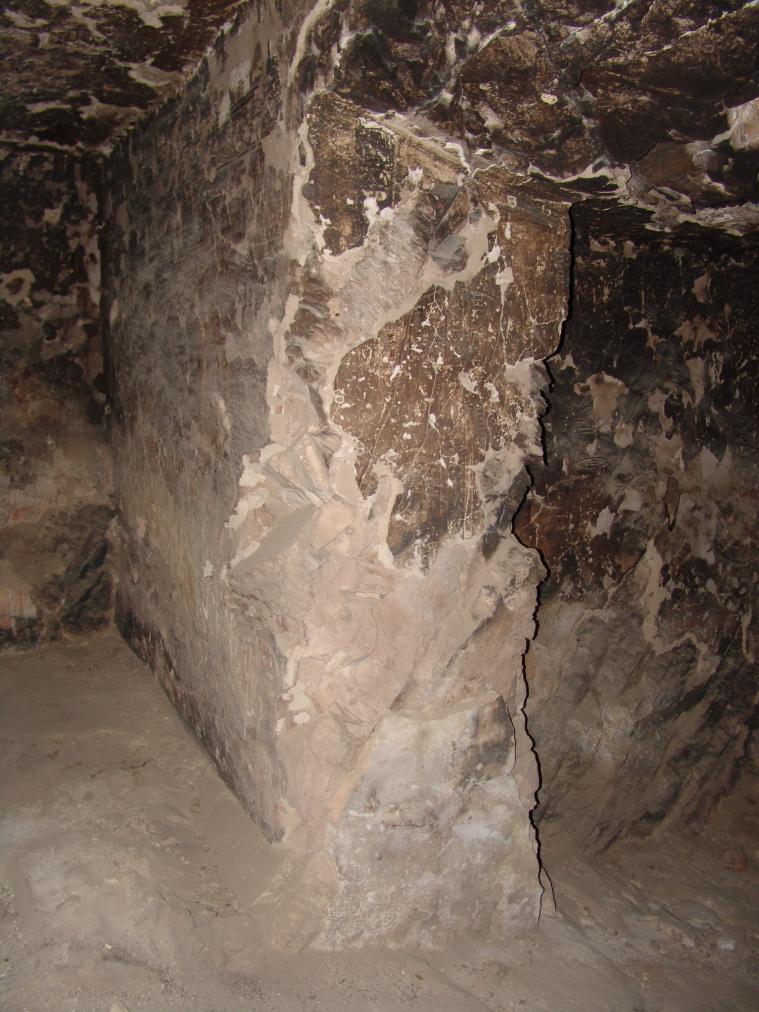
View of the left thickness with Hathor performing the nini ritual. © Getty Conservation Institute and the Ministry of Tourism and Antiquities.
Stairwell C
See entire tombThis small corridor or vestibule lies on axis with the tomb's entrance. The floor has Steps leading down to the lower burial chamber. The walls have suffered blackening from fire and there are fragile, cracked, and detached areas of plaster on the east wall.
The scenes in this small chamber center on the protection of the deceased. The south wall is decorated with amuletic symbols and the east and west walls contain depictions of Osiris and mummiform Neith and Serqet protected by Isis and Nephthys.
Porter and Moss designation:
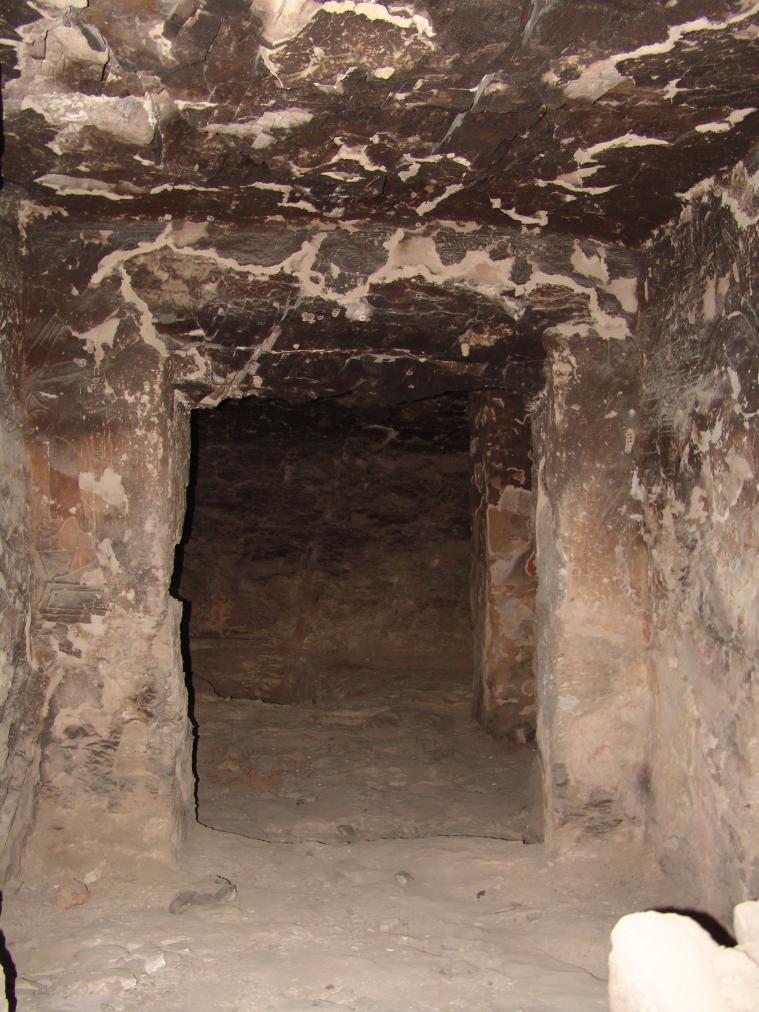
View of Stairwell C and Gate D. © Getty Conservation Institute and the Ministry of Tourism and Antiquities.
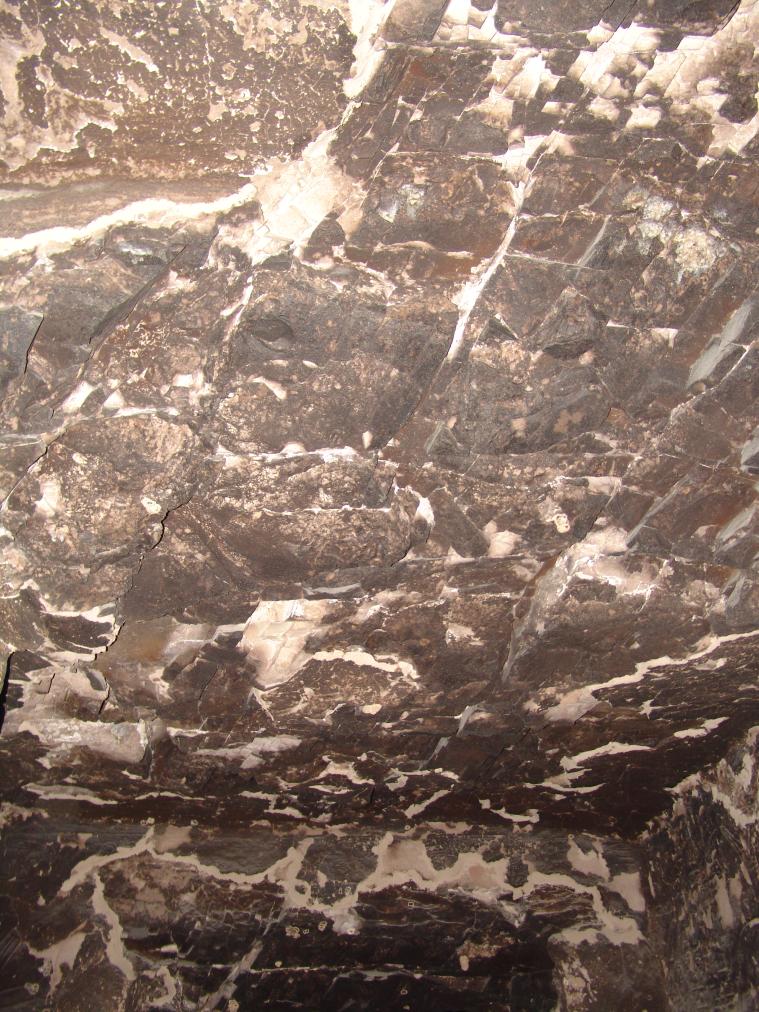
View of the ceiling. © Getty Conservation Institute and the Ministry of Tourism and Antiquities.
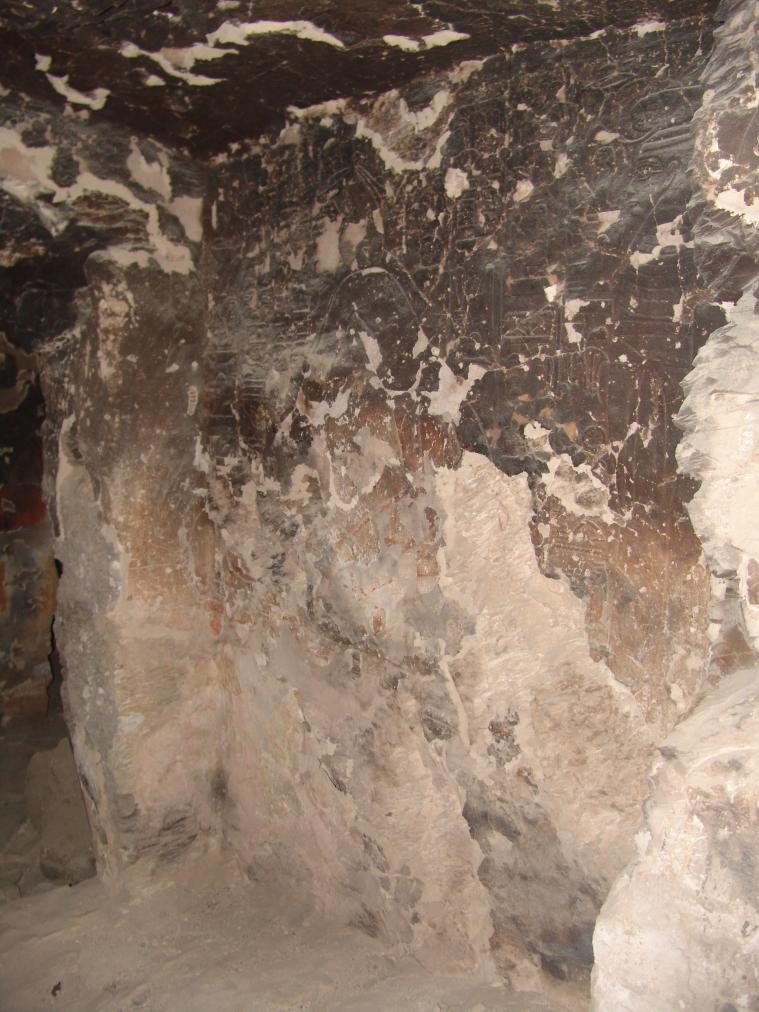
View of Gate D and the east wall with mummiform Serqet protected by kneeling Nephthys with Osiris. © Getty Conservation Institute and the Ministry of Tourism and Antiquities.
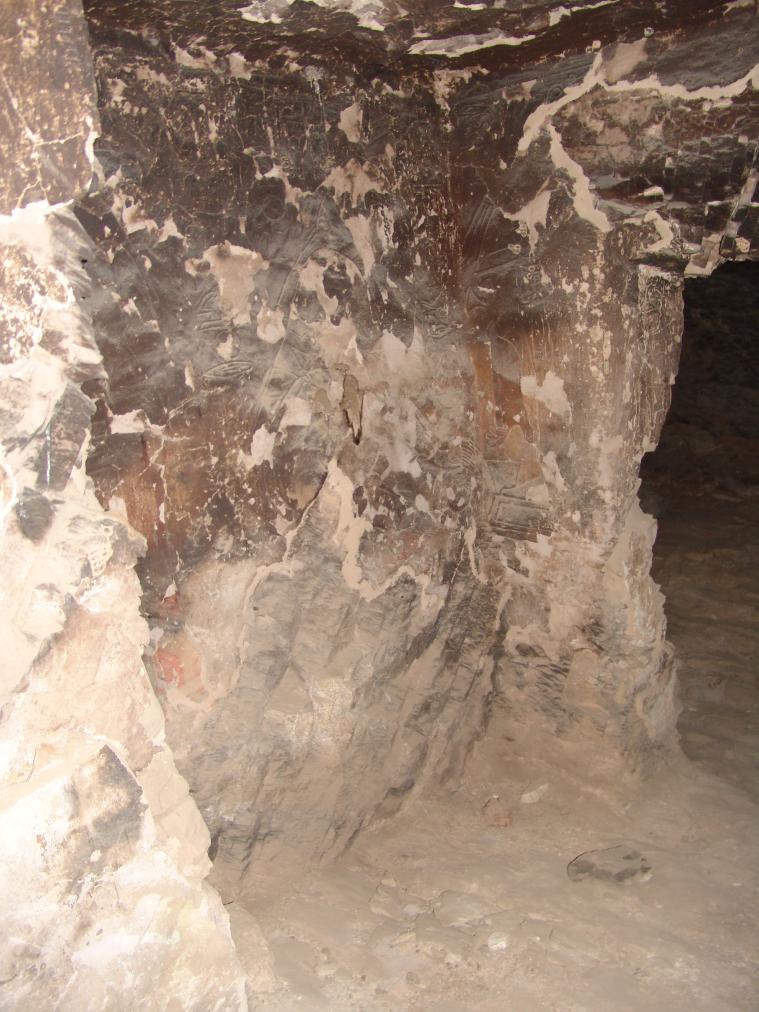
View of Gate D and the west wall with mummiform Neit protected by kneeling Isis with Osiris. © Getty Conservation Institute and the Ministry of Tourism and Antiquities.
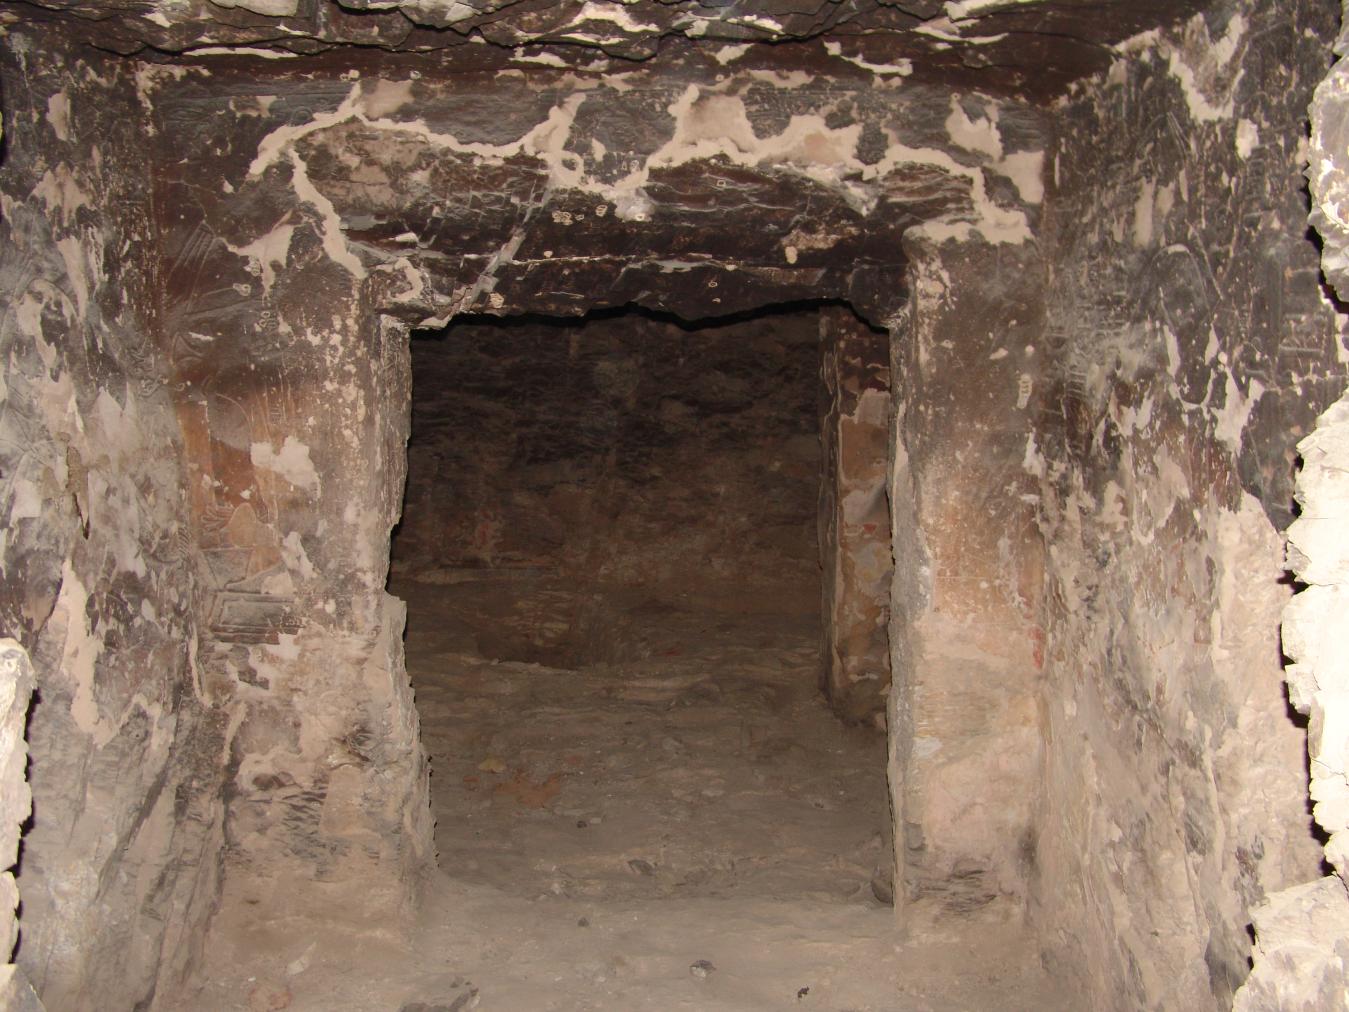
View of Stairwell C and Gate D. © Getty Conservation Institute and the Ministry of Tourism and Antiquities.
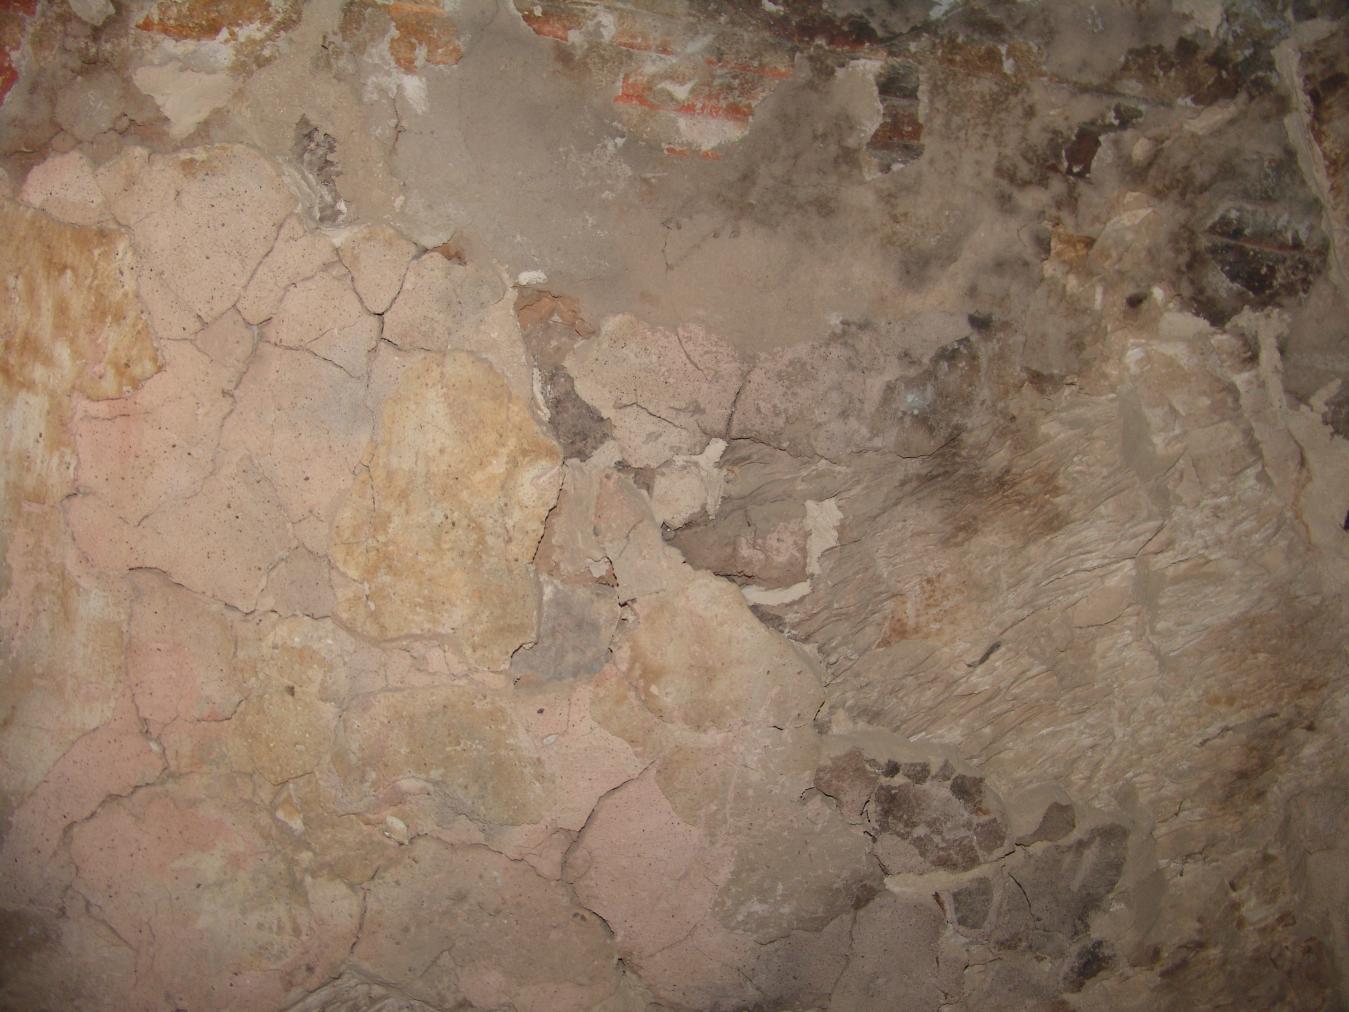
View of the ceiling. © Getty Conservation Institute and the Ministry of Tourism and Antiquities.
Gate D
See entire tombPorter and Moss designation:
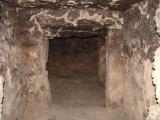
View of Stairwell C and Gate D. © Getty Conservation Institute and the Ministry of Tourism and Antiquities.
View of Gate D and the east wall with mummiform Serqet protected by kneeling Nephthys with Osiris. © Getty Conservation Institute and the Ministry of Tourism and Antiquities.
View of Gate D and the west wall with mummiform Neit protected by kneeling Isis with Osiris. © Getty Conservation Institute and the Ministry of Tourism and Antiquities.
View of Stairwell C and Gate D. © Getty Conservation Institute and the Ministry of Tourism and Antiquities.
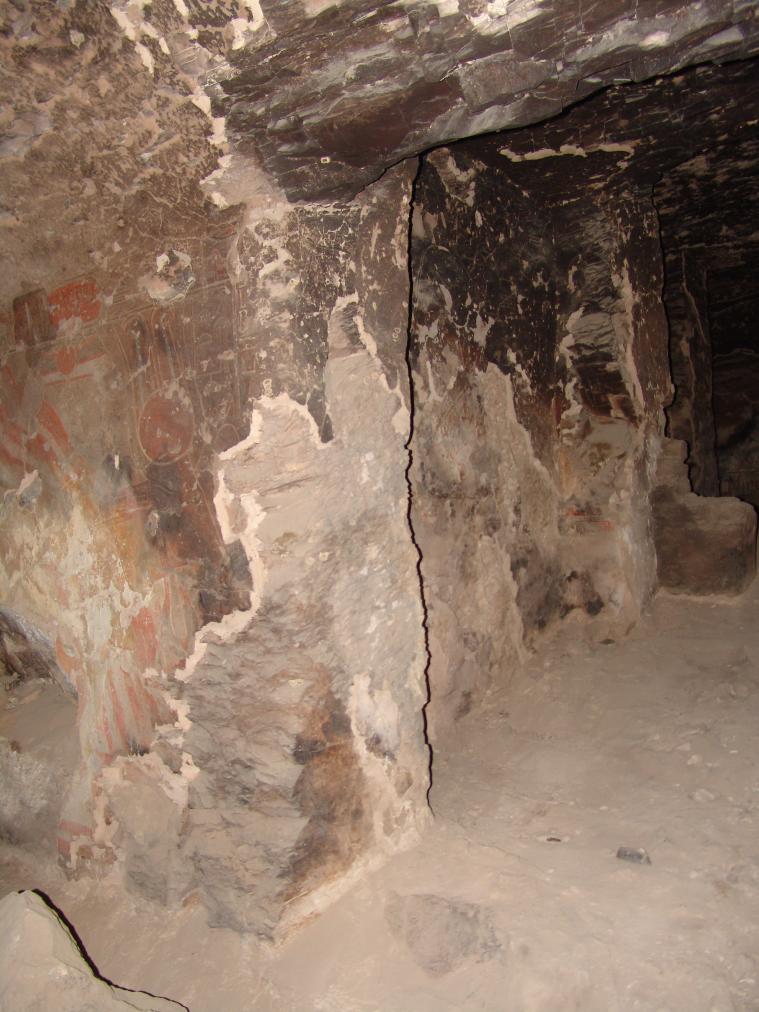
View of Gate D and the right thickness with an unidentifiable female deity performing the nini ritual. © Getty Conservation Institute and the Ministry of Tourism and Antiquities.
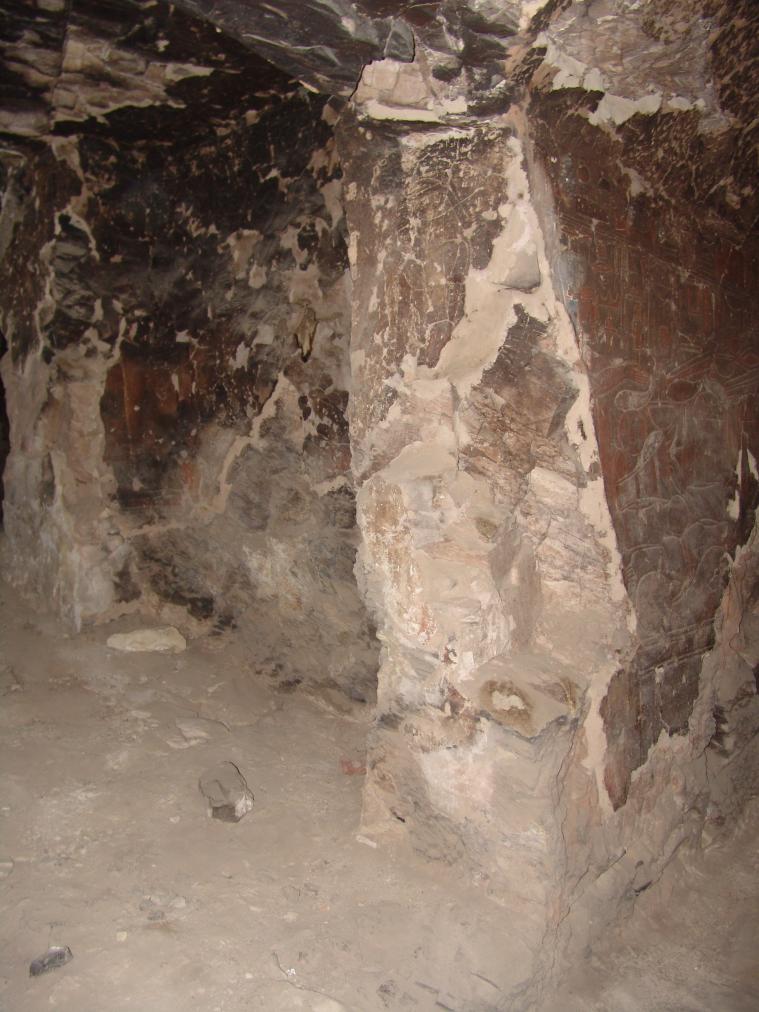
View of Gate D and the left thickness with an unidentifiable female deity performing the nini ritual. © Getty Conservation Institute and the Ministry of Tourism and Antiquities.
Burial chamber D
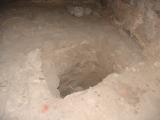
See entire tombThis chamber served as the burial place for the queen and lies on an east-west axis, perpendicular to the tomb's axis. The ceiling is vaulted and the chamber originally contained two constructed pillars, one of which has since collapsed. A later pit that continues to a small lower side chamber was cut into the northwestern side of the burial chamber floor. The blackening of the walls and ceiling in this chamber are darker in color than the preceding chambers, suggesting that the fire itself occurred here. The lower parts of pillars and walls escaped fire damage, indicating that they may have been protected by sand or debris. Substantial packing with debris was necessary to fill large voids in the walls and was subsequently plastered over. A large amount of this infill material has now been lost, leaving large gaps in the walls.
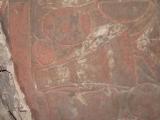
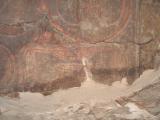
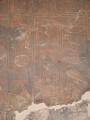
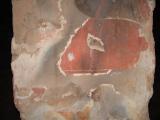
The scenes in this chamber are severely blackened and thus difficult to identify. They center on the protection and transformation or mummification of the Queen. The west wall contains a depiction of the queen consecrating merit-boxes, the linen used for mummification, before Anubis. The south wall includes the scene of Hathor as a cow emerging from the western mountain. The eastern pillar still retains some of its decoration and includes depictions of Mehet-Weret, a soul of Nekhen performing the Henu gesture, and Meretseger as a cobra.
Chamber plan:
RectangularRelationship to main tomb axis:
PerpendicularChamber layout:
Flat floor, pillarsFloor:
One levelCeiling:
Vaulted
Porter and Moss designation:
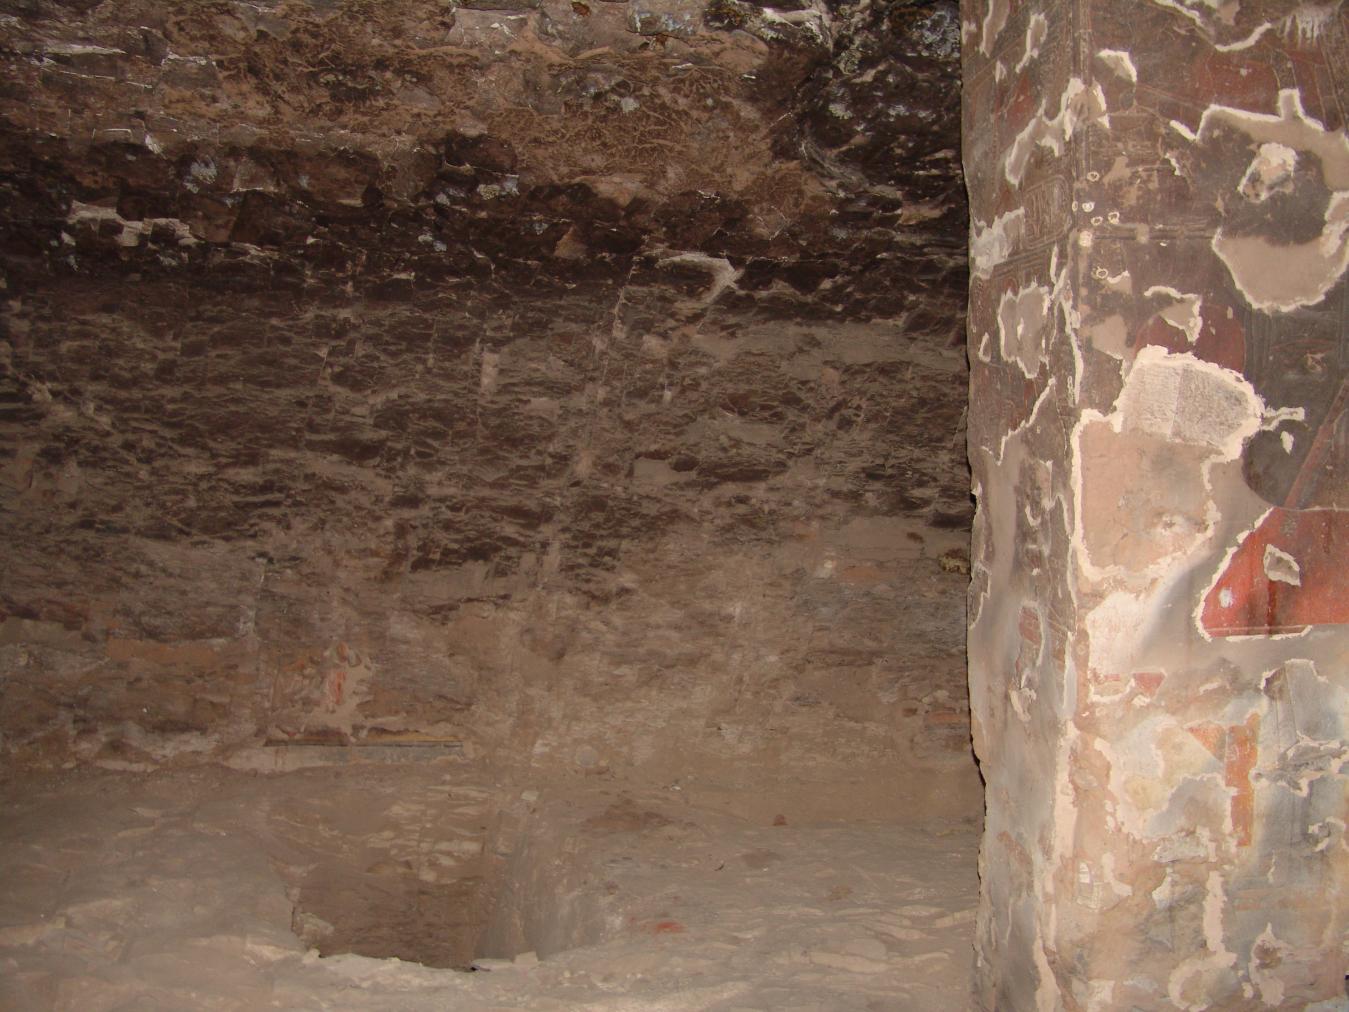
View of the northern wall and the pit leading to side chamber Da. Intact eastern pillar on the left. © Getty Conservation Institute and the Ministry of Tourism and Antiquities.
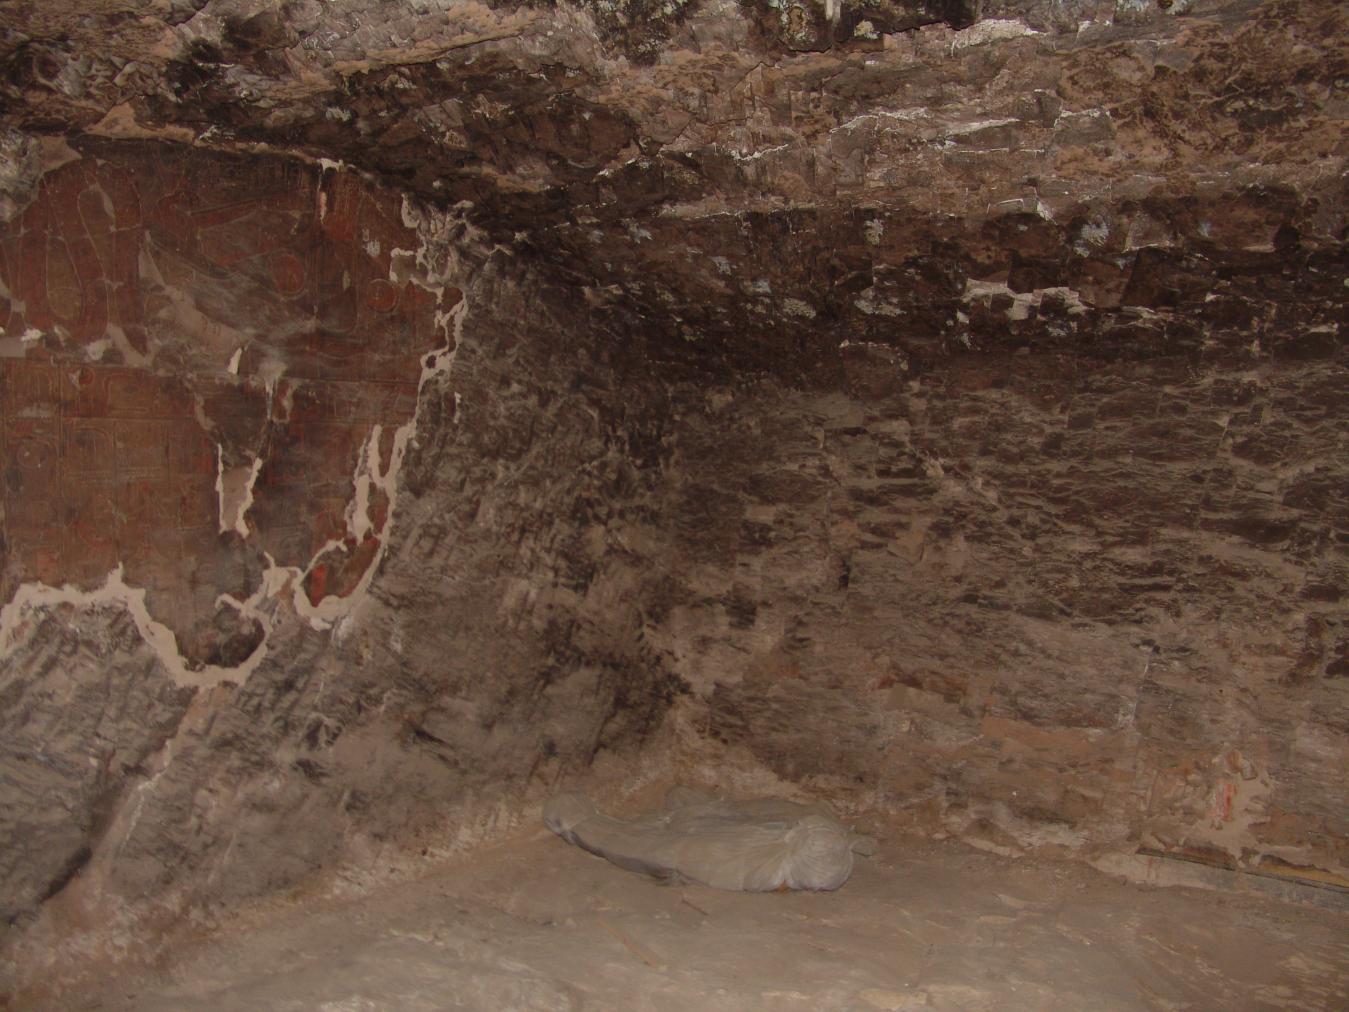
View of the northwestern corner with the cartouche of the Queen flanked by two winged cobras, and the Queen consecrating merit-boxes before Anubis on the western wall. © Getty Conservation Institute and the Ministry of Tourism and Antiquities.
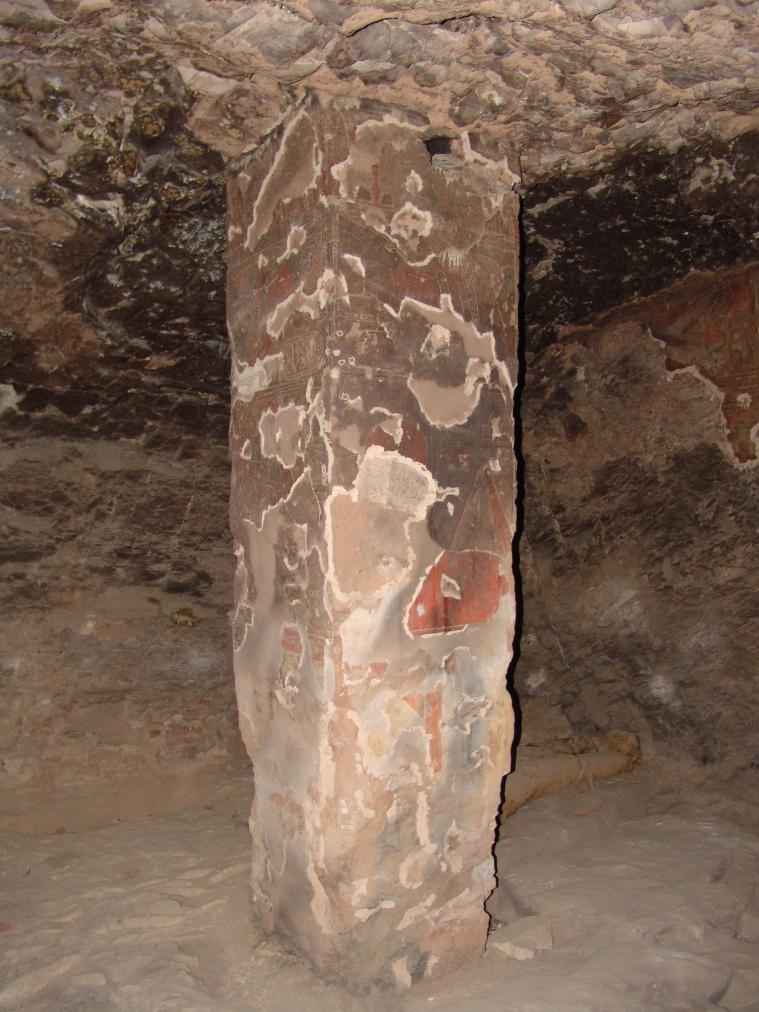
View of the intact pillar with a winged vulture and Mehet-Weret as a cow on the front, and a winged vulture and the cartouche of Queen next to a soul of Nekhen on the left. © Getty Conservation Institute and the Ministry of Tourism and Antiquities.
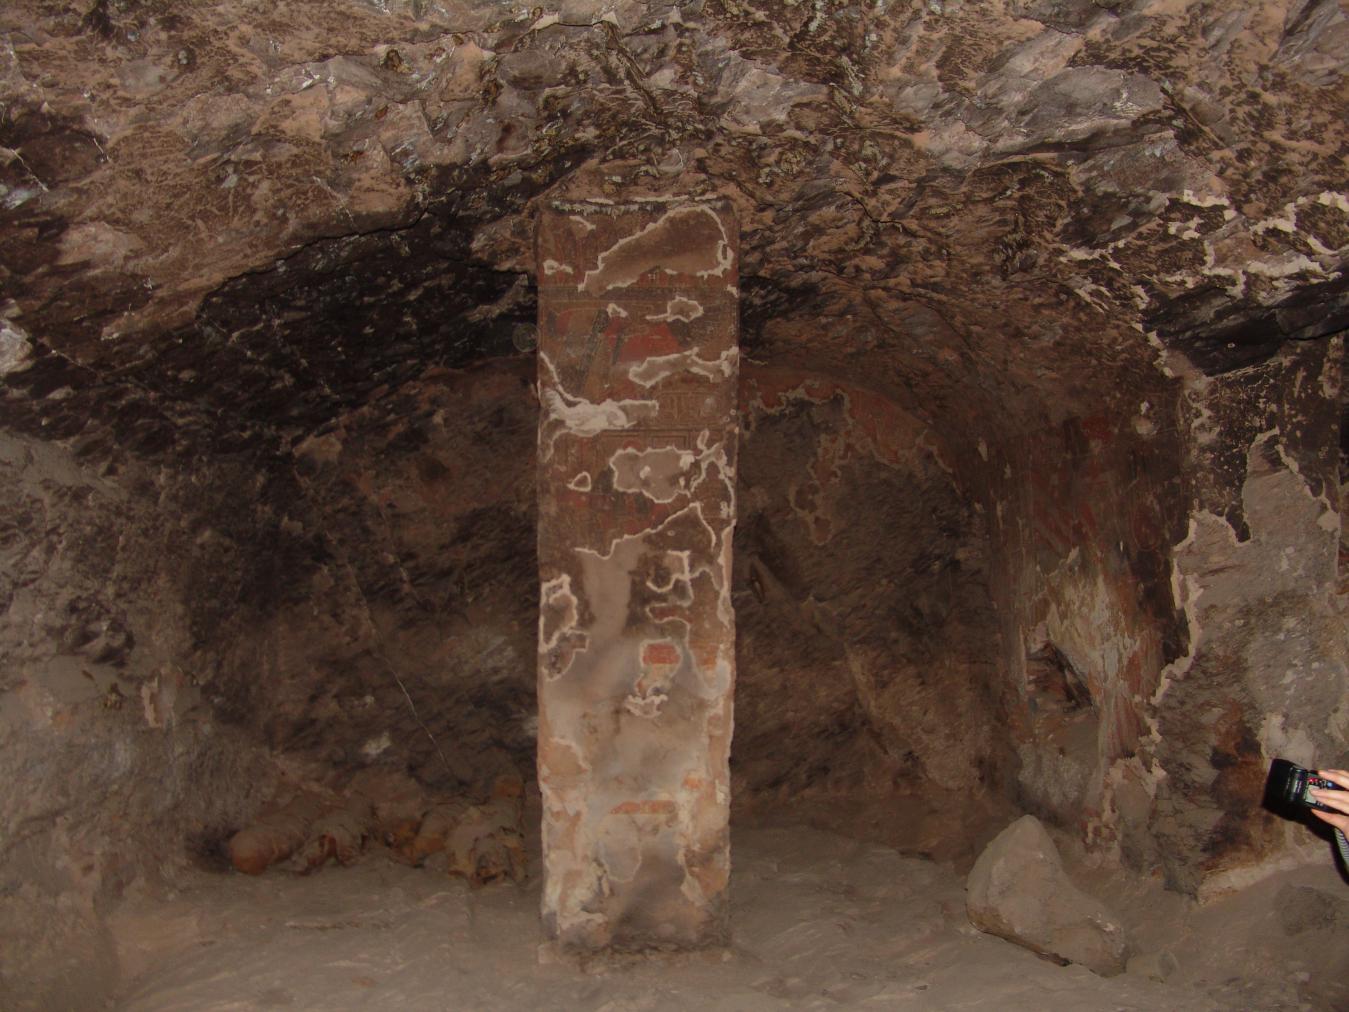
View of the eastern side and the intact pillar with a winged vulture and the cartouche of the Queen next to Soul of Nekhen performing the Henu gesture. © Getty Conservation Institute and the Ministry of Tourism and Antiquities.
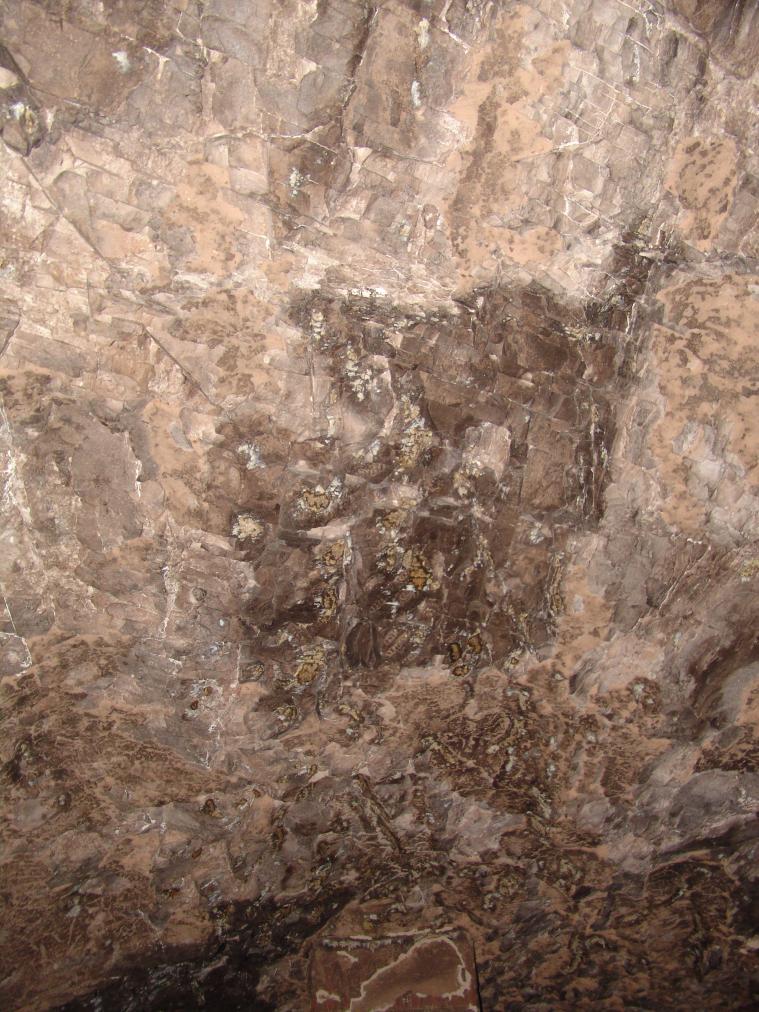
View of the ceiling. © Getty Conservation Institute and the Ministry of Tourism and Antiquities.
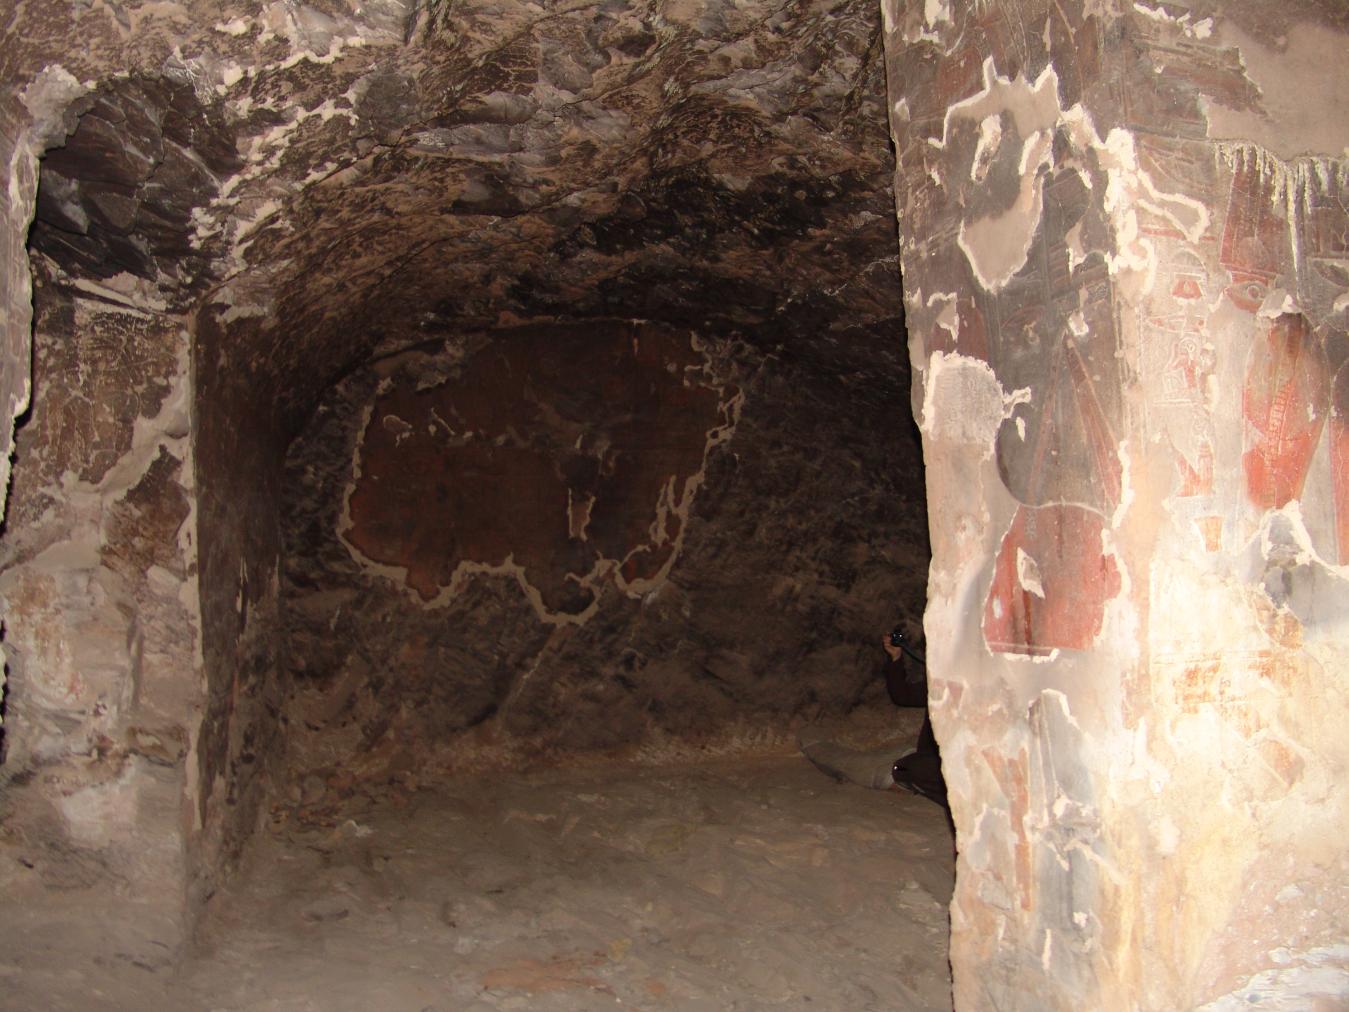
View of the western side with the intact pillar in the foreground. © Getty Conservation Institute and the Ministry of Tourism and Antiquities.
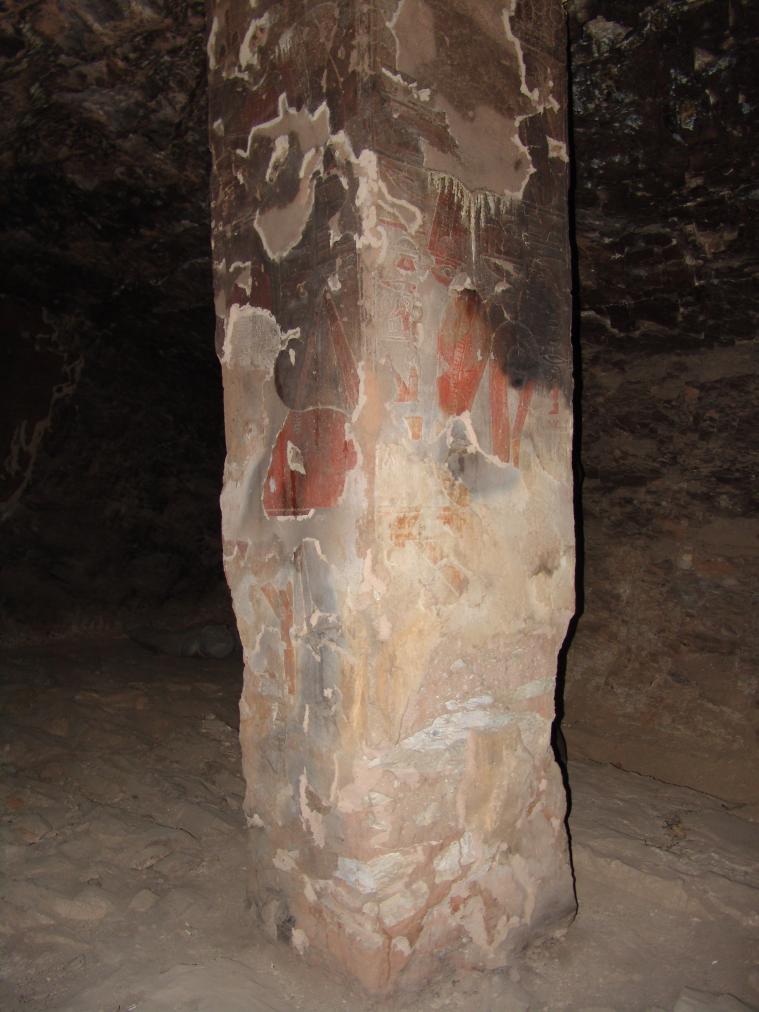
View of the intact pillar with three registers on either side. Kheker Frieze, winged vulture, and Mehet-Weret as a cow on the front, and a Kheker Frieze, winged vulture, and Meretseger as cobra on the right. © Getty Conservation Institute and the Ministry of Tourism and Antiquities.
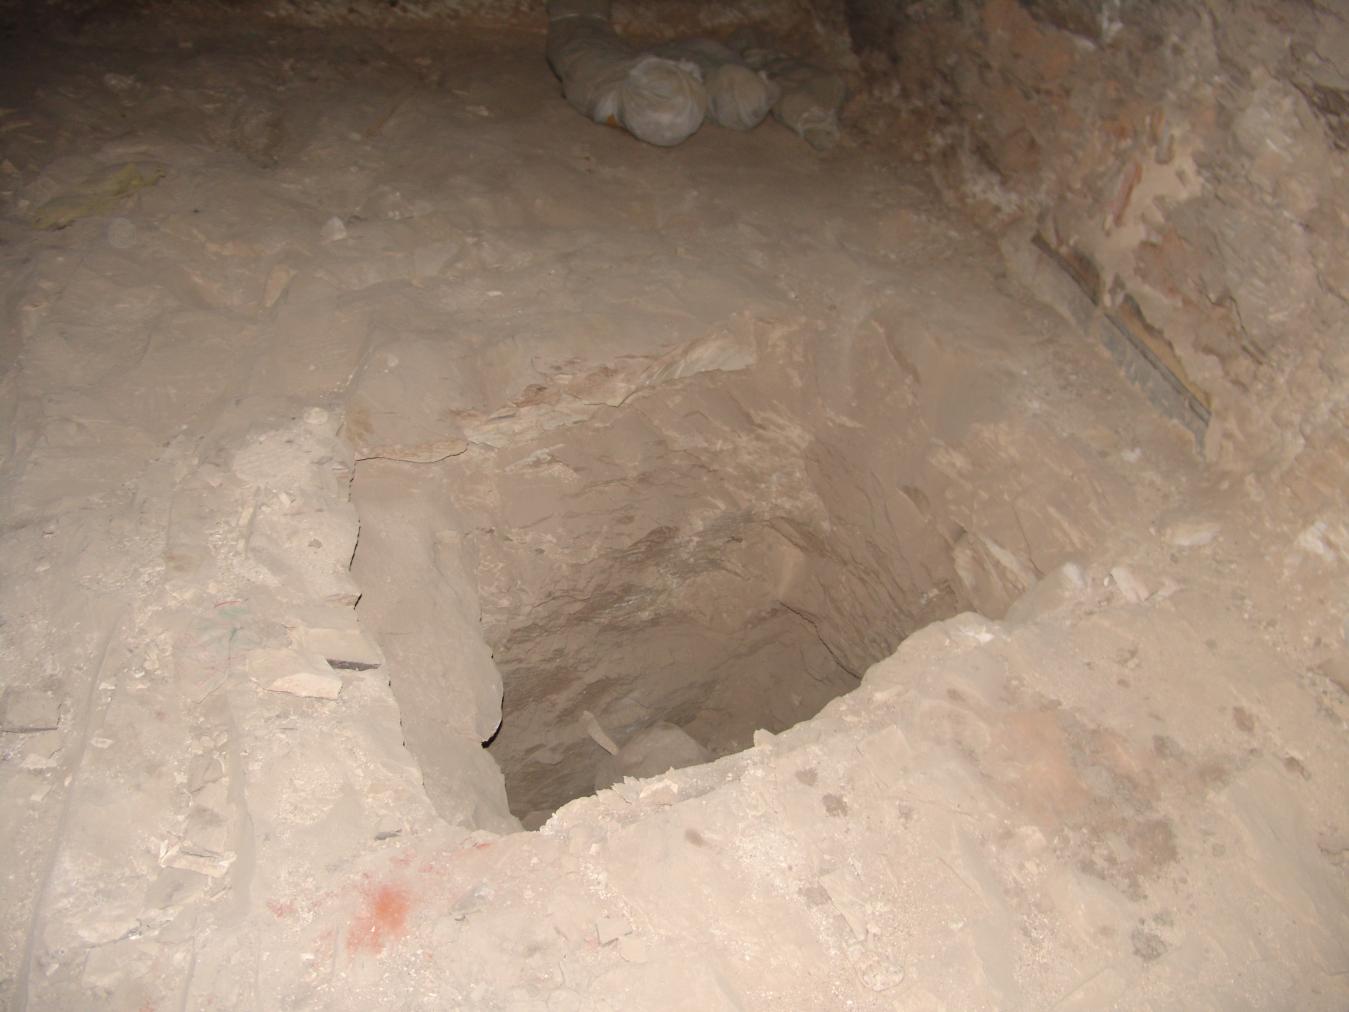
View of the pit leading to side chamber Da. © Getty Conservation Institute and the Ministry of Tourism and Antiquities.
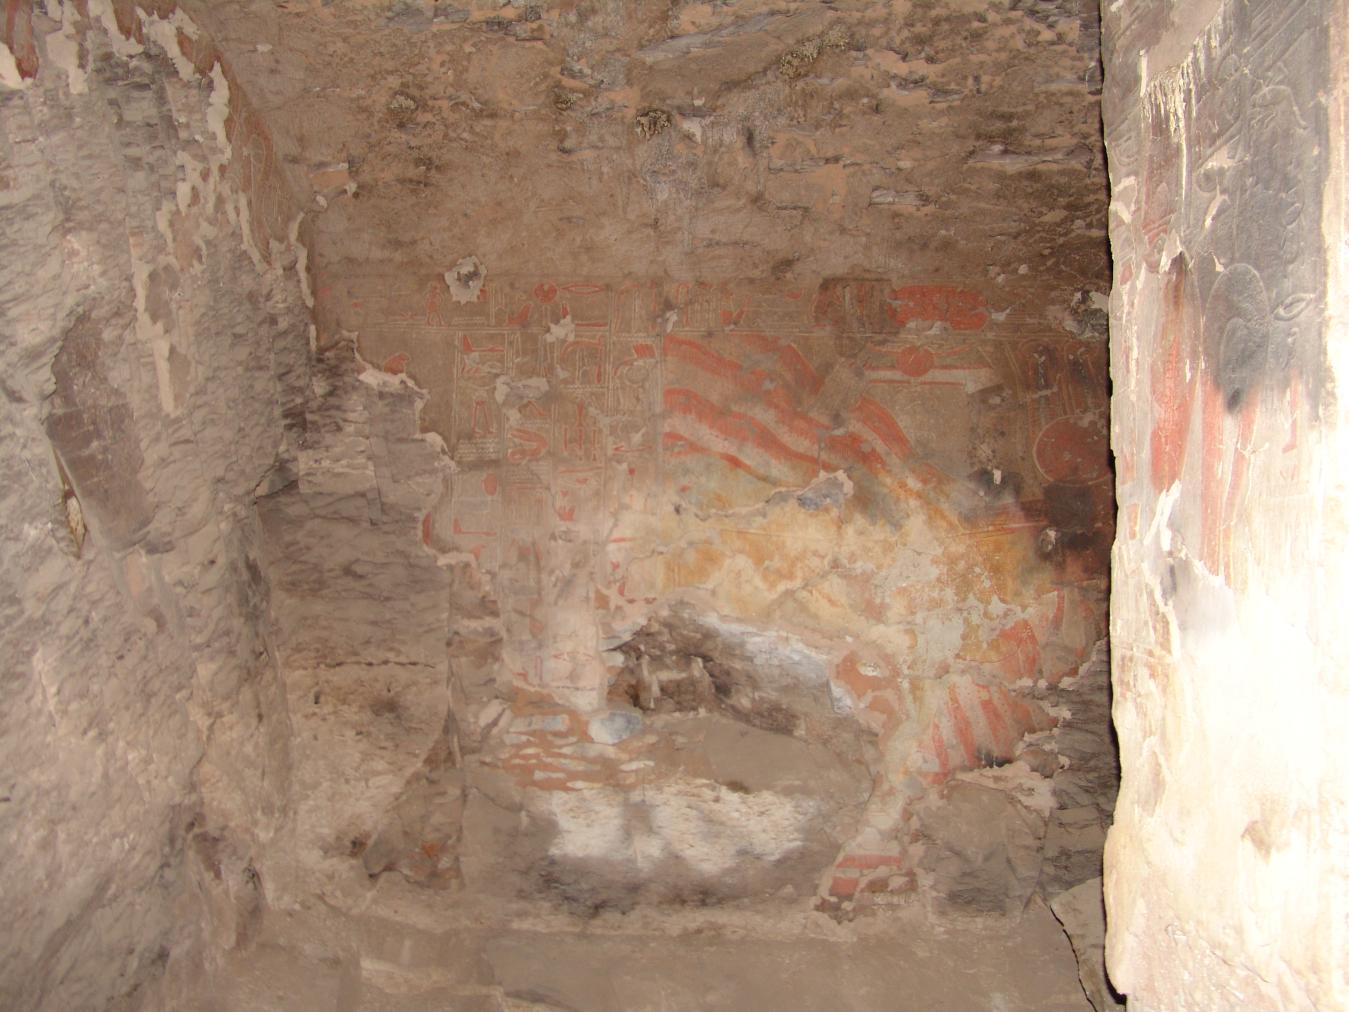
View of the intact pillar and the south wall with Hathor as a cow emerging from the western mountain with Qebehsenuef behind her. © Getty Conservation Institute and the Ministry of Tourism and Antiquities.
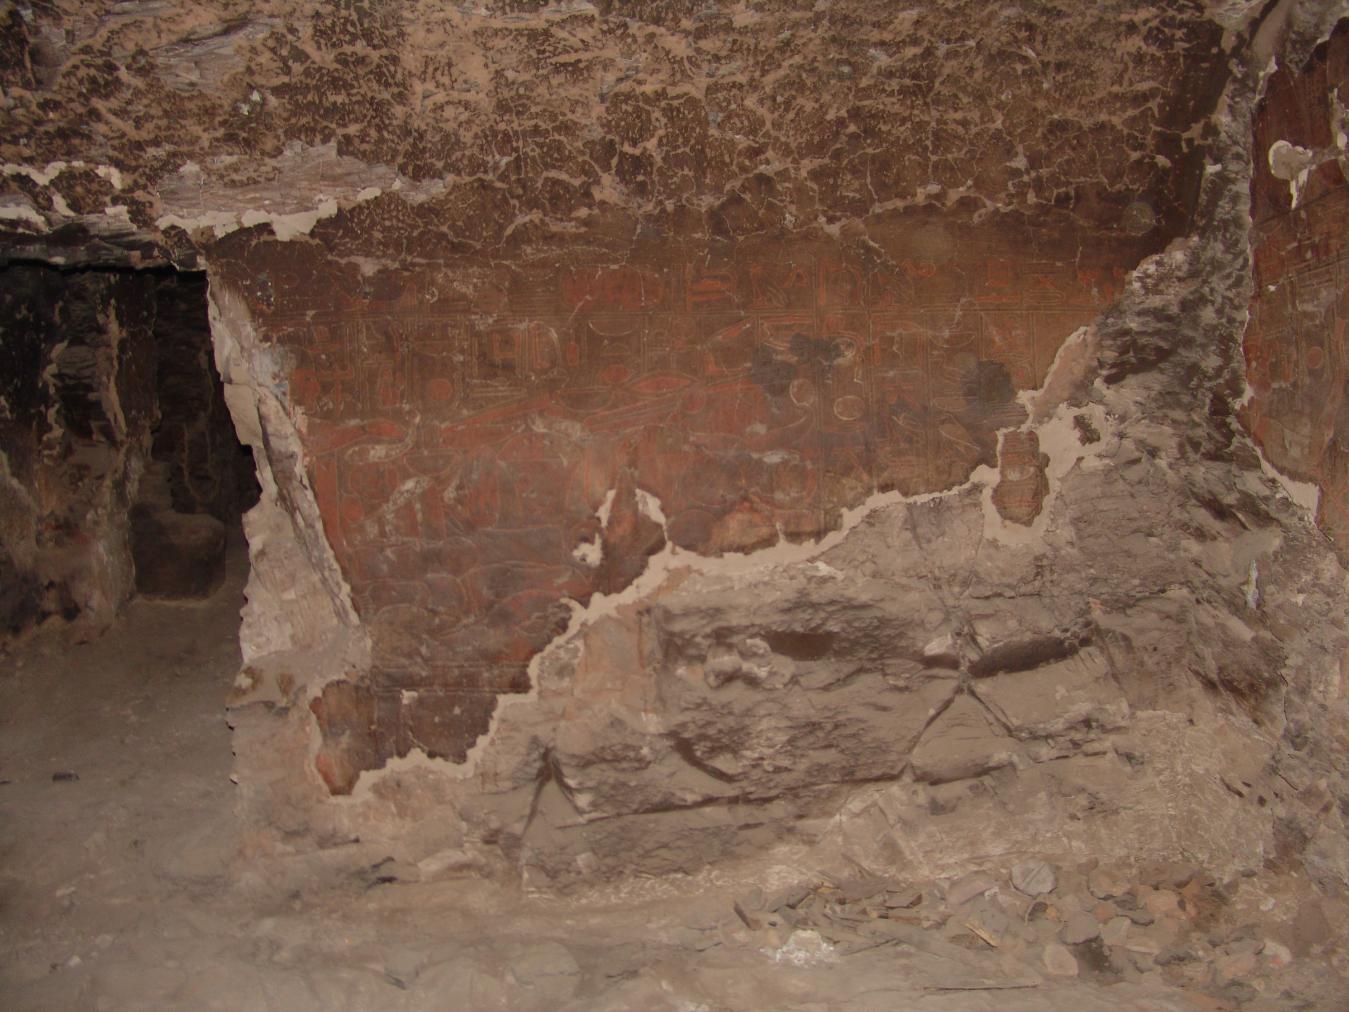
View of the south wall showing the consecration of offerings before Duamutef. © Getty Conservation Institute and the Ministry of Tourism and Antiquities.
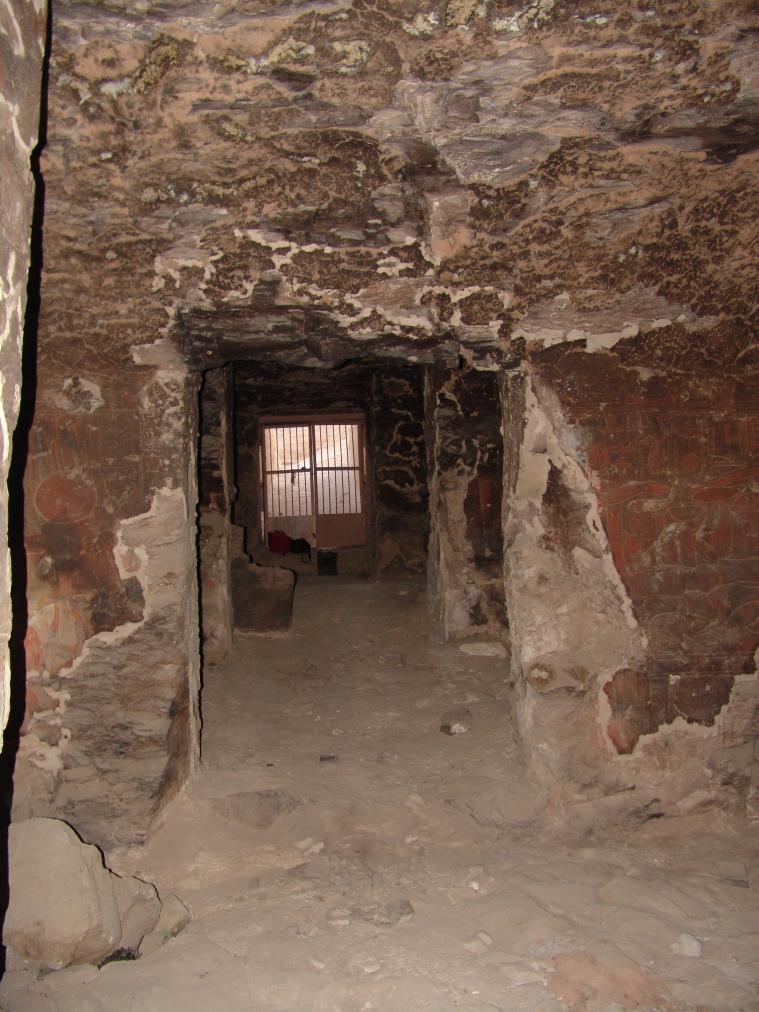
View towards the tomb entrance. © Getty Conservation Institute and the Ministry of Tourism and Antiquities.
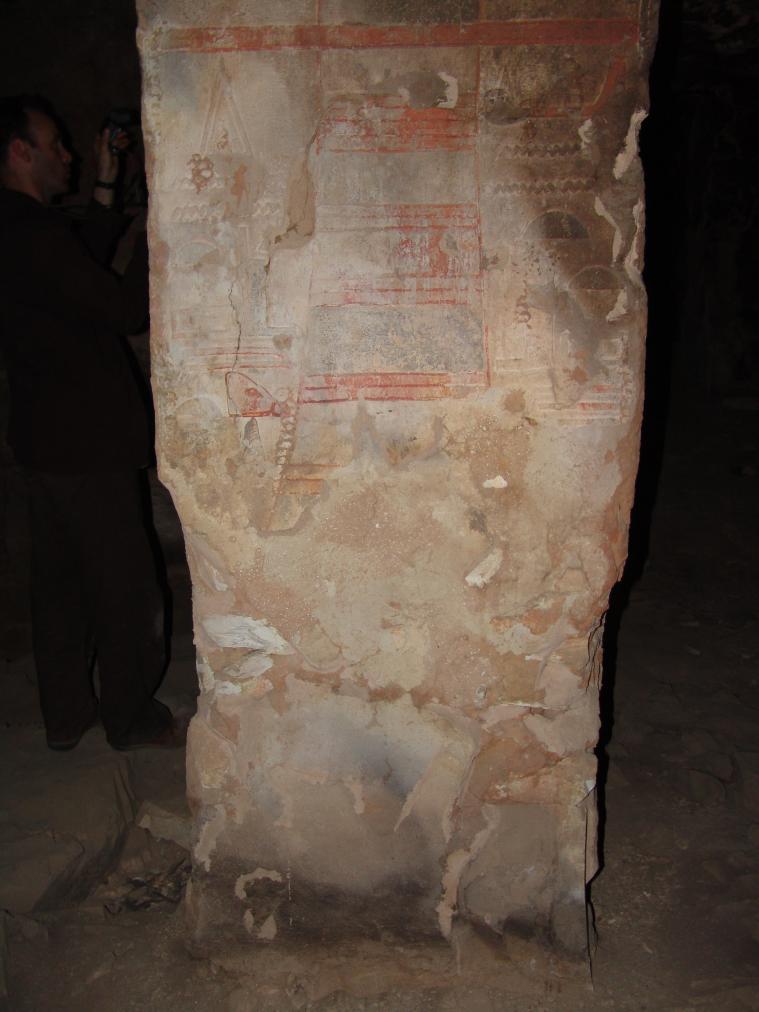
View of the intact pillar with a Djed Pillar on the rear face. © Getty Conservation Institute and the Ministry of Tourism and Antiquities.
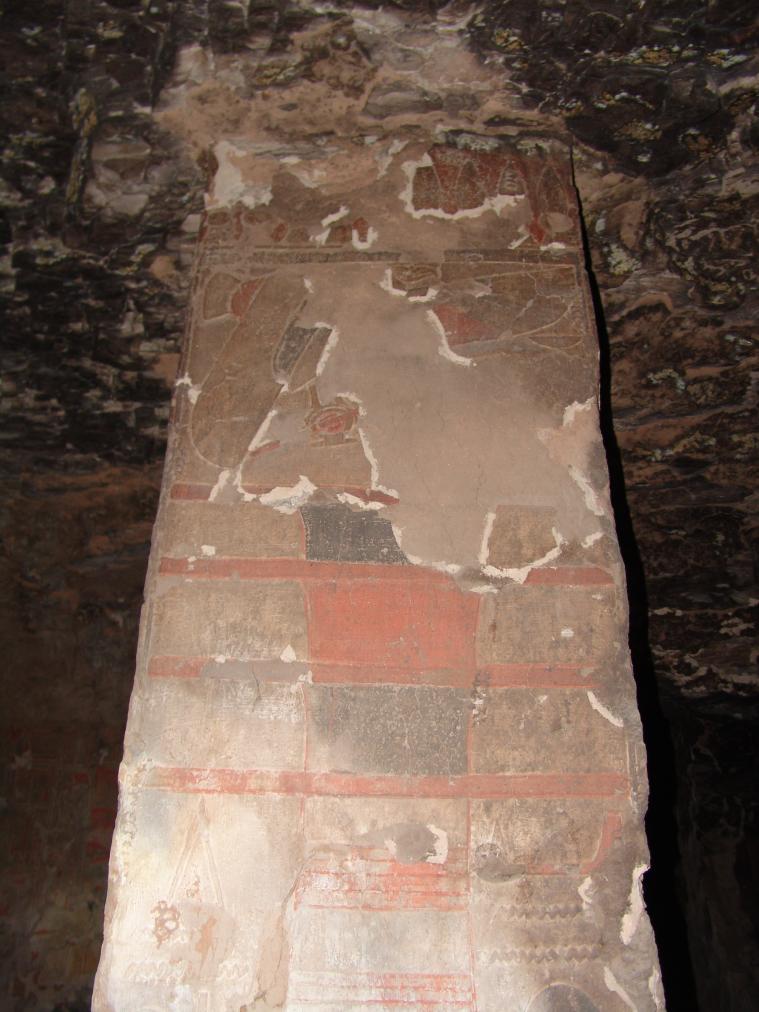
View of the rear face of the intact pillar with a Kheker Frieze, winged vulture, and a Djed Pillar. © Getty Conservation Institute and the Ministry of Tourism and Antiquities.
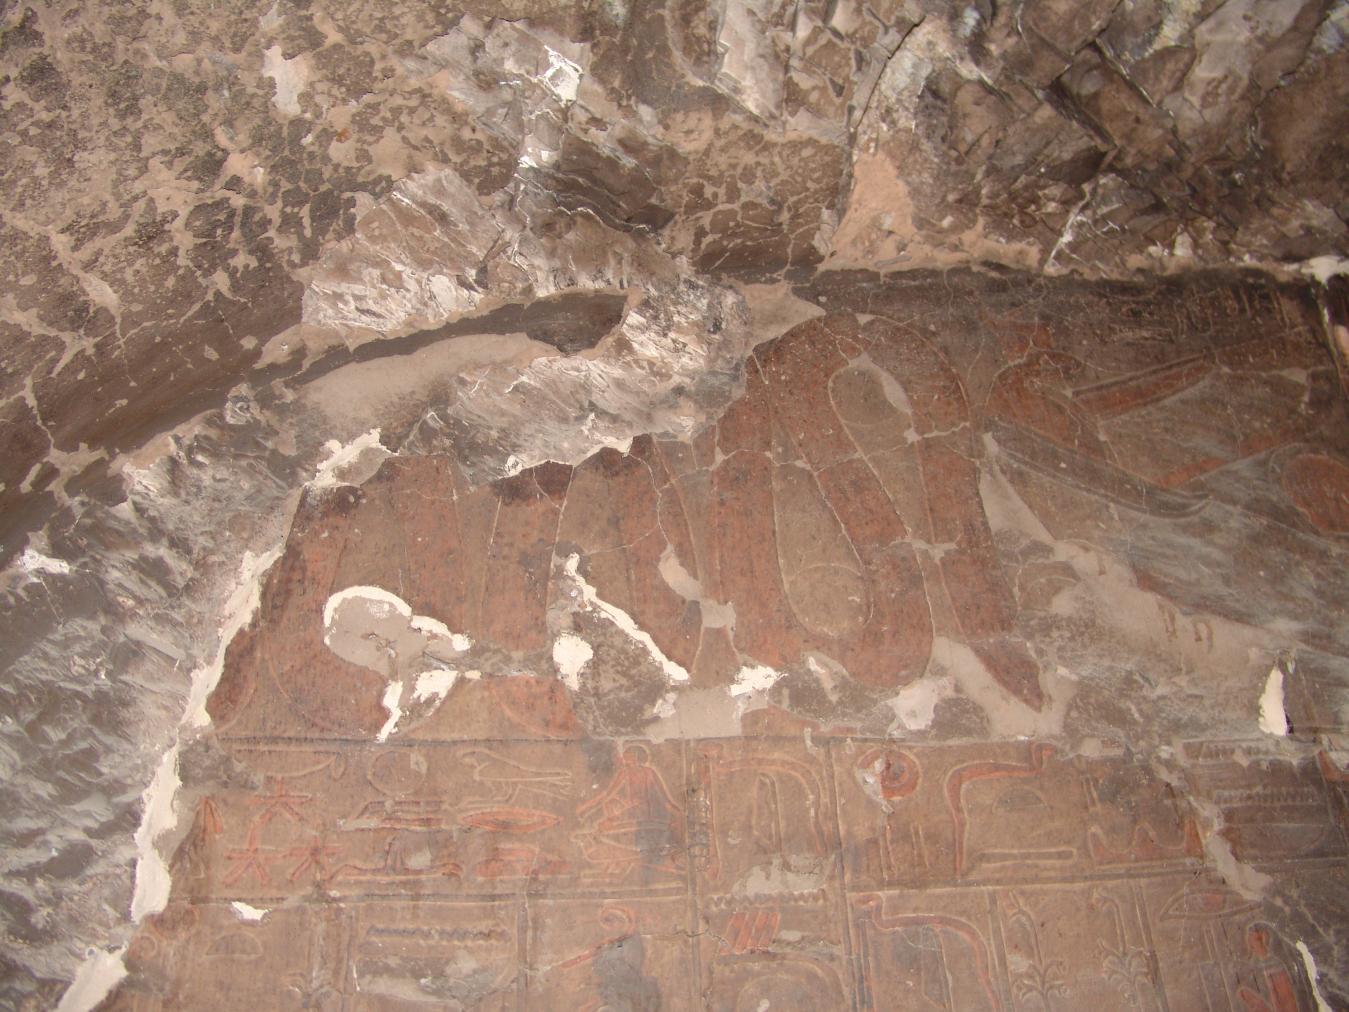
Detail of the Queen consecrating merit-boxes before Anubis. © Getty Conservation Institute and the Ministry of Tourism and Antiquities.
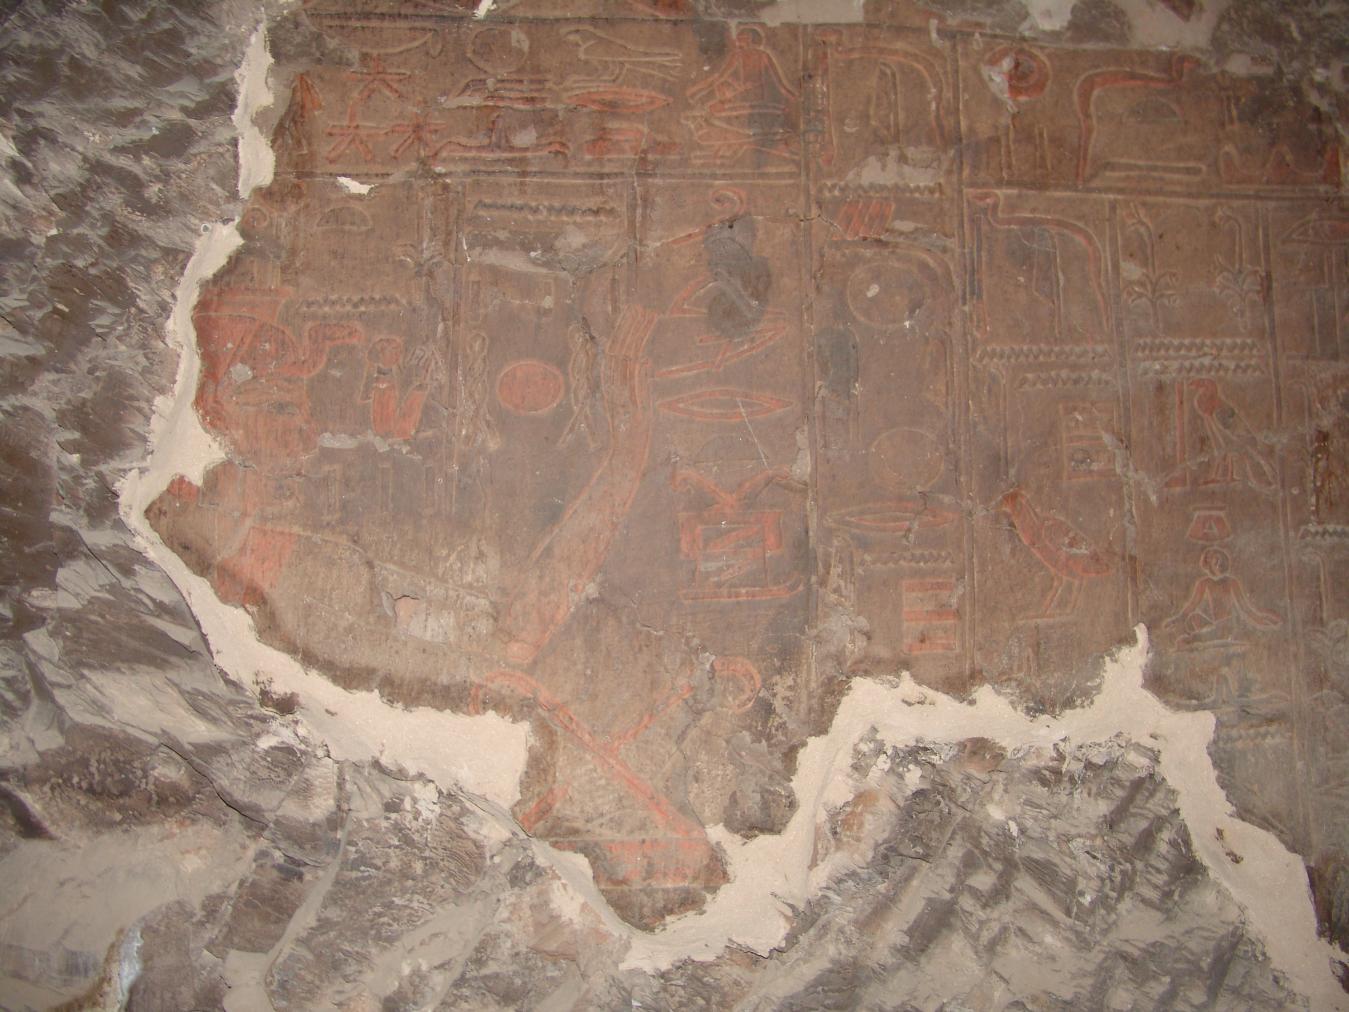
Detail of the cartouche of the Queen flanked by two winged cobras. © Getty Conservation Institute and the Ministry of Tourism and Antiquities.
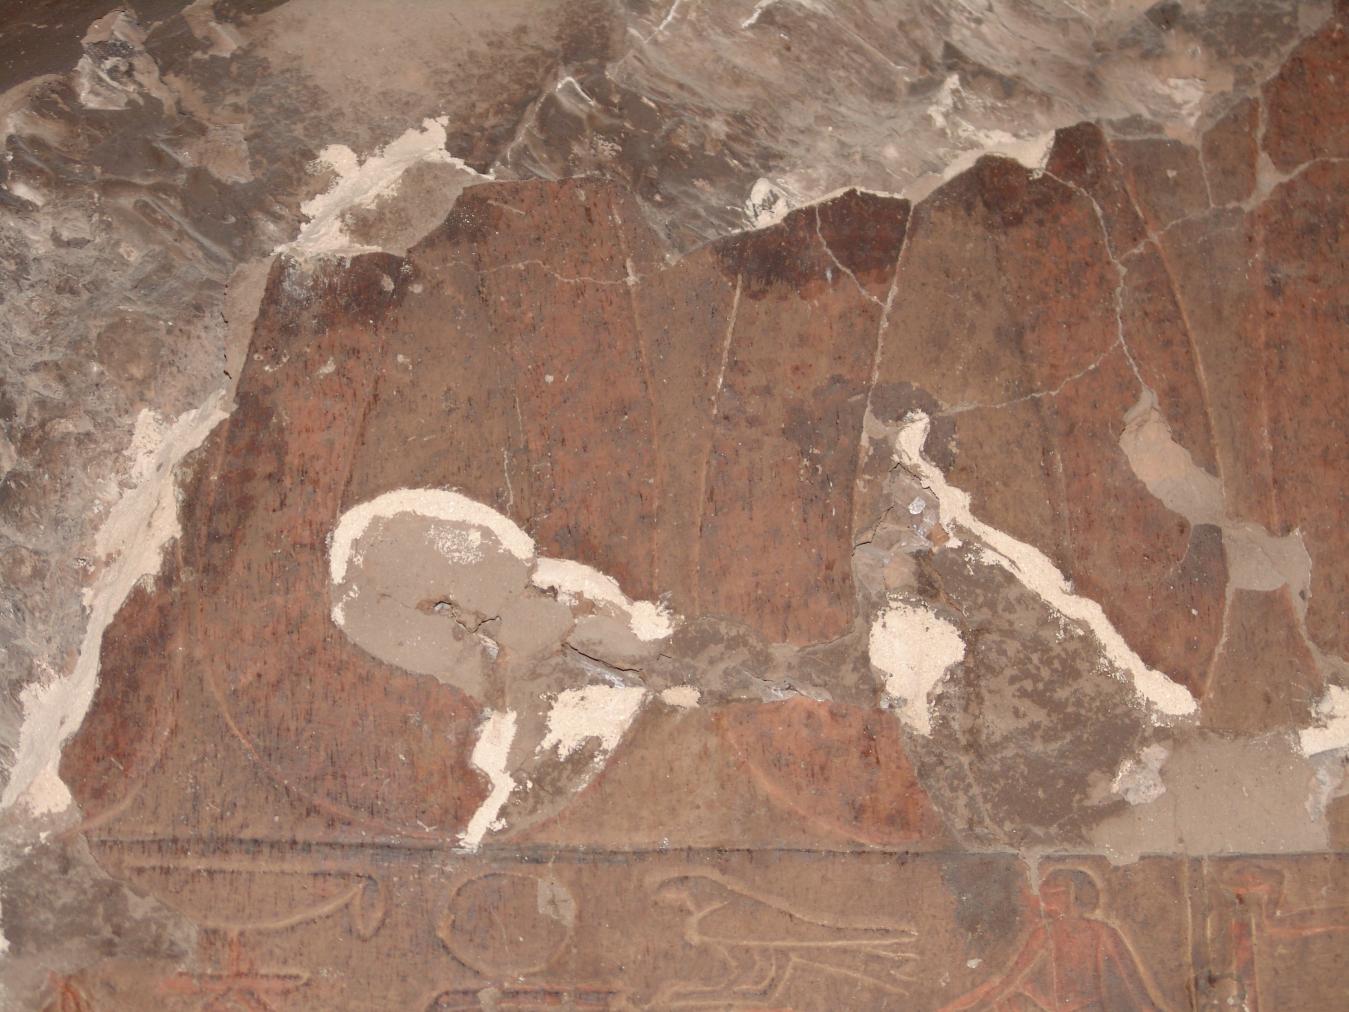
Detail of the cartouche of the Queen flanked by two winged cobras. © Getty Conservation Institute and the Ministry of Tourism and Antiquities.
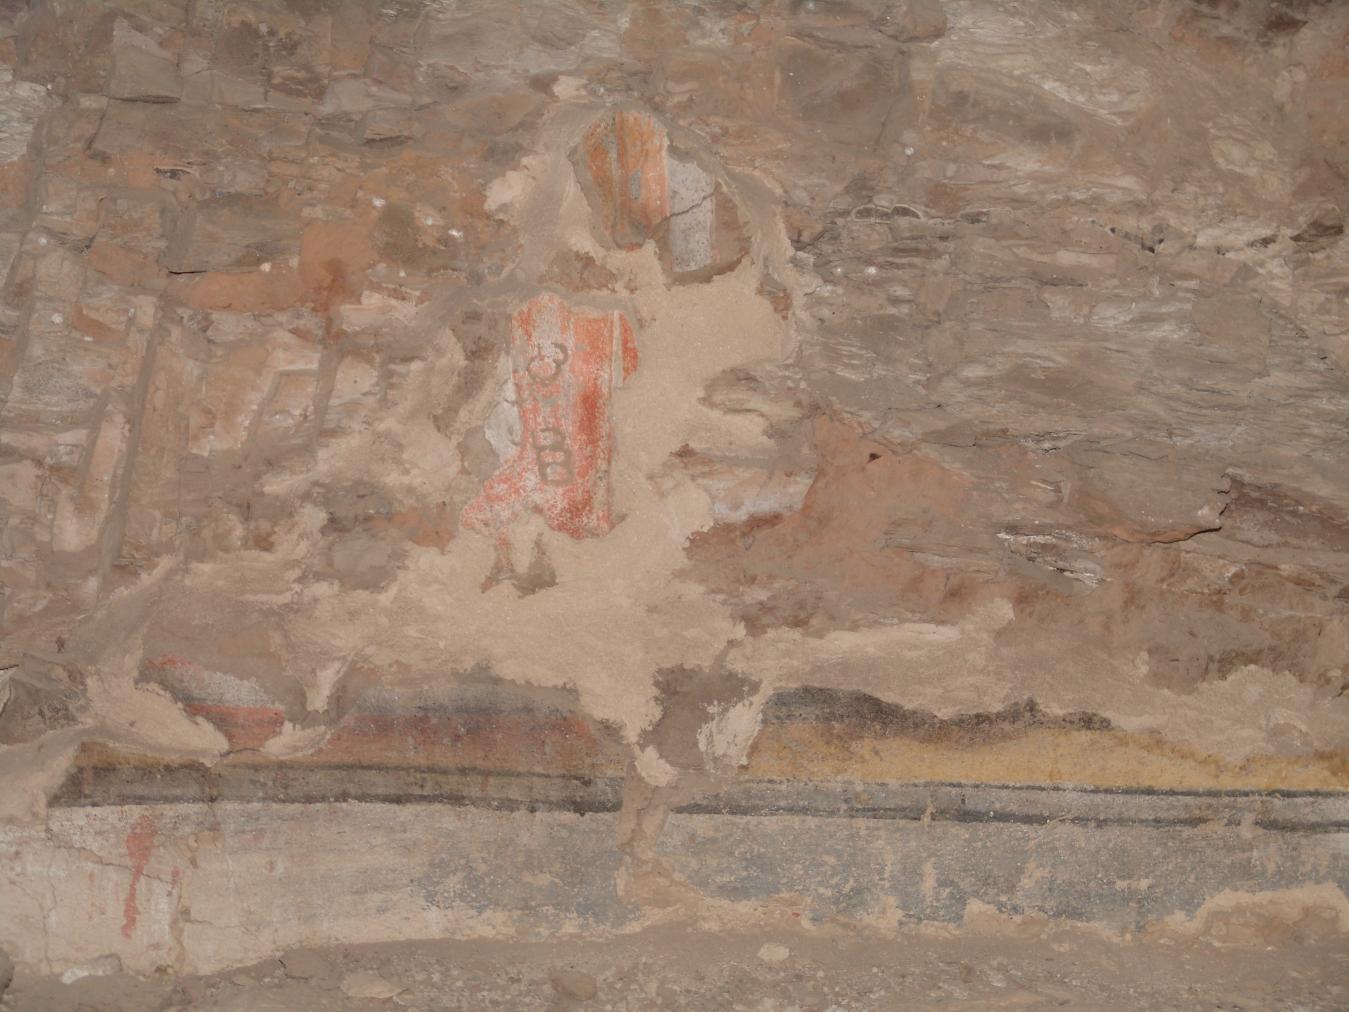
Detail of fragmentary painted plaster of a deity's foot. © Getty Conservation Institute and the Ministry of Tourism and Antiquities.
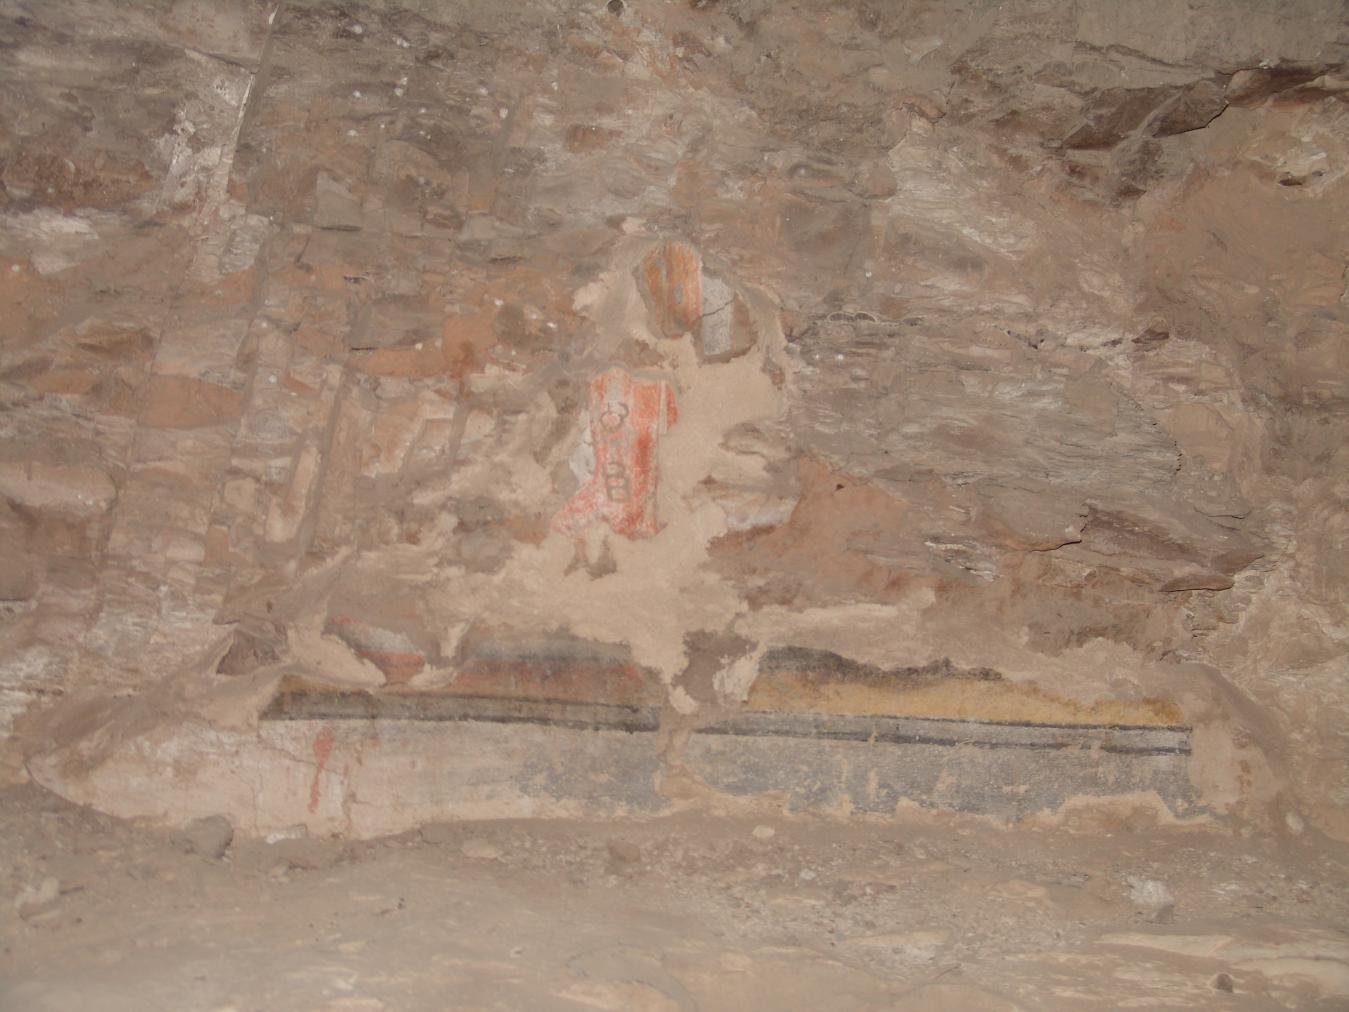
Detail of fragmentary painted plaster of a deity's foot. © Getty Conservation Institute and the Ministry of Tourism and Antiquities.
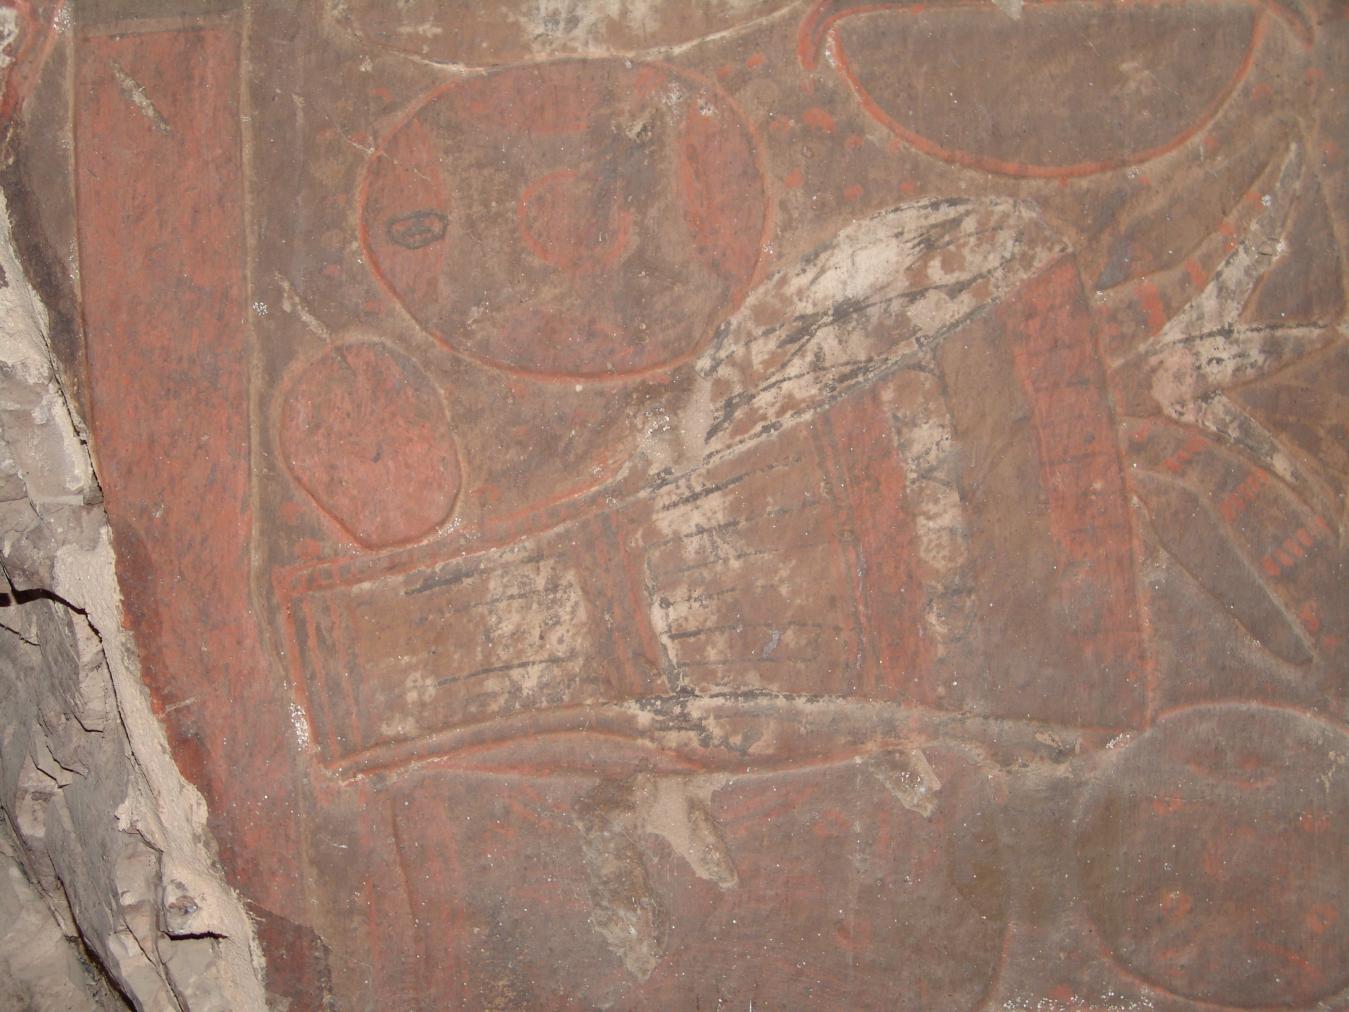
Detail of offerings. © Getty Conservation Institute and the Ministry of Tourism and Antiquities.
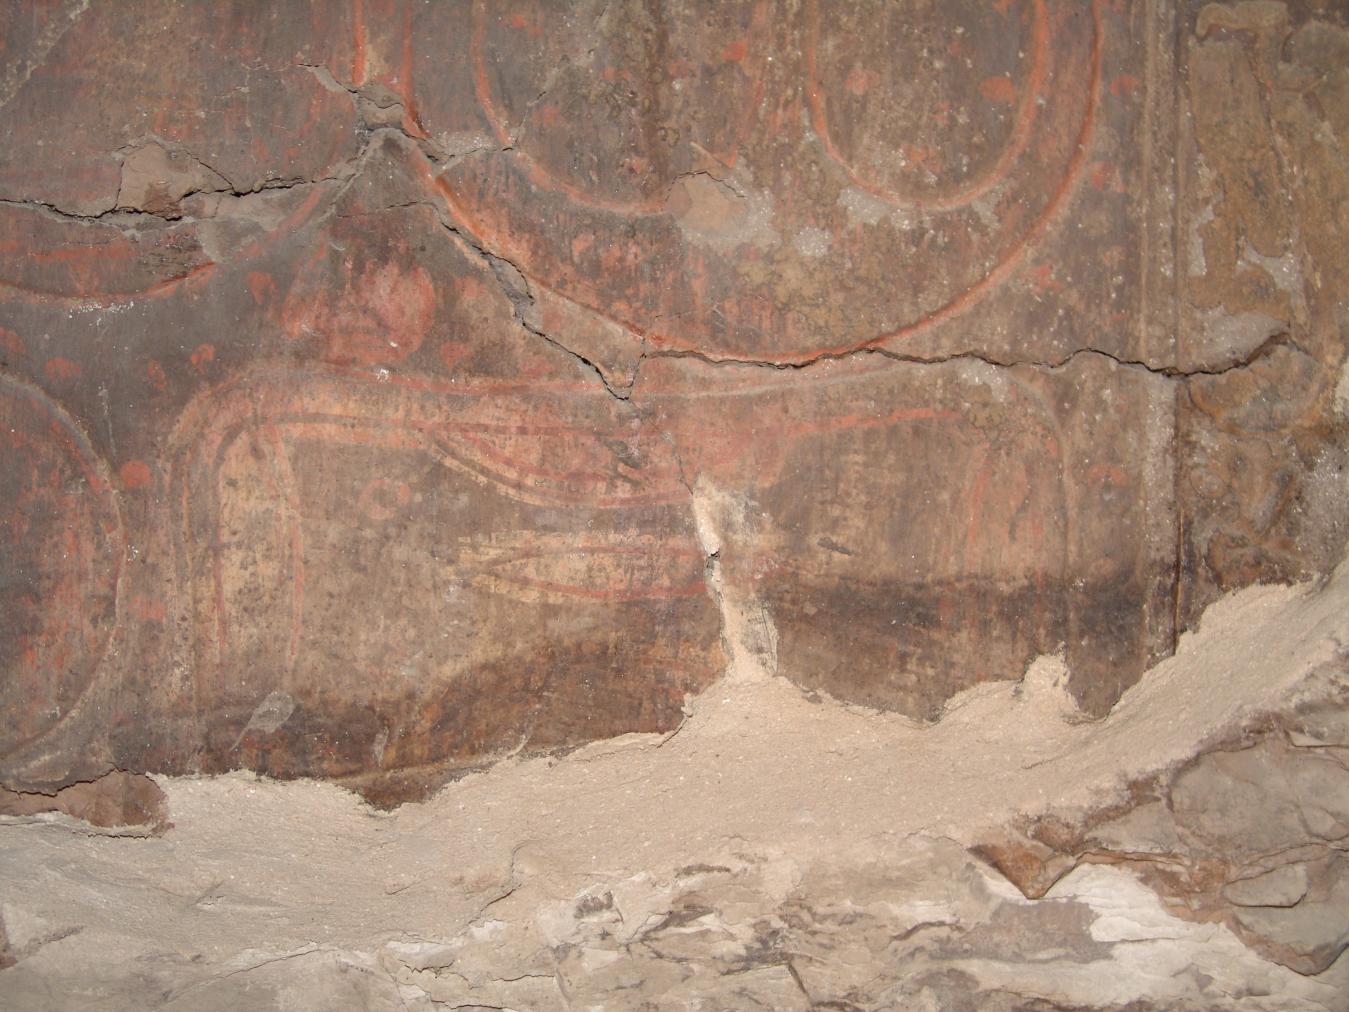
Detail of relief. © Getty Conservation Institute and the Ministry of Tourism and Antiquities.
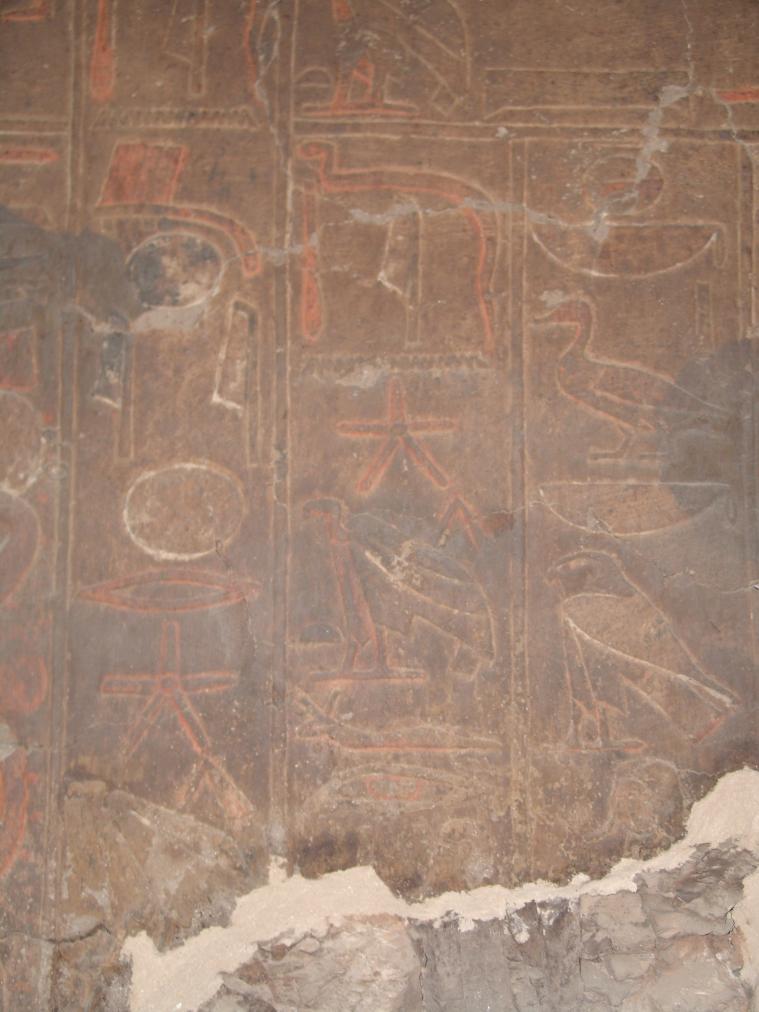
Detail of hieroglyphic text. © Getty Conservation Institute and the Ministry of Tourism and Antiquities.
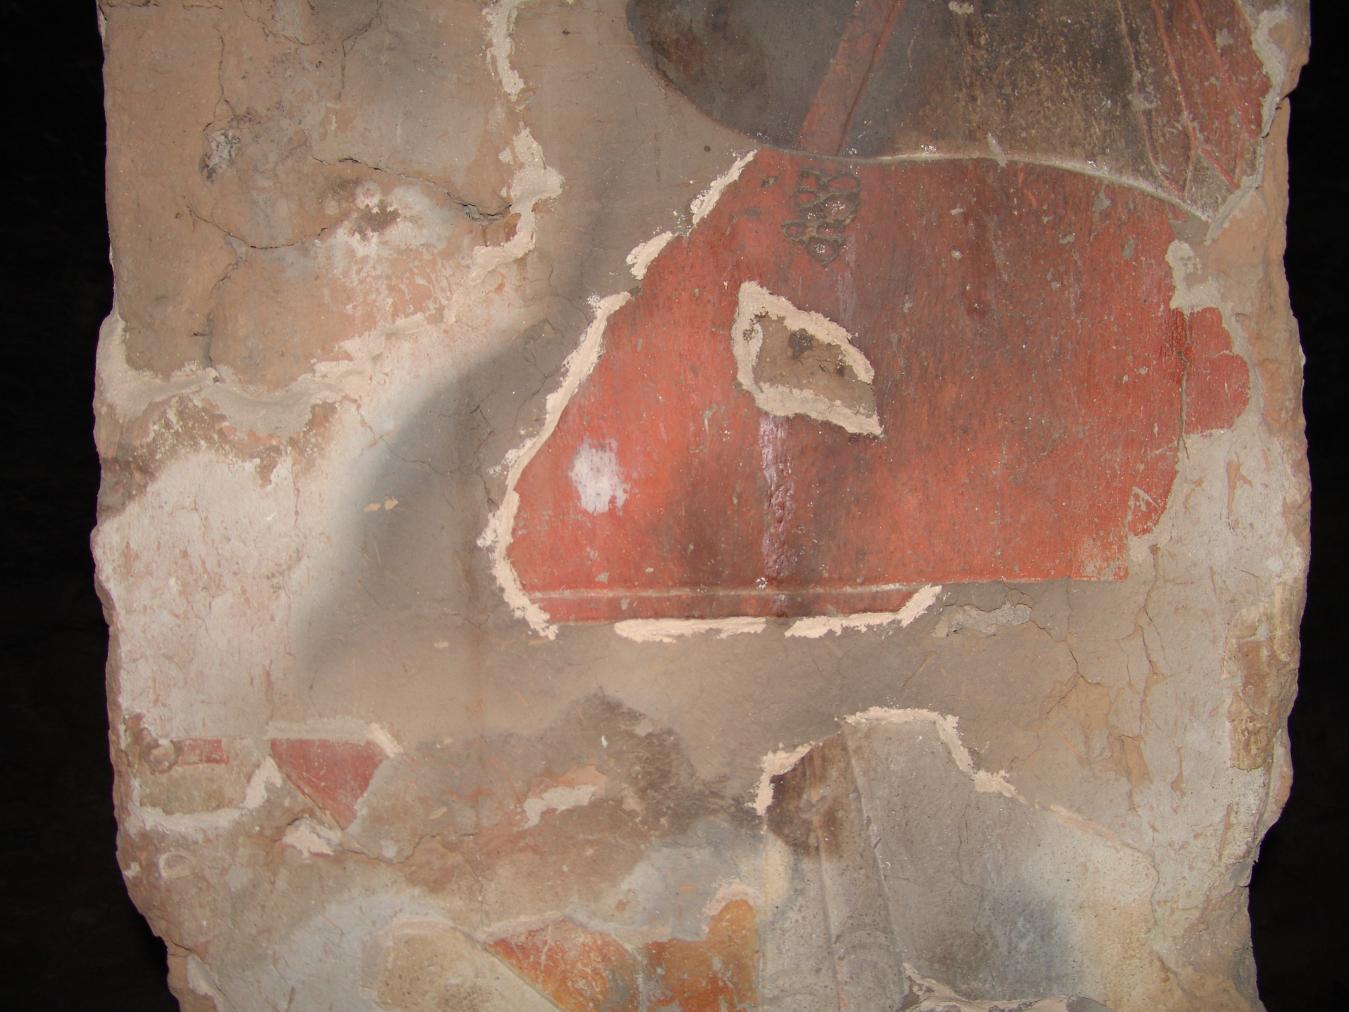
Detail of painted plaster on the intact eastern pillar. © Getty Conservation Institute and the Ministry of Tourism and Antiquities.
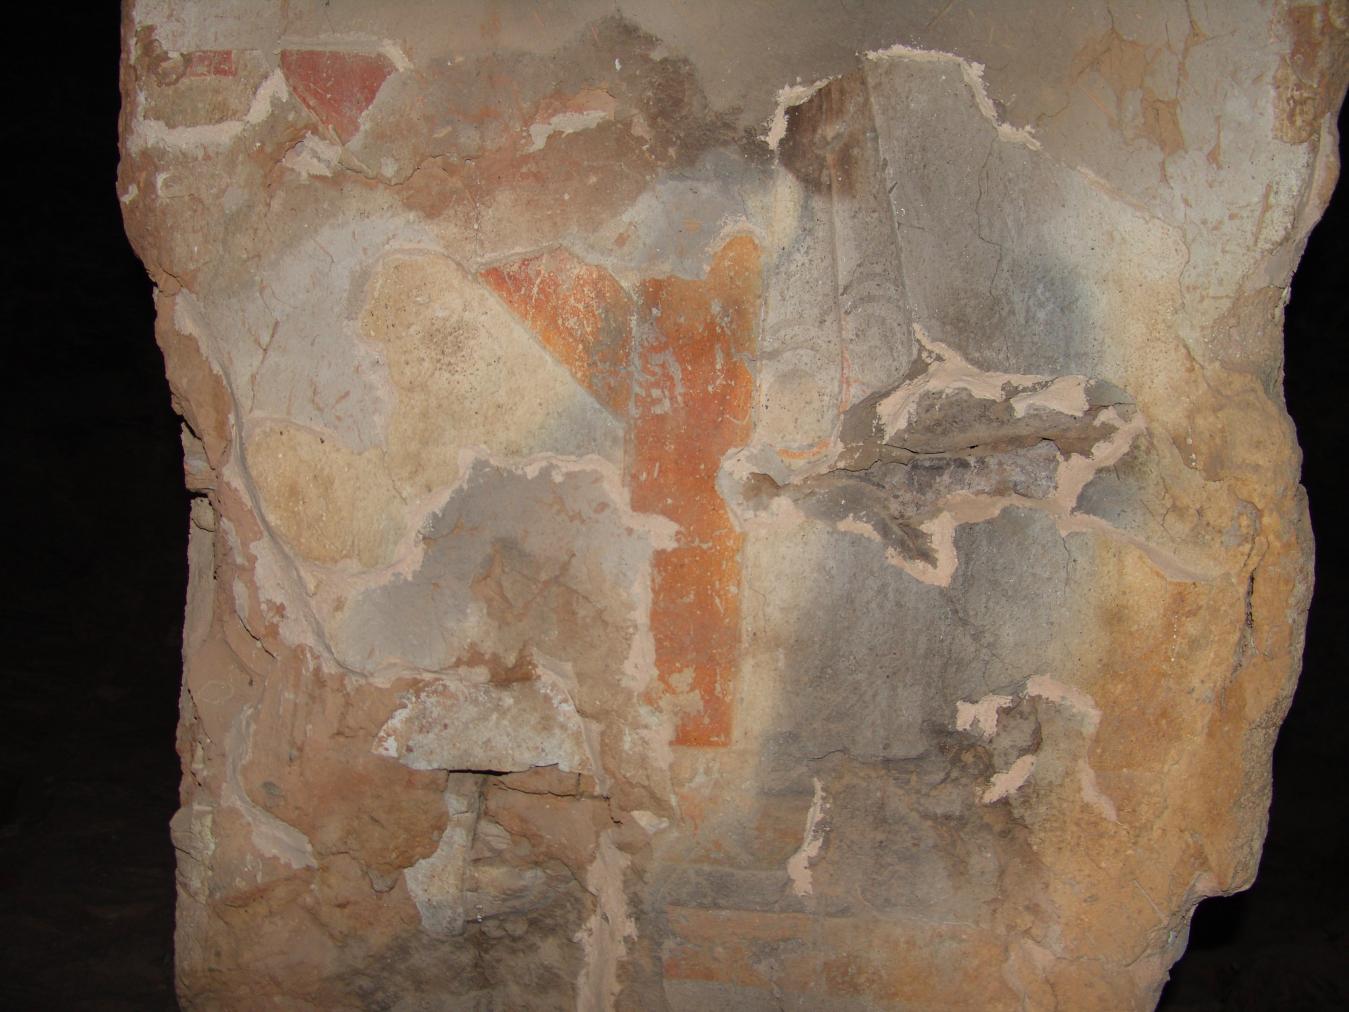
Detail of the painted plaster on the intact eastern pillar. © Getty Conservation Institute and the Ministry of Tourism and Antiquities.
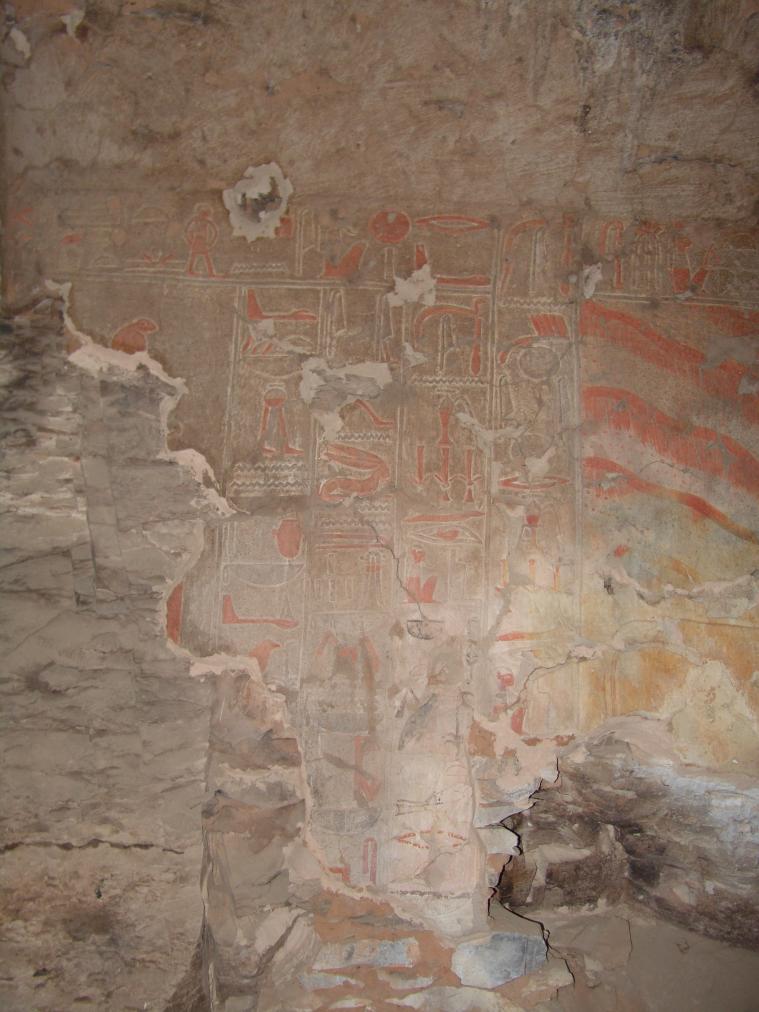
Detail of hieroglyphic text behind Hathor as a cow emerging from western mountain. © Getty Conservation Institute and the Ministry of Tourism and Antiquities.
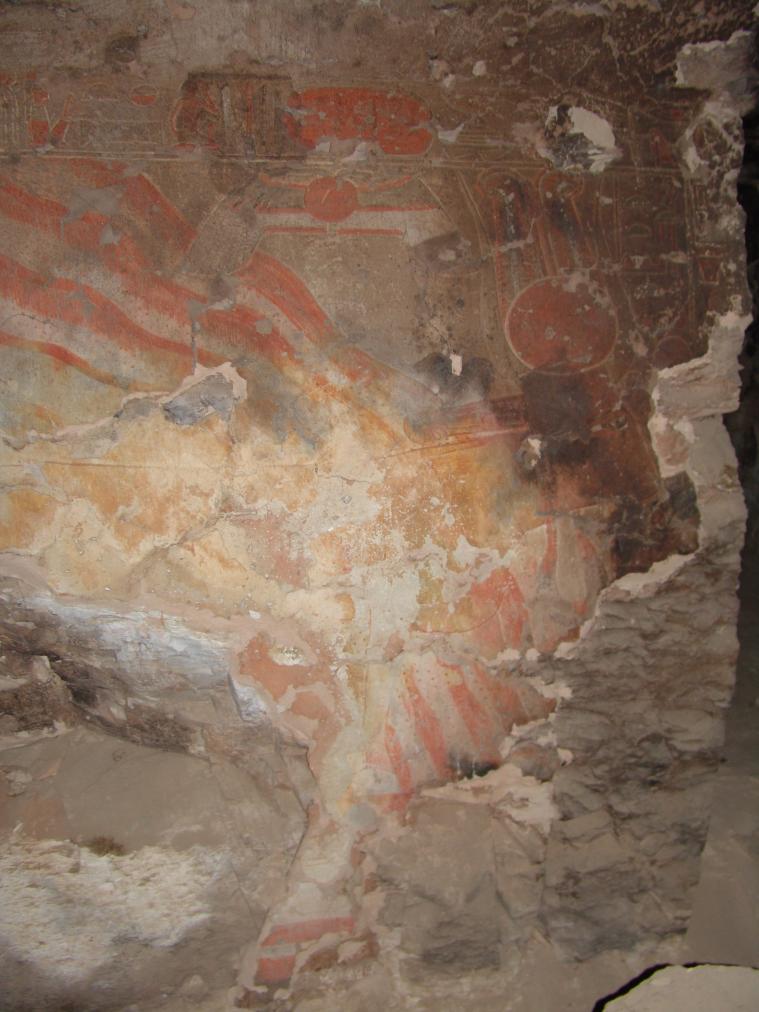
Detail of Hathor as a cow emerging from the western mountain. © Getty Conservation Institute and the Ministry of Tourism and Antiquities.
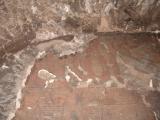
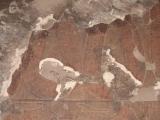
Side chamber Da
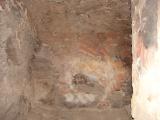
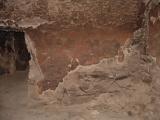
See entire tombA pit cut into the northwestern side of the burial chamber floor and leads down to this side chamber. It was cut in the 22nd-23rd Dynasties during a period of reuse and was used for communal burial. When the tomb was surveyed by the TMP in 1981, they noted that the chamber was filled with bones and debris.
About
About
QV 74 is located on the northern side of the main Wadi, adjacent to other 19th Dynasty tombs, such as QV 73 and QV 71. The tomb is entered through a long Ramp (A) leading into chamber (B) with two constructed pillars and a side chamber (Ba) to the east. On axis with the entrance, a small stairwell (C) leads down into the vaulted burial chamber (D) that originally contained two constructed pillars, one of which has since collapsed. A later pit that continues to a small lower chamber (Da) was cut into the burial chamber floor. The ramp and chambers are cut out of highly weathered marl, as found in other adjacent tombs on the northern side of the Valley. Generally, the interior rock quality was good, allowing the tomb walls to be cut fairly straight. However, infilling with rock shards and plaster was still needed in localized areas. Floors are roughly cut throughout the tomb and may be unfinished. Extensive raised relief painted plaster survives throughout the tomb in fragmentary condition. This also includes remnants of plaster on walls of ramp (A) and small areas of painted plaster on both sides of the entrance doorway.
QV 74 was constructed and decorated for a princess of Rameses II but was never occupied. A portrait of the princess exists in Chambers B and Ba and titles of the princess, s3t nswt "King's daughter", survive in Chamber Ba. Spaces for the name of the princess, however, were left blank. The tomb was later used for Queen Duatentipet in the reign of Rameses IV. The workmen's strike in Year 2 of Rameses IV reign may have been the reason for the re-use of earlier non-used tombs. Duatentipet was a wife of Rameses IV and mother of Rameses V. She is depicted in the temple of Khonsu in Karnak, where she is associated with Rameses III and IV. She is also mentioned in the tomb of an official, Amenhotep (TT 346), who held the title of "Superior of the royal harem of the Adoratrice Tentipet'. She may have been the last Queen to have had the title of God's wife of Amun, as it became custom afterwards to be held by princesses. Evidence of re-painting and re-carving the titles of the queen exist in Chambers B and D when the tomb was reused. A different color scheme may also have been used in the pillared chamber (B) and burial chamber (D), indicating that some part of decoration was completed after the initial decoration in the 19th Dynasty. However, this may also be due to color alteration from burning. There is fire-related blackening and heat-related deterioration, though the overall blackening is not as severe as in other tombs. During the 22nd and 23rd Dynasties, the tomb was reused as a communal burial and pit (Da) was cut. Remnants of mud brick walls were recorded by CNRS in 1985 in the entrance doorway and on the east jamb of the doorway leading into chamber C, though the former is no longer extant. Both were built in the Roman period.
The tomb has been accessible at least since the time of Robert Hay of Linplum (1826), who noted that the tomb was full of burned bones and pottery and described the painted figures as, "not so well executed". Jean Francois Champollion mentions damage of the wall paintings caused by fire. The TMP drawings record chamber (Da) as being "filled with bones and debris". The tomb was most recently cleared by the Franco-Egyptian team in 1984, and then again between 1987-88. The tomb is not open to visitation and the entrance doorway has been partially rebuilt with a fired-brick lintel and has a metal grill door without mesh.
Noteworthy features:
QV 74 was constructed and decorated for a princess of Rameses II but was never occupied. The tomb was later used for Queen Duatentipet in the reign of Rameses IV.
Site History
The tomb was constructed in 19th Dynasty for a princess but was not used. It was then redecorated and used for the burial of Queen Duatentipet in the 20th Dynasty, during the reign of Rameses IV. In the Third Intermediate Period, Dynasties 22 and 23, the tomb was reused and the pit was dug in the burial chamber. QV 74 was reused once again in the Roman Period and mud brick walls were constructed in gates B and D.
Dating
This site was used during the following period(s):
Exploration
Conservation
Conservation History
According to the GCI-SCA, a comprehensive campaign of edging repairs has been undertaken throughout the tomb, though no large plaster repairs were done. There is also evidence of localized areas of grouting as holes and drips of an acrylic-looking material are visible. Small cleaning tests were undertaken in various areas to attempt removal of blackening from fire. Insect nests were also removed. Treatment testing was undertaken by Franco-Egyptian Mission in 1989, but it is not clear what exactly was done at this time as some of the interventions may pre-date this intervention.
Site Condition
According to the GCI-SCA, the 1m Overhang to the right above the entrance doorway has eroded and threatens partial collapse as it is not supported by more stable marl rock. Loss of rock above the entrance doorway appears to be associated with exposure to rain water infiltration. The walls and ceilings of the tomb still essentially retain their architectural form and the fissuring of the rock is not as severe as in other tombs. There are, however, a few large, deep losses in the walls where plaster and rock shard infill material has collapsed. There are also many smaller areas of surface loss, including both pre-fire and post-fire loss, which contribute to the fragmentary appearance of the surviving decoration. A large area of post-fire rock loss occurred above the entrance doorway, on the east wall of pillared chamber (B), and on the north wall of side chamber (Ba). There is a large open, east-west fracture in the ceiling of pillared chamber (B). Salt veins are present on the west wall of the burial chamber (D). Fire blackening and heat-related deterioration is visible throughout the tomb. The level of blackening is not uniform from chamber to chamber. The blackening in burial chamber (D) is darker in color with a matte appearance. There is heat-related pigment alteration throughout the tomb, most noticeably in the burial chamber where the paintings have a distinct overall reddish-brownish coloration, most likely yellow earth pigments altering to red. Some areas of plaster also have serious cracking and plaster detachment as a result of heat effects. The heat source may have been located in the rear chamber (D), which suffered substantial loss of its decoration. Large losses in the decoration and rock walls throughout the tomb can also be associated with the failure of the substantial packing material needed to fill voids in the walls, perhaps weakened further by exposure to fire. The thinness of the upper plaster layer has also led to extensive shearing and loss, also made worse by heat alteration from the fire.
Hieroglyphs
Queen Duatentipet
 King's Daughter, Great Royal Wife, Great Royal Mother, Lady of the Two Lands, Mistress of the North and the South, Duatentipet
sAt-nswt Hmt-wrt-nswt mwt-wrt-nswt nbt-tAwy Hnwt-Smaw-mHw dwAw-t(A)-nt-ipt

Area of Entrances to QV67, QV68, QV69, QV70, QV71, QV72, QV73, QV74, QV75, QV82, QV83, QV96, QVU1, and QVU2. Bridge and signage for QV66 in foreground.
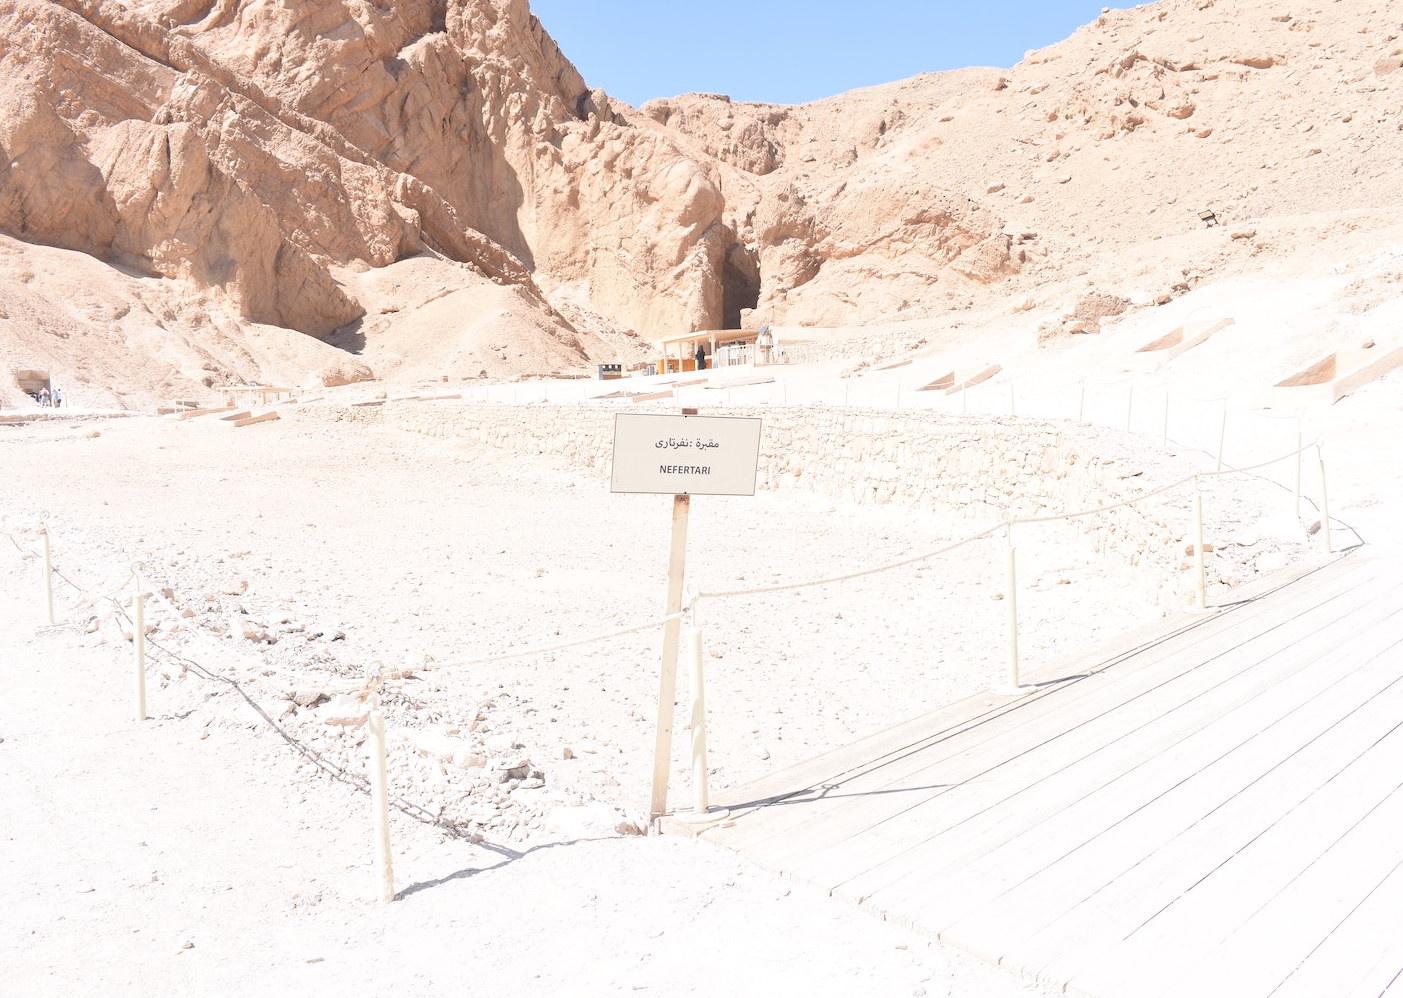
Bridge leading to QV66 with entrances to QV64, QV65, QV67, QV69, QVU1, QVU2, QV70, QV71, QV72, QV73, QV74, QV82, and QV96 in background.

Bridge leading to QV66, with entrances to QV72, QV73, QV74, QV75, QV82, QV83, and QV96 in background.
Entrance to QV74.
Entrance to QV74.

Entrances to QV74 and QV82.
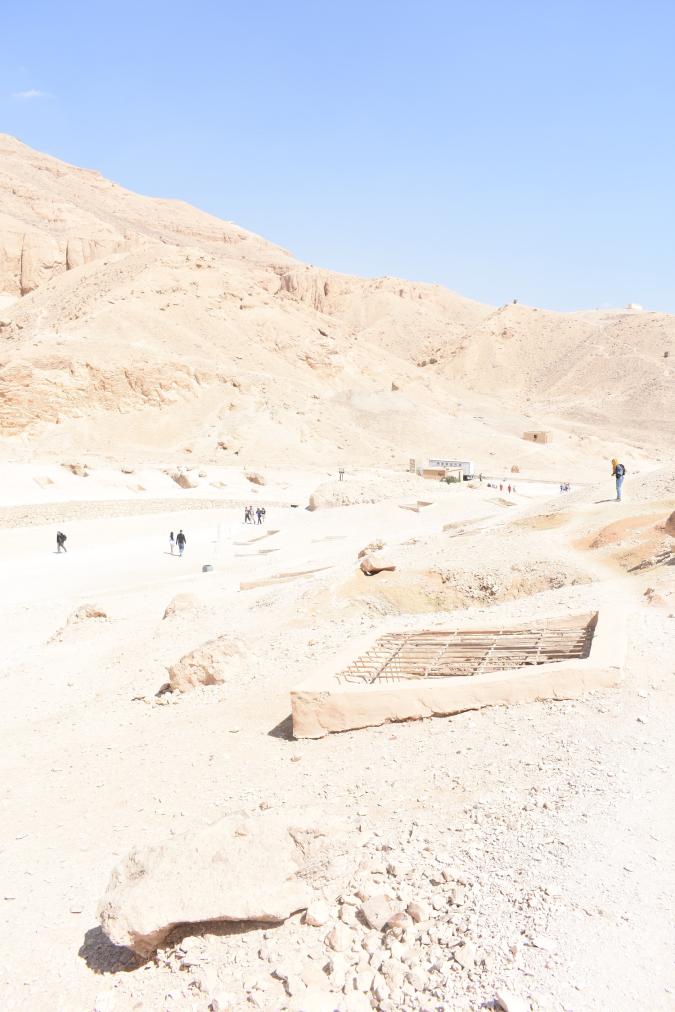
Entrance to QV30 in foreground with view of the main wadi in the background towards the entrance of QV.
Entrance to QV74

QV83 in foreground and view of the southeastern side of the main wadi with the old electricity building
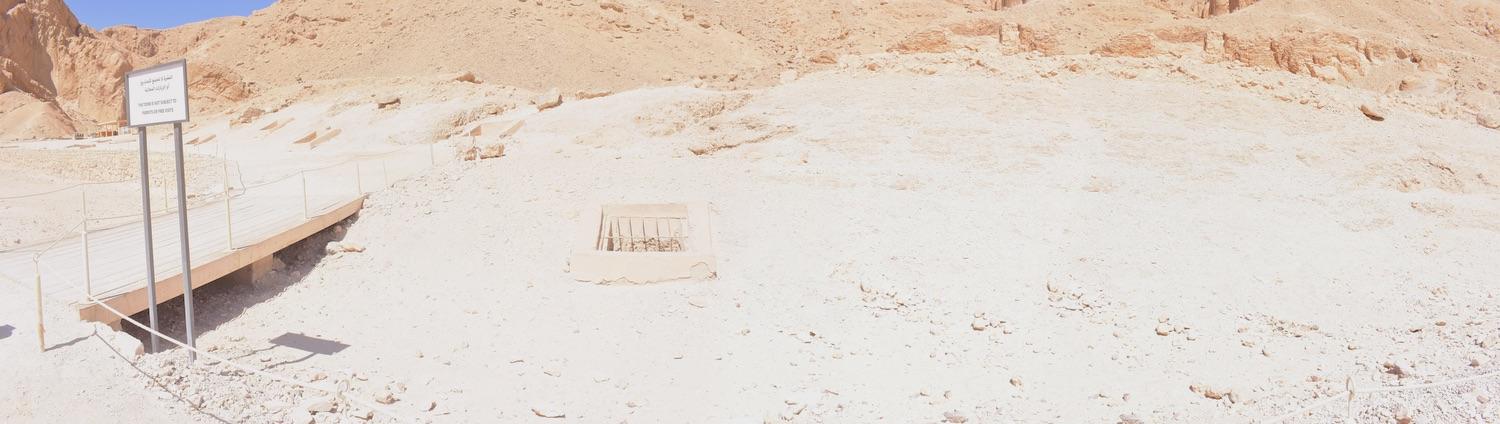
Northeastern side of the main wadi with entrances to QVU1, QVU2, QV67, QV68, QV69, QV70, QV71, QV72, QV73, QV74, QV75, QV82, QV83, QV96, and bridge and signage for QV66.
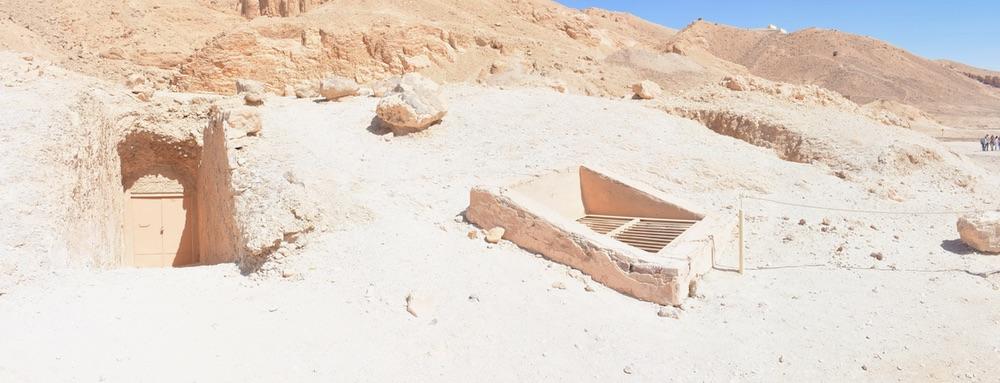
Entrances to QV74, QV75, and QV82.
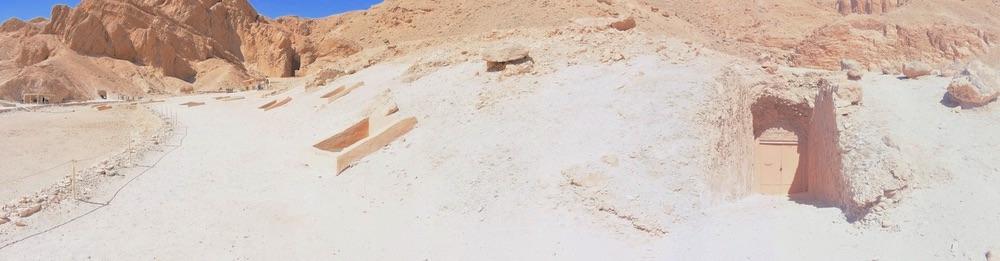
View of the northeastern side of the main wadi with entrances to QVU1, QVU2, QV63, QV64, QV65, QV67, QV69, QV70, QV71, QV72, QV73, QV74, QV96, and QV66 with visitors shelter.
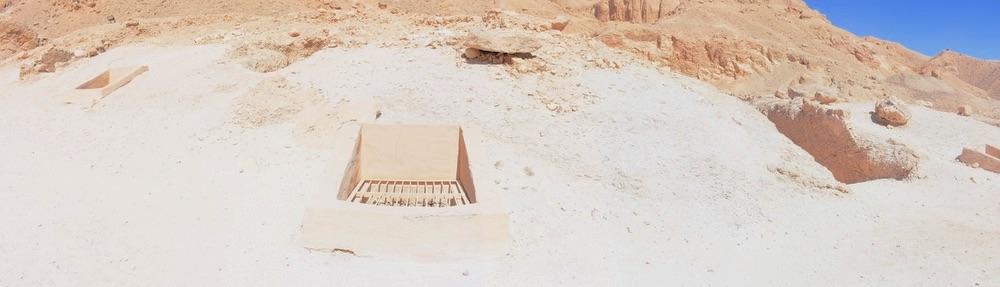
View of the northeastern side of the main wadi with entrances to QV72, QV73, QV74, QV82 and QV96

QV49 and QV50 in the foreground with the southeastern side of the main wadi, southern branch, and entrance to the QV in the background.
View of the tomb entrance. © Getty Conservation Institute and the Ministry of Tourism and Antiquities.
View of the collapsed ceiling above Gate B. © Getty Conservation Institute and the Ministry of Tourism and Antiquities.
The tomb number in red paint on the left thickness. © Getty Conservation Institute and the Ministry of Tourism and Antiquities.
View of the western pillar. © Getty Conservation Institute and the Ministry of Tourism and Antiquities.
View of the western pillar. © Getty Conservation Institute and the Ministry of Tourism and Antiquities.
View of the western pillar and Gate C. © Getty Conservation Institute and the Ministry of Tourism and Antiquities.
View of the eastern pillar and southeastern corner. © Getty Conservation Institute and the Ministry of Tourism and Antiquities.
View of the eastern pillar and southeastern corner. © Getty Conservation Institute and the Ministry of Tourism and Antiquities.
View of the western pillar and Gate C. © Getty Conservation Institute and the Ministry of Tourism and Antiquities.
View of the western pillar and Gate C. © Getty Conservation Institute and the Ministry of Tourism and Antiquities.
View of northwestern corner and part of the western pillar. © Getty Conservation Institute and the Ministry of Tourism and Antiquities.
View of the northwestern corner and part of the western pillar. © Getty Conservation Institute and the Ministry of Tourism and Antiquities.
View of the northeastern corner and part of the eastern pillar. © Getty Conservation Institute and the Ministry of Tourism and Antiquities.
View of the northeastern corner and part of the eastern pillar. © Getty Conservation Institute and the Ministry of Tourism and Antiquities.
View of the eastern side and the eastern pillar. © Getty Conservation Institute and the Ministry of Tourism and Antiquities.
View of the southeastern corner, the eastern pillar, and Gate Ba. © Getty Conservation Institute and the Ministry of Tourism and Antiquities.
View of Gate Ba. © Getty Conservation Institute and the Ministry of Tourism and Antiquities.
View of the northeastern corner. © Getty Conservation Institute and the Ministry of Tourism and Antiquities.
View of the northwestern corner and the western pillar. © Getty Conservation Institute and the Ministry of Tourism and Antiquities.
View of the northwestern corner and the western pillar. © Getty Conservation Institute and the Ministry of Tourism and Antiquities.
View of the southwestern corner and the western pillar. © Getty Conservation Institute and the Ministry of Tourism and Antiquities.
View of the southwestern corner and the western pillar. © Getty Conservation Institute and the Ministry of Tourism and Antiquities.
View of the southwestern corner, the western pillar, and Gate B. © Getty Conservation Institute and the Ministry of Tourism and Antiquities.
View of Gate B, the southern wall, and the pillars. © Getty Conservation Institute and the Ministry of Tourism and Antiquities.
View of the southwestern corner and the southwestern pillar. © Getty Conservation Institute and the Ministry of Tourism and Antiquities.
View of the southeastern corner and the southeastern pillar. © Getty Conservation Institute and the Ministry of Tourism and Antiquities.
View of the ceiling. © Getty Conservation Institute and the Ministry of Tourism and Antiquities.
Anubis as a jackal and a lion reclining on chapels. © Getty Conservation Institute and the Ministry of Tourism and Antiquities.
View of Gate B. © Getty Conservation Institute and the Ministry of Tourism and Antiquities.
View where one of the pillars meets the ceiling. © Getty Conservation Institute and the Ministry of Tourism and Antiquities.
Detail of fragmentary painted plaster with the legs of a deity and dado frieze. © Getty Conservation Institute and the Ministry of Tourism and Antiquities.
Detail of fragmentary painted plaster of dado frieze and the feet of deities. © Getty Conservation Institute and the Ministry of Tourism and Antiquities.
Detail of relief of falcon-headed deity. © Getty Conservation Institute and the Ministry of Tourism and Antiquities.
Detail of blackened relief from fire. © Getty Conservation Institute and the Ministry of Tourism and Antiquities.
Detail of fragmentary painted plaster of the Dado frieze and the feet of deities. © Getty Conservation Institute and the Ministry of Tourism and Antiquities.
Detail of a vulture, hippopotamus-headed deity, and the full-face deity in a shrine. © Getty Conservation Institute and the Ministry of Tourism and Antiquities.
Detail of the painted dado at the base of the walls. © Getty Conservation Institute and the Ministry of Tourism and Antiquities.
Detail of the full-face deity in a shrine. © Getty Conservation Institute and the Ministry of Tourism and Antiquities.
The right side of Gate C with a fecundity deity carrying offerings. © Getty Conservation Institute and the Ministry of Tourism and Antiquities.
Detail of wasps nests on relief. © Getty Conservation Institute and the Ministry of Tourism and Antiquities.
Detail of Kheker frieze relief and restoration work. © Getty Conservation Institute and the Ministry of Tourism and Antiquities.
Detail of damage to reliefs. © Getty Conservation Institute and the Ministry of Tourism and Antiquities.
View of right thickness with Hathor performing the nini ritual and mubrick from the Roman Period. © Getty Conservation Institute and the Ministry of Tourism and Antiquities
Remains of mud brick walls against the right thickness added during the Roman Period. © Getty Conservation Institute and the Ministry of Tourism and Antiquities.
View of the left thickness with Hathor performing the nini ritual. © Getty Conservation Institute and the Ministry of Tourism and Antiquities.
View of Stairwell C and Gate D. © Getty Conservation Institute and the Ministry of Tourism and Antiquities.
View of the ceiling. © Getty Conservation Institute and the Ministry of Tourism and Antiquities.
View of Gate D and the east wall with mummiform Serqet protected by kneeling Nephthys with Osiris. © Getty Conservation Institute and the Ministry of Tourism and Antiquities.
View of Gate D and the west wall with mummiform Neit protected by kneeling Isis with Osiris. © Getty Conservation Institute and the Ministry of Tourism and Antiquities.
View of Stairwell C and Gate D. © Getty Conservation Institute and the Ministry of Tourism and Antiquities.
View of the ceiling. © Getty Conservation Institute and the Ministry of Tourism and Antiquities.
View of Gate D and the right thickness with an unidentifiable female deity performing the nini ritual. © Getty Conservation Institute and the Ministry of Tourism and Antiquities.
View of Gate D and the left thickness with an unidentifiable female deity performing the nini ritual. © Getty Conservation Institute and the Ministry of Tourism and Antiquities.
View of the northern wall and the pit leading to side chamber Da. Intact eastern pillar on the left. © Getty Conservation Institute and the Ministry of Tourism and Antiquities.
View of the northwestern corner with the cartouche of the Queen flanked by two winged cobras, and the Queen consecrating merit-boxes before Anubis on the western wall. © Getty Conservation Institute and the Ministry of Tourism and Antiquities.
View of the intact pillar with a winged vulture and Mehet-Weret as a cow on the front, and a winged vulture and the cartouche of Queen next to a soul of Nekhen on the left. © Getty Conservation Institute and the Ministry of Tourism and Antiquities.
View of the eastern side and the intact pillar with a winged vulture and the cartouche of the Queen next to Soul of Nekhen performing the Henu gesture. © Getty Conservation Institute and the Ministry of Tourism and Antiquities.
View of the ceiling. © Getty Conservation Institute and the Ministry of Tourism and Antiquities.
View of the western side with the intact pillar in the foreground. © Getty Conservation Institute and the Ministry of Tourism and Antiquities.
View of the intact pillar with three registers on either side. Kheker Frieze, winged vulture, and Mehet-Weret as a cow on the front, and a Kheker Frieze, winged vulture, and Meretseger as cobra on the right. © Getty Conservation Institute and the Ministry of Tourism and Antiquities.
View of the pit leading to side chamber Da. © Getty Conservation Institute and the Ministry of Tourism and Antiquities.
View of the intact pillar and the south wall with Hathor as a cow emerging from the western mountain with Qebehsenuef behind her. © Getty Conservation Institute and the Ministry of Tourism and Antiquities.
View of the south wall showing the consecration of offerings before Duamutef. © Getty Conservation Institute and the Ministry of Tourism and Antiquities.
View towards the tomb entrance. © Getty Conservation Institute and the Ministry of Tourism and Antiquities.
View of the intact pillar with a Djed Pillar on the rear face. © Getty Conservation Institute and the Ministry of Tourism and Antiquities.
View of the rear face of the intact pillar with a Kheker Frieze, winged vulture, and a Djed Pillar. © Getty Conservation Institute and the Ministry of Tourism and Antiquities.
Detail of the Queen consecrating merit-boxes before Anubis. © Getty Conservation Institute and the Ministry of Tourism and Antiquities.
Detail of the cartouche of the Queen flanked by two winged cobras. © Getty Conservation Institute and the Ministry of Tourism and Antiquities.
Detail of the cartouche of the Queen flanked by two winged cobras. © Getty Conservation Institute and the Ministry of Tourism and Antiquities.
Detail of fragmentary painted plaster of a deity's foot. © Getty Conservation Institute and the Ministry of Tourism and Antiquities.
Detail of fragmentary painted plaster of a deity's foot. © Getty Conservation Institute and the Ministry of Tourism and Antiquities.
Detail of offerings. © Getty Conservation Institute and the Ministry of Tourism and Antiquities.
Detail of relief. © Getty Conservation Institute and the Ministry of Tourism and Antiquities.
Detail of hieroglyphic text. © Getty Conservation Institute and the Ministry of Tourism and Antiquities.
Detail of painted plaster on the intact eastern pillar. © Getty Conservation Institute and the Ministry of Tourism and Antiquities.
Detail of the painted plaster on the intact eastern pillar. © Getty Conservation Institute and the Ministry of Tourism and Antiquities.
Detail of hieroglyphic text behind Hathor as a cow emerging from western mountain. © Getty Conservation Institute and the Ministry of Tourism and Antiquities.
Detail of Hathor as a cow emerging from the western mountain. © Getty Conservation Institute and the Ministry of Tourism and Antiquities.
View of the right thickness with Hapy and Qebehsenuef. © Getty Conservation Institute and the Ministry of Tourism and Antiquities.
View of the left thickness with Imsety and Duamutef. © Getty Conservation Institute and the Ministry of Tourism and Antiquities.
View of the south wall with a priest in adoration before Anubis as a jackal. © Getty Conservation Institute and the Ministry of Tourism and Antiquities.
View of the east wall with the Book of the Dead Spell 180. Re-Osiris flanked by Isis and Nephthys with the Queen consecrating offerings before them. © Getty Conservation Institute and the Ministry of Tourism and Antiquities.
View of the north wall with a priest in adoration before Anubis as a jackal. © Getty Conservation Institute and the Ministry of Tourism and Antiquities.
View of the west wall with a Tyet Knot. © Getty Conservation Institute and the Ministry of Tourism and Antiquities.
View of the west wall with a Djed Pillar. © Getty Conservation Institute and the Ministry of Tourism and Antiquities.
View of the ceiling. © Getty Conservation Institute and the Ministry of Tourism and Antiquities.
Detail of south wall with hieroglyphic text. © Getty Conservation Institute and the Ministry of Tourism and Antiquities.
Detail of the south wall with a priest in adoration. © Getty Conservation Institute and the Ministry of Tourism and Antiquities.
Detail of the east wall with Nephthys. © Getty Conservation Institute and the Ministry of Tourism and Antiquities.
Detail of the east wall with Nephthys. © Getty Conservation Institute and the Ministry of Tourism and Antiquities.
Detail of the west wall with a Djed Pillar. © Getty Conservation Institute and the Ministry of Tourism and Antiquities.






Bibliography
Lepsius, Richard. Denkmäler aus Aegypten und Aethiopien: Texten. Vol. 3. Leipzig: J.C. Hinrich, 1897-1913.
Lepsius, Richard. Lepsius MSS: [Diary of Richard Lepsius from Oct. 30 to Dec. 7 1844]. On loan to The Griffith Institute, Asmolean Museum, Oxford, 1844.
Porter, Bertha and Rosalind L.B. Moss. Topographical Bibliography of Ancient Egyptian Hieroglyphic Texts, Reliefs, and Paintings, I: The Theban Necropolis, Part 2: Royal Tombs and Smaller Cemeteries. Oxford: Oxford University Press, 1964.
Rosellini, Ippolito, and Mahmoud Saba. I Monumenti dell’Egitto e della Nubia: disegnati dalla spedizione scientifico letteraria toscana in Egitto: monumenti storici. Vol. 1. Pisa: Presso N. Capurro, 1832: xiv, xix.
Rosellini, Ippolito. Rosellini MSS: [Egypt in 1828-9]. Pisa: Biblioteca Universitaria di Pisa, 1828-29.
Thomas, Elizabeth. The Royal Necropoleis of Thebes. Princeton: privately printed, 1966.
